

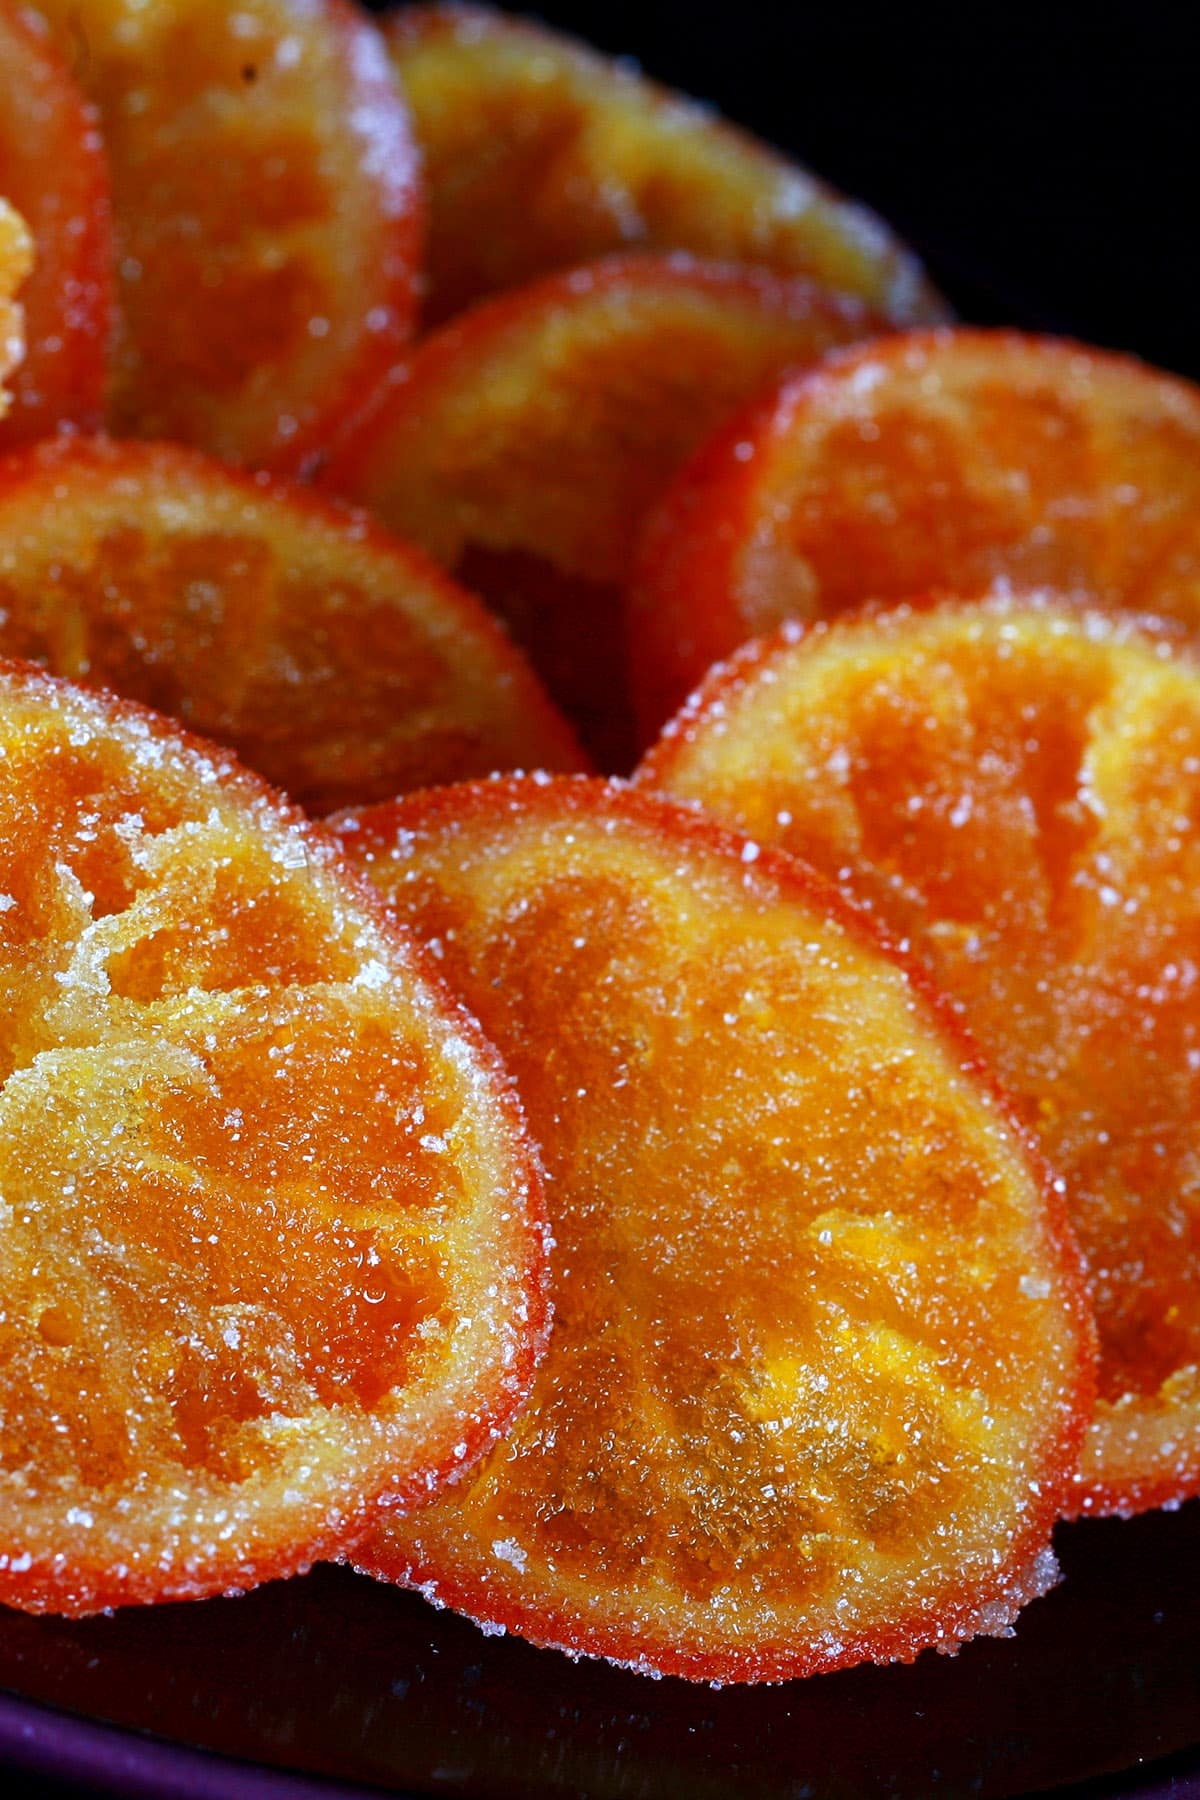
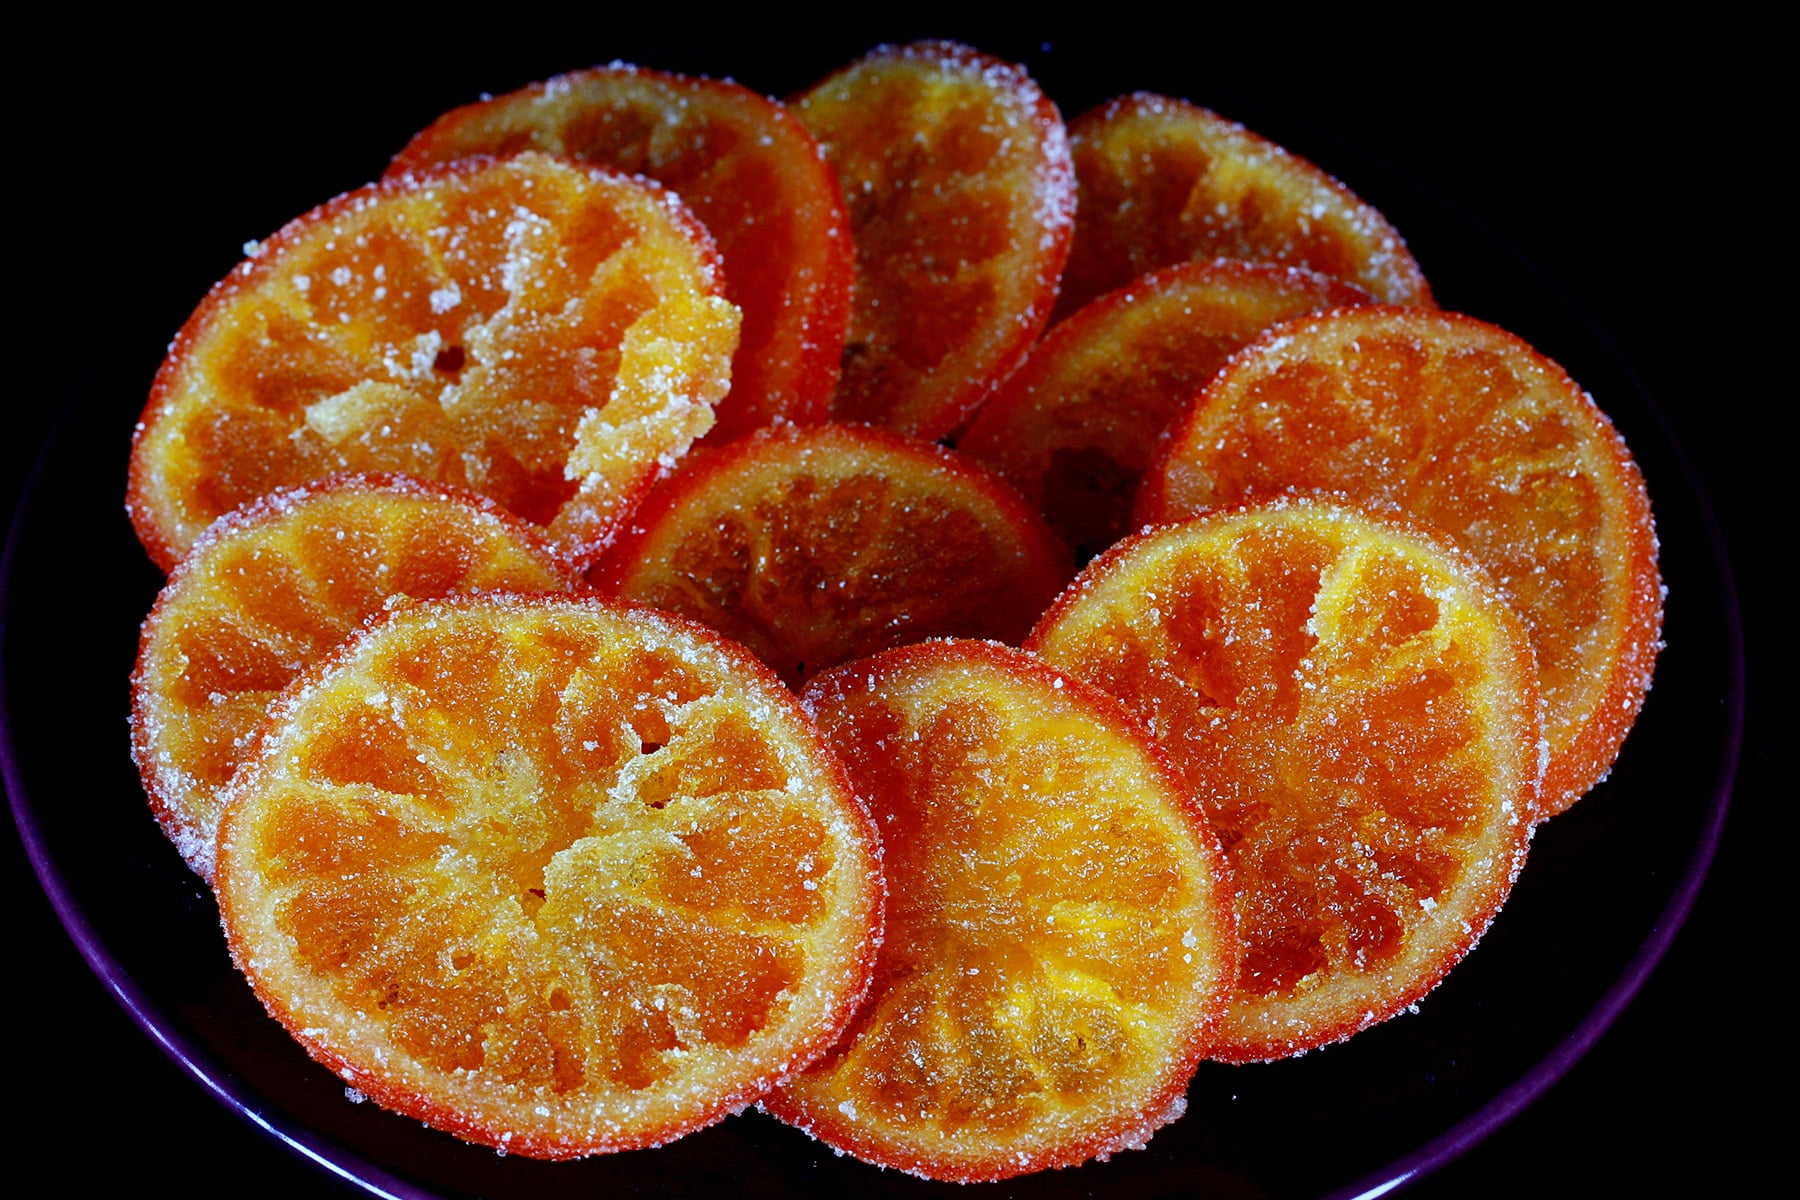
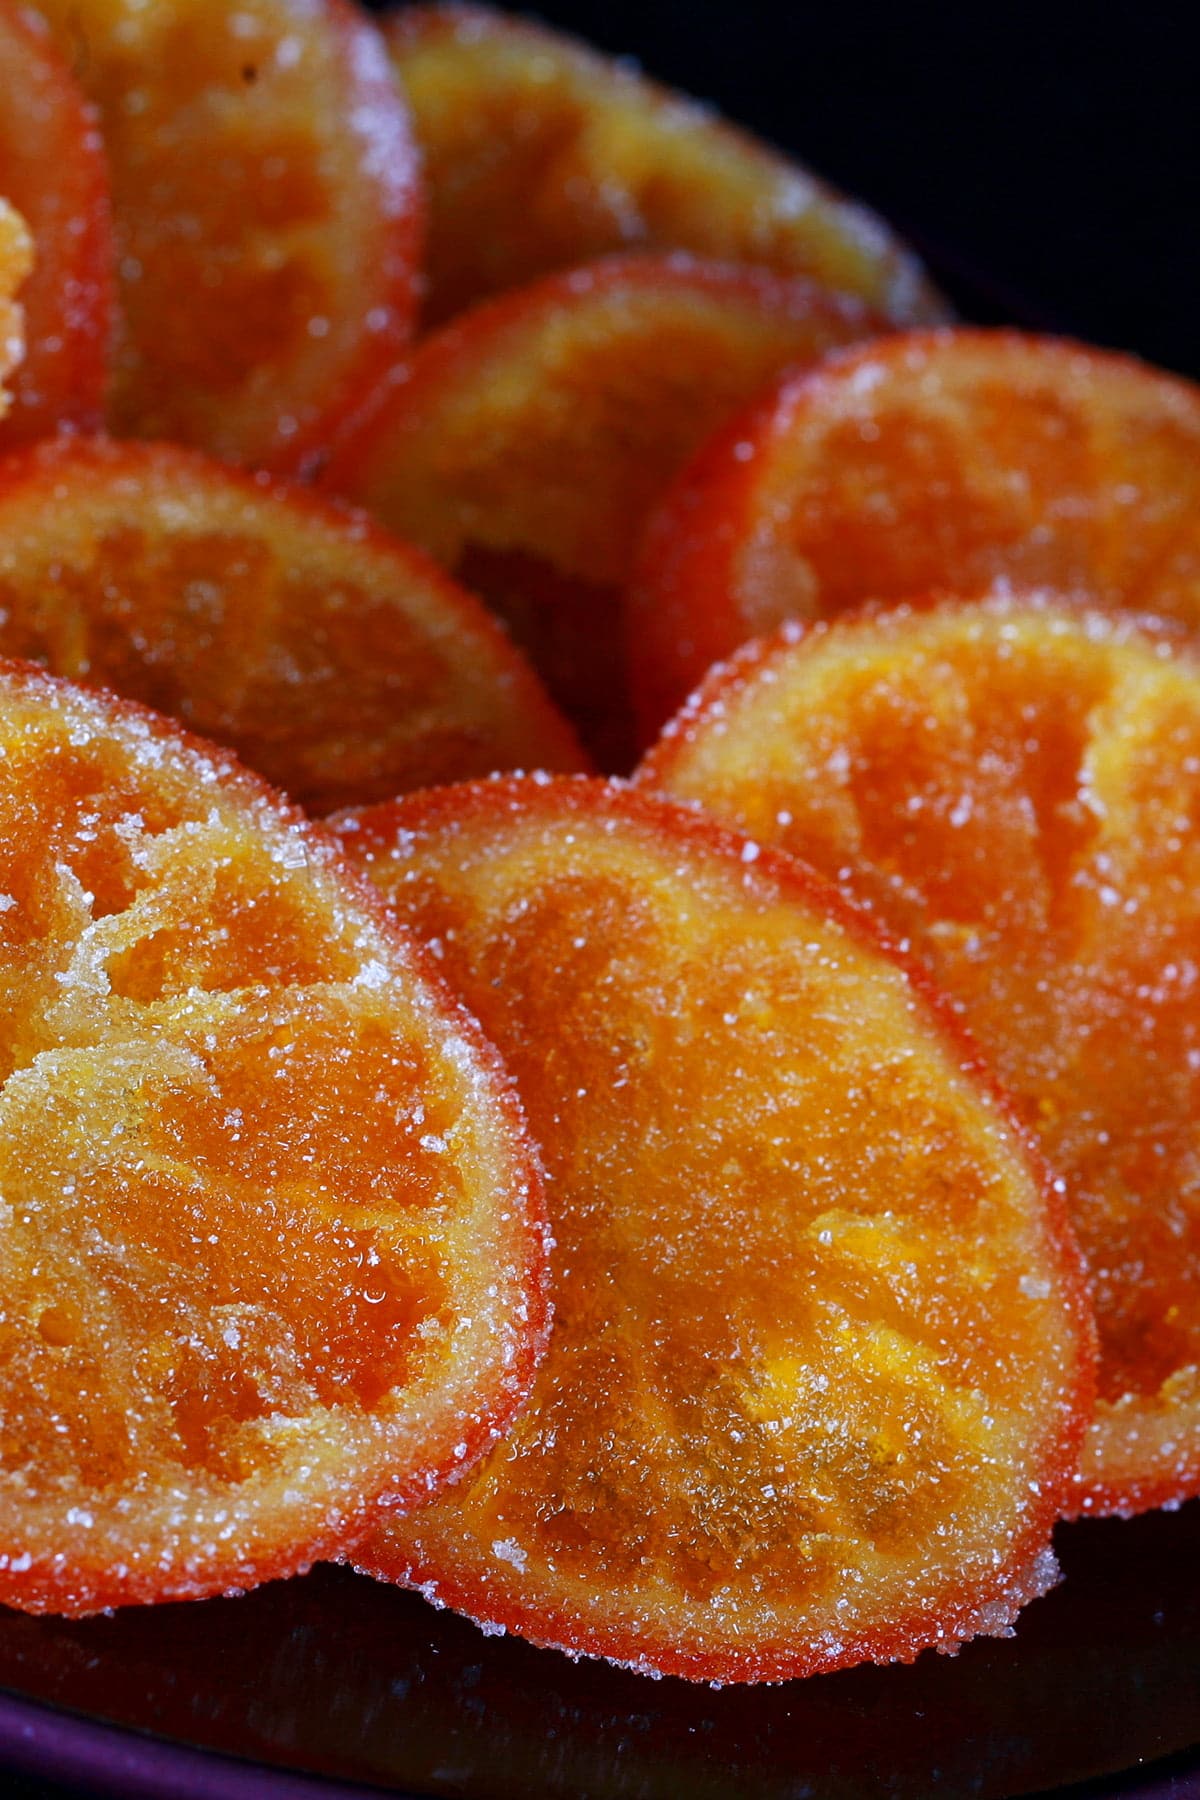
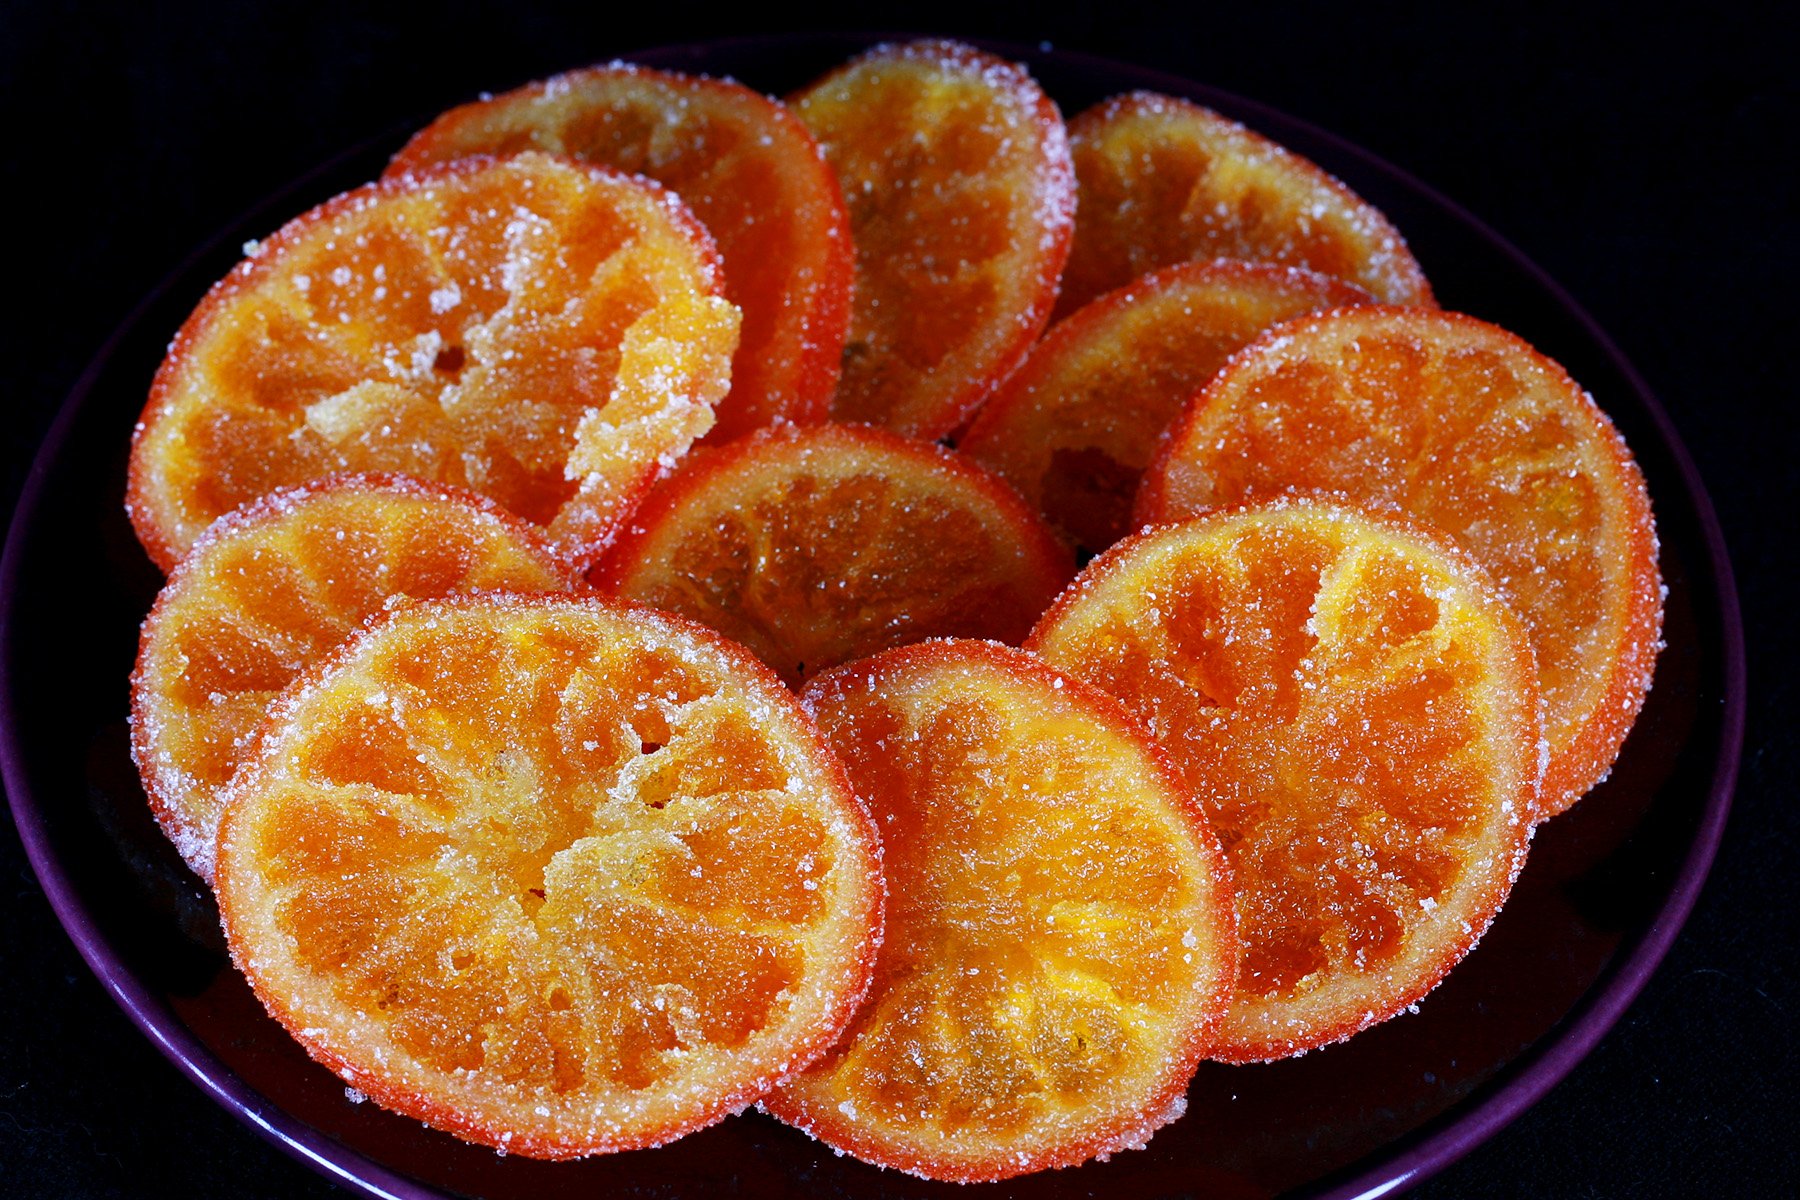
These Candied Orange Slices are made in a sequence that results in 3 - or 4! - tasty products, each using the leftovers of the step before.
Originally published November 30, 2015, Updated on 10/10/20

That said, I was surfing Facebook back in 2014ish, and saw a recipe that my favourite magazine - Canadian Living - posted: Candied Orange and Ginger Bark!
I do candied orange slices differently, though.. so decided that I should share my recipe/ method with you.
You know, mostly as an excuse to share gorgeous pictures of these gorgeous orange slices.
Make more than you think - you'll start snacking on them, and they'll disappear in no time.
This orange slices recipe also works great as a decoration or garnish for many favorite dessert recipes:
Use it as a pretty, edible decoration for a delicious chocolate cake, orange cake or even plain pound cake.
It’s also a pretty garnish or topping for desserts like chocolate pudding, or chopped up and sprinkled over ice cream or a parfait.
You know, just a quick way to bring a sweet, citrusy flavour - and bit of sparkle - to all kinds of desserts!
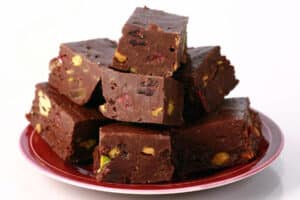
It’s also an ingredient in my Festive Easy Fudge recipe - another recipe inspired by Canadian Living, interestingly enough!
That one’s a special treat, and one of my favorite recipes for this time of year!
A No Waste Recipe!
This is an easy recipe, and - bonus! - the cooking process can yield 4 different products if you decide to go a no-waste route with it!
You see, when it comes to making candied/crystallized items, I like to avoid wasting anything.
The "byproducts" made in the process are delicious in their own right.
You may remember from an old post that when I make Candied Ginger, I actually end up with 3 separate items: the candied ginger, ginger syrup, and ginger sugar.
When making my candied orange slices for the Canadian Living recipe, I decided to shake things up a bit.
I ended up with not only my caramelized oranges, but lightly orange flavoured crystalized ginger, the leftover syrup from that becomes a ginger orange syrup, and - finally - orange-ginger sugar leftover from the candying process.
The orange simple syrup is extremely thick - I call it a ginger orange “honey”, and it’s fantastic in tea.
Instead of a single end product, you can get 4 - all from a very simple process!
Ingredients
This recipe uses only a couple of very simple ingredients, that you’ll be able to find in any grocery store.
If you want to add the ginger, it’s just 3 ingredients total!
Oranges
You can use whatever orange variety you like, I’ve made this with all kinds of oranges - and other citrus fruit, as well!
Valencia oranges and Navel oranges tend to be my defaults, but Cara Cara oranges, tangerines, and blood oranges are fun options.
You can use a less-sweet orange if you like - the extended dip in sugar syrup mellows out any bitter taste that you might worry about.
Smaller oranges make smaller slices, large oranges make larger slices. This can matter when it comes to being used as a decoration for cakes.
Also, smaller orange slices tend to stay together better through the cooking process, than larger slices - which can break in the middle.
Less into oranges? Try this recipe for candied lemon slices or candied lime slices!
Sugar
You’ll want to use plain white granulated sugar.
Brown or “raw” sugars act a bit differently and will bring other, less desirable flavors and colors to the final product.
If you’re just making the candied orange slices, you’ll only need the amount called for in the recipe.
However, you’ll need more sugar on hand if you’re continuing on to make the syrup, crystallized ginger, etc.
Ginger
If you’re planning to add on the crystallized ginger, you’ll need fresh ginger in addition to that additional sugar.
I like to use big, easy-to-peel roots of ginger.
Not a fan of ginger? You can still make a no-waste recipe of this - more details on that, further down in this post!

How to Make Candied Orange Slices
The full recipe - and a video - is in the recipe card at the end of this post. This is a visual walk-through of the technique, with some additional tips and info.
Get Ready
Use a sharp knife to slice oranges into thin slices. I like to aim for the citrus slices to be around ¼″ thick.
Thinner slices will be more likely to fall apart during the boil, thicker slices will mean a much longer cooking time - and drying time.
Remove and discard all seeds, if applicable, and set sliced oranges aside.

Cook the Oranges
In a large pot, bring water and sugar to a boil over medium-high heat.

Once syrup comes back to a boil, turn temperature down enough to keep it just at a good simmer – NOT a full boil – and simmer for about 45 minutes.
Note: What setting this is will depend on your stove, keep an eye on it.
It’s not unusual for me to have to vary between medium heat, medium-low heat, and even the lowest setting, to keep it at the simmering level!
I like to gently stir every 10-15 minutes or so, to ensure all of the slices are getting full exposure to the syrup.

Set up a drying / cooling rack over the sugar pan.

Finish Candying the Orange Slices
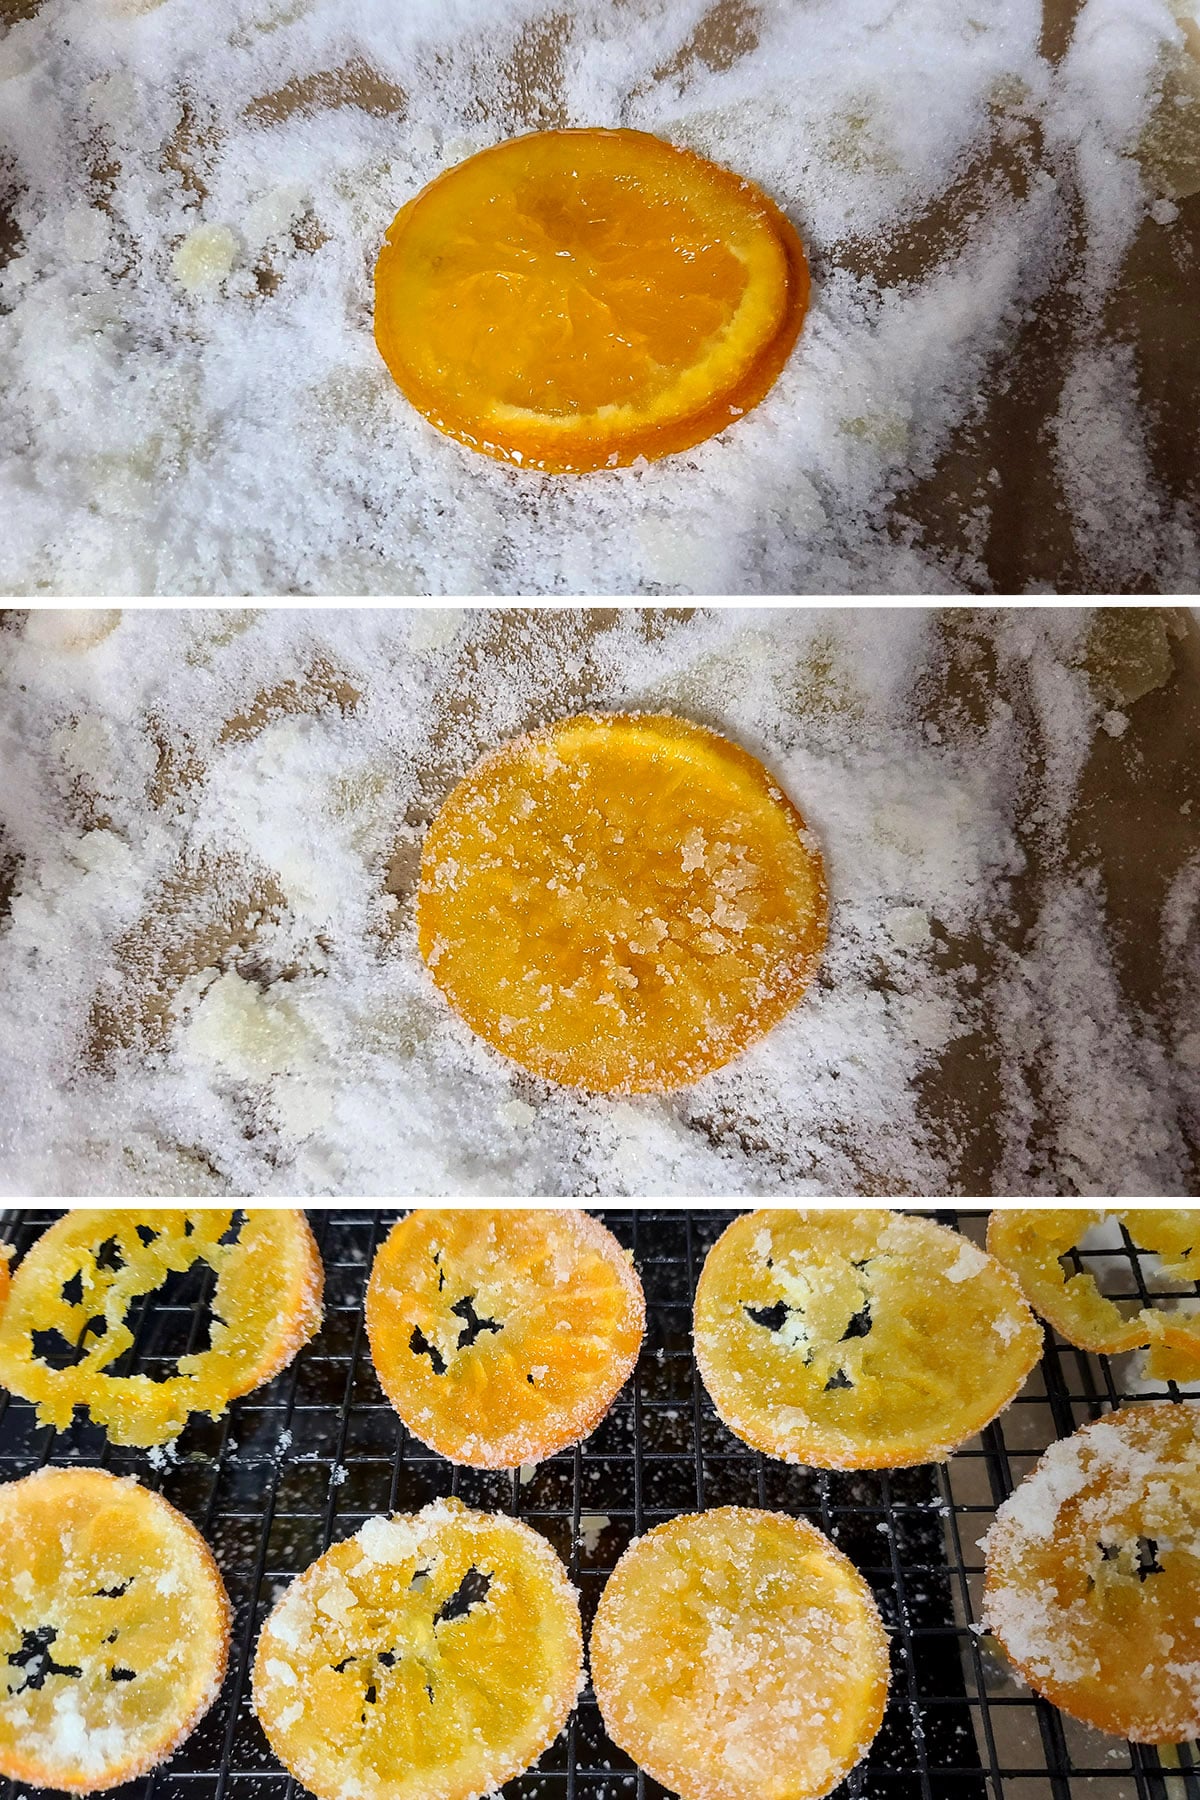
Once the 45 minutes are up, remove pan from heat.
Use a fork or slotted spoon to gently remove orange slices from the syrup, allowing excess syrup to drip off into the pan.
Arrange drained slices in a single layer on the wire rack, allow to drip and cool for 30 minutes or so.

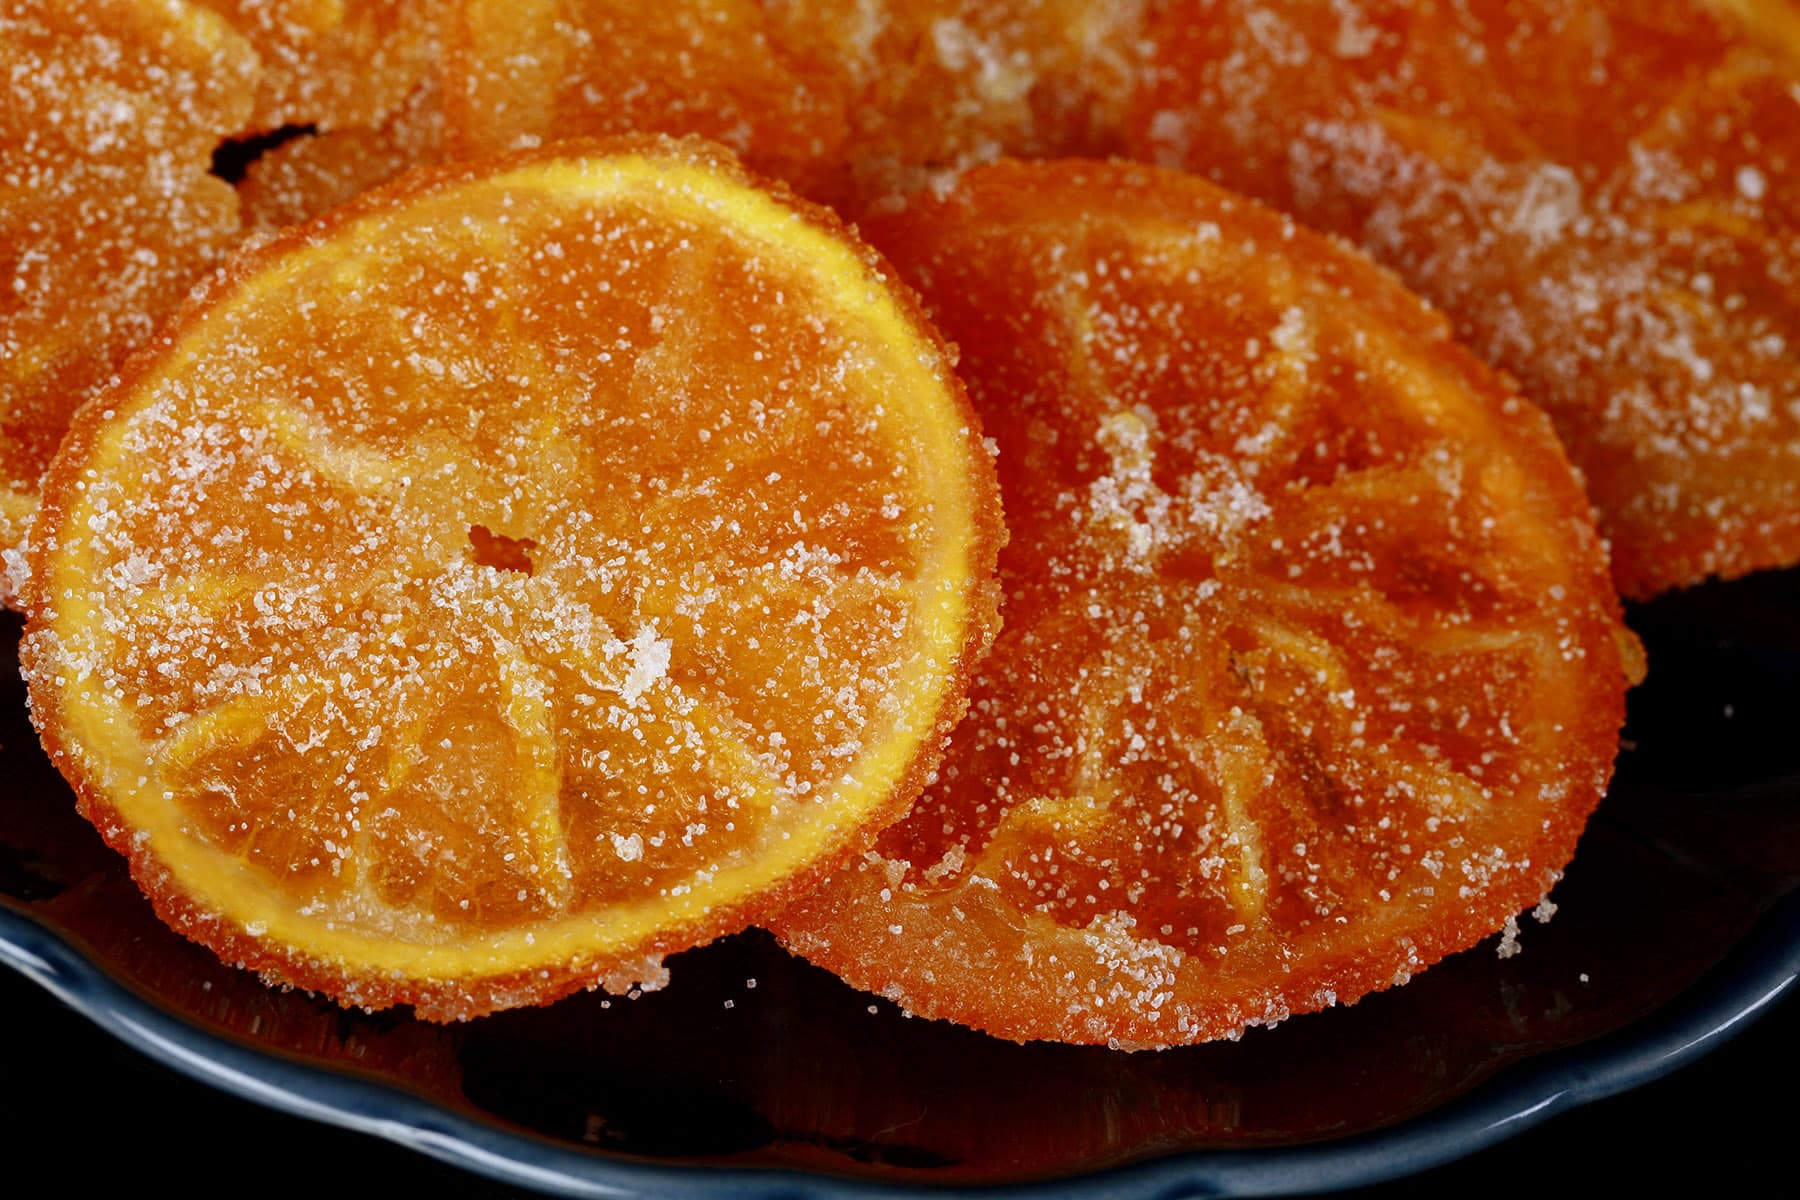
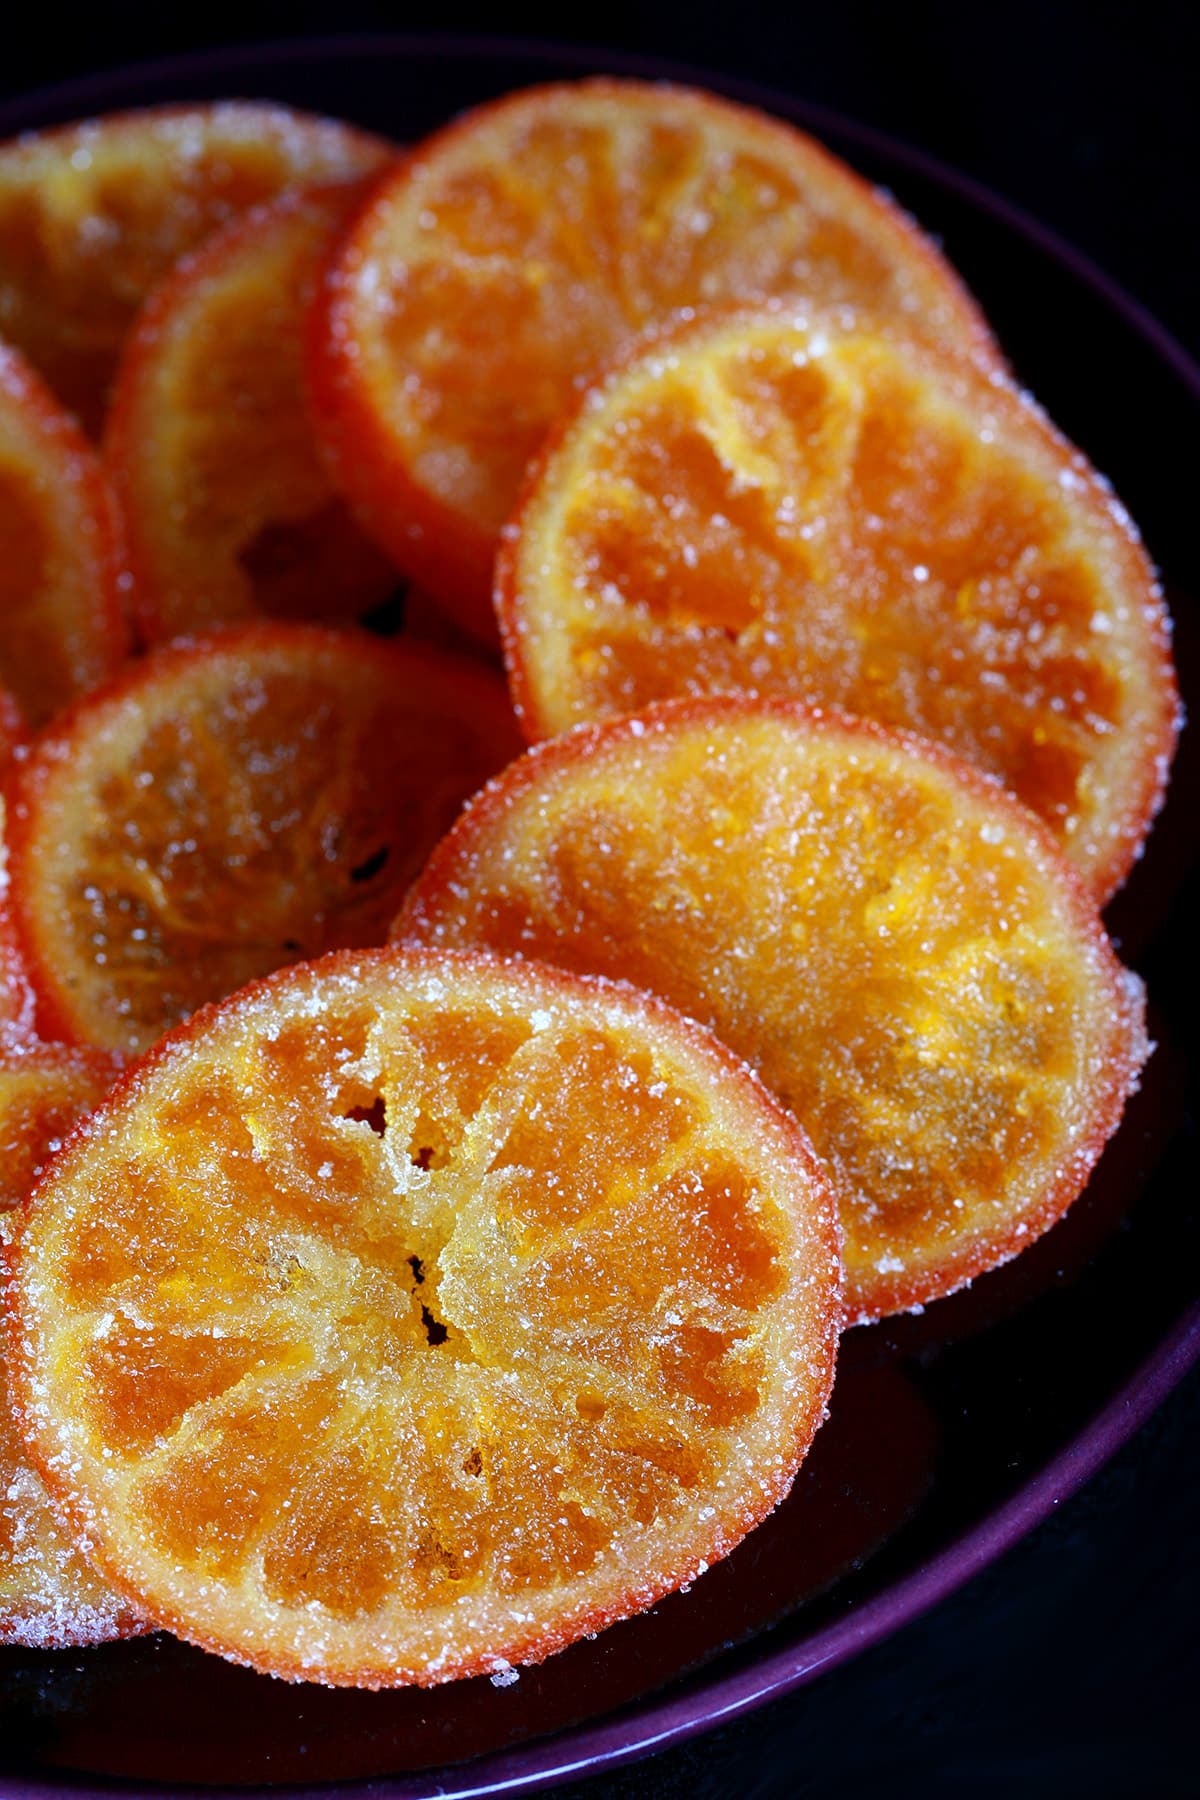
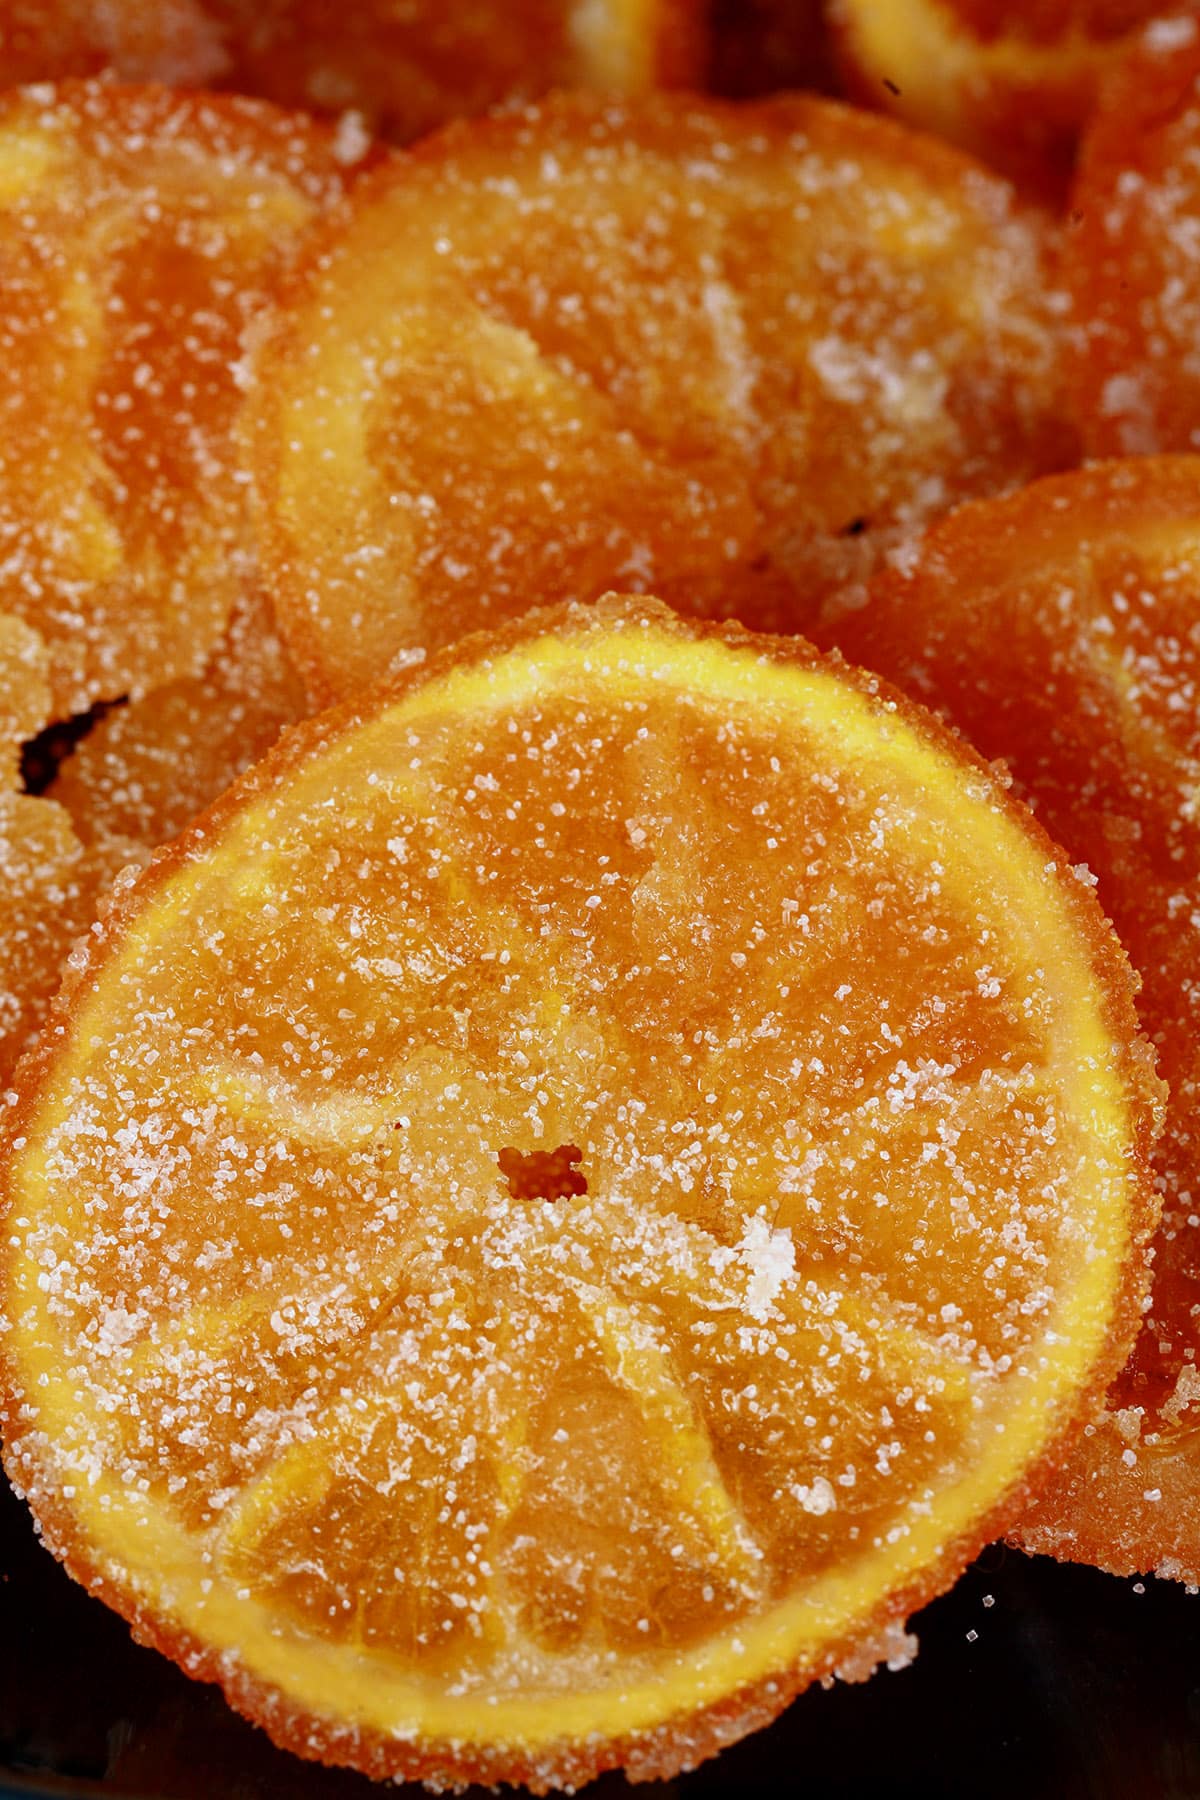
Gently dredge orange slices in sugar from the parchment paper, making sure both sides are evenly crusted with the sugar coating.
Arrange on the drying rack once again, allow to dry overnight.
For best results, eat within a week or two.
Additional Steps - With Ginger
Going a few more simple steps will yield you up to 3 more tasty items, depending on where you decide to stop.
Orange Syrup Crystallized Ginger
Use a vegetable peeler to peel all of the skin (rind?) off of the ginger, carefully slice it all into uniformly thin pieces. (I like to aim for between ⅛″ and ¼″ thick).
Place into the pot of orange sugar water, after removing the orange slices.
Bring syrup back up to a boil, turn temperature down enough to keep it just at a good simmer – NOT a full boil – and simmer for about 45 minutes. I like to gently stir every 10-15 minutes or so, to ensure all of the slices are getting full exposure to the syrup.
As you wait for the ginger to cook, top up the sugar in the parchment lined baking sheet. You’ll want a good solid layer.
Use a slotted spoon to remove ginger from the syrup, allowing excess liquid to drop back into the pan.
As you strain liquid off, put ginger directly into the sugar lined baking pan, tossing to coat.
Allow ginger to cool and dry for a few hours.
After the few hours, transfer the ginger pieces to an airtight container, gently knocking them against each other (I’ll roll them in my hands) to dislodge any loose, excess sugar.
Cover tightly, store at room temperature.
Orange-Ginger Sugar
You’ll be left with a fair amount of excess sugar, mostly clumpy.
Run all of that through a food processor until it’s as fine as you’d like it – this will depend on your desired uses for it.
Transfer to an airtight container, store at room temperature.
Use it to add a bit of extra flavor to your baking in place of plain sugar. It’s also a great way to sweeten to coffee or tea, or to rim your cocktail glasses!
Orange-Ginger “Honey”
Once you’ve transferred the ginger to the sugar pan, you will be left with a golden coloured, very thick syrup.
You can add a little hot water to thin it out, if you like.
Transfer to a clean mason jar, store in the fridge. (It may thicken / harden – it will liquify when warmed up!).
Use in tea, or as a replacement for honey in most recipes.

Additional Steps - Without Ginger
Not a fan of ginger? No problem, you can still end up with two extra products with very little effort!
Orange Simple Syrup
Once you’ve removed the orange slice from the pot, measure the remaining syrup and transfer it to a medium saucepan.
Whatever you measured it to be, add the same amount of sugar to the pot.
Bring to a boil, stirring to dissolve the sugar.
Once dissolved, cool to room temperature and transfer to a clean jar.
Will keep well in the fridge for several weeks.
Orange Sugar
After your orange slices have fully dried, knock off any excess sugar into the pile of sugar under the drying rack, before placing them in baggies.
Transfer any fallen sugar to a mini food processor, blitz until well blended.
Spread out on a parchment lined baking sheet, allow to air dry until completely dried.
Run through the food processor again to break up any lumps, then transfer to an air tight container.
More Holiday Treats
Looking for more inspiration for your holiday goodies tray? Whether Thanksgiving, Christmas, Easter, or any of the other holidays, here are a few ideas for you!
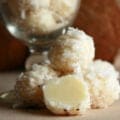
Boozy Chocolate Haystack Cookies
Candied Orange Slices
Creme de Menthe Nanaimo Bars
Festive Easy Fudge
Fruitcake Cookies
No-Bake Gingerbread Pie
Noelles
Pecan Pie Cookies
Peppermint Patties
Ultimate Cowboy Cookies

Share the Love!
Before you chow down, be sure to take some pics of your handiwork! If you post it to Bluesky, be sure to tag us - @CelebrationGen. We're also on Pinterest, so you can save all your favourite recipes to a board!
Also, be sure to subscribe to my free monthly email newsletter, so you never miss out on any of my nonsense. Well, the published nonsense, anyway!
Finally, if you love this recipe, please consider leaving a star rating and/or a comment below, and maybe even sharing this post on social media!

Candied Orange Slices - and more!
Ingredients
Candied Orange Slices
- 2 -3 Large Oranges Ideally seedless
- 2 ½ Cups Granulated Sugar
- 1 Cup Water
- Additional Sugar
Orange Syrup Crystallized Ginger
- 1 lb Ginger
- 1 Cup Granulated Sugar
- Additional Sugar
Instructions
Candied Orange Slices
- Slice oranges very thinly – aiming for just slightly thinner than ¼″. Remove and discard all seeds, if applicable
- In a large pot, bring water and sugar to a boil. Add orange slices, gently stirring to separate and coat with sugar water.
- Once syrup comes back to a boil, turn temperature down enough to keep it just at a good simmer – NOT a full boil – and simmer for about 45 minutes. I like to gently stir every 10-15 minutes or so, to ensure all of the slices are getting full exposure to the syrup.
- As you wait for the simmering oranges, line a baking sheet with parchment paper. Spread a good amount of sugar over the parchment paper – a cup or two, enough to get a nice layer of sugar. Set up a drying/cooling rack over the sugar pan.
- Once the 45 minutes are up, remove pan from heat. Use a fork to gently remove orange slices from the syrup, allowing excess syrup to drip off into the pan.
- Arrange drained slices on the rack, allow to drip and cool for 30 minutes or so. Once time is up, flip them and allow to sit for another 30 minutes or so.
- Gently dredge orange slices in sugar from the parchment paper, making sure both sides are evenly coated. Arrange on the rack once again, allow to dry overnight
- Store in an airtight container, use within a week or so.
Orange Syrup Crystallized Ginger
- Use a vegetable peeler to peel all of the skin (rind?) off of the ginger, carefully slice it all into uniformly thin pieces. (I like to aim for between ⅛″ and ¼″ thick).
- Place into pot of orange syrup. Bring syrup back up to a boil, turn temperature down enough to keep it just at a good simmer – NOT a full boil – and simmer for about 45 minutes. I like to gently stir every 10-15 minutes or so, to ensure all of the slices are getting full exposure to the syrup.
- As you wait for the ginger to cook, top up the sugar in the parchment lined baking sheet. You’ll want a good solid layer.
- Once the 45 minutes are up, add 1 cup of sugar to the pot, and stir well. Simmer for 10 more minutes.
- Use a slotted spoon to remove ginger from the syrup, allowing excess liquid to drop back into the pan. As you strain liquid off, put ginger into the sugar lined baking pan, tossing to coat.
- Allow ginger to cool and dry for a few hours.
- Transfer the ginger pieces to an airtight container, gently knocking them against each other (I’ll roll them in my hands) to dislodge any loose, excess sugar. Cover tightly, store at room temperature.
Orange-Ginger Sugar
- You’ll be left with a fair amount of excess sugar, mostly clumpy. Run all of that through a food processor until it’s as fine as you’d like it – this will depend on your desired uses for it. Transfer to an airtight container, store at room temperature.
- Use it to add a bit of extra flavor to your baking, to coffee or tea, or to rim your cocktail glasses!
Orange-Ginger “Honey”
- Once you’ve transferred the ginger to the sugar pan, you will be left with a golden coloured, very thick syrup. You can add a little hot water to thin it out, if you like.
- Transfer to a clean mason jar, store in the fridge. (It may thicken / harden – it will liquify when warmed up!).
- Use in tea, or as a replacement for honey in most recipes.
Video
Nutrition
Older Photos


Samantha
I just made your candied oranges. And they turned out amazing! I do plan on trying the ginger later this week I'd like to make some more for our Thanksgiving dinner. Thank you so much for sharing your recipe!!
Anna McLean
This recipe is amazing. I loved it very much. Thanks for sharing.
Tawn
Thank you for the great idea, one more by product...simmer the ginger peel to make ginger tea.
Martha
Wow! I love this idea. I like both candied oranges and candied ginger. Have you tried it in reverse, to give the candied oranges a ginger flavor?
Gretchen
Wow! Thank you. I make candied orange peel and candied ginger but this sounds wonderful. How clever. I do keep the ginger syrup, hot! And the sugars from candy made. I like the idea of the honey. Can't wait to try this. Great idea!!
Leeann mocabee
I tried this recipe. I love them, they're beautiful too.
Yula
This is a great ... well it’s more than a recipe! C’mon. I think you are an intuitive cook with huge creativity. You’ve made a universe of candied oranges, candied ginger, and other magic things that result from your experimentation. Much appreciated!
Marie Porter
Aww, thank you so much!
Moksha Essentials
Oh, I love this, and need to read it again! you have the basics laid out so clearly! Great job,
Celeste Penner
I went all the way with this recipe, and I’m so glad I did!! The candied orange and ginger are absolutely amazeballs, but the resulting “honey” takes the cake! Thank you so much for sharing!!