

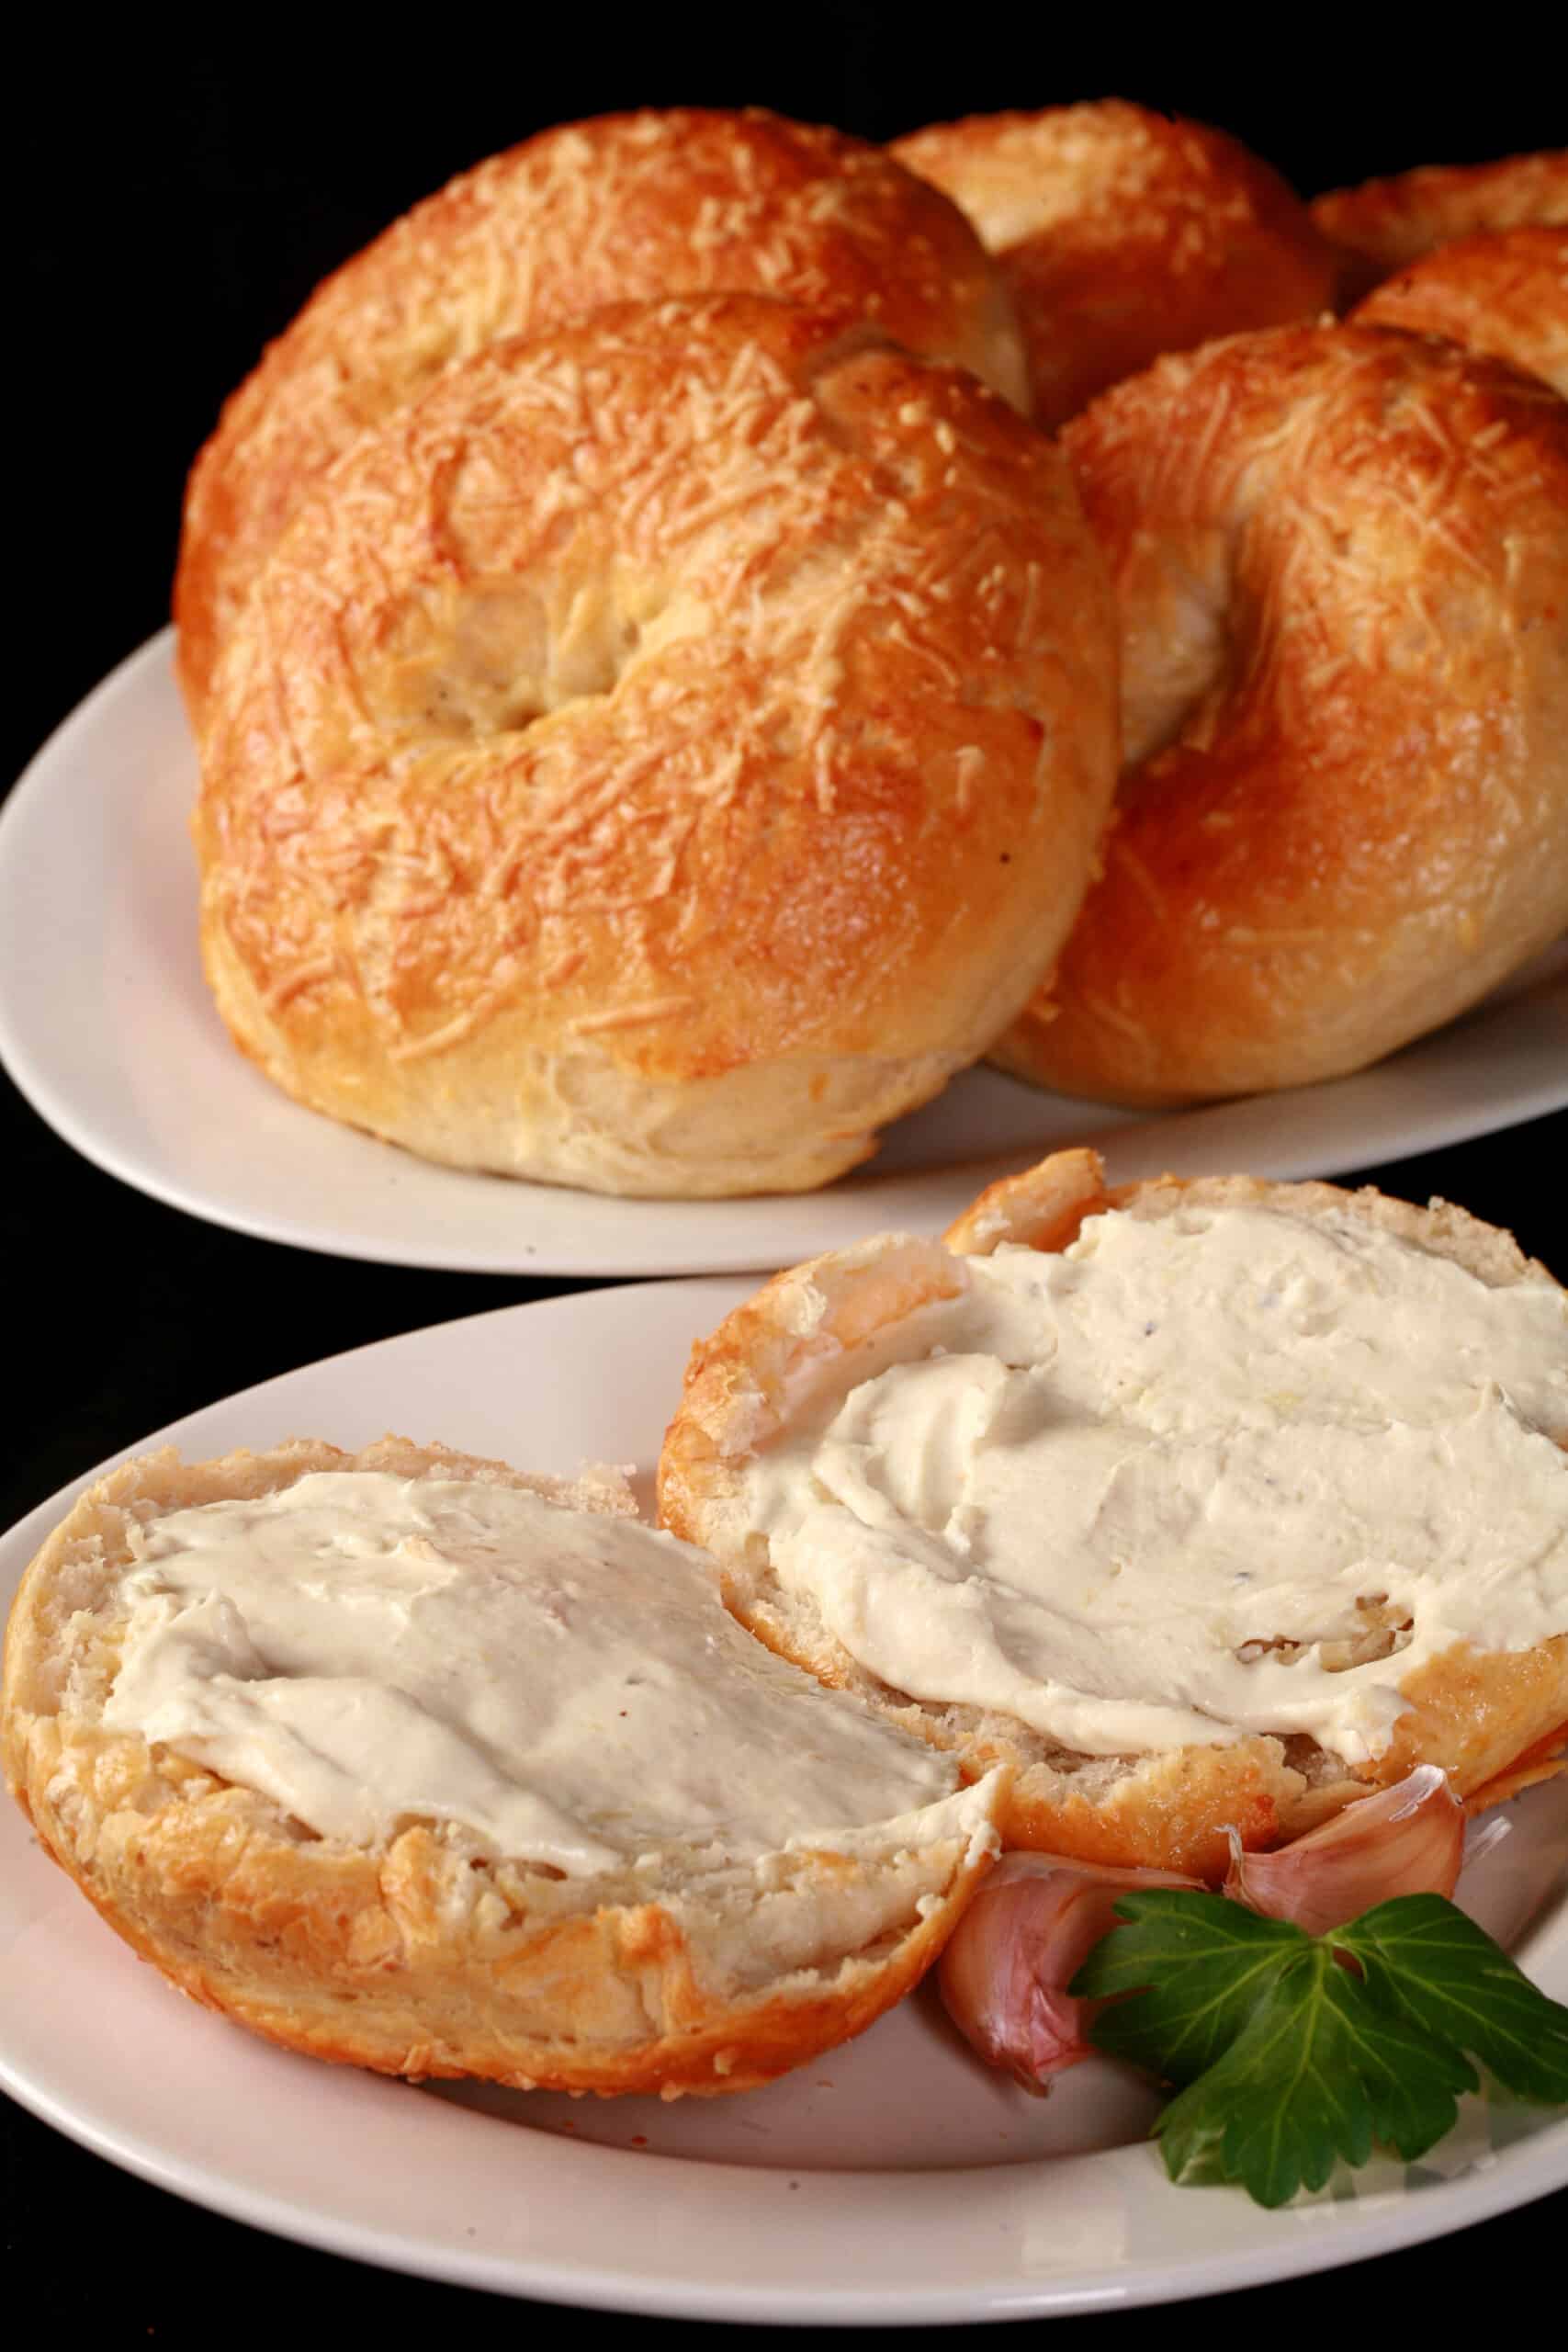
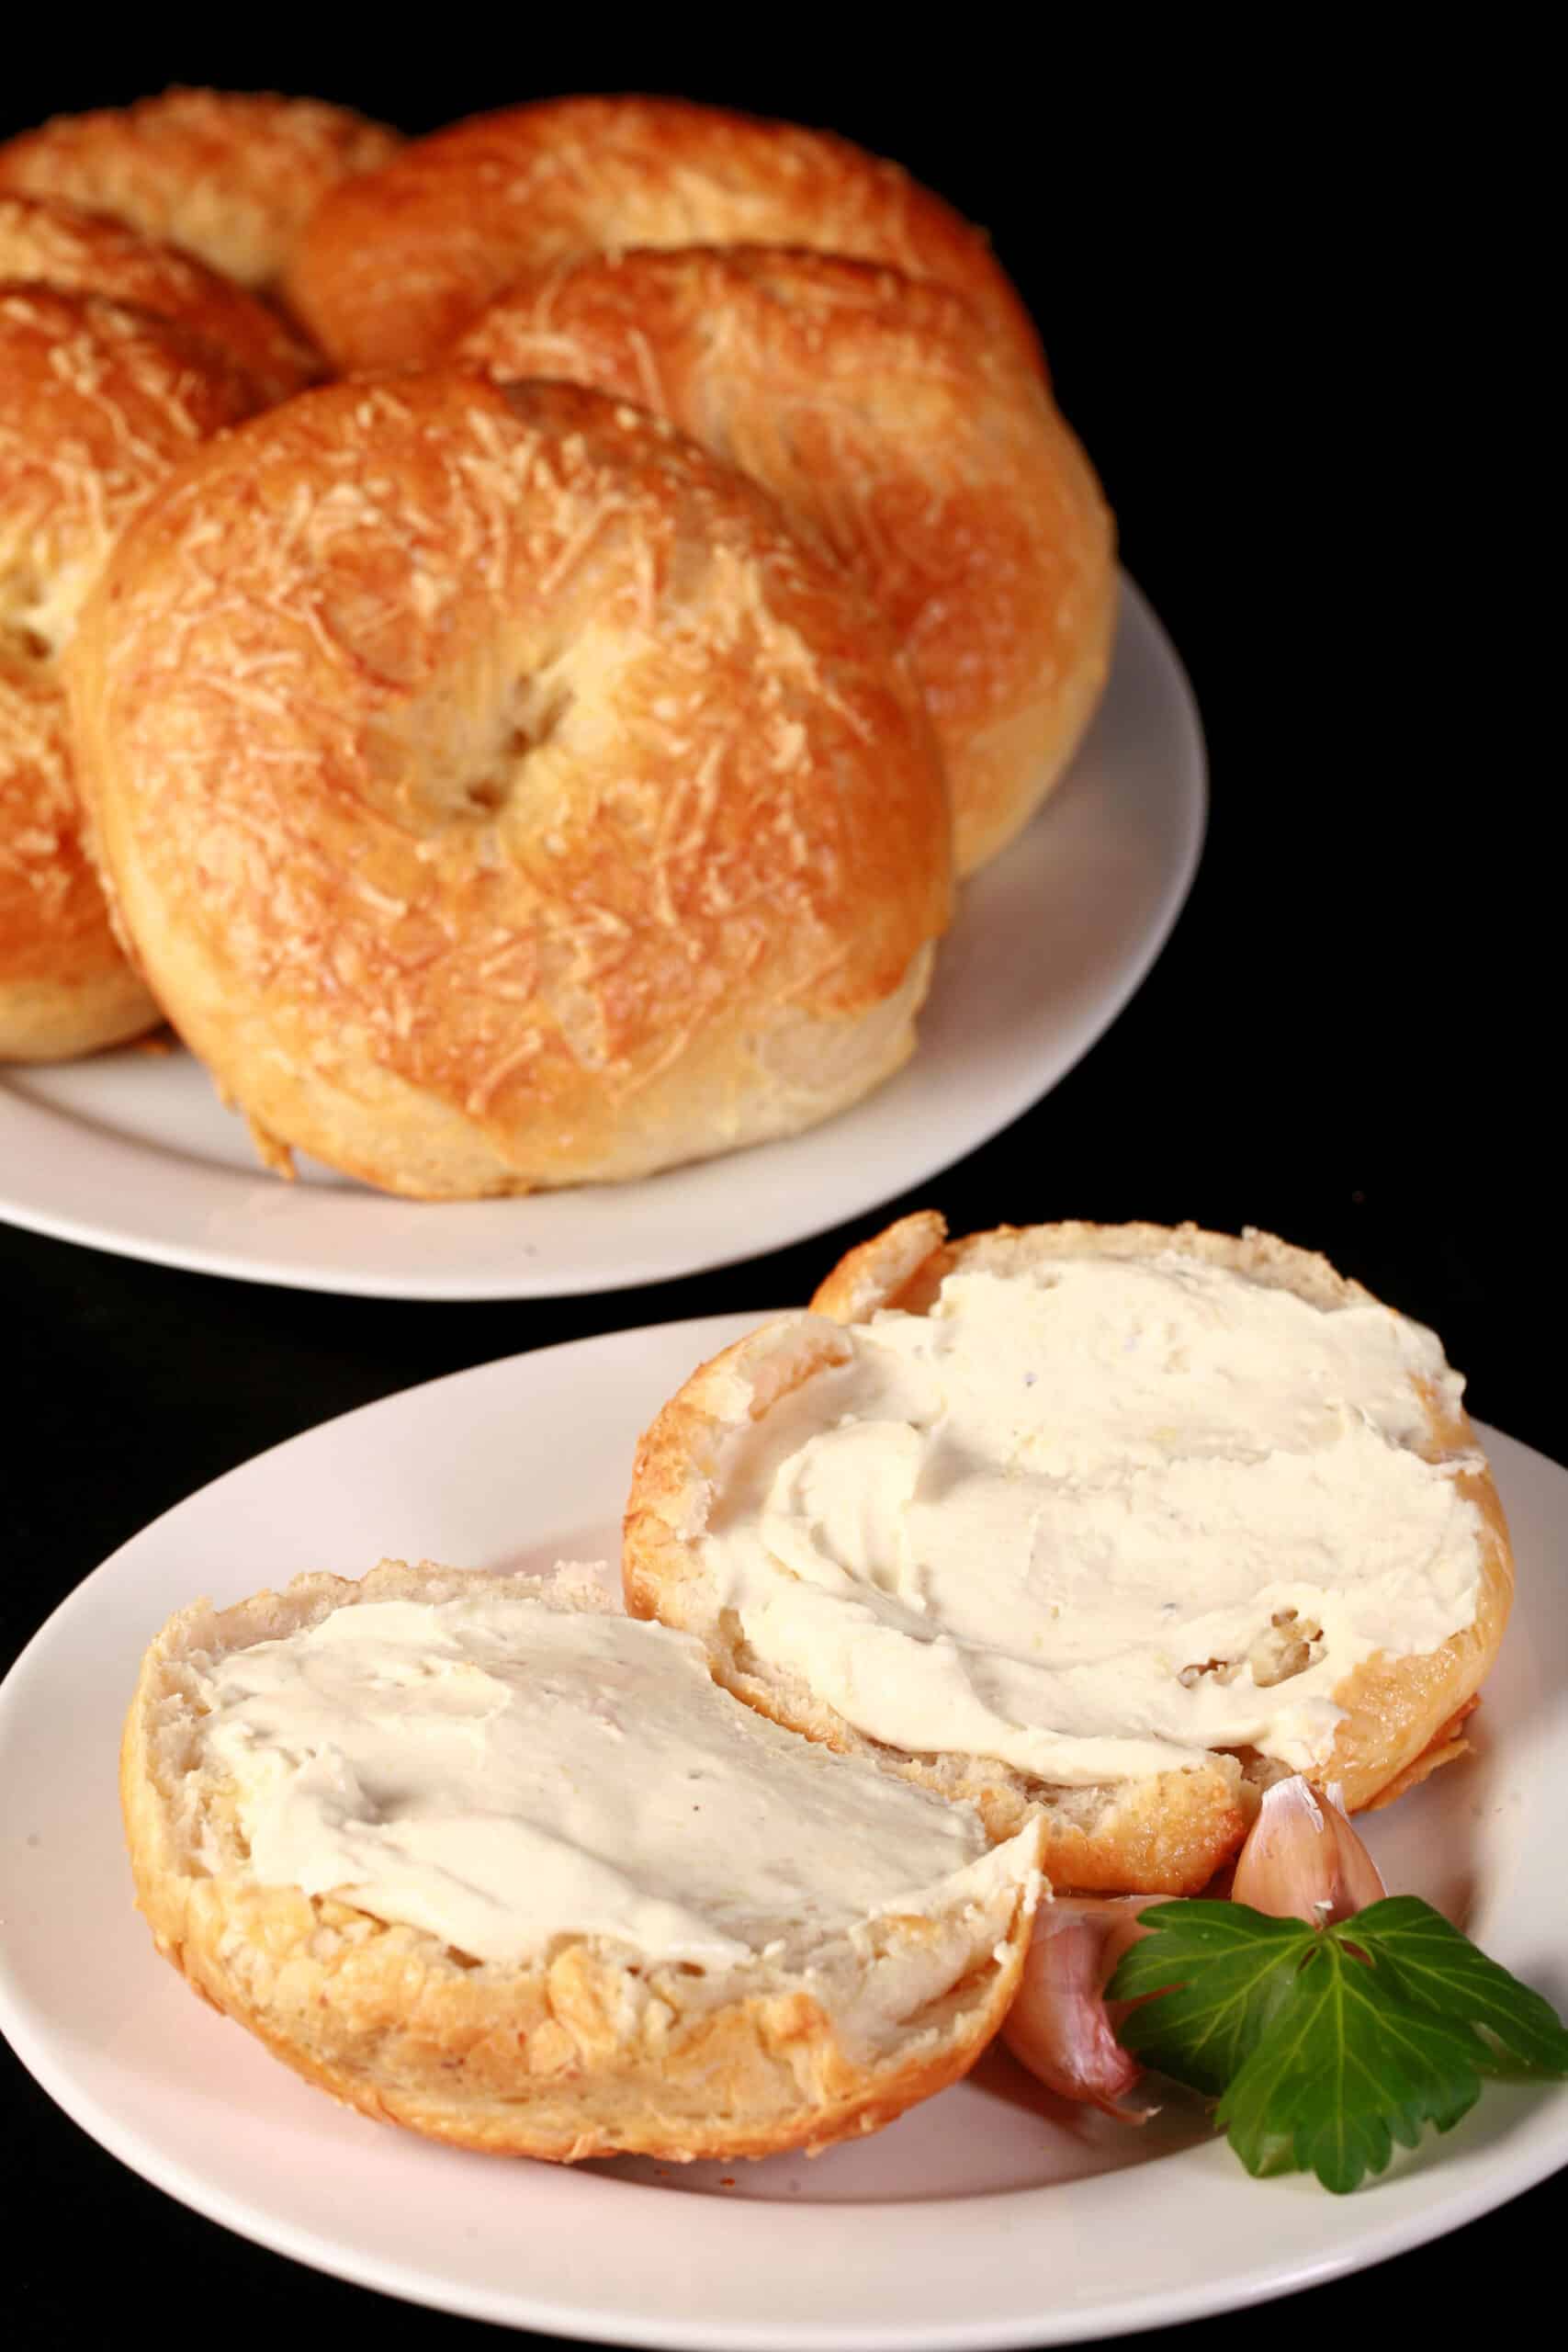
If you enjoy Asiago bagels - and garlic - you'll love this Roasted Garlic Asiago Bagels recipe! SUPER full of flavor and satisfying!

Homemade bagels make for a great quick breakfast option for him.
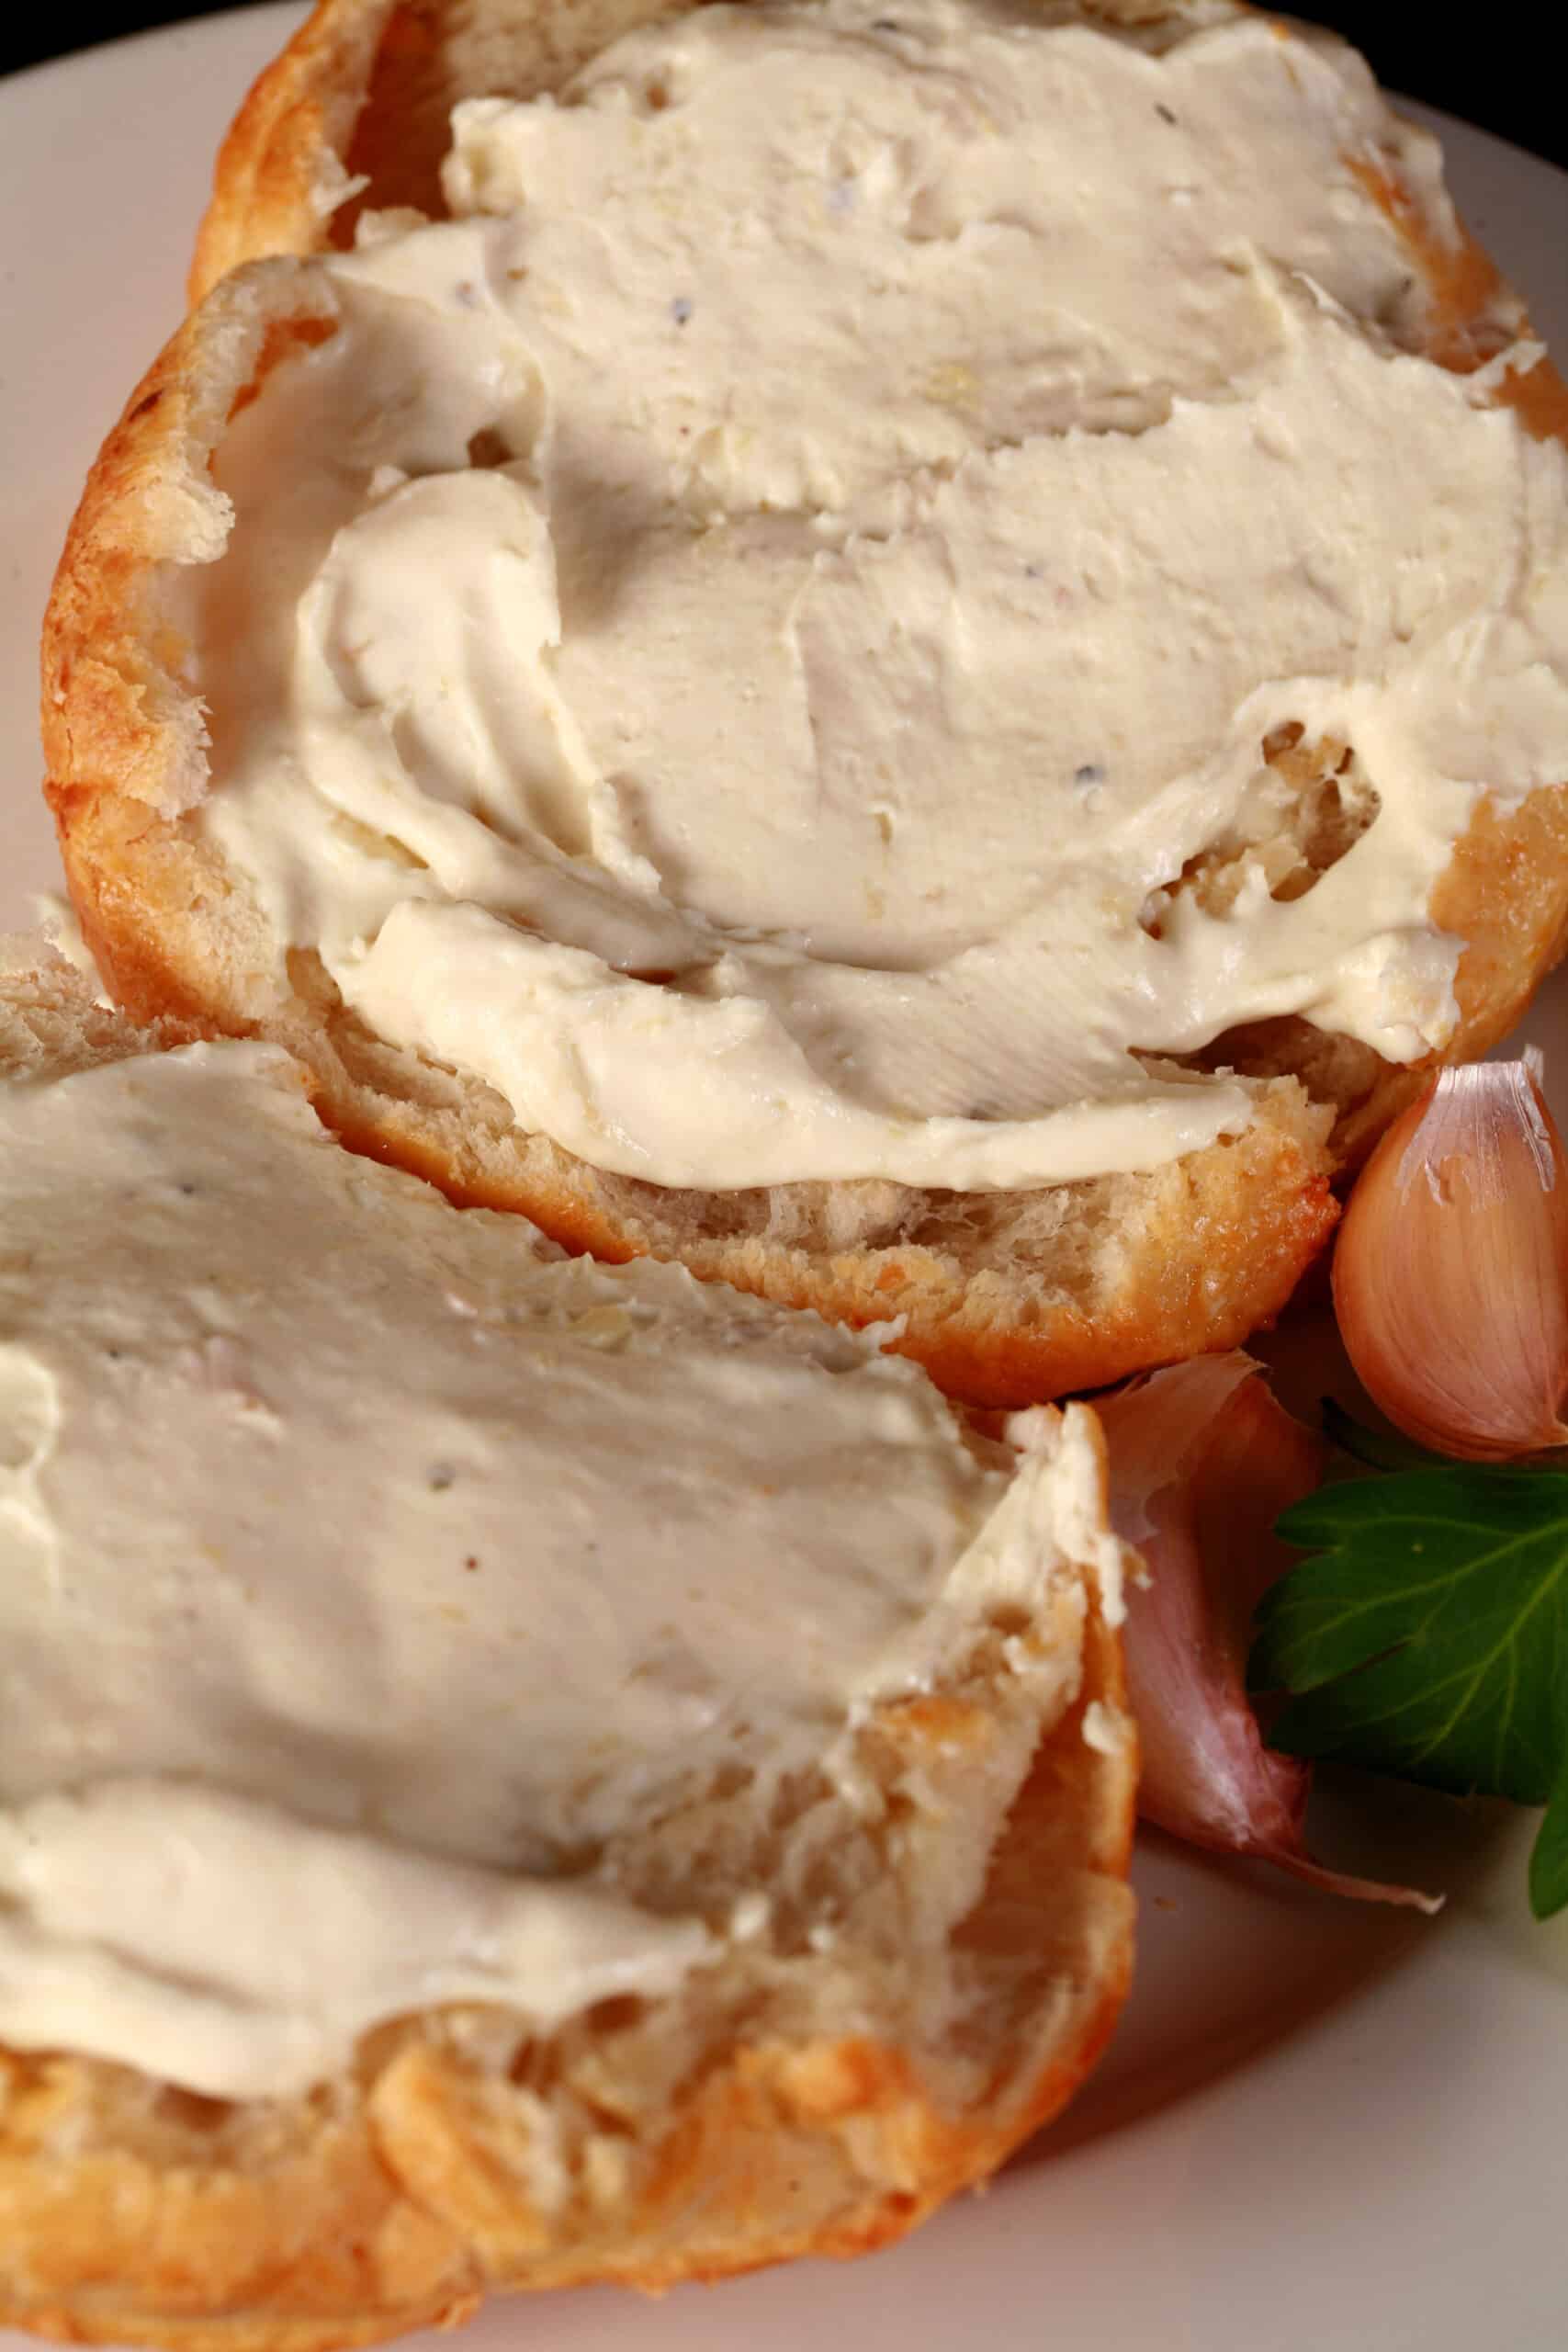
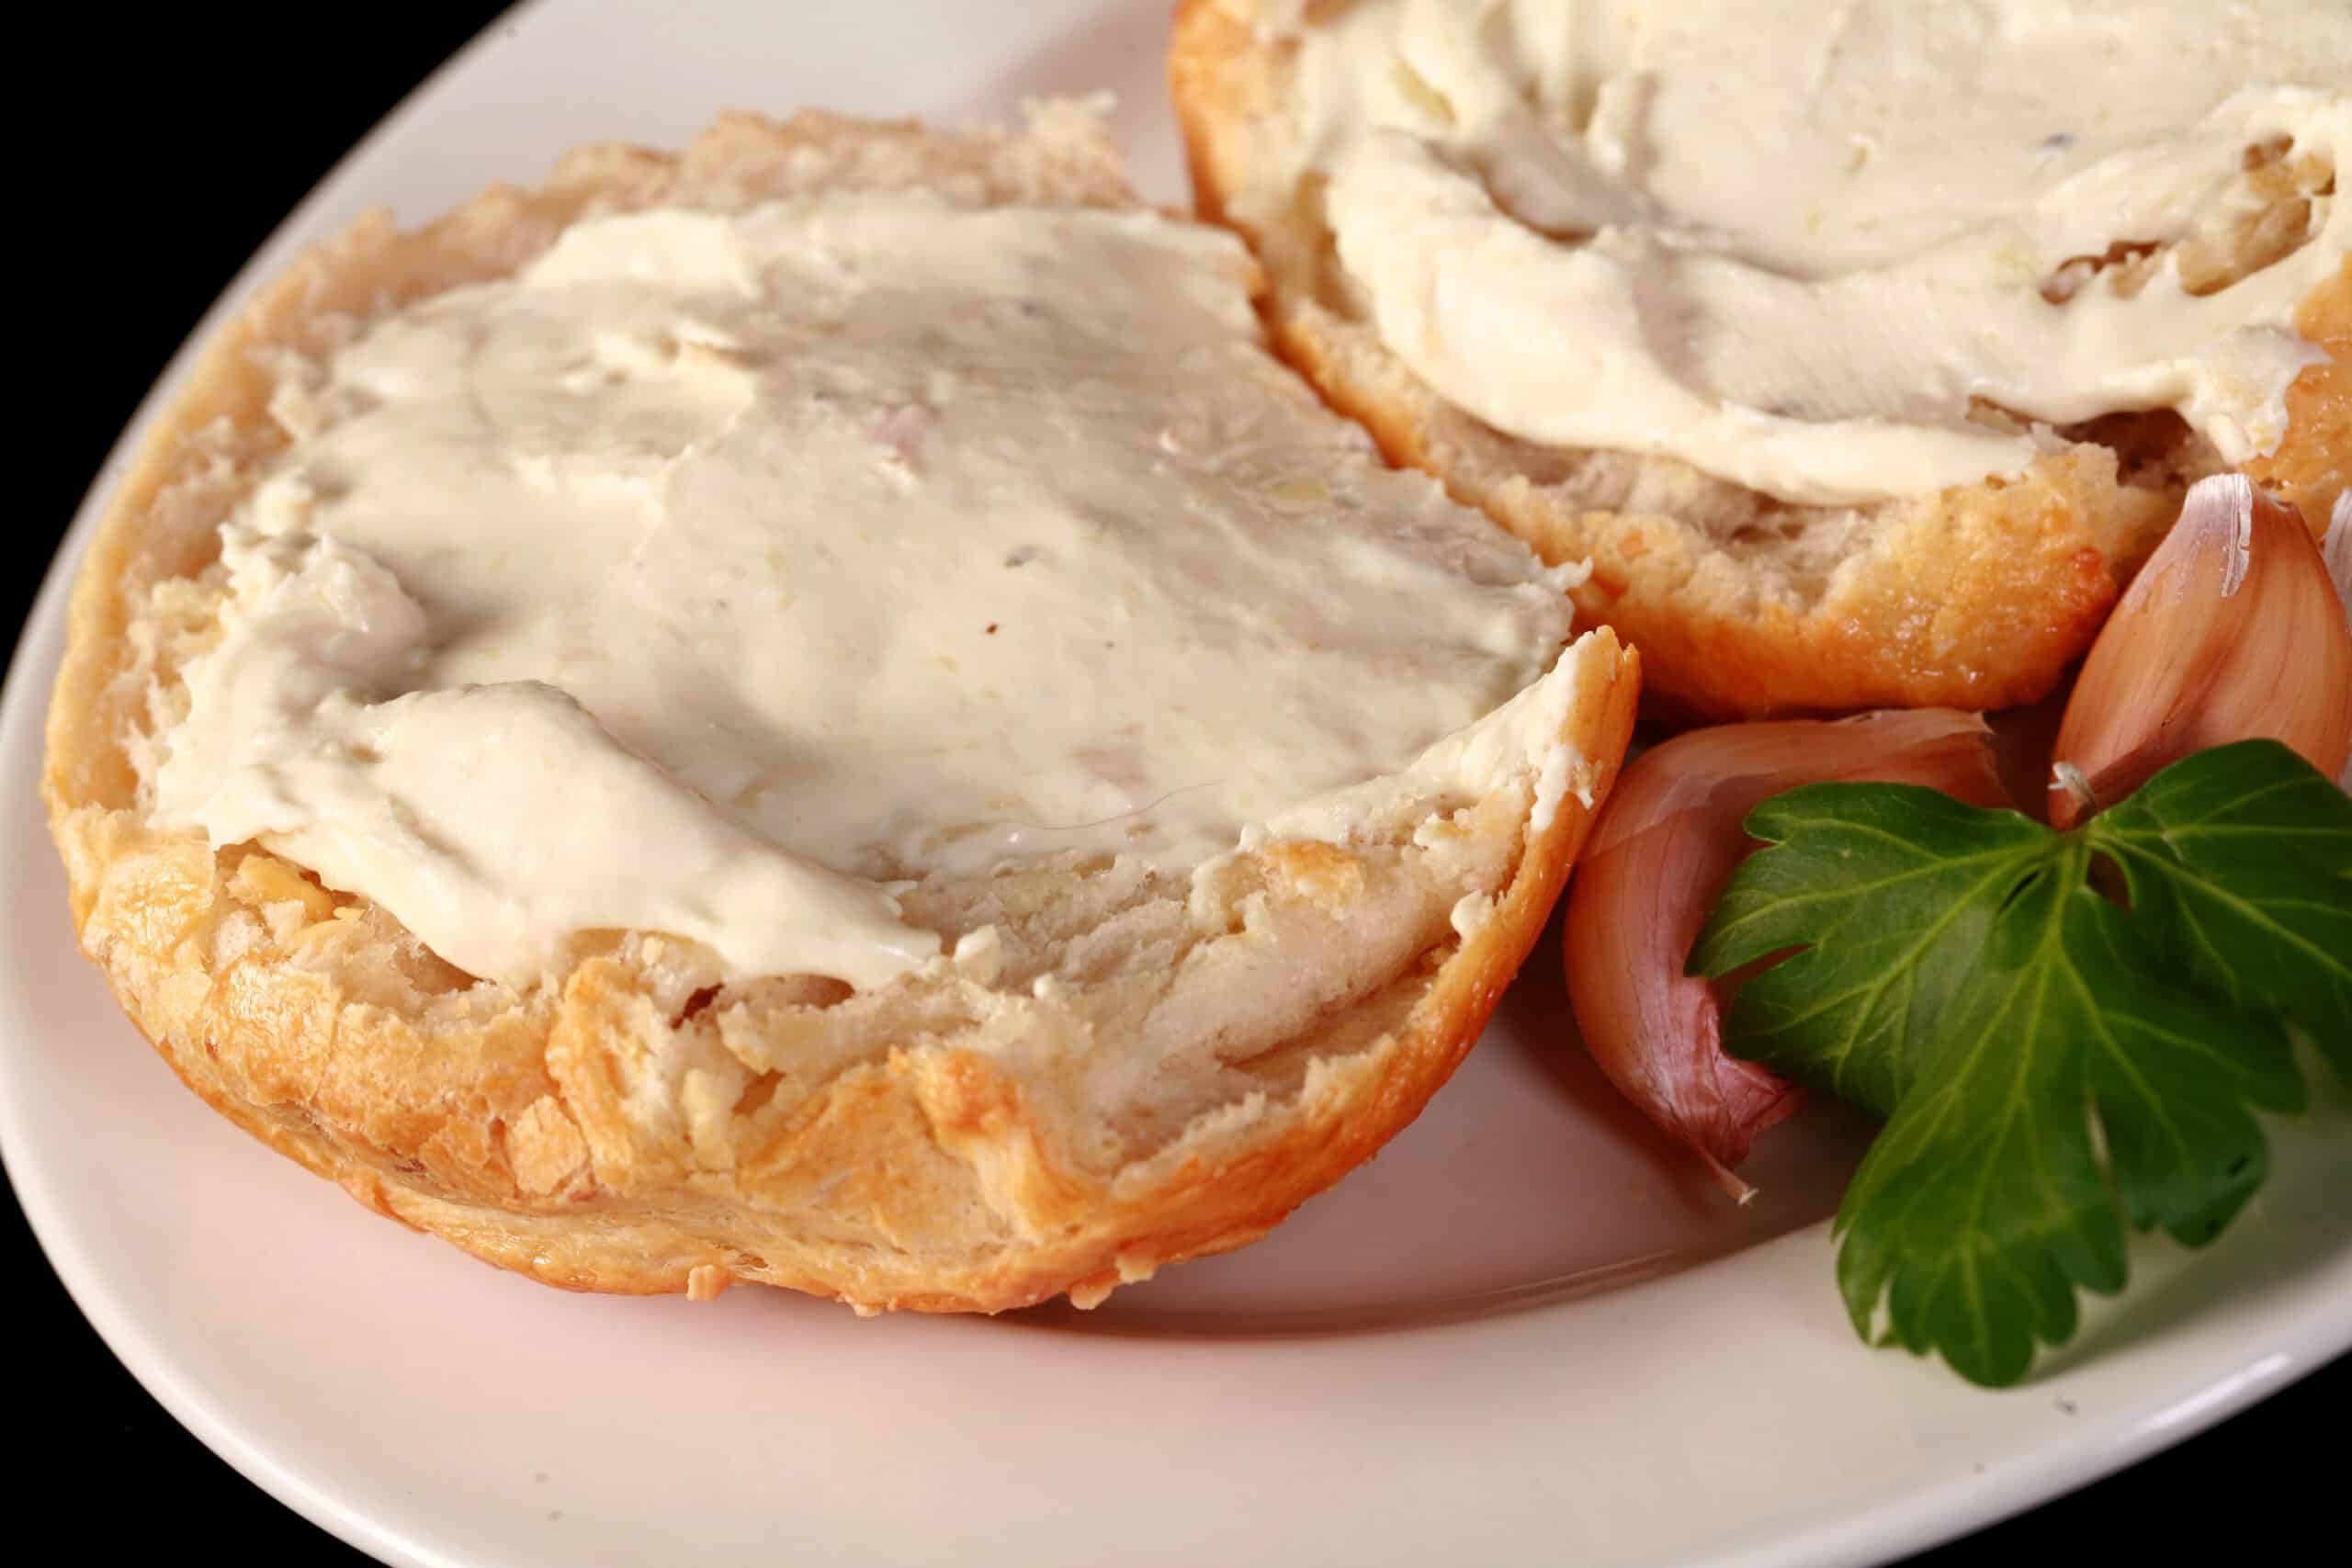
The easiest way he’ll eat them is just as-is, or toasted and spread with a bit of cream cheese.
When he has a bit more time - or is feeling a it more industrious - that chewy bagel texture makes a great base for some pretty epic omelette sandwiches that he enjoys making.
Anyway, I’d been on a bit of a sweet bagel recipe kick lately, and decided to pivot back to a savory bagel recipe.
So, I decided to make an Asiago bagel recipe.
In considering how I wanted to dress it up a bit, we decided on adding roasted garlic - the perfect accompaniment to Asiago cheese and bread, IMHO.
The resulting bagel ended up filling the entire house with THE most enticing aromas, and quickly ended up becoming my husband’s favorite bagel - and it’s had some major competition to overcome, to get that title.
Says he:
“The cheesy crust on top has a great texture, and gives it a nice salty, cheesy flavour pop.
The inside is soft, chewy, and perfect for my breakfast sandwiches. Also, I love the way the garlic flavour comes through. It’s smoooooth, rich, and almost a creamy flavour. YUM!”
So. Let’s get to it!
Ingredients
As with most of my bagel recipes, ths one takes pretty simple ingredients that’ll be easy to find in any grocery store.
A couple notes for you:
All Purpose Flour
I use all-purpose flour for this recipe, but it would work just as well with bread flour.
I have not made this recipe with whole wheat flour - wouldn’t recommend replacing more than half of the all purpose flour with wheat flour, without adding a bit more water.
Also, I have not tested this recipe with self-rising flour, as I don’t tend to buy it for anything.
Asiago Cheese
Shockingly, you’ll want to use some Asiago cheese to make Asiago bagels 🙂
That said, you can use this recipe with any of the salty, hard Italian cheeses - Parmesan cheese and Romano cheese with both swap in directly.
Other cheeses may require using a bit more salt than this recipe calls for.
Roasted Garlic
While you can definitely use garlic powder in any Asiago bagel recipe, I find roasted garlic to be the best way to add some garlic flavour.
Check out my post on How to Roast Garlic, for the best way to roast garlic at home!
Everything Else
Rounding out this recipe, you will need:
Active Dry Yeast (or instant yeast)
Granulated Sugar
Large Eggs
Salt
... I just really don’t have anything to add, as far as these last few ingredients go!

How to Make Roasted Garlic Asiago Bagels
The full recipe is in the recipe card at the end of this post, here is a pictorial walk through.
Make the Dough
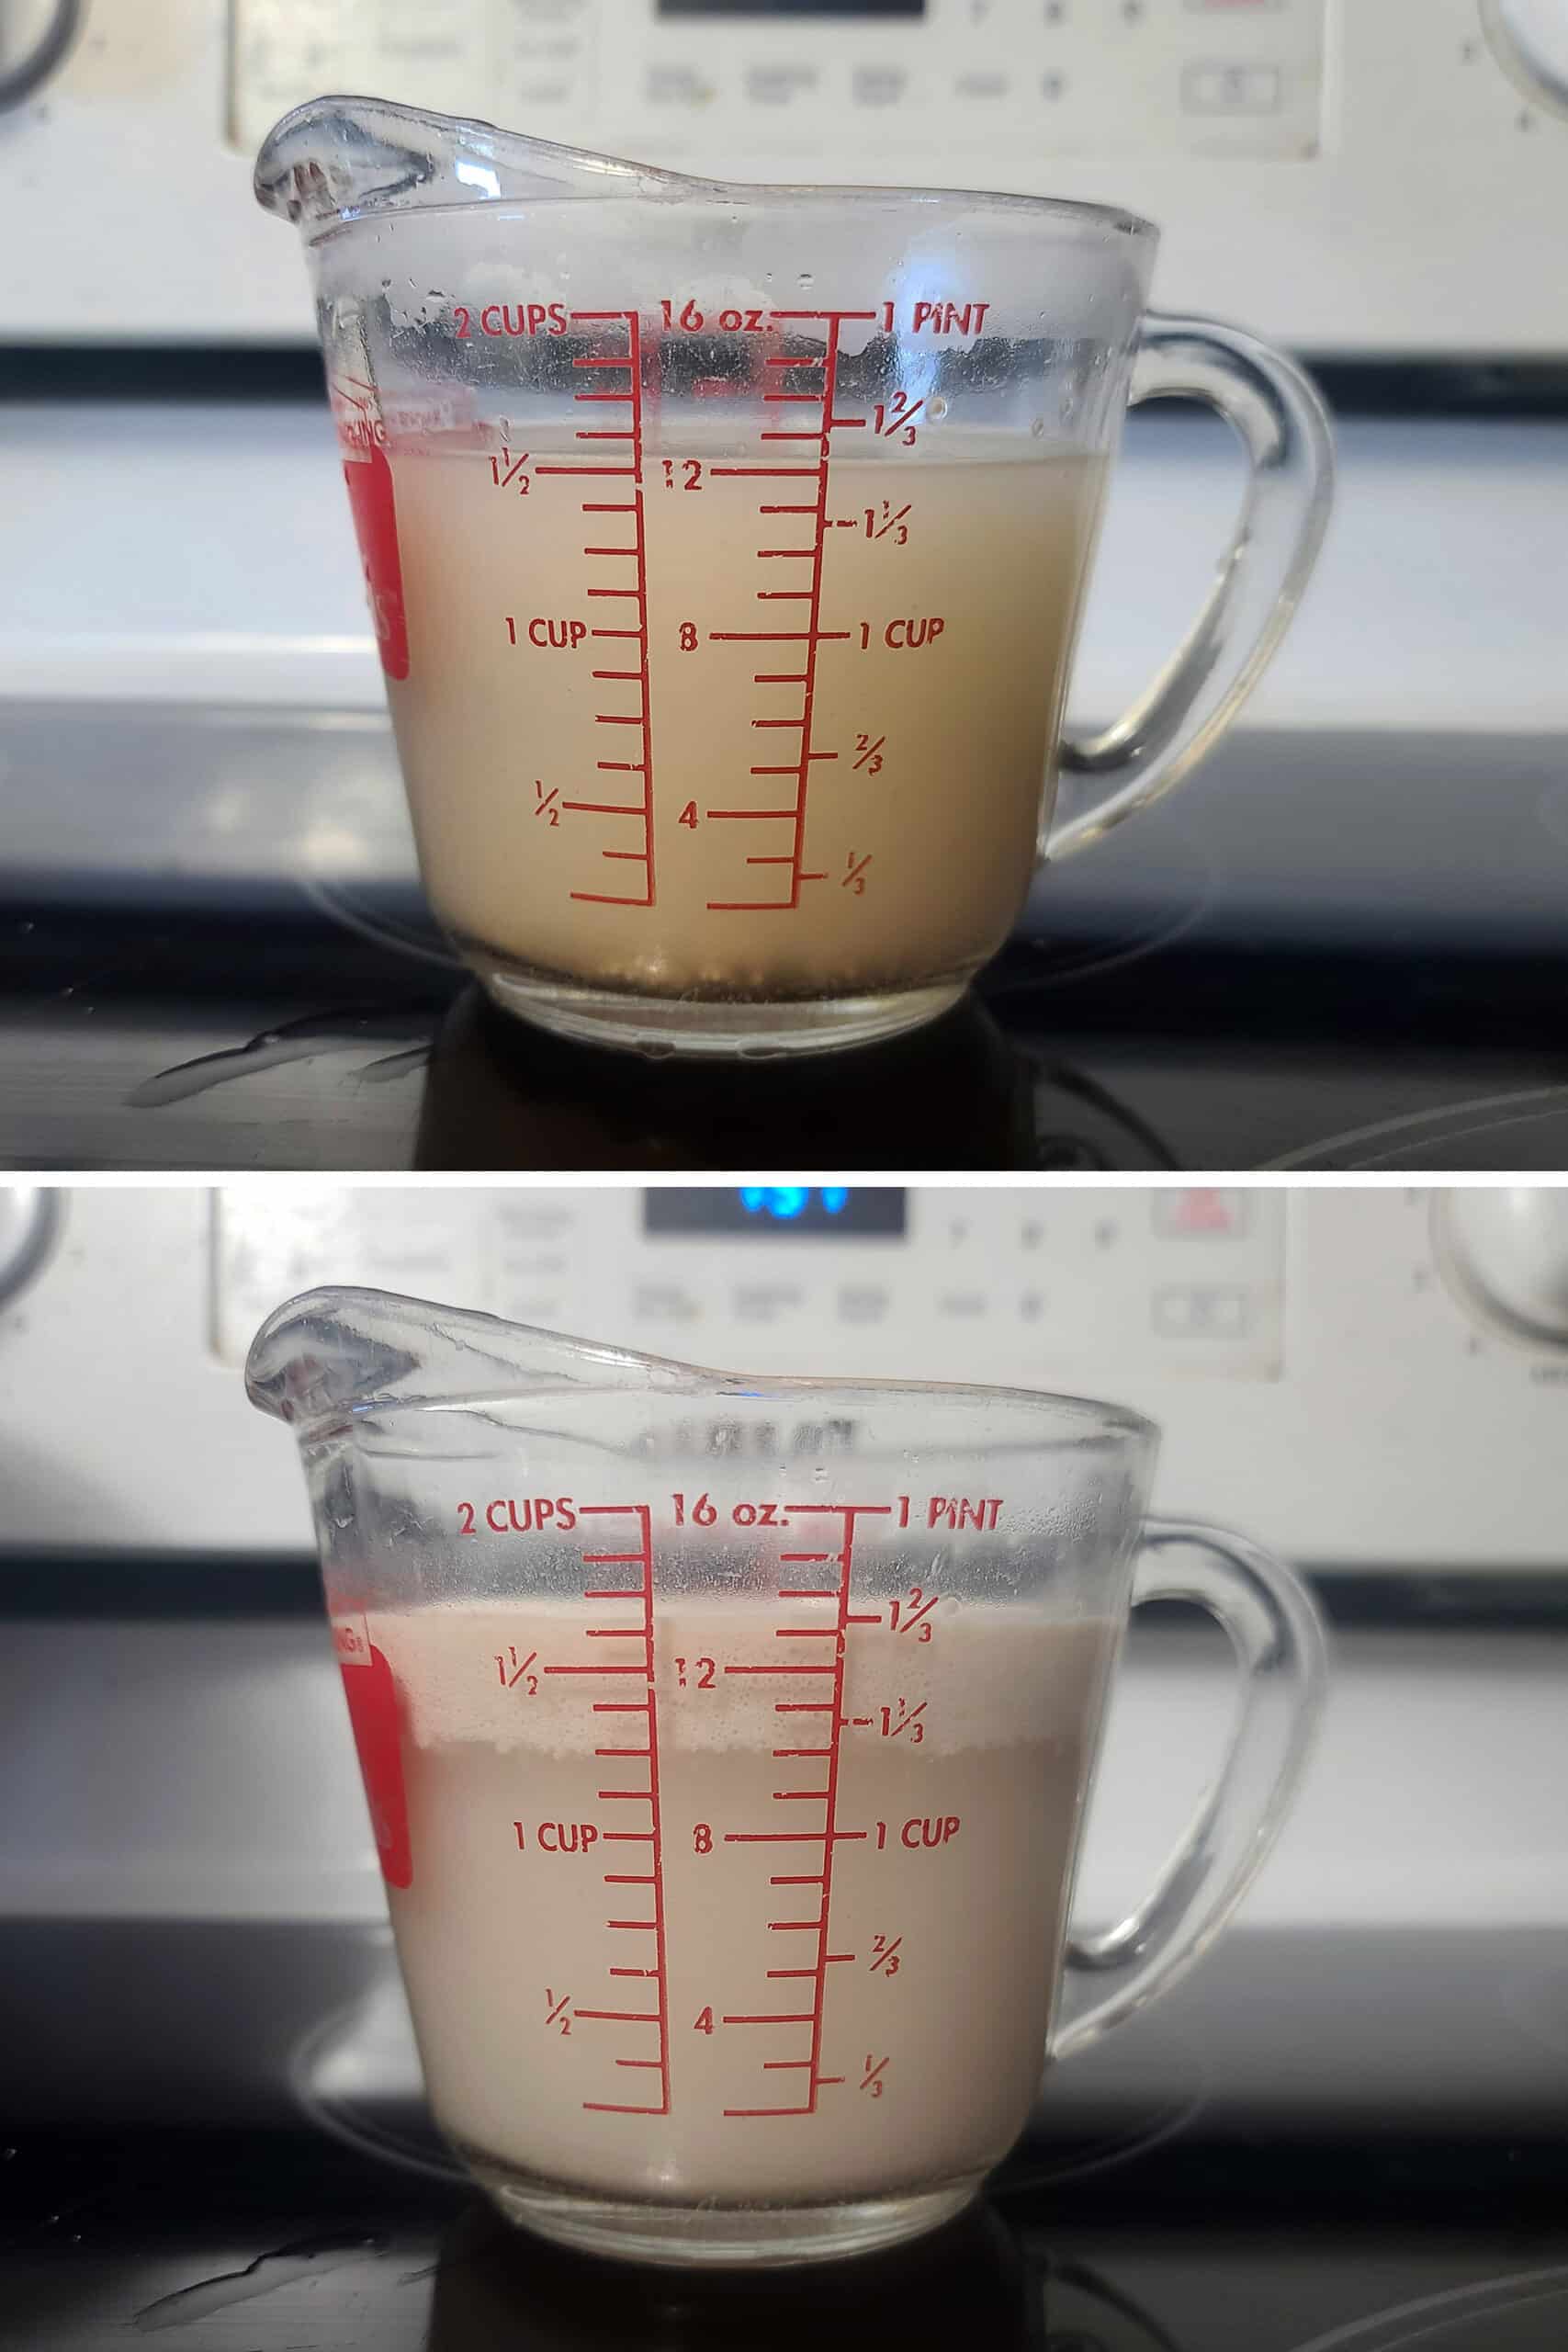
Measure warm water into a glass measuring cup or bowl. Stir in yeast and sugar, allow to stand for 10 minutes – it should get very bubbly.
In a large mixing bowl, combine flour, cheese, roasted garlic, and salt. Pour in yeast mixture, stir well to combine.

Alternatively, use the bowl of a stand mixer with a dough hook for about 7 minutes, or until dough is smooth and elastic.
Note: The dough should be only very slightly sticky to the touch, and should pull away easily from the bowl. If it’s too sticky, add a little additional flour.

Cover the bowl with plastic wrap - or a damp kitchen towel - and allow to rise for one hour, or until doubled in size.

Form the Bagels
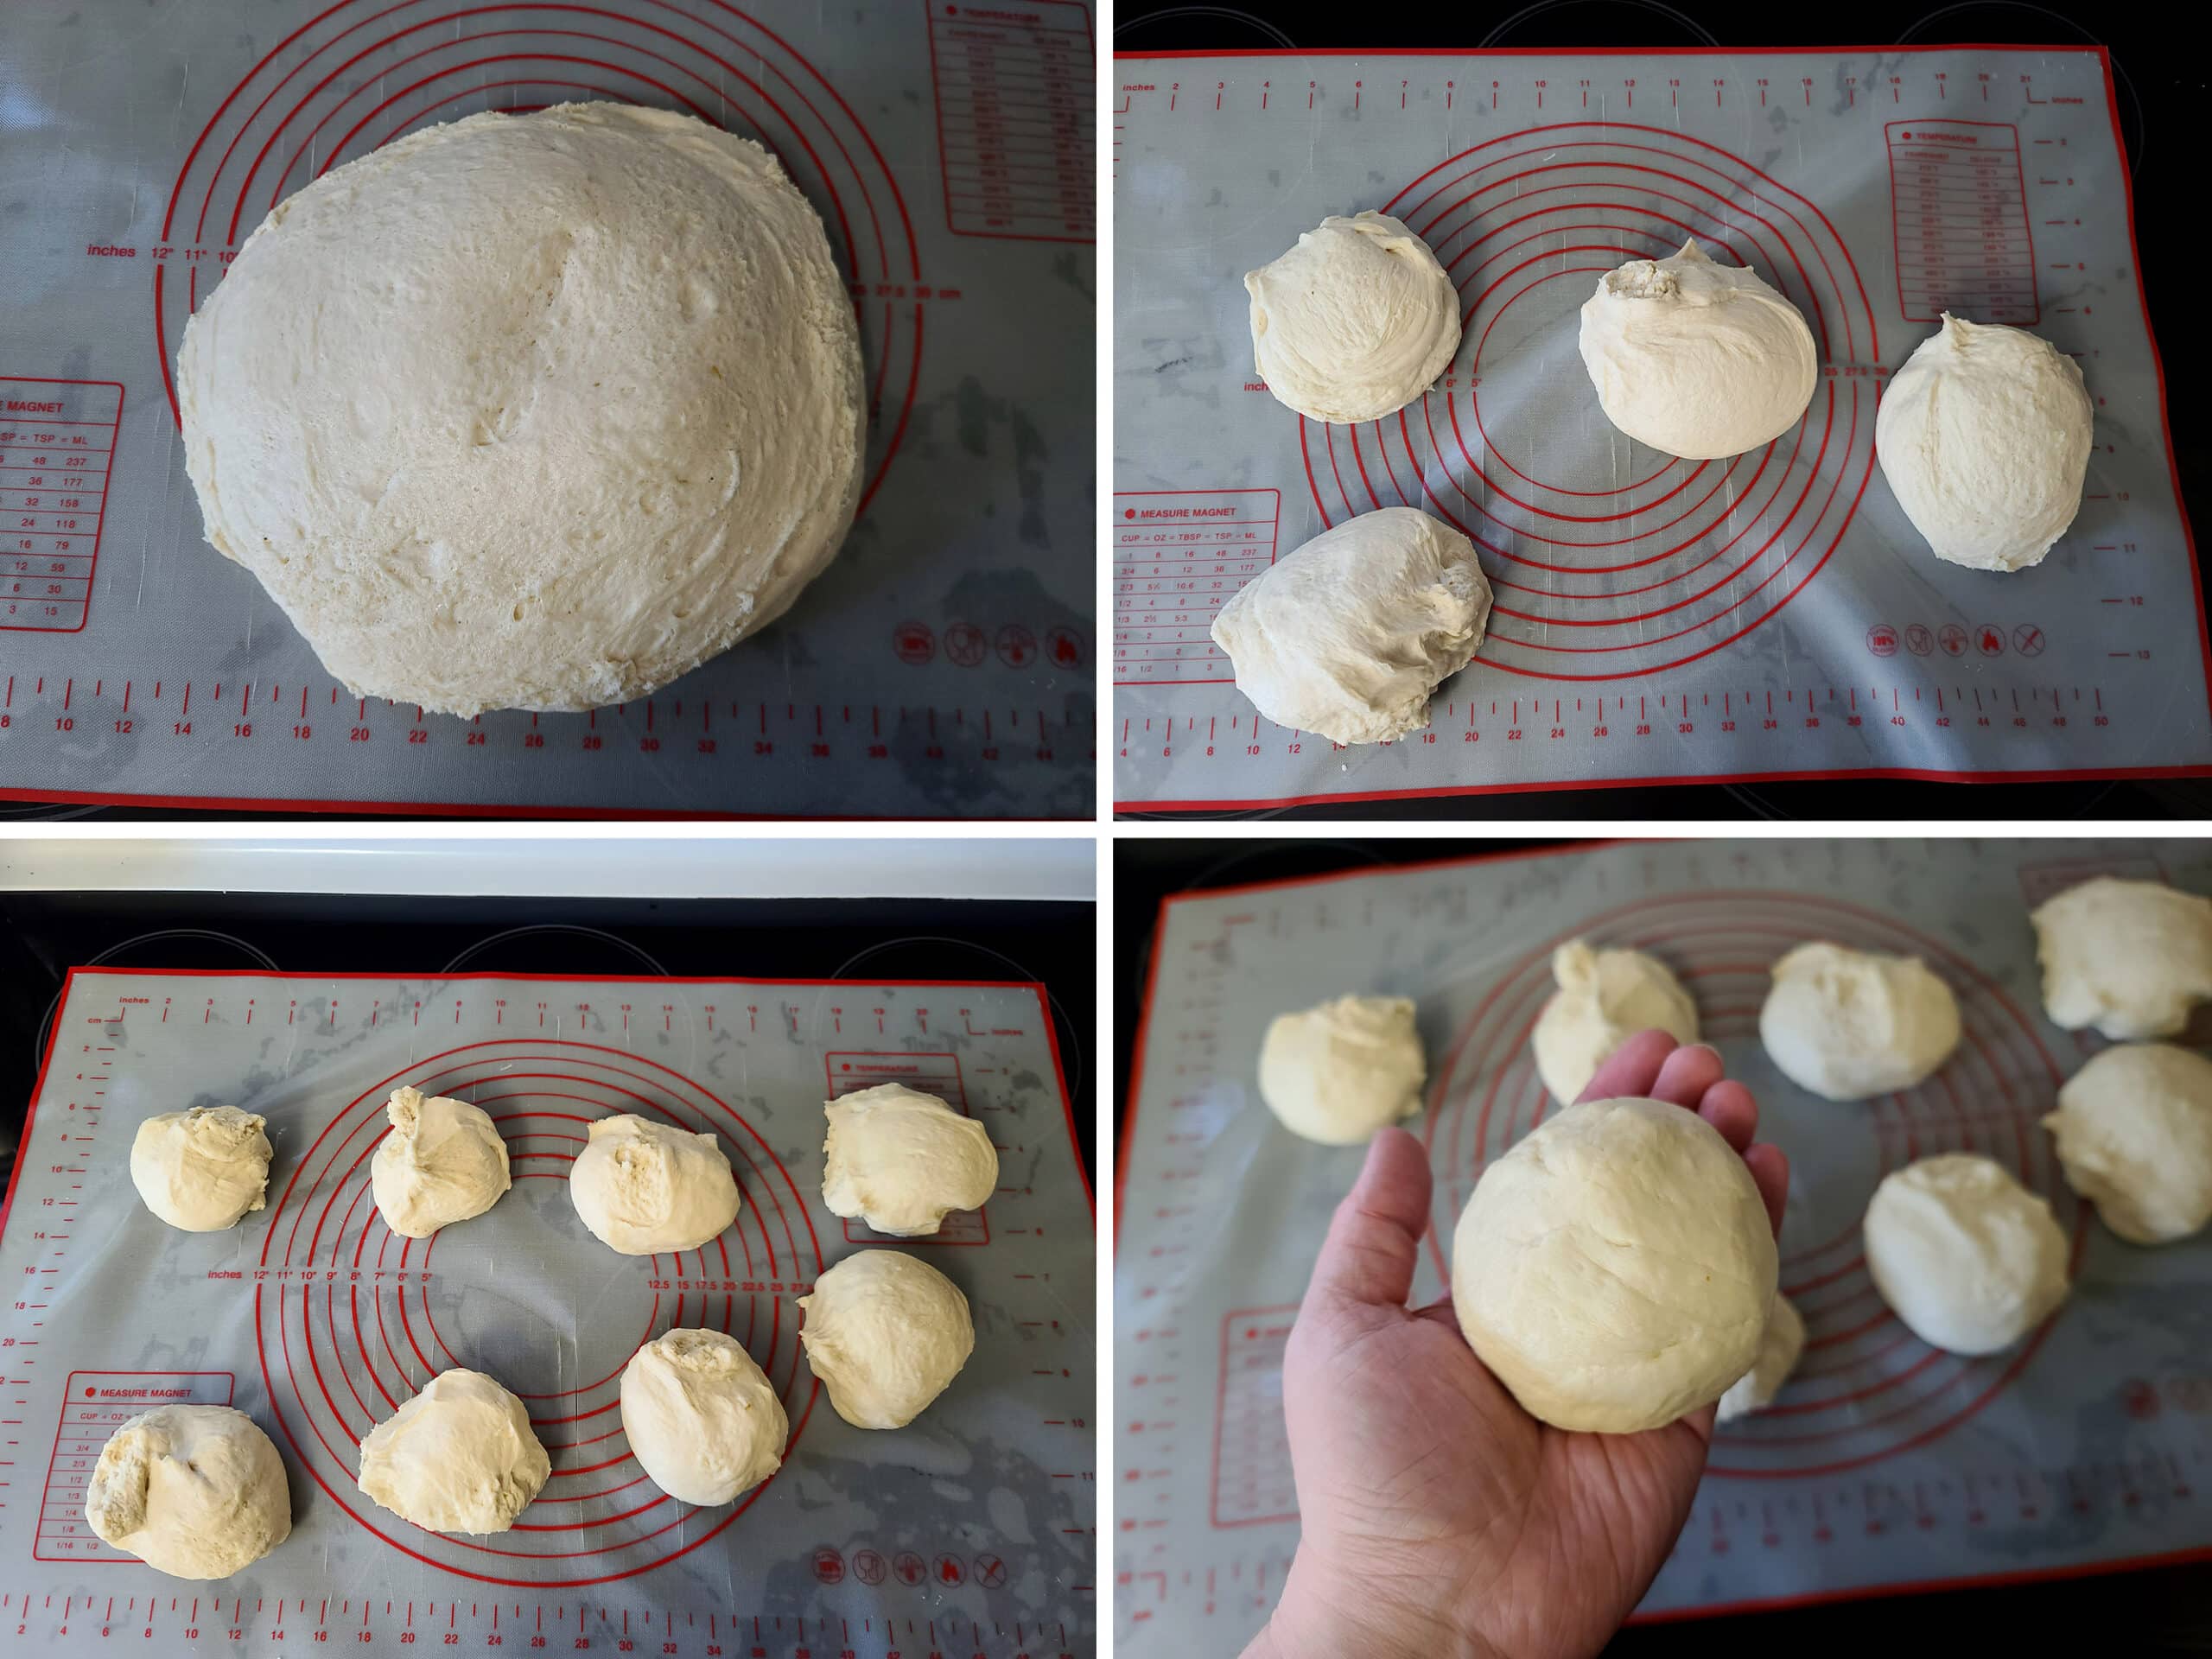
Once bagel dough has doubled, punch it down, and dump it out onto a silicone mat or lightly floured surface.
We divided the mixture into 8 equal pieces, for a good sized bagels – but you can make them larger or smaller by dividing into 6 or 12 equal sized pieces.
There are two main ways of to shape dough:
1 - Roll each lump of dough into a thick “snake” and secure the ends together
or
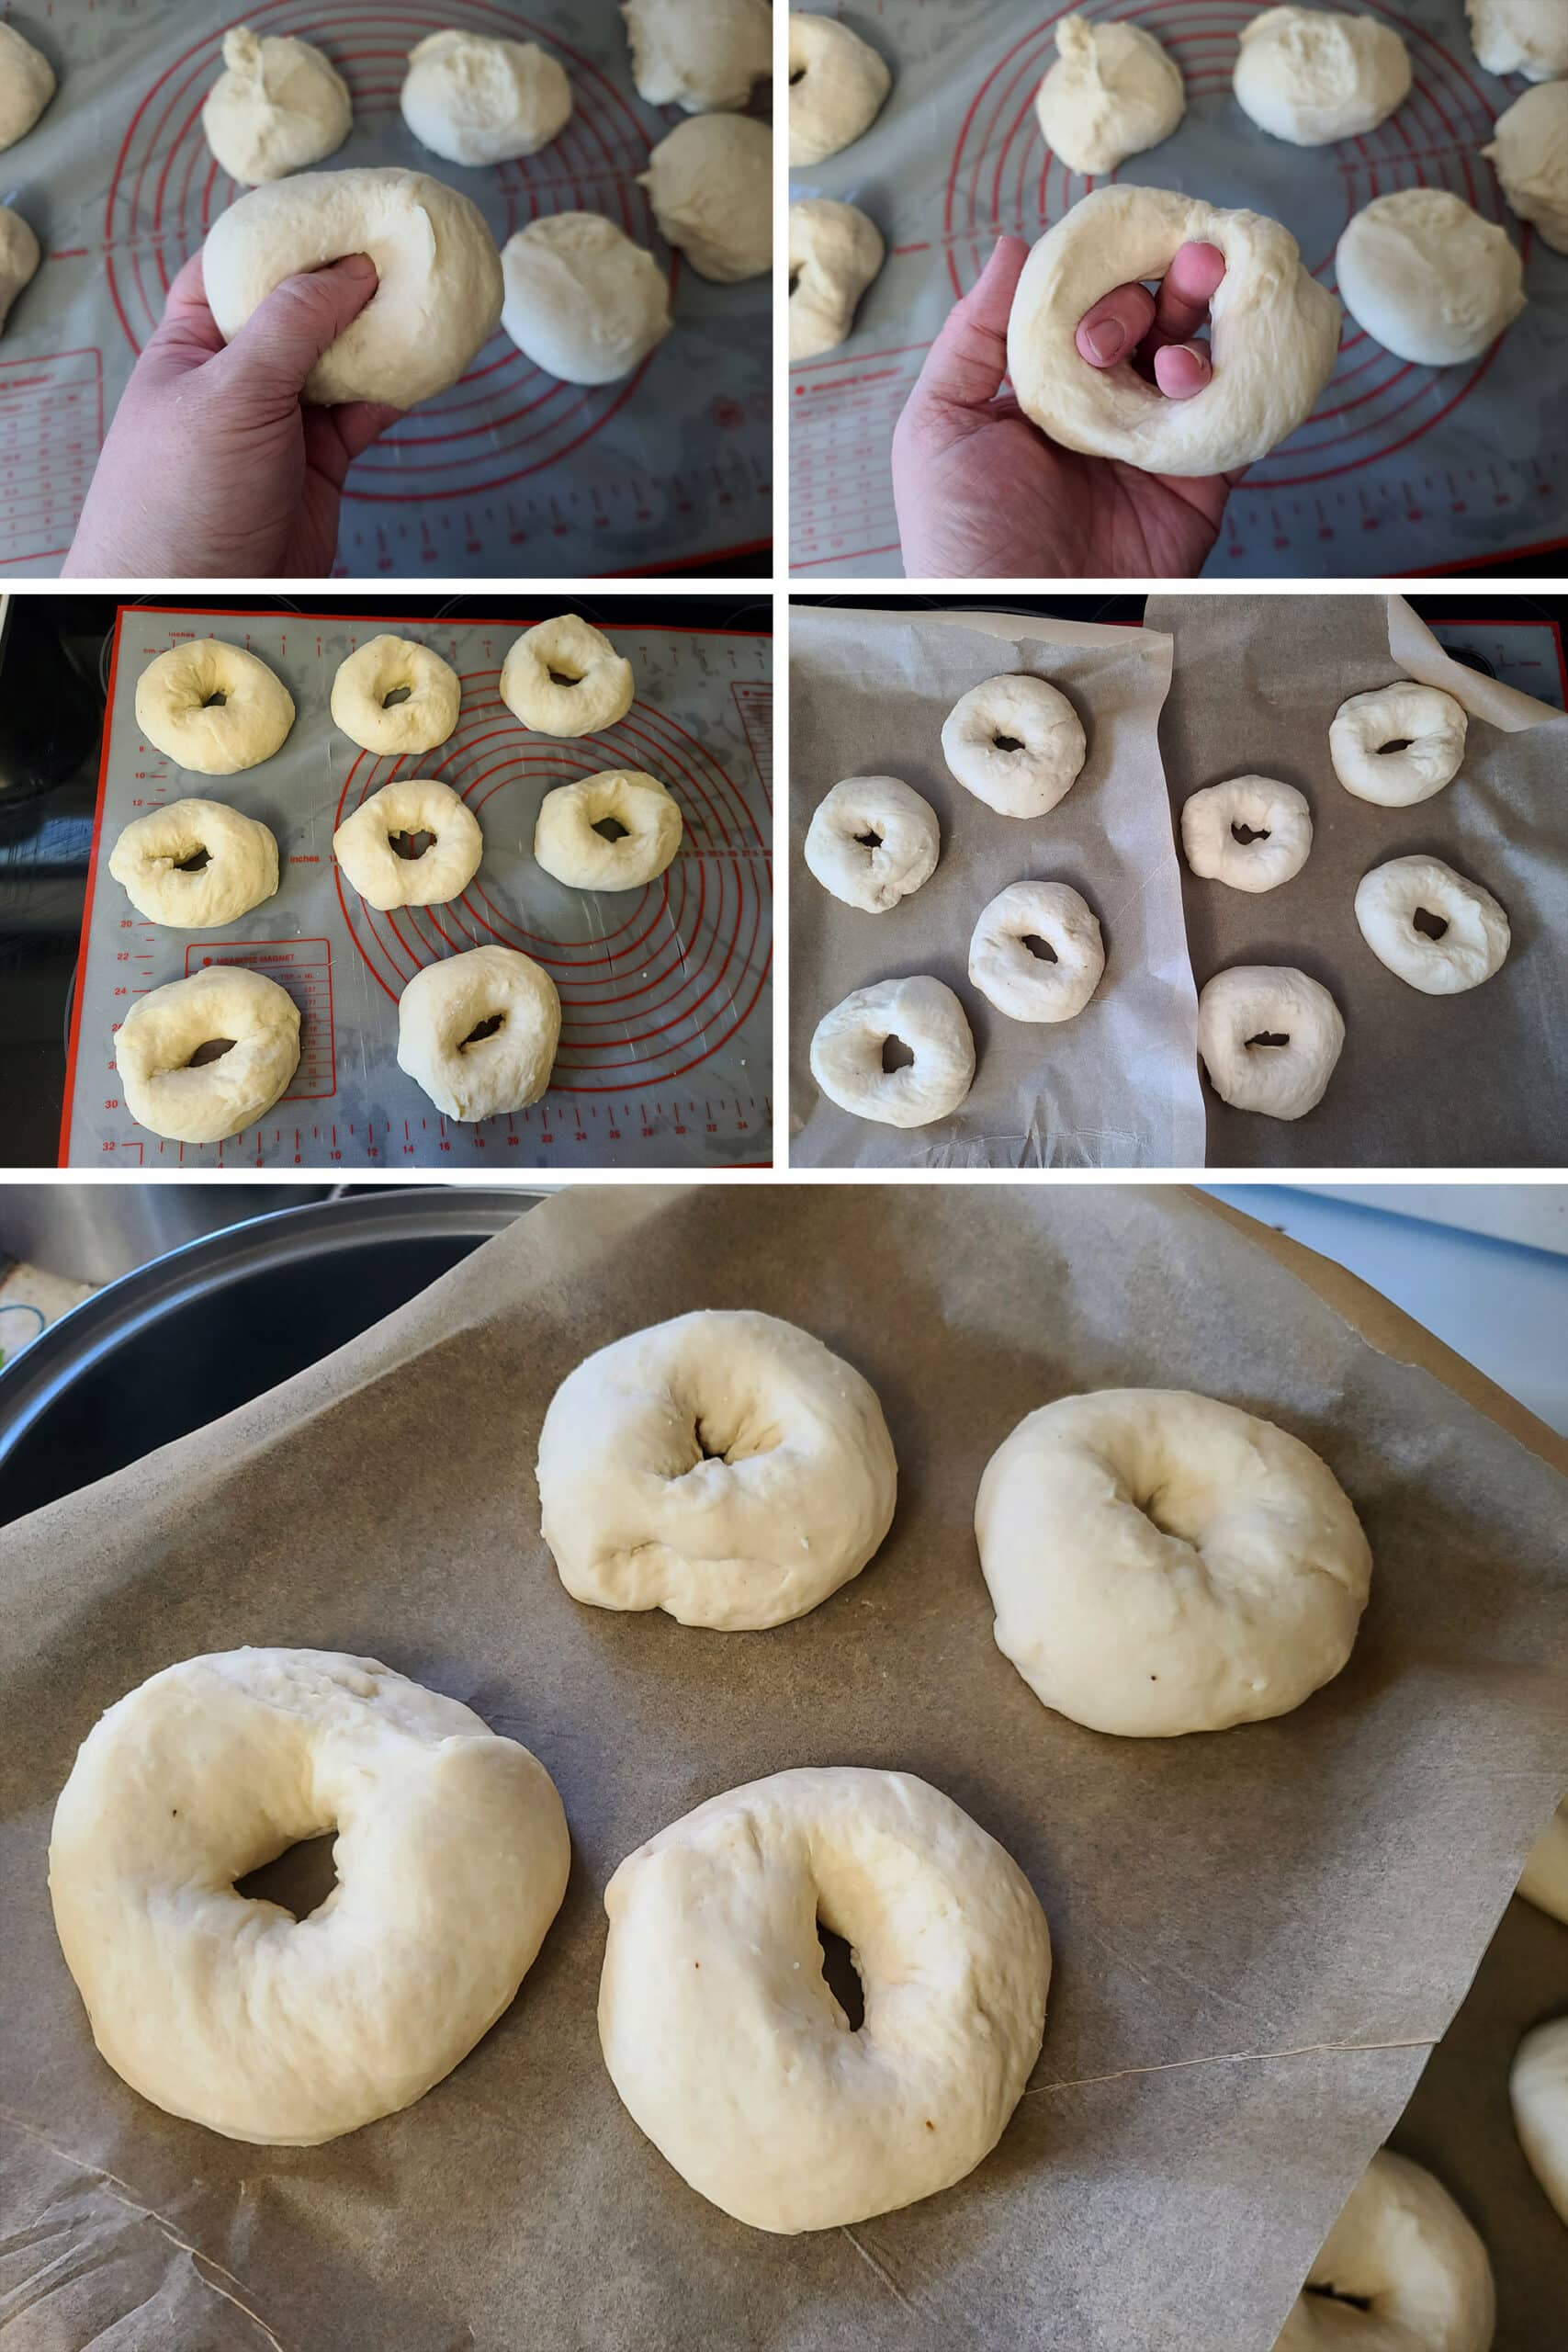
2 - Roll each lump into a smooth ball before poking a finger though the center of the ball.
Once you have a hole made, stretch the ring of dough out a bit to enlarge the hole - I aim for maybe a 1.5" or 2" hole..
Personally, I prefer the latter.
Once you have all of your bagels formed, set them each on a baking sheet to rise for another 10 minutes.
Boil and Bake the Bagels
As your bagels are resting, preheat oven to 350 F.
Bring a large pot of water to a boil. I like to lay a sheet of parchment paper out across the other half of the stove, as my work surface.
Turn heat down a little, allowing water to simmer rather than continue to boil. 2 or 3 at a time, drop your bagels into the simmering water, allow to cook for 1 minute, then flip each and allow to cook for another minute.
Note: You can boil for more time, or less time. I find 45 seconds to a minute yields the best results, Longer boil = chewier bagel.
Use a slotted spoon to remove the boiled bagels from the water, draining well. Place on the prepared baking sheets.

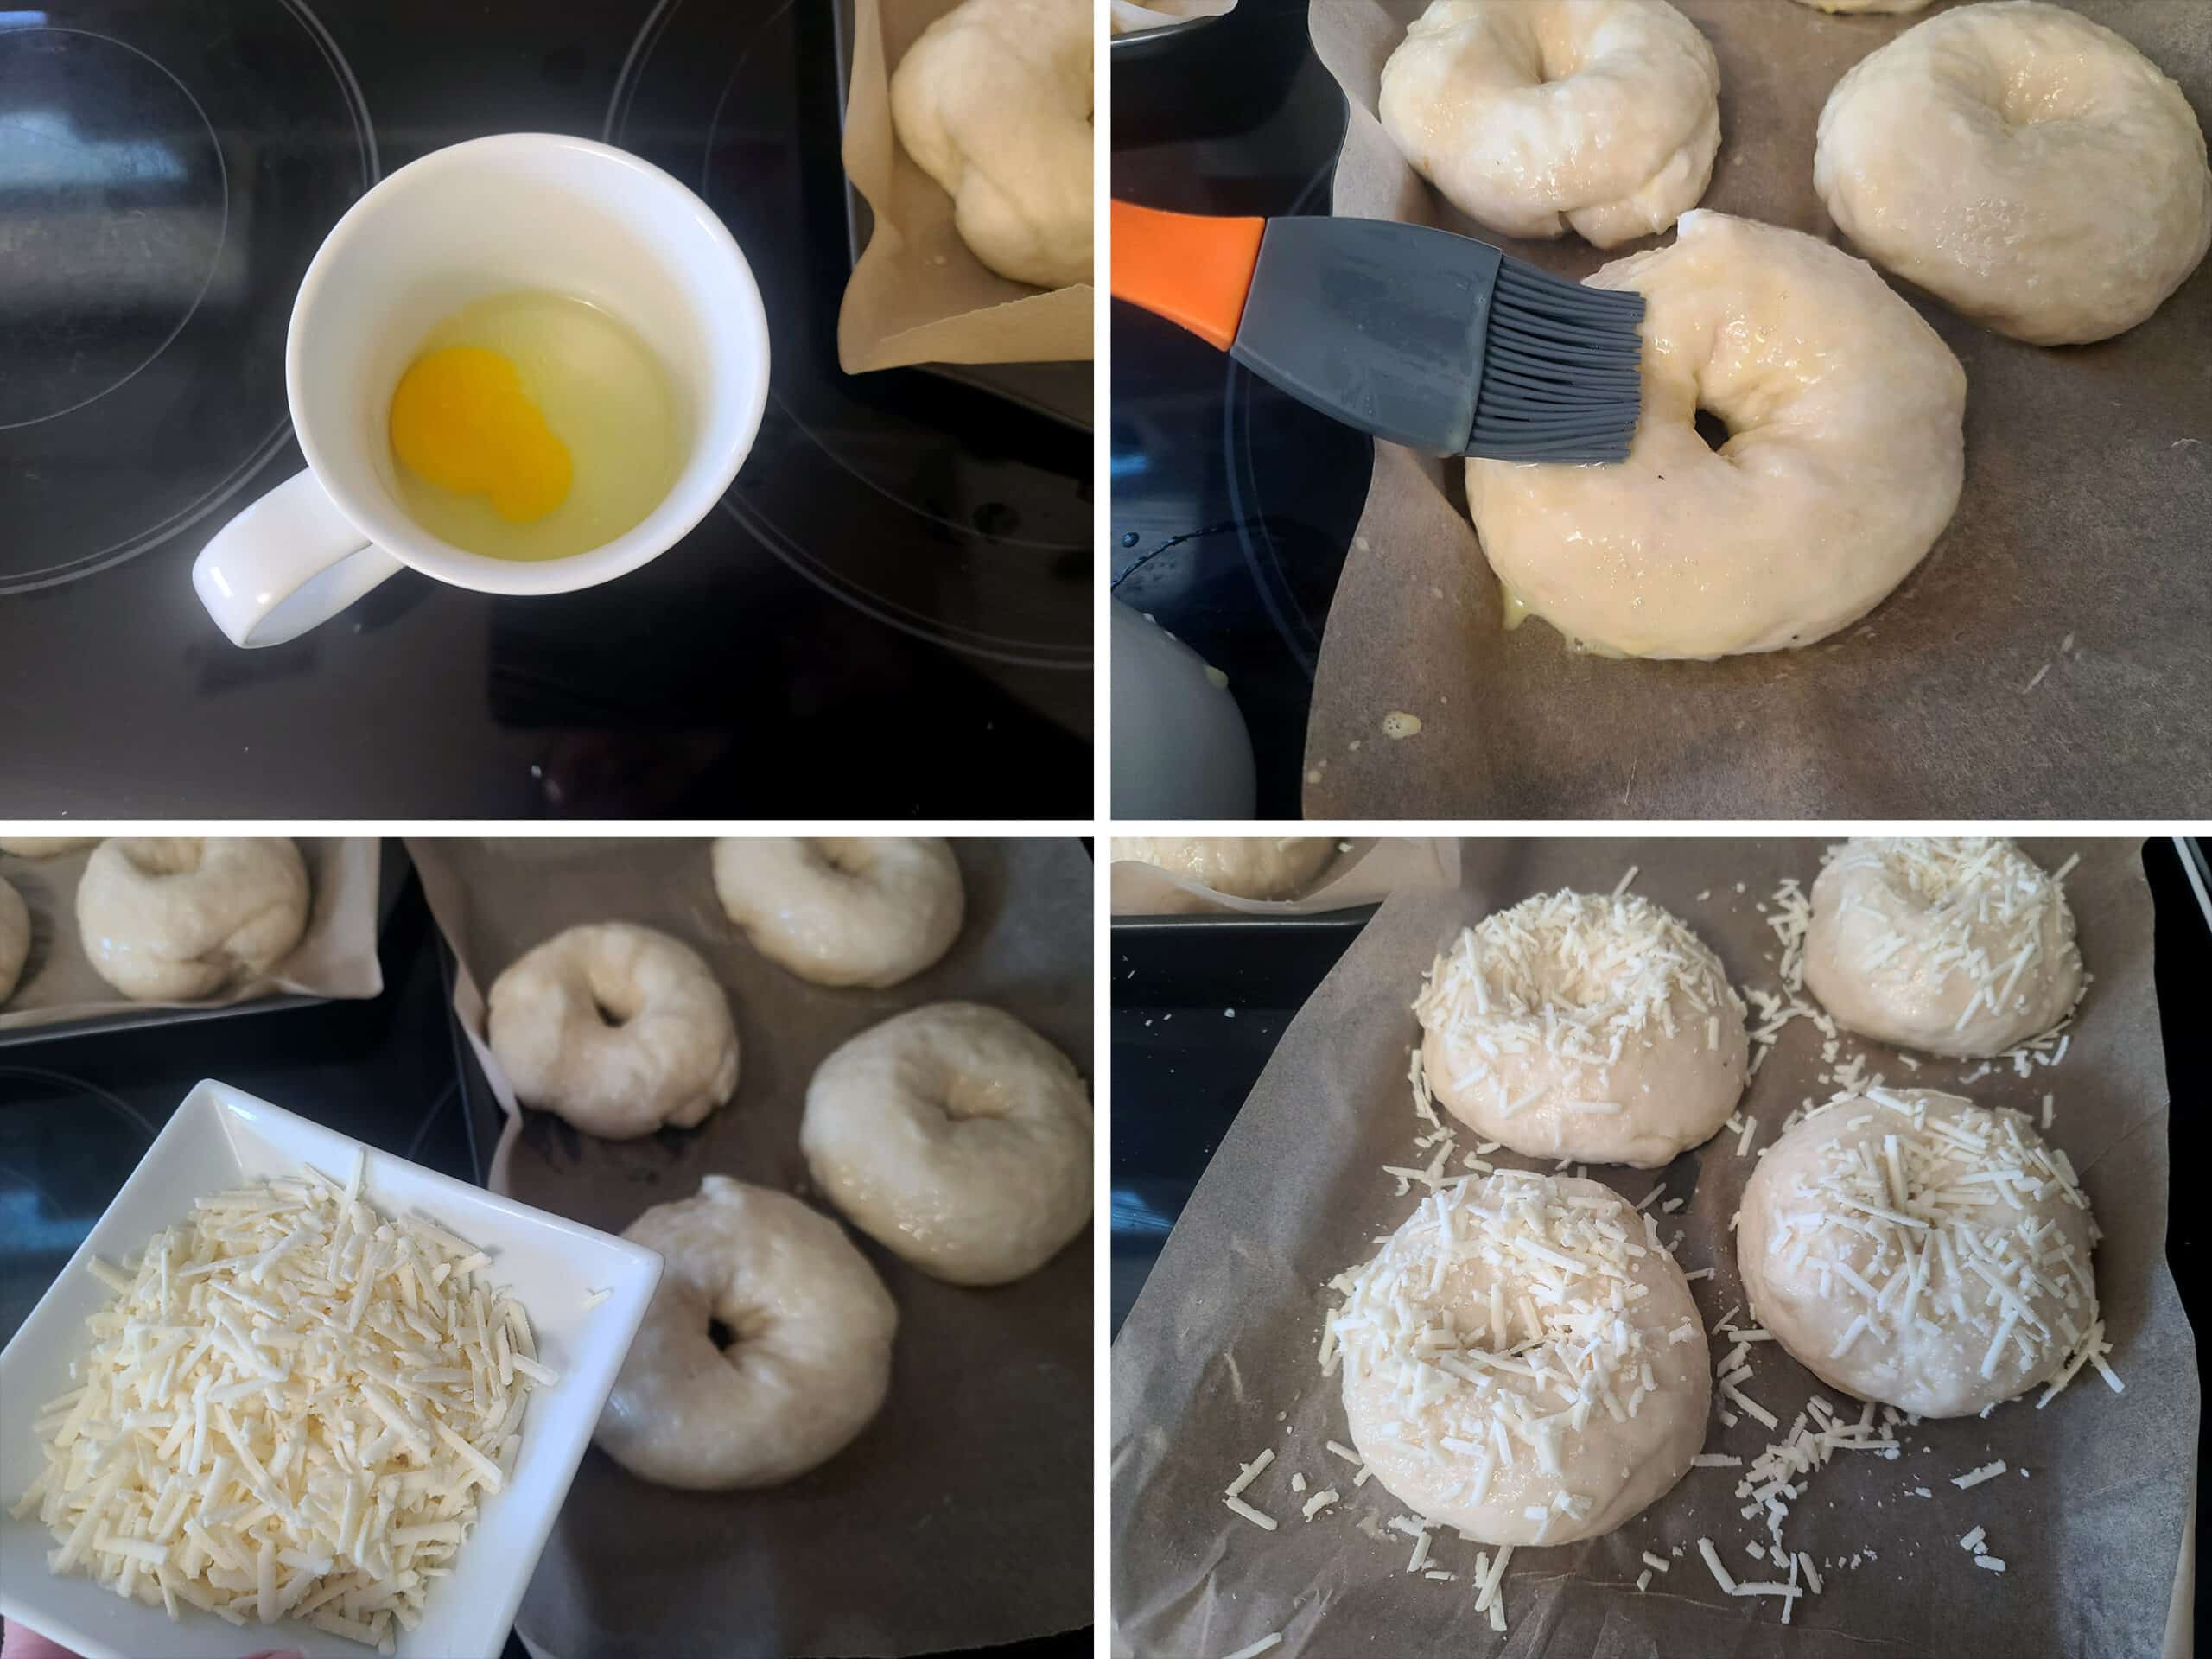
Sprinkle each with remaining shredded cheese.
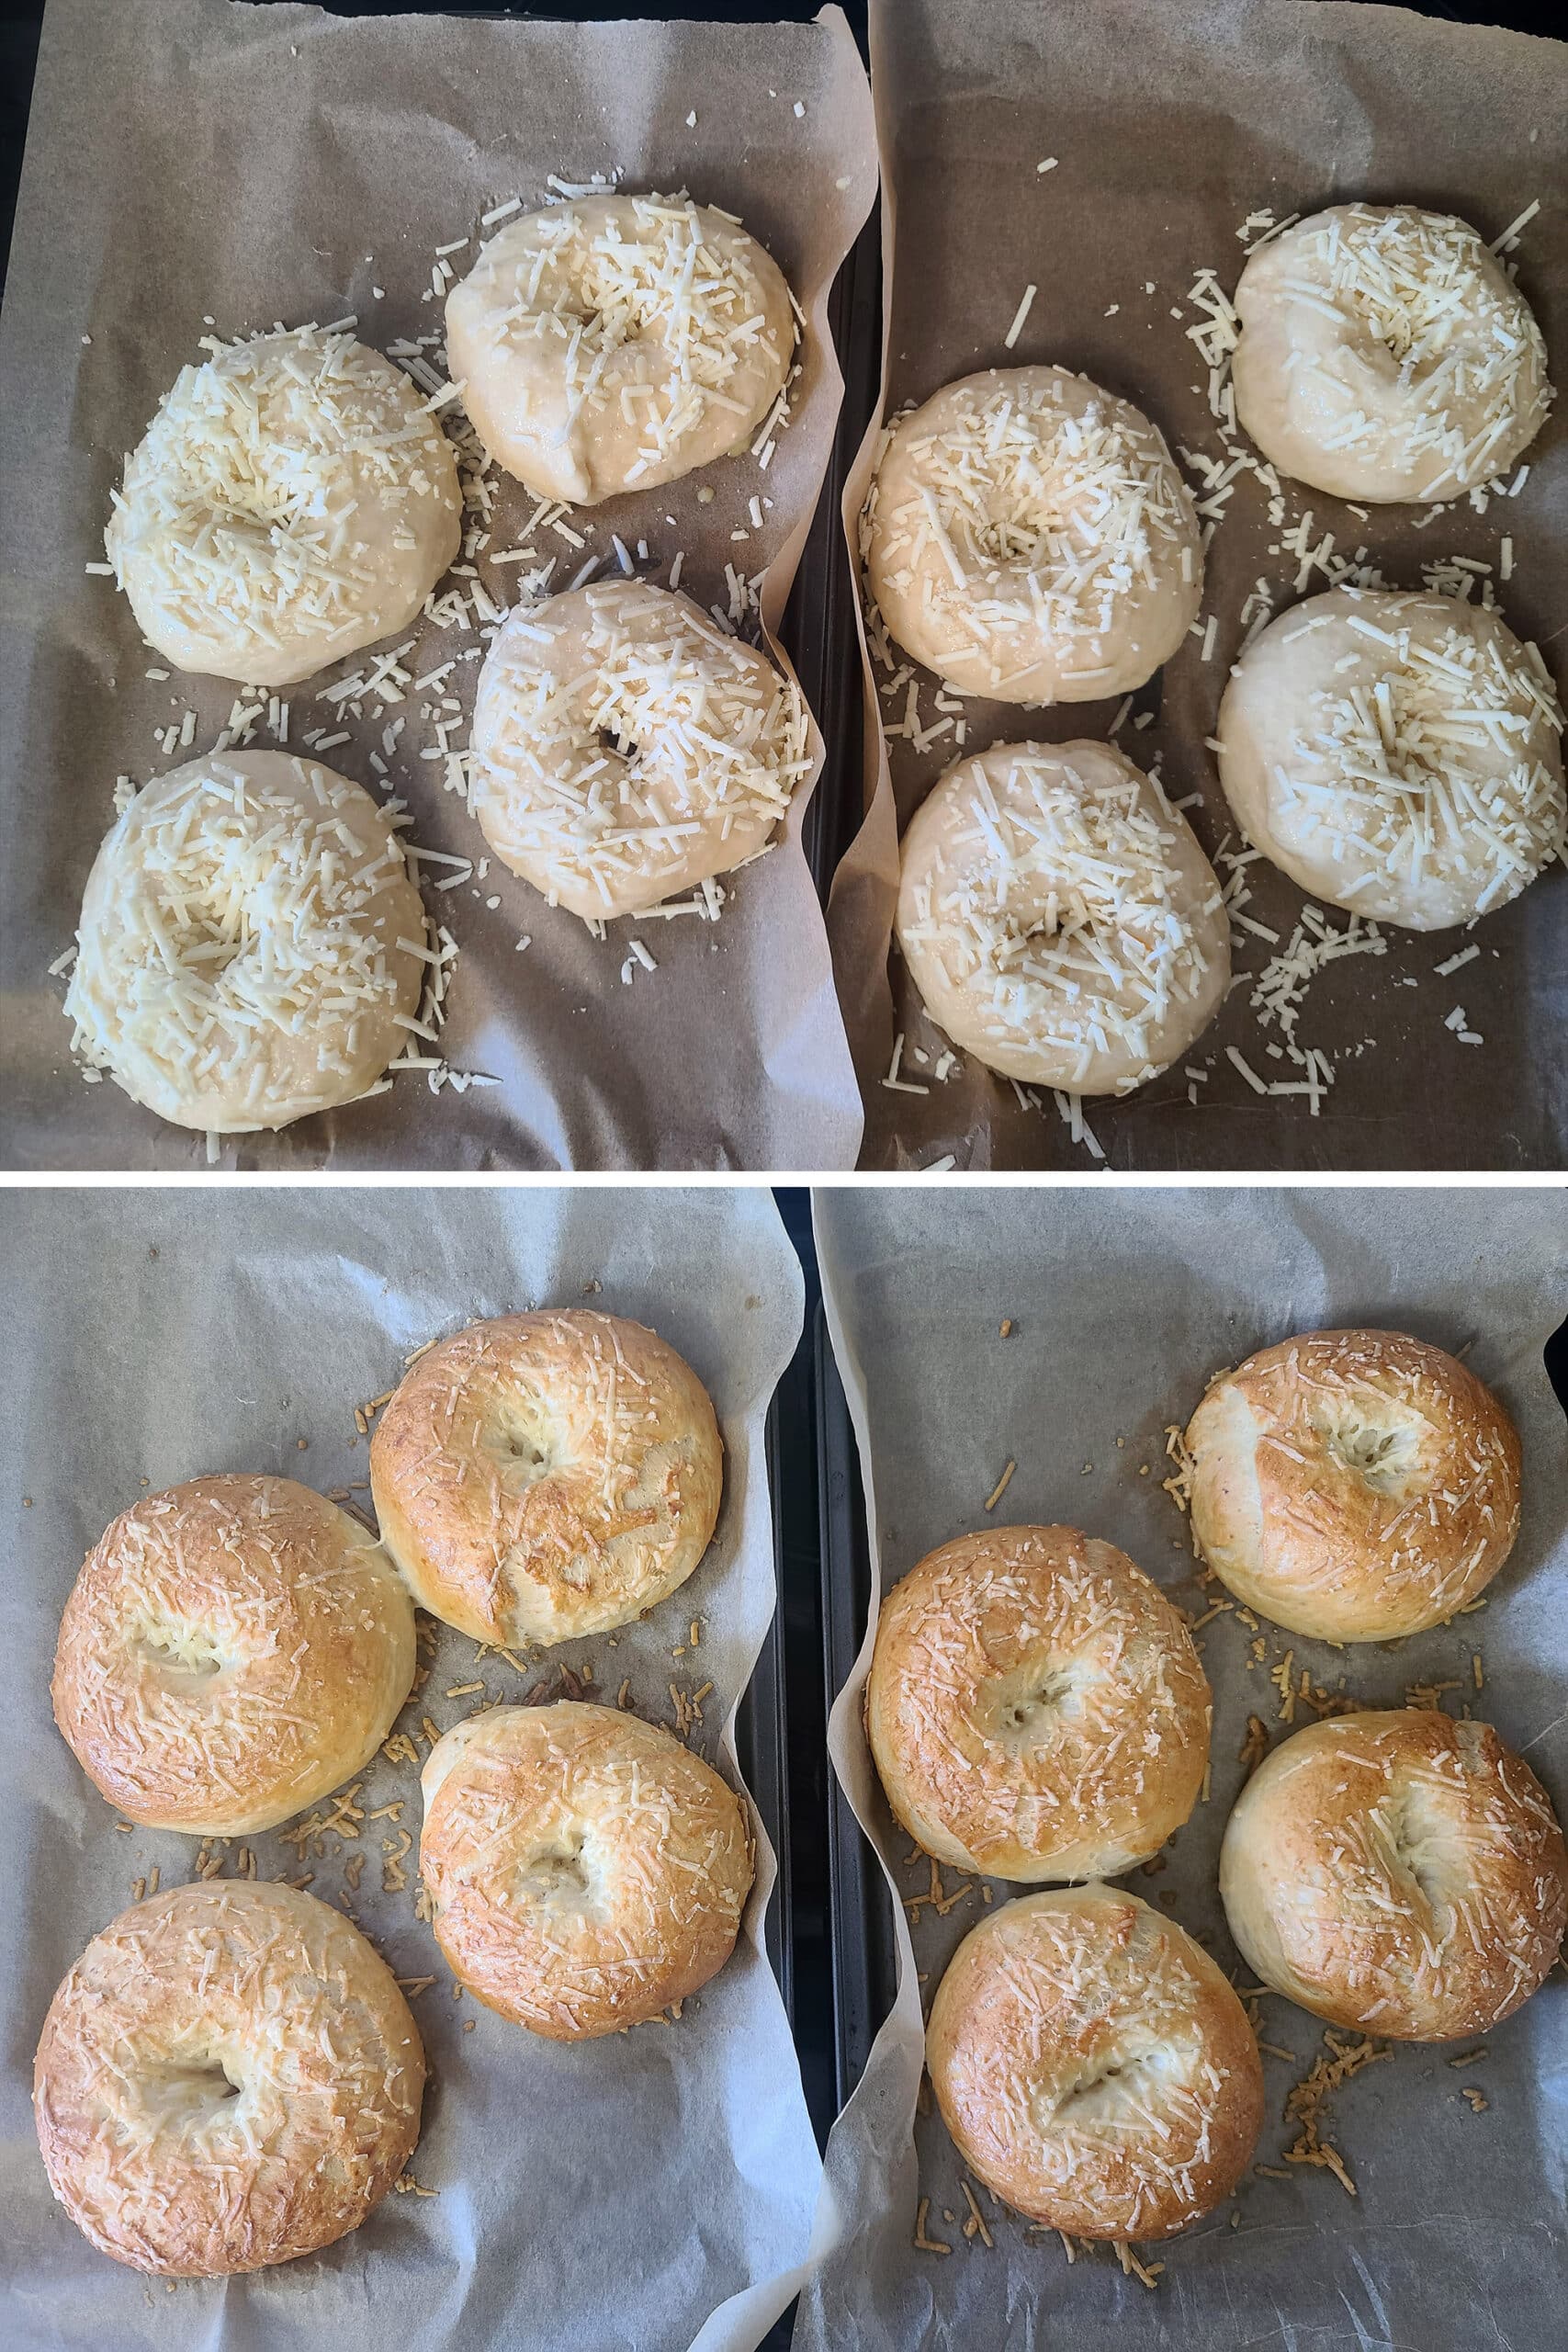
Bake for about 35 minutes (for 8), 32 minutes (if you’re making 10-12), or 37-40 mins (If you’re doing 6 large ones), until golden brown.
Once cooled to room temperature, these Asiago bagels can be stored in an airtight container on the counter for a few days, or in the fridge for about a week.
Best served reheated or toasted..
More Bagel Recipes
Looking for more fantastic bagels to make? Here are some great options!
Banana Nut Bagels
Blueberry Bagels
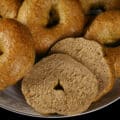
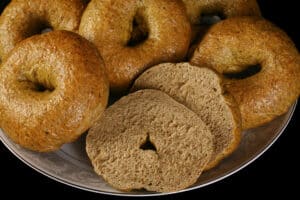
Chai Bagels
Everything Bagels
Garden Veggie Bagels
Gluten-Free Bagels
How to Make Bagels
Jalapeno Cheddar Beer Bagels
Marble Rye Bagels
Mini Bagels
Montreal Bagels
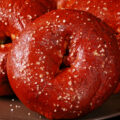
Pretzel Bagels
Pumpernickel Everything Bagels
Rainbow Bagels
Red Velvet Bagels
Roasted Red Pepper Bagels
Rye Bagels with Caraway Seeds
Seeded Whole Wheat Flax Bagels
Smoky Cheese Bagels
Whole Wheat Spinach Bagels
... and a few seasonal / holiday options, too:
Christmas Bagels
Gingerbread Bagels
Heart Shaped Bagels
Hot Cross Bagels
Maple Pumpkin Spice Bagels
Paska Bagels

Share the Love!
Before you chow down, be sure to take some pics of your handiwork! If you post it to Bluesky, be sure to tag us - @CelebrationGen. We're also on Pinterest, so you can save all your favourite recipes to a board!
Also, be sure to subscribe to my free monthly email newsletter, so you never miss out on any of my nonsense. Well, the published nonsense, anyway!
Finally, if you love this recipe, please consider leaving a star rating and/or a comment below, and maybe even sharing this post on social media!

Roasted Garlic Asiago Bagels
Equipment
- 2 Baking Sheets
- Parchment Paper
Ingredients
Dough
- 1.5 cups warm - not hot - water
- 4 teaspoon Active Dry Yeast
- 2 tablespoon Granulated Sugar
- 3 ½ cups All Purpose Flour
- 1 ½ cups Shredded Asiago cheese
- 2 tablespoon Roasted Garlic
- 1 teaspoon Salt
Assembly
- 3 L Hot Water
- 1 Large Egg
- 1 tablespoon Water
- ¾ Cup Shredded Asiago cheese
Instructions
Dough:
- Measure warm water into a glass measuring cup or bowl. Stir in yeast and sugar, allow to stand for 10 minutes – it should get very bubbly.
- In a large mixing bowl, combine flour, cheese, roasted garlic, and salt. Pour in yeast mixture, stir well to combine.
- Dump dough out onto a floured surface, knead until soft and elastic, 5-10 minutes.
- Alternatively, use a stand mixer with a dough hook for about 7 minutes, or until dough is smooth and elastic.
- Once dough is fully kneaded, place in a greased bowl, cover with plastic wrap, and allow to rise for one hour, or until doubled in size.
- Once dough has doubled, punch it down, and divide it out.
- We divided the mixture into 8 equally sized balls, for a good sized bagels – but you can make them larger or smaller by dividing into 6 or 12 equal sized pieces.
Assembly:
- Line 2 baking sheets with parchment paper.
- There are two main ways of forming bagels – with roll each lump of dough into a thick “snake” and secure the ends together, or roll each lump into a smooth ball before poking a finger though. Once you have a hole made, stretch the ring of dough out a bit to enlarge the hole. Personally, I prefer the latter.
- Once you have all of your bagels formed, set them on a baking sheet to rise for another 10 minutes. As your bagels are resting, preheat oven to 350 F.
- In a large pot, bring water to a boil. I like to lay a sheet of parchment paper out across the other half of the stove, as my work surface.
- Turn heat down a little, allowing water to simmer rather than continue to boil. 2 or 3 at a time, drop your bagels into the simmering water, allow to cook for 1 minute, then flip each and allow to cook for another minute.
- Drain well, place on the prepared baking sheets.
- Whisk egg together with 1 tablespoon of water, brush over the tops and sides of each bagel. Sprinkle each with remaining shredded cheese.
- Bake for about 35 minutes (for 8), 32 minutes (if you’re making 10-12), or 37-40 mins (If you’re doing 6 large ones), until golden brown.
- Allow to cool for a few minutes before cutting and serving.
Notes
Nutrition


Leave a Reply