

This is my recipe for making traditional royal icing, used for cookie decorating and cake decorating. It uses raw egg whites and dries hard!

Today, I’m talking about a different kind of icing : Royal icing.
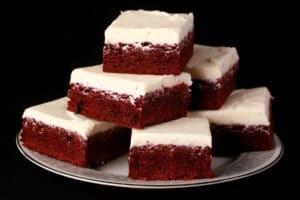
This is the traditional icing used on gingerbread houses, gingerbread cookies, decorated cookies - including a lot of fancy Christmas cookies - and more.
Remember the really hard icing roses on 80s style wedding cakes, that you could chip a tooth on?
Seen my Lambeth Wedding Cake?
Royal icing, all the way!
As-is, stiff royal icing can be used to pipe those roses, and a lot of what you see on that Lambeth cake.
Add a little water, and you have a thinner frosting that can be used to flood the surface of the cookie.
After a bit of a drying process, you’ll have the perfect base for decorating.
Somewhere in between stuff and flooding consistency, royal icing works beautifully for decorating, and is used along with piping tips to pipe out intricate designs on cookies, cakes, and more.
(And hey, I have a whole post on Sugar Cookie Decorating for Beginners , too!)
Anyway, lots to say, so let’s get to it!

Ingredients
Traditional royal icing needs only 3 simple ingredients - ones that you’re likely to even be able to find at a convenience store, nevermind needing an actual grocery store.
Well, 5 if you want to color and flavor it, anyway!
Some thoughts and notes:
Egg Whites
Because we’re using raw eggs, I recommend using the freshest, best quality eggs that you can - pasteurized egg whites, if at all possible.
You can use liquid egg whites from a carton (Pasteurized!), if you’d like. The rule of thumb is 2 tablespoon of egg white = 1 large egg.
So, for this recipe you’d use 8 tablespoon of pasteurized liquid egg whites.
The use of raw egg whites isn’t recommended for pregnant women, small children, and people with a compromised immune system, so if you’re baking for anyone in those categories, I recommend using my Easy Royal Icing Recipe .
It uses meringue powder, is a safer option, and the preferred method of making royal icing for those groups!
Lemon Juice
Lemon juice serves a few purposes when it comes to royal icing.
The citric acid stabilizes the eggs (note: it does NOT kill any bacteria), cuts the sweetness a bit, and adds some flavour.
You should use freshly squeezed lemon juice if at all possible - the bottled stuff just doesn’t taste as good.
That said, you can use an alternate form of acid if you prefer - fresh lime juice or vinegar (white or apple cider) work great as well.
I’ve even been known to use Calamansi juice on occasion, as I tend to have that around even more often than I have lemon juice on hand!
(If you’re wondering why the lemon juice in my process photos here looks weird, it’s because it’s calamansi juice!)
Confectioners’ Sugar
Powdered sugar, confectioners' sugar, icing sugar - whatever you call it, that’s what you’re going to use for the body of the icing.
You can sift it after measuring if you like - many people say that it’s a mandatory step - but, truth be told - I can’t be arsed to.
... like, ever.
I think I made this with sifted sugar maybe once or twice, way back in the beginning. Totally optional!

Flavour
If you’d like, you can add a bit of vanilla extract if you’d like, I don’t usually.
I’m not a fan of clear vanilla extract (taste wise), and regular vanilla extract will add color to what is usually a VERY white icing.
IMHO, the best flavor comes from using more lemon juice to thin out the icing for use, rather than water.
It’s not in-your-face with the lemon, just delicious taste with a nice brightness to it.
You can use other flavour extracts if you’d like, just avoid anything that’s actually oil based, as it can break down the structure of the icing.
Icing Coloring
Even more so than a lot of other applications, the type of food coloring you use really matters when it comes to royal icing.
I will always recommend gel food coloring over liquid colors - it allows for a much deeper color, with less coloring used than you’ll need with liquid food coloring.
The fact that gel colors pack a punch is important here, as any amount of liquid can wildly change the texture - and usage - of your icing.
I recommend using a good quality gel based colour, such as Americolor (what I used when I was in the USA), or ChefMaster (Which is the option more readily available here!).
Both brands are available in a wide variety of different colors.
That’s not to say you can’t use liquid color, btw - you’ll just have nicer results from gel. It really is the best choice for pretty much everything, IMHO.
Also, as a tip: Color your white royal icing first, THEN thin it out.

How to Make Royal Icing
The full recipe follows in the recipe card at the end of this post, this is a pictorial walk through, with additional information and tips.
Before Getting Started
You can make this icing in the bowl of a stand mixer (I’ll use the whisk attachment to start, then the paddle attachment as I add the sugar), but I prefer to just use a large mixing bowl and an electric mixer.
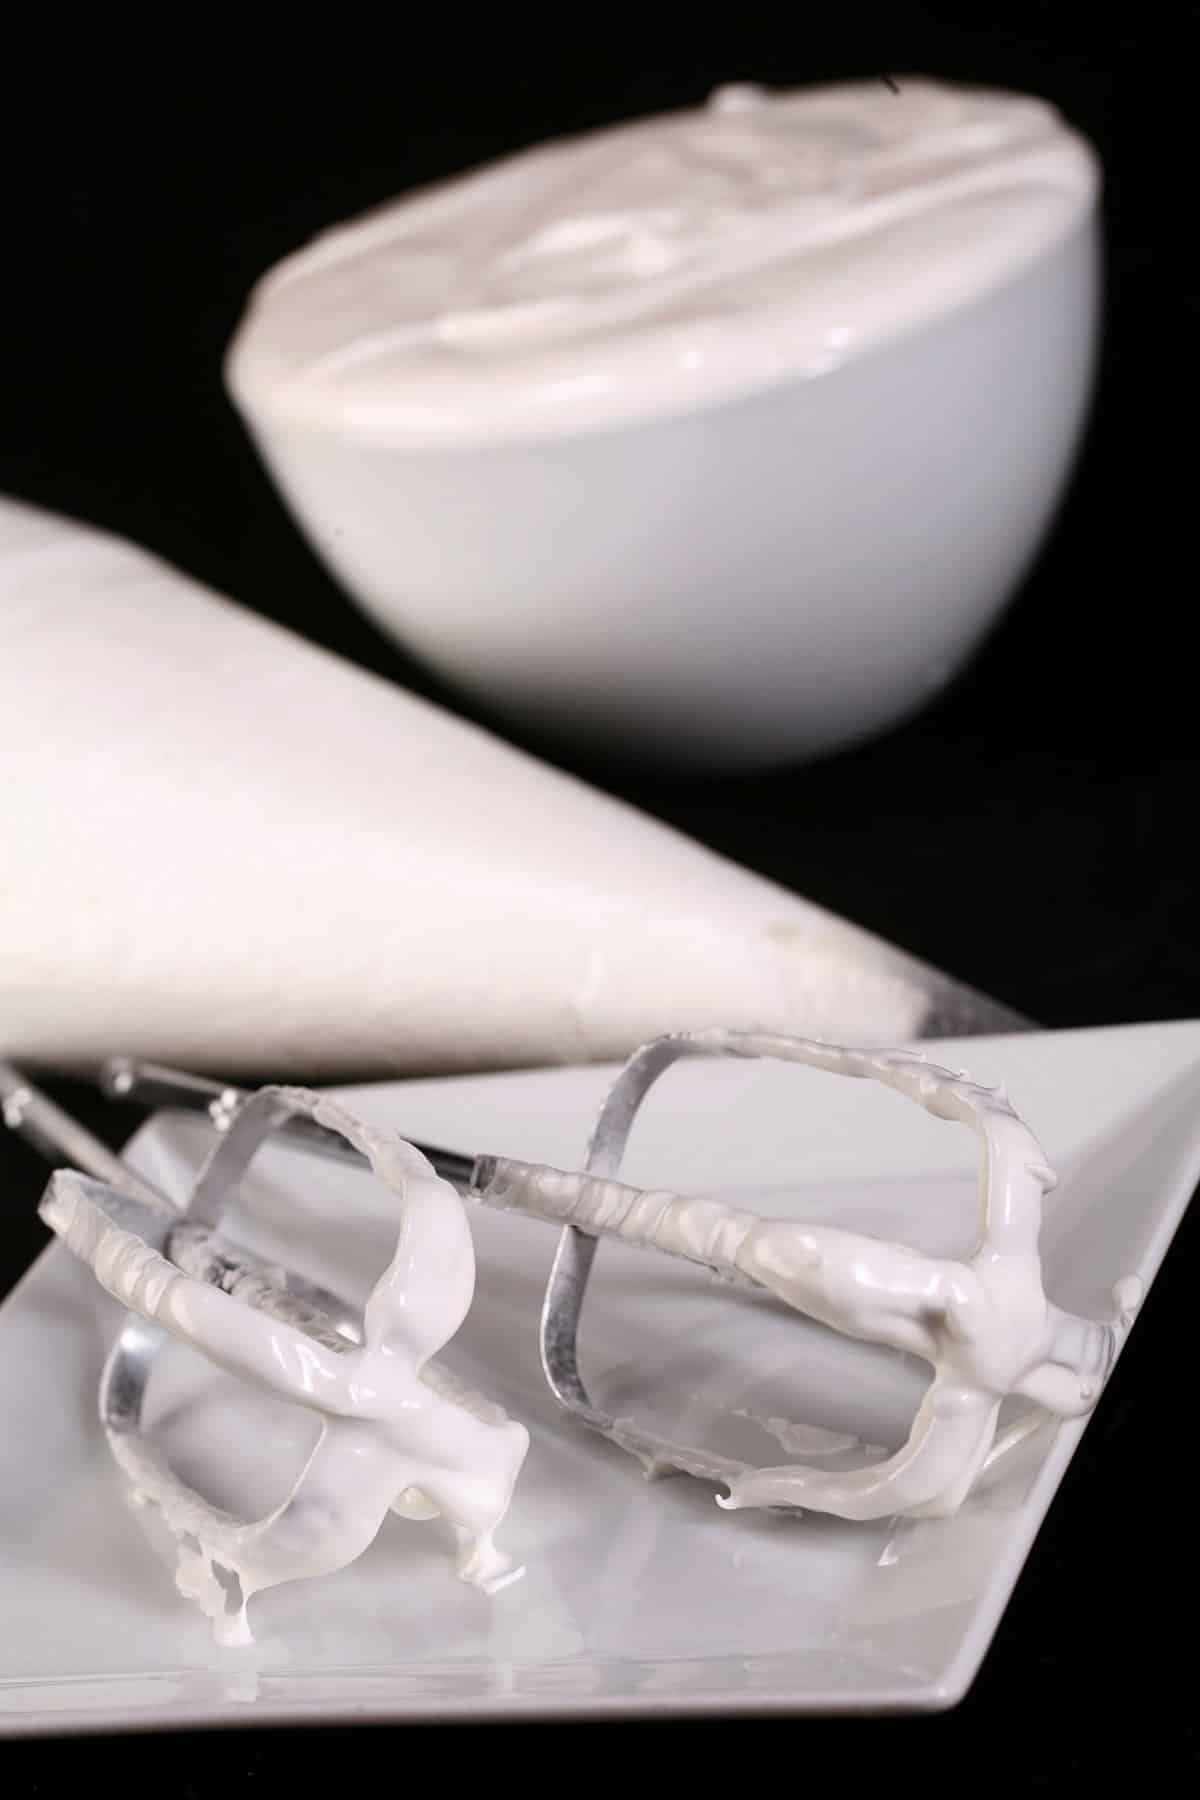
Whether using a stand mixer or a hand mixer, you just want to be sure that everything is very clean.
Egg whites can be finicky, and a stray bit of grease on your bowl or attachments can break down the egg white structure in the icing.
Also note: Eggs separate best when they’re cold, and beat up best when they’re at room temperature.
So, crack them fresh from the fridge, and let them warm up for a couple of minutes, if you’d like a bit more ease in whipping them.
Making Royal Icing
In clean stand mixer, whip egg whites on high speed until foamy. You can take this all the way to the soft peak stage, if you’d like.
Add lemon juice, whip for another minute.

(Note: I didn't have lemon juice on hand that day, so I used calamansi juice. Lime juice also works)
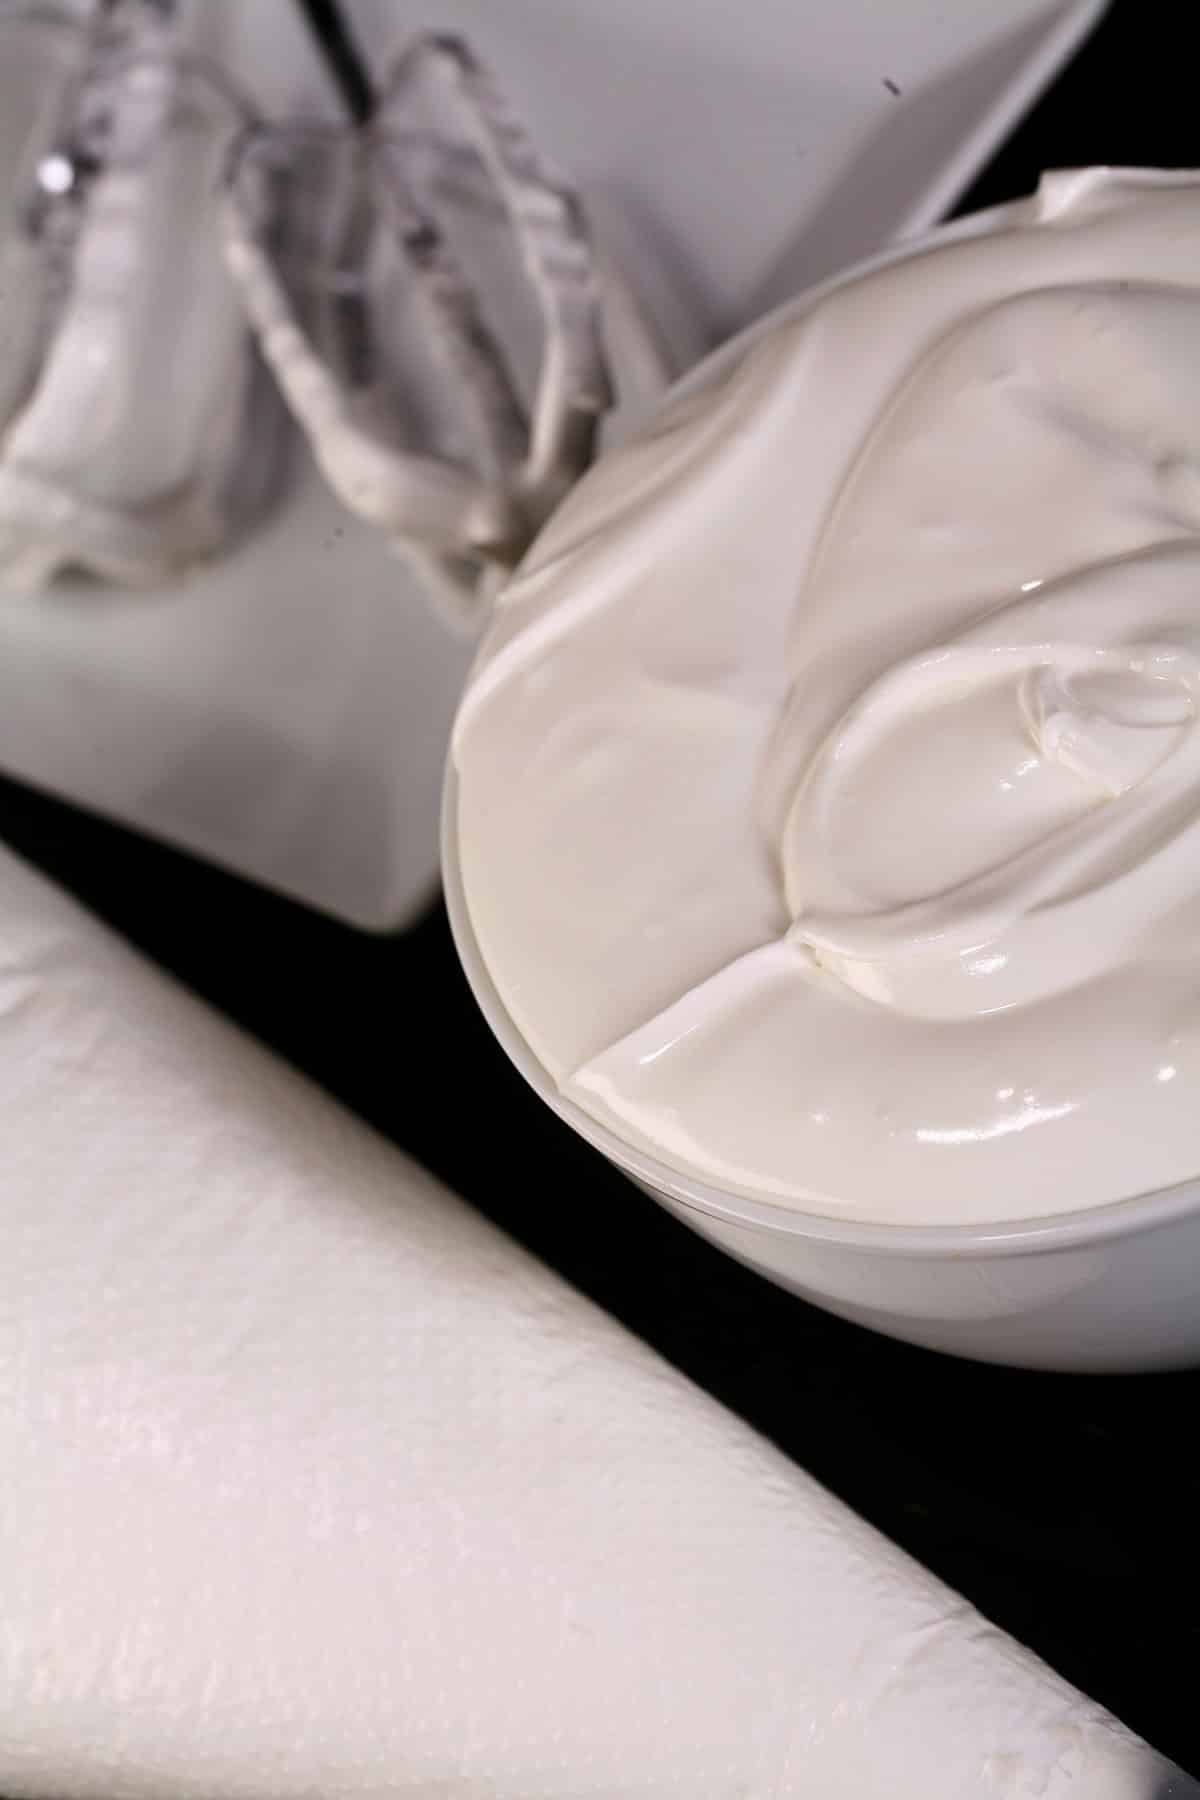
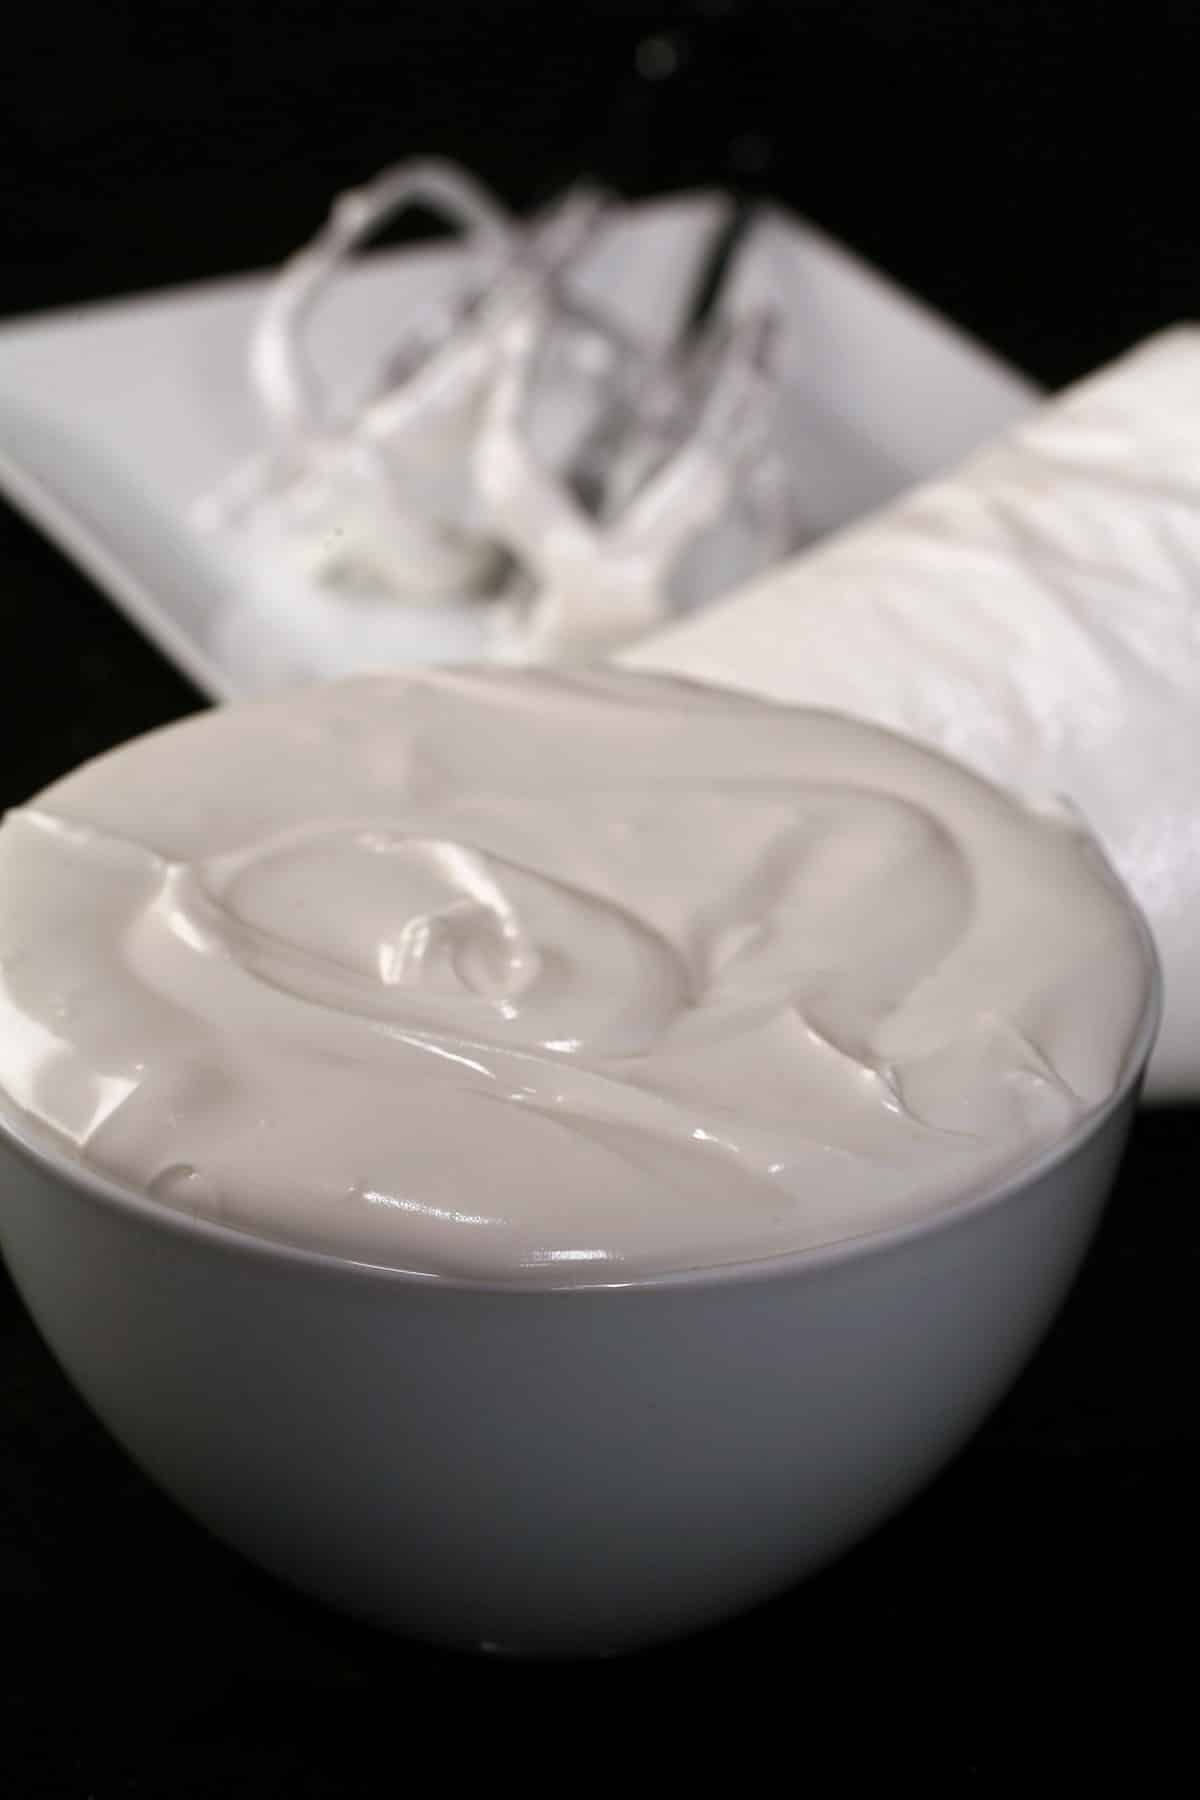
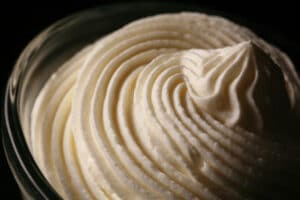
You will want a fairly thick frosting – but still smooth and workable – for piping details and borders.
Once your powdered sugar is incorporated, turn your mixer up to medium speed and whip it until stiff peaks form.

Storing Leftover Royal Icing
If you're not using it immediately, transfer to an airtight container.
Cover the surface of the icing with plastic wrap.
You want the plastic wrap to be directly on top of the icing, to prevent any air from drying out the surface. (Note: This is important even when you’re using the icing!)
Cover with a tight fitting lid, store royal icing in the fridge for up to a week.

The frosting may or may not separate as it’s stored - separation is common, expected, and not at all a problem.
You will need to re-beat the frosting before use, whether or not you see any separation.
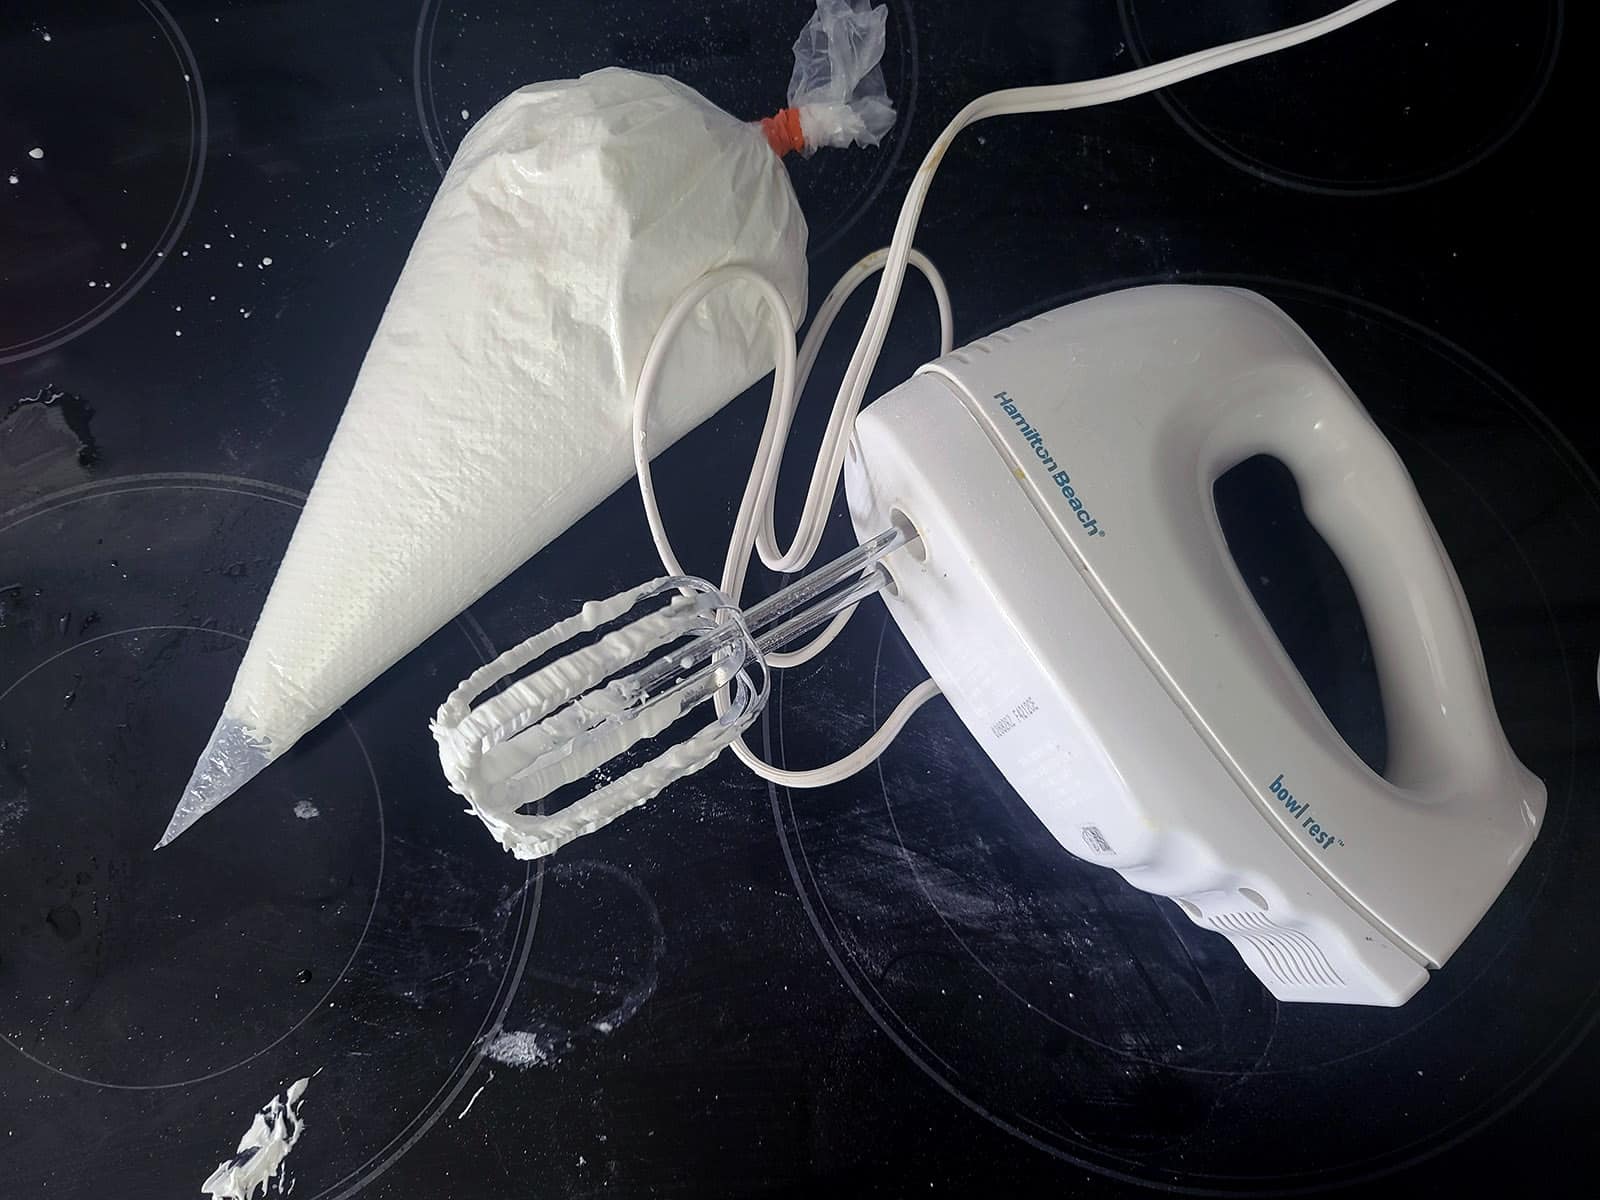
I don’t advise storing the leftover icing in piping bags, but sometimes we forget or just get lazy. I know I do!
If you DO end up storing it in bags, you’re still going to want to keep it in the fridge. Also, plan to pour the frosting out into a small bowl and re-beat it, before transferring them into a new, clean piping bag for use.
How to Use Royal Icing
I’m going to go over a few of the basics here, I recommend seeing my post Sugar Cookie Decorating for Beginners for even more information - specifically when it comes to cookie decorating.
Consistency
How you want to use the frosting is going to determine the consistency you’re aiming for, as different consistencies have wildly different applications.
Before thinning it out, add any flavor or icing color you want.
I like to keep the thick, white royal icing in a large bowl (properly covered with plastic wrap!), and portion the white icing out into small bowls for coloring and thinning.
Actually, on that note: You may have seen some advice to store your frosting with a damp towel - or damp paper towel - over it, while using.
I don’t actually recommend doing that, as they moisture from the towel CAN have an impact on the consistency of your royal icing.
As for thinning it out, a little bit of water (or lemon juice) goes a long way. You won’t be using tablespoons of water, or even teaspoons of water - start with ¼ teaspoon water, and go from there.
As you get closer to the consistency you’re aiming for, aim to use drops of water - or even just misting it.
Be conservative with it - it’s better to start with less water than you think you need - adding a little water as you go - than to use too much water, and have to thicken it.
It’s a lot easier to thin icing out, than to re-thicken it!
Stiff Icing
As is, this recipe makes a thicker icing, which is generally described as “stiff consistency”.
This is generally the proper consistency for piping things like roses, or anything where you need it to hold a sharp edge.
You can also pipe cookie borders with this consistency, though people generally prefer to thin it down slightly, to a medium consistency.
Thinned Icing
When talking or reading about royal icing consistency, you’ll see it’s measured in seconds.
This refers to the amount of time it takes the icing to completely settle out, when you drizzle some of it over itself in the bowl.
A thinner icing will have a shorter count, a stiffer royal icing will take longer to settle out.
The actual counts are just guidelines, you’ll want to play around with it and see what YOU like to work with.
That said, the 3 main thinned consistencies you should know are:
Medium
This is slightly thinner than stiff icing. It will flow a little more, doesn’t necessarily hold a sharp edge, but it won’t *run*.
If you drop some back into a bowl of itself, it’ll smooth out in 20 seconds or more... and it may not *completely* smooth out.
This is the consistency I like for piping borders, and piping some details like overpiped borders.
Border & Fill Consistency
While I like to border with one thickness, then flood with a much thinner one, some people prefer to use one consistency for both, laying out their base cookie icing in one go.
For that, you want “15-20 second icing”, or “15-20 count icing” - it’s the perfect consistency to do both jobs.
Thin / Flood / Flow Consistency
This is the thinnest royal icing you’ll use, leveling out in 7-10 seconds.
It’s the right consistency for flooding areas of cookie that have a thicker border, creating a base of smooth, solid color to decorate on top of.
I don’t recommend going any thinner, as you should always use the thickest consistency you can get away with.
More water = more time to dry, and more chance of the surface rippling or dimpling as the water evaporates. Also, a longer dry time can result in a weirdly dull, matte finish.
For best results, you want your decorated cookies to dry as fast as possible.
Correcting Too-Thin Icing
If you find that you’ve gone too far with the water, you should add a bit of stiff royal icing to thicken it back up.
When you’ve got a watery icing, adding powdered sugar to it can end up causing lumps.
Tips for Using Royal Icing
Make more icing than you think you’ll need.
When mixing colors, definitely make more of each color than you think you’ll need - it can be difficult to color match after the fact, especially as the colors age.
When making red or black icing with gel colors, know that you don’t necessarily need to use as much color as you think - the colors deepen with time, both in the bag, and as they dry.
When it comes to basic borders and flooding, you don’t necessarily need to fit your pastry bag with a coupler, you can just cut the tip off the end of it.
For that matter, you don’t even necessarily need a proper piping bag - you can use a squeeze bottle (available at craft stores), or make a homemade piping bag by cutting a corner off a plastic bag.
See Sugar Cookie Decorating for Beginners for more information on which tips to use!
When you’re adding color or flavor to your frosting, use a flat spatula or a relatively flat spoon, and stir with a slow figure 8 motion.
This will help avoid adding too much air to the frosting, which can result in air bubbles.
More Cookie Decorating Posts
Looking for more excuses to roll some sugar cookie dough out? In the mood to break out the royal icing? Here are some more cookie recipes and tutorials you may be interested in!
Cut Out Sugar Cookies
Decorating Dalek Cookies
Easy Royal Icing
Easy Spider Web Cookies
Gingerbread Biscotti
Gluten Free Gingerbread Cookies
Gluten Free Sugar Cookies for Decorating
Nightmare Before Christmas Cookies
Rolled Pumpkin Spice Cookies
Sugar Cookie Decorating for Beginners
.. and be sure to check out our Cookies & Bars recipe section for even more delicious cookie recipes!
Keto Cookie Decorating
Need options that are both gluten free AND sugar free? Here a a few fantastic recipes over on my low carb blog, Low Carb Hoser:
Keto Gingerbread Cookies
Low Carb Pumpkin Spice Cookies
Keto Rolled Sugar Cookies
Sugar Free Royal Icing
Share the Love!
Before you chow down, be sure to take some pics of your handiwork, for posterity and social media! If you post it to Bluesky, be sure to tag us - @CelebrationGen. We're also on Pinterest, so you can save all your favourite recipes to a board!
Also, be sure to subscribe to my free monthly email newsletter, so you never miss out on any of my nonsense. Well, the published nonsense, anyway!
Finally, if you love this recipe, please consider leaving a star rating and/or a comment below!


Traditional Royal Icing
Equipment
- Stand Mixer or
Ingredients
- 4 Large Egg Whites
- 1 tablespoon Lemon Juice
- 4-6 cups Confectioners / Icing / Powdered Sugar
Instructions
- In clean stand mixer, whip egg whites until foamy.
- Add lemon juice, whip for another minute.
- Slowly add powdered sugar until cookie icing reaches desired consistency. You will want a fairly thick frosting – but still smooth and workable – for piping details and borders.
- If you're not using it immediately, transfer to an airtight container, cover surface with plastic wrap, and secure lid tightly.
- Re-whip before use.
Video
Notes
Nutrition


Leslie
Thank you for this! The store-bought gingerbread cookie decorating icings I've tried stay wet-ish so you can't stack the cookies. THIS is what I've been looking for!
Katie
Awesome recipe, so easy to make and work with. Thanks Katie