

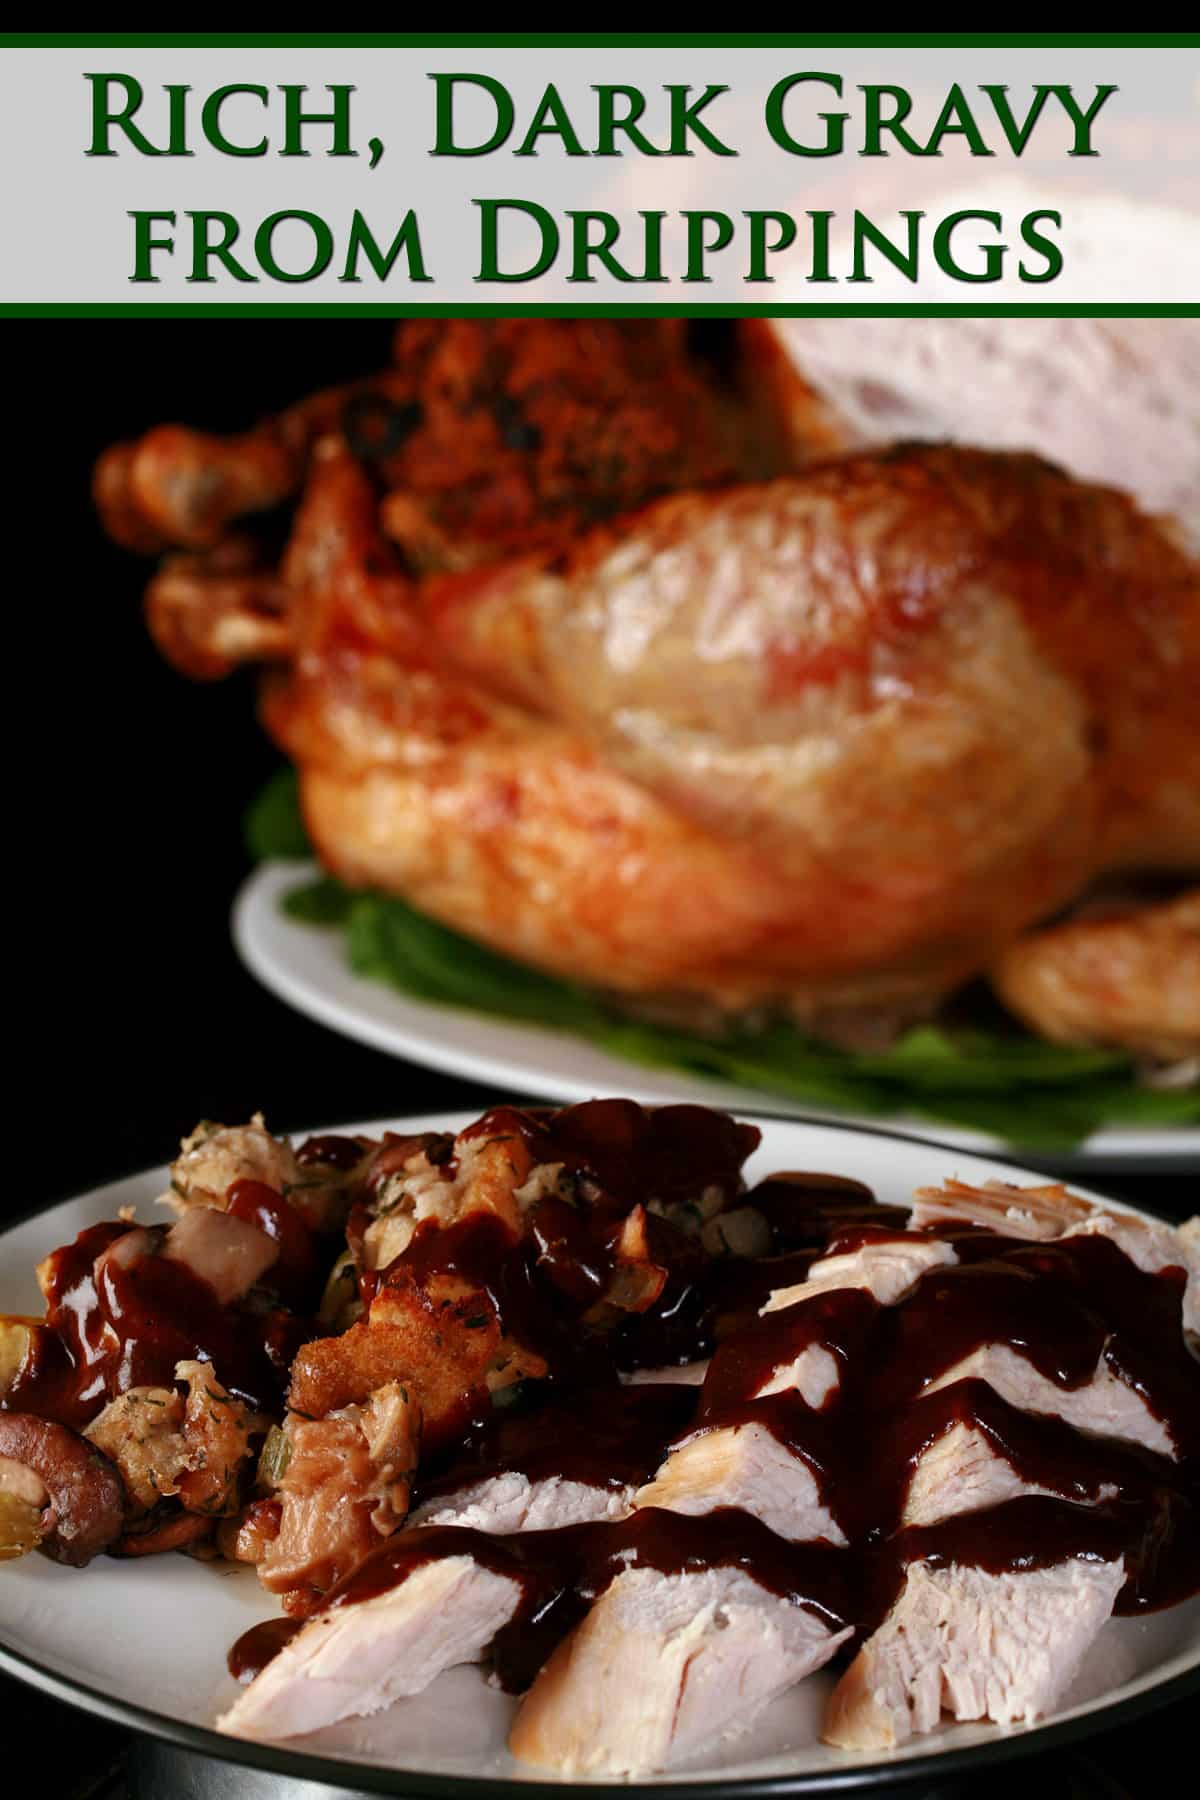
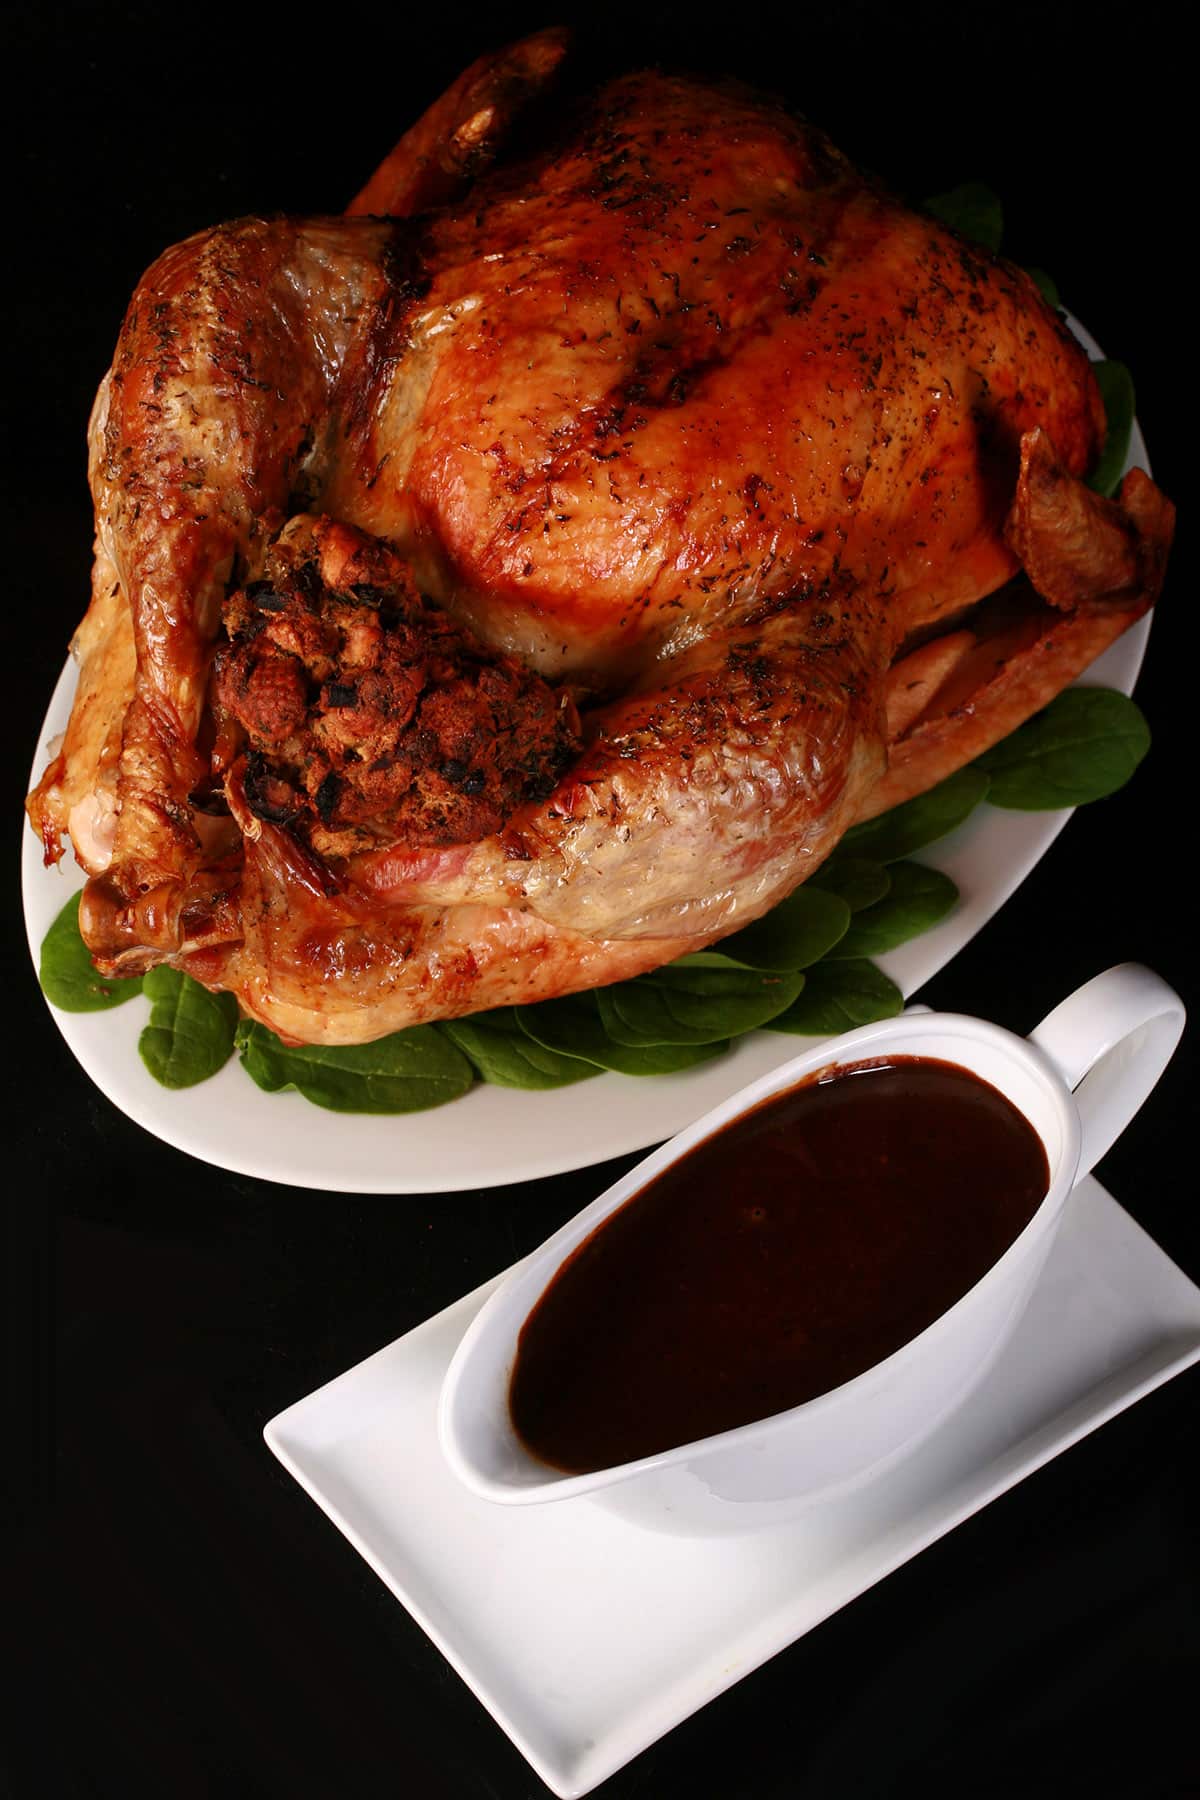
This easy, rich turkey gravy is made with roux and turkey pan drippings. Super flavorful, and very customizable - get it as dark as you like!
I finally got around to posting How to Roast a Stuffed Turkey, so now it’s time to share my way of making delicious turkey gravy!
My best turkey gravy recipe is less an actual recipe, and more just a technique, a few simple steps and starting proportions for the ingredients - you’ll adjust as you go, ro make the perfect gravy for YOUR tastes!
This cooked flour and butter mixture is a staple of Cajun and Creole cooking, and is the key to making perfect turkey gravy.
How you cook it will determine the outcome of your delicious gravy, in terms of color, flavour, AND thickness - more on that in a bit!
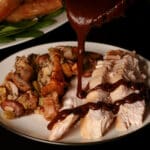
This incredibly rich gravy is the absolute best way to top off your Thanksgiving turkey, mashed potatoes, and pretty much anything else on your Thanksgiving table.
(Like my Savory Mushroom Chestnut Stuffing!)
This post contains a lot of good information, so if you’re new to making gravy, I don’t recommend skipping to the recipe - there are a lot of tips and good information you’ll miss!
Let’s get to it
Ingredients
This recipe uses simple ingredients that are easy to find in any grocery store - IF you don’t already have them on hand!
A few notes:
Drippings and Stock
To make the best homemade turkey gravy, you’ll want to use the leftover pan drippings from a roast turkey, and that’s what this easy turkey gravy recipe does.
Odds are that you won’t have enough turkey drippings to make enough gravy, so we supplement it with broth or stock.
I generally use chicken broth or chicken stock - sometimes my own stock, if I have some on hand - as it’s the most readily available.
That said, turkey stock or turkey broth are also great options!
Flour
All purpose flour is all you need for this - I don’t recommend using whole wheat flour, as it will cause a grainy gravy.
If you need a gluten free turkey gravy, use the same amount of White Rice Flour or Brown Rice Flour.
Either one makes a lovely roux - the key to making a nice, brown gravy!
Note: If you're looking to make a low carb turkey gravy, you need a fairly different process. See my post on Keto Turkey Gravy!
Butter (Or Another Fat)
I like to use unsalted butter for making my gravy - for the size of turkey we generally use, I’ll go with ½ cup of fat, to ½ cup of flour.
That said, you can make this with lard, shortening, bacon fat, or even herb butter!
Seasonings
Generally speaking, all you’ll need is a bit of kosher salt and black pepper for a good, basic gravy.
That said, I love to dress it up with herbs.
Summer Savory is my go-to, but Dried Parsley, Dried Rosemary, Dried Sage, and Dried Thyme are all good options - alone or in combination.
Fresh herbs are another option. A bit of fresh rosemary or fresh thyme makes for a really elegant gravy, IMHO.
Variations
By swapping - or adding - an ingredient, you can come up with a wildly different gravy. A few suggestions:
Turkey Gravy without Drippings
Skip everything to do with the drippings, measure out turkey stock instead. Proceed with the rest of the recipe as-is.
Beef Gravy
Keep everything the same, just swap in drippings from a beef roast, and beef stock.
Use Wine
You can use ¼-1/2 cup wine as part of your liquid. I like to use a dry white wine when making a poultry based gravy, or a red wine when making a beef gravy.
To use it, stream the wine in when your roux is the colour you’d like, THEN whisk in the drippings.
The alcohol will vaporize pretty quickly, leaving mostly just the flavour.

Equipment
To ensure best results with your turkey gravy, there are a few kitchen tools you should have on hand, beyond the pot you’re cooking it in:
Fine-Mesh Sieve
You’ll need to strain the drippings, and a Fine Mesh Sieve is the best option for that.
Fat Separator
This is optional, but can be nice to have - one way or another, you’ll need to get the excess turkey fat off the drippings.
A traditional Fat Separator has the pour spout originating at the bottom of the vessel - I’ve never been fond of these, and tend to just ladle the fat off the top.
When writing this post, though, I came across the OXO Good Grips Good Gravy 4-Cup Fat Separator , which is a totally different imagining of the same concept.
It looked so cool, I bought one - haven’t used it yet, but I’m looking forward to it!
Sauce Whisk
While you can use any whisk, I recommend using a Sauce Whisk, if at all possible.
The style of this kind of whisk allows for better coverage when whisking the bottom of the pan, which is important when making a roux.
Being able to scrape the bottom of the pot, right into the corner is a good thing, when dealing with something that can burn easily!
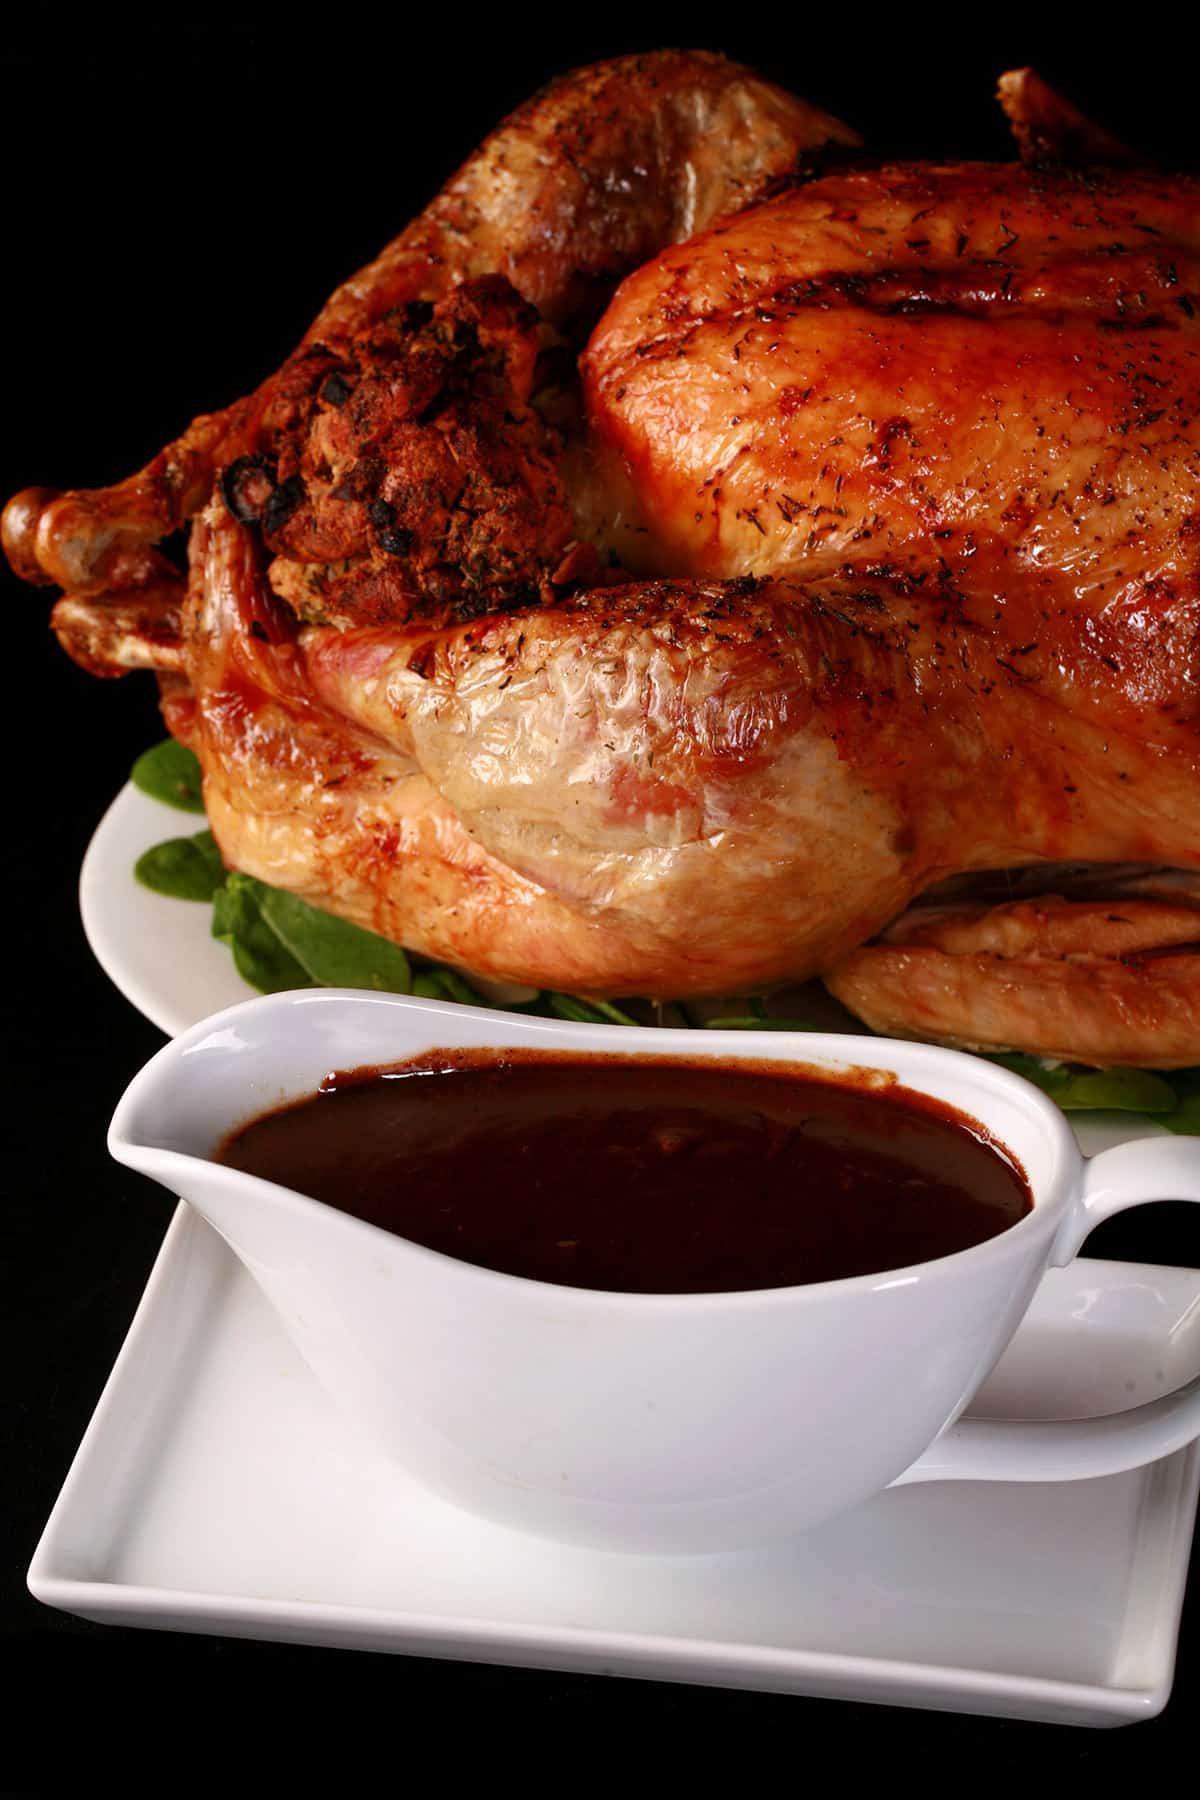
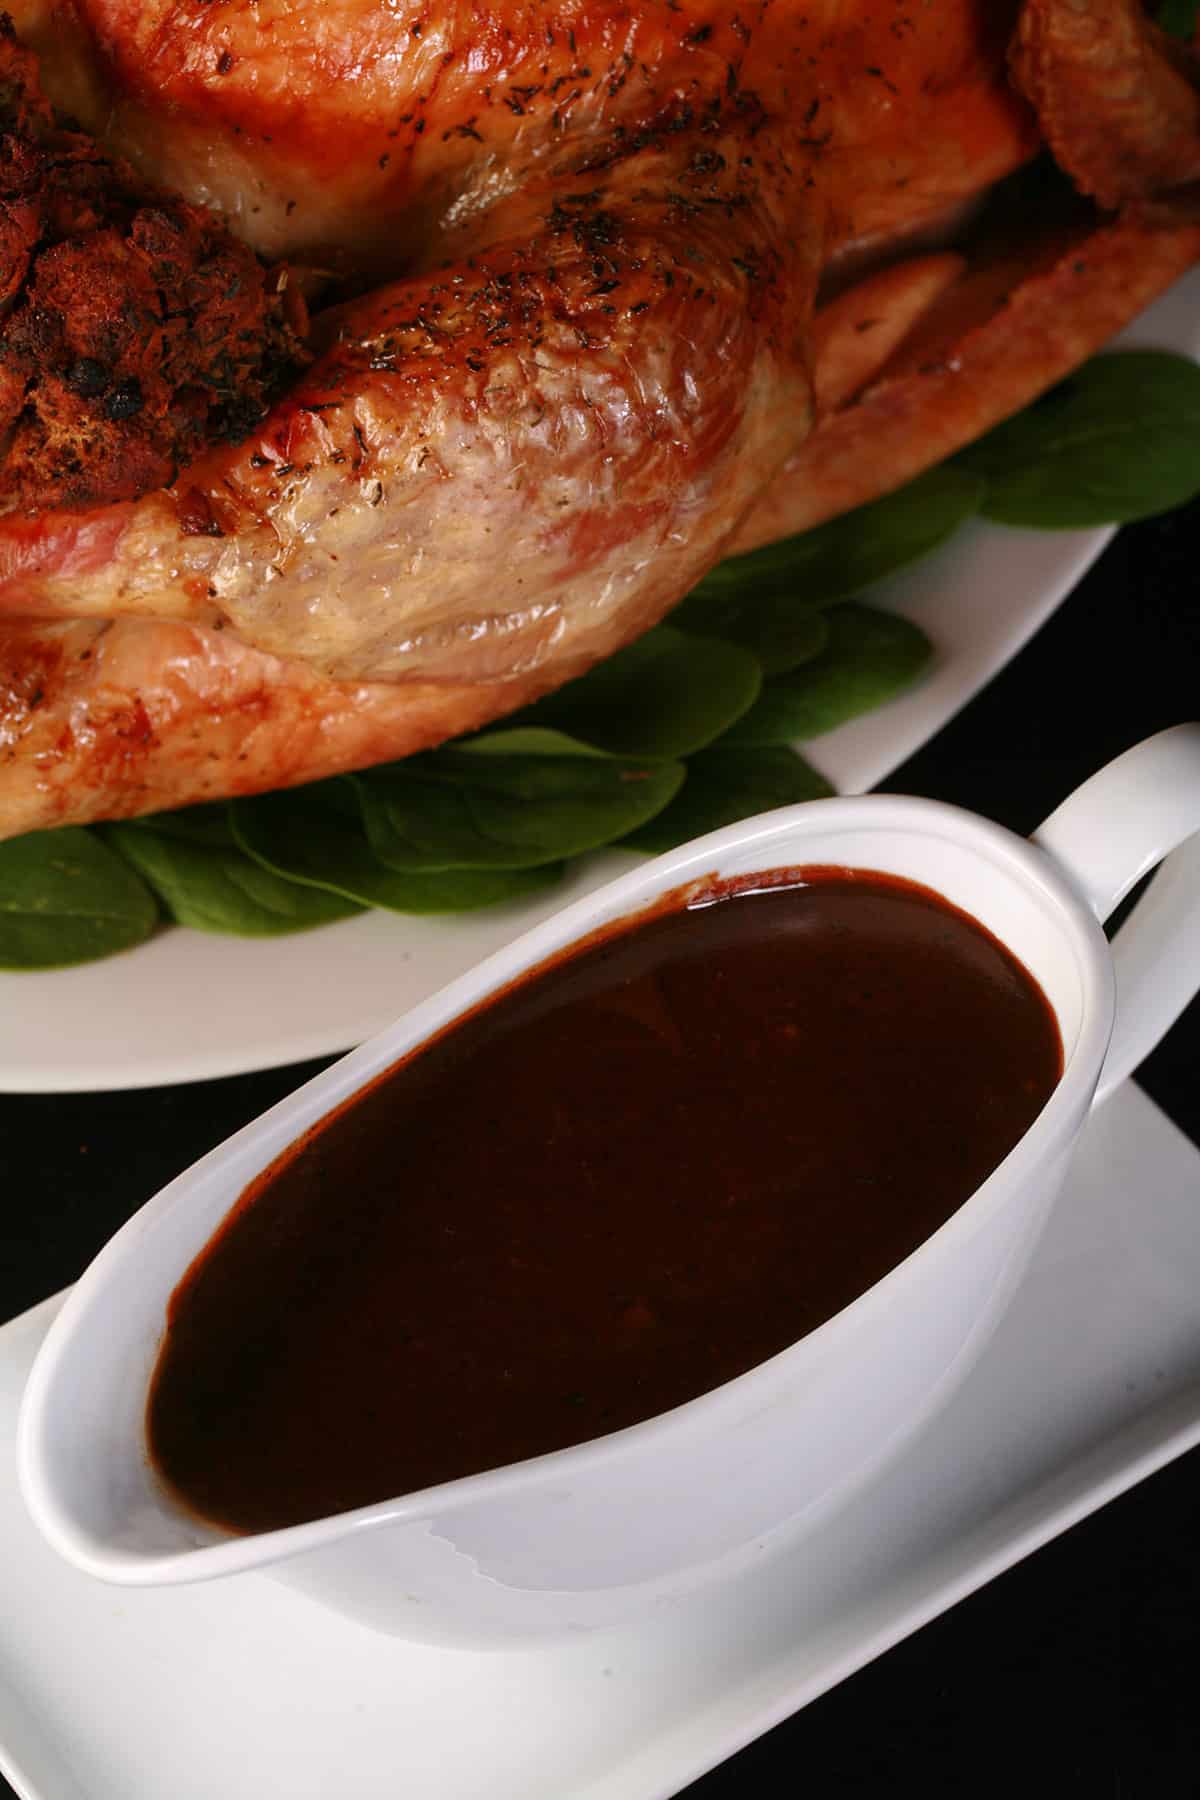
Gravy Boat
Another “optional, but nice to have” item is a gravy boat.
It’s an elegant way to serve gravy, and also tends to keep the gravy warmer than some other styles of serving vessel, in my experience.

How to Make Turkey Gravy
The full recipe is in the recipe card at the end of this post, here is the visual step-by-step guide.
Prepare the Drippings
As you prepare your roast turkey, add at least a cup of liquid to the bottom of the roasting pan. I recommend using chicken stock, rather than the water that some recipes suggest - it won’t dilute the drippings the way water will.
The bigger your turkey, the longer your cooking time - and the more liquid you’ll want in the pan, as some will cook off. For a larger turkey, start with at least 2 cups stock.
I’ll usually add a few celery ribs and a chopped onion, but a carrot, sprig of rosemary, etc are great also.
Go with whatever makes sense, based on what you’re seasoning / stuffing your turkey with.
See my post How to Roast a Stuffed Turkey for more details on roasting a turkey!

Once the turkey is fully cooked, remove it from the pan.
Use a wooden spook to scrape the bottom of the pan, loosening up the browned bits and incorporating them into the remaining liquid.
Remove the vegetable solids from the pan, then strain the liquid through a wire mesh strainer, into a large measuring cup.

De-fat the Drippings
Let the drippings rest for a little bit - 5-10 minutes should be good.
As it rests, the excess fat rises to the top of the cup, leaving rich, hot stock below.

See earlier in the blog post for more information about options for removing the fat.

If you have ½ cup of drippings, you’ll add 1 ½ cups broth. If you have 1 ½ cups of drippings, you’ll only need ½ cup of broth.
Set aside.
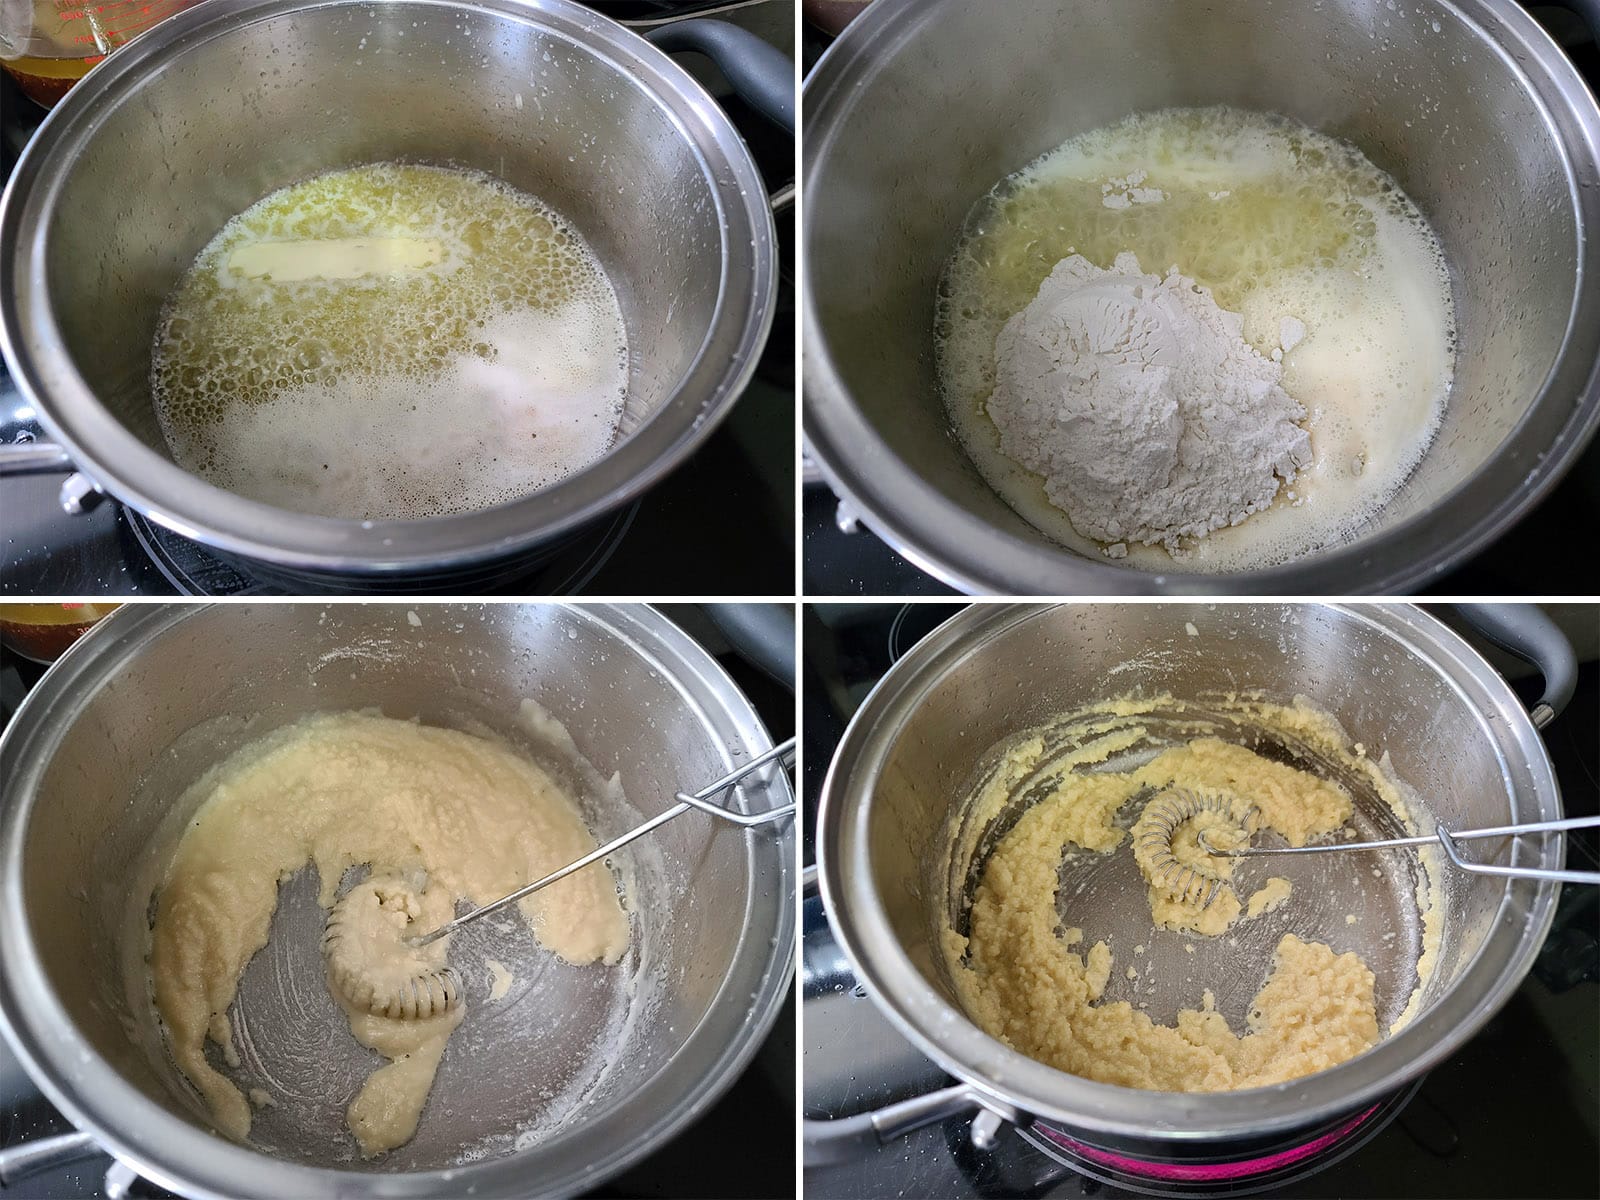
Make the Roux
In a medium saucepan (Large saucepan if you’re doubling the recipe), melt butter over medium-low heat.
Whisk flour into the melted butter until well incorporated.
Note: If you’re using fat and flour 1:1 as the recipe calls for, it’ll look smoother than mine - I ran out of butter when making this batch, so mine ended up more like 1: 1 ½-2, with more flour than butter.
Cook flour mixture - stirring near constantly - until it is as brown as you’d like it.
I am impatient, so I cook it hot and watch it like a hawk - you definitely don’t want to burn it, or you’ll have to start again. The lower the heat, the lower the chance of burning it - it’ll just take longer to cook!
It’ll start out as a white roux, soon after you start cooking the flour and butter.
As it starts to turn a light golden color, that’s a blonde roux.
Once it’s the colour of peanut butter, that’s considered a brown roux.
Any of these stages will work fine, depending on your preferences... for our household, I like to aim for a chocolate roux - which is a stage darker.

A Few Notes on the Stages of Roux
The flavour develops more as you cook it.
A very white roux can taste more like flour, but it’ll take on a roasty, almost nutty flavour as it darkens. The darker the roux, the more robust the flavour!
Also: the darker you aim for, the higher the chance you’ll burn it. Don’t take your eyes off it, don’t stop whisking!
As the roux cooks darker and darker, it starts to loose its thickening power. Once it gets past the blond stage, the roux will need less and less liquid to achieve the same thickness as a lighter roux.
This is why gravy making isn’t really a hard science, and you should always have extra stock on hand - it’s very much something you’ll want to adjust as you go.
I recommend aiming thick to start - it’s much easier to add a bit more stock to thin out a thick gravy, than to try to re-thicken a gravy that’s been make too thin!
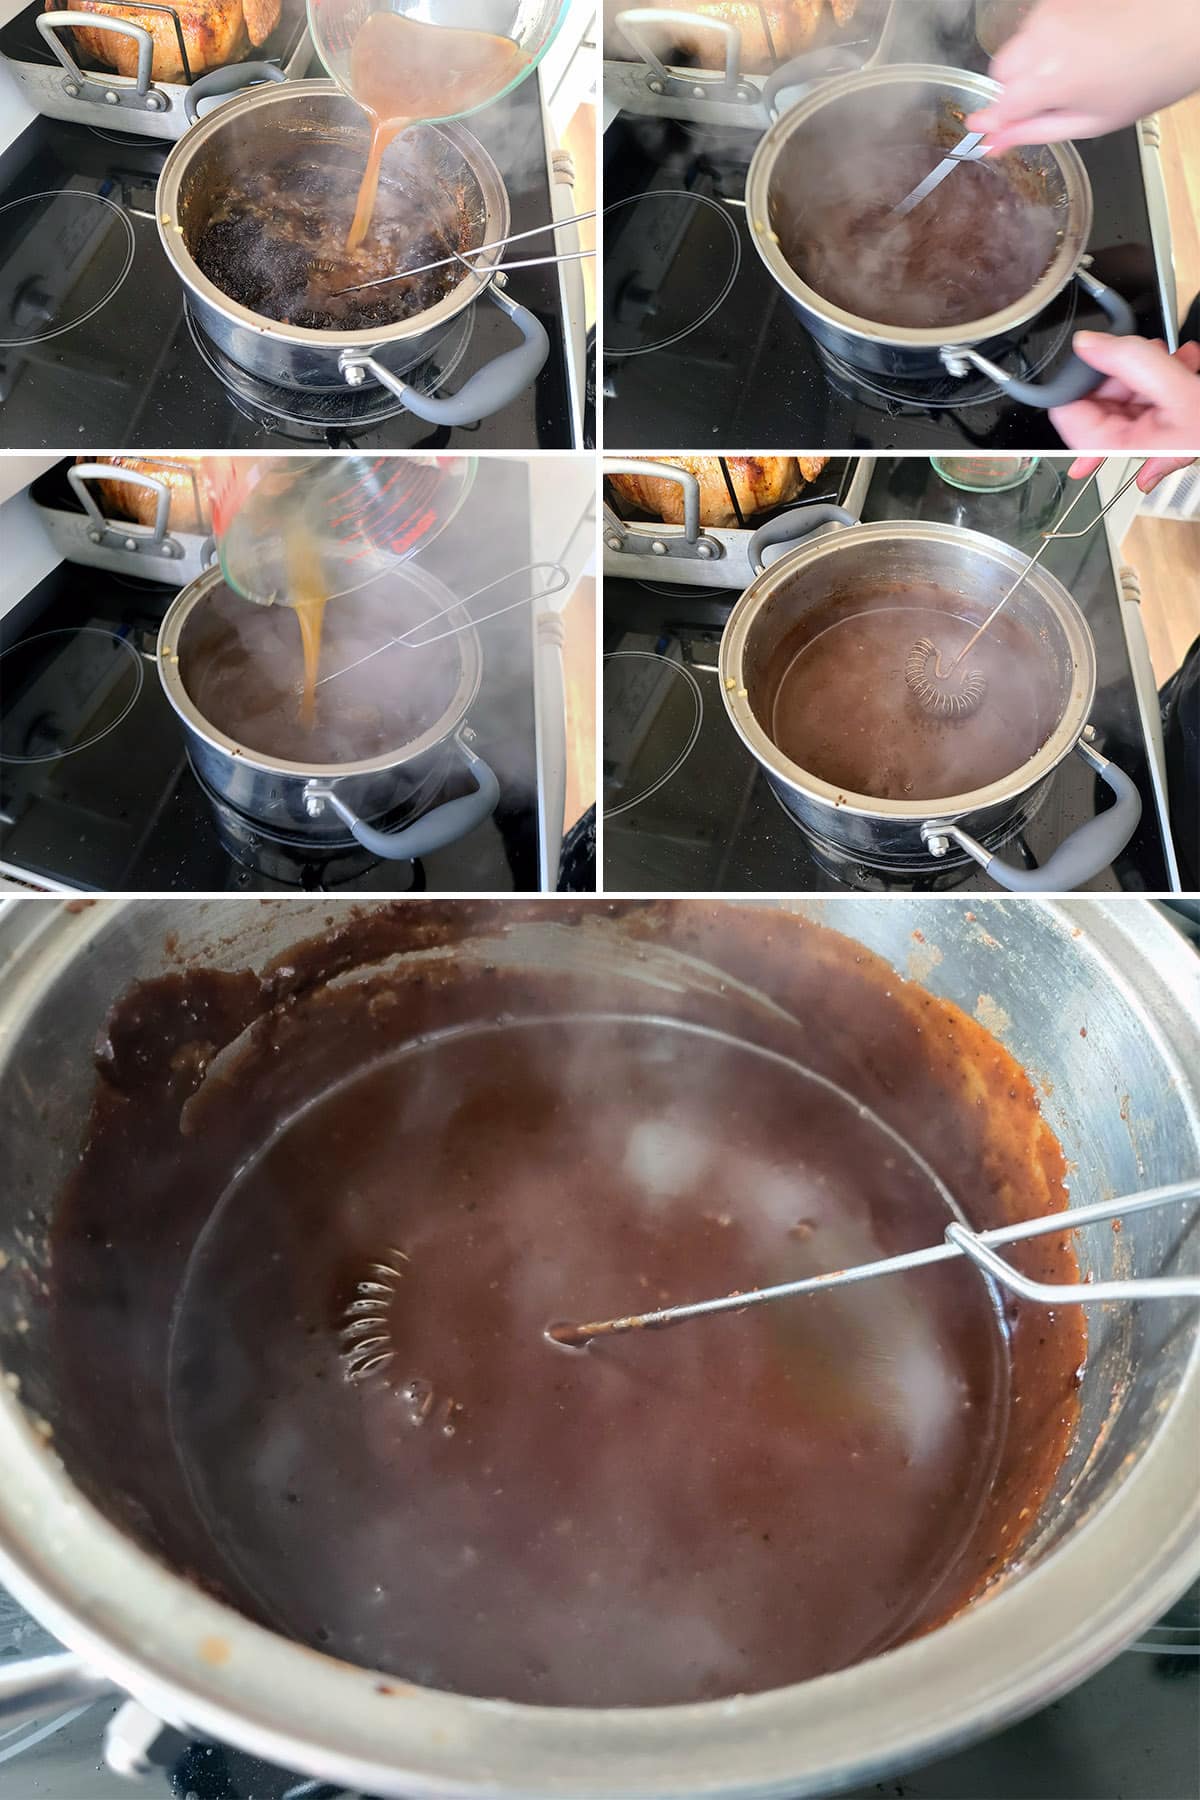
Add the Drippings
Slowly and carefully, pour a small amount of the measured drippings into the pan, whisking as you do.
It will steam up VIOLENTLY, so stand back a bit!

Keep streaming liquid in as you whisk it - it’ll clump up at first, and smooth out as you whisk more liquid in.

You may need more - or less - than the 2 cups of drippings / stock that you start out with.
If you take your roux dark and like a fairly thick gravy, the 2 cups should be about perfect.
However, if you use a lighter roux, and/or want a thinner gravy, you’ll need more than the 2 cups.
I’ll usually use salt, pepper, and dried Summer Savory .
Serve immediately, keeping the pan warm - I’ll usually turn the burner off, but leave the pot on it.

Leftover Gravy
Leftover gravy can be cooled to room temperature and transferred to an airtight container for storage in the fridge.
It will solidify as it chills, but will re-liquify when heated.
I recommend using it within 4 days or so.
Holiday Treats
Looking for some inspiration for your holiday goodies tray or Thanksgiving menu? Here are a few festive ideas for you!
Brandied Apple Upside Down Cake
Boozy Chocolate Haystack Cookies
Candied Orange Slices
Creme de Menthe Nanaimo Bars
Easy Pistachio Macarons
Egg Nog Sticky Buns
Festive Easy Fudge
Fruitcake Cookies
Gluten Free Candy Cane Cookies
Gluten-Free Fruitcake Cookies
Gluten Free Gingerbread Cookies
Noelles
Pecan Pie Cookies
Peppermint Patties
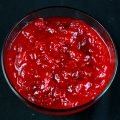
Traditional Cranberry Mousse
Traditional Pumpkin Mousse
Ultimate Cowboy Cookies
Share the Love!
Before you chow down, be sure to take some pics of your handiwork! If you post it to Bluesky, be sure to tag us - @CelebrationGen. We're also on Pinterest, so you can save all your favourite recipes to a board!
Also, be sure to subscribe to my free monthly email newsletter, so you never miss out on any of my nonsense. Well, the published nonsense, anyway!
Finally, if you love this recipe, please consider leaving a star rating and/or a comment below, and maybe even sharing this post on social media!

Rich Turkey Gravy from Drippings
Equipment
- 1 Small saucepan
- Sauce whisk
Ingredients
- Turkey Drippings
- ¾ cup Unsalted Butter
- ¾ cup All purpose flour
- 2 cups Chicken stock See post for more information.
- Salt, Pepper, herbs
Instructions
Prepare the Drippings:
- Once the turkey is fully cooked, remove it from the pan.
- Use a wooden spook to scrape the bottom of the pan, loosening up the browned bits and incorporating them into the remaining liquid.
- Remove the vegetable solids from the pan, then strain the liquid through a wire mesh strainer, into a large measuring cup.
- Let the drippings rest for 5-10 minutes.
- Carefully pour off the fat, or use a ladle to remove as much of it as possible.
- Top up the remaining drippings with chicken or turkey stock, to come up with 2 cups of liquid, set aside.
Make the Roux:
- In a medium saucepan, melt butter over medium-low heat.
- Whisk flour into the melted butter until well incorporated.
- Cook flour mixture - stirring near constantly - until it is as brown as you’d like it. See post for full information on the stages of roux, and what each means for your gravy.
Add the Drippings:
- Slowly and carefully, pour a small amount of the measured drippings into the pan, whisking as you do.
- Keep streaming liquid in as you whisk it - it’ll clump up at first, and smooth out as you whisk more liquid in.
- Keep adding stock, whisking constantly, until it’s about the thickness you like.
- Depending on your preferences - and how dark you got your roux - you may need more / less than the 2 cups of drippings / stock that you start out with.
Season and Serve!
- Once your gravy has reached your desired consistency, season with salt, pepper, and/or herbs, to taste.
- Serve immediately, keeping the pan warm .
Leftover Gravy
- Leftover gravy can be cooled to room temperature and transferred to an airtight container for storage in the fridge. Use it within 4 days or so.
Video
Notes
Nutrition


Leave a Reply