

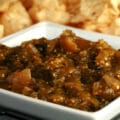
Pepper Jelly
Originally published October 12, 2009. Updated on 6/25/2021
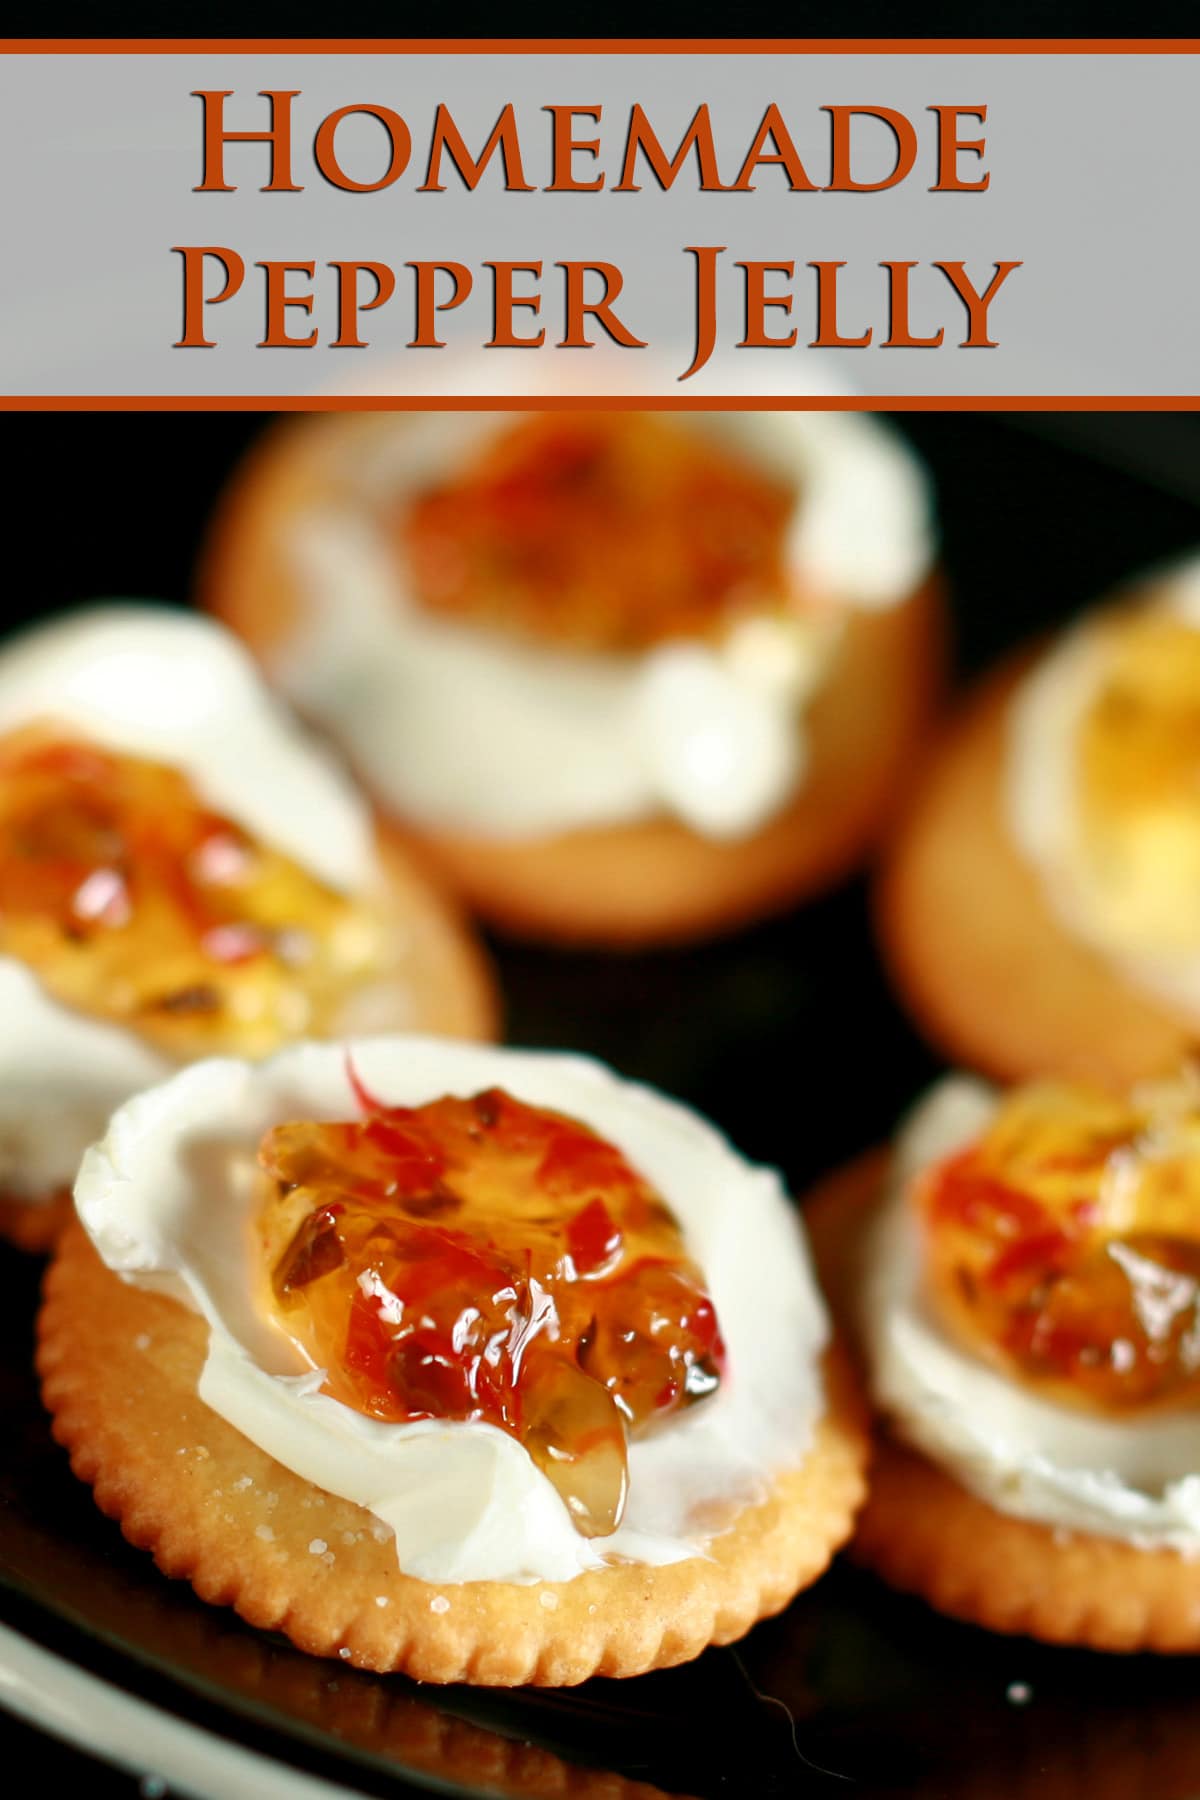
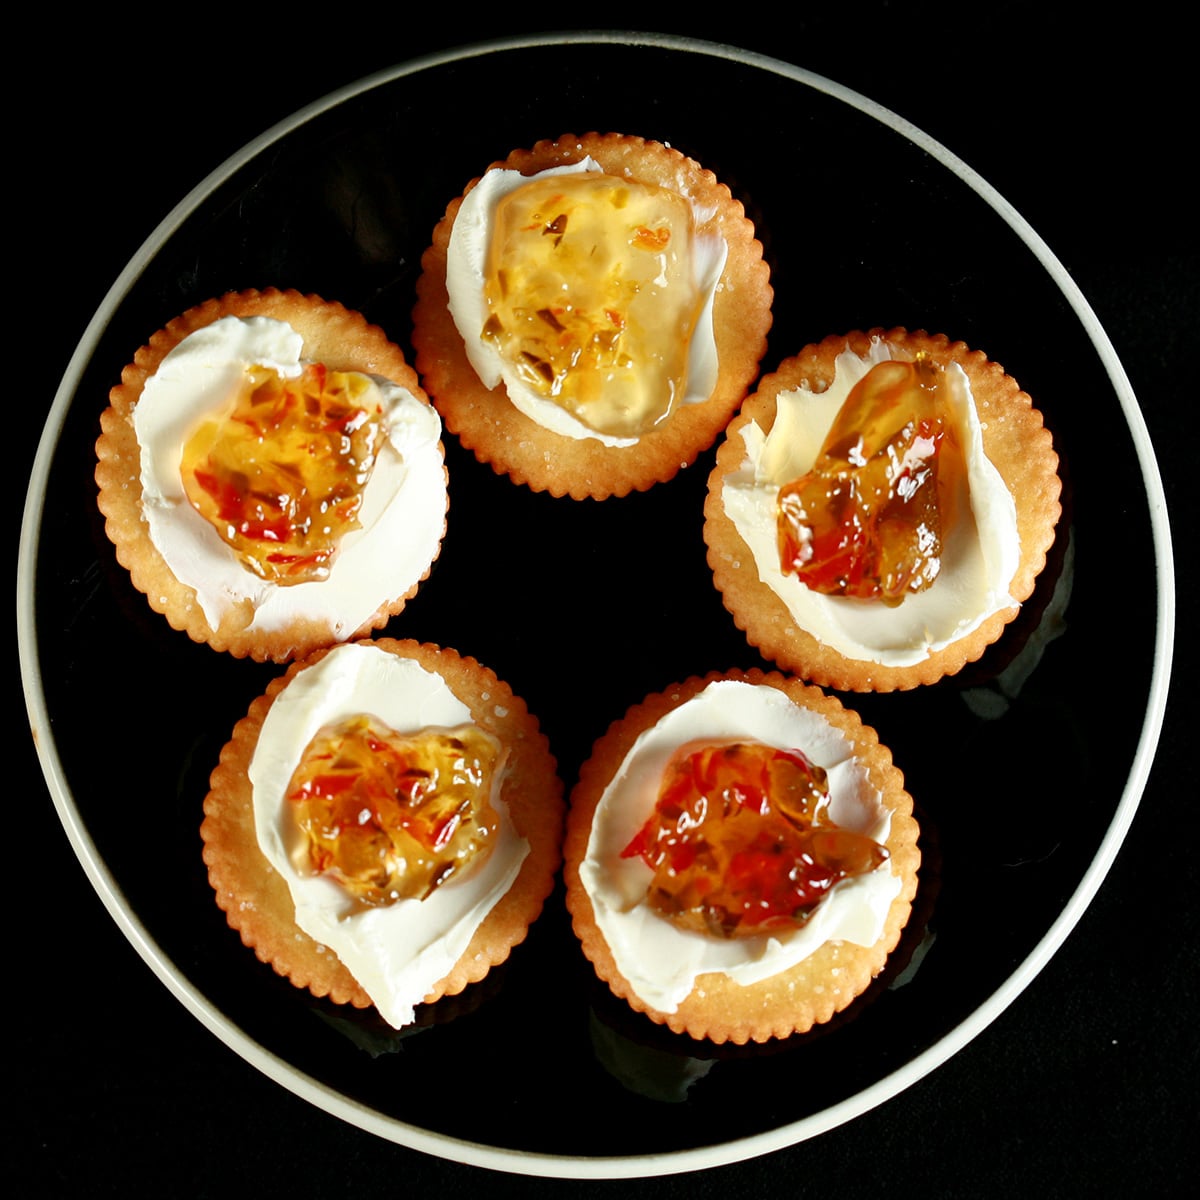
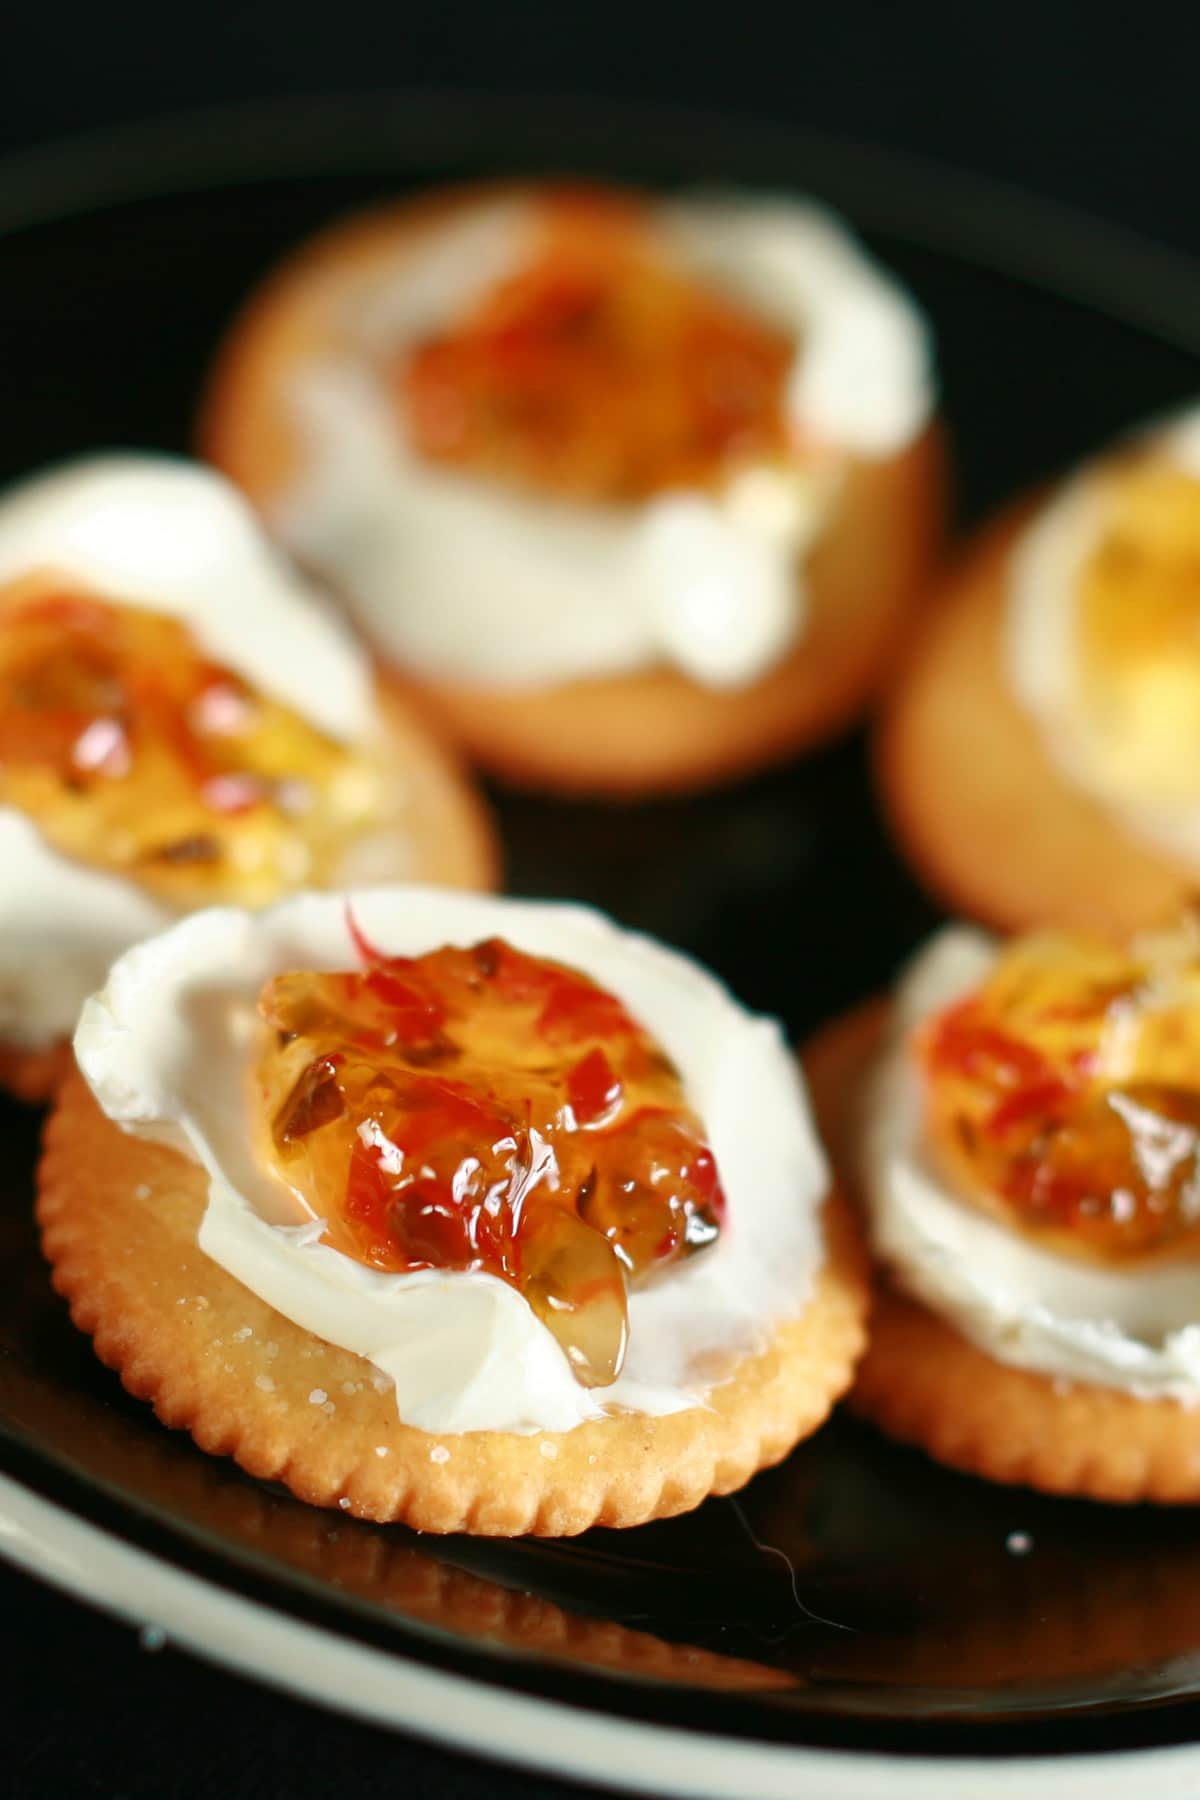
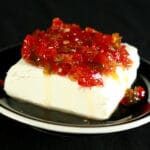
Pepper Jelly - This is the very first canning recipe I ever created, and it's a classic around here. Serve with crackers and cream cheese.
I cannot tell you how amazing this pepper jelly is, you'll really have to try it for yourself.
As-is, it's the perfect balance of flavors - sweet, heat, and just the complex pepper taste in general... without being too hot!
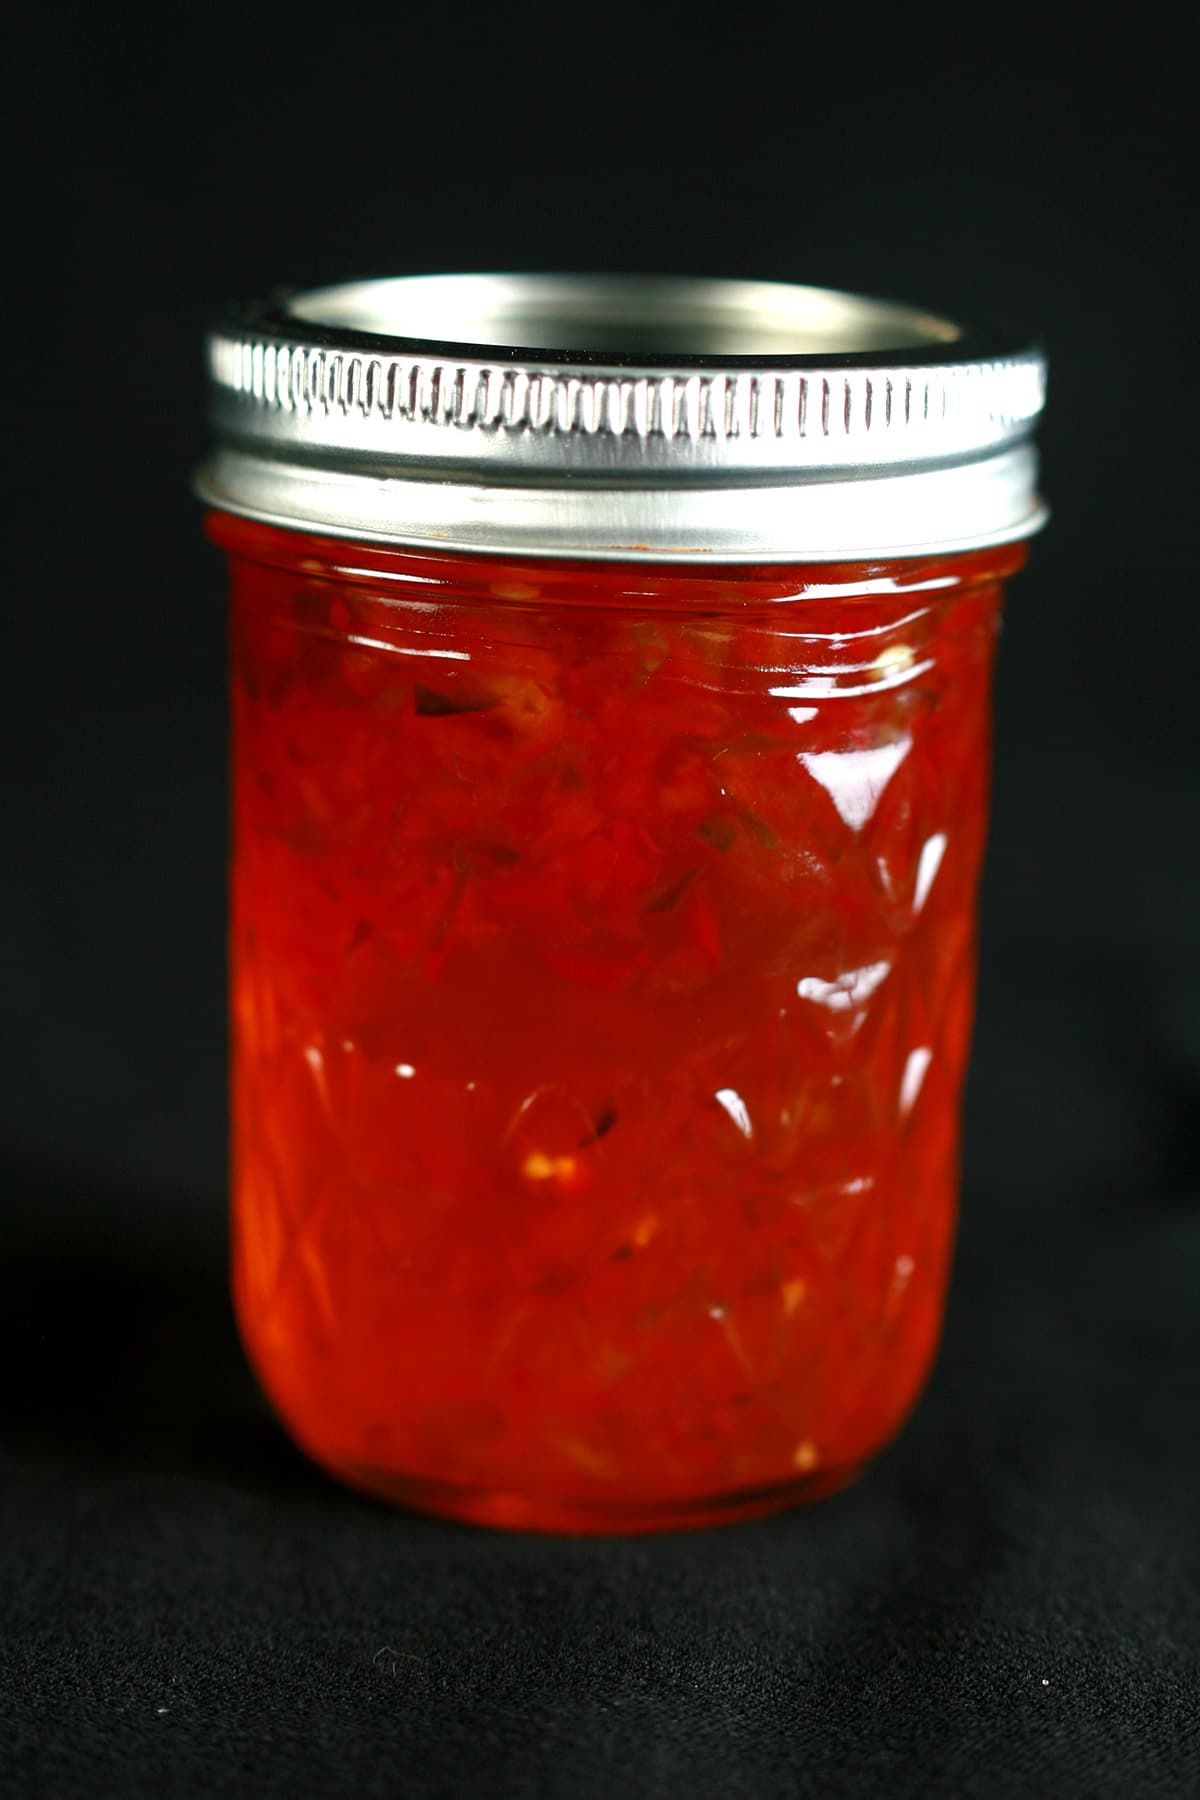
This will make about 6 jam jar's worth of pepper jelly, but beware - we went through our batch WAY too fast. (Especially when you consider the fact that there are only 2 of us here!).
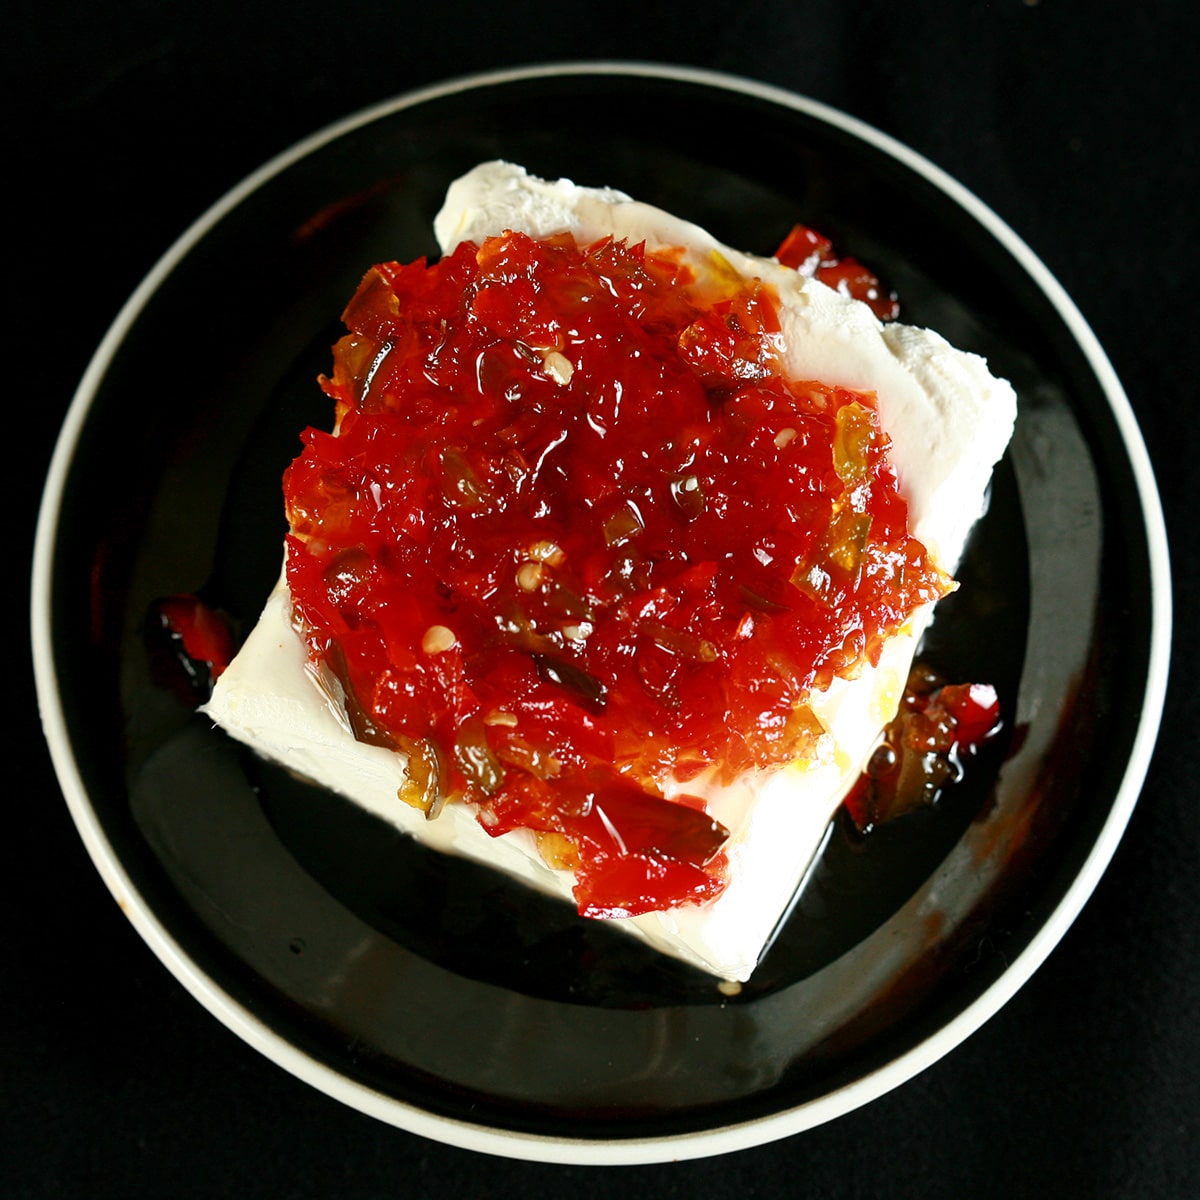
We like it on crackers, or spread on toast - especially when either has a layer of cream cheese spread on as a base! Breakfast, lunch, dinner, or snacks - Highly addictive.
This is also a really easy recipe, and it's the first thing I ever developed for canning!

How to Make Pepper Jelly
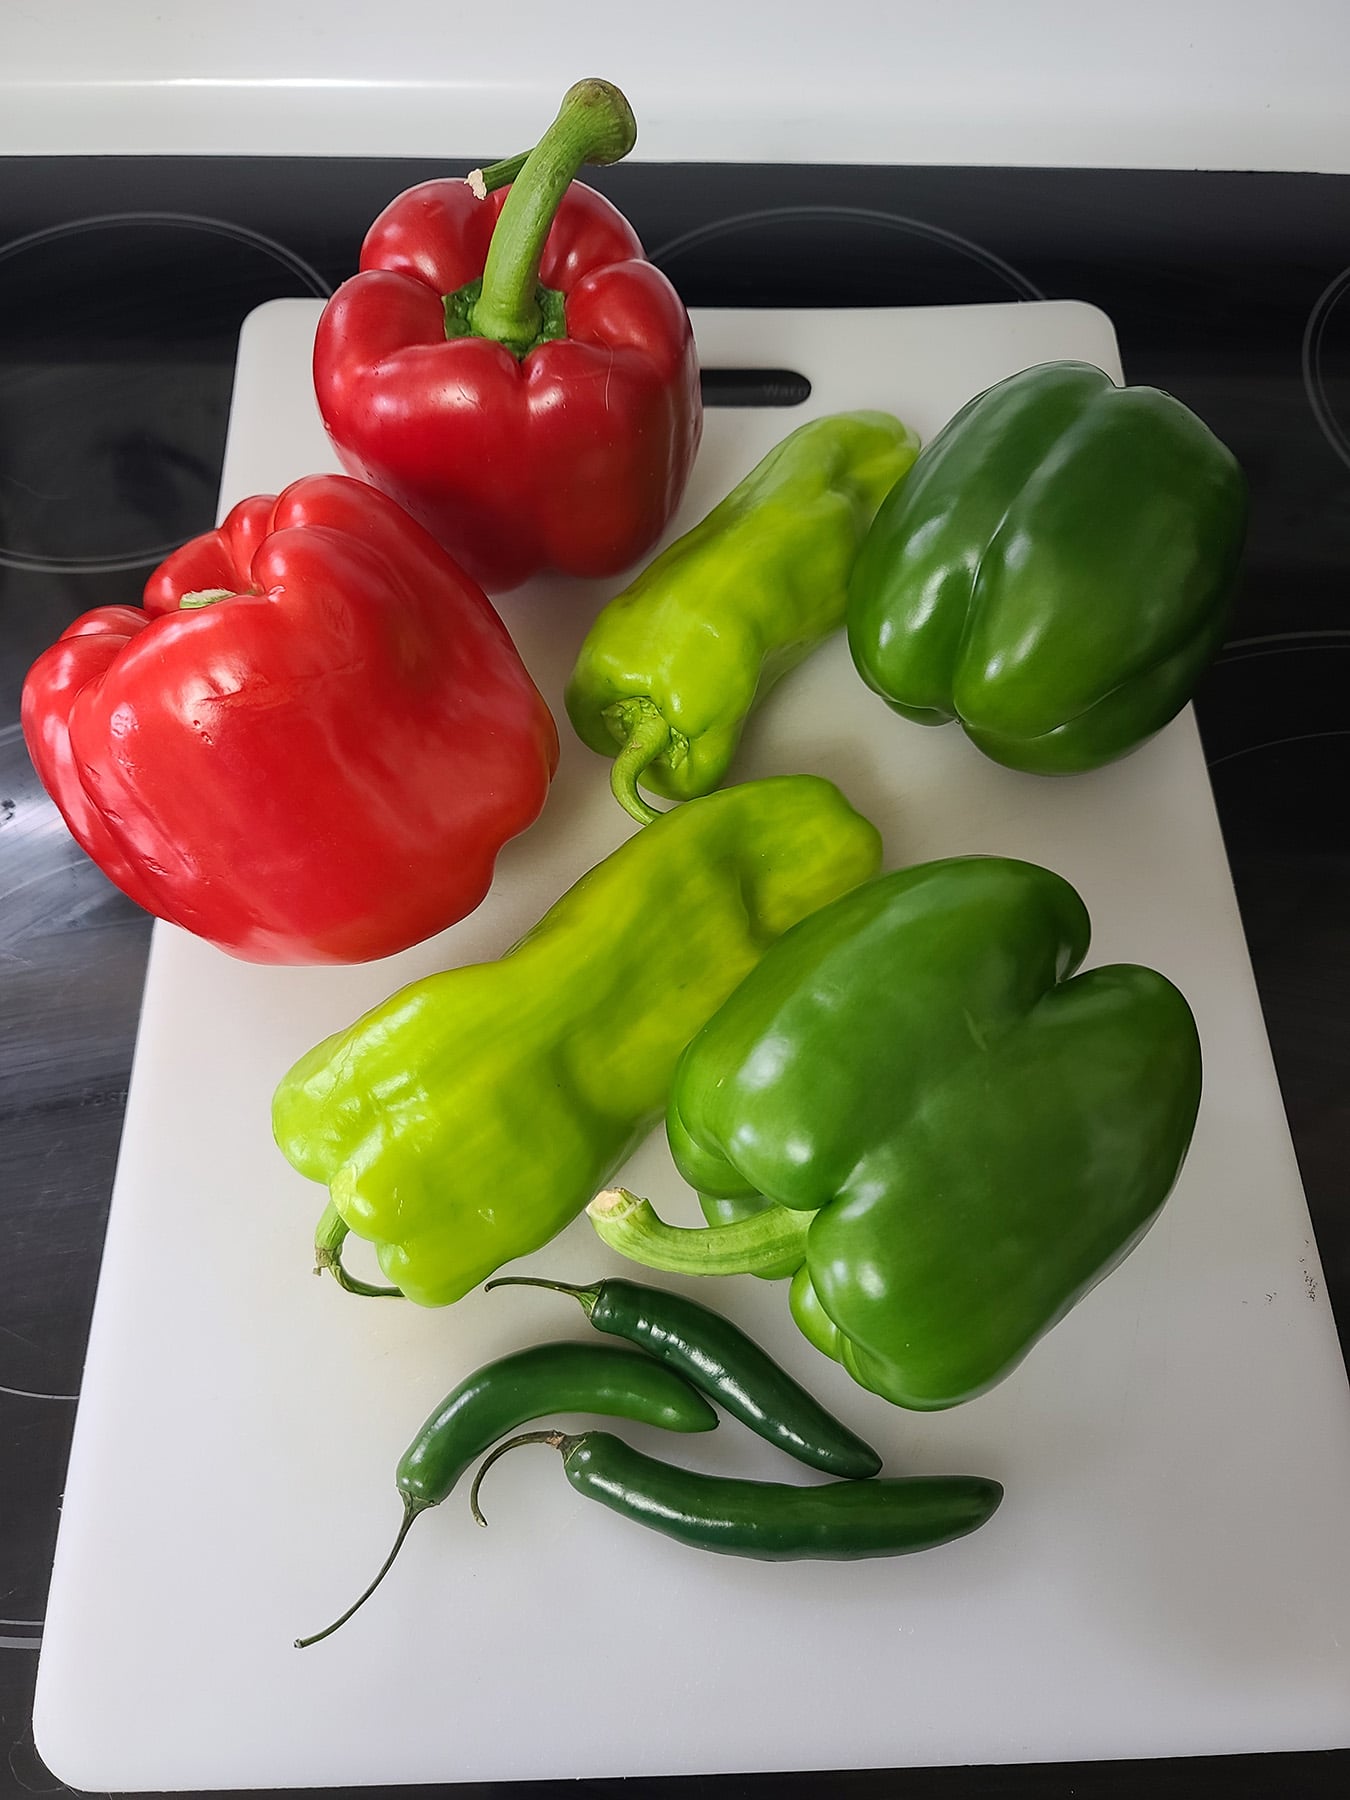
WEARING GLOVES, remove stems, cores, and seeds from all peppers, chop into large chunks.

Put all peppers in food processor, process till finely chopped.

Put peppers and vinegar into pot, bring to boil. After 1 minute, turn temperature down and simmer another 15 mins.
Strain peppers for juice (I lined a metal colander, sometimes I'll line it with a coffee filter). *

In the pot, add sugar to strained pepper juice. Turn heat up to medium-high, and stir constantly while bringing it to a rapid, hard boil.
If you're adding some of the pepper back to it, do that now, and be sure it comes back to a hard, rolling boil.

Remove from heat, add pectin. Stir well.

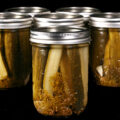
Pour jelly into sterilized jars, leaving about ⅛" inch space on top.

Use a clean wet paper towel to wipe the rims, place lids on top of each, and affix the rings.

Get a large pot of water boiling. Add the jars - making sure they're covered in water - and process for 5 minutes.
Allow jars to cool.
Once cool - like the next day - check each jar to make sure it sealed properly. The middle of the lid should have been sucked down.
Jars that haven't sealed properly should be stored in the fridge and eaten relatively soon (within 2 weeks). This won't be a problem 🙂
Tighten all lids. Jelly should keep for around a year, but it very likely won't be around that long!
A Note on Straining the Juice
After straining the juice the first time, I thought it was a shame to have just a plain, clear jelly.
I reserved the colorful peppers at this point, and re-added them just before I added the pectin.
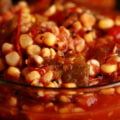
You can choose to have pepper pieces in your jelly or not! If you want to have them in there, don't bother straining the juice out.
Customizing this Pepper Jelly
There are two main ways that I make this jelly - as-is, or as “hot red pepper jelly”.
The latter involves swapping out most of the green peppers for red (aside from the jalapeno), and upping the number of hot peppers.
Delicious!
You can swap out peppers as necessary, whether for taste, appearance, or just based on what you have available.
When photographing the process this time, I couldn’t get poblano or Anaheim peppers, so I improvised.
Just aim to keep your substitutions roughly equal in volume, to what they’re replacing!
Why Didn’t My Pepper Jelly Set Up?
Recently, I made another batch of this, and it didn’t set up. First time for everything, I guess.
The problem?
I mailed it in on the boiling - I was in a hurry - and it was at more of a light simmer than a *boil* when I added the pectin.
In looking up to see what was what, I found out that having it at a good, rolling boil before adding the pectin is really important to it setting up. Whoops.
(Other things that can prevent setting are acid and sugar levels, but those are not a concern with this recipe!).
So, if yours doesn’t set up, you can do one of three things:
Leave it Alone
Sometimes, this pepper jelly can take several days to thicken up. No idea why.
So, before fussing around with it, give it a good 5 days before declaring it in need of repair.
Accept It
My runny pepper jelly actually makes a really nice sauce, something like a Thai sweet chili sauce. Really good as a dip, or a glaze for wings!
Fix It
Much like fruit jams, pepper jelly can be recooked, tinkered with, and fixed.
I found this article on How to Fix Runny Pepper Jelly, which is very similar to how I’ve dealt with jams that haven’t set.
Just be sure to use re-sterilized jars, and brand new, sterilized lids!

More Pickling and Canning Recipes
Looking for more canned preservation recipes? Here you go!
Clementine Marmalade
Homemade Dill Pickles
Homemade Pickled Beets
Homemade Pickled Carrots, 2 Ways
Hoppy Dill Pickle Relish
Hoppy IPA Pickles
Mixed Root Vegetable Pickles
Mixed Vegetable Pickles
Roasted Corn Salsa
Roasted Corn Salsa Verde
Roasted Salsa Verde
Sweet Corn Relish
Sweet Mustard Pickles
Share the Love!
Before you chow down, be sure to take some pics of your handiwork! If you post it to Bluesky, be sure to tag us - @CelebrationGen. We're also on Pinterest, so you can save all your favourite recipes to a board!
Also, be sure to subscribe to my free monthly email newsletter, so you never miss out on any of my nonsense.
Well, the published nonsense, anyway!
Pepper Jelly for Canning
Equipment
- Clean, Sterilized Jam Jars with New Lids
- Jar Lifter, Canning Funnel
- LARGE pot to process them in
Ingredients
- 1 Poblano Pepper
- 1 Green Bell Pepper
- 2 Jalapeno Peppers
- 2 Anaheim Pepper
- 1 Habanero Pepper
- 1 ½ Cups Vinegar
- 6 cups Granulated Sugar
- 1 Pouch Liquid Pectin
Instructions
- Remove stems, cores, and seeds from all peppers, chop into large chunks. Put all peppers in food processor, process till finely chopped.
- Put peppers and vinegar into pot, bring to boil. After 1 minute, turn temperature down and simmer another 15 mins.
- Strain peppers for juice (I lined a metal colander with a coffee filter). *
- In the pot, add sugar to strained pepper juice. Turn heat up to medium-high, and stir constantly while bringing it to a rapid boil.
- Remove from heat, add pectin. Stir well.
- Pour jelly into sterilized jars, leaving about ⅛″ inch space on top. Wipe rims, place lids on top of each, and affix the rings.
- Get a large pot of water boiling. Add the jars - making sure they're covered in water - and process for 5 minutes.
- Allow jars to cool.
- Check each jar to make sure it sealed properly. The middle of the lid should have been sucked down. Jars that haven’t sealed properly should be stored in the fridge and eaten relatively soon (within 2 weeks). This won’t be a problem 🙂
- Tighten all lids. Jelly should keep for around a year, but it very likely won’t be around that long!
Notes
Nutrition


Karen
This sounds amazing! We are having a "make it" Christmas this year and this lovely jelly will be a great gift and look festive too! Thanks for the post!
William
Diabetes much? It would be a great service to your followers and readers if you used a low glycemic substitute, like allulose or erythritol.
Can't hurt to help.
Marie Porter
Rude much?
If you need a specific sugar substitute recipe, Google is a thing. Can't hurt to help yourself, rather than be obnoxious on recipes that don't suit what you're looking for - and in no way purport to.
Chris
Buddy, it's your job to find that recipe, check your attitude
Roger
I Great recipe. I left my peppers which I used in my pot. I had red,yellow, orange and green peppers. Great tasting 😋
Margot
It's delicious BUT instead of being too liquid mine came out very firm. What did I do wrong.