

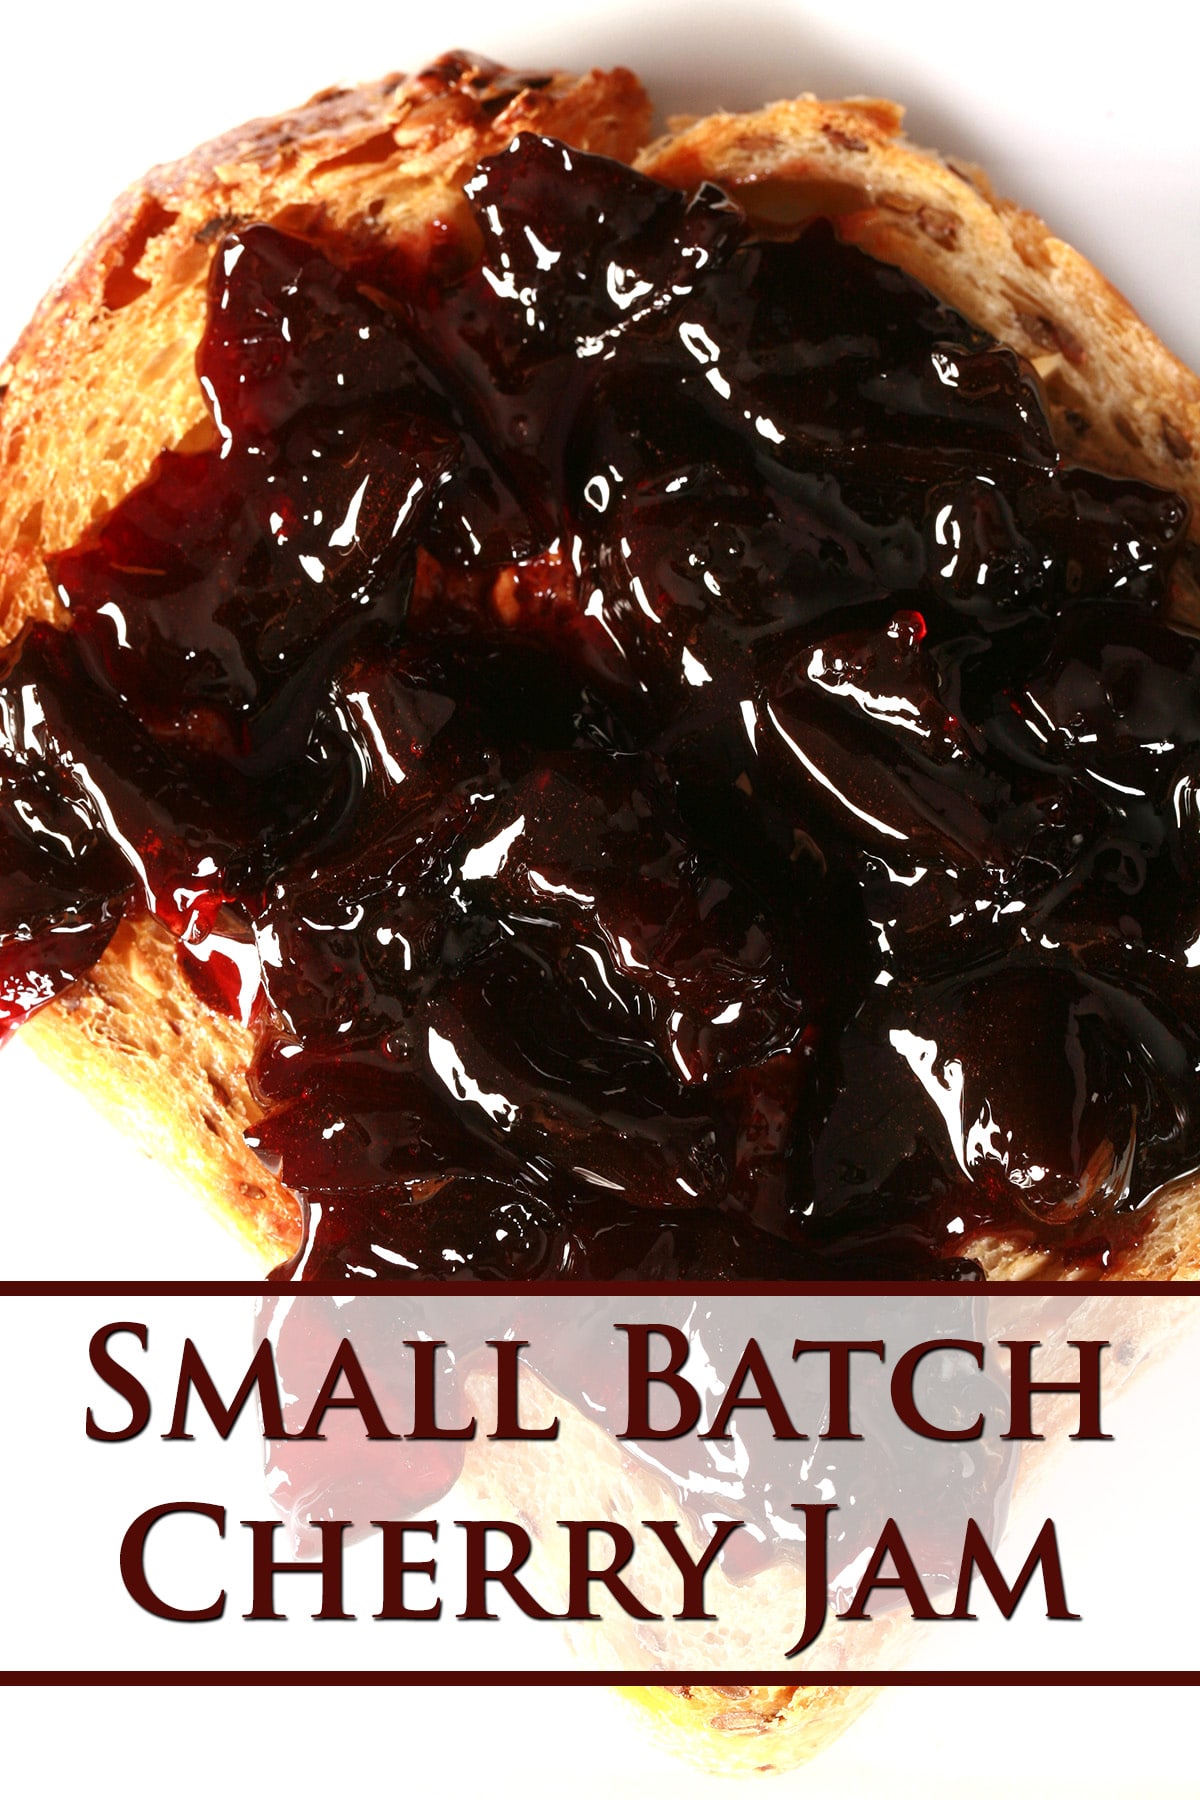
Have more cherries than you know what to do with, but don't want the hassle of canning? Try my small-batch cherry jam! Perfect for the fridge.
I've mentioned it before - we don't go through enough jam to really bother with the whole production of canning jam.
Huge batches of fruit, big pots, the whole actual canning process, when we *might* use a couple of jars a year?
Nah.
That said, when it's cherry season... we tend to get a bit silly with buying them.
We'll eat cherries till we think we'll burst, then look at what's left and worry that we won't be able to get through them all before they go bad... and that would be tragic.
So, we make small batch cherry jam!
Small batch jams are great because they don't need a ton of fruit - but are a great way to use up what you won't go through.
They work up quickly, don't require pectin, AND - obviously - just make a small, entirely useable amount of jam, without the hassle of the actual canning process!
I've posted a few other small batch jam recipes - Small Batch Blueberry Jam, Small Batch Mango Peach Jam, and Small Batch Peach Jam.
Well, today it's time for my small batch cherry jam recipe!
Ingredients
Before we get going with the recipe, I’d like to discuss the (very few) ingredients:
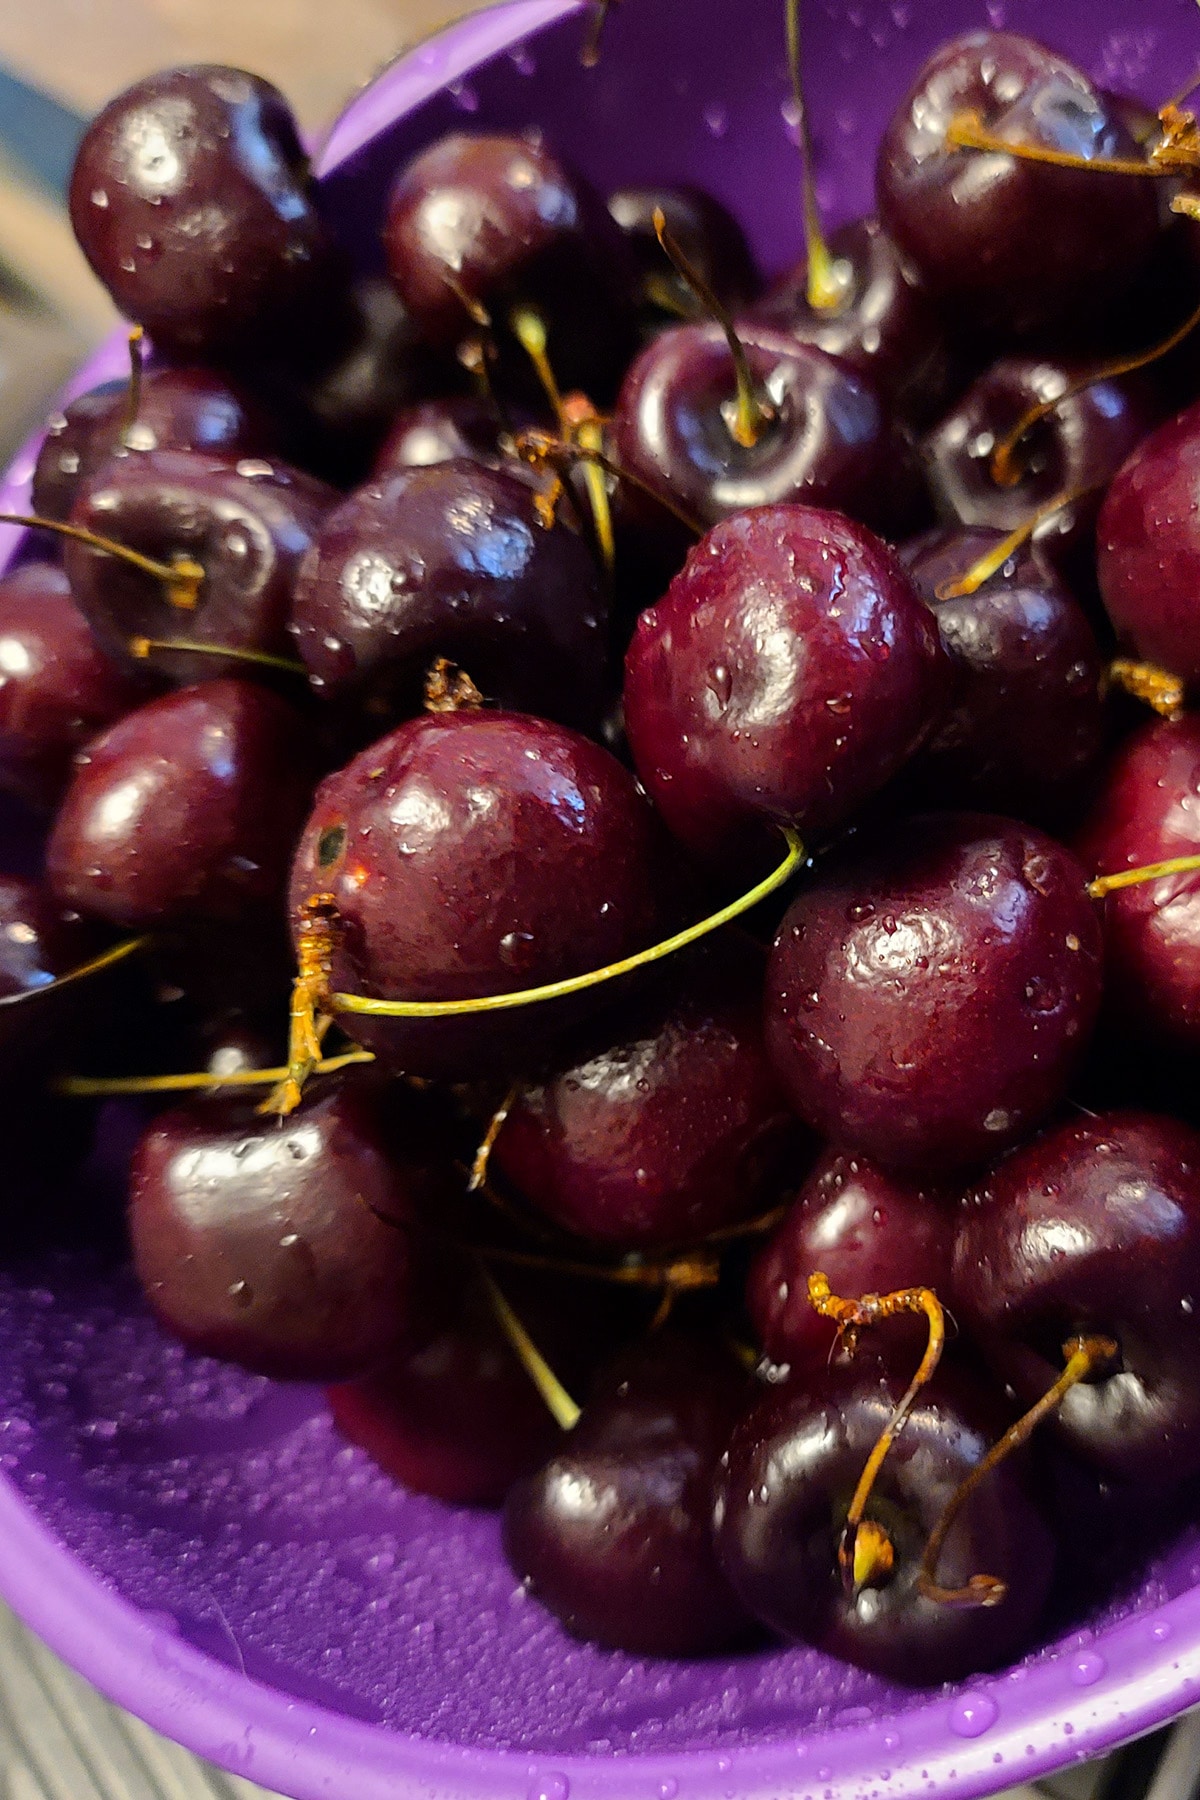
Cherries
You can use fresh or frozen cherries for this recipe. Living in Ontario's fruit belt, we tend to use fresh cherries for this: red or dark. Both work well!
For this batch, we used fresh dark sweet cherries.
If using frozen cherries, you can generally skip the pitting step, but you’ll still want to chop them. This will be easiest if they’re at least partially thawed.
Just be careful - freezing breaks down the cells of the fruit and releases a LOT of juice when it thaws. Collect the juice and use it in the jam!
Pitting the Cherries
When I was a kid, my grandma would make jam from the cherries in our backyard - thought they were an entirely different kind of cherry, much smaller.
She’d just use a knife to cut the pits out. It seemed ...fussy.
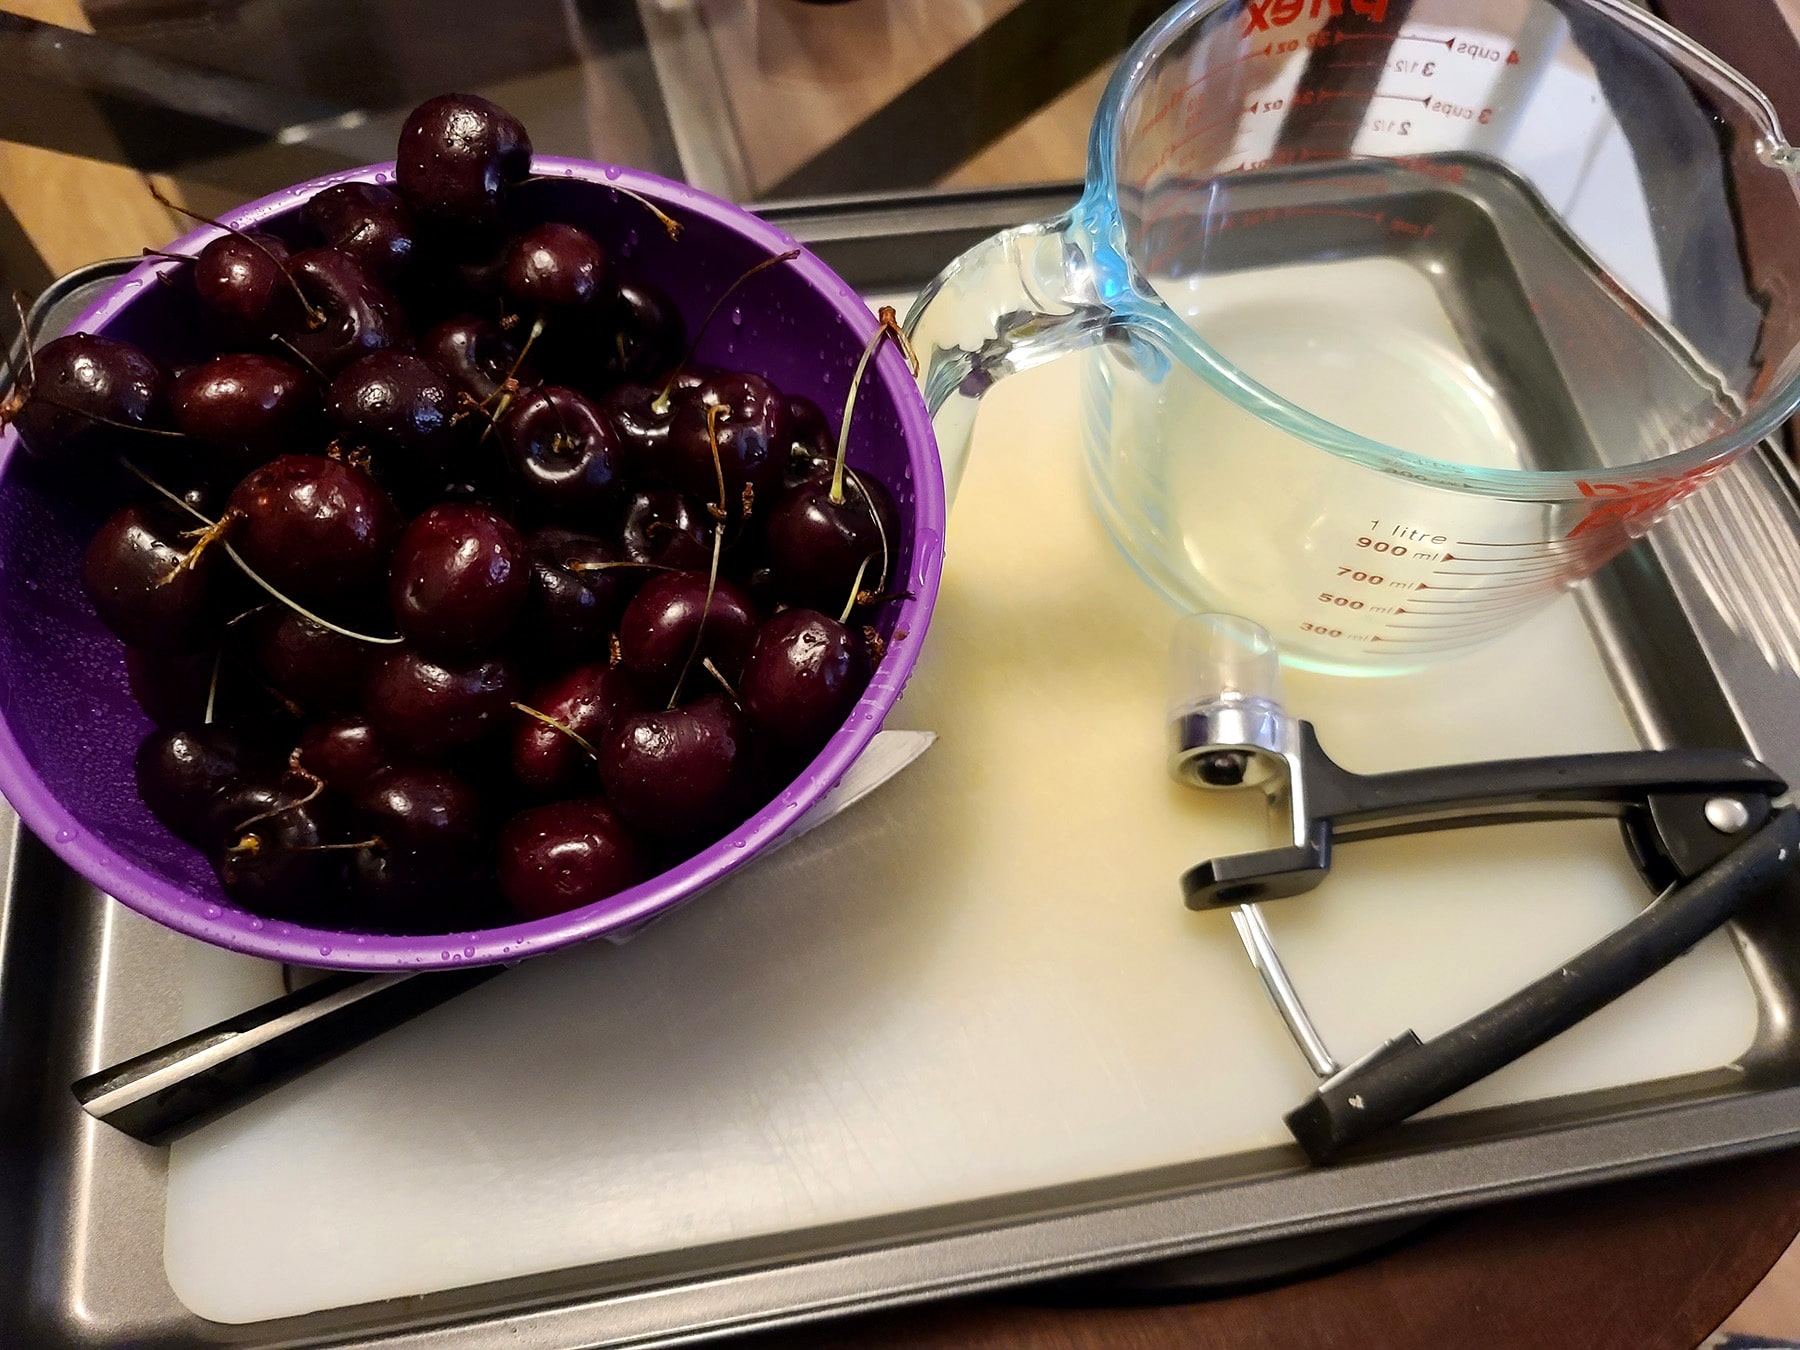
Using full-sized cherries, I like to use a cherry pitter. Less fussy, and I would assume a lot less mess involved.
I do like to do it over a rimmed baking sheet, though. It’s a good way to contain any juice coming out of those cherries!

Sugar
Use plain white granulated sugar for this - other varieties of sugar will overpower the cherry flavour, IMHO. Also, I don’t like the way it looks when you use brown sugar - just not as appetizing.
Honey
I like honey with cherries, and I like the flavour that a little bit of honey brings to this jam. It’s subtle, but nice.
If you don’t want to use honey, just replace it with the same amount of sugar.

Pectin
LOL just kidding. I made this recipe for the times when I just want a bit of jam, and don’t want the hassle of making jam.
Making jam can be a big ordeal, to be honest, and I wanted this nice and simple.
Some fruit has a lot of pectin, so you can just rely on the pectin and added acid to react with the sugar and gel up normally.
Cherries don’t have a ton of pectin, however, so this is less about it gelling up like a jam, and more about cooking it down to a thick syrup-solid.
It’s almost like making a caramel, but you’re not actually caramelizing/ browning the sugars.
A bit different from normal jam making, but it does produce actual jam... without fussing with trying to measure out a small amount of pectin from a container meant to be used all at once.
Lemon Juice
The lemon juice is necessary for flavour and texture.

How to Make Small Batch Cherry Jam
Full recipe follows, but here's a pictorial overview.
Chop the cherries into small pieces - I usually cut each into 4, for a chunkier jam. Feel free to chop them smaller, if you like!

Add cherries, sugar, honey, and lemon juice to a medium pot, bring to a boil over medium-high heat, stirring frequently.
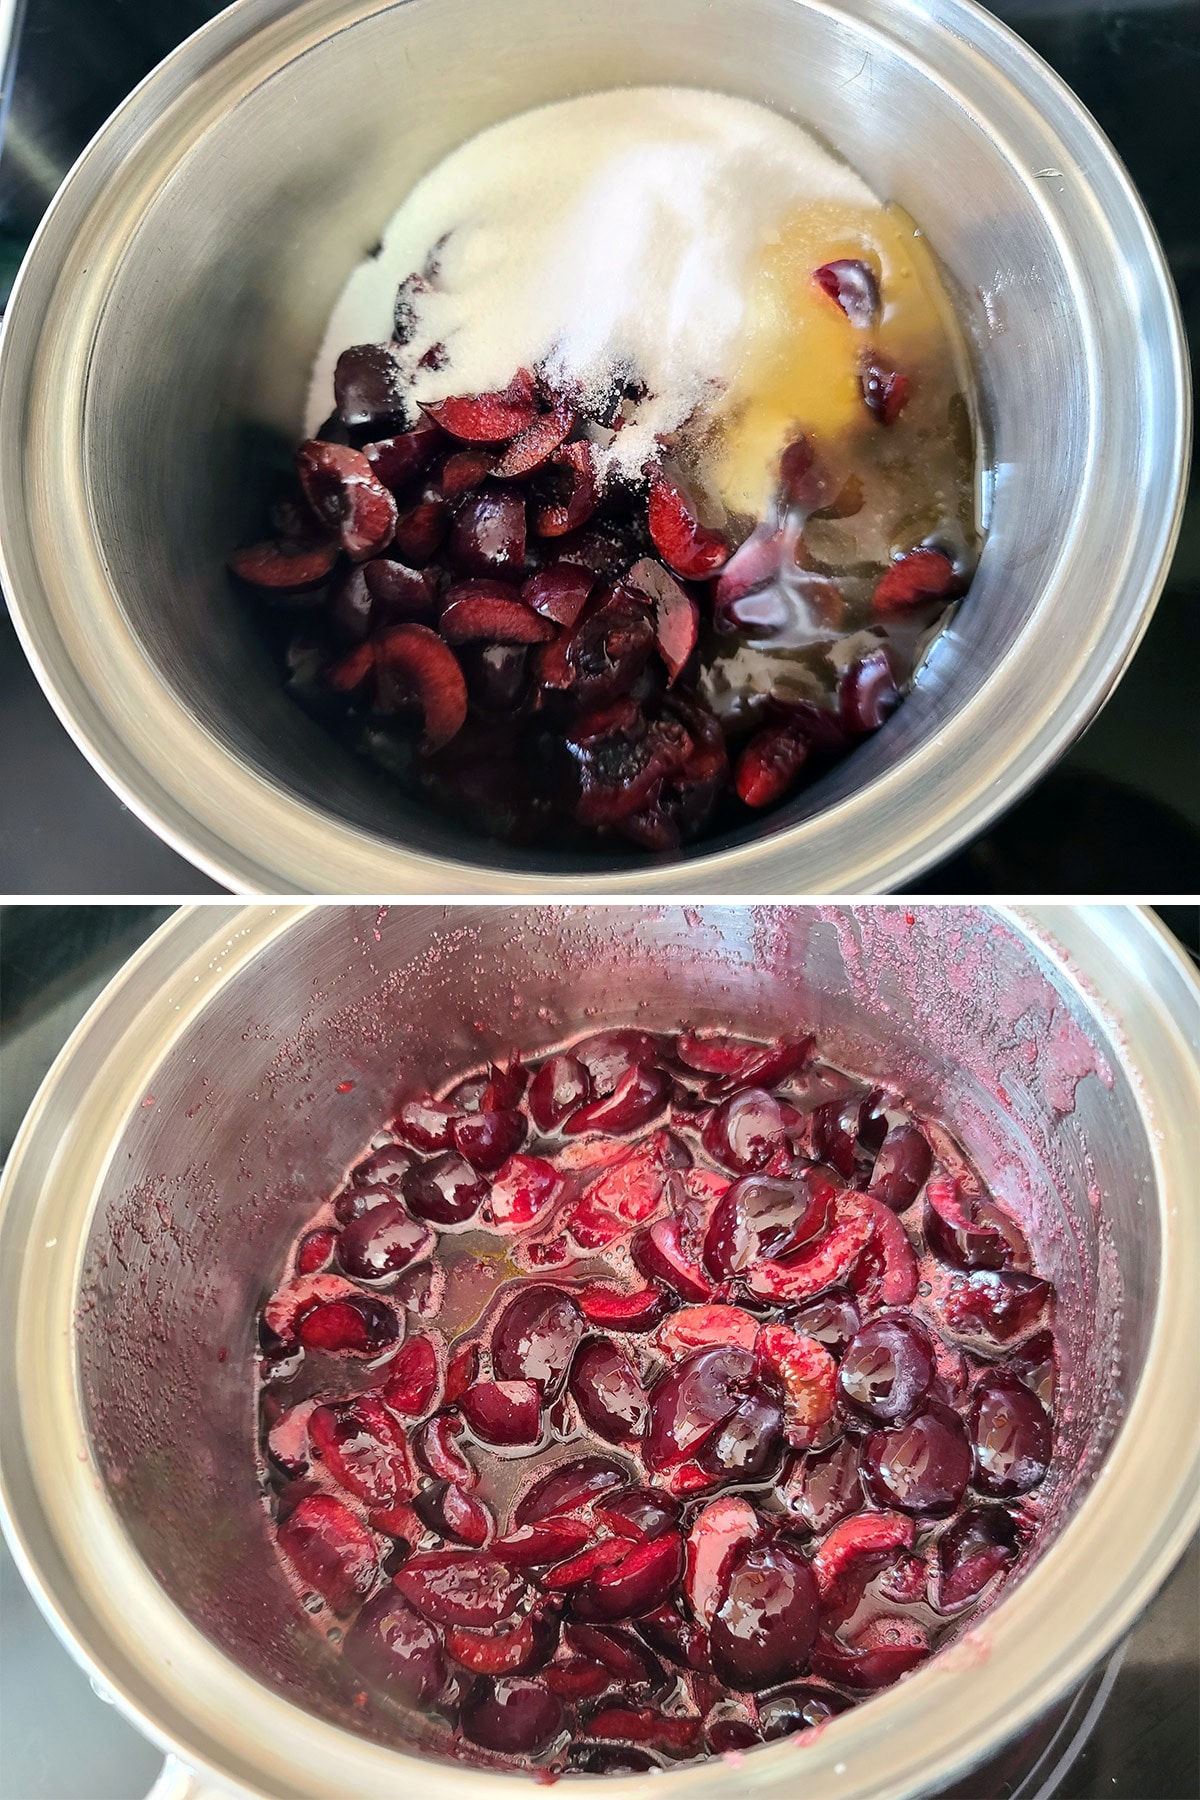
Once the mixture is boiling, turn the heat down to low and simmer for about 20 minutes, stirring frequently.
As the cherries soften, mash them a bit with a potato masher. I like a bit of texture - not pureed, and not TOO chunky.
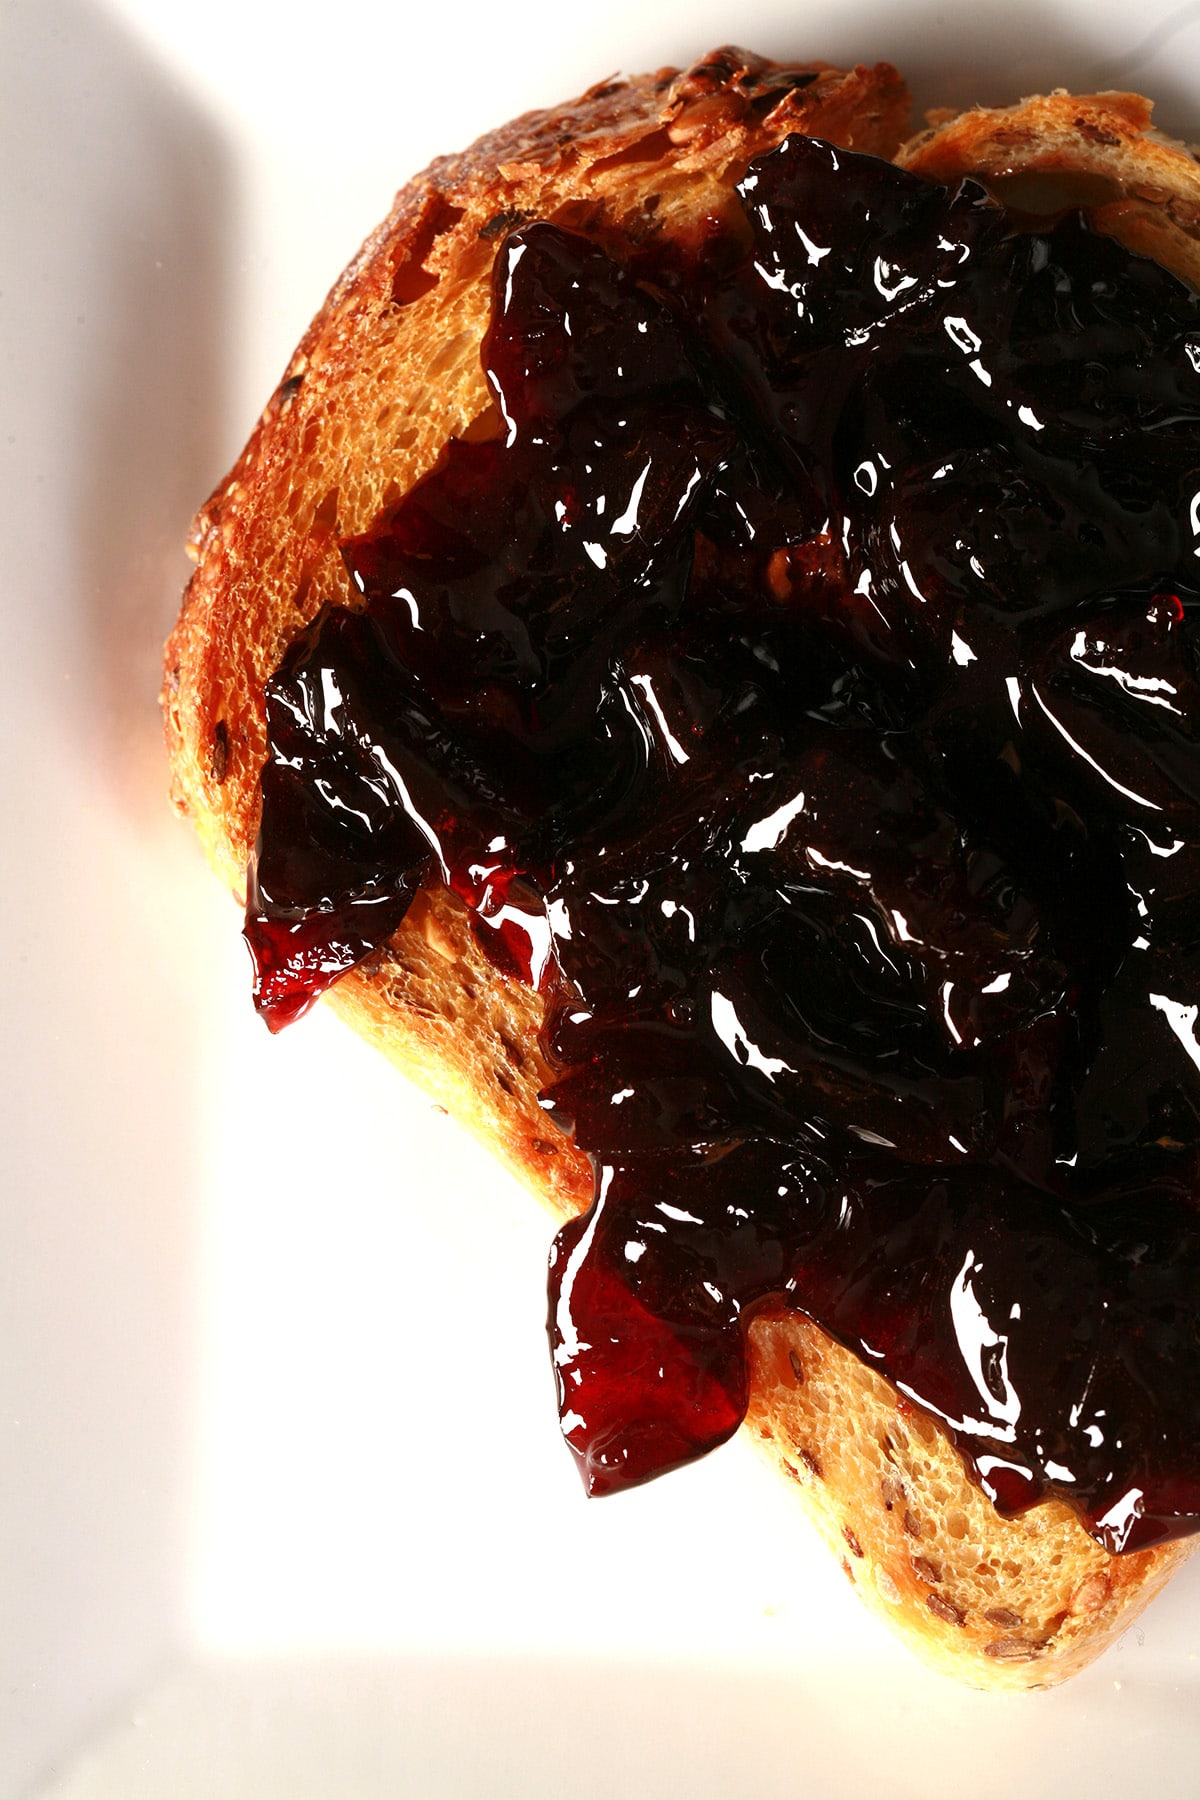
At the 20 minute mark, start testing for thickness. Run a spoon through the mixture - if it leaves a visible “wake” for a second, it’s thick enough. Don’t overcook it!
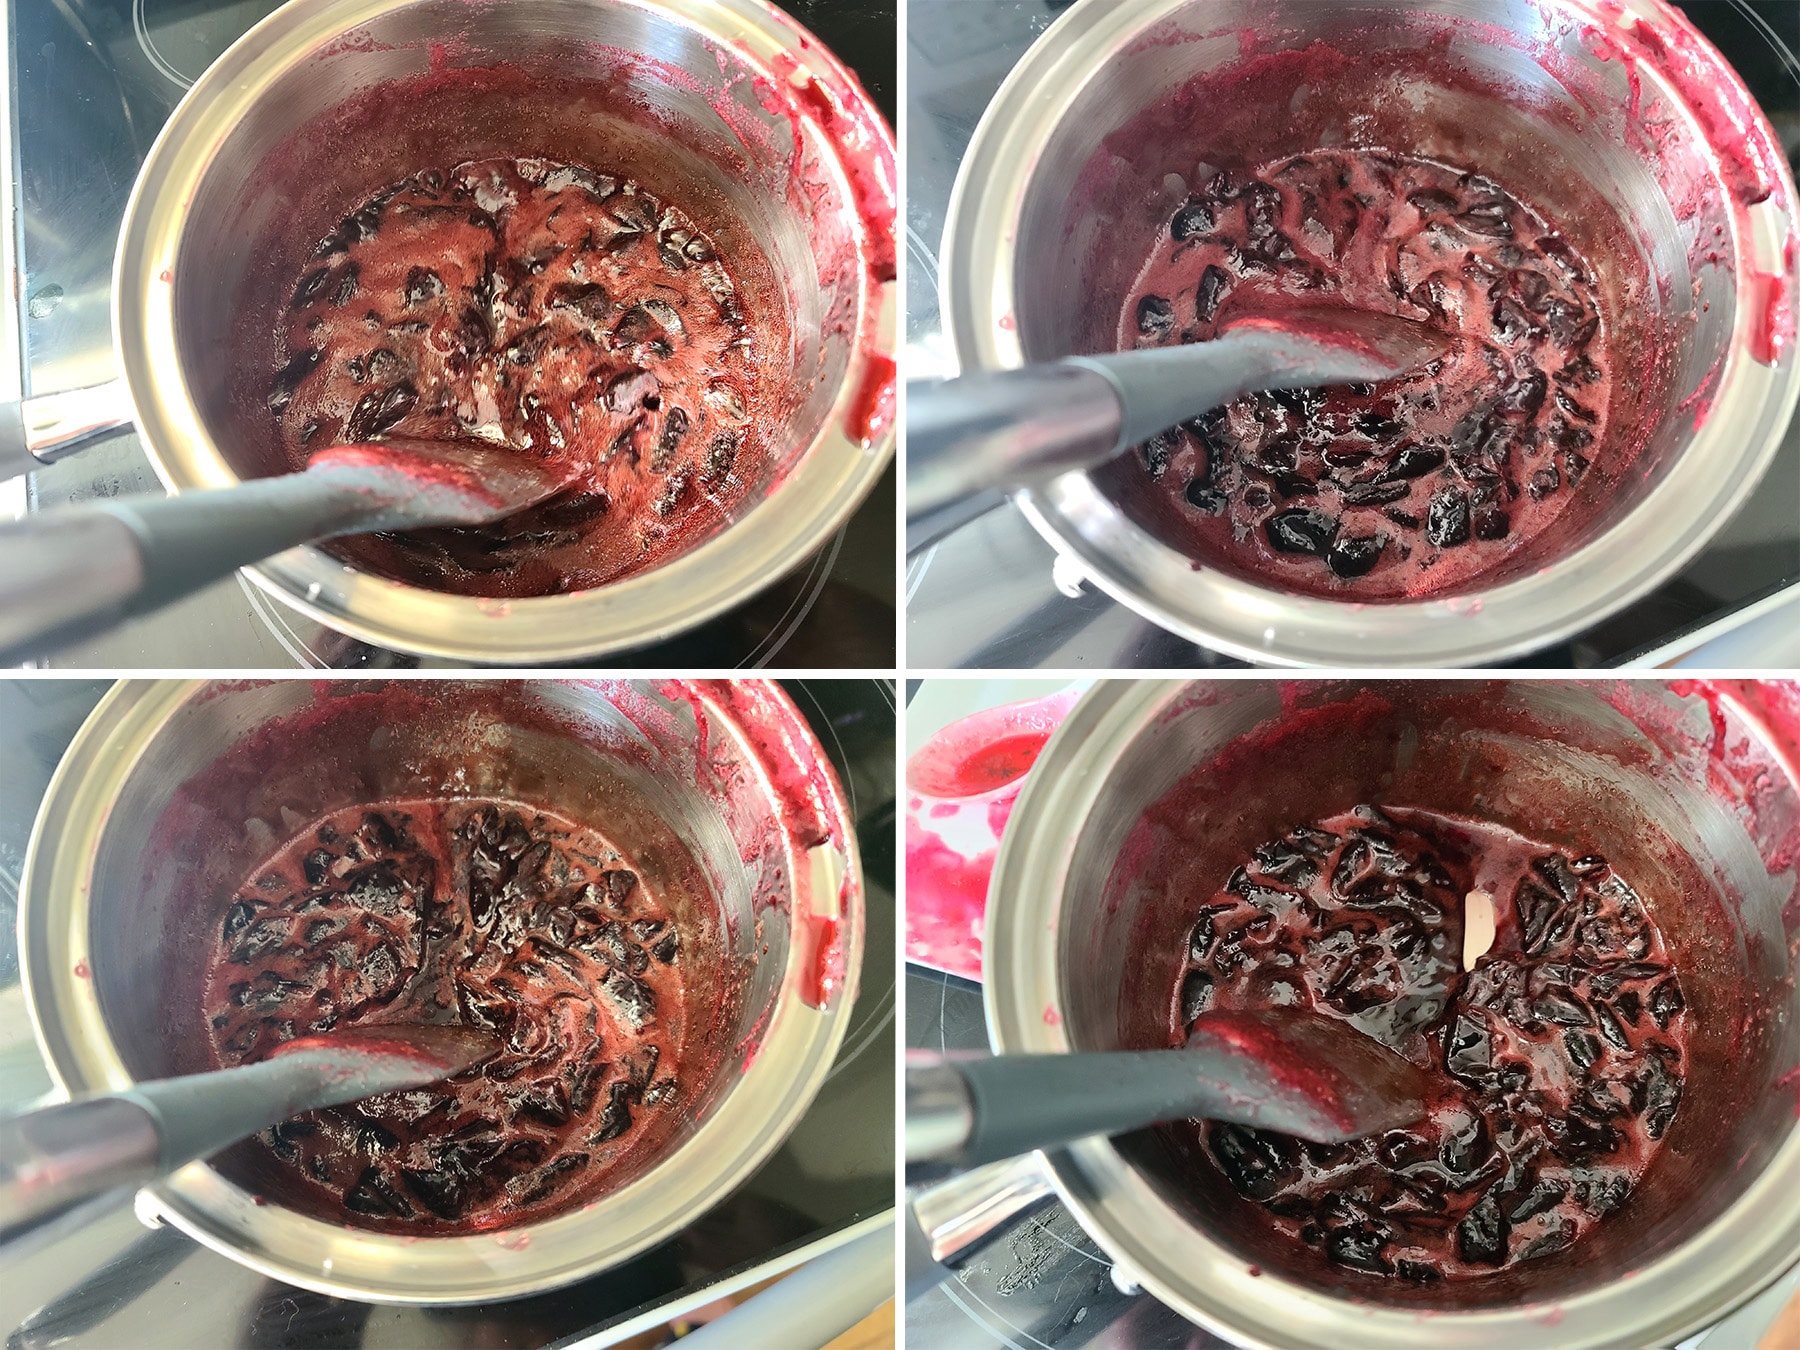
Note: I absolutely did overcook this, trying to get a photo of the wake! This just meant I ended up with a much thicker, stickier jam.
Once your jam is thick enough - it can take 35 minutes or more, heads up - remove from the heat.
Use a clean funnel, and ladle the hot jam into a clean jam jar.
Use a wet paper towel to wipe the top edge of the jar, and affix a clean jam lid and ring.
Allow jam to cool to room temperature before transferring to the fridge.
Use within 3 weeks

Canning
While I specifically designed this recipe to NOT need canning ... if you want to do a bigger batch, you’ll want to actually can the jam.
Here’s what you’ll want to do, to take this from a refrigerator jam, to a properly canned jam:
1. Buy new jar lids - just the flat pieces. You shouldn’t reuse those for actual canning, but you CAN reuse jars and the rings.
2. Actually sterilize / sanitize your jam jars, lids, rings, funnel, and ladle. You can do this with heat - in a dishwasher - or you can use a chemical sanitizer, like Star-San . This is something you should have on hand if you’re into brewing Homemade wine.
3. Once you’ve got everything sanitized/sterilized, wash your hands well, and be careful not to touch anything in areas that will touch the food - the underside of the jar lids, the inside or rims of the jars, etc.
4. As you’re making the jam, get a large pot of water boiling. It should be wide enough to accommodate all the jam jars you’re going to use, and have enough water in it to cover the jars by about 1" when they’re in there.

A Caveat
FYI: This recipe makes 1 jar. If you triple the recipe, you’d need 3 jars... on paper. As each batch may have slightly more - depending on how much you cook down the berries - I recommend adding an extra jar. 4 jars for a triple batch, 5 for a quadruple batch, etc.
You may not end up using that extra one, but it’s a lot easier - and less annoying - to prepare that extra jar/lid/etc in the batch, than to find yourself short one, when you need it!
4. After you’ve made the jam - and it’s still boiling hot - carefully use your sanitized items to ladle the hot jam into the sterilized jars.
5. Use a wet paper towel to wipe any jam off the lip of the jars. You might want to make a second pass, to be sure. This is important for the seal, and for food safety.
6. Immediately affix the lids, tighten the rings, and carefully put them in the pot of boiling water. Allow them to boil for 10 minutes. (Add 5 minutes for altitudes above 1,000 feet; add 10 minutes for altitudes over 6,000 feet.)
7. Carefully use a jar lifter to remove your jars from the water. (Note: I like this set for canning. Everything you need, in one cheap package!)
8. Allow jam to cool overnight. I like to carefully remove the rings - without disturbing the lids - to allow it to dry out between the jar/ring. This prevents rusting.
9. The next day, check all lids for a proper seal: they should have sucked down into a vacuum seal as the jars cooled.
10. Store properly sealed jars for later use; refrigerate any that did not seal for use in the coming weeks.

More Pickling and Canning Recipes
Looking for more canned preservation recipes? Here you go!
Clementine Marmalade
Homemade Dill Pickles
Homemade Pickled Beets
Homemade Pickled Carrots, 2 Ways
Hoppy Dill Pickle Relish
Hoppy IPA Pickles
Mixed Root Vegetable Pickles
Mixed Vegetable Pickles
Pepper Jelly
Roasted Corn Salsa
Roasted Corn Salsa Verde
Roasted Salsa Verde
Sweet Corn Relish
Sweet Mustard Pickles

Share the Love!
Before you chow down, be sure to take some pics of your handiwork! If you post it to Bluesky, be sure to tag us - @CelebrationGen. We're also on Pinterest, so you can save all your favourite recipes to a board!
Also, be sure to subscribe to my free monthly email newsletter, so you never miss out on any of my nonsense.
Well, the published nonsense, anyway!


Small Batch Cherry Jam - No Pectin Needed!
Equipment
- 8 oz jam jar
Ingredients
- 3 cups pitted cherries
- ¾ cup Granulated sugar
- ¼ cup Honey
- 2 tablespoon Lemon juice
Instructions
- Chop the cherries into small pieces.
- Add cherries, sugar, honey, and lemon juice to a medium pot, bring to a boil over medium high heat, stirring frequently.
- Once mixture is boiling, turn heat down to low and simmer for about 20 minutes, stirring frequently.
- As the cherries soften, mash them a bit with a potato masher. I like a bit of texture - not pureed, and not TOO chunky.
- At the 20 minute mark, start testing for thickness. Run a spoon through the mixture - if it leaves a visible “wake” for a second or two, it’s thick enough. Don’t overcook it!
- Once your jam is thick enough - it can take 35 minutes or more, heads up - remove from the heat.
- Use a clean funnel, and ladle the hot jam into a clean jam jar.
- Use a wet paper towel to wipe the top edge of the jar, and affix a clean jam lid and ring.
- Allow to cool to room temperature before transferring to the fridge.
- Use within 3 weeks


Giuliana Donnelly
Just finished my first batch! Very excited to try tomorrow!! Can I frezzes a jar?
Marie Porter
Probably, but I haven't tried!
Susan B.
I made this yesterday from fresh Bing cherries because I needed a filling for a Gateaux Basque cake. It worked like a charm. I did add a half teaspoon of butter to prevent foaming. I was hoping the jam would not be sickly sweet and was glad to find it has a great, tart cherry taste. Thanks for a super recipe!