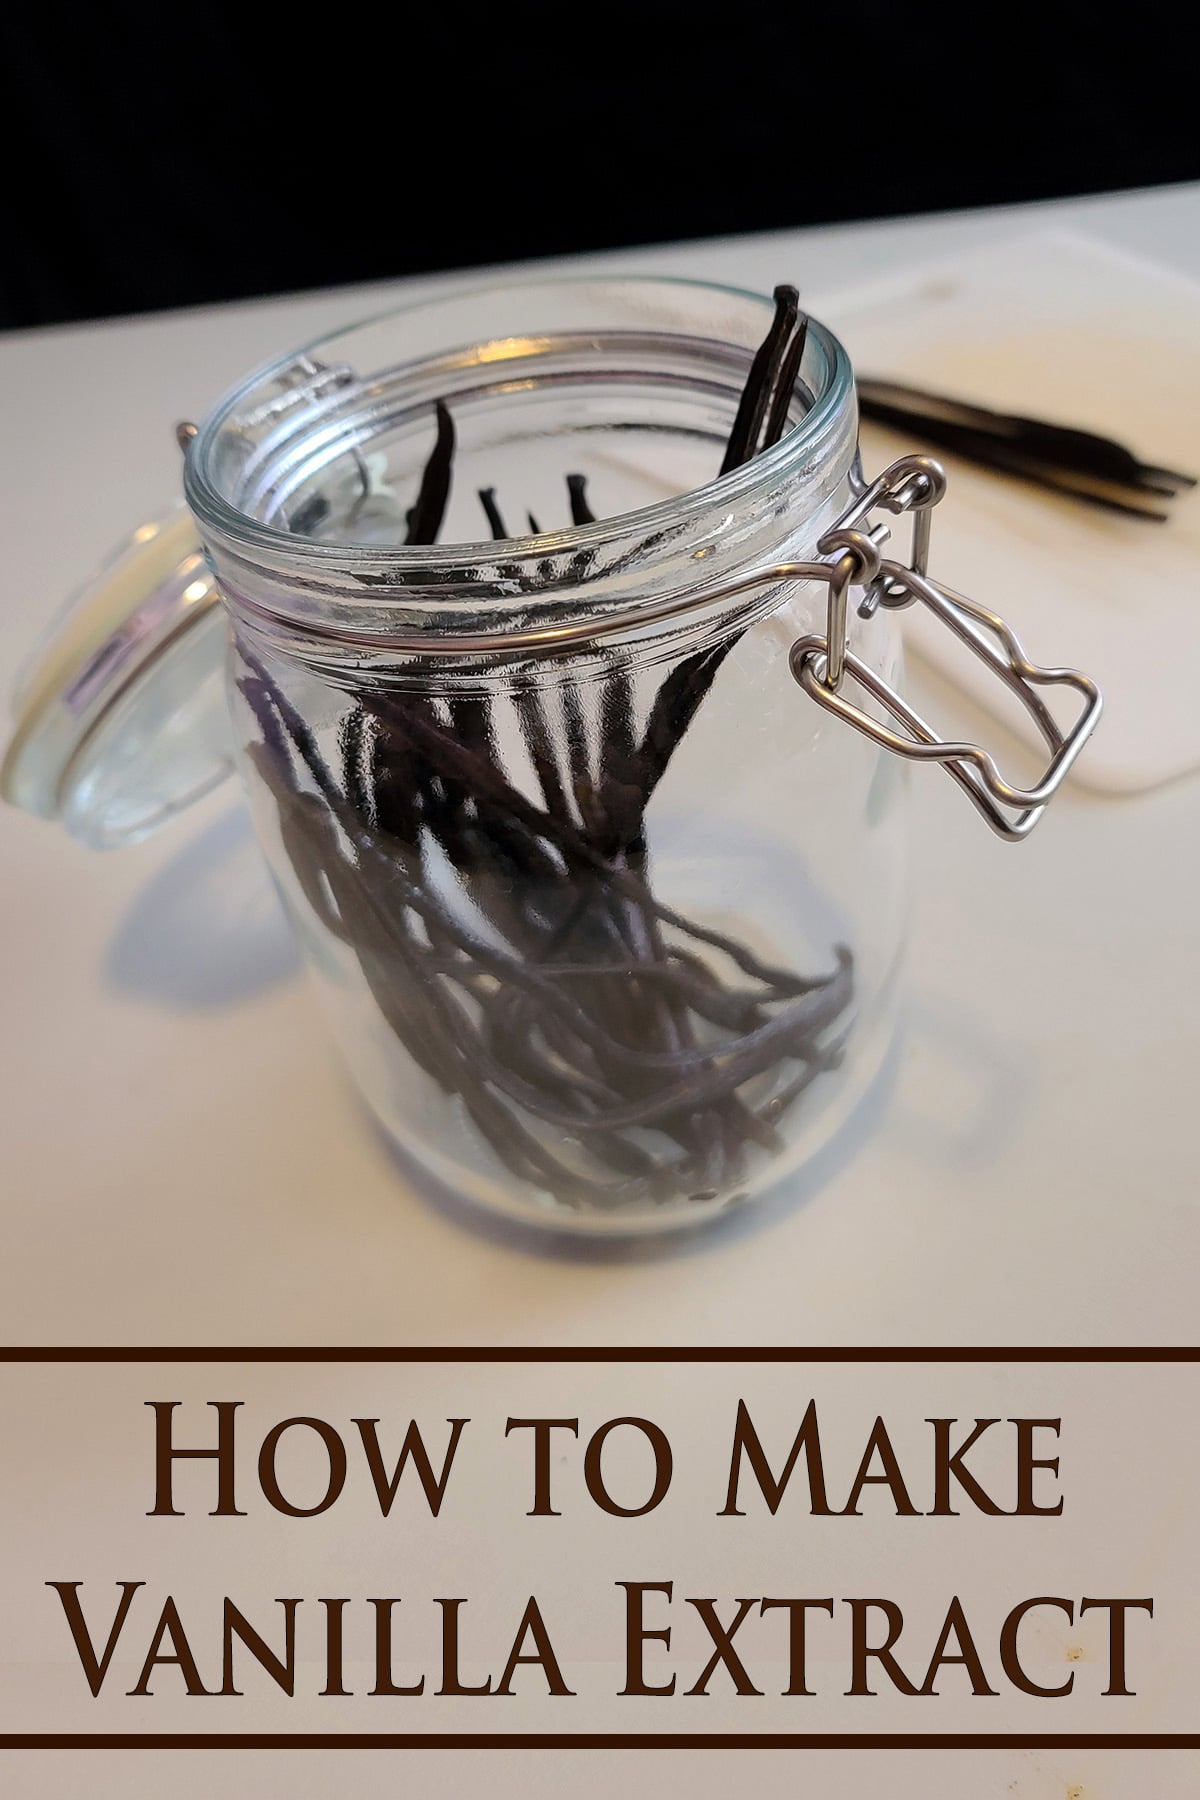
A great extract is a foundational ingredient for many desserts. Here’s how you can easily - & economically - make Homemade Vanilla Extract
Originally published July 14, 2011. Updated on 9/10/2021
Back when I first posted this recipe, I rambled about tornado rebuild progress and generally running around like a chicken with its head cut off.
Well, things are oretty calm now, so I’m going back over it to give you more information, and answer some questions I’ve had over the years.
I originally shared my vanilla bean extract in my first cookbook, "The Spirited Baker".
It was right in the first chapter, which was all about infusing alcohol and making various home versions of other ingredients - like my Homemade Sour Mix, grenadine, extracts, etc.
Much like those other items, making the home version will wreck you for store bought!
Once you’ve tried fresh, pure, homemade ingredients, you’ll have a very hard time settling for their commercially available counterparts in the future!

Why Make Vanilla Extract?
Making flavor extracts at home can be rewarding on several levels.
It’s More Economical
Vanilla extract is expensive. Locally, it’s now between $12-18 for a small bottle!
Making your own skips all the labour, middlemen, packaging, transportation, and markup costs associated with the retail version.
Better Quality and Control
When you’re making your own, you’ve got more control over the final product.
Also - not being a corporation - you’re not tethered to the idea of keeping the costs as low as possible to put out an “acceptable” product.
So, you can be picky about your vanilla beans. You can use MORE vanilla beans, for a more concentrated flavour.
You can age it longer - this is important! - and you can even change the spirit used, if you so choose. (More on that in a bit!)
(Eventual) Convenience
If you do a lot of baking, you probably go through a lot of vanilla extract.
Imagine NOT having to constantly buy vanilla, because you have a litre of it on hand!
Not only is completely avoiding the horror of that price tag nice, but having a nice supply on hand feels downright luxurious, IMHO.
It Makes a Great Gift
In addition to being great to use in your own kitchen, homemade vanilla extract makes an excellent gift for the foodies on your holiday list.
Present the extract in a pretty bottle, add a vanilla bean for added visual interest, and maybe wrap a ribbon around it. Done!

What You Need to Make Vanilla Extract
Making vanilla extract only takes two ingredients and no special equipment, but there are a few things that are good to know:
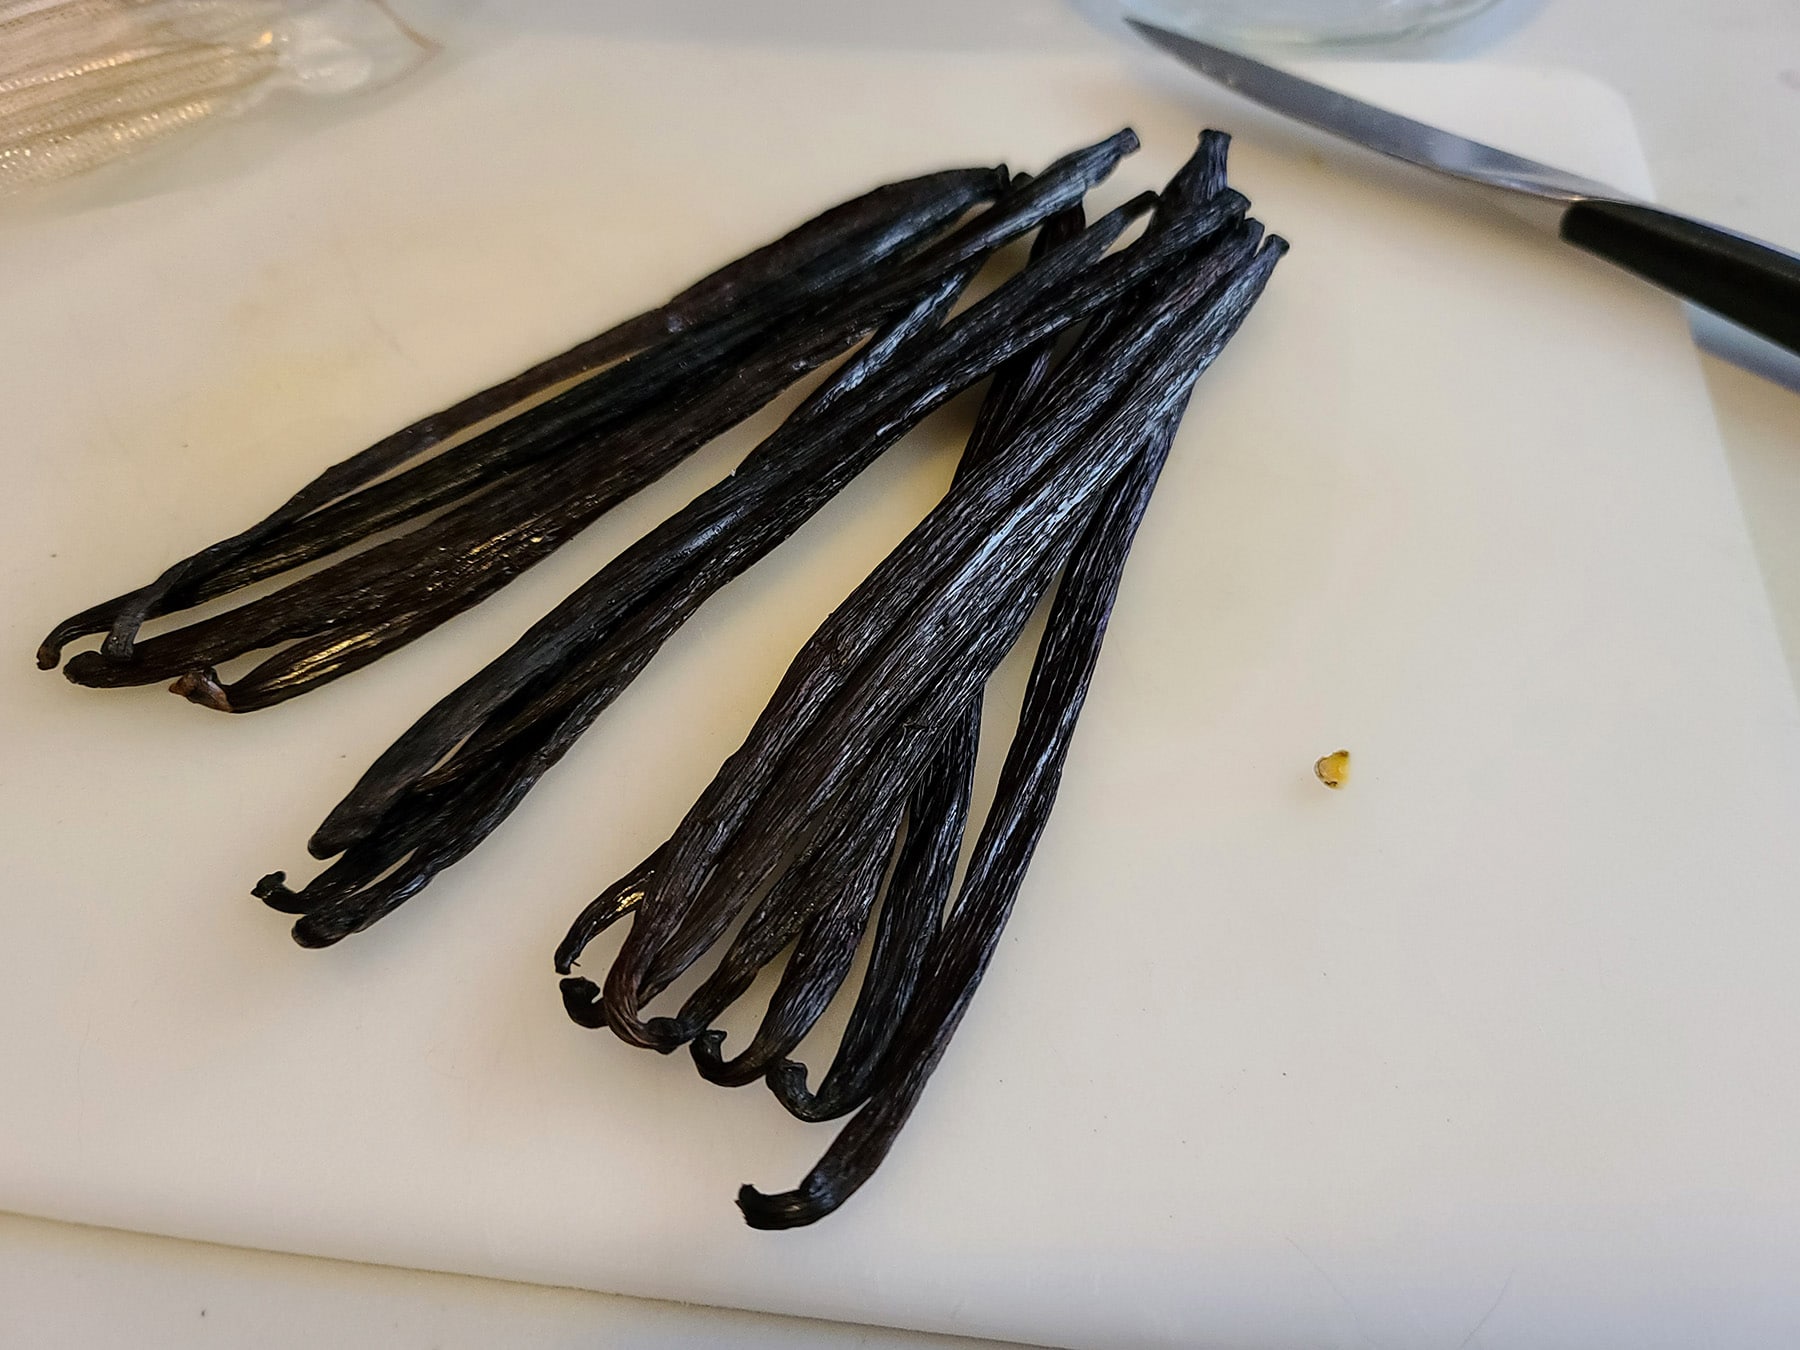
Vanilla Beans
This is the most important ingredient, and there are a few things to keep in mind when buying them.
Grade
Vanilla beans are graded, A and B.
A grade beans are “gourmet”, and are generally nicer to look at - plump, moist, etc.
B grade beans are usually smaller, thinner, maybe a bit more dried out.
In general - even beyond making extract - I prefer using Grade A when possible, just because Grade B can be annoying to prepare.
I can be clumsy with a knife, so I like knowing that the beans I’m ordering are going to be fat and soft - it’s just an easier bean to split.
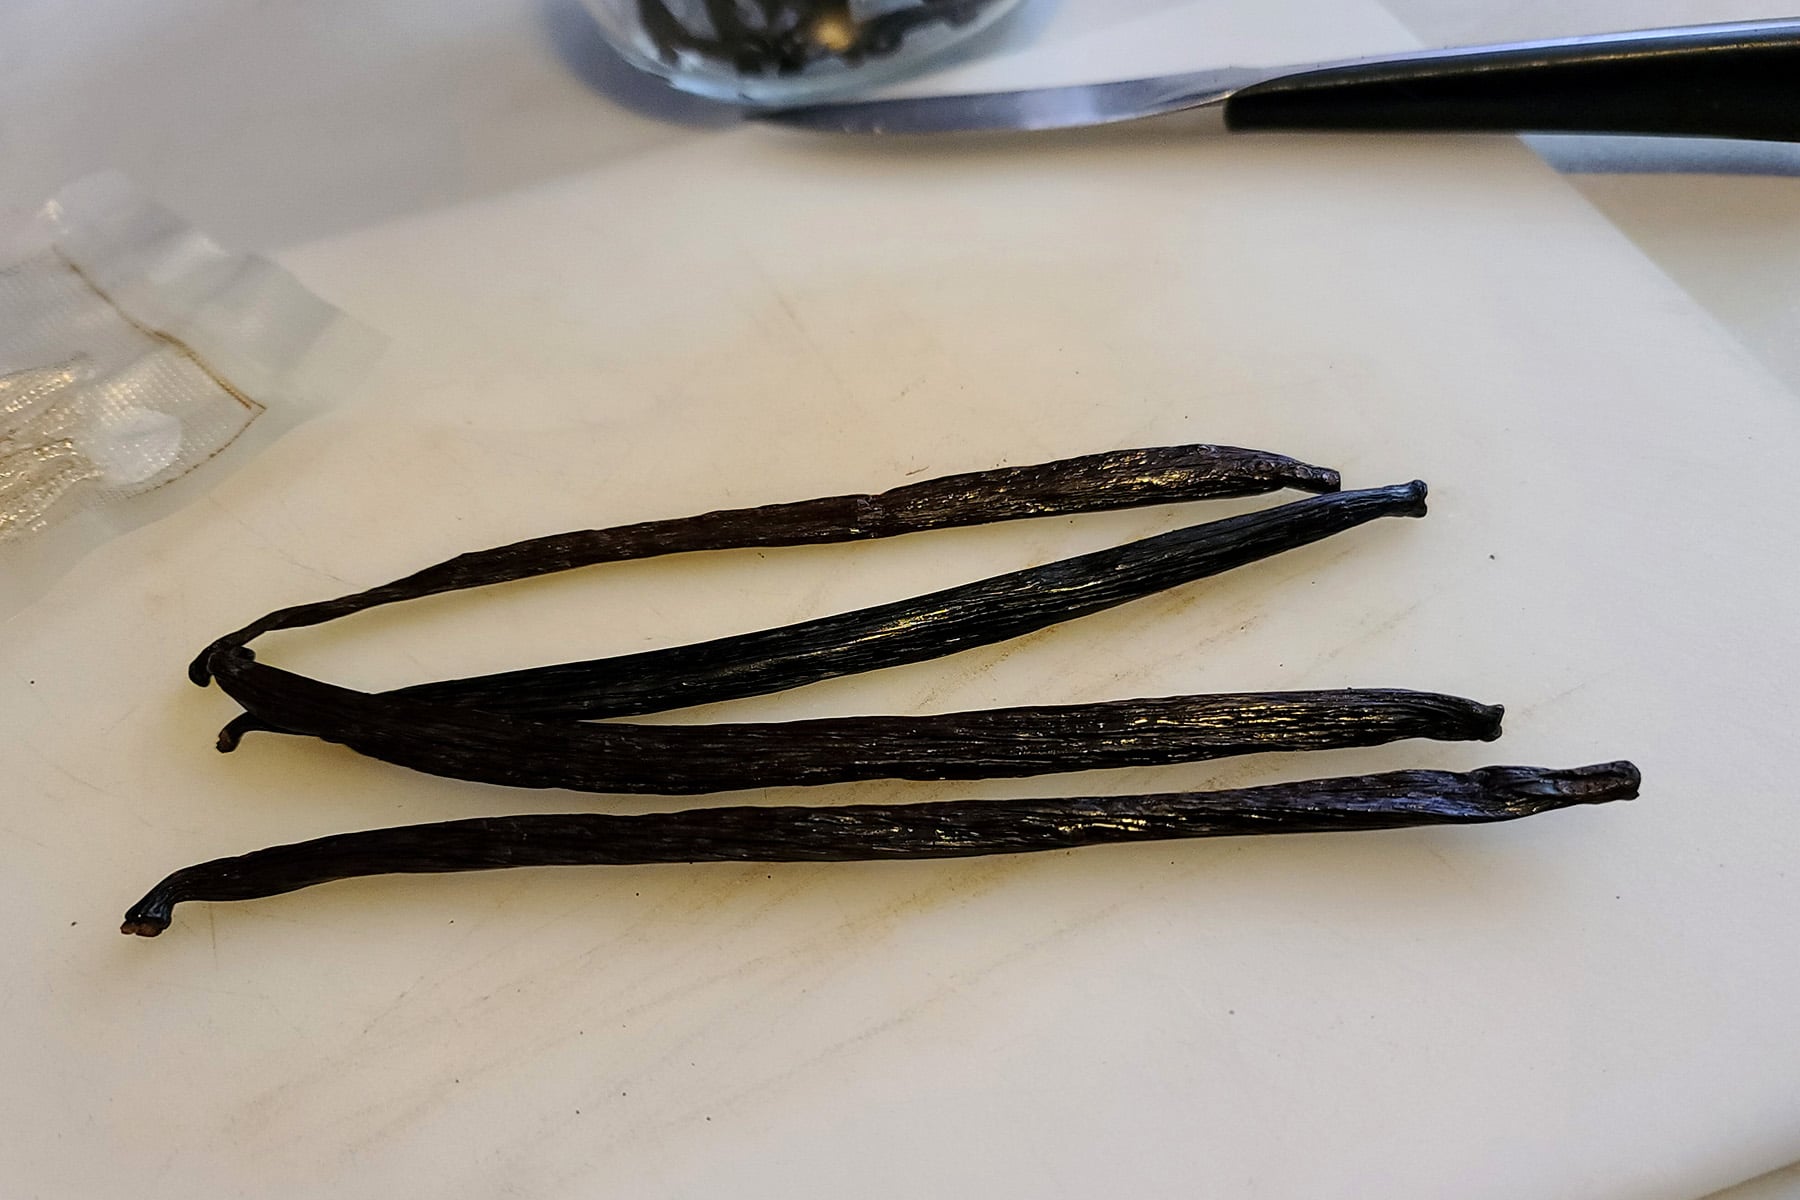
That said, grade b can also be fat and soft - you just never know, when you’re ordering.
Sometimes fat and soft beans are “B” because they’re too short, or look less than perfect, or whatever!
Origin
Most vanilla beans are from either Tahitian, Madagascar, or Mexican.
Madagascar Vanilla Beans:
These are the most popular for vanilla extract, as they have a bold, rich vanilla flavour.
When you see something referred to as “Bourbon Vanilla”, that’s from Madagascar beans.
These have a much lighter, more delicate, and almost floral flavour. They’re also generally the most expensive variety of vanilla bean.
IMHO, they’re better for directly flavouring something that’s intended to be vanilla-forward, such as scraping the beans into a creme brulee or custard, for instance.
Mexican Vanilla is generally regarded as the best vanilla bean, and has a similar flavour profile to the Madagascar beans... just a bit smoother and deeper version of that flavour.

Vodka (or Not!
When making extract - vanilla or otherwise - you want to use a fairly neutral, 80 proof spirit (40% alcohol).
Generally speaking, this means vodka.
Think “Something that I’d drink in a mix drink, but not necessarily premium enough to feature on its own”.
You want decent quality, but there’s no sense paying a *premium*, when you’re going to overwhelm the flavour with vanilla!
“Or Not...
If you so desire, try using a less-than-neutral spirit for a more complex taste.
Rum, Bourbon, Brandy – all can produce an interesting variation on vanilla extract!
Just keep to the same view on quality as mentioned above!
A Jar
You want a jar that will seal well - air tight.
Use one that will hold the amount of vodka you’re infusing, without a lot of head space left at the top. You want all the beans fully submerged.
This is something that’s going to sit for 6 months before you ever use it, and can be used for many months - or even years.
So, starting with as clean and sterile of a jar as possible is definitely best practice, here!

After a day or two of infusing - this a a long haul project!
How to Make Vanilla Extract
As written, this recipe will produce what’s marketed as a double-strength vanilla - very concentrated vanilla extract.
I figure if you’re going to invest the time and money in making it, you should end up with the absolute best vanilla possible!
That said: You can use fewer beans if wanted.
3-4 beans per cup of water will make a decent single-strength vanilla extract.
... just be sure not to skimp on the infusion time at all, if you’re using fewer beans!
Full recipe follows, but here’s a pictorial overview with some additional notes:
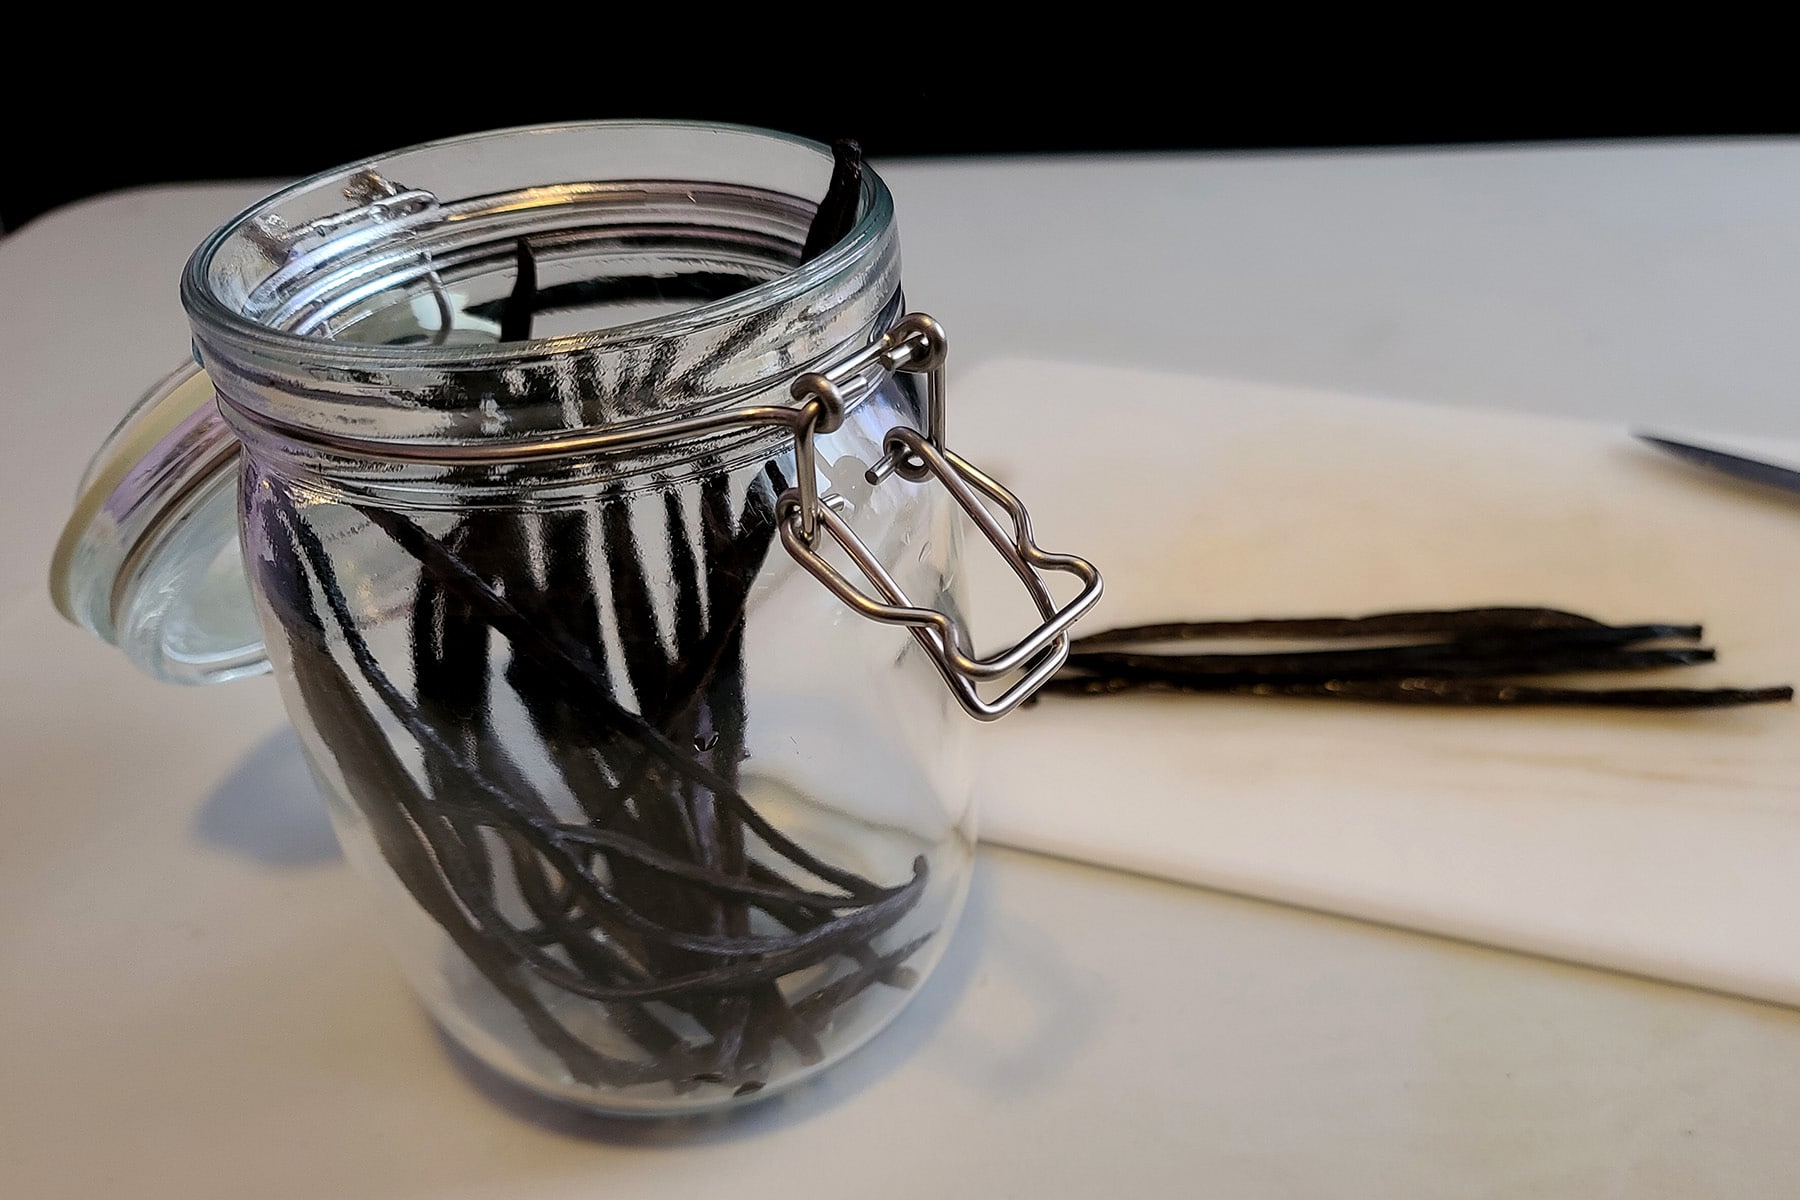
1. Cut vanilla beans in half, lengthwise. If your beans are really small, you can use an extra bean or two.
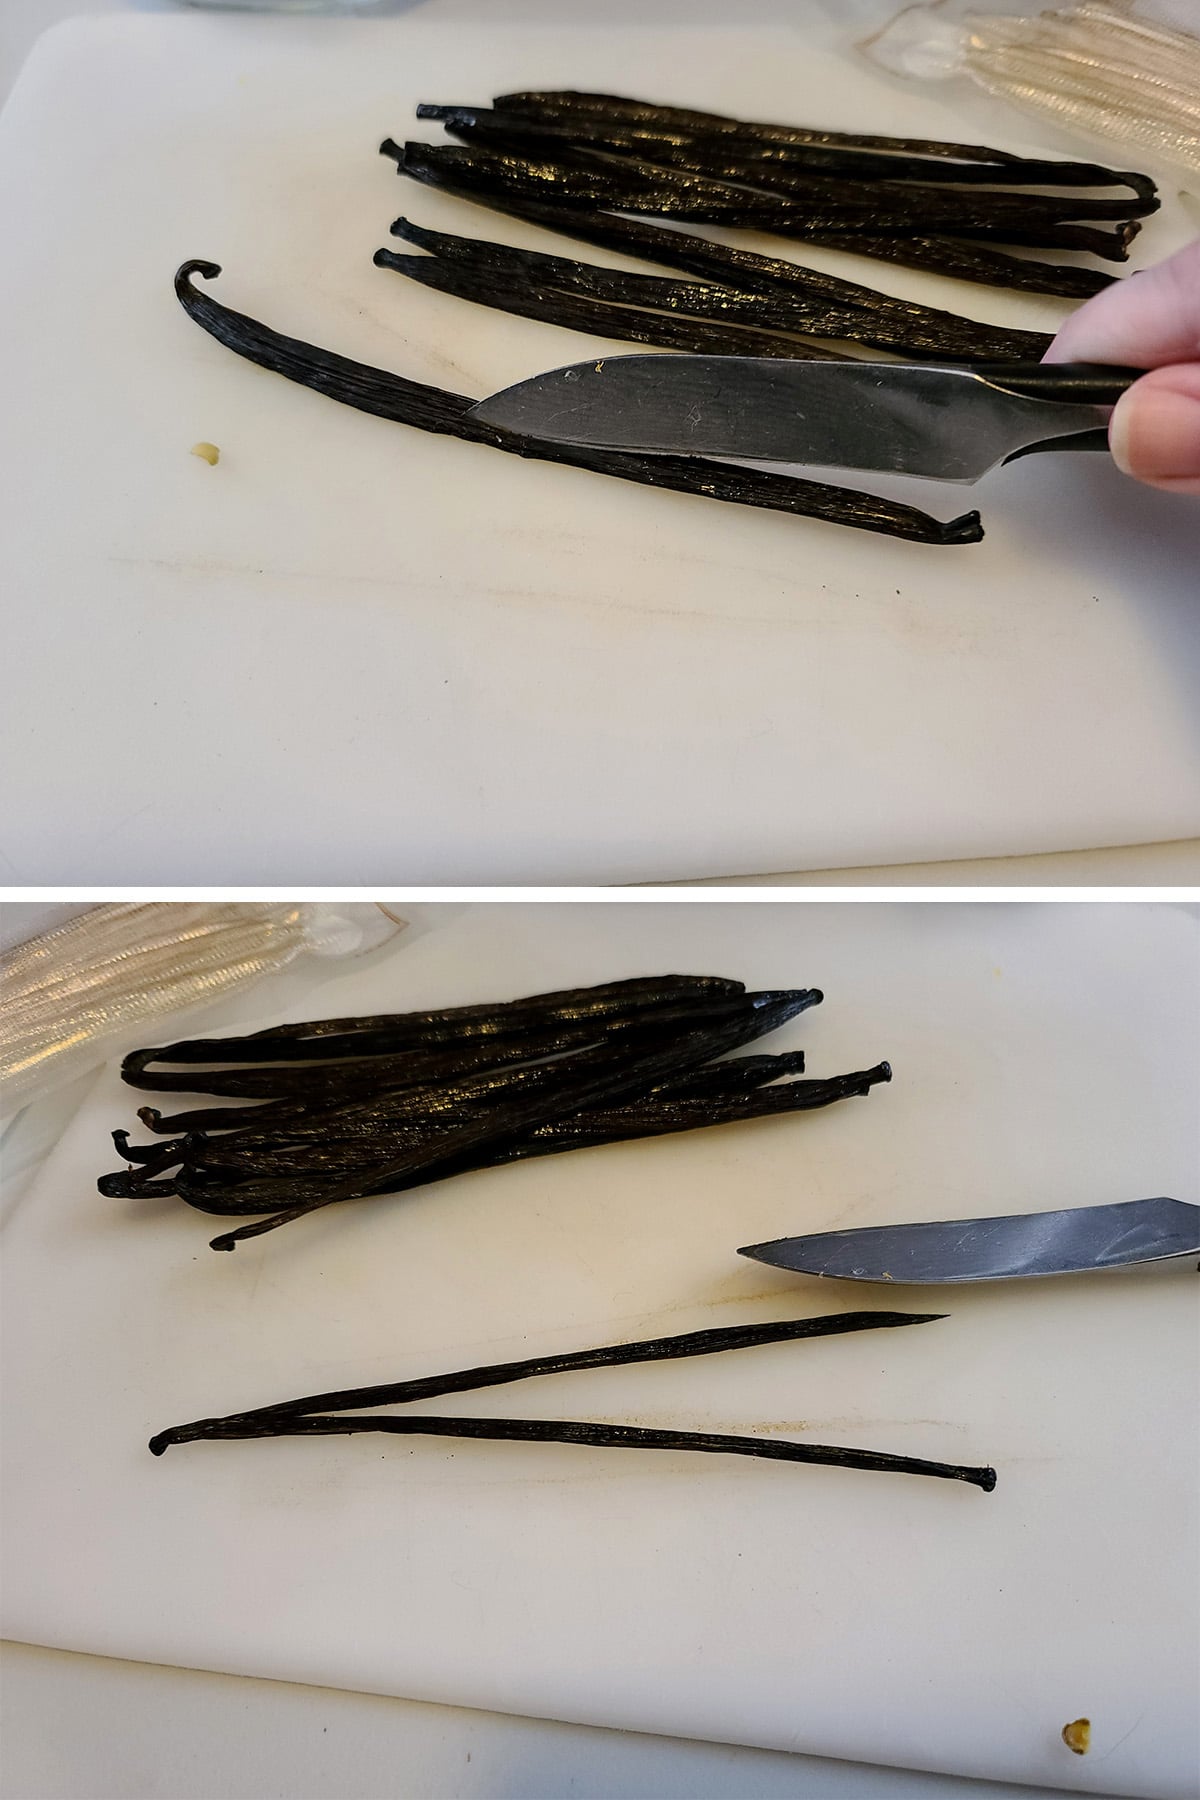
2. Place in a sterilized glass jar or bottle. If you find that your beans are too long to fully submerge, cut them in half.
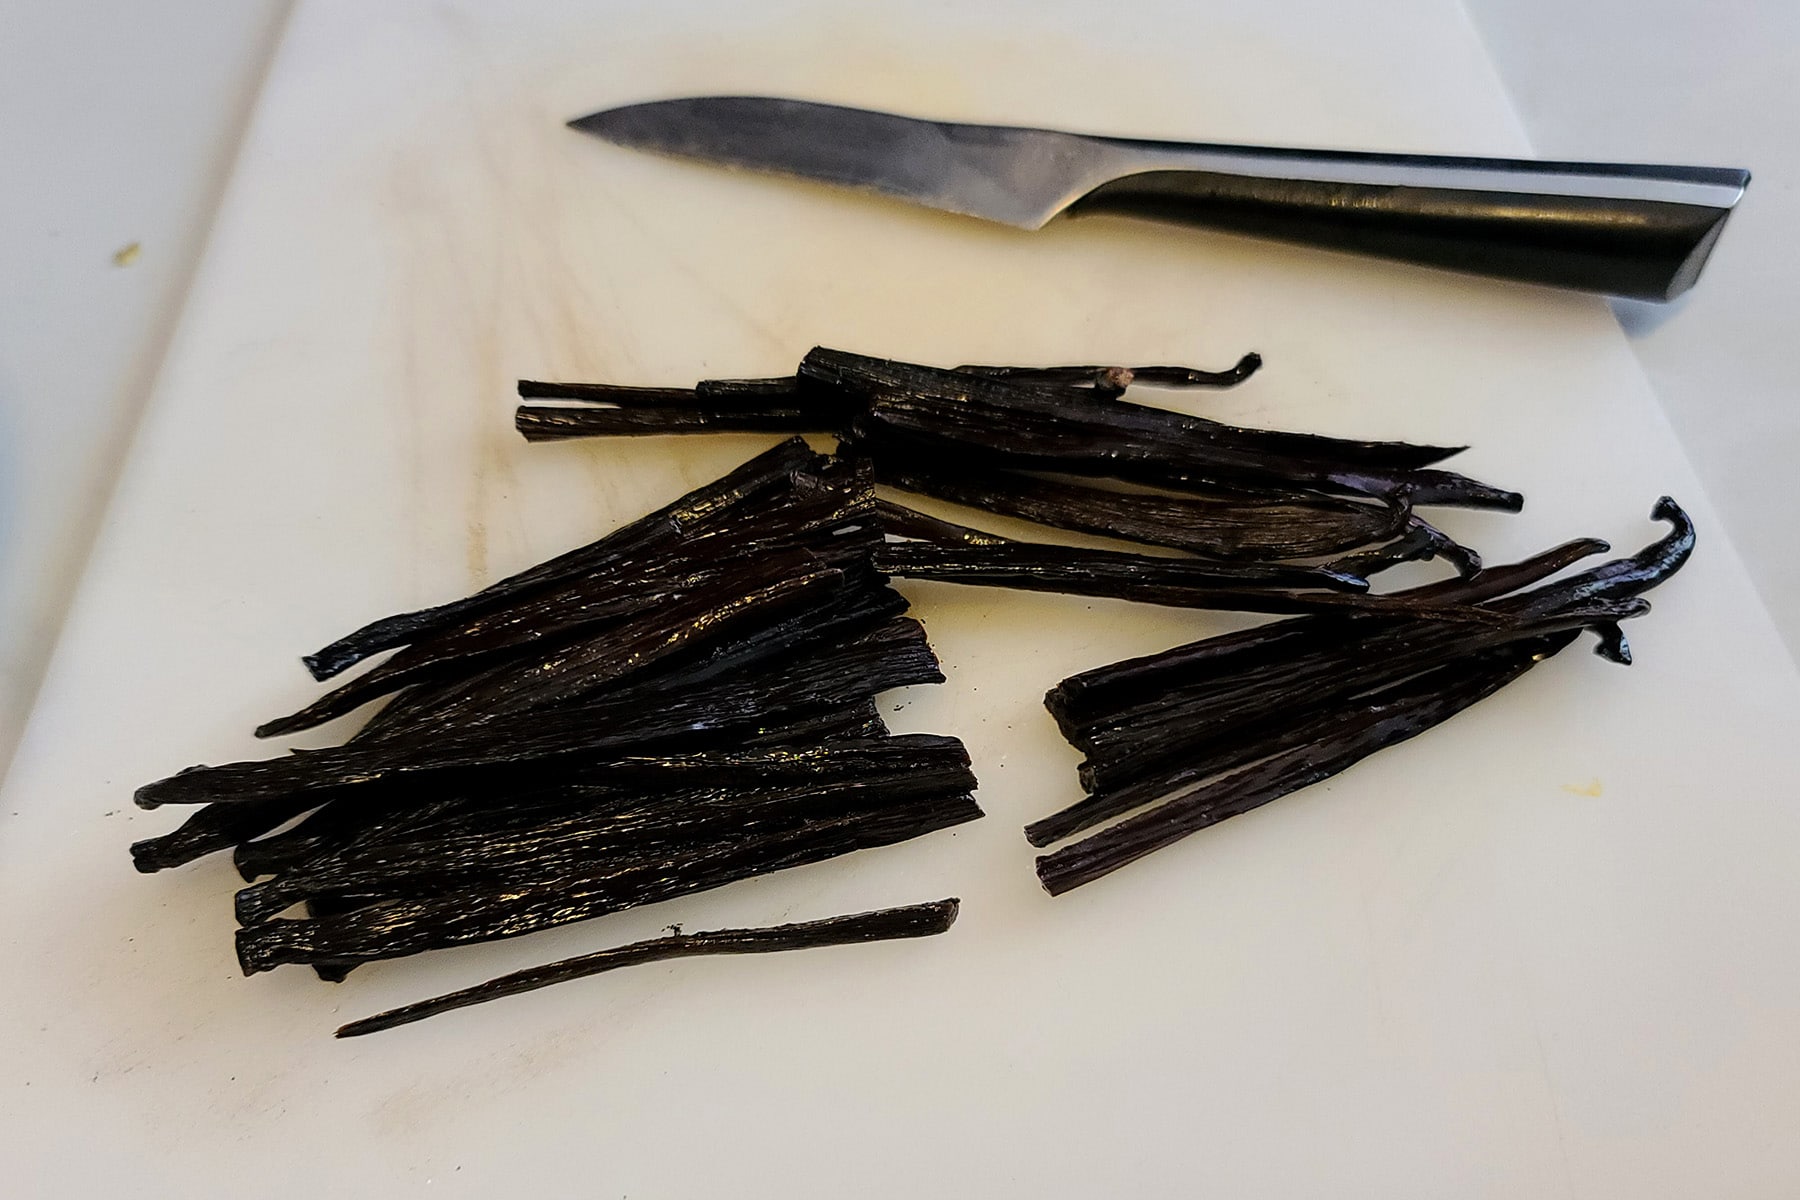
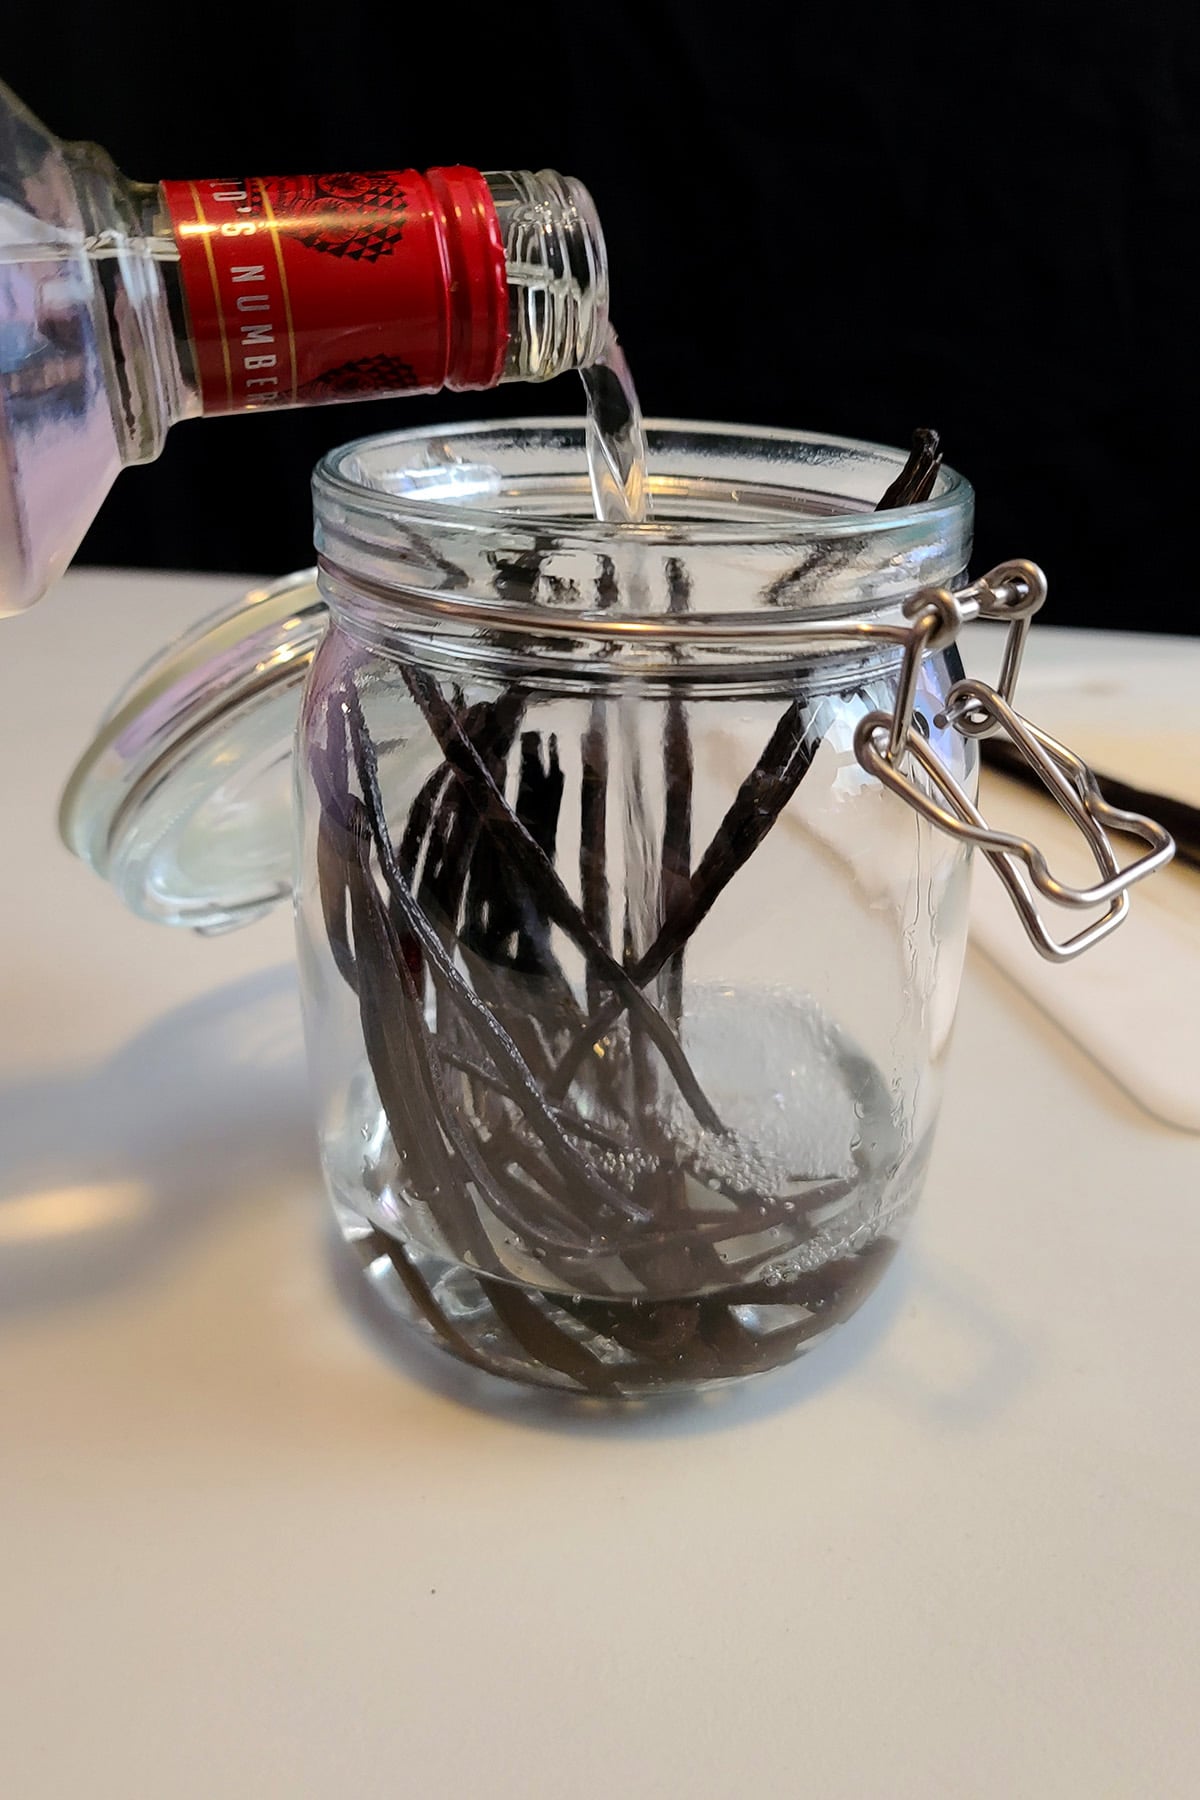
3. Fully cover vanilla beans with vodka, or spirit of your choice.
4. Store in a cool dark place for 6-12 months, giving the jar an occasional shake.
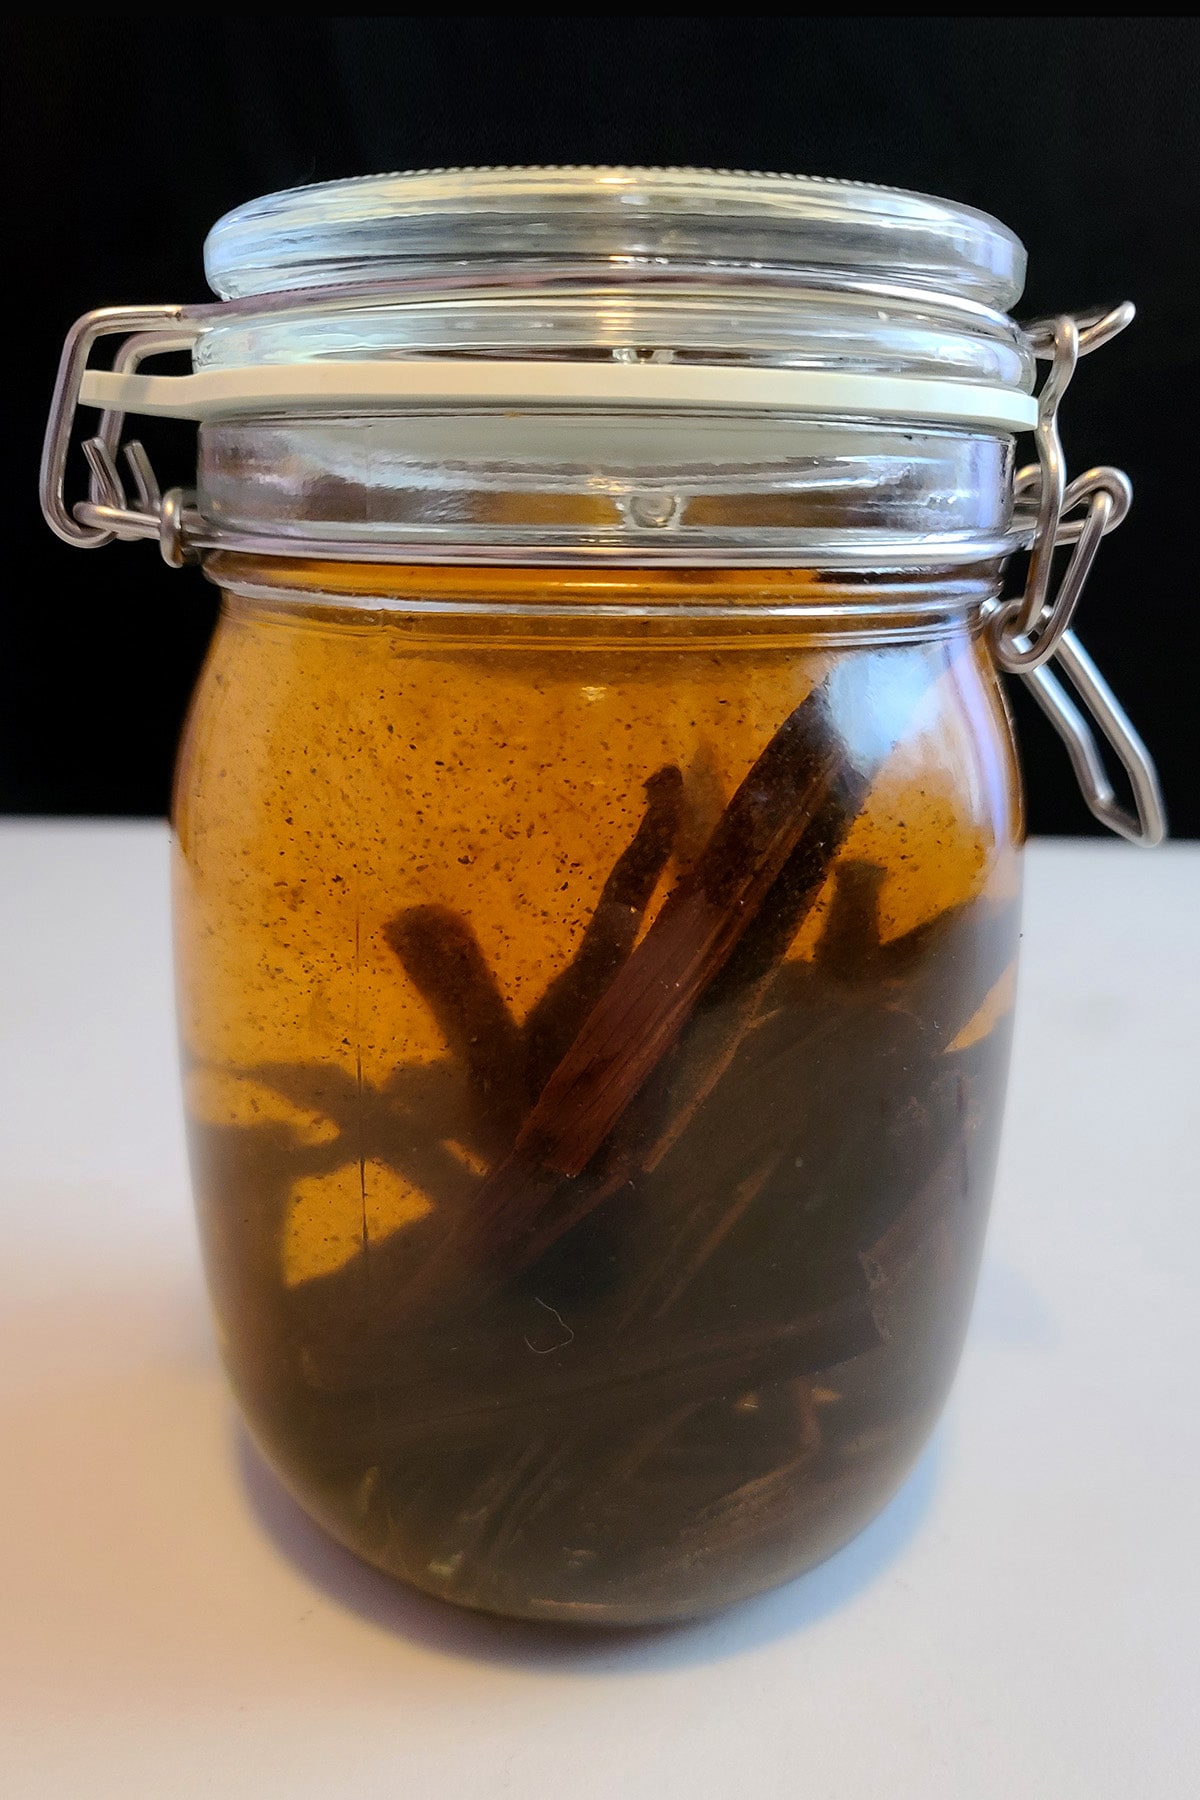
After a couple days and shakes!
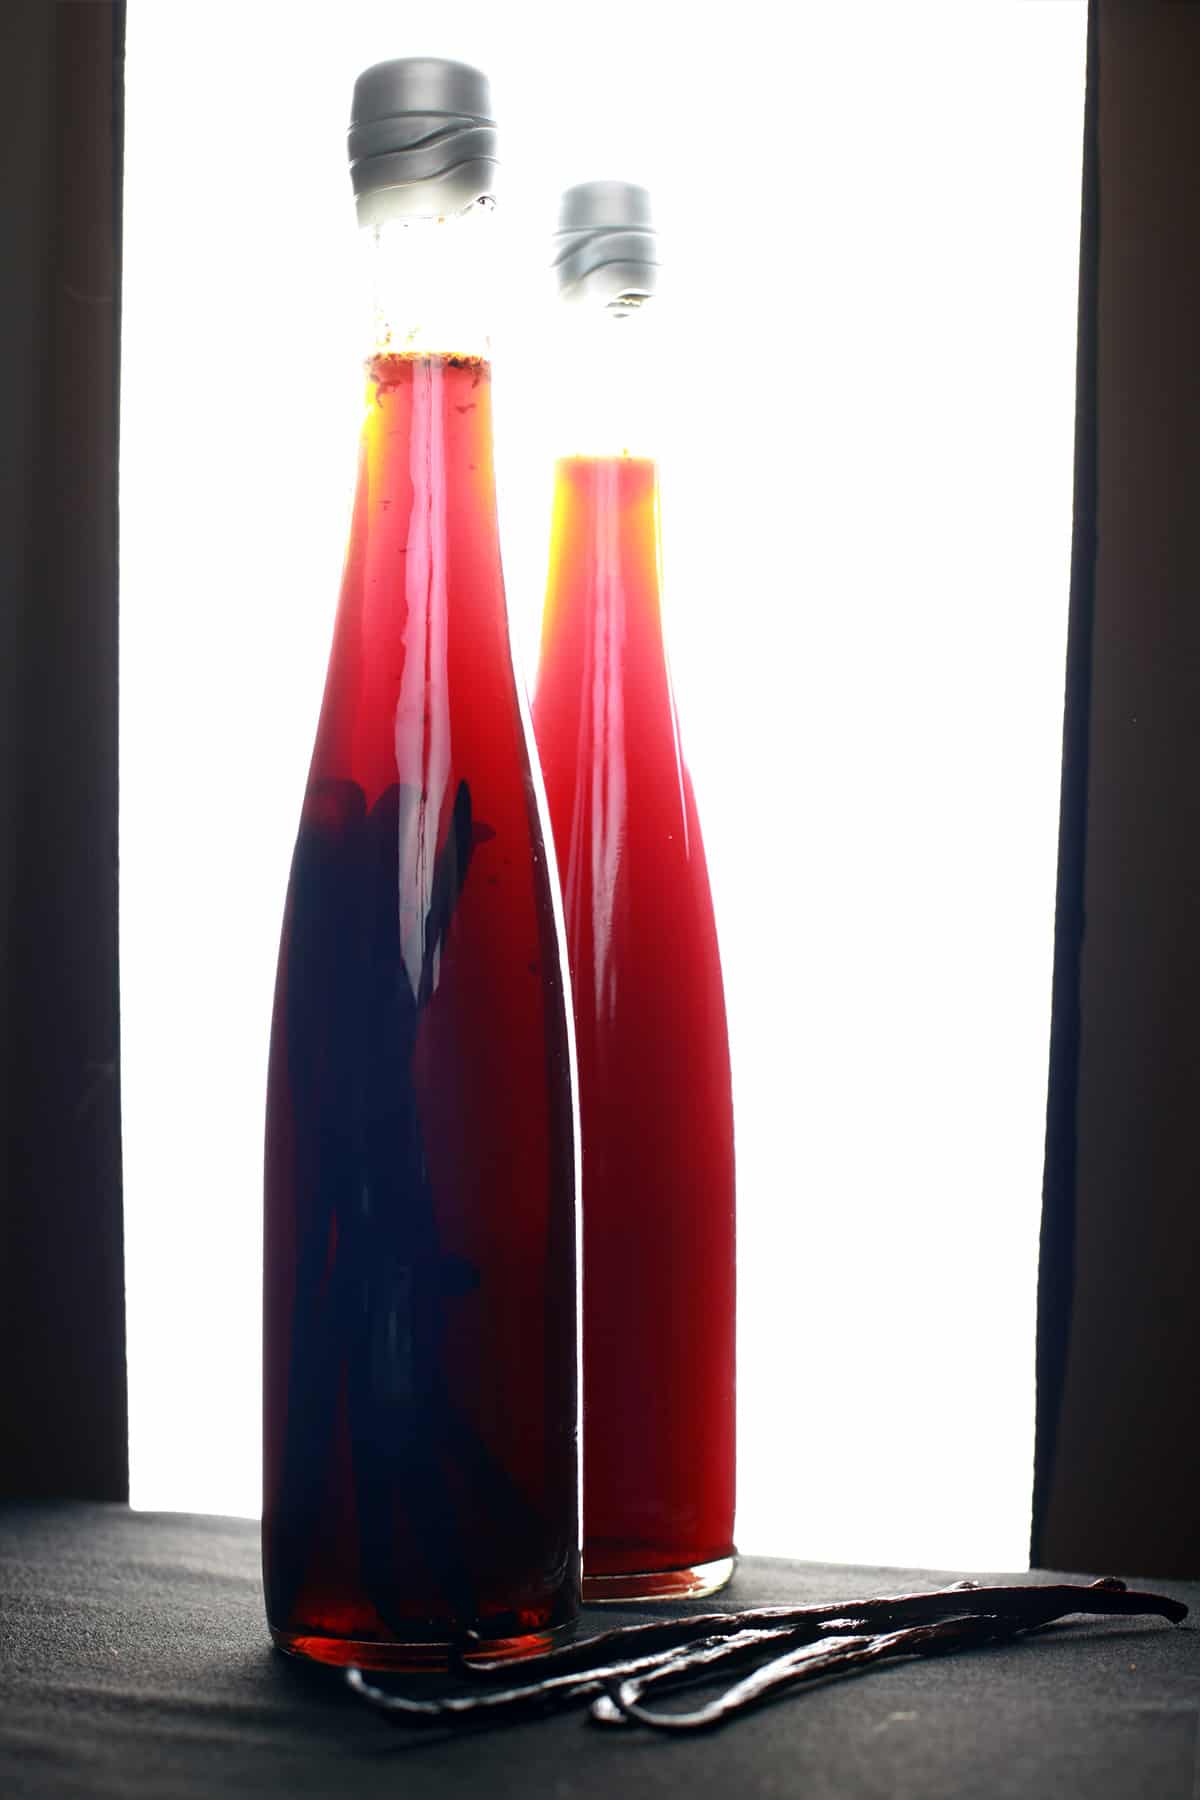
5. Optional: Strain out the vanilla beans and bottle the extract in sterilized jars or bottles.
Note: If you leave the beans in, you can occasionally top up the vodka and/or add a bean every once in a while, to have a perpetual batch of vanilla extract on the go!
More Seasoning & Condiment Recipes
Looking for some healthy recipes for tasty ways to add a little something extra to your dish? Here are a few ideas:
Basil Pesto
Berbere Seasoning
Canadian Popcorn Seasonings
Chow Chow Relish
Cilantro-Mint Chutney
Diana Sauces (Replica Recipes)
Hop Extracts
Seasoned Salt
Roasted Garlic
Homemade Mayonnaise
Furikake Seasoning
Honey Dill Dipping Sauce
Honey Garlic Cooking Sauce
Hoppy Dill Pickle Relish
How to Make Compound Butters
Mediterranean Seasoning for Wings
Montreal Steak Spice & Marinade
Olive Salad for Muffalettas
Pistachio Dukkah
Porter's Yogurt & Ice Cream Topping
Roasted Beet Ketchup
Smoky Dry Rub for Wings
Sushi Sauce Recipes
Tangerine Thyme Dry Rub
Thai Cilantro Pesto
Share the Love!
Before you chow down, be sure to take some pics of your handiwork! If you post it to Bluesky, be sure to tag us - @CelebrationGen. We're also on Pinterest, so you can save all your favourite recipes to a board!
Also, be sure to subscribe to my free monthly email newsletter, so you never miss out on any of my nonsense.
Well, the published nonsense, anyway!
Homemade Vanilla Extract
Equipment
- Clean, Sterilized Jam Jars with New Lids
Ingredients
- 3 cups good quality vodka*
- 18 Vanilla beans Or more.
Instructions
- Cut vanilla beans in half, lengthwise.
- Place in a sterilized glass jar or bottle, cover with vodka.
- Store in a cool dark place for 6-12 months, giving the jar an occasional shake.
- Strain out the vanilla beans and bottle the extract in sterilized jars or bottles.




Andrea
Hi, Marie. I know you've posted this a long time ago, but I would like to ask you if this would work too in creating mint extract. I've been unable to find mint extract down here, and I really want to make a batch of mint brownies (soooo good!), so I wonder if it is possible to do so with the method you describe.
Ella
Just trying this out. Learning to make things at home instead of buying at the store.