

This homemade dill pickles recipe is easy to make and great as-is, but feel free to customize the “per jar” ingredients to your own tastes.
Originally published September 18, 2012. Updated on 8/11/2025

I threw myself into researching safe vinegar brine ratios, the best ways to actually do the home canning process, and played around with different sizes of the glass jars.
Usually, I'm really "freestyle" in the kitchen - even with baking - but my background in microbiology did instil a healthy fear of botulism in me. (That's a nice way to say that I'm probably OVERLY paranoid about it, right?)
Anyway, then I visited the local farmer’s market for provisions and made my own pickles for the first time on my own ... so, SO many jars of pickles.
Our favourite recipes got published, with this dill pickle recipe kicking off “pickle week” on the blog.
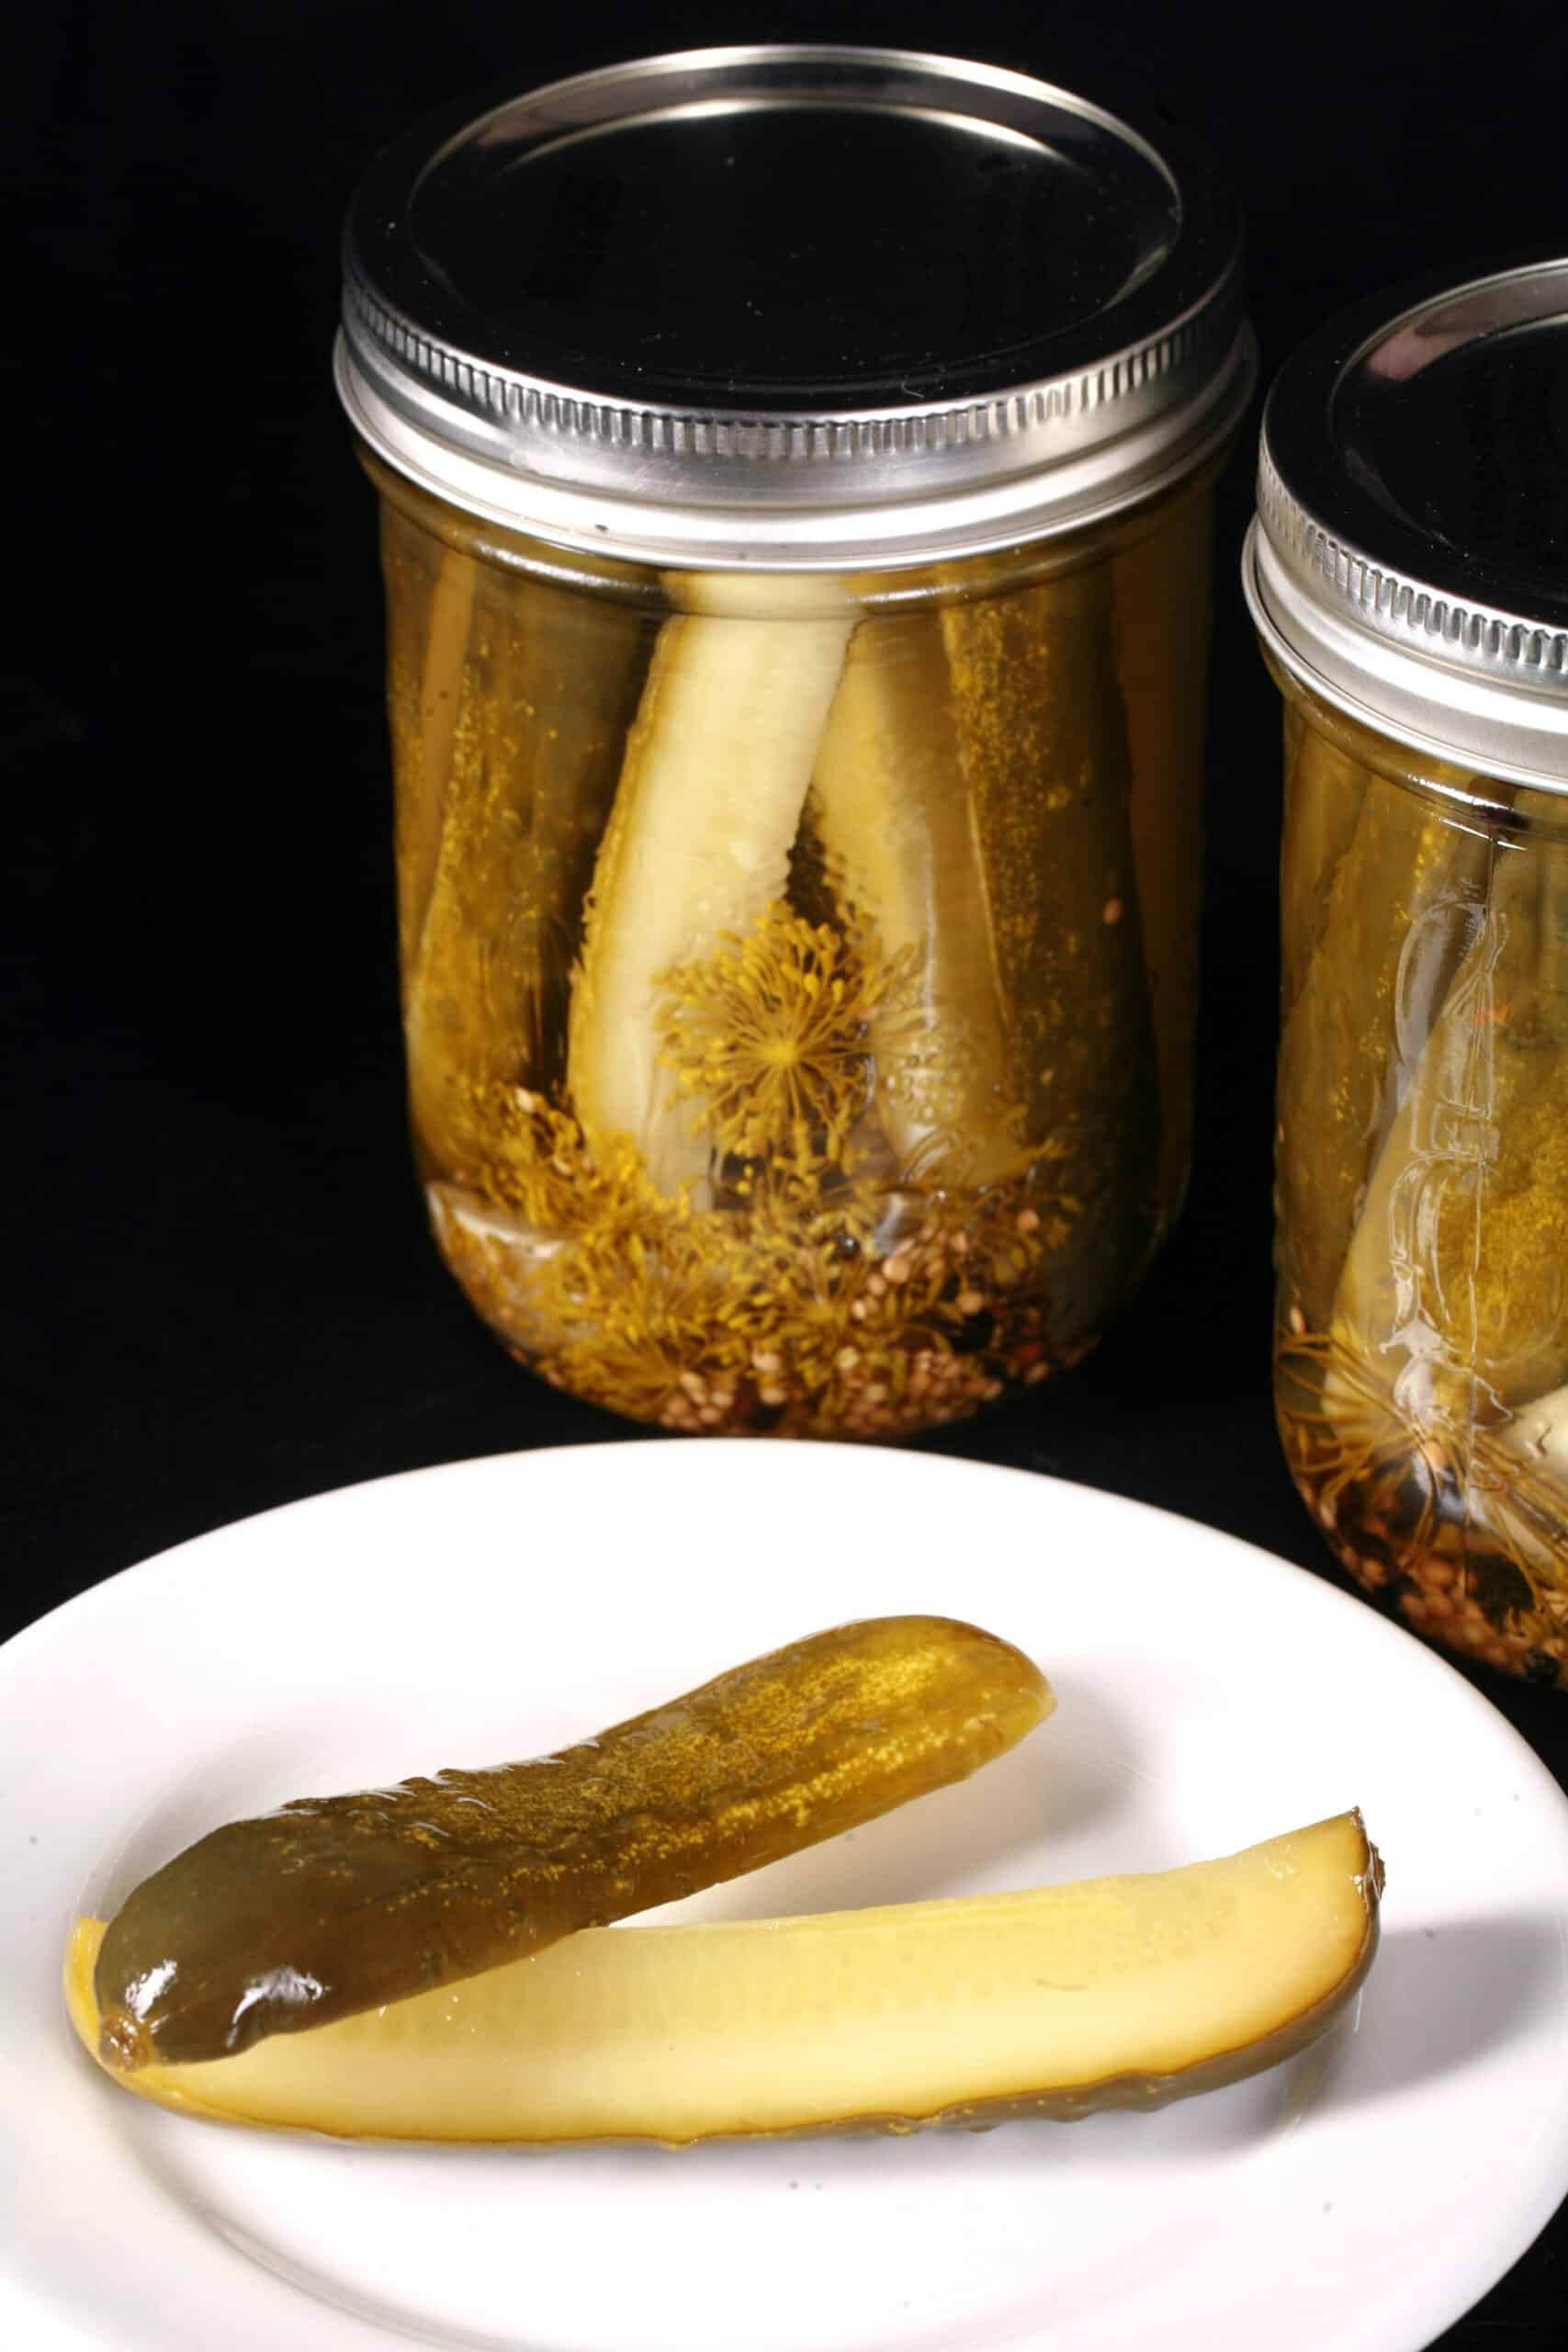
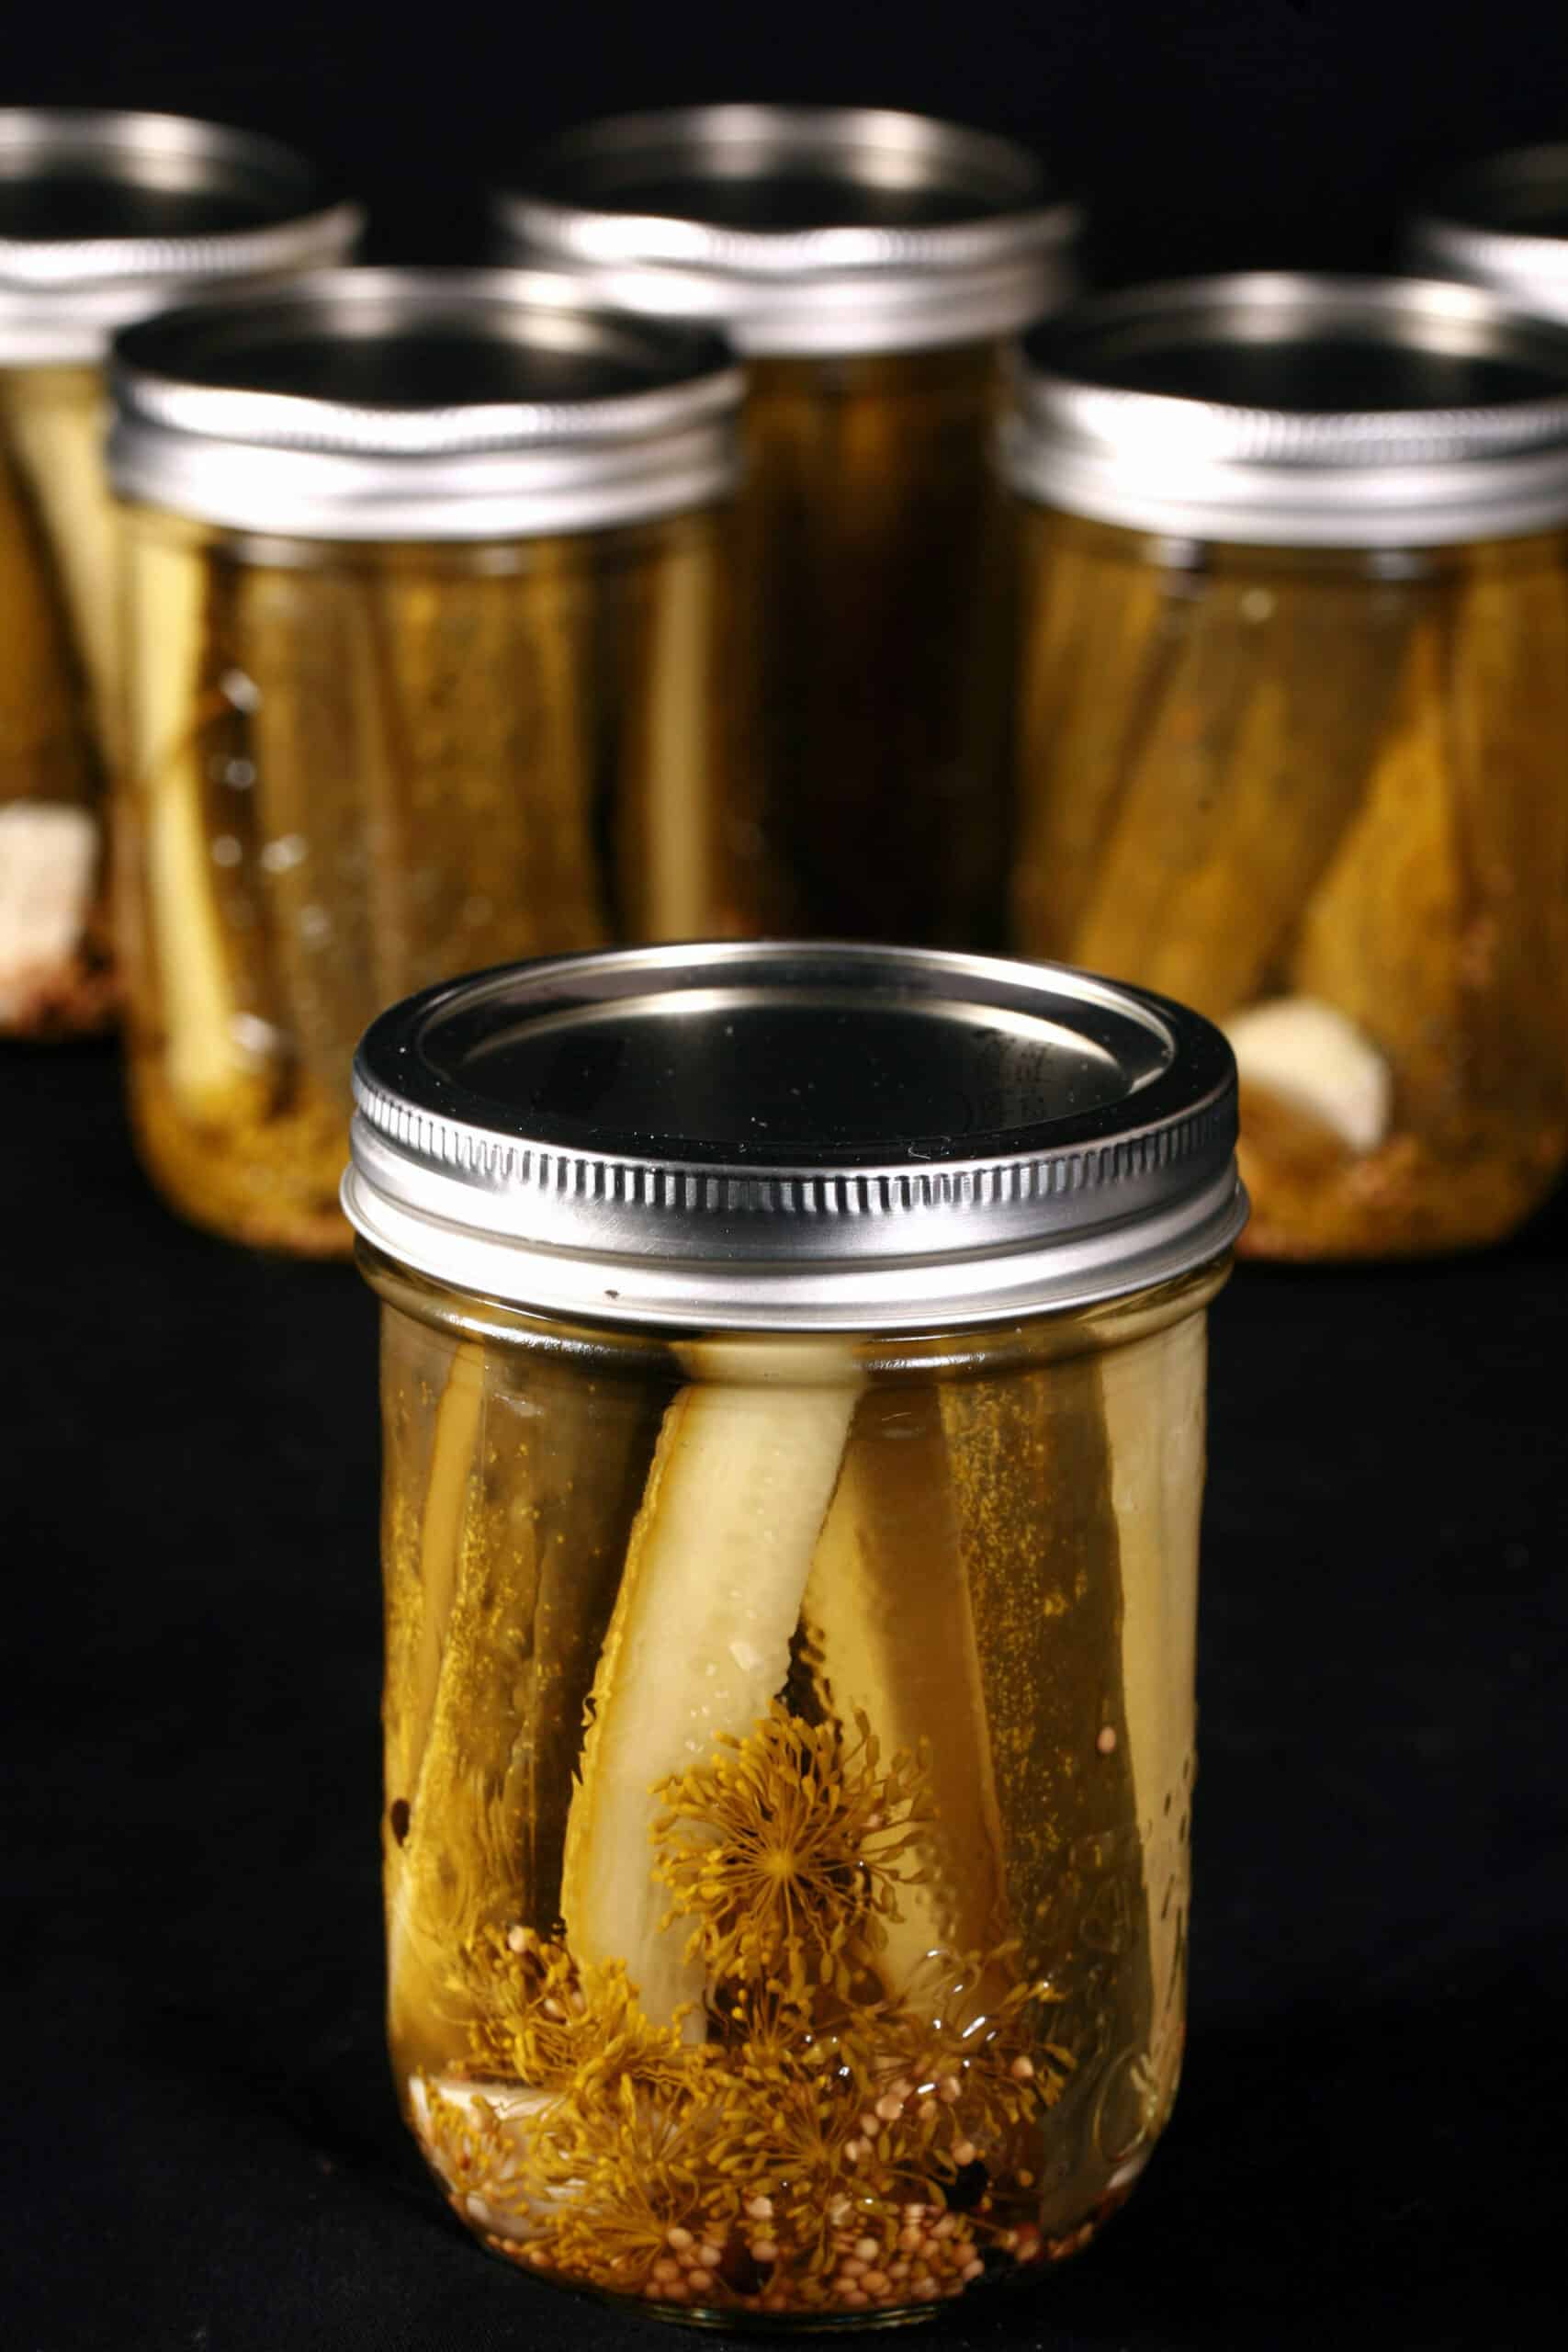
These crunchy pickles blew store-bought pickles AWAY. They’re garlic dills, which have always been my favourite. I like a somewhat tart pickle, and can’t stand sweet pickles. IMHO, bread and butter pickles are a crime against humanity.
At the time, I vowed to never buy another jar of pickles again, but laziness got in the way... Now, in 2025, I put on a batch of them for the first time in well over a decade, and figured it’s time to update this post!
A Few Notes About Pickling
Even beyond the basics, pickling them at home means that you have full control over the way they are presented (slices? spears?), and seasoning.
It's been fun to develop recipes, honing everything to our personal tastes. My Hoppy IPA Pickles went over SO well, I actually had to put on a second, MEGA batch of them this weekend!
Before we get to this easy recipe, I’ve got a few pointers to help you in your home pickling journey:
Customizing the Flavour
These homemade dill pickles are great as-is, but feel free to alter the "per jar" ingredients used.
If you’d like a spicy pickle, slice up some fresh Jalapeno peppers, or add some chili flakes / red pepper flakes.
Want a more complex flavour? Add a few coriander seeds, and/or a bay leaf. You could even use basic pickling spice, if you’d like.
The key here is to mess with what you put in the jar beforehand - NOT the brine recipe. This one not only has a nice, balanced tangy flavour... it’s SAFE.
Changing water/salt/vinegar proportions can screw with both the flavour and the safety.
Variations in Output
The amount of jars / brine you're going to need will vary widely depend on the shape and size of your cucumbers, the size of jar you use, how you prepare your cucumbers, and how well you pack them into the jar.
Have a lot of extra vinegar on hand, and either make more brine than you think you'll need, or be prepared to make more as you go.
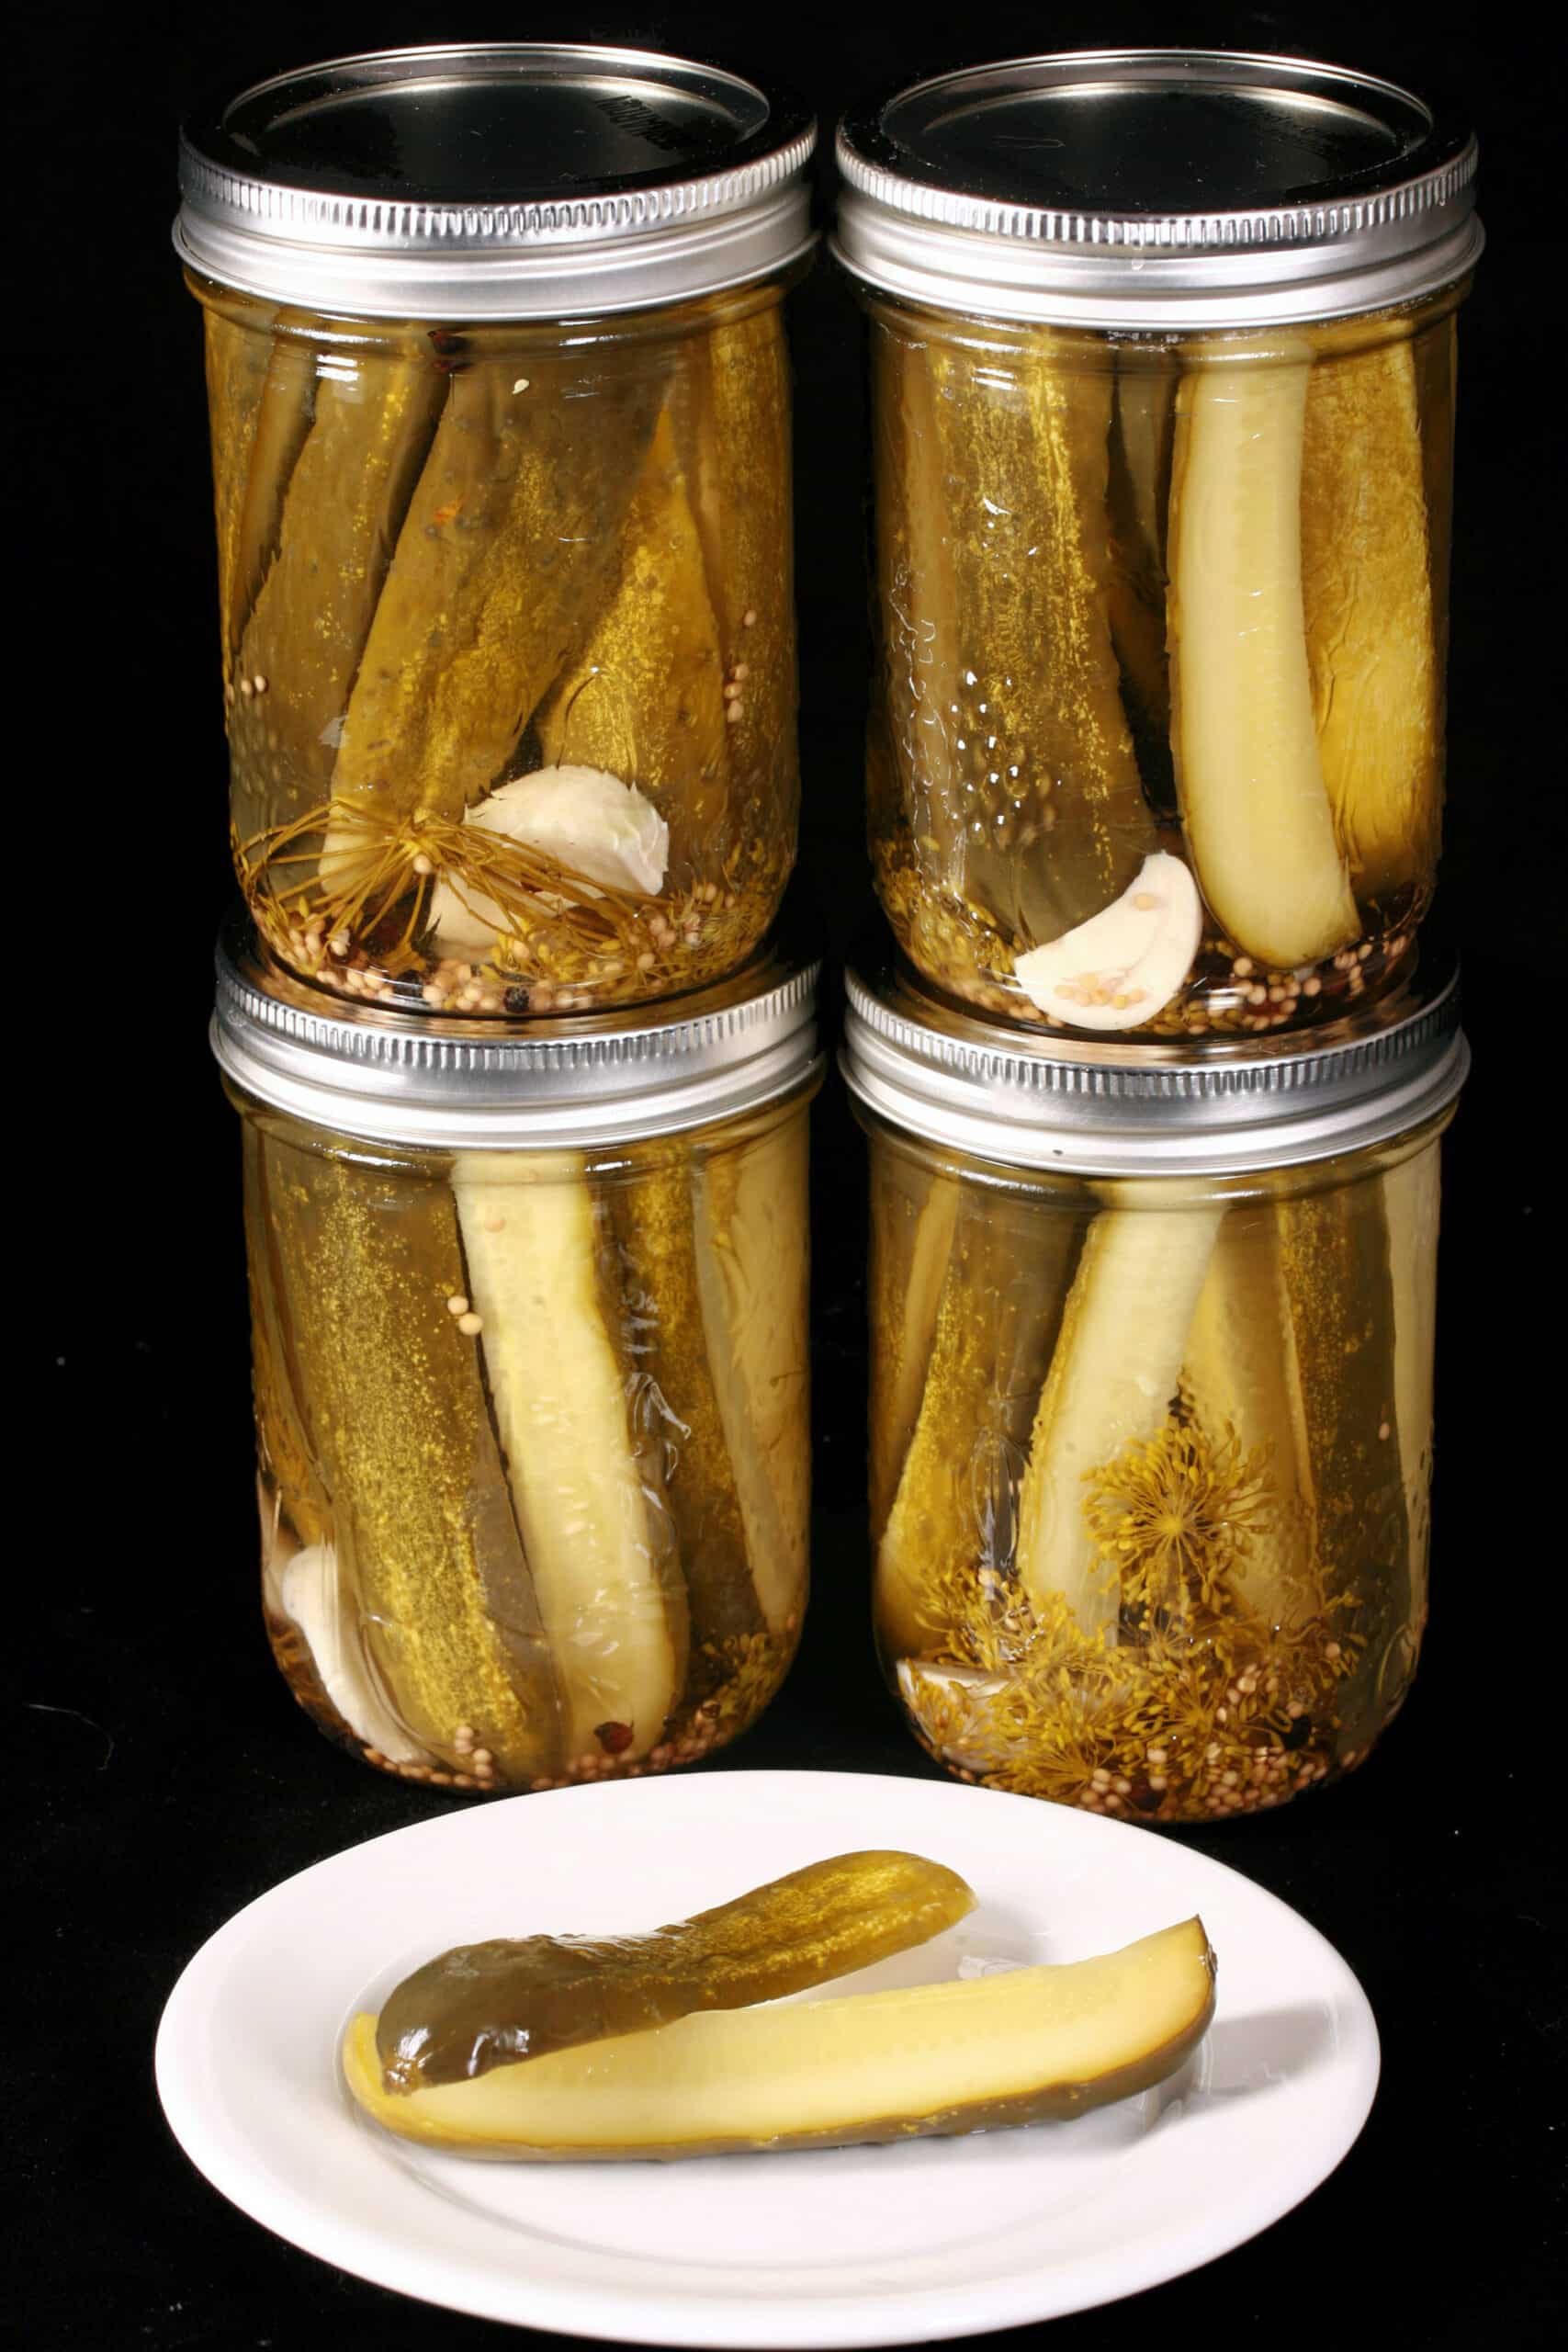
As is, this recipe almost perfectly makes 12 quart jars worth of pickle spears - an even case of Mason jars.
That’s assuming you’re cutting them into spears and packing them tightly - you may still find you end up with some leftovers. If you’re cutting them into pickle chips, you’ll likely use fewer jars.
If you don’t use pint jars, you can use quart sized ones - you’ll just want to double the “per jar” ingredients, for each quart jar.
Plan for Crunch!
No one likes soggy pickles, right? Luckily, there are a few things you can do to ensure a crunchy dill pickle:
1. Start with fresh cucumbers. Your best bet is to buy them at a local farmers market. Use pickling cucumbers that are crisp, not soft or mushy, and blemish-free. Pickle them within a day or two of them being picked, for crunchiest results.
2. Part of why I like to use pint jars is the cucumber size. Small cucumbers usually start - and STAY - crunchier than a large cucumber.
3. Cut a small piece off the blossom end of each cucumber. This inhibits the production of an enzyme that softens the cucumbers.
4. Some people will add a source of tannin to each jar - grape leaves apparently work well. Personally, I don’t bother with tannins, as I don’t like the taste it adds.
Safety First!
There are two main aspects of safety to keep in mind when pickling: Injuries, and preventing botulism.
In terms of botulism - or other contamination - there are a few things you should do, in addition to not messing with the vinegar/water ratio:
1. While you can use previously-used jars for canning, you need new lids for each new batch. Previously used lids run the risk of not obtaining a proper seal.
2. Sterilize everything you’re going to use, and wash your hands before working with anything.
3. Don’t skip wiping off the top of the jars before capping them. Any brine on them can prevent a perfect seal, and has the potential for allowing outside air in.
As far as injuries go, it’s mostly common sense: use a sharp knife for cutting the cucumbers and garlic. Use proper utensils - like a jar lifter - for getting the jars in and out of the water bath, etc.
Ingredients
With the possible exception of the cucumbers, this recipe uses super basic ingredients that will be easy to find in any grocery store.
As always, I have a few notes for you:
Pickling Cucumbers
Use pickling cucumbers specifically, as they're best suited for this.
These are usually sold as “pickling cucumbers”, but are usually either Kirby Cucumbers or Persian Cucumbers.
Either way, you’re looking at cucumbers that are much smaller than English or salad cucumbers, with few or no cucumber seeds in them.
Pickling Salt
Pickling salt is usually available with the canning supplies in any grocery store.
You'll want to use pickling salt specifically, rather than regular table salt or Kosher salt. The anti-caking additives in those salts can make your pickle brine go murky and ugly.
White Vinegar
You’re looking for a basic vinegar with 5% acidity
The percentage is important - that’s what this brine was designed around. The acetic acid in the vinegar is a big part of what makes these pickles safe!
Luckily, 5% is the one you’re most likely to see in grocery stores.
Fresh Dill
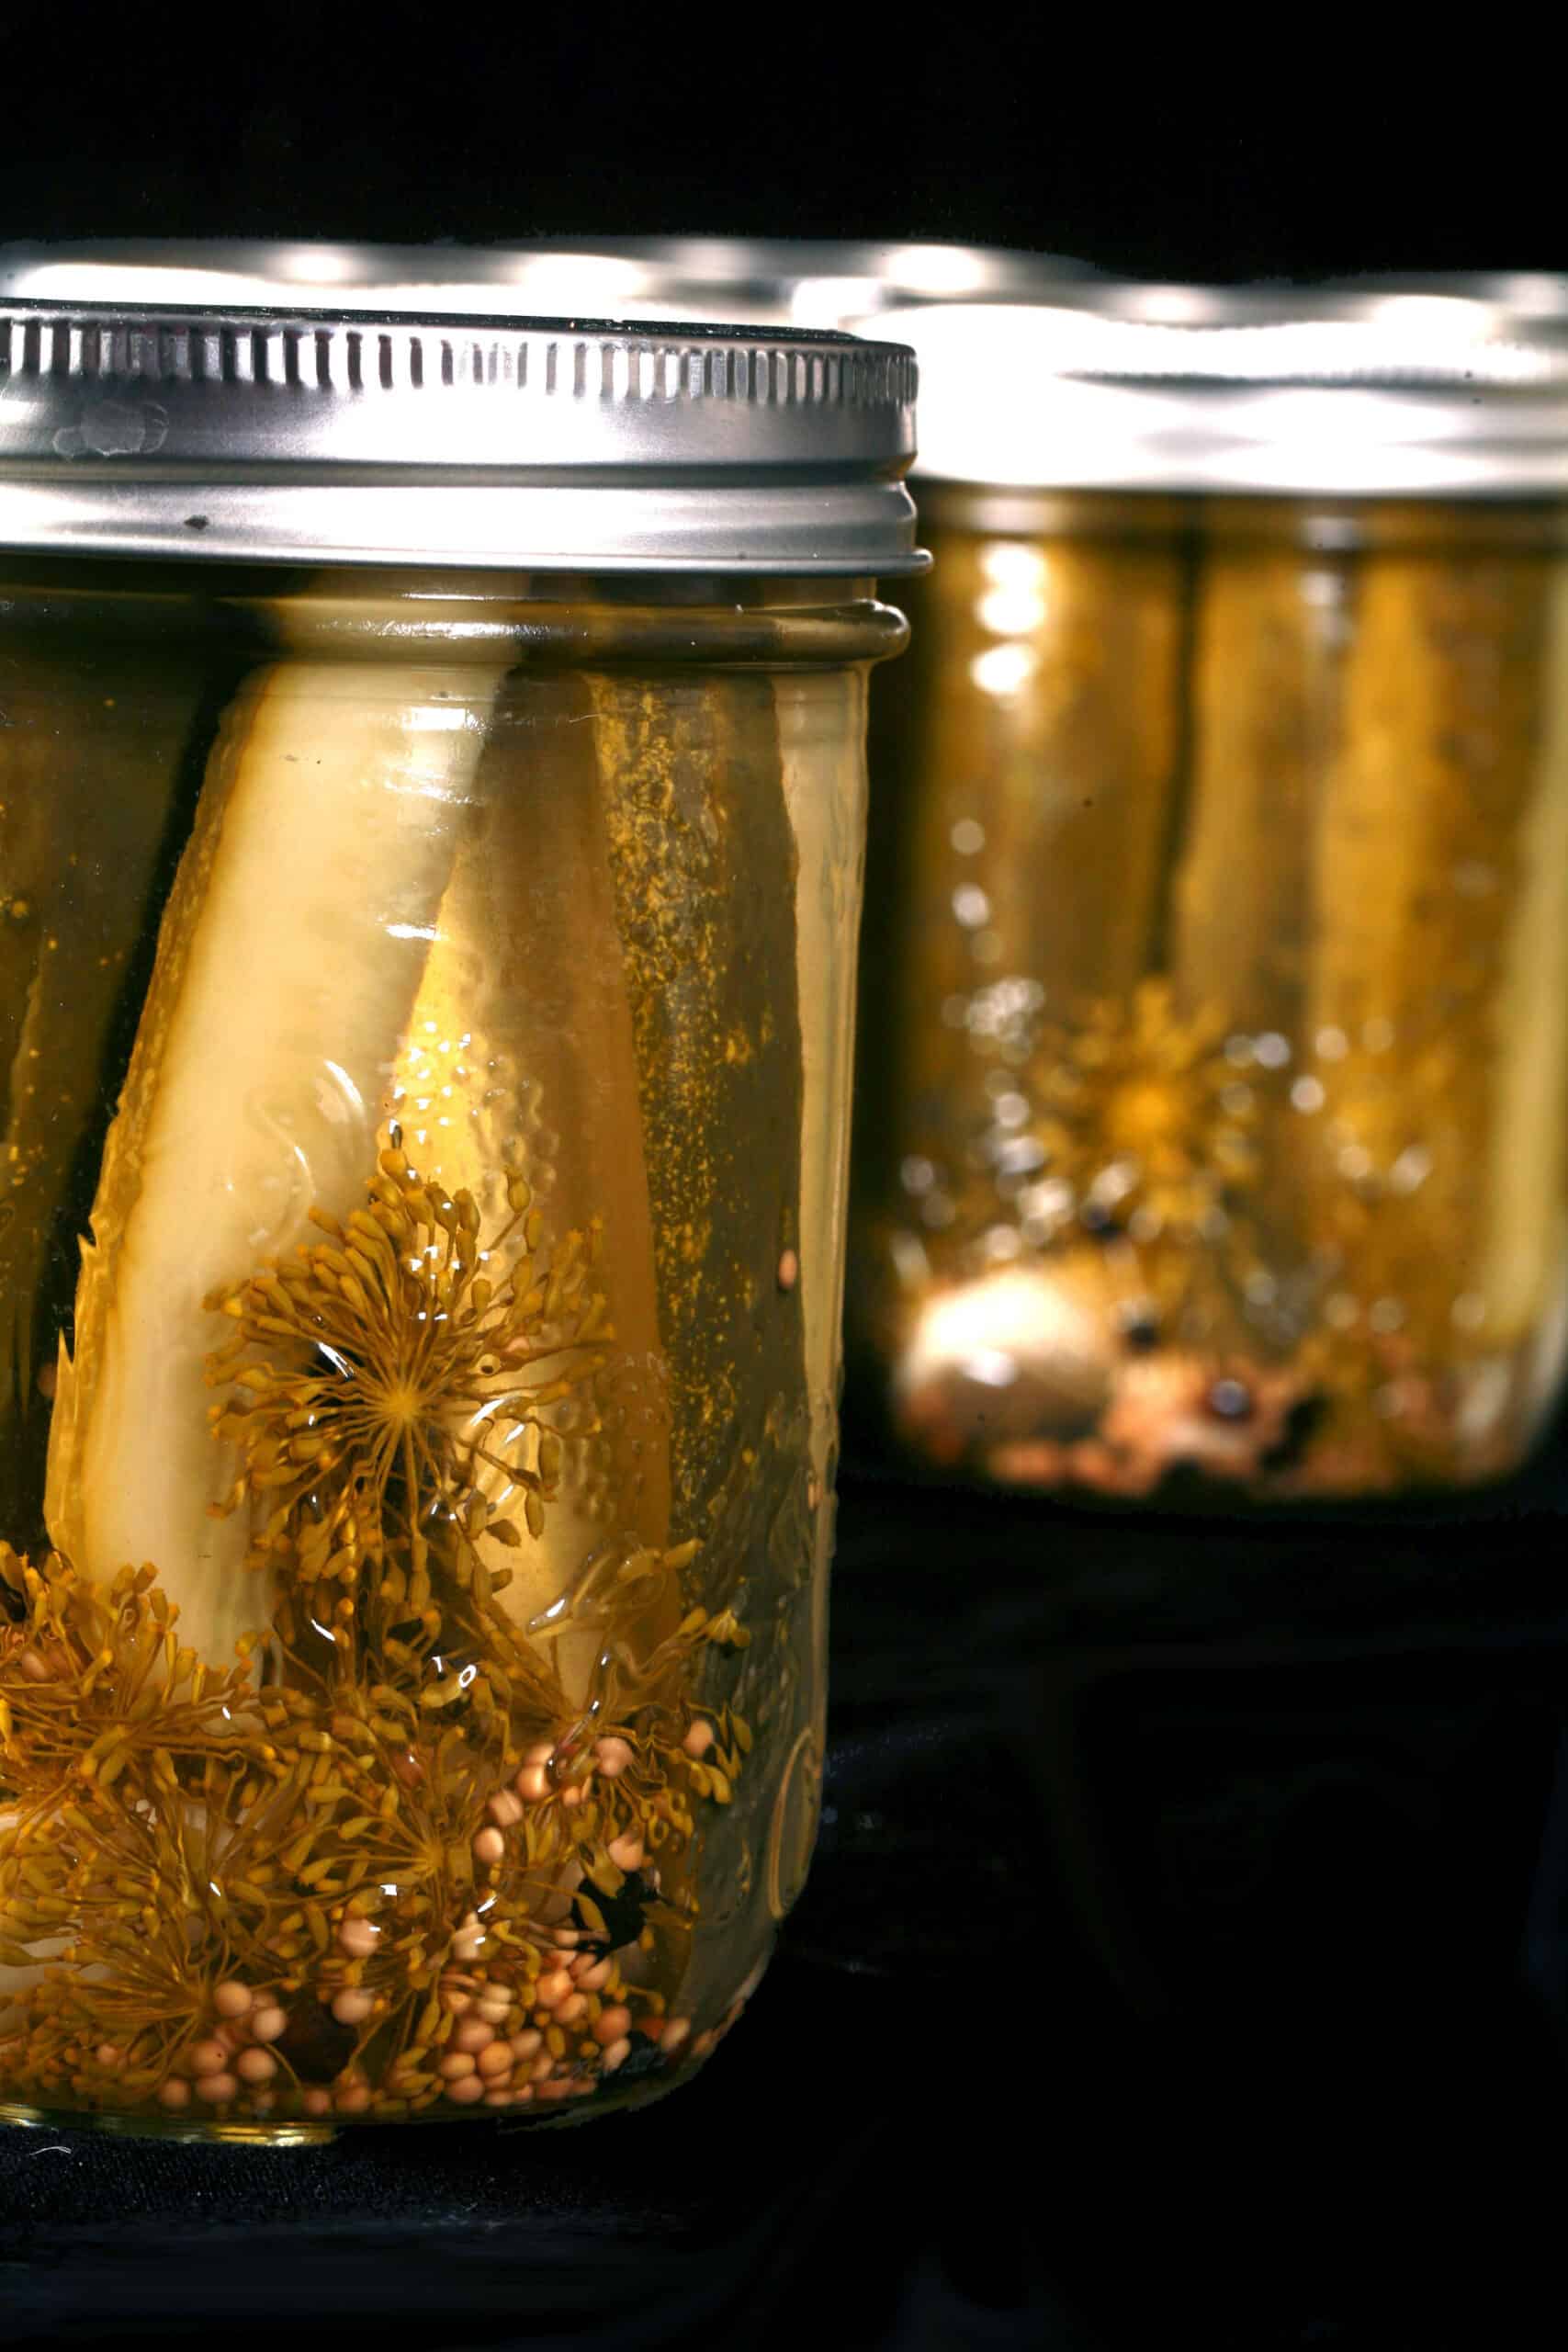
When I have access to them, I use a whole dill head - AKA dill flowers or seed heads. This is the blossom end of a dill plant.
I find that fresh dill heads give the best flavour, but they’re not necessarily available in all grocery stores.
If you don’t have a farmer’s market to buy them from, you can use 1 teaspoon dried dill seed in each jar, instead.
Just be sure to use the flowers or seeds, rather than dill sprigs - or “dill weed”. While I’m sure it’s safe enough, it’s not going to give you the same flavour profile.
Everything Else
Rounding out this recipe, you will need:
Fresh Garlic Cloves
Whole Mustard Seeds
Black Peppercorns
Share the Love!Before you chow down, be sure to take some pics of your handiwork! If you post it to Bluesky, be sure to tag us - @CelebrationGen. We're also on Pinterest, so you can save all your favourite recipes to a board! Also, be sure to subscribe to my free email newsletter, so you never miss out on any of my nonsense. Well, the published nonsense, anyway! |
How to Make Homemade Dill Pickles
The full recipe is in the printable recipe card at the end of this post, here is the pictorial walk through:
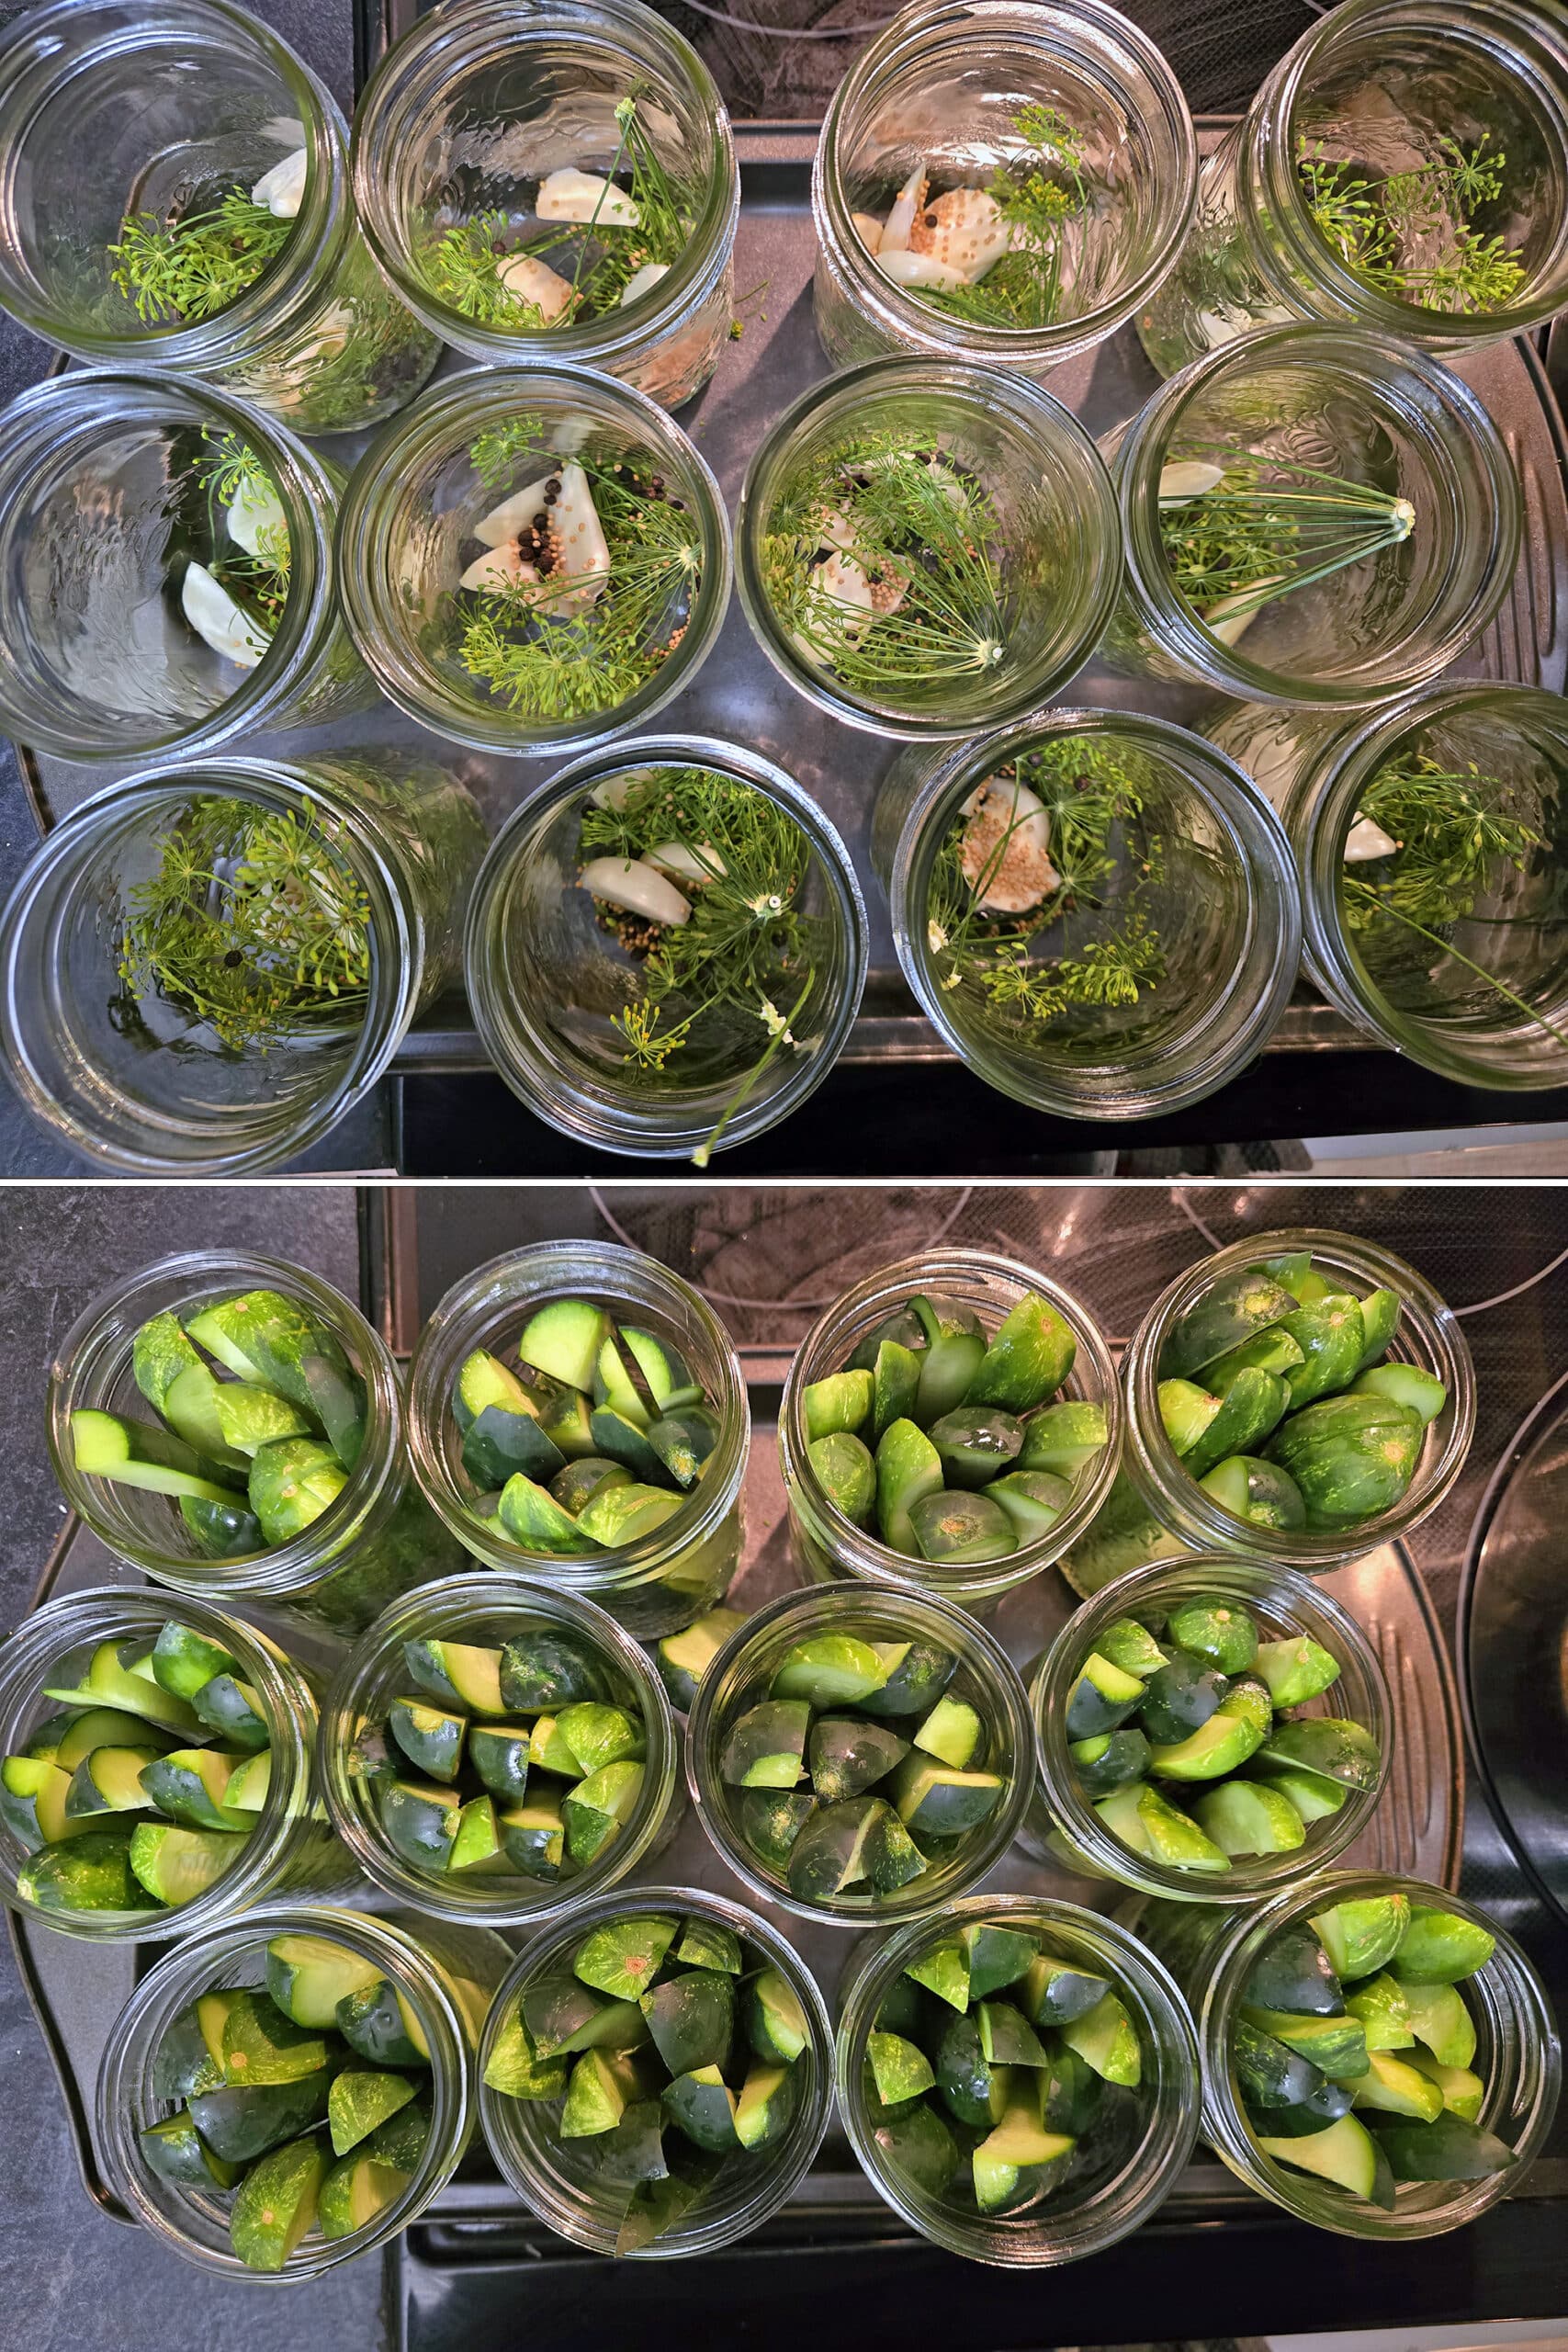
Prepare Your Jars
Wash your cucumbers in cold water, scrubbing well to remove any dirt.
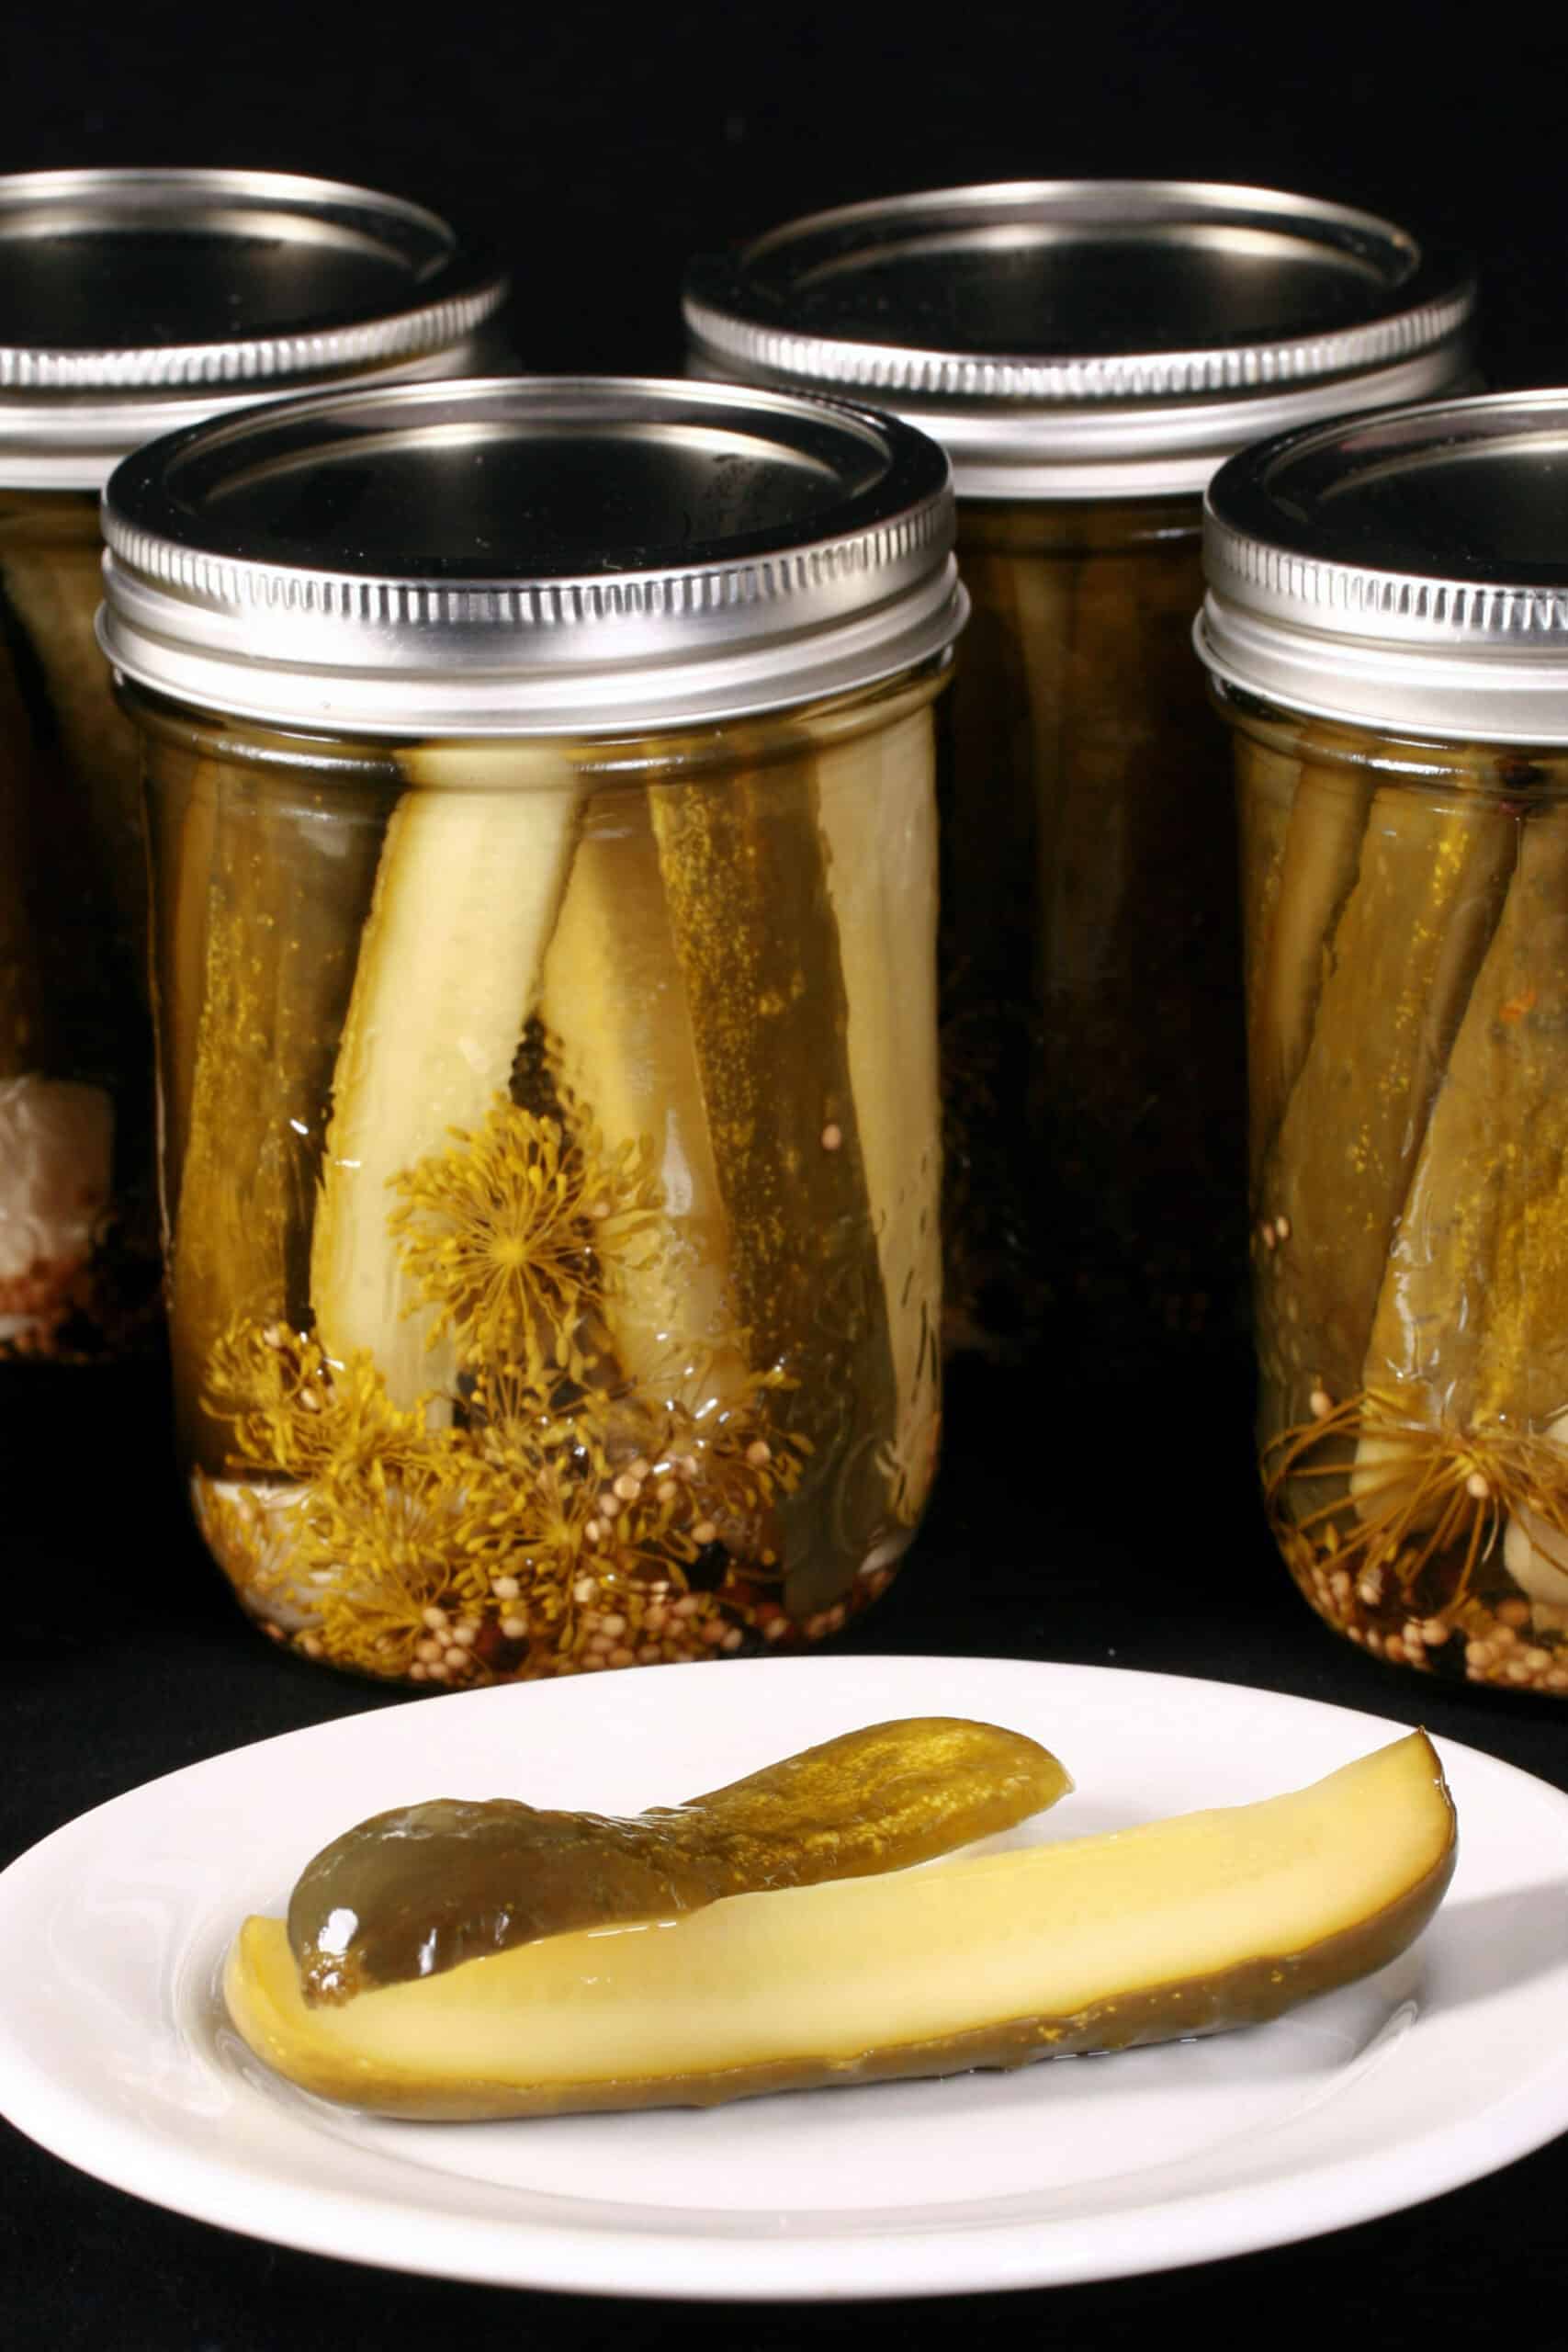
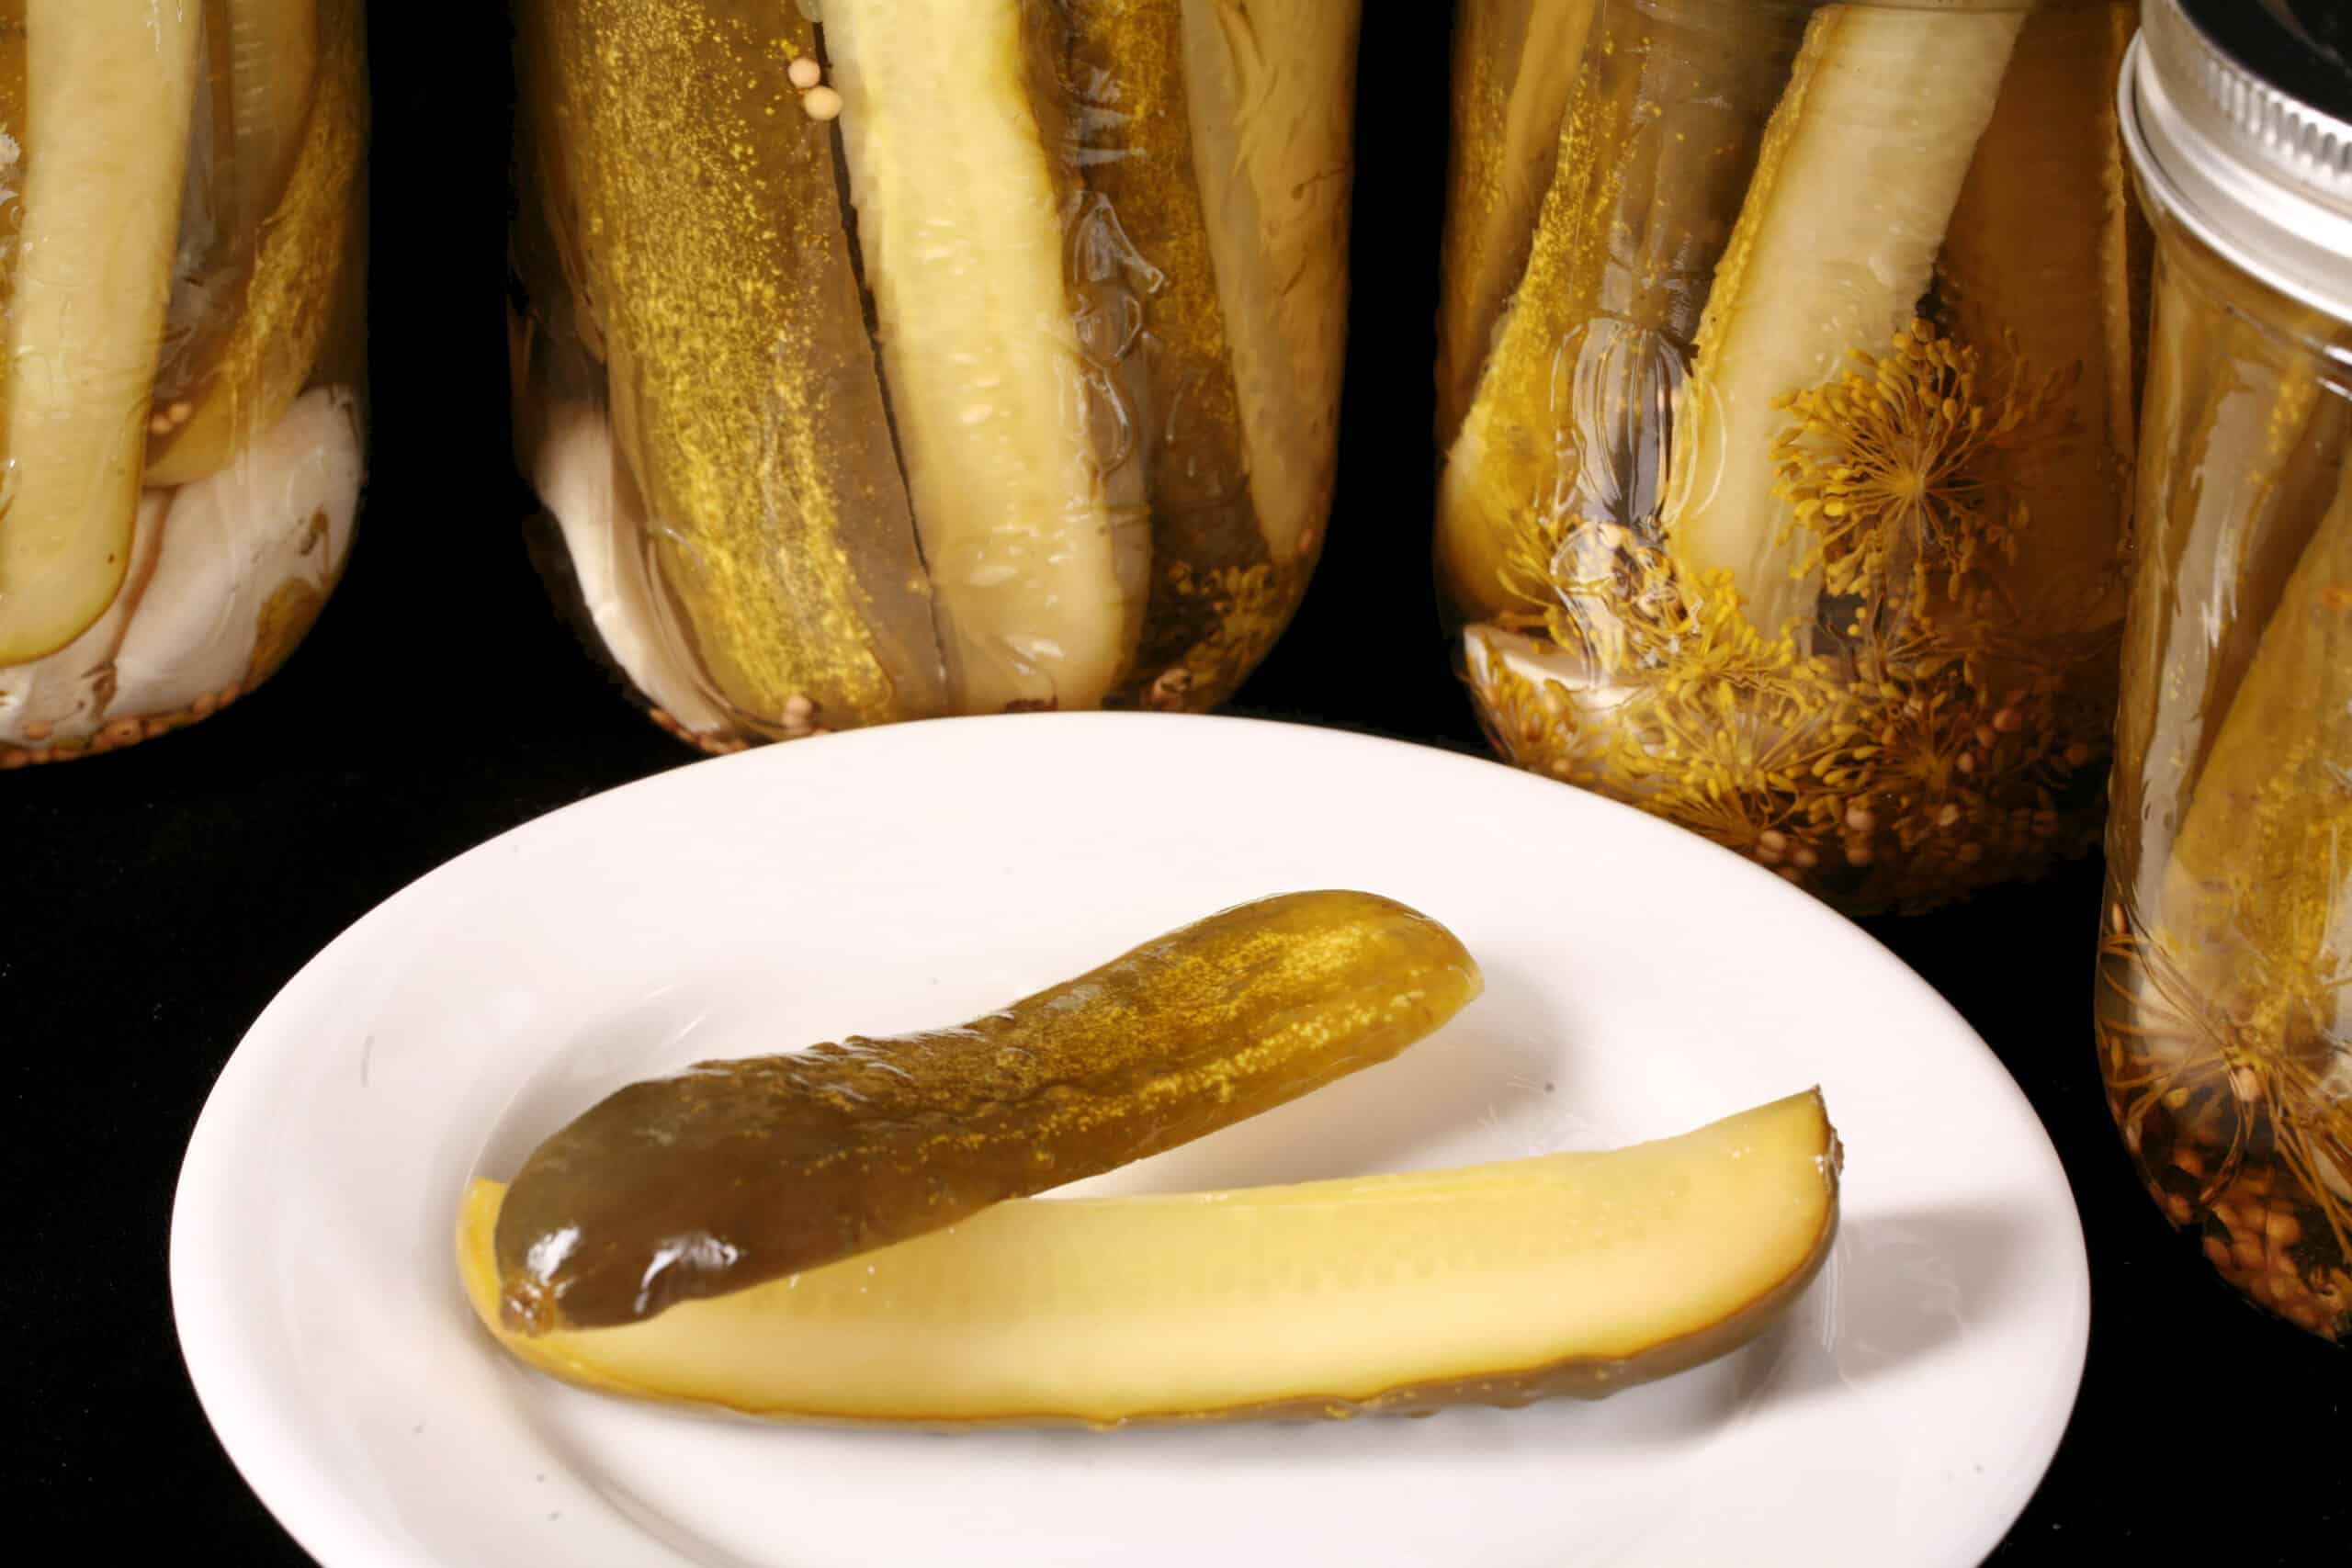
Slice your cucumbers into whatever form you prefer – we like to do spears for both pint and quart jars, selecting pickles that perfectly fit the height of each. Larger cucumbers can be cut down to size, if needed.

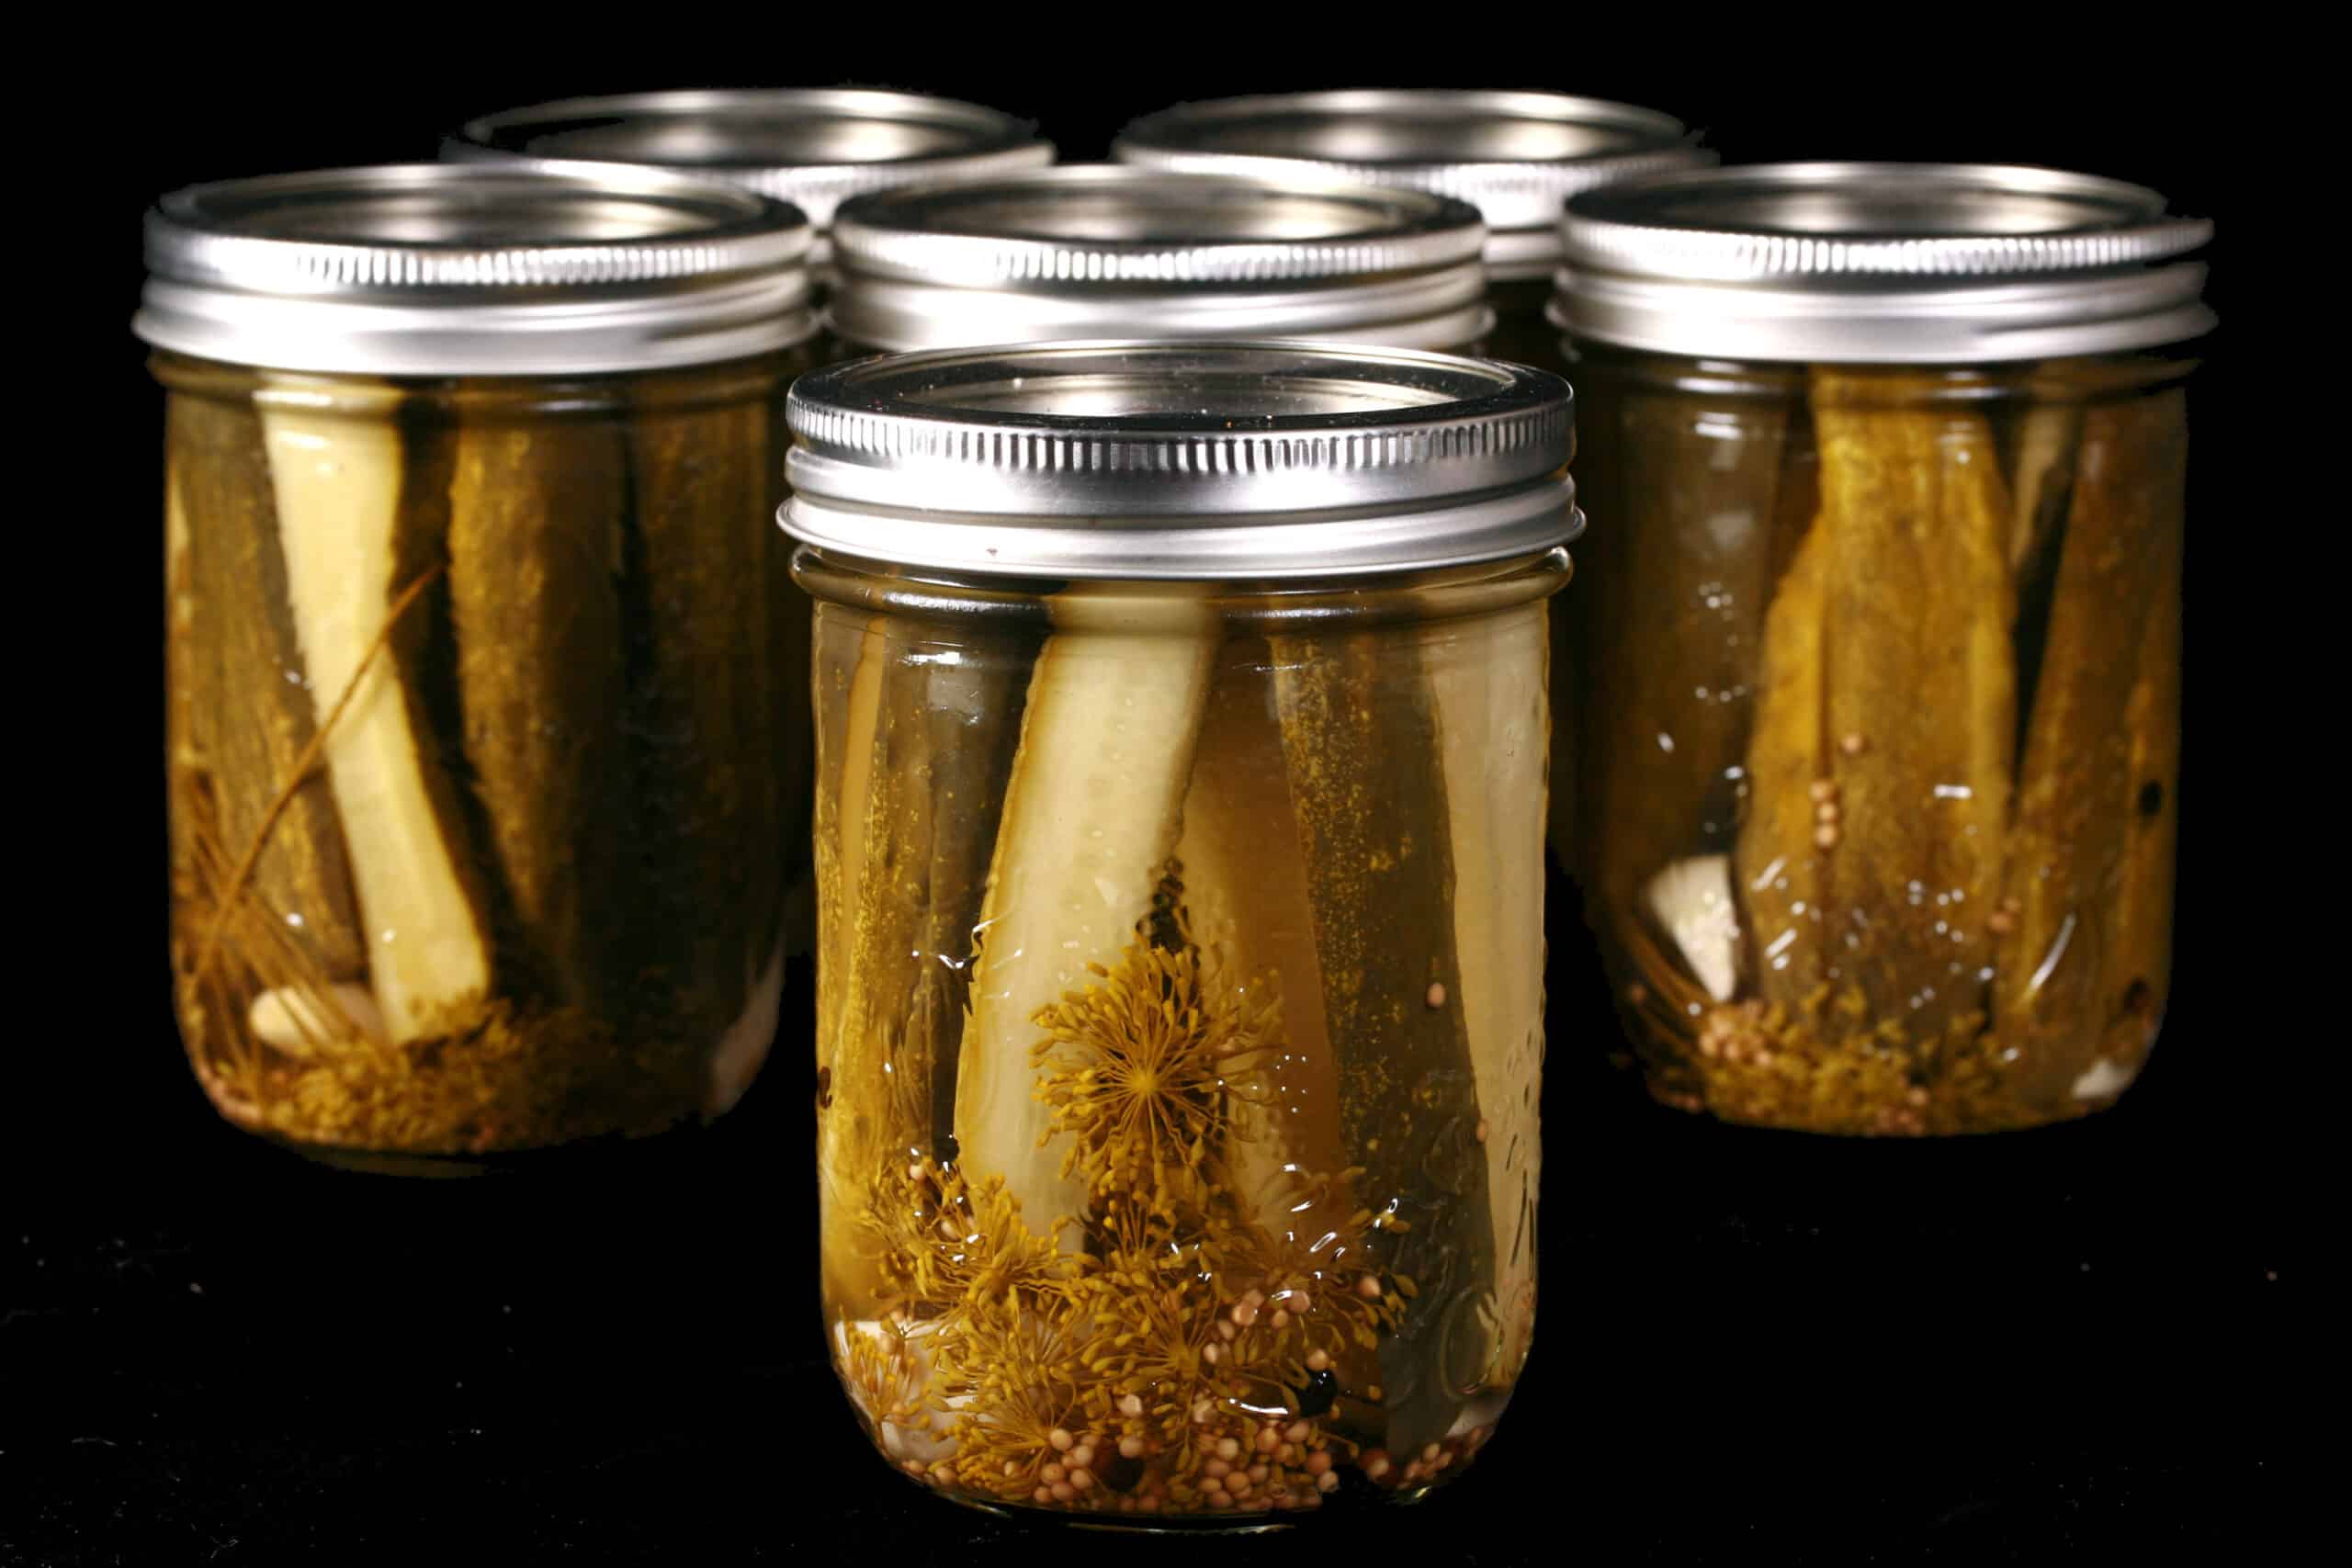
Tightly pack cucumbers into the canning jars.
You need enough water to keep the water level higher than the jars when processing... while still leaving enough room for the volume of the jars. Bring to a boil over high heat, as you prepare your pickle brine.
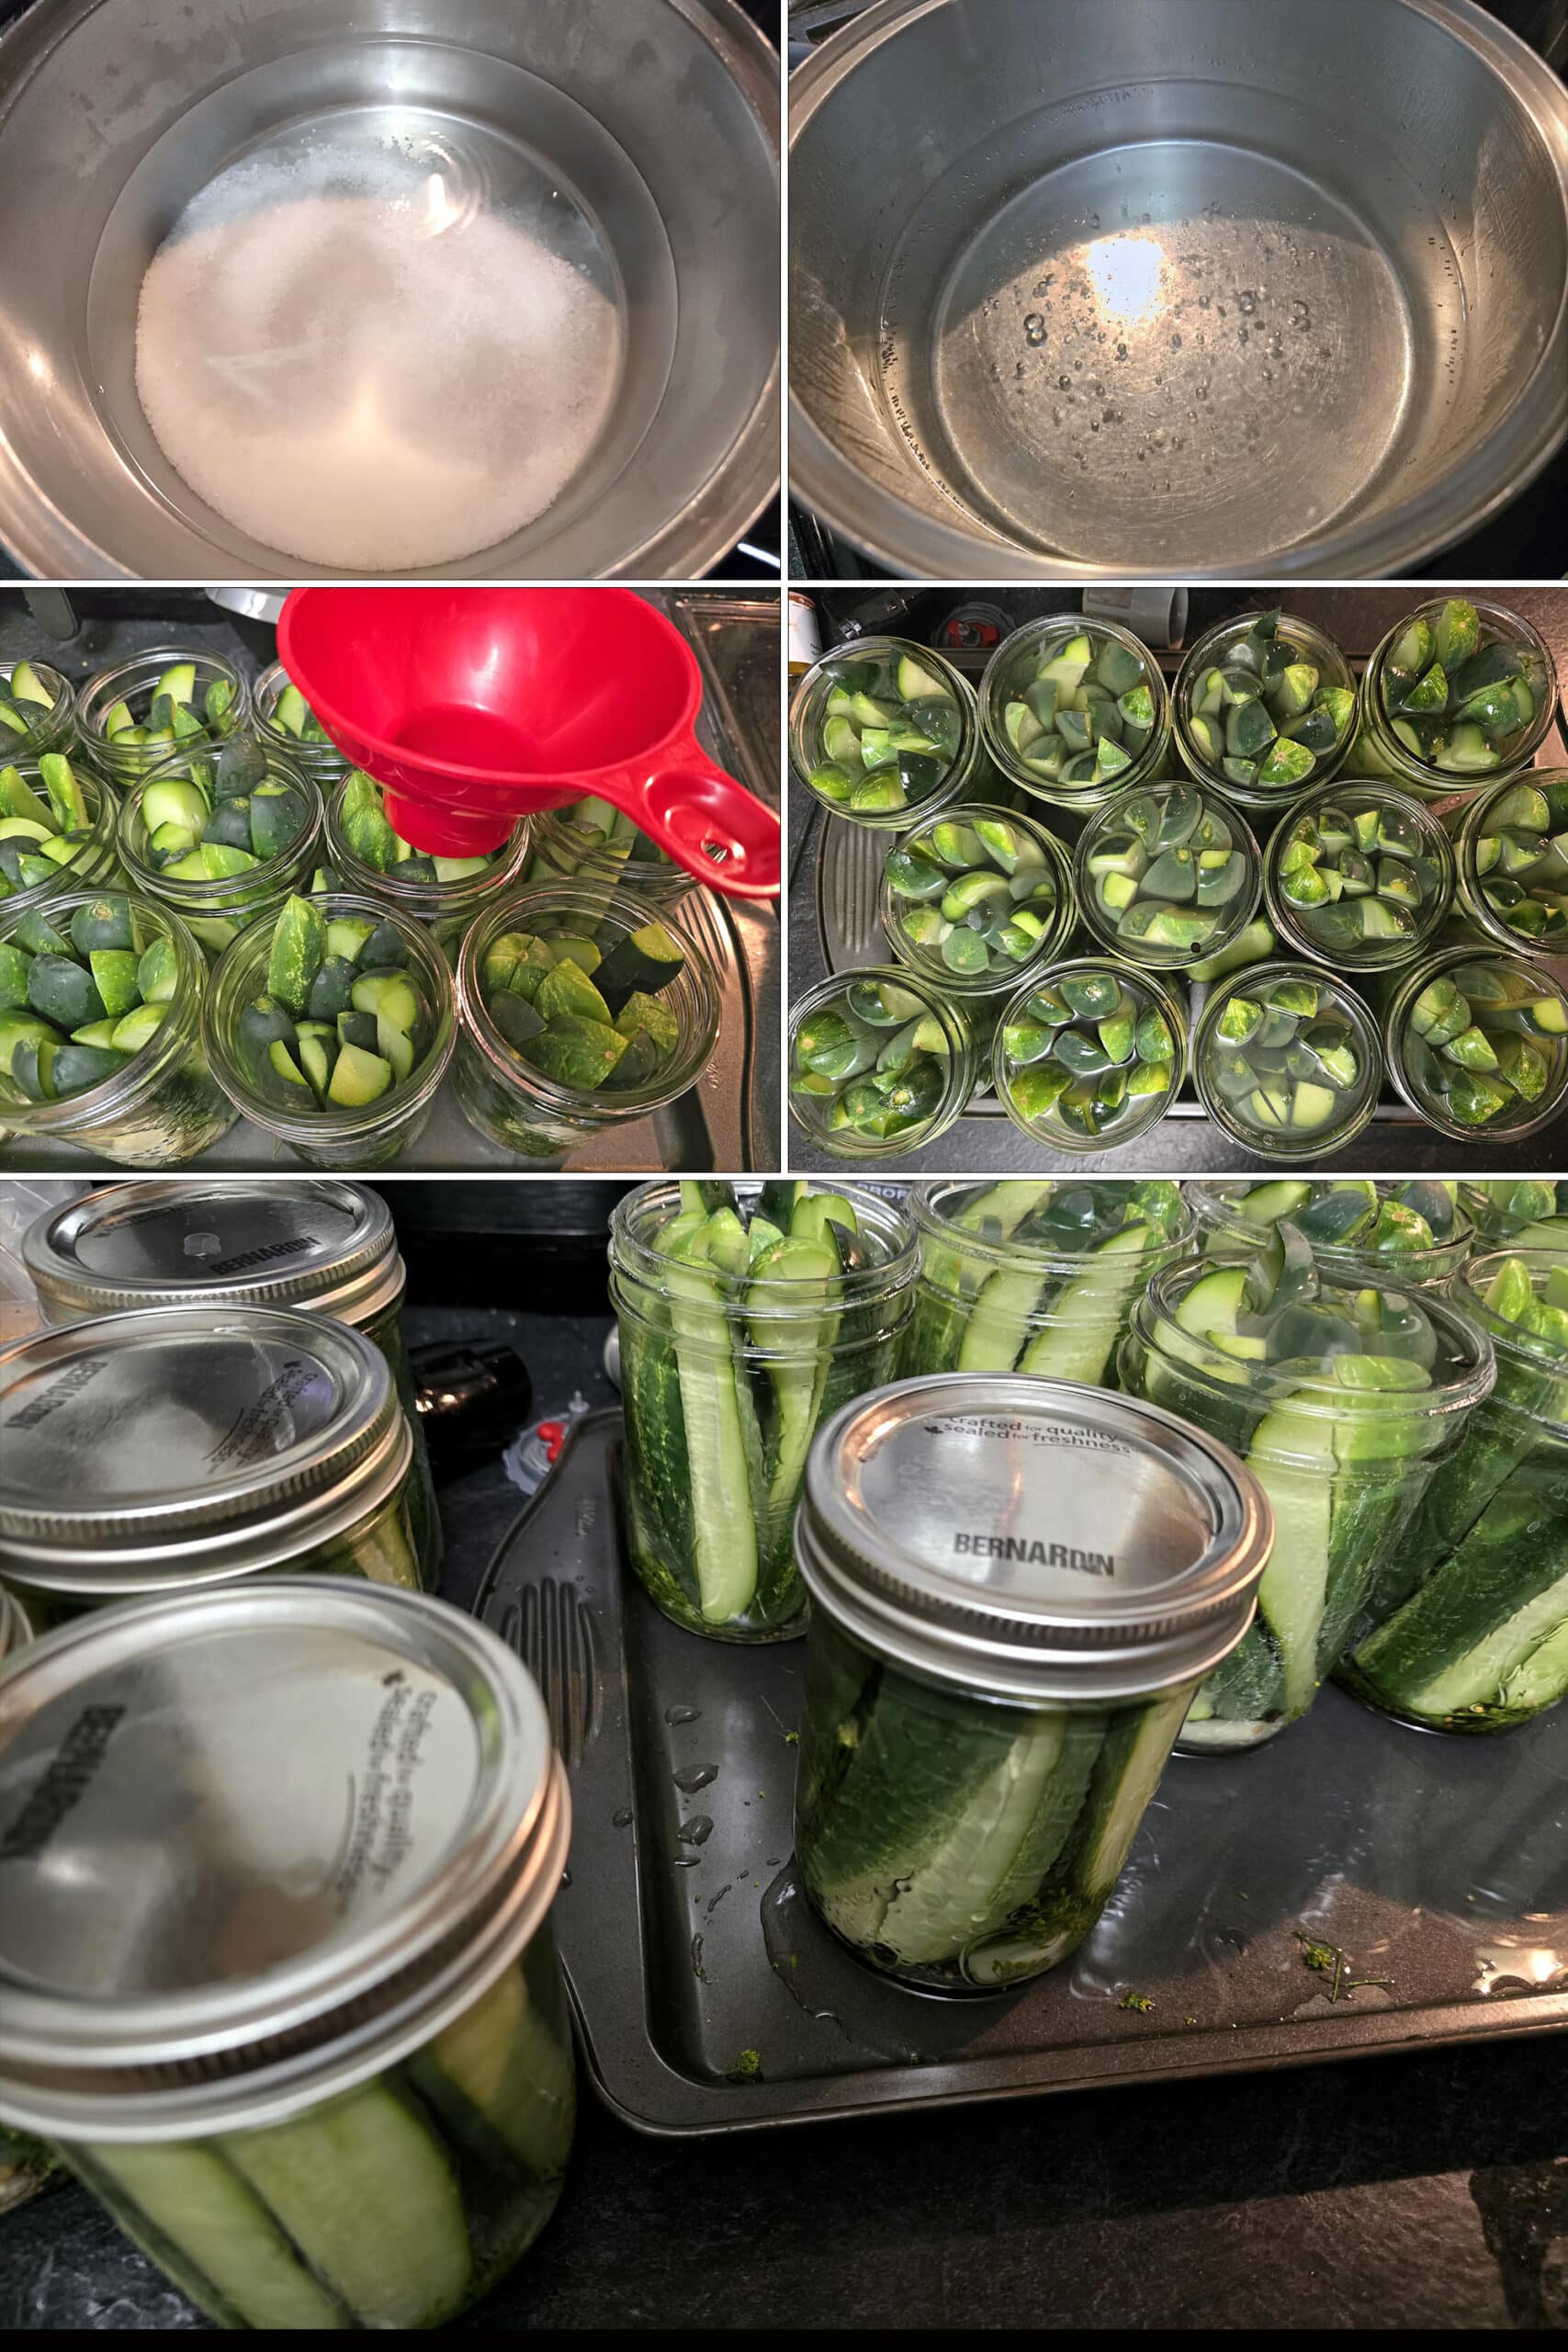
In another pot (NOT the canning pot!), combine vinegar, water, and salt. Bring to a boil, stirring well to help the salt dissolve.
Once brine comes to a boil, use a canning funnel to pour hot brine into prepared jars, leaving about ½″ head space.
Use a bubble remover if you like - I’ll usually poke a sterilized chopstick down to the bottom of each jar to release any trapped air.
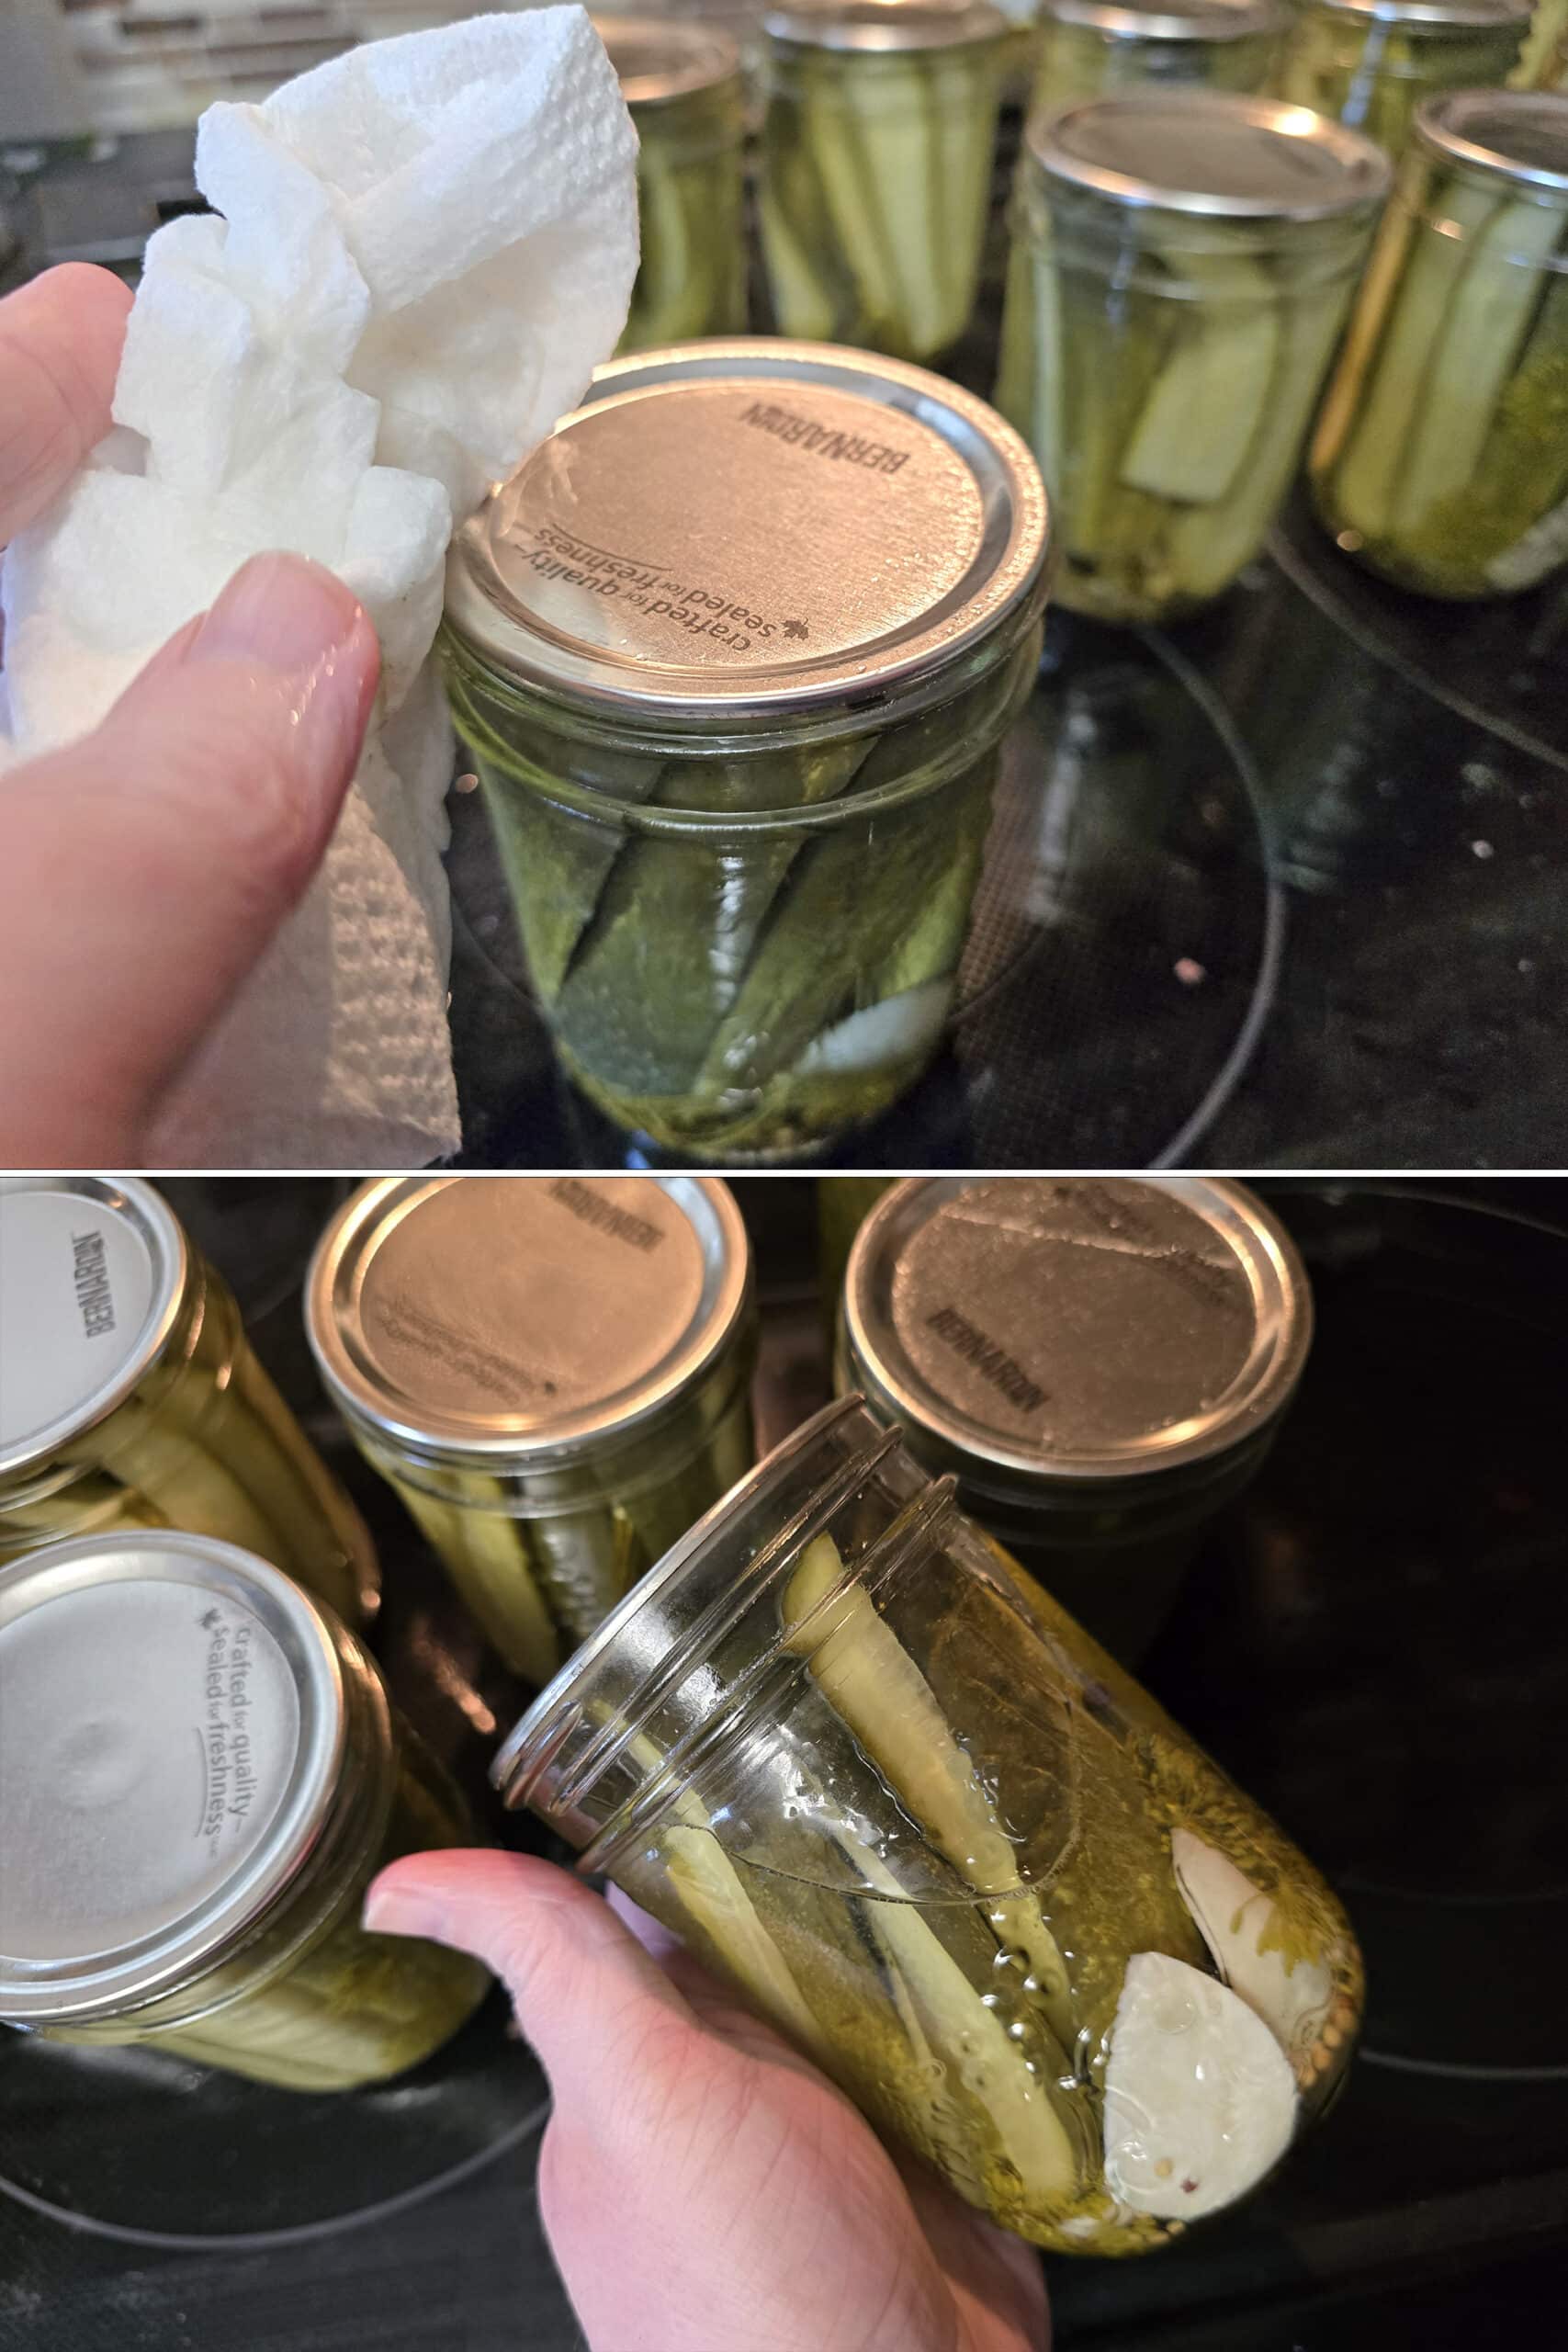
Before you add the lid to each jar, wipe the edge of top of the jar with a clean, wet towel to remove any brine.
Top each with a new, sterilized lid, and carefully screw on a clean lid ring. I like to use a kitchen towel for this, the jars are HOT!
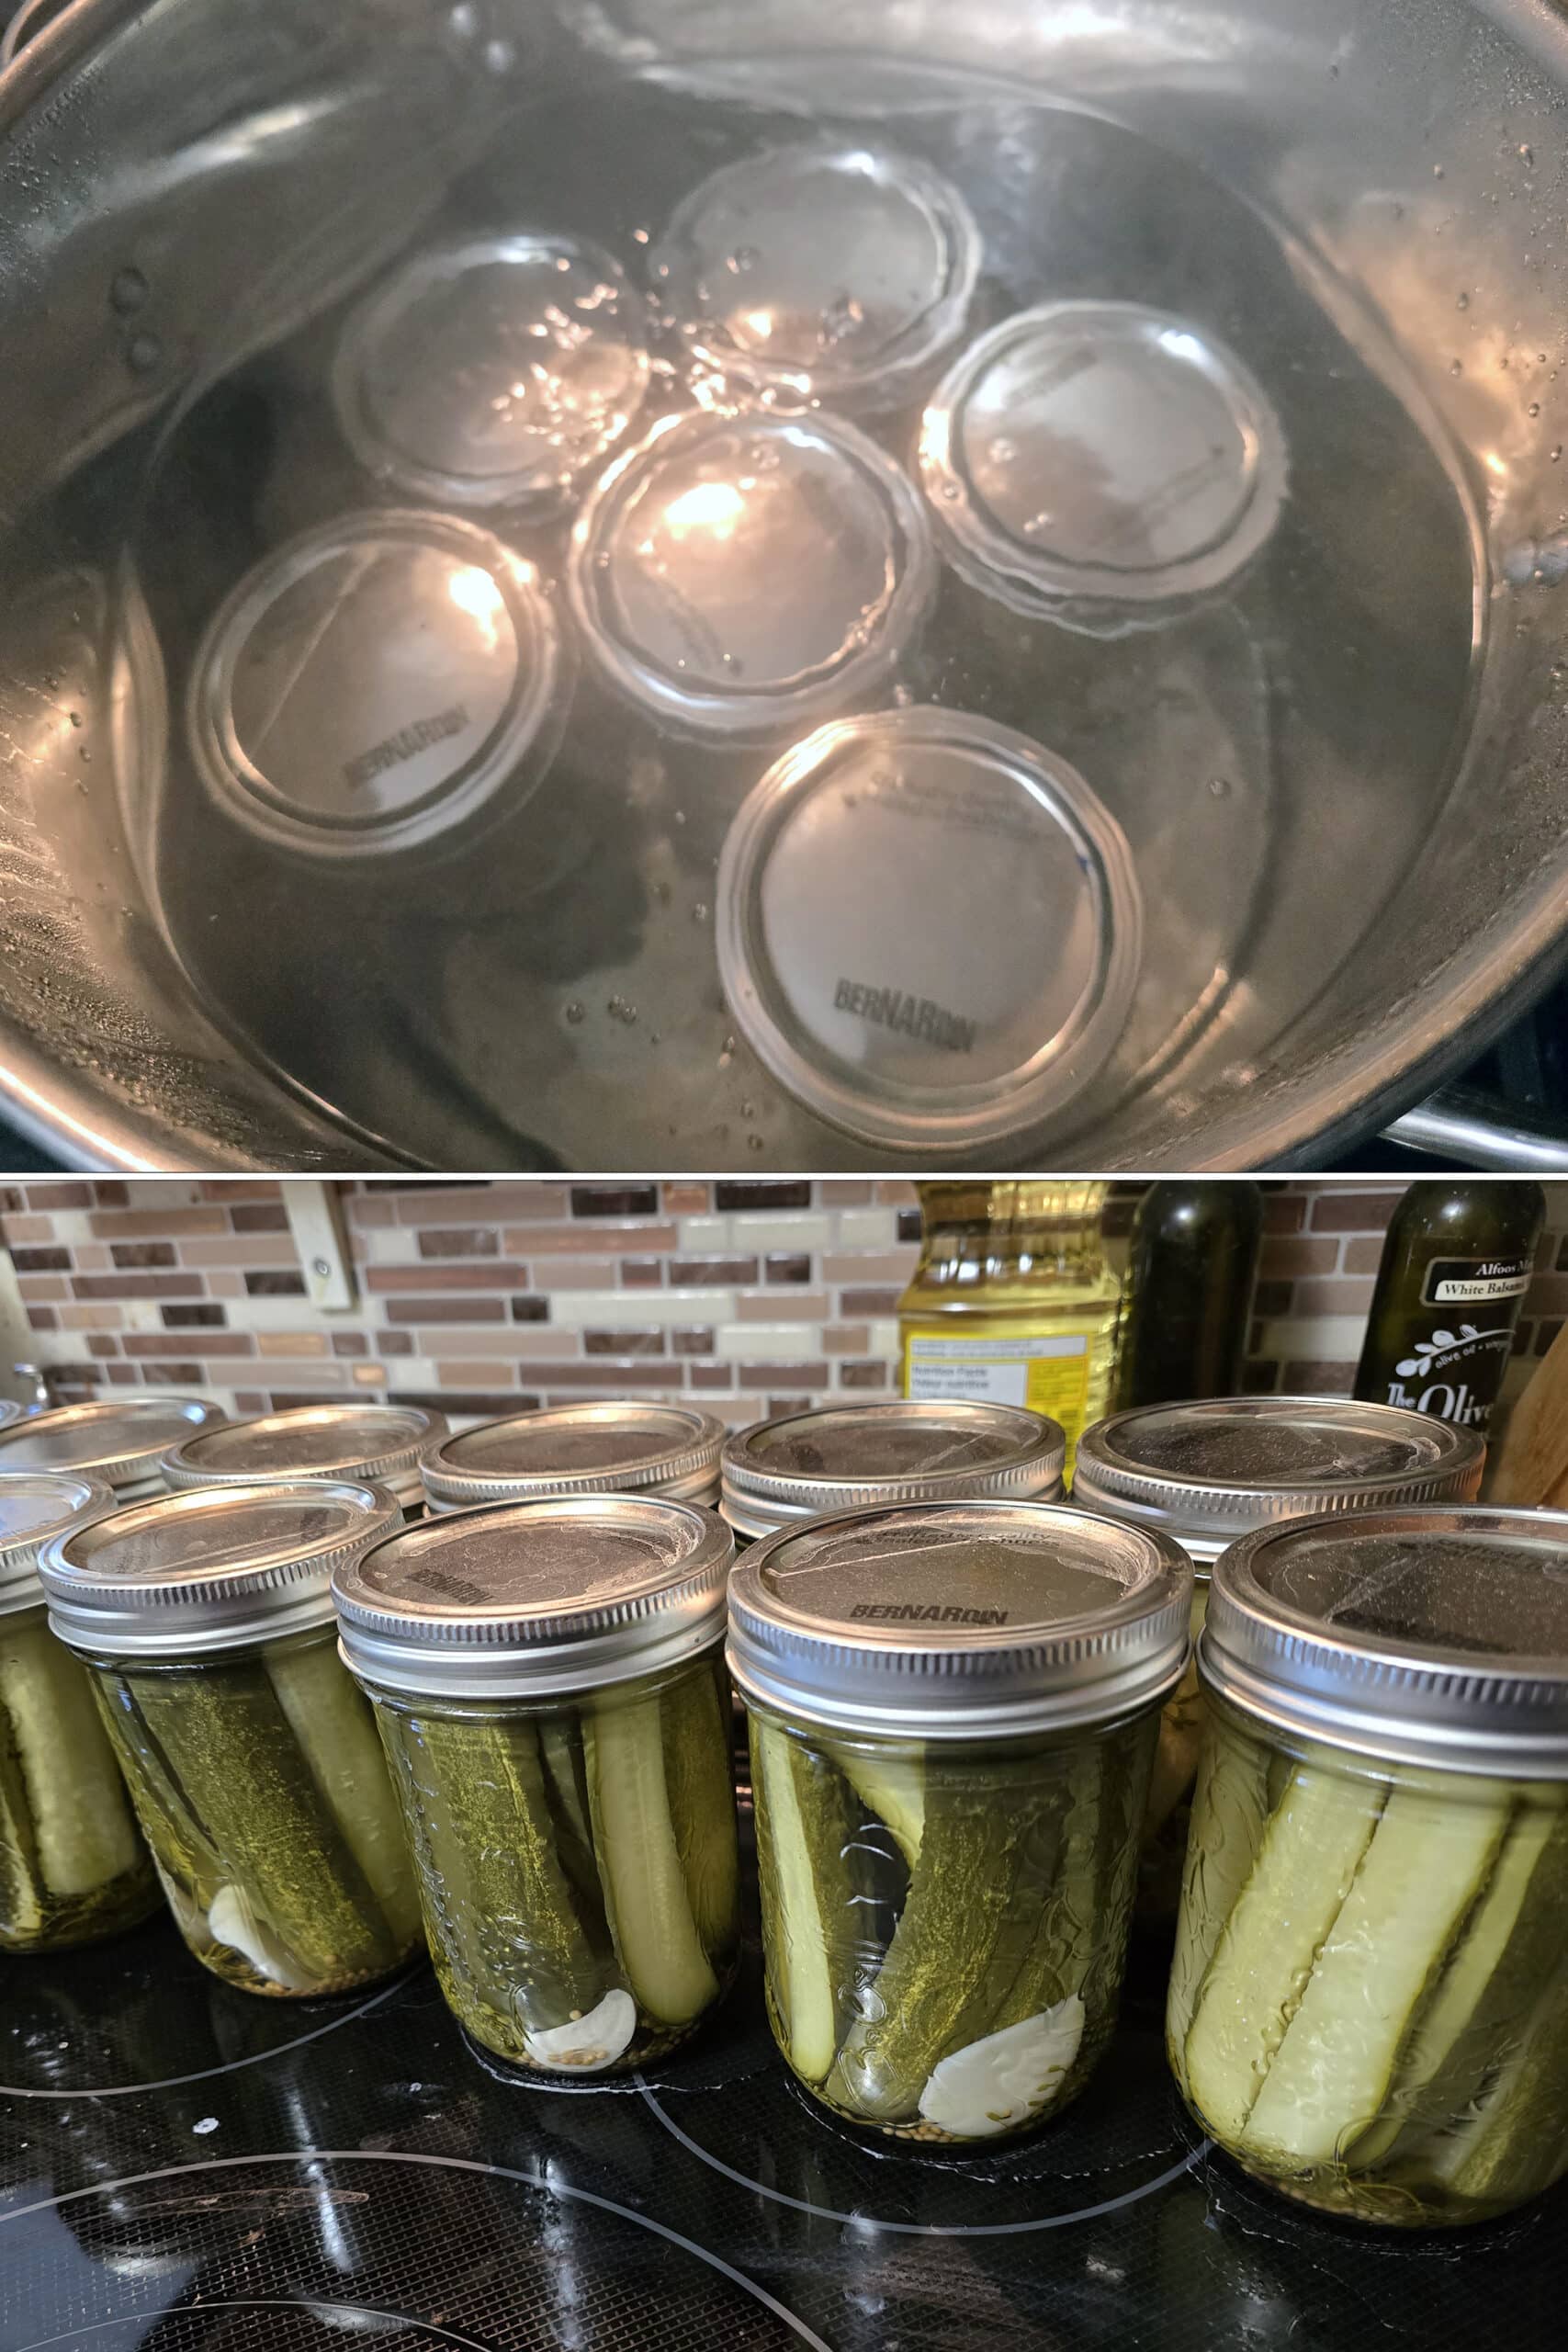
Process Your Pickles
Carefully place your jars of pickles into the boiling water bath, process jars for 15 minutes.
Use a jar lifter to CAREFULLY remove the pickle jars from the water bath, set somewhere heat safe where they won’t be disturbed.
You’ll likely need to do this in batches - top up the water as needed, and bring back to a rolling boil before processing the next batch of jars.
Carefully wipe the tops and threads of the jar with a clean wet cloth to remove any residue, then allow the jars and the lids to fully dry. This is the easiest way to prevent the rings from rusting.
Allow to cool overnight, then replace the jar rings.
Storing Your Pickles
The next day, check to make sure that all of the jars achieved a proper seal after the canning process: Try to push down in the middle of each lid. If it “pops”, it did not seal.
Any jars that didn’t seal should be considered refrigerator pickles, and used within a few weeks.
Leave the jars alone for at least a few days, to allow the flavors to permeate the cucumbers.
Store in a cool, dark place (ideally) for up to 1 year, chill well before eating.
More Pickling and Canning Recipes
Looking for more canned preservation recipes? Here you go!
Clementine Marmalade
Homemade Pickled Beets
Homemade Pickled Carrots, 2 Ways
Hoppy Dill Pickle Relish
Hoppy IPA Pickles
Mixed Root Vegetable Pickles
Mixed Vegetable Pickles
Pepper Jelly
Roasted Corn Salsa
Roasted Corn Salsa Verde
Roasted Salsa Verde
Sweet Corn Relish
Sweet Mustard Pickles
Homemade Dill Pickles - Customizable!
Equipment
- 12 Clean, sterilized pint size canning jars and rings
- 12 New, never-used, sterilized canning lids
- Jar Lifter, Canning Funnel
- LARGE pot to process them in
Ingredients
- 6.5 lbs Pickling Cucumbers Washed/scrubbed well.
Brine:
- 12 cups White Vinegar, 5% acidity
- 12 cups Water
- 1 ½ cups Pickling Salt
Per pint jar (Double this if using quart jars):
- 2 Garlic Cloves Peeled and cut in half
- 1 head Fresh Dill or 1 teaspoon dill seed
- ¼ teaspoon Pepper Corns
- ¼ teaspoon Mustard Seeds
- ¼-½ Jalapeno Pepper Sliced. See post for other options.
Instructions
Prepare Your Jars
- Wash your cucumbers in cold water, scrubbing well to remove any dirt.
- Slice your cucumbers into whatever form you prefer. We like to do spears for both pint and quart jars, selecting pickles that perfectly fit the height of each. Larger cucumbers can be cut down to size, if needed.
- Fill your LARGE pot with at least 6″ of water - you need enough water to keep the water level higher than the jars when processing... while still leaving enough room for the volume of the jars. Bring to a boil over high heat, as you prepare your pickle brine.
- In another pot (NOT the canning pot!), combine vinegar, water, and salt. Bring to a boil, stirring well to dissolve the salt.
- As the brine heats up, measure your “per jar” ingredients into your sterilized jars. Arrange your prepared cucumbers into the canning jars, packing them tightly.
- Once brine comes to a boil, use a canning funnel to pour hot brine into prepared jars, leaving about ½″ head space. Use a bubble remover if you like - I’ll usually poke a sterilized chopstick down to the bottom of each jar to release any trapped air.
- Before you add the lid to each jar, wipe the edge of top of the jar with a clean, wet towel to remove any brine. Top each with a new, sterilized lid, and carefully screw on a clean lid ring. I like to use a kitchen towel for this, the jars are HOT!
Process Your Pickles
- Carefully place your jars of pickles into the boiling water bath, process jars for 15 minutes.
- You’ll likely need to do this in batches - top up the water as needed, and bring back to a rolling boil before processing the next batch of jars.
- Use a jar lifter to CAREFULLY remove the pickle jars from the water bath, set somewhere heat safe where they won’t be disturbed.
- For best results, remove the jar rings after the jar lids pop - sucking the center of each lid down to form a seal as they cool to room temperature.
- Carefully wipe the tops and threads of the jar with a clean wet cloth to remove any residue, then allow the jars and the lids to fully dry. This is the easiest way to prevent the rings from rusting.
- Allow to cool overnight, before replacing the jar rings.
Notes
Nutrition
Thanks for Reading!... and hey, if you love the recipe, please consider leaving a star rating and comment! |


Heather
What do you use to wash and scrub your pickles?
Marie Porter
Probably my favourite dill pickles ever - hope you love this recipe as much as we do!