DIY Sushi Party - Potluck Style!
Originally Posted April 10, 2017. Updated 2/4/2021

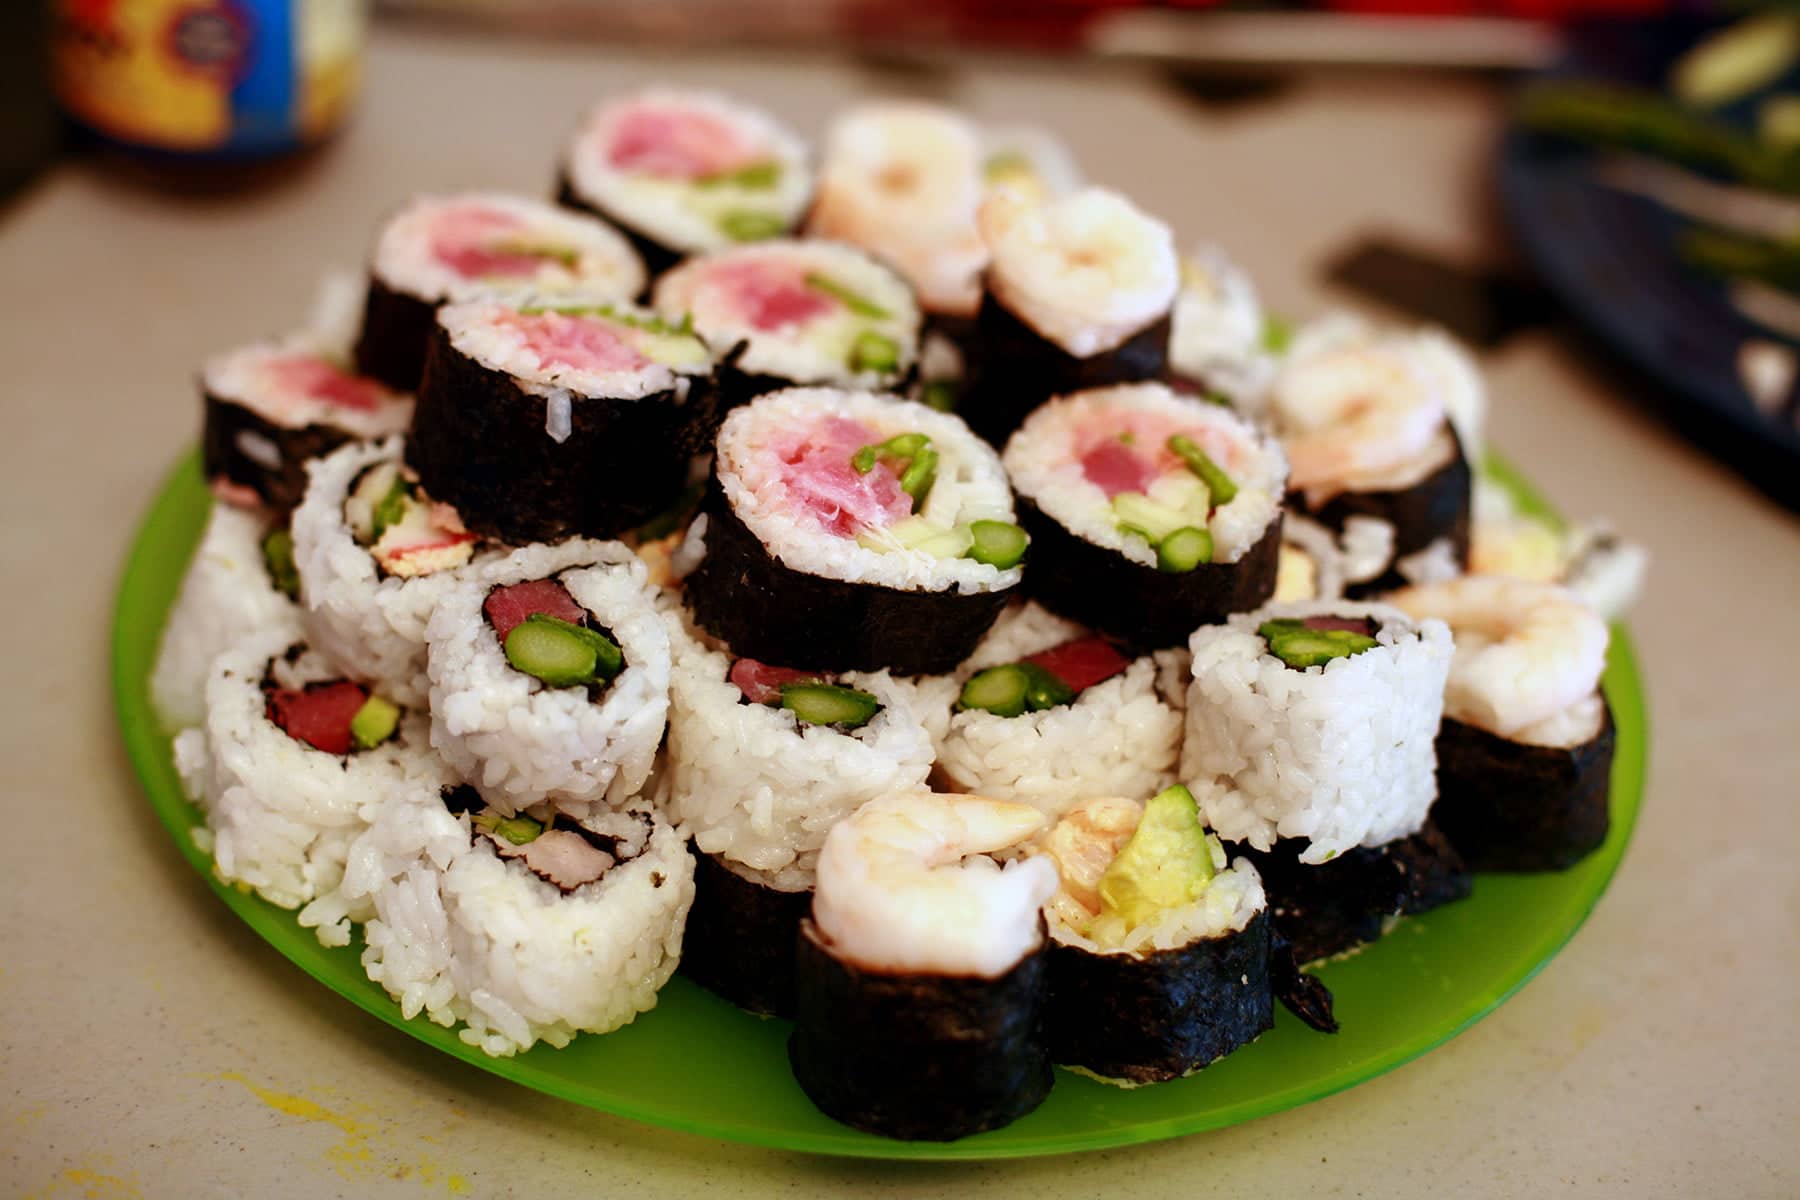
Looking for a fun party idea? Consider hosting a DIY Potluck Sushi Party! Tons of fun, lots of great food, and sushi comas all around!
A few times over the past 8 years, we’ve hosted a - what we EVER so classily refer to as - “All You Can Stuff Sushi Potluck Party”.
Twice, it’s been as my husband’s birthday party, and each time, I think to myself that I should blog this.
My husband's birthday was this past week, which was a reminder that I was planning to blog his sushi party a YEAR ago.
Whoops. At least I kept the information all this time ... even if we once again forgot to take pictures as it was all happening. Again... whoops.
Anyway, apparently sushi rolling parties are actually becoming a THING now... though it was a new, unique idea back when we started. Boo, missed opportunity to be trend setters!
This party is a lot of fun to do, assuming you’re good with logistics. There’s a lot to juggle, but when it all comes together, it’s super rewarding.

How to Host a DIY Sushi Party
Step One: Make Your Decisions!
We’ve now done this party a few different ways, and which way you plan to do it depends a lot on your friends, your finances, etc.
Personally, I prefer one of the potluck methods ... it just feels more social. Only you know your friends and what would work best for you, though!
The options:
#1: Guests Bring Items:
For this method, I do up a wish list of items, and divide it out among the people attending.
I try to keep it even, that people are all bringing about the same value of items (Don’t stick one friend with bringing expensive fish, and ask for a single cucumber from another!).
One thing to keep in mind when dividing out the list is who you are asking to bring what.
Some people, I trust to know what a good avocado looks like, others... not so much!
Another consideration is “Who lives near one of the few places to sell trustworthy sashimi grade fish?”.
# 2: Guests Bring Items OR Contribute Money:
If you have a lot of friends that you may not trust so much to pick up certain items, this can be a good option.
Some people get excited about showing up with a beautiful piece of salmon, for instance... while others would much rather just Paypal you a few bucks and have you do it.
#3: Guests Chip in Money:
The most recent time we hosted a sushi potluck party, we asked everyone which way they’d like to do this, and everyone decided that they’d like to just chip in.
It was just before a busy con season, so it just ended up more efficient to have me do the shopping for it.
Fair enough - everyone sent $10 per person via Paypal ahead of time.
#4: Not Potluck
You can, of course, always just straight up host the dinner, rather than do it as a potluck.

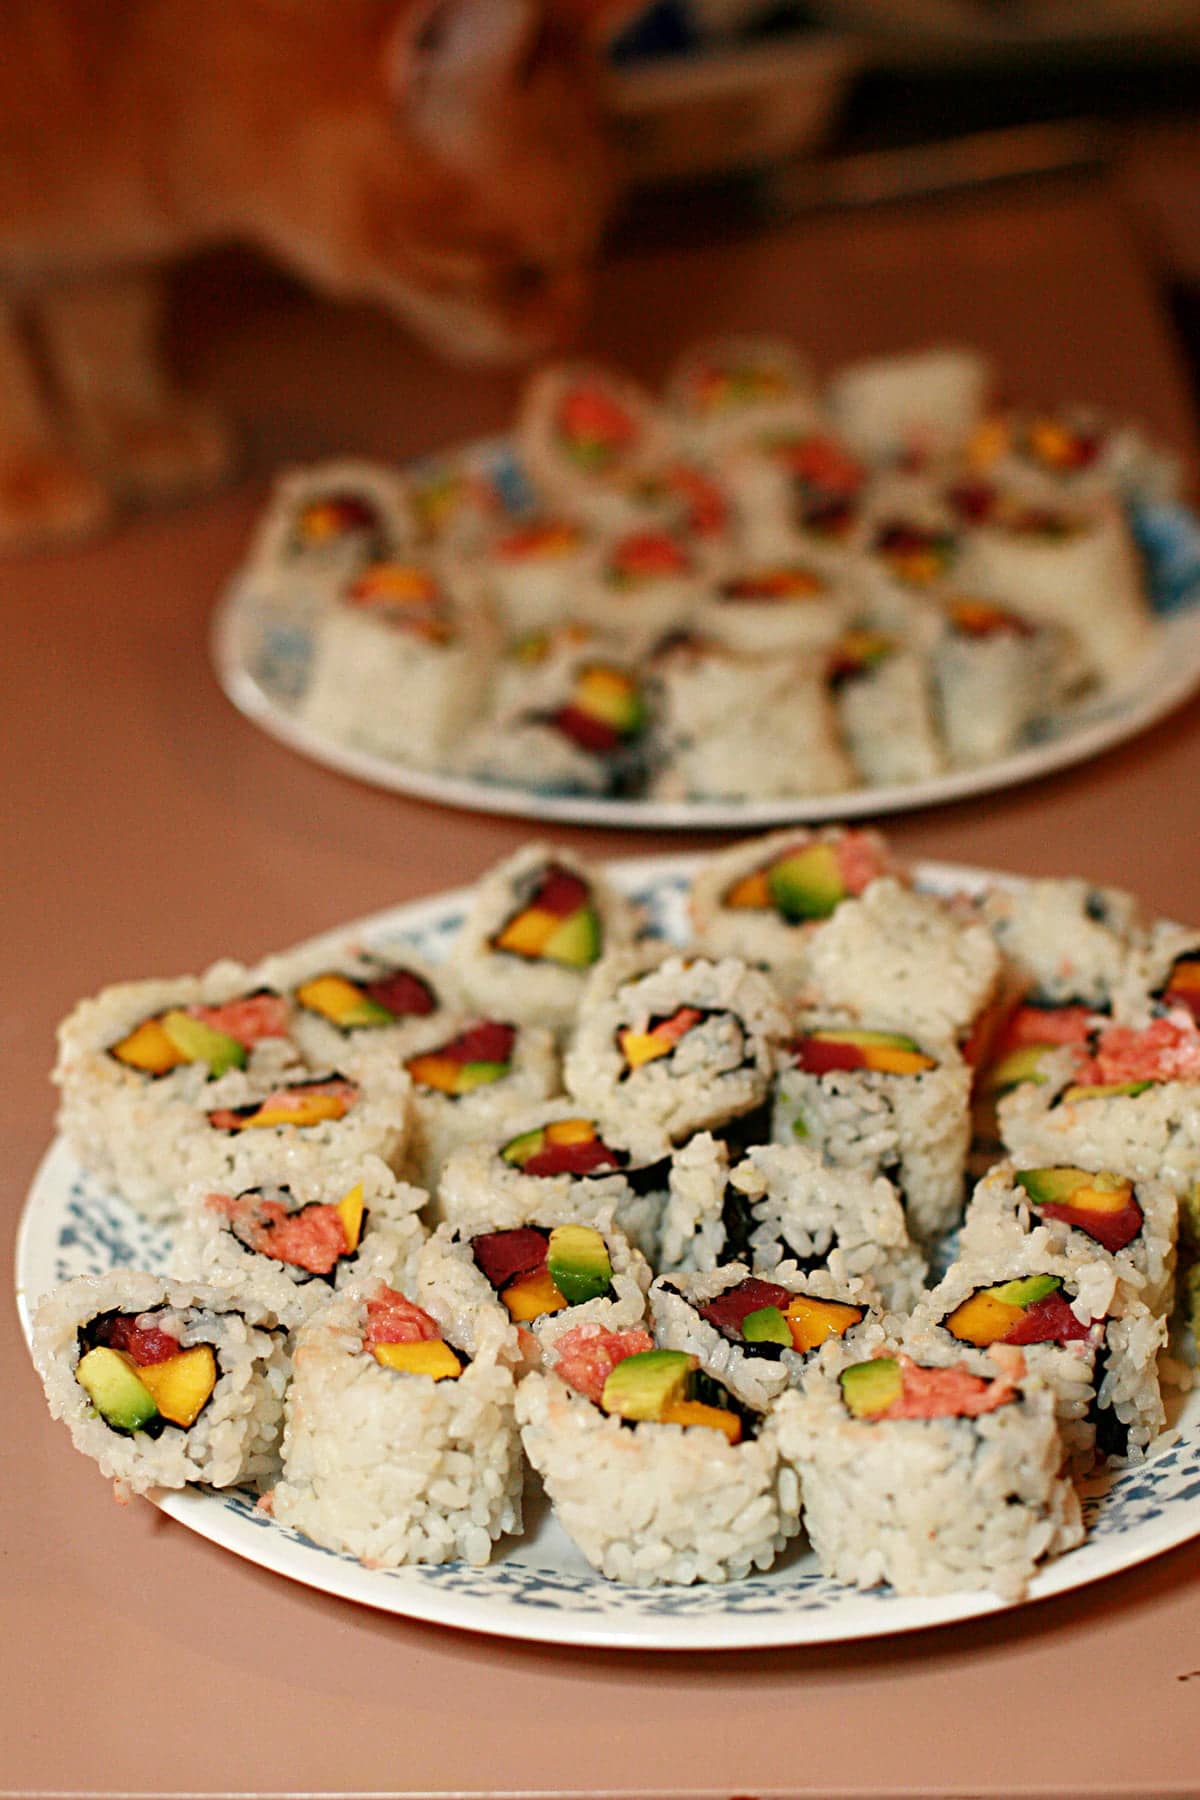
Even the cats will want to partake...
Next: Finalize a Guest List
Due to the nature of the party, it’s really important to have a solid guest count before you start shopping and prep work.
In Minnesota, that was be pretty difficult with the popularity of the “Minnesota Decline” - putting a “Maybe” instead of a “no” when a guest knows they won’t be able to make it.
It’s important to give a deadline for RSVP, and request a solid Yes or No - Maybes should be counted as no.
A lot of cost and planning goes into this, and you don’t want to be stuck doing extra work and/or extra purchasing if you don’t have to. Also, sushi leftovers do not exactly keep well!
Plan The Menu
No matter which way you’re doing the potluck, it’s best to wait until you have your guest list before actually planning your menu. The more people you have, the more selections you can add.
Additionally, consider your guests.
Are some not sushi fans? You can add tempura vegetables, gyoza, chicken satay, etc as options.
Are some vegetarians? Be sure to have extra veg options for filling the sushi.
Anyone gluten-free? Be sure to have a bottle of GF soy sauce on hand.
As an example, our most recent Sushi Party menu was:
Appetizers
Edamame
Gyoza
Chicken Satay
Sushi Fixings
The Basics: Nori, 5 colours of Soy wrappers, Sushi Rice
Sashimi Grade Fish: Tuna, Salmon, Hamachi (Yellowtail)
Other Seafood: Roasted Eel, Ebi (Shrimp), “Crab” sticks, Tobiko, Masago
Prepared Fillings: Spicy Salmon, Spicy “Crab”, Spicy Tuna (I use my Spicy Tuna Maki recipe as the base recipe)
Veggies, etc: Cucumber, Avocado, Green Onions, Zucchini, Jalapeno, Sweet Potato, Mango
Sauces & Garnishes
Mango Sauce
Dynamite Sauce
Eel Sauce
Soy Sauce
Ponzu Sauce
Sesame Seeds
Black Sesame Seeds
Wasabi
Pickled Ginger
Beverage
Green Iced Tea with Lychee and Mandarin Orange
Dessert
Matcha Pavlova with Matcha Whipped Cream, Honeydew, Lychee, and Mandarin Orange
Make Your Shopping List
Once you have your menu designed, go through and see what needs to be purchased as-is (the vegetables, which sauces, etc), and which you will be making at home.
Do up a list for the stand alone items, as well as the ingredients needed to make the other items.
Also, make a list of non-food items you'll need - party cups, paper plates, LOTS of chopsticks, little sauce cups for wasabi/soy sauce, napkins, etc.
Get a few sushi knives. They don't have to be expensive - I bought a few of this one, on Amazon. LOVE it!
(Cosplayers: This knife is GREAT for carving foam - I have a few extra, in my craft studio!)
You’re more than likely going to need to go to more than one place, so I like to divide the list out by the stores I’m going to.
IN this case, it was one normal grocery store, one Asian specialty store, and a fish monger.
If you are having some or all of your guests bring items, let them know what they’re bringing about a week ahead of time.

Plan Your Time Line For Food Prep
Take a good look at your menu, and list out what needs to be done, and when.
It’s best to do as much as you can ahead of time, but you also have to take into account that some items need certain timing.
For instance, don’t buy your fish more than a day ahead of time, avocados will brown if you cut them up too early.
As an example, here is the time line for our most recent party (which started at lunch time):
| Me | Porter | |
| 2 Days Before |
Buy everything except fish Make gyoza, freeze |
|
| The Day Before |
Make sushi sauces Make gyoza sauce Make satay dipping sauce Marinate chicken satays Buy fish Bake the Pavlova |
Tidy front and back yard Hose down the outside tables |
| Morning of the Party |
Make sushi rice (How many batches?) Cut green onions, jalapenos, cucumber, mango, zucchini Slice fish, prepare “spicy” fillings, chill Peel and slice sweet potato, cook, chill. Strain off cans of Mandarin Oranges and Lychee, use strained syrup for making iced tea. |
Put the table cloths out Dishes Wipe off countertops in kitchen Set out: Wasabi, soy sauce, plates, chopsticks, cups, pickled ginger, nori |
| As People Are Arriving |
Cook gyozas Steam edamame Heat satay sauce Prepare sushi wrappers Cut avocado Set out remaining sushi items |
Grill Satays |
| During Party |
Make whipped cream Cut up fruit, assemble pavlova |
Enjoy yourself, birthday boy 🙂 |

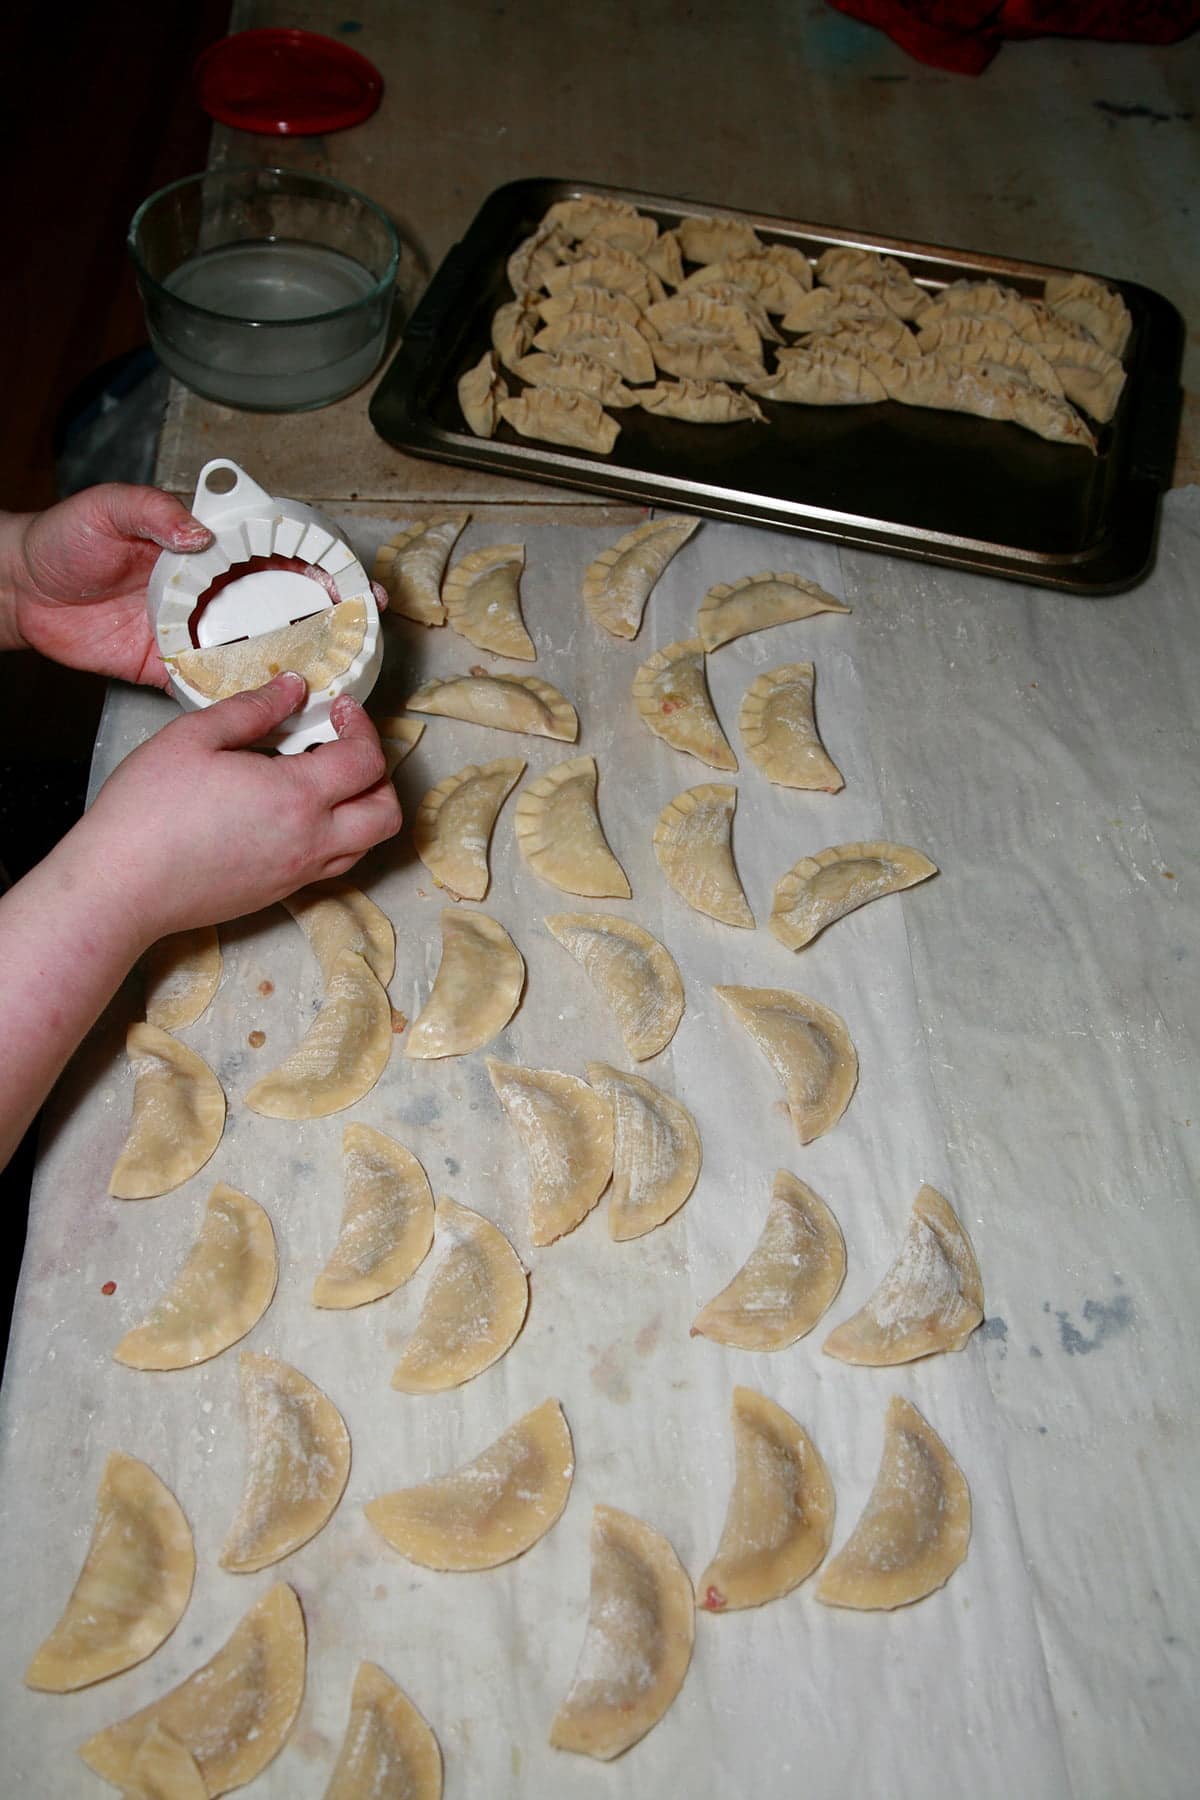
Making the Gyoza.
Set Up
Set up will depend a lot on your home layout, and how many people are going to be making sushi with you.
For us, we set up two 8' long banquet tables, with a couple chairs at each.
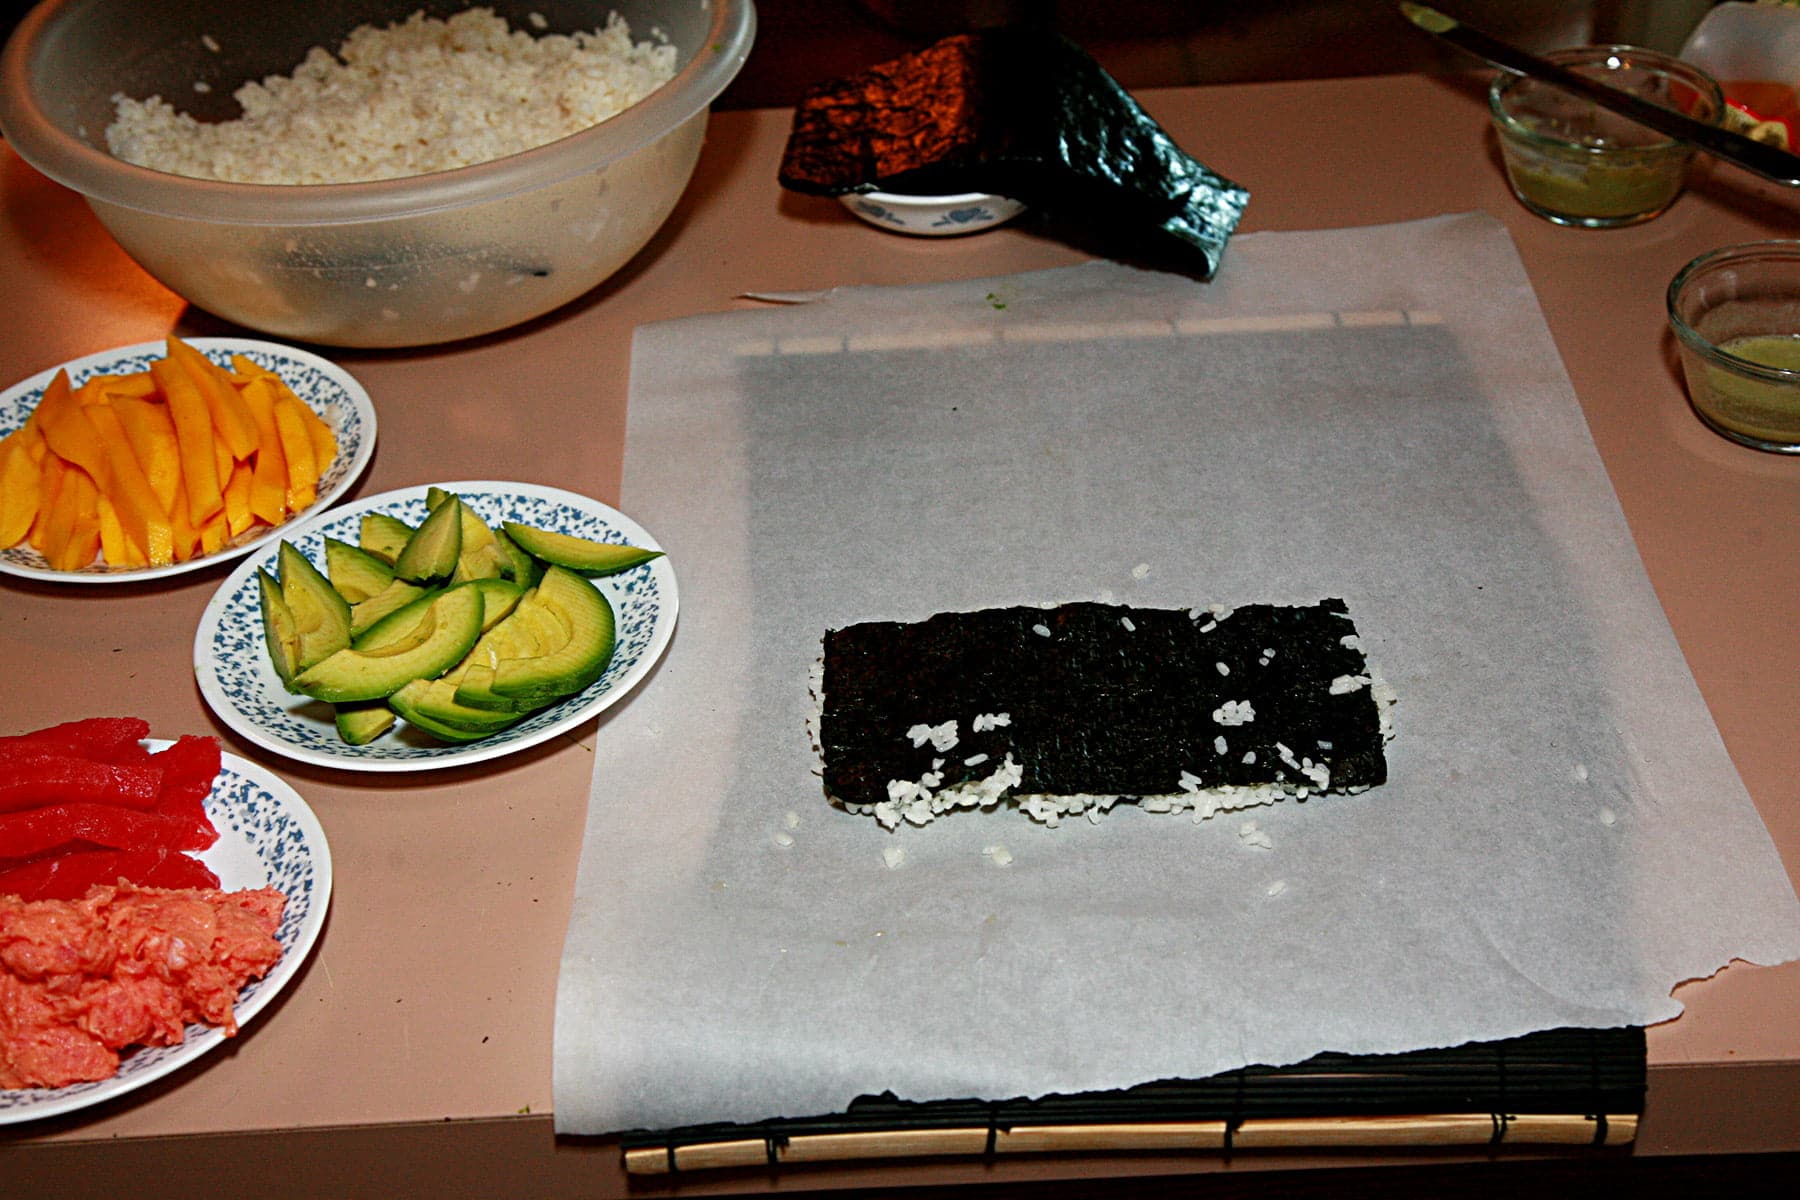
Each place gets a sushi rolling station - sheets of parchment paper for rolling, nori, soy paper.
In between each two seats gets a big bowl of sushi rice, with a measuring cup or scoop.

Along the back of the table is where the ingredients get set up.
Due to the number of ingredients used, it's a cooperative effort - lots of passing involved! Each table also gets a couple little bowls of water, a cutting board, and a couple sushi knives.
How the ingredients are presented depends on the ingredient. Stable ingredients are out on plates.

Raw fish is on plates, covered in plastic while not in use, resting on a big bowl of ice. Only a small amount of fish is out at any given time, and the plates are exchanged for fresh ones with new fish as they run out.
Avocado is also served up a little at a time, to prevent browning.

In addition to the rolling tables, a counter in the kitchen is designated as the garnishing station.
There, the sauces (dynamite sauce is in an ice bowl), wasabi, sesame seeds, etc are laid out, as well as plates, chop sticks, etc.
Once done rolling and slicing their sushi, guests go to the kitchen to finish their sushi off.
Plate in hand, they usually head out to the patio to mingle and eat, as the next round of guests sit down to roll their sushi.
Throughout the party, we refresh ingredient plates, etc, as guests roll more sushi as they're ready.
Eventually everyone gives up as the sushi coma sets in!

Sushi Rolling
I like to have pieces of parchment paper (you can use wax paper, if you prefer) on hand for rolling, rather than bamboo sheets.
Logistically, it's great for clean up, and I also find it easier for sushi beginners to work with.
A VERY early post (ie: excuse the poor photography!) on this blog - Spicy Tuna Maki - shows more or less how I roll sushi.
We've since taken to having the rice go slightly over the far long edge of the nori, to form a bit of a lip to overlap the starting edge of the roll, if that makes sense.
How your guests roll their sushi will depend on their own experience/preference, the type of roll they're making (rice in, or rice out), and the amount of ingredients they're trying to cram in there.
You will likely have some epic failures, so forks can come in handy!
It's also a good idea to have at least one person on hand who knows what they're doing, who can demonstrate and/or assist beginners.
Enjoy!

More "Sushi-Adjacent" Recipes
Here are a few more recipes that you may enjoy!
DIY Sushi Birthday Cake
Easy Sushi Casserole
Homemade Gyoza / Potstickers
How to Make Sushi Rice
Mango Salad
Matcha Green Tea Pavlova
Pepper Crusted Tuna with Wasabi Cream Sauce
Spicy Tuna Maki
Sushi Sauce Recipes - Dynamite, Eel, and Mango
Tuna Avocado Mango Maki

Share the Love!
Before you chow down, be sure to take some pics of your handiwork! If you post it to Bluesky, be sure to tag us - @CelebrationGen. We're also on Pinterest, so you can save all your favourite recipes to a board!
Also, be sure to follow me on Pinterest, and subscribe to my free monthly email newsletter, so you never miss out on any of my nonsense.
Well, the published nonsense, anyway!


Leave a Reply