Making tamales is a bit of a project, but with a great payoff. These salsa verde tamales are flavourful, convenient meals... and ABUNDANT!
Originally published December 20, 2011. Updated on 8/5/2021

As I've mentioned a few times before, I'm a major gluten free snob.
If it's regularly something that requires regular flour, and that's been replaced by "alternative" flours.. I usually find it revolting. So... I tend not to buy much prepare food that's labeled "Gluten Free" in the grocery store.
A couple weeks ago, though, we were rifling through the gluten free freezer area, because I desperately wanted pizza, and was willing to make that compromise to get it.
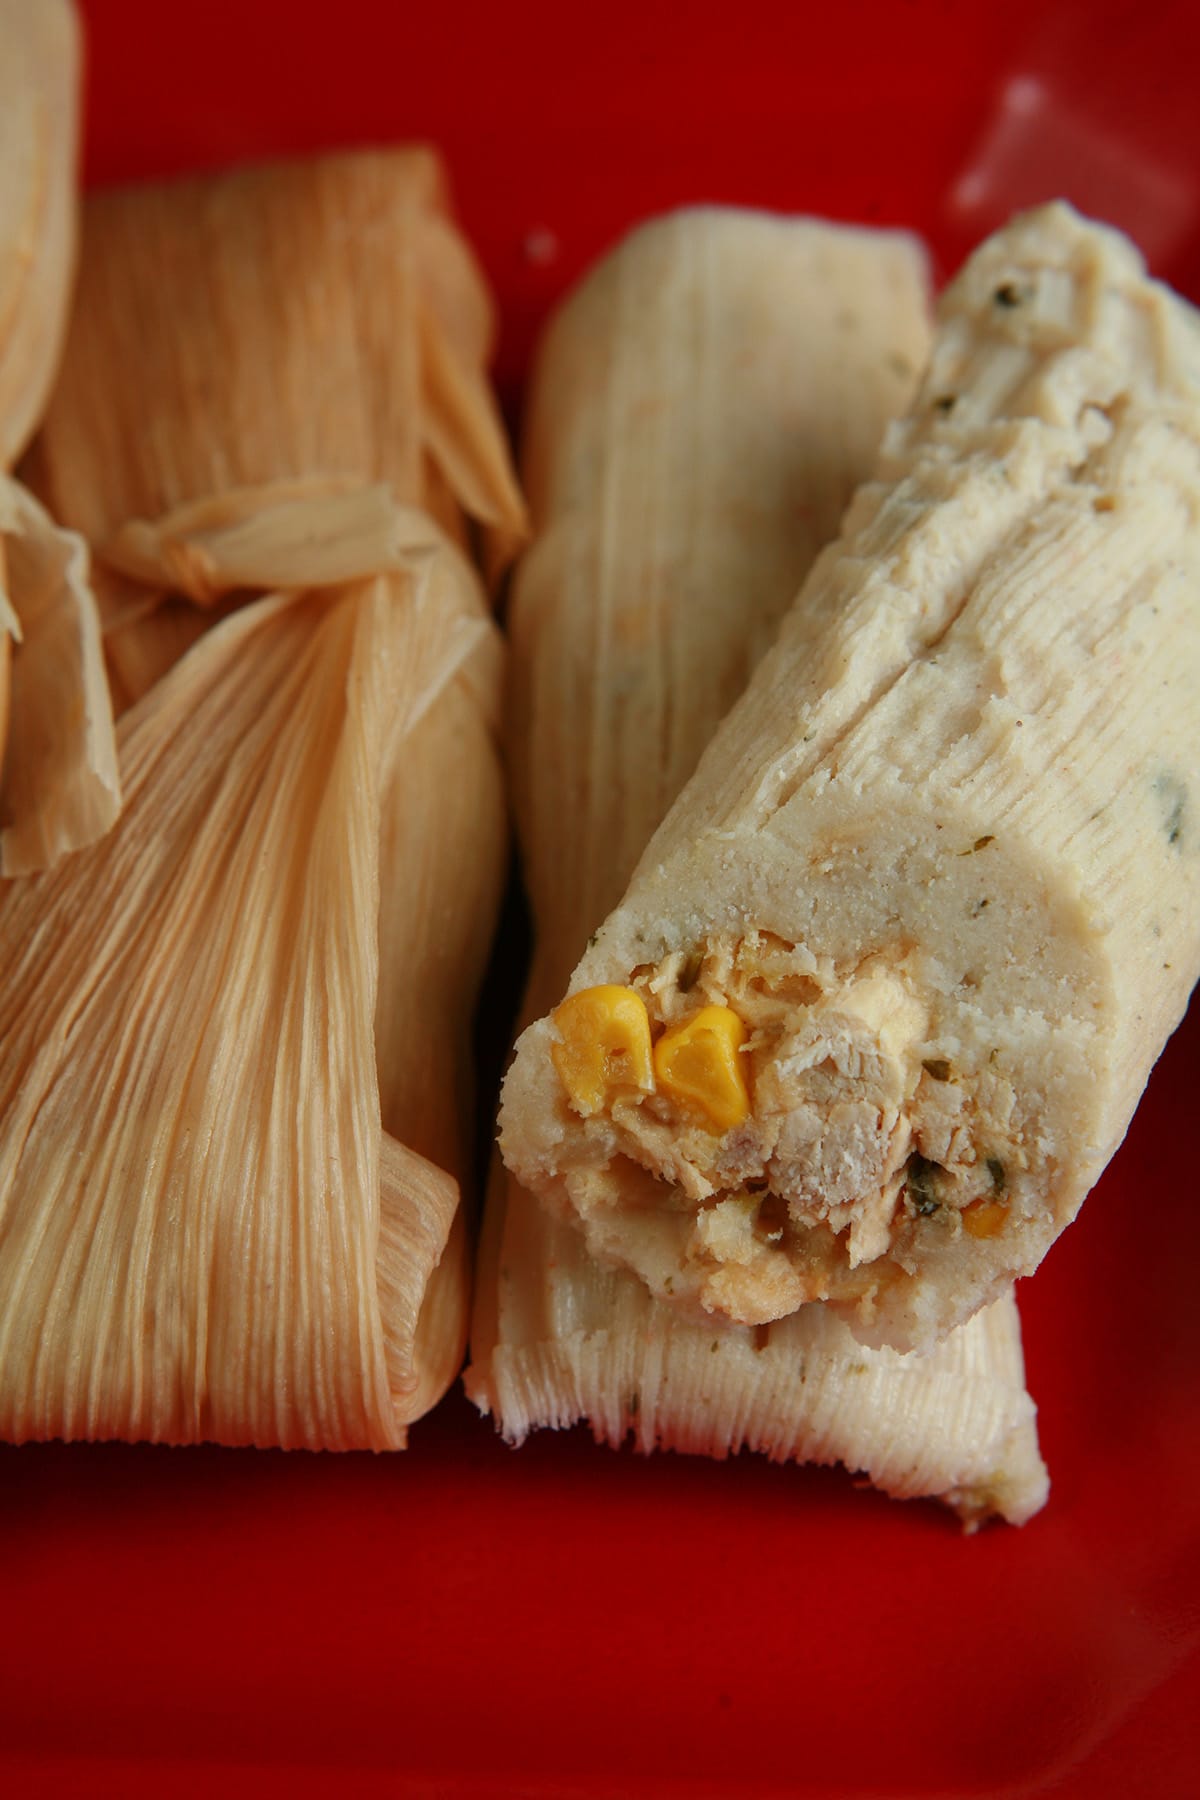
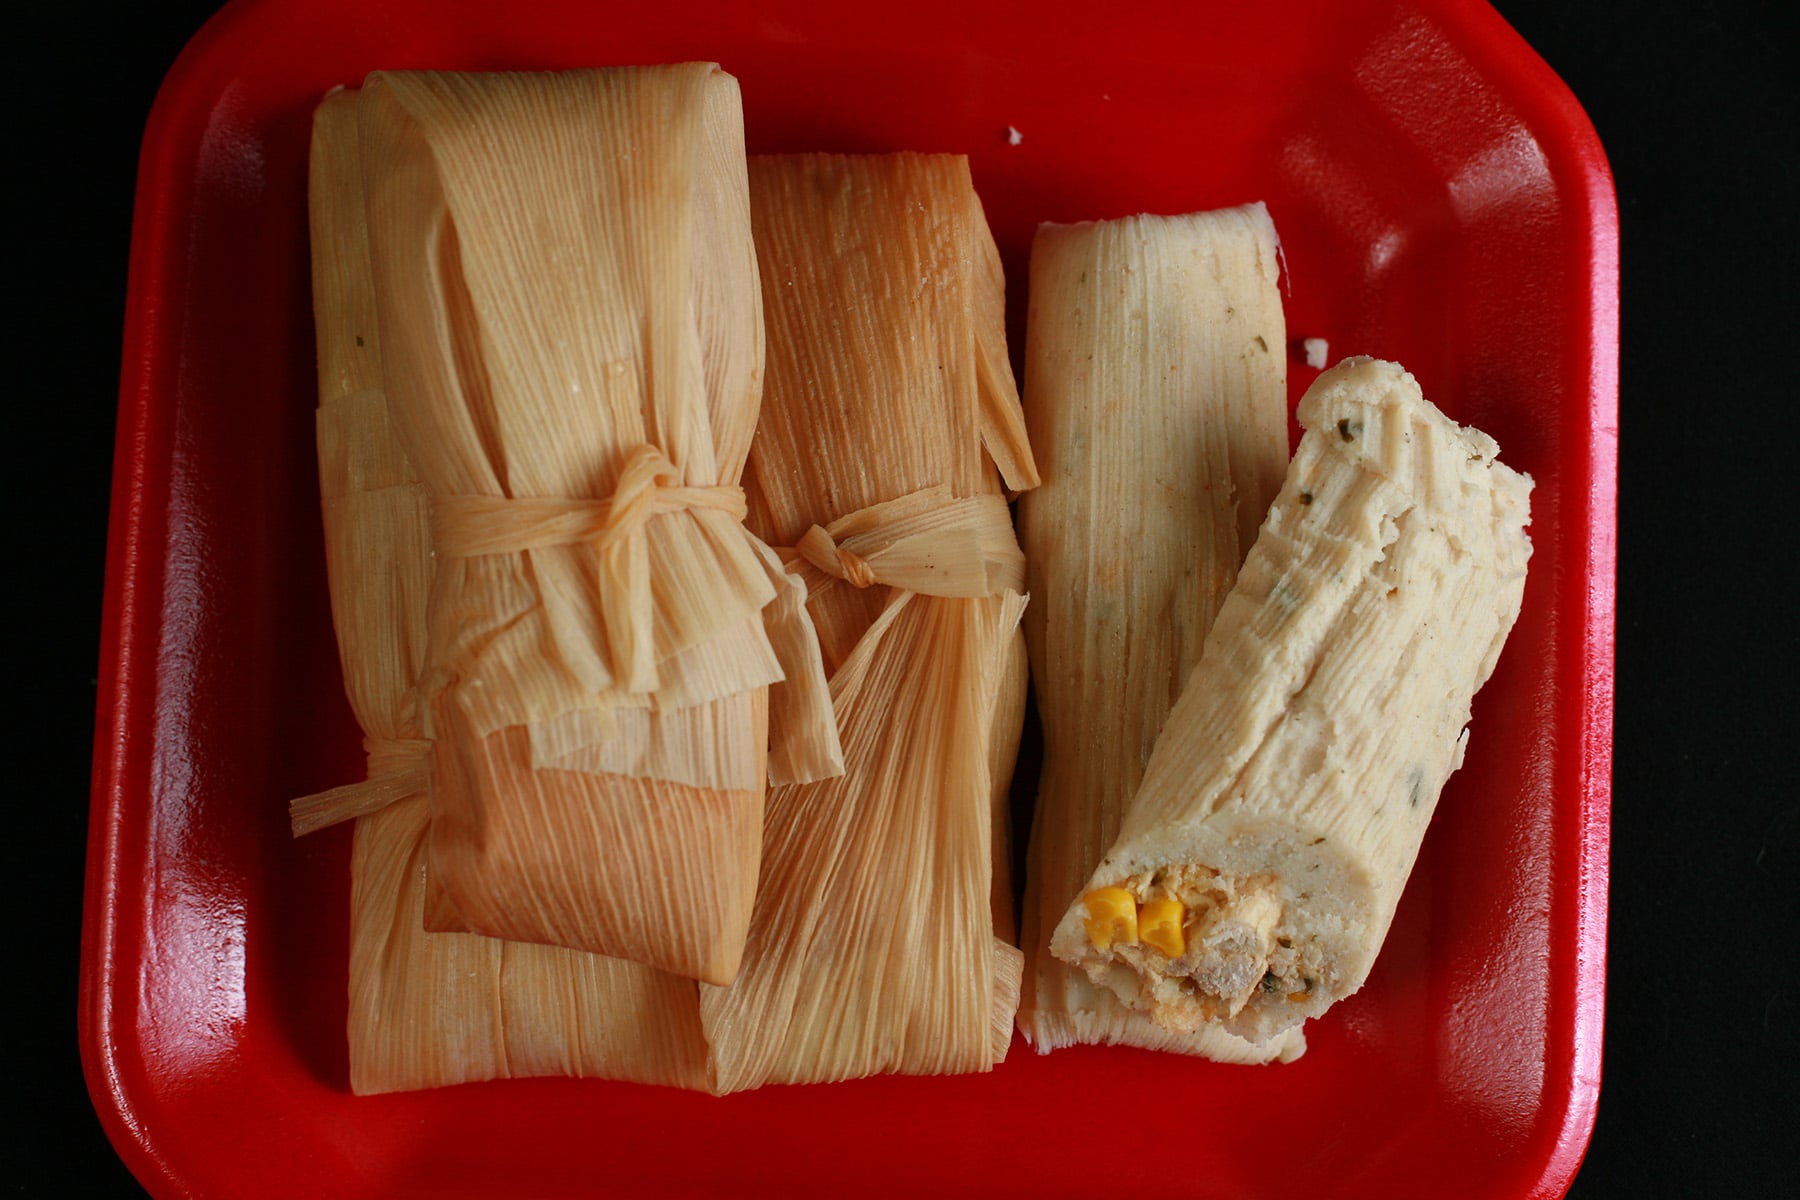
My husband saw a package of Amy's "Salsa Verde Tamales", and had to have it - even if it was labeled as a gluten free product.
I'd never had a tamal before, so agreed to give it a shot - the photo DID look tasty!
Damn. Frozen, mass produced, prepared food from a grocery store has NO business being THAT good.
Not sure if it was an accurate representation of tamales or not, I started researching.
Convenience food is great every once in awhile, but this was obviously something that I needed to learn to make.
Aside from being inherently gluten free (as I soon found out)... my husband is also the biggest corn freak on the face of the planet, and the idea of wrapping his meal IN corn?
As I said - quite obviously, I needed to learn to make it.
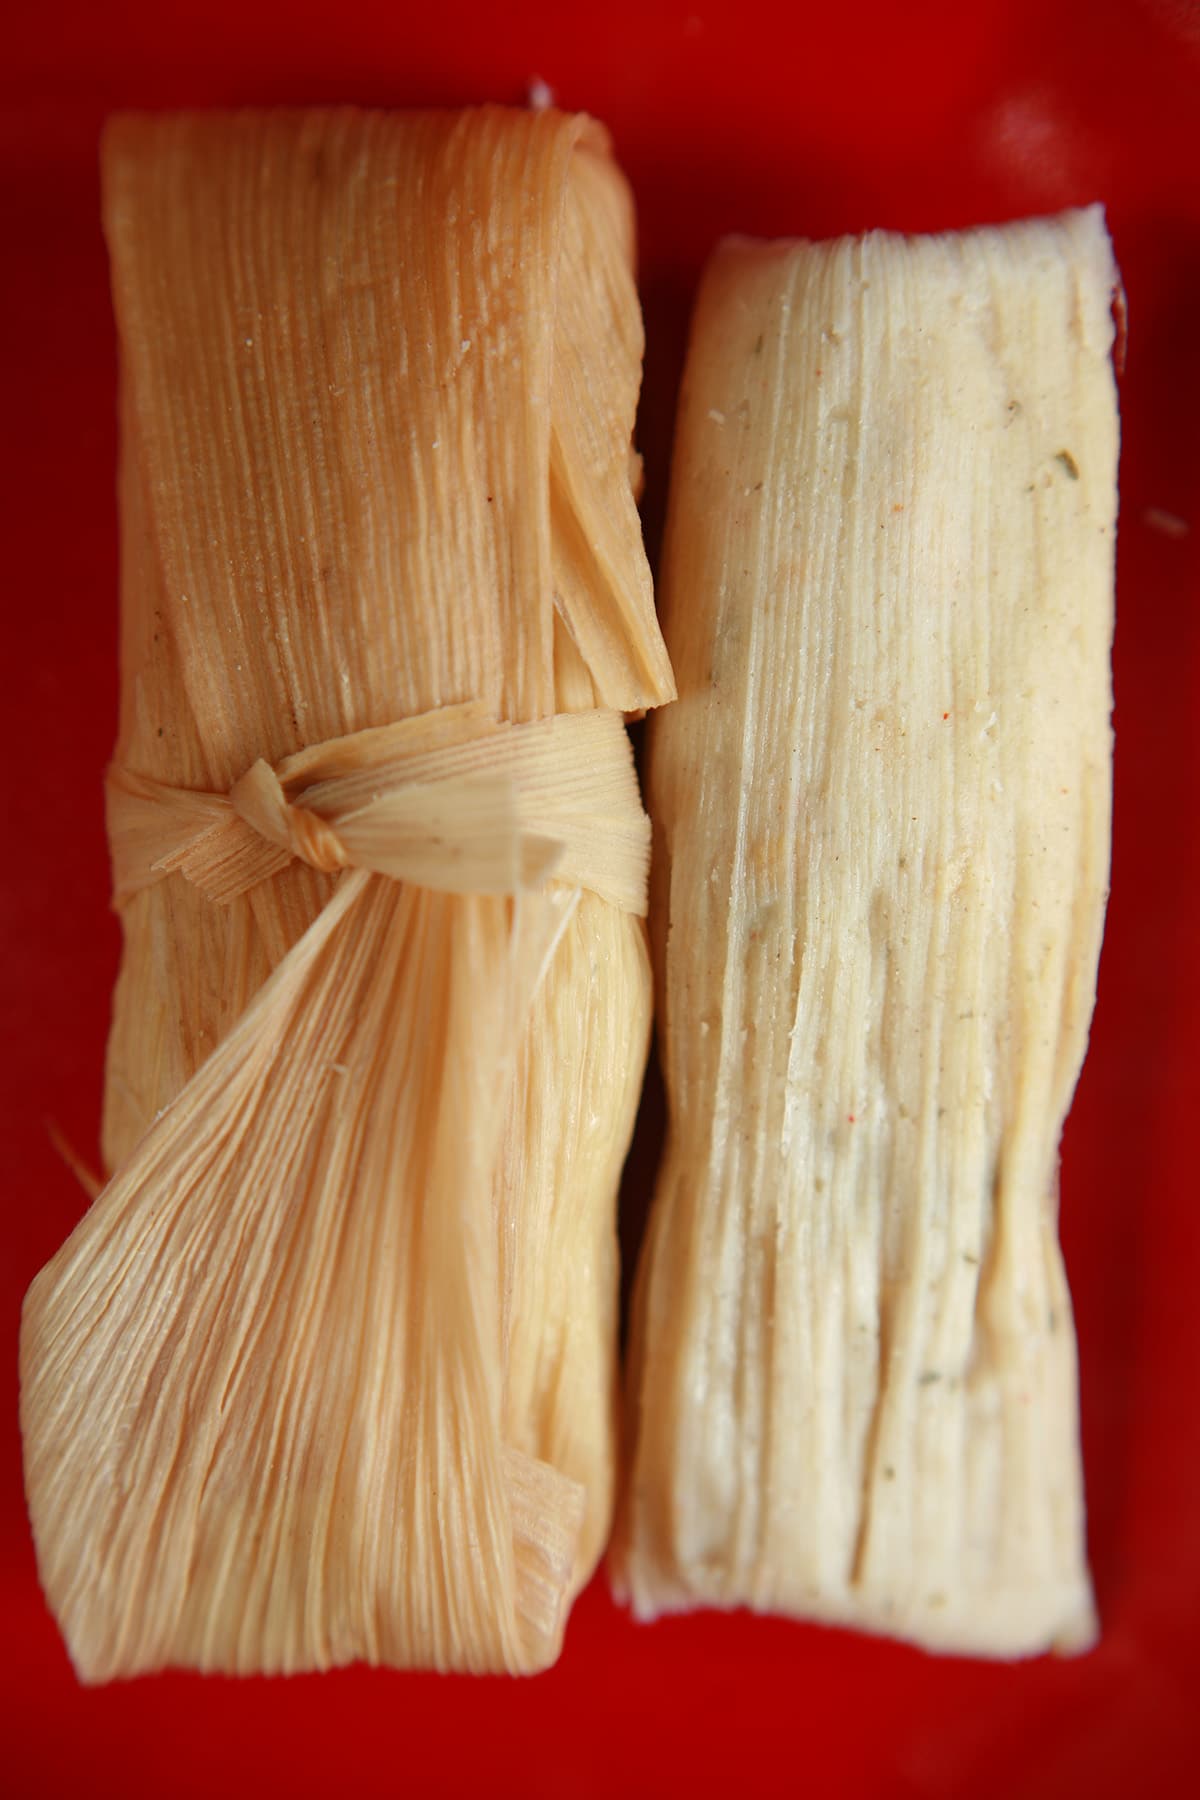
Salsa Verde Tamales
So created my own filling recipe.
Then, I read a bunch about the dough and rolling, took bits and pieces of info that I liked from a few sources, and came up with my own recipe.
Completely bastardized, I know - it's probably nowhere close to authentic - but it IS super tasty. If you don't want to include beer, substitute chicken broth.
We used pre-made salsa verde, because I wanted to keep the cost down.

Effort too, as I had NO idea what to expect, this being my first time.
I recommend not only starting theCorn Husks* soaking the night before, but also making the filling ahead of time.
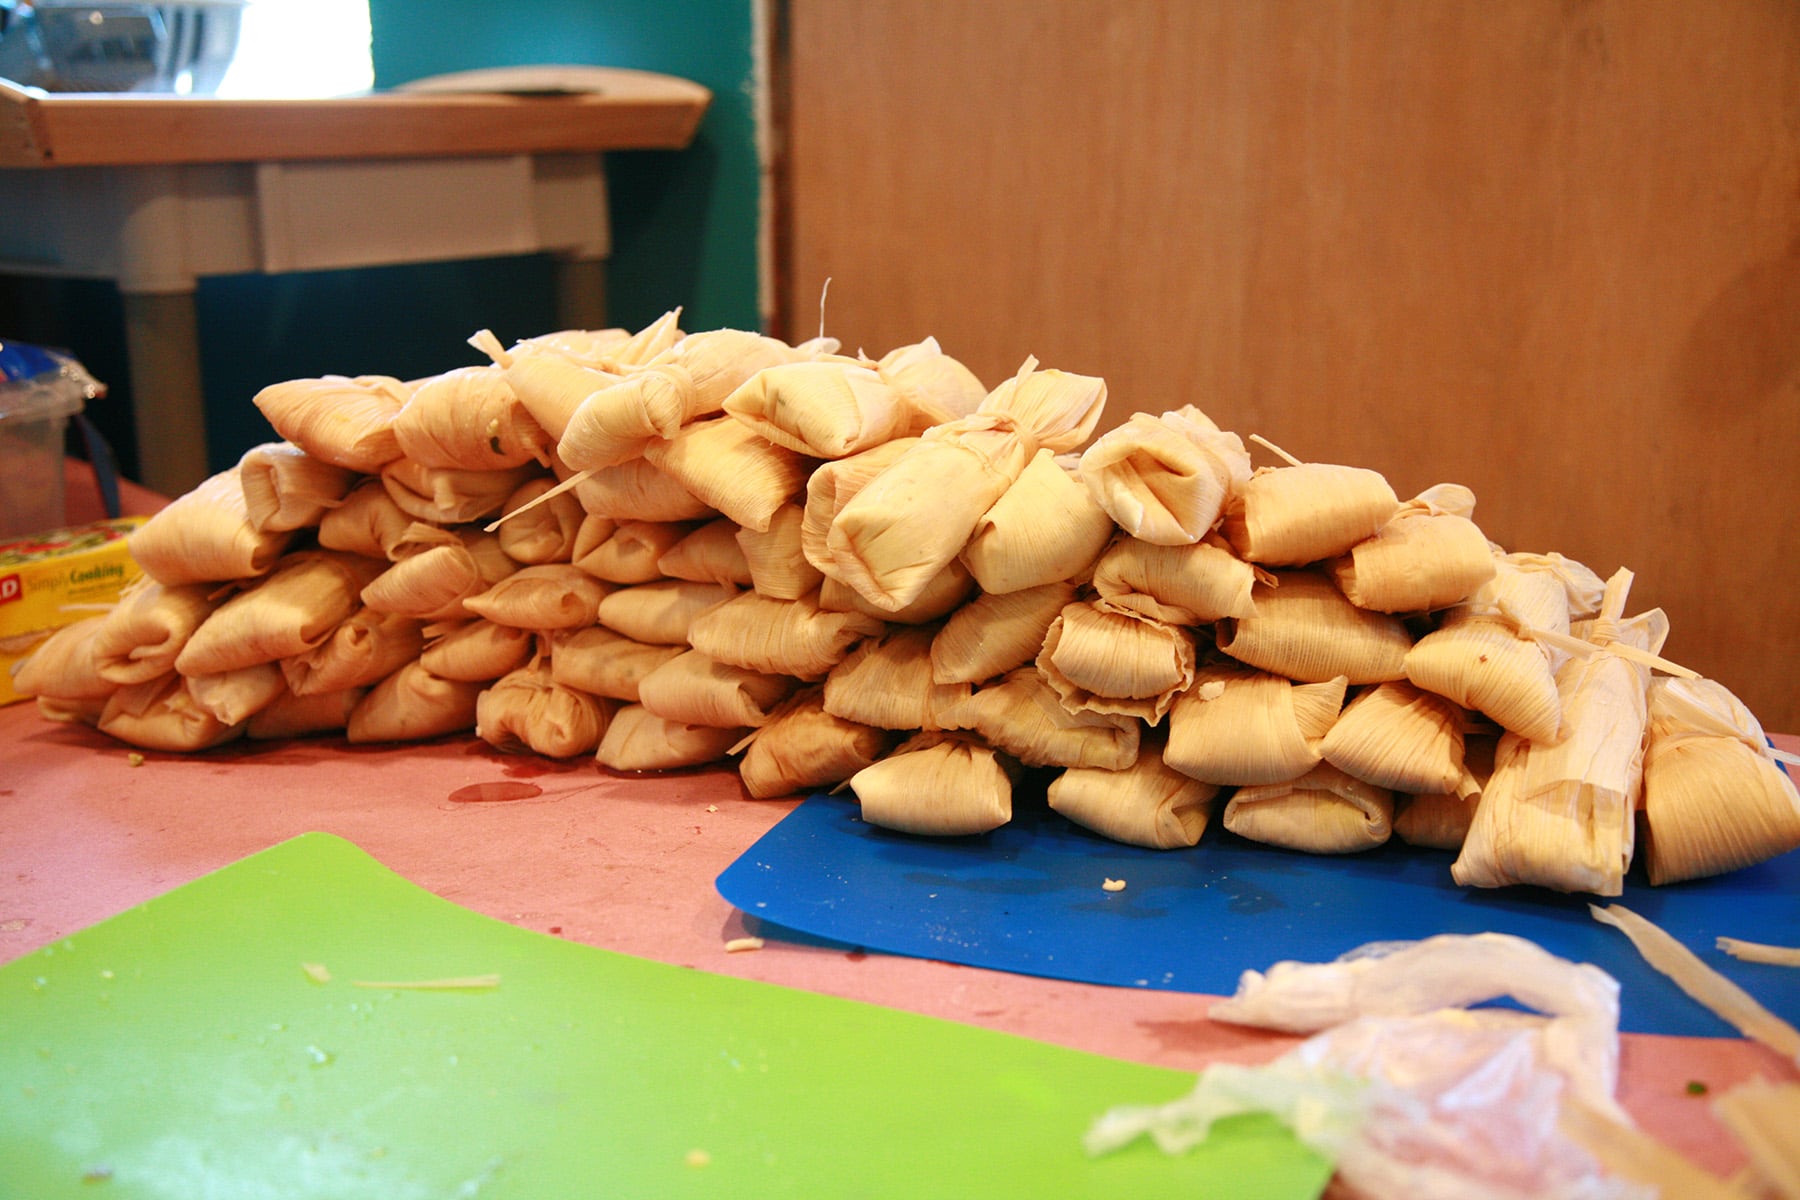
This may seem expensive at first, but it makes a TON of salsa verde tamales - I think we ended up with about 70. Very, very cheap meals!
*I recommend going with 2 packages. As we found out, a good portion of the package were either broken or too small to bother fussing with!
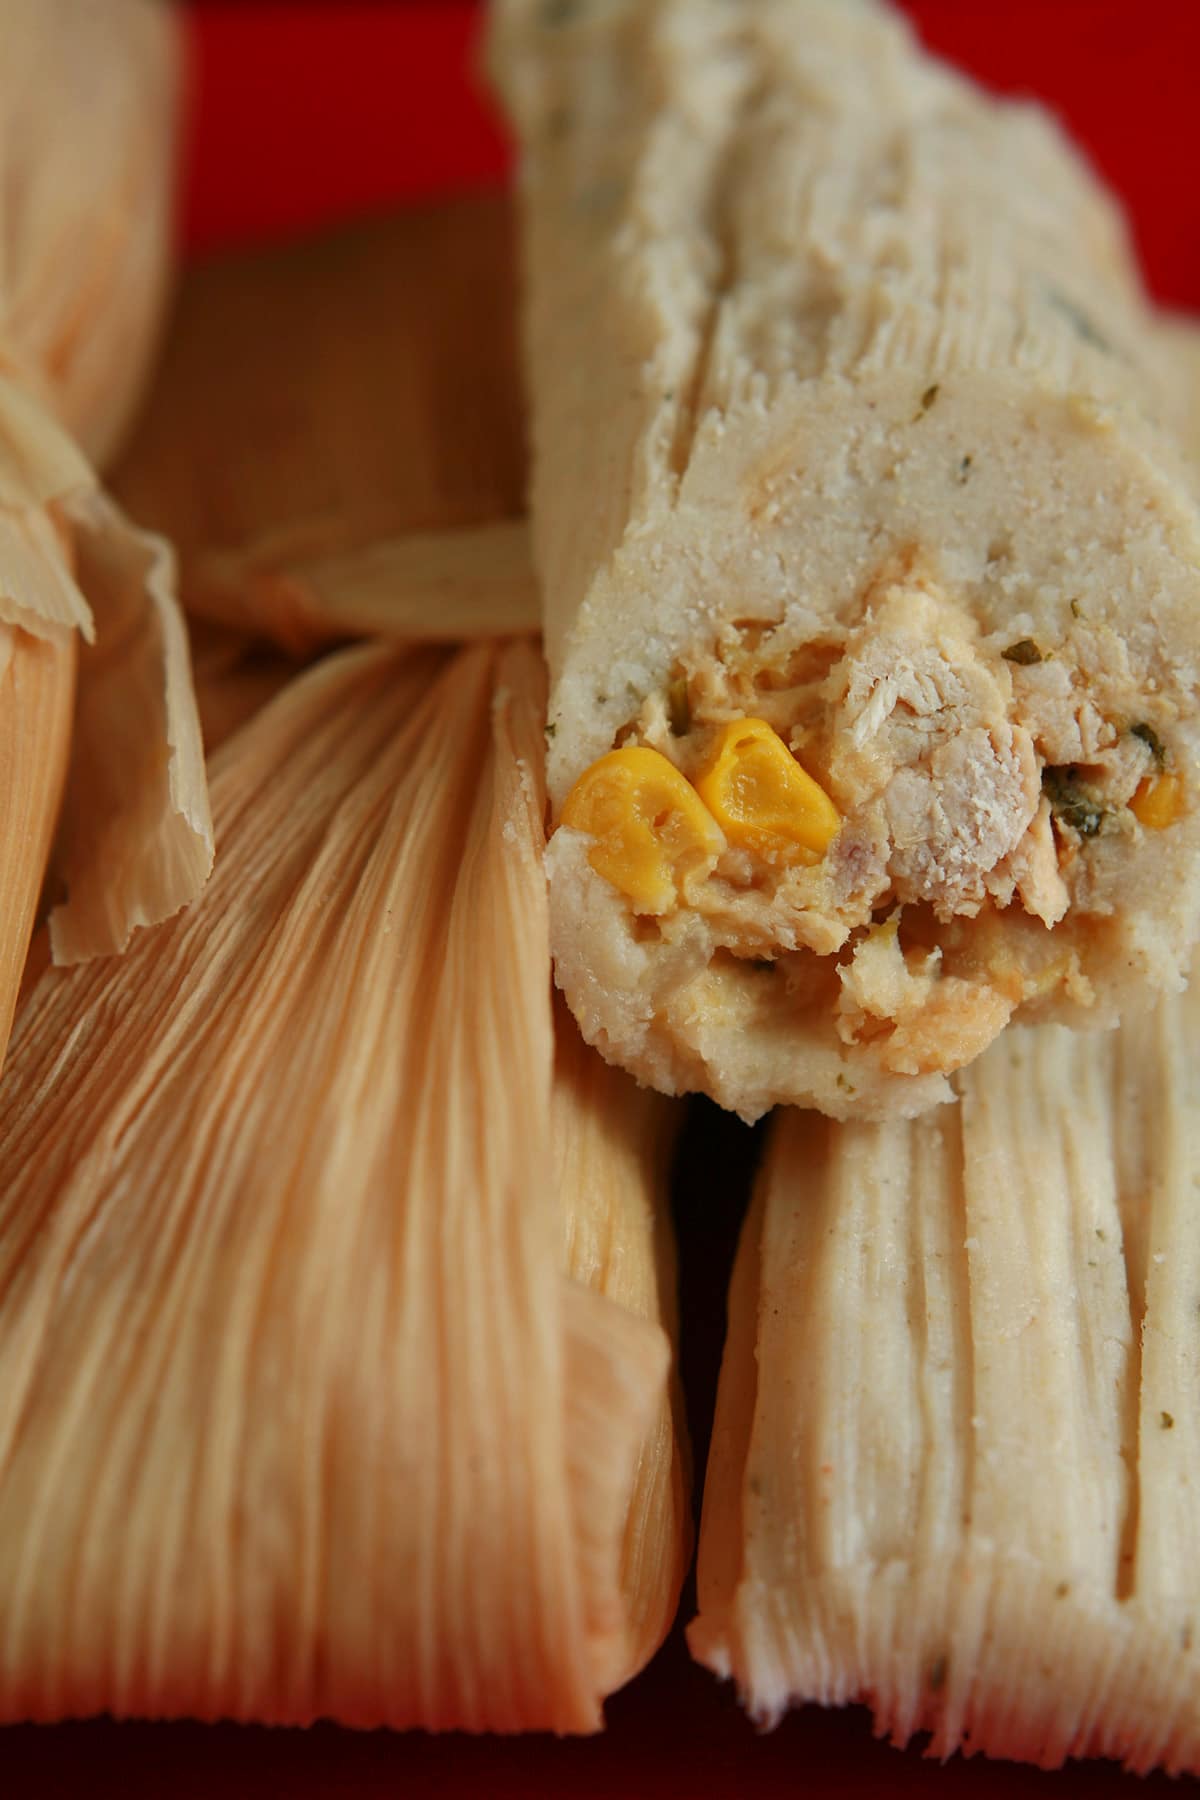
How to Make My Salsa Verde Tamales
Full recipe follows, but here’s a pictorial overview:
The Night Before
In a large bucket or stock pot, cover corn husks with hot water.
When water has cooled, separate the husks, drain a bit of the water, and cover with more hot water. Let sit overnight.
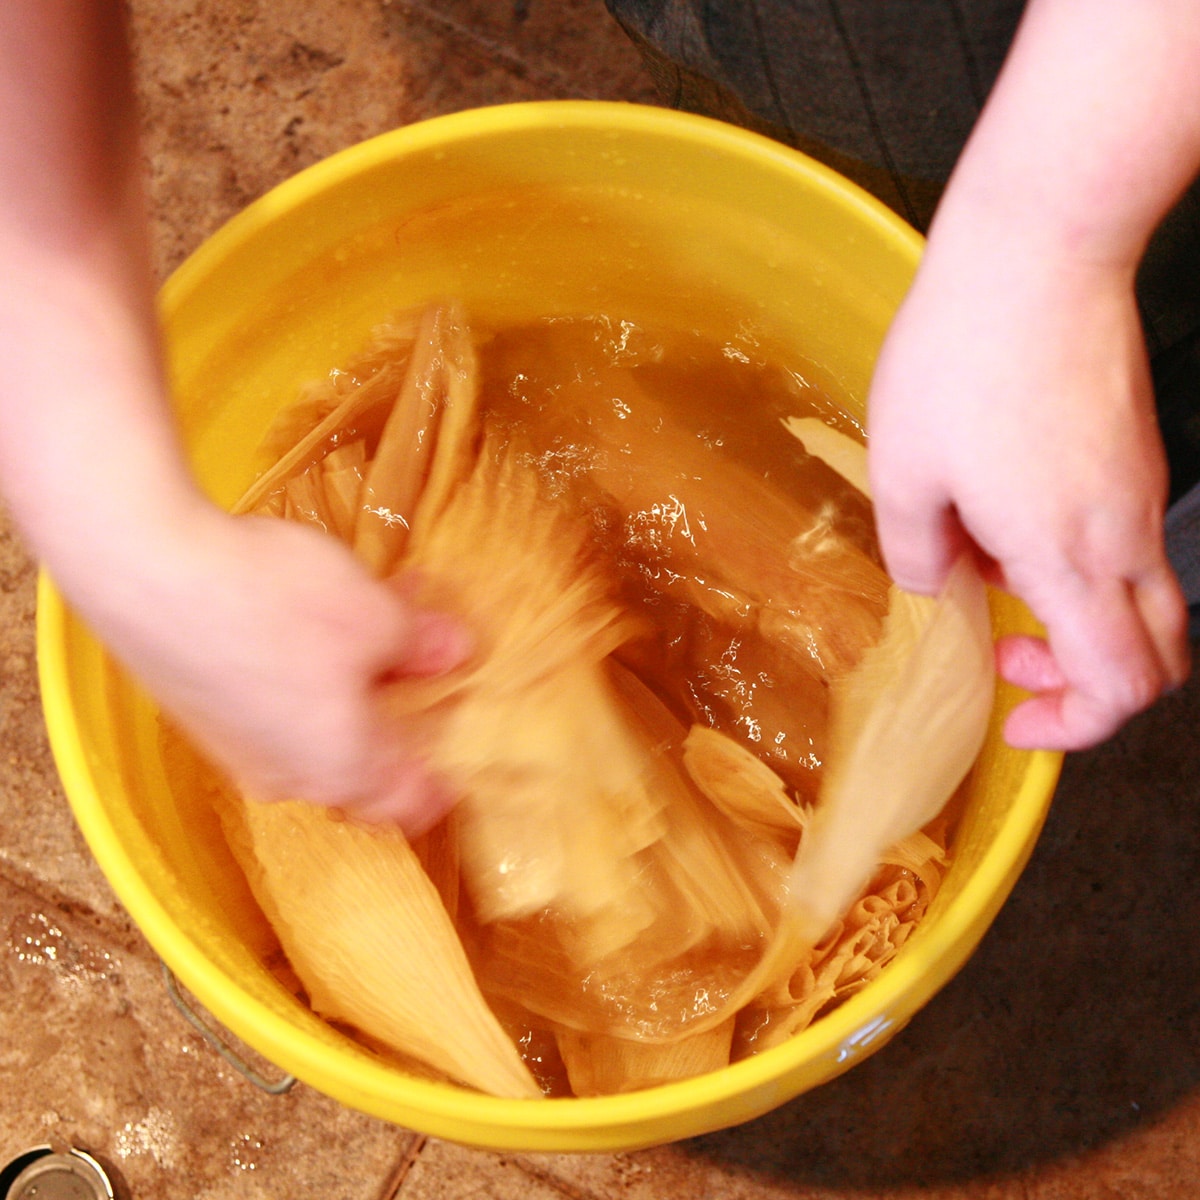
The Filling
(This can be made the night before, or same day)
Separate chicken breasts (if needed), and trim any undesireables from them (fat, etc).
Boil in a large pot of water or chicken broth until cooked all the way through.
Remove chicken breasts from water, allow to cool.
Using two forks, pull the chicken breast apart, into shreds of bite-sized pieces.
Place shredded chicken, beer, onion, jalapenos, and lime juice into a large pot or pan.
Cook over medium heat, stirring frequently, until onion is translucent and jalapeno slices soft. Most of the beer should have either cooked off or absorbed by this point.
Add salt, corn, cilantro, and salsa verde. Continue cooking until everything is thoroughly heated. Remove from heat, add shredded cheese, stir until everything is well combined. Set aside.
The Masa Tamale Dough
In a large bowl, combine masa harina and spices, stirring until combined.
In a large pot, combine chicken broth and beer, heating until about to boil.
Remove from heat, dump in the dry ingredient mixture. Stir until a smooth, thick dough forms. Allow to sit for 20 minutes.
As dough is resting, whip lard with a stand or hand mixer until light and fluffy, 3-5 minutes.
After the 20 minutes, add the lard to the dough, stirring until well combined. If the dough is too thick to be spreadable (should be the consistency of peanut butter), add a little more beer or chicken broth to thin it out a little.
Wrap the Salsa Verde Tamales
From everything I read, there's about 10 million ways you can do this.
As most involved an open side - something I was NOT interested in - here's how I did it:
Pick out a large husk and a smaller husk. Overlap the wide ends slightly, with the small husk underneath the larger one, as pictured.
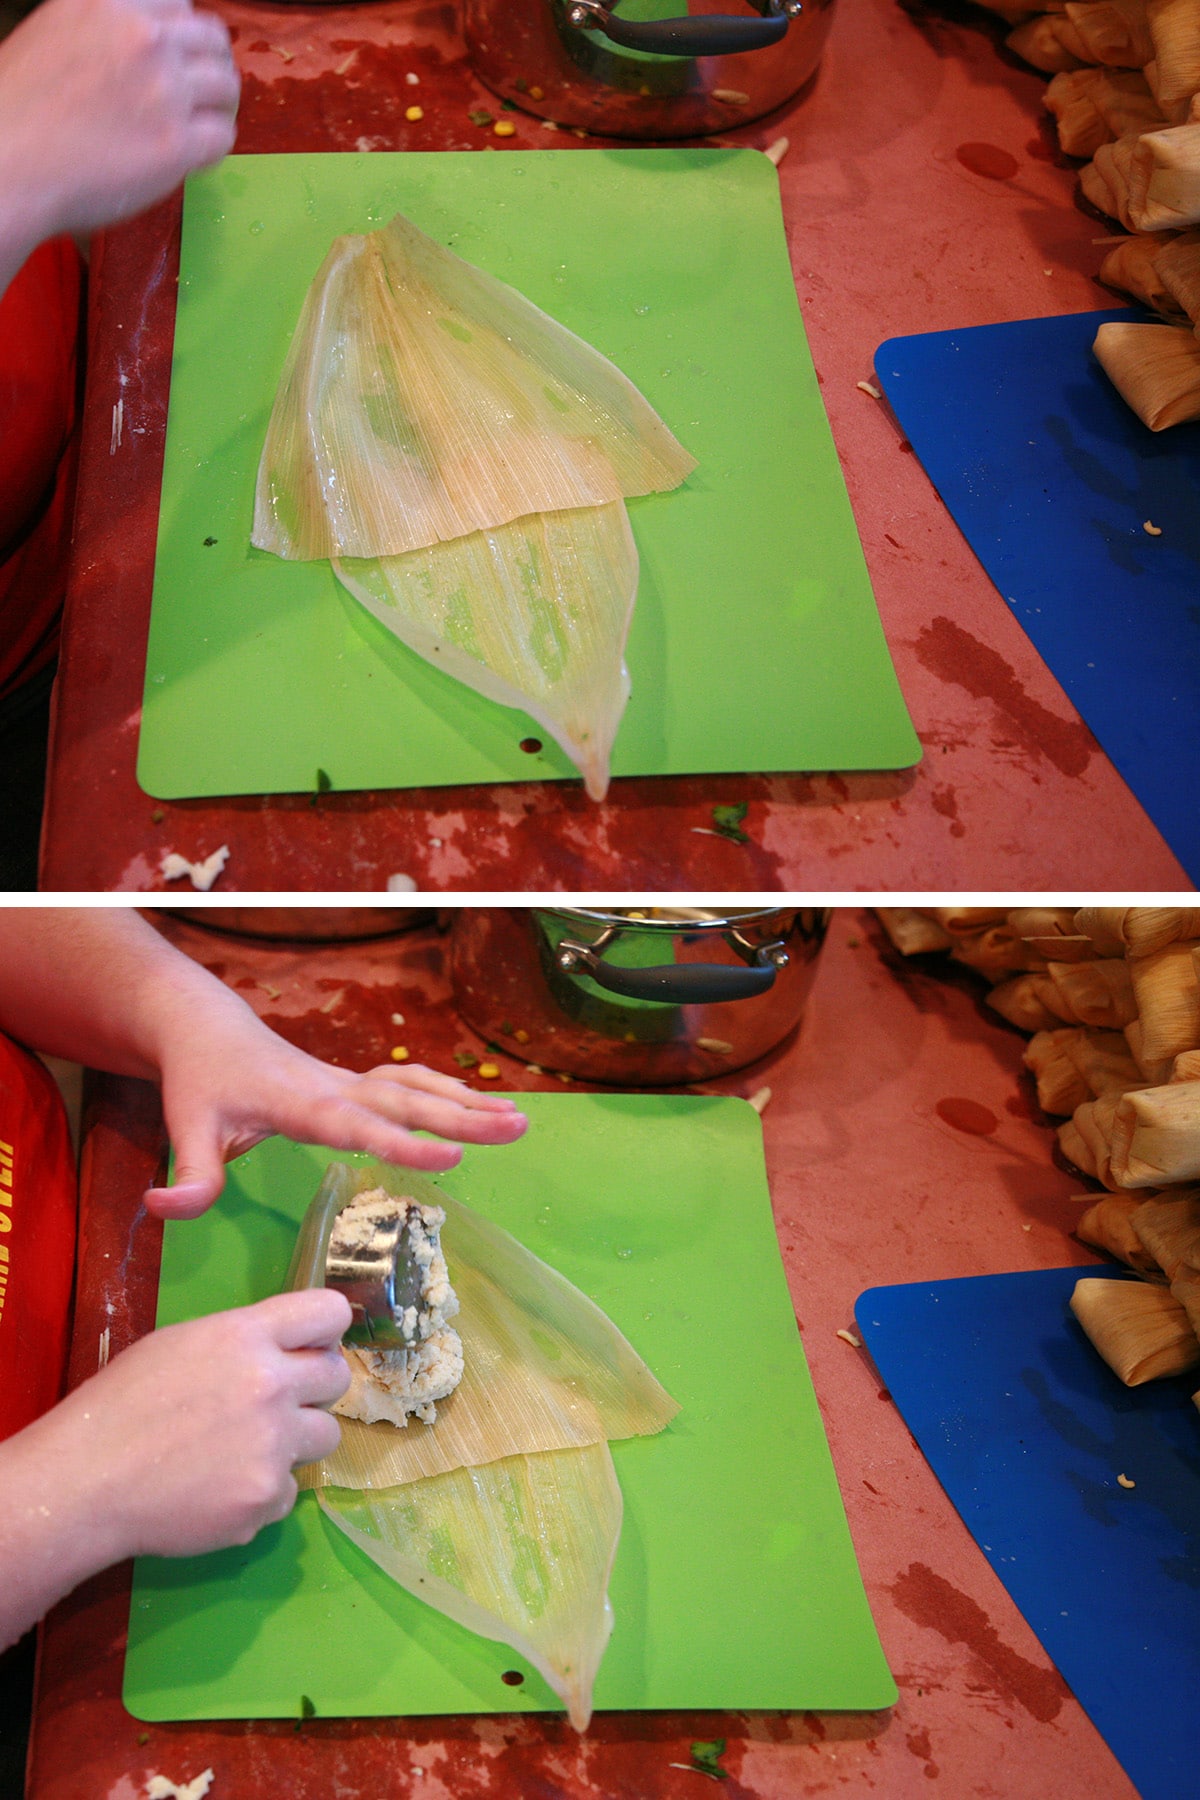
Measure about ⅓ cup of masa dough onto the middle of the larger husk, spreading out slightly.
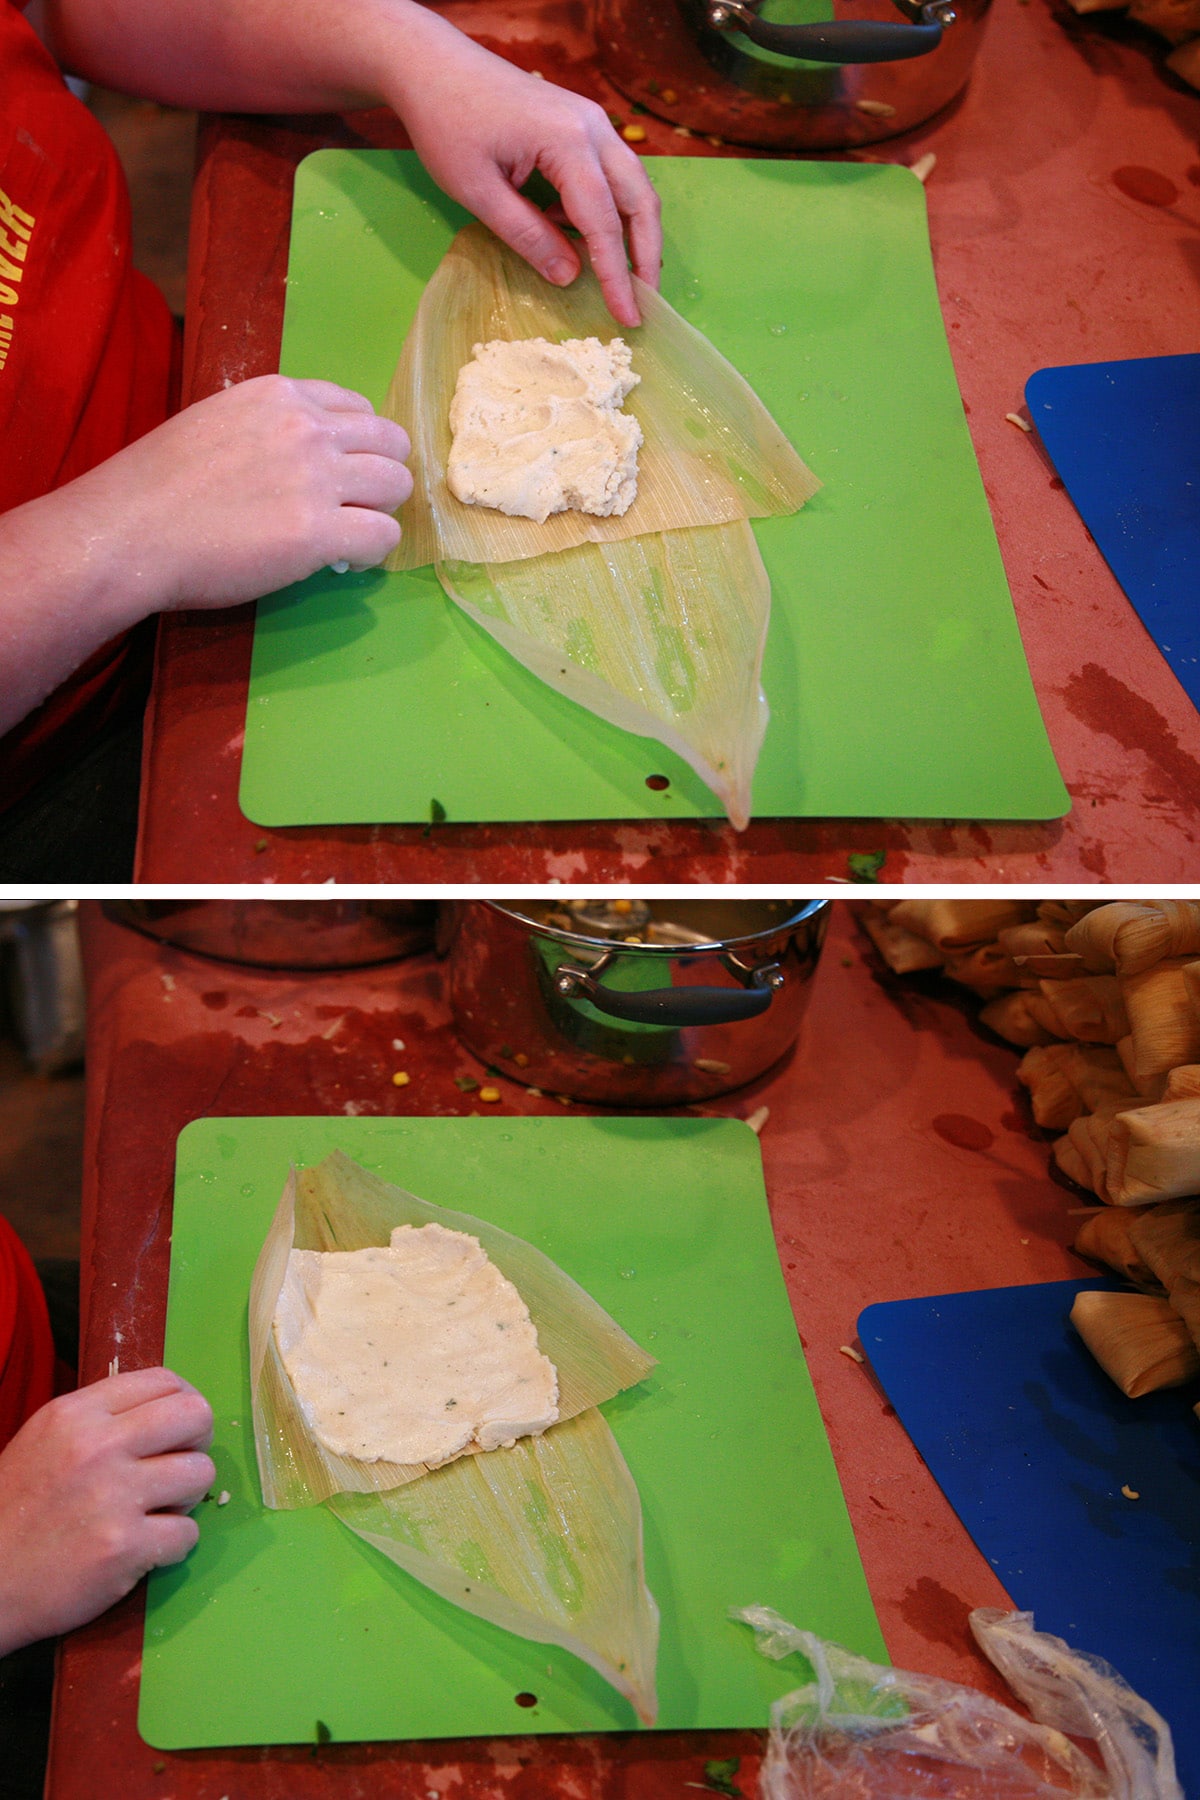
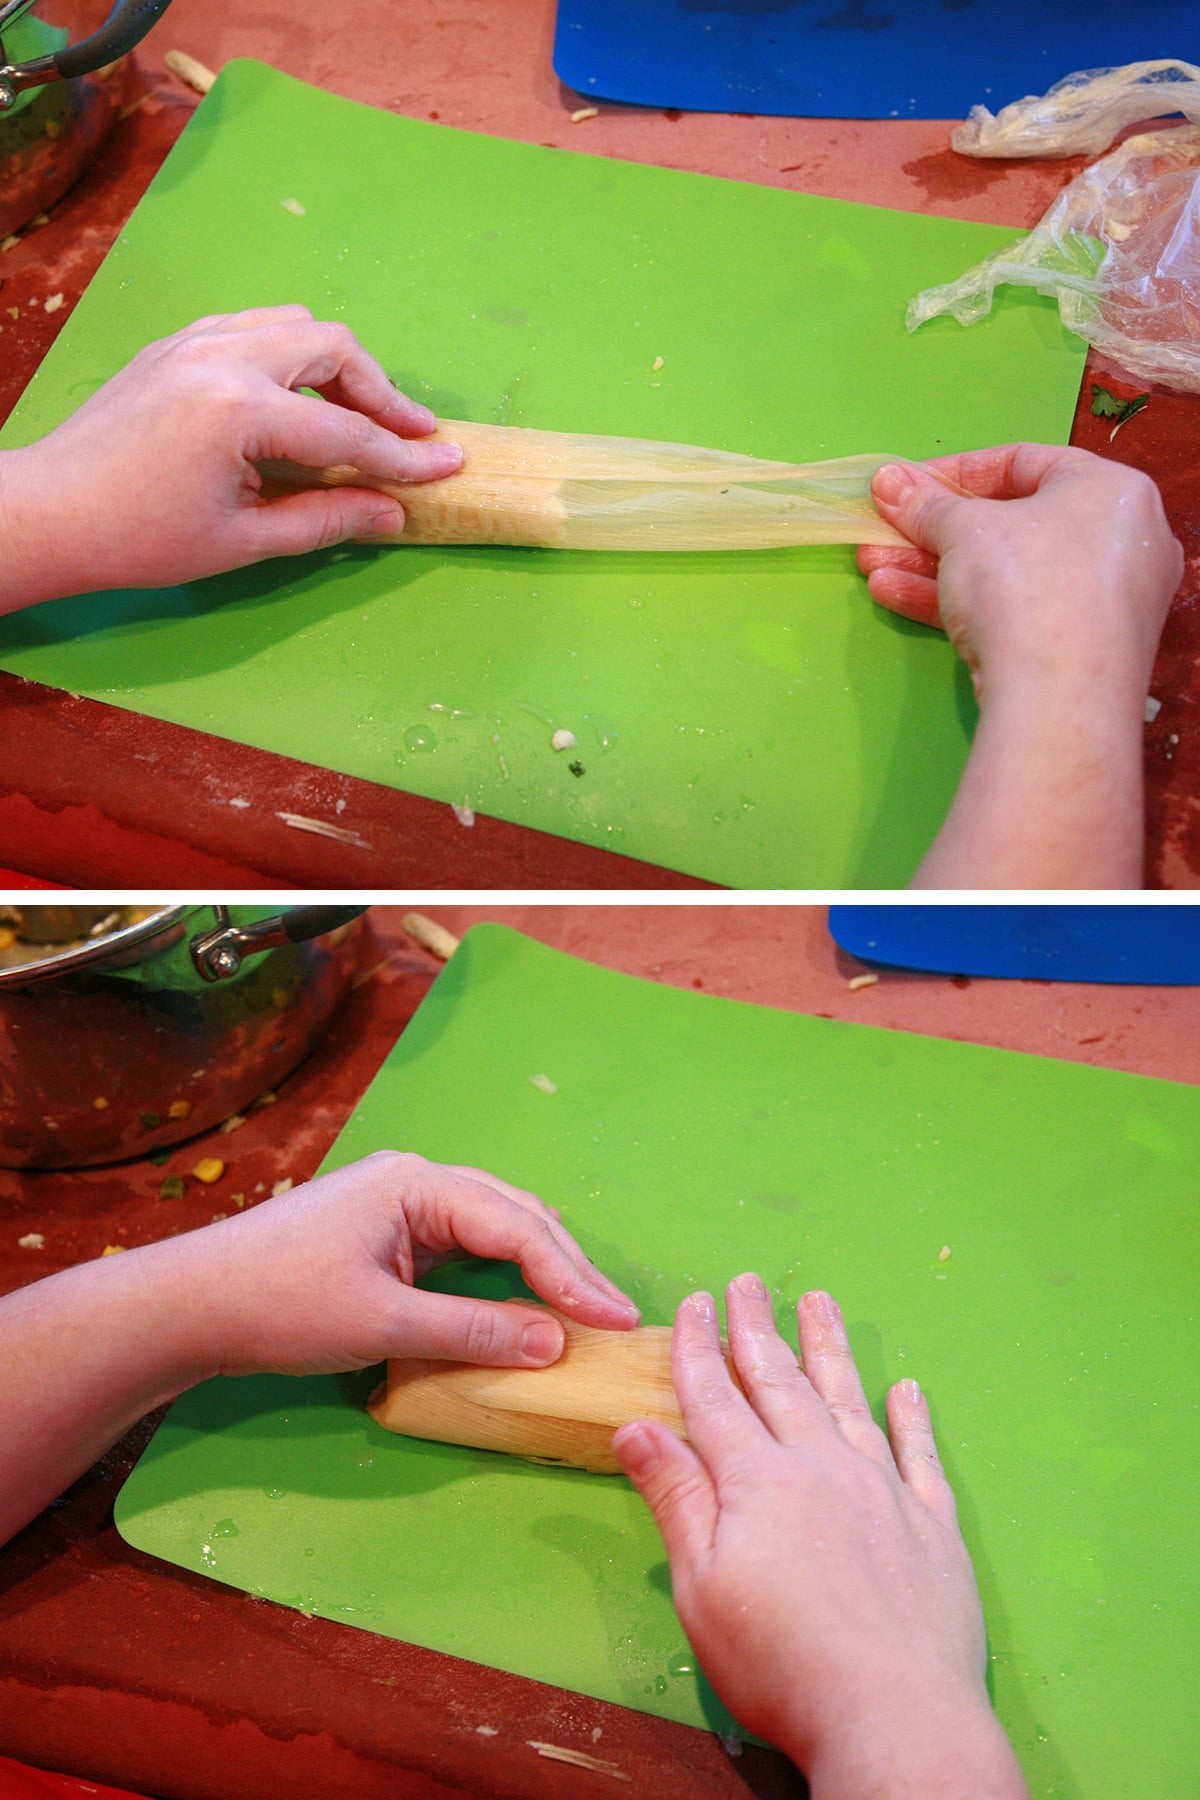
Use a piece of plastic wrap to spread out the dough into a longish rectangle, as pictured. I basically just put the plastic wrap over the dough, and smoother it out from the top - not moving the plastic wrap at all.
Spread about ¼ cup of filling in a long row up the middle of the length of dough rectangle, avoiding the last inch or so on each end.

Pick up the larger husk and fold it together, taking care to seal in the filling. You may need to poke it a bit.
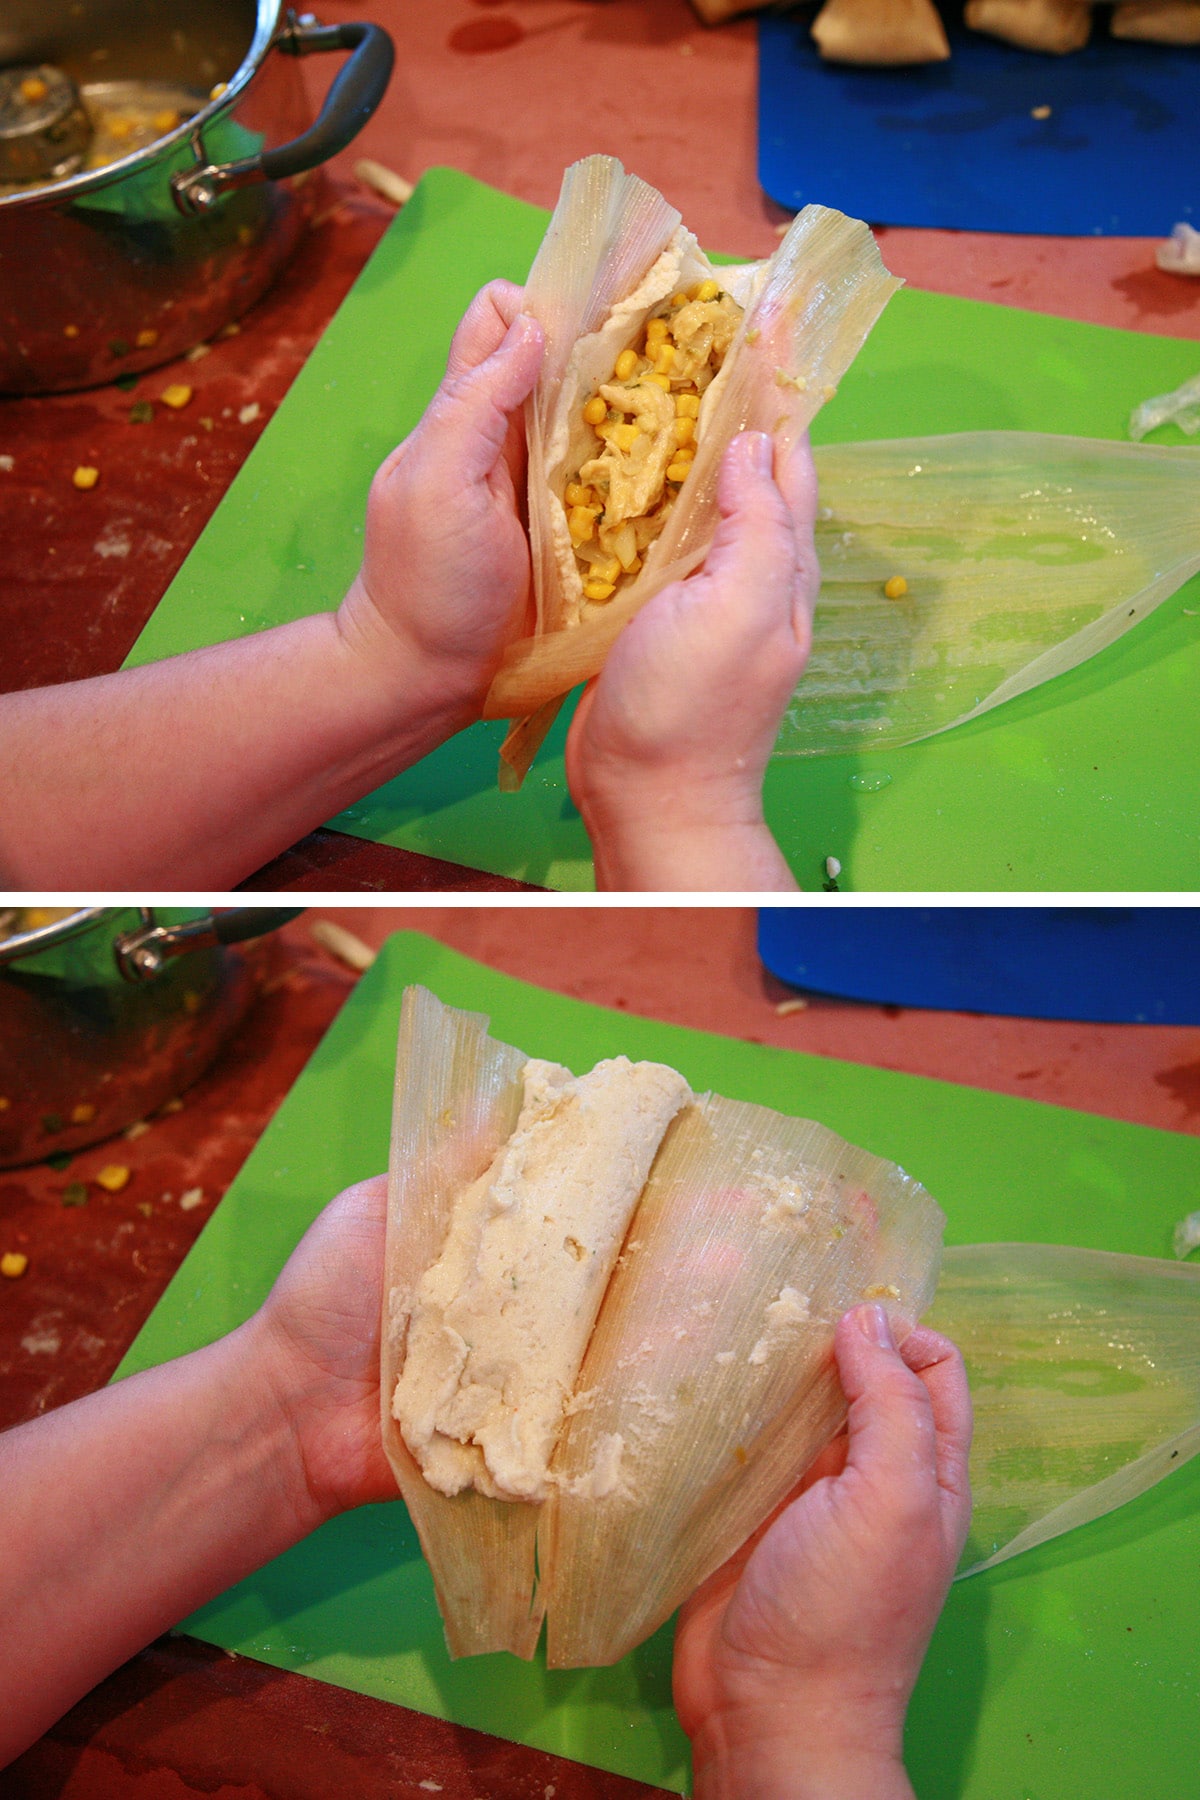
Once it's folded and sealed, flip it to one side of the large husk.
Fold up the pointy end of the husk, tightly against the bottom of the tamal.

Fold in one long side of the husk, snug against the tamal.
Roll the tamal, or fold in the other end. The basic idea is to completely envelop the sides and bottom, with no dough left exposed.
Once rolled, place the tamal seam side down on the smaller husk. The open side should be facing into the small husk, overlapping the husks by an inch or two.
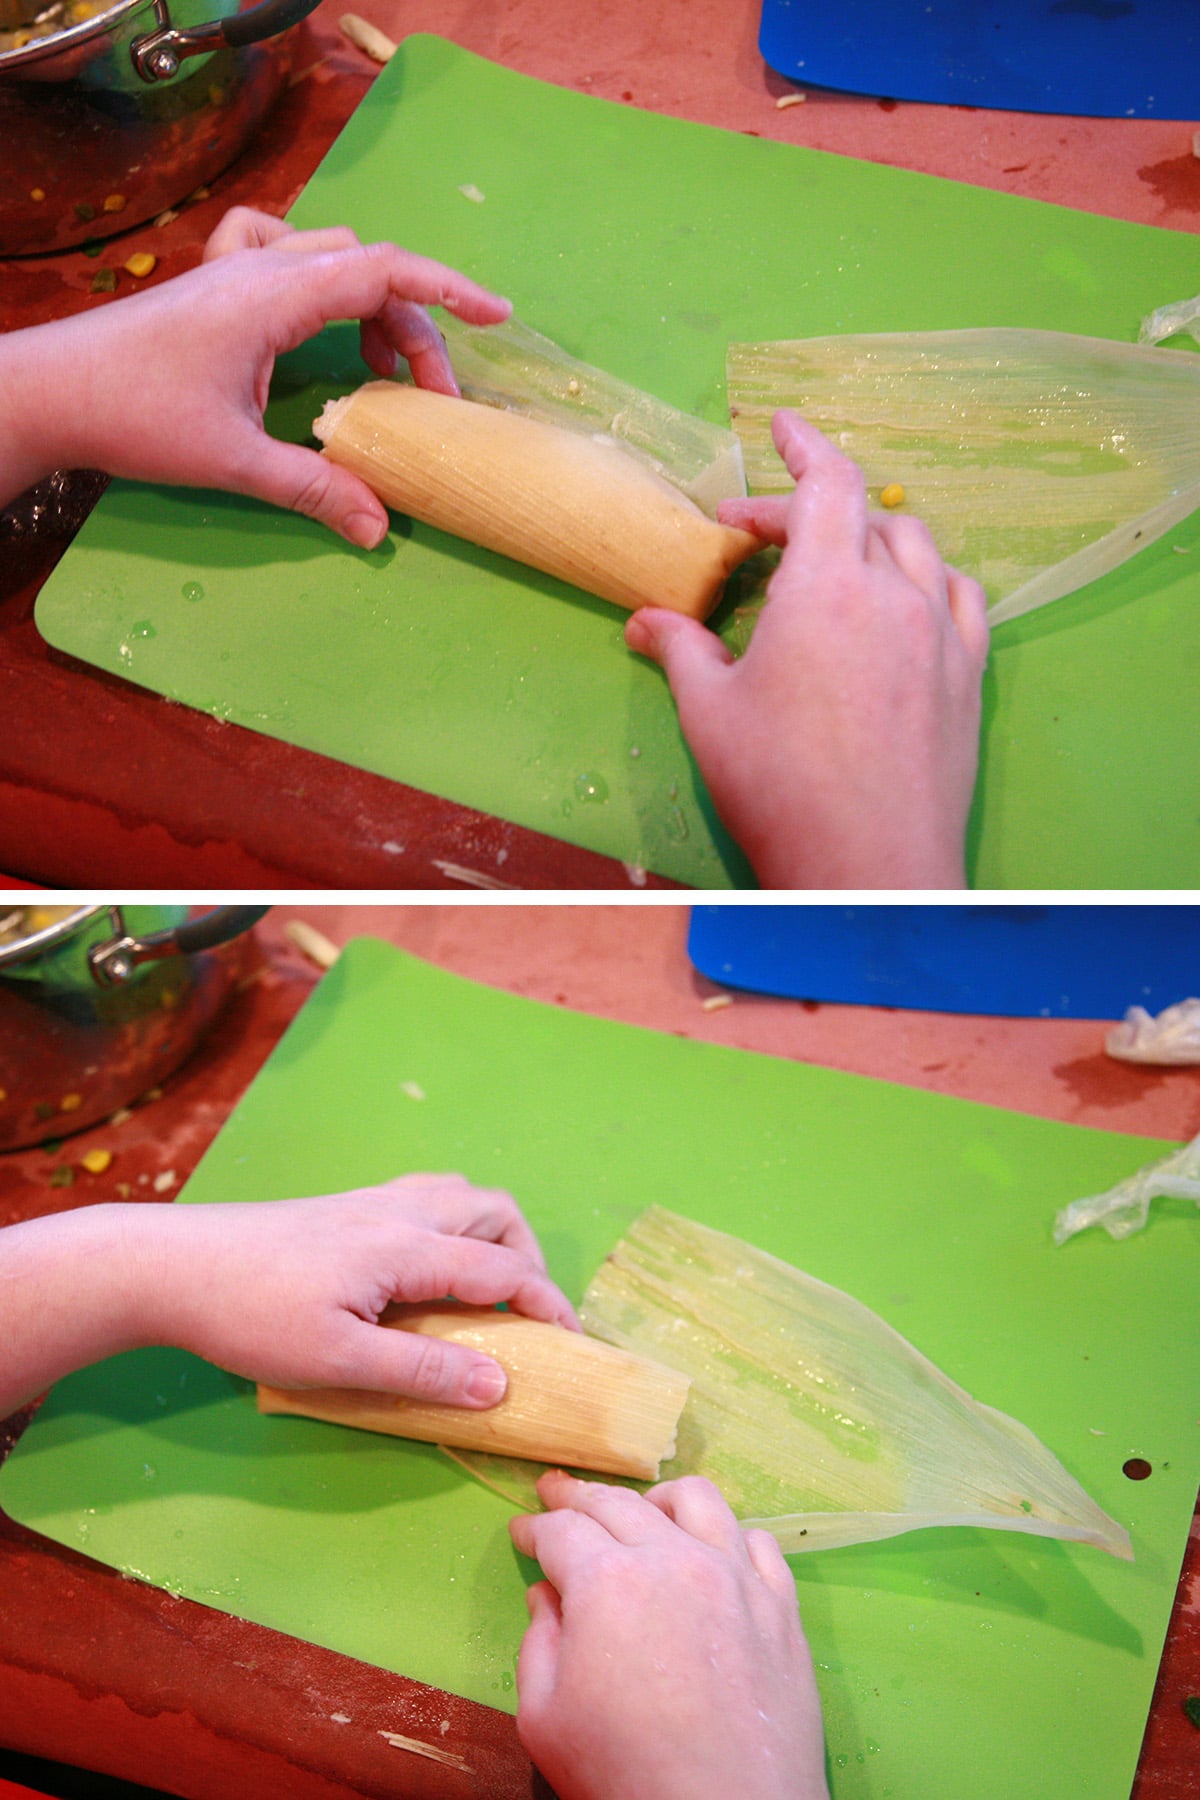
Roll the small husk around the tamale.
Fold the pointy end of the small husk in over the "seam", completely enveloping the main tamal roll.
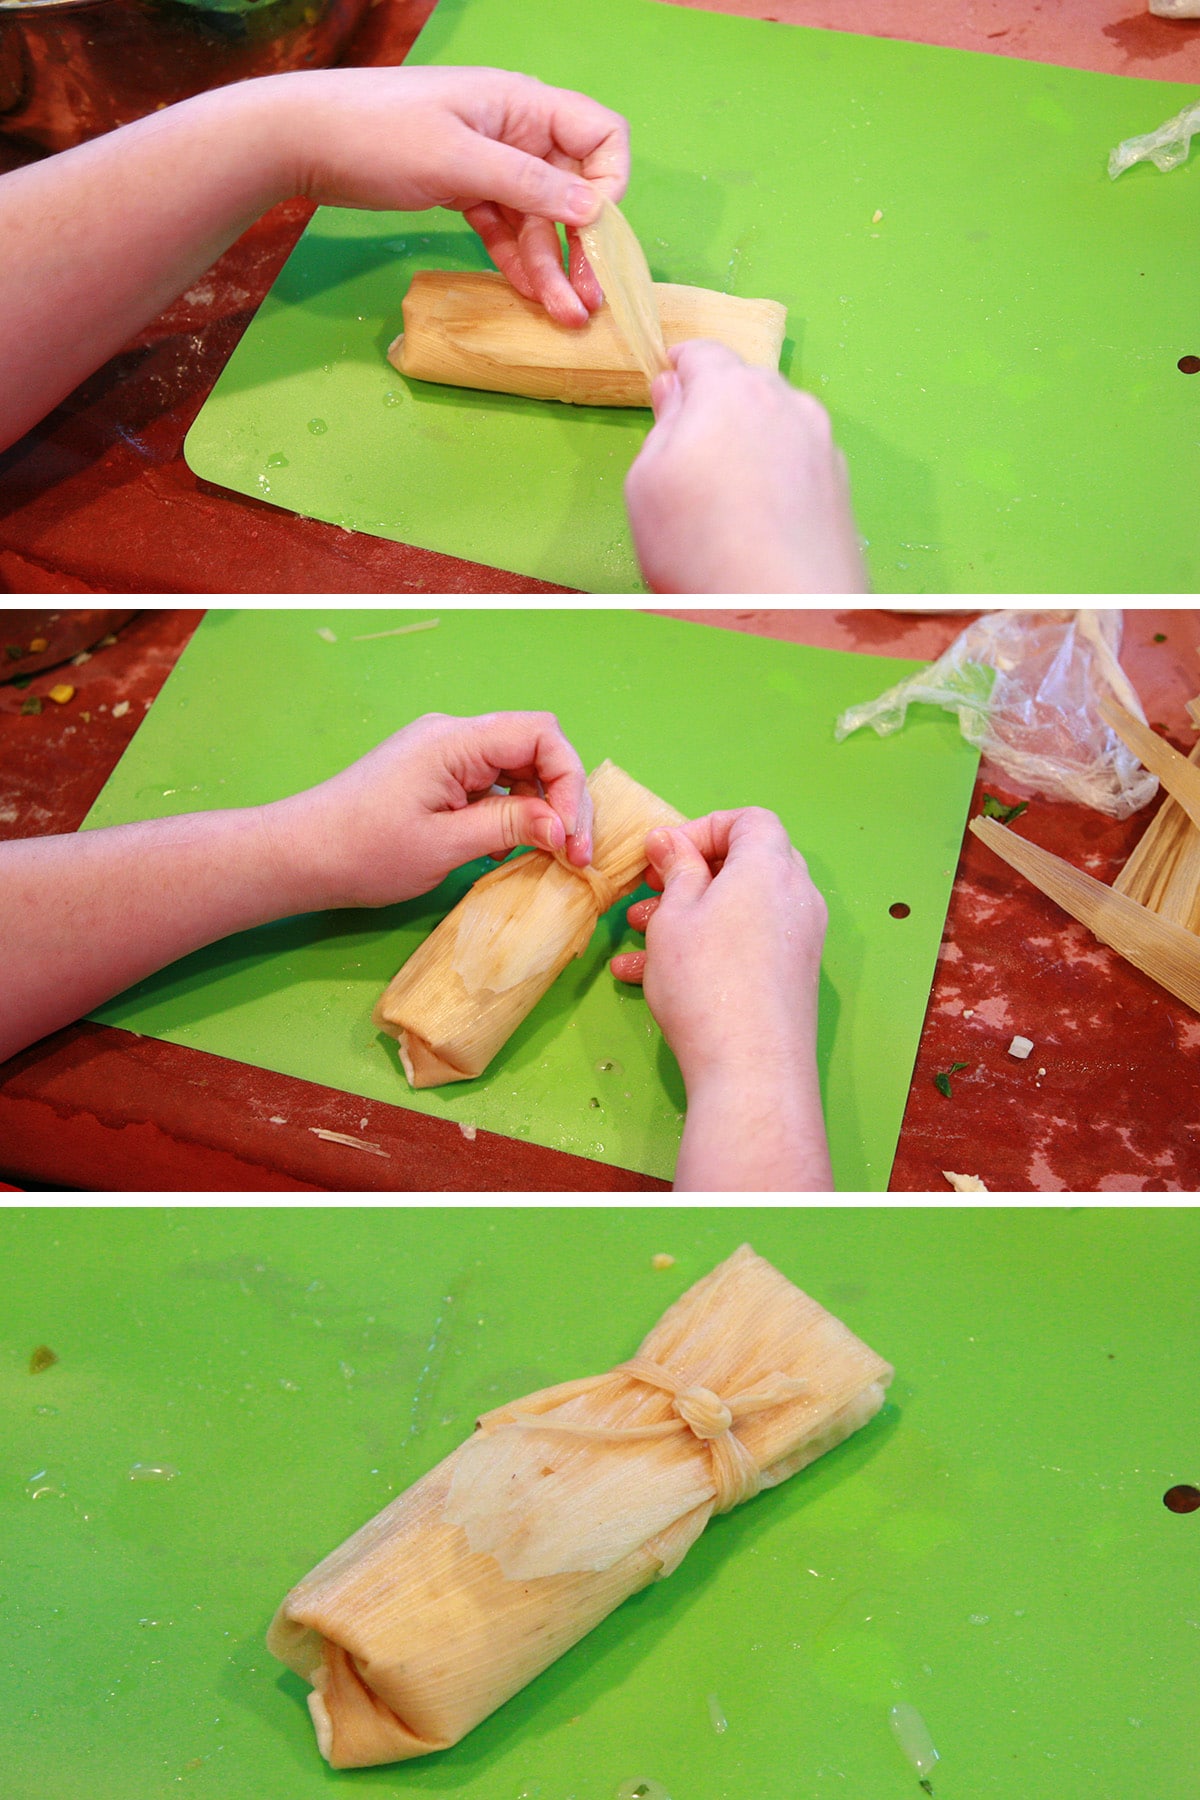
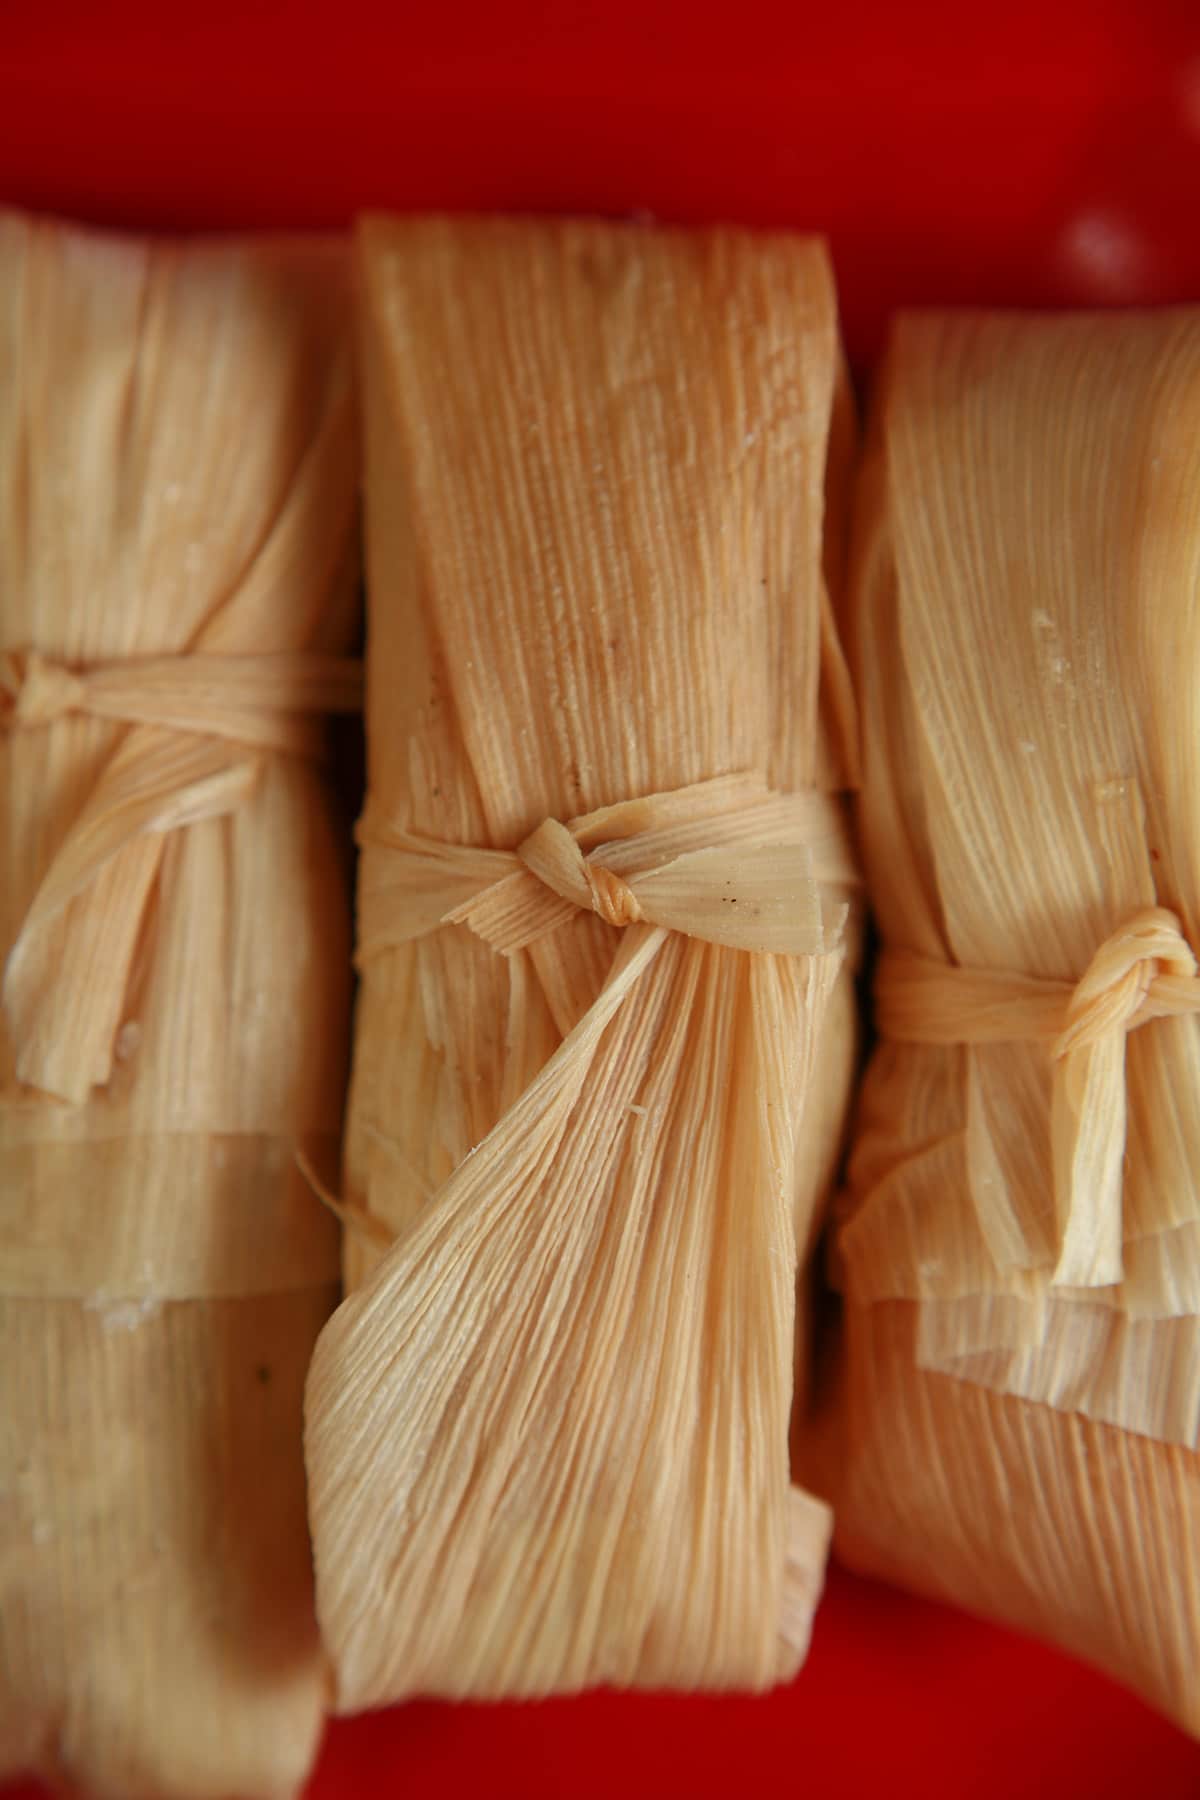
I went traditional and used long strips of (broken or otherwise useless) corn husks to tie this off. Feel free to do that - but next time, I'll definitely be using kitchen twine instead. Too much fussing around for my tastes!
Depending on how the wrap went, some tamales may require 2 ties. It's all good.
Repeat process about a million 70 times.
Steam the Tamales
Place tamales in a large steamer. Depending on your equipment, you may need to do this in several batches.
We used a turkey fryer over propane burner! (Which is actually our home brewing setup!)
Put enough water in the bottom to almost touch the bottom of the steam basket (but not), and steam for about 2 hours, until dough is cooked through and firmed up.

Serve and Eat!
Traditionally, these are served without sauce... but we prefer them with a bit of salsa.
Freeze if Needed
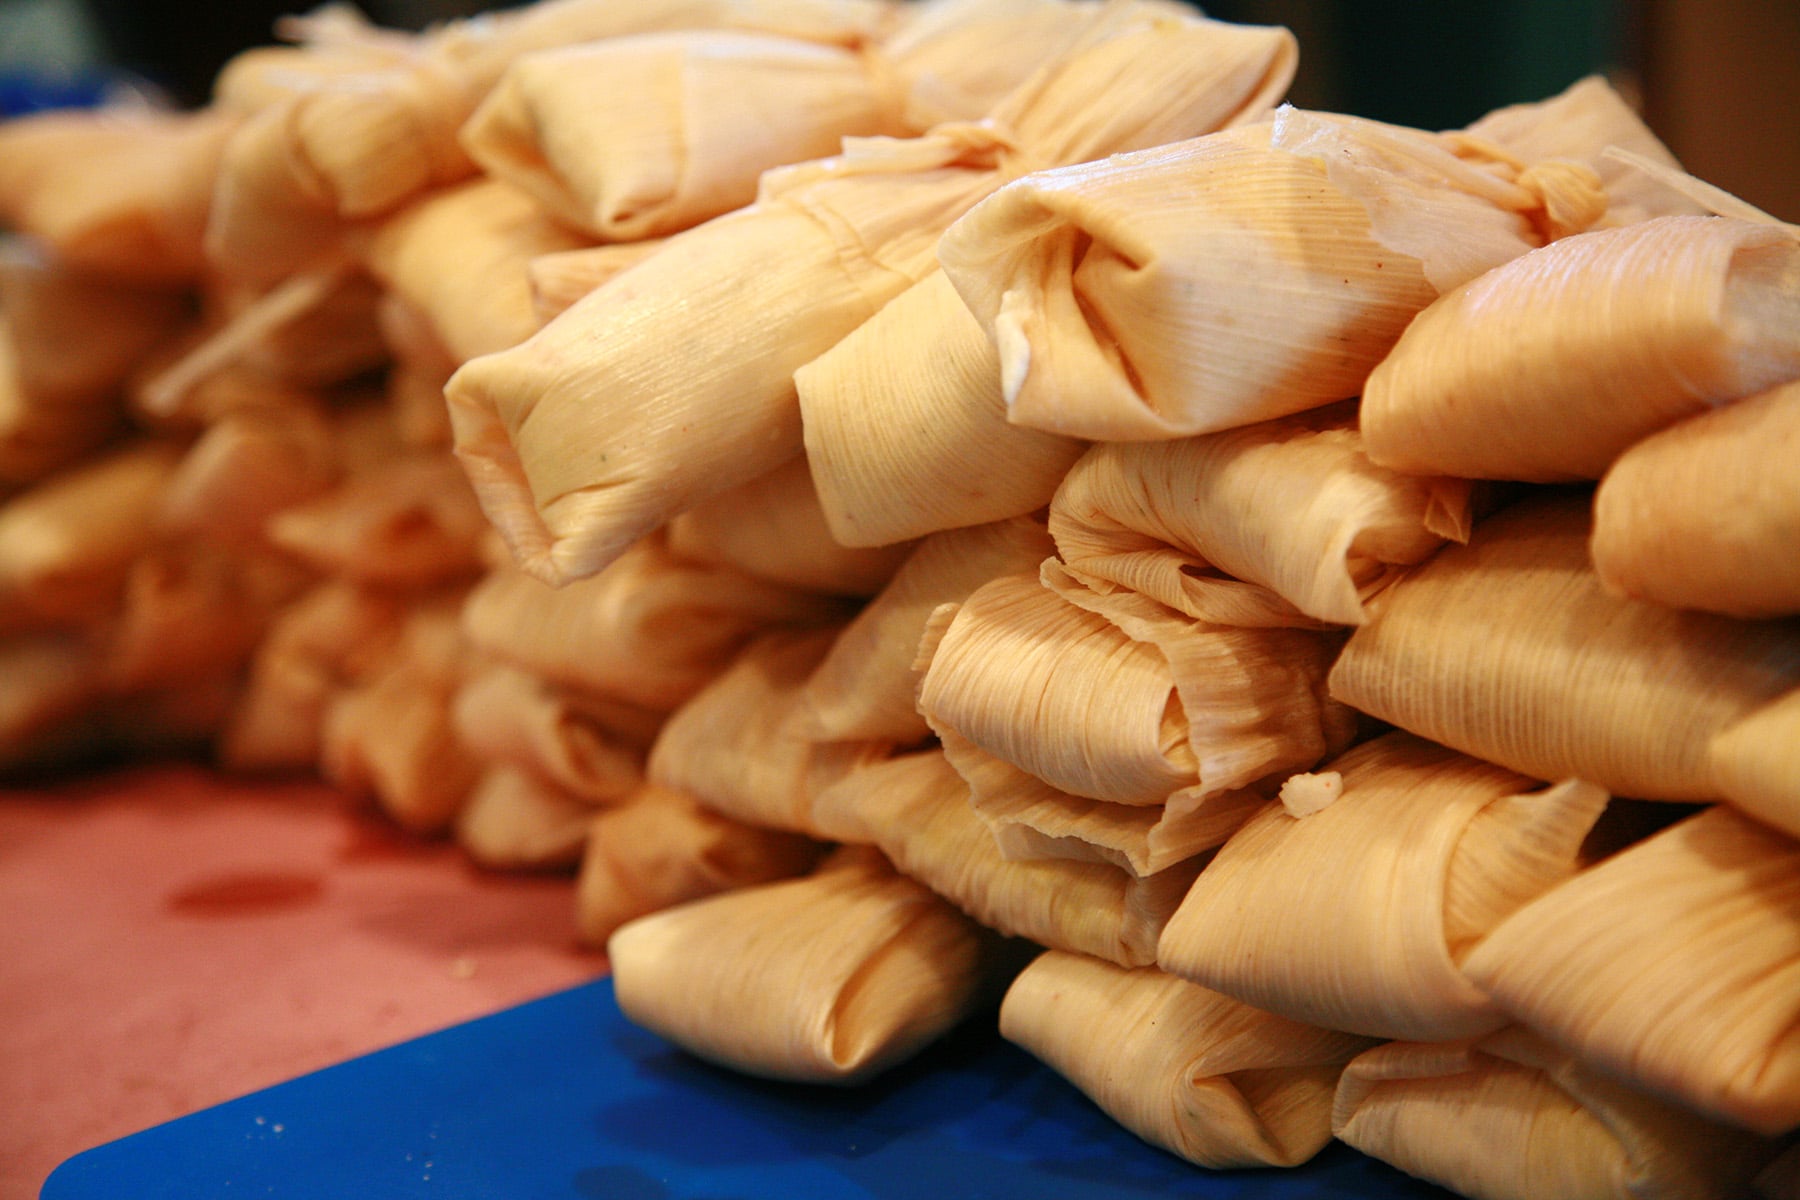
These can be frozen!
We froze them IN the wrappers, stored in freezer bags.
We bring a bag out as we need it, allow to thaw, and then remove husks to reheat.
More Sweet Corn Recipes
Fan of sweet corn? I’ve got more recipes for you!
Beer Battered Corn on the Cob
Breakfast Corn Muffins
Hearty Corn & Black Bean Soup
How to Cook Corn on the Cob
Marie's Low Country Boil
Quick Sweet Corn Soda
Roasted Corn Chowder
Roasted Corn & Potato Salad
Roasted Corn Salsa for Canning
Roasted Corn Salsa Verde for Canning
Southwest Hot Dish
Sweet Corn Bruschetta
Sweet Corn Ice Cream
Sweet Corn Panna Cotta
Sweet Corn Relish
Share the Love!
Before you chow down, be sure to take some pics of your handiwork! If you post it to Bluesky, be sure to tag us - @CelebrationGen. We're also on Pinterest, so you can save all your favourite recipes to a board!
Also, be sure to subscribe to my free monthly email newsletter, so you never miss out on any of my nonsense.
Well, the published nonsense, anyway!

Salsa Verde Tamales
Equipment
- 1 or 2 package (8 oz) dried corn husks*
Ingredients
Filling
- 6 Large Boneless Skinless Chicken Breasts
- 1 cup Beer Like Corona
- 1 Large Onion Finely chopped
- 6 Jalapeno Peppers Finely chopped
- 2 tablespoon Lime Juice
- 1 teaspoon Salt
- 3 Ears Fresh Corn Kernels sliced off.
- 1-2 Bunches Cilantro Chopped
- 2-3 16oz Jars of Salsa Verde We used Ortega
- 2 lbs Colby-jack cheese Shredded
Masa Dough
- 9 cups Masa Harina
- ⅓ Cup Dried Parsley
- 5 tablespoon Onion Powder
- 3 tablespoon Cayenne Powder
- 1 ½ tablespoon Coriander
- 1 ½ tablespoon Cumin
- 2 teaspoon Garlic Powder
- 2 teaspoon Salt
- 7 ½ Cups Chicken Broth
- 3 Cups Beer Like Corona
- 3 Cups Lard
Instructions
- In a large bucket or stock pot, cover corn husks with hot water. When water has cooled, separate the husks, drain a bit of the water, and cover with more hot water. Let sit overnight.
- Separate chicken breasts (if needed), and trim any undesireables from them (fat, etc). Boil in a large pot of water until cooked all the way through.
- Remove chicken breasts from water, allow to cool. Using two forks, pull the chicken breast apart, into shreds of bite sized pieces.
- Place shredded chicken, beer, onion, jalapenos, and lime juice into a large pot or pan. Cook over medium heat, stirring frequently, until onion is translucent and jalapeno slices soft. Most of the beer should have either cooked off or absorbed by this point.
- Add salt, corn, cilantro, and salsa verde. Continue cooking until everything is thoroughly heated. Remove from heat, add shredded cheese, stir until everything is well combined. Set aside, make the dough:
- In a large bowl, combine masa harina, dried parsley, onion powder, cayenne powder, coriander, cumin, garlic powder and salt, stirring until combined.
- In a large pot, combine chicken broth and beer, heating until about to boil. Remove from heat, dump in the dry ingredient mixture. Stir until a smooth, thick dough forms. Allow to sit for 20 minutes.
- As dough is resting, whip lard with a stand or hand mixer until light and fluffy, 3-5 minutes.
- After the 20 minutes, add the lard to the dough, stirring until well combined. If the dough is too thick to be spreadable (should be the consistency of peanut butter), add a little more beer or chicken broth to thin it out a little.
- Now, time to wrap the tamales. From everything I read, there’s about 10 million ways you can do this. As most involved an open side – something I was NOT interested in – here’s how I did it:
- Pick out a large husk and a smaller husk. Overlap the wide ends slightly, with the small husk underneath the larger one, as pictured. Measure about ⅓ cup of masa dough onto the middle of the larger husk, spreading out slightly.
- Use a piece of plastic wrap to spread out the dough into a longish rectangle, as pictured. I basically just put the plastic wrap over the dough, and smoother it out from the top – not moving the plastic wrap at all.Spread about ¼ cup of filling in a long row up the middle of the length of dough rectangle, avoiding the last inch or so on each end.
- Pick up the larger husk and fold it together, taking care to seal in the filling. You may need to poke it a bit. Once it’s folded and sealed, flip it to one side of the large husk.
- Fold up the pointy end of the husk, tightly against the bottom of the tamal.
- Fold in one long side of the husk, snug against the tamal.Roll the tamal, or fold in the other end. The basic idea if to completely envelope the sides and bottom, with no dough left exposed.
- Once rolled, place the tamal seam side down on the smaller husk. The open side should be facing into the small husk, overlapping the husks by an inch or two.
- Roll the small husk around the tamale.
- Fold the pointy end of the small husk in over the “seam”, completely enveloping the main tamal roll.
- I went traditional and used long strips of (broken or otherwise useless) corn husks to tie this off. Feel free to do that – but next time, I’ll definitely be using kitchen twine instead. Too much fussing around for my tastes!
- Depending on how the wrap went, some tamales may require 2 ties. It’s all good.
- Repeat process about a million ... err.. 70 times.
- Place tamales in a large steamer. Depending on your equipment, you may need to do this in several batches. We used a turkey fryer over propane burner! (Which is actually our home brewing setup!)
- Put enough water in the bottom to almost touch the bottom of the steam basket (but not), and steam for about 2 hours, until dough is cooked through and firmed up.
- These can be frozen. We froze them IN the wrappers, stored in freezer bags. We bring a bag out as we need it, allow to thaw, and then remove husks to reheat.
- Traditionally, these are served without sauce… but we prefer them with a bit of salsa.
- *I recommend going with 2 packages. As we found out, a good portion of the package were either broken or too small to bother fussing with!
Notes
Nutrition


Jane Doe
One of these is called a "tamale", not a "tamal". A little research wouldn't hurt when dealing with something so traditional. 🙂
admin
I agree! However, a little research points out that "tamal" is, in fact, correct. 🙂
https://www.google.com/search?q=tamal+tamale&ie=utf-8&oe=utf-8&aq=t&rls=org.mozilla:en-US:official&client=firefox-a
Minerva Moser
I just wanted to commend you for giving a highly detailed, and supported with photos, description of how to fold the tamales on bottom AND on top. I feel the same way you do about leaving the top wide open; they seem somehow "incomplete" that way. I've been struggling with trying to get the tops to fold down because the husks I've been using are so STIFF (and short), they don't want to bend. I'll try your way. The last time I attempted to make tamales I actually STAPLED the tops shut. How's that for nuts? It worked, though. I just yanked the staples out after steaming them.