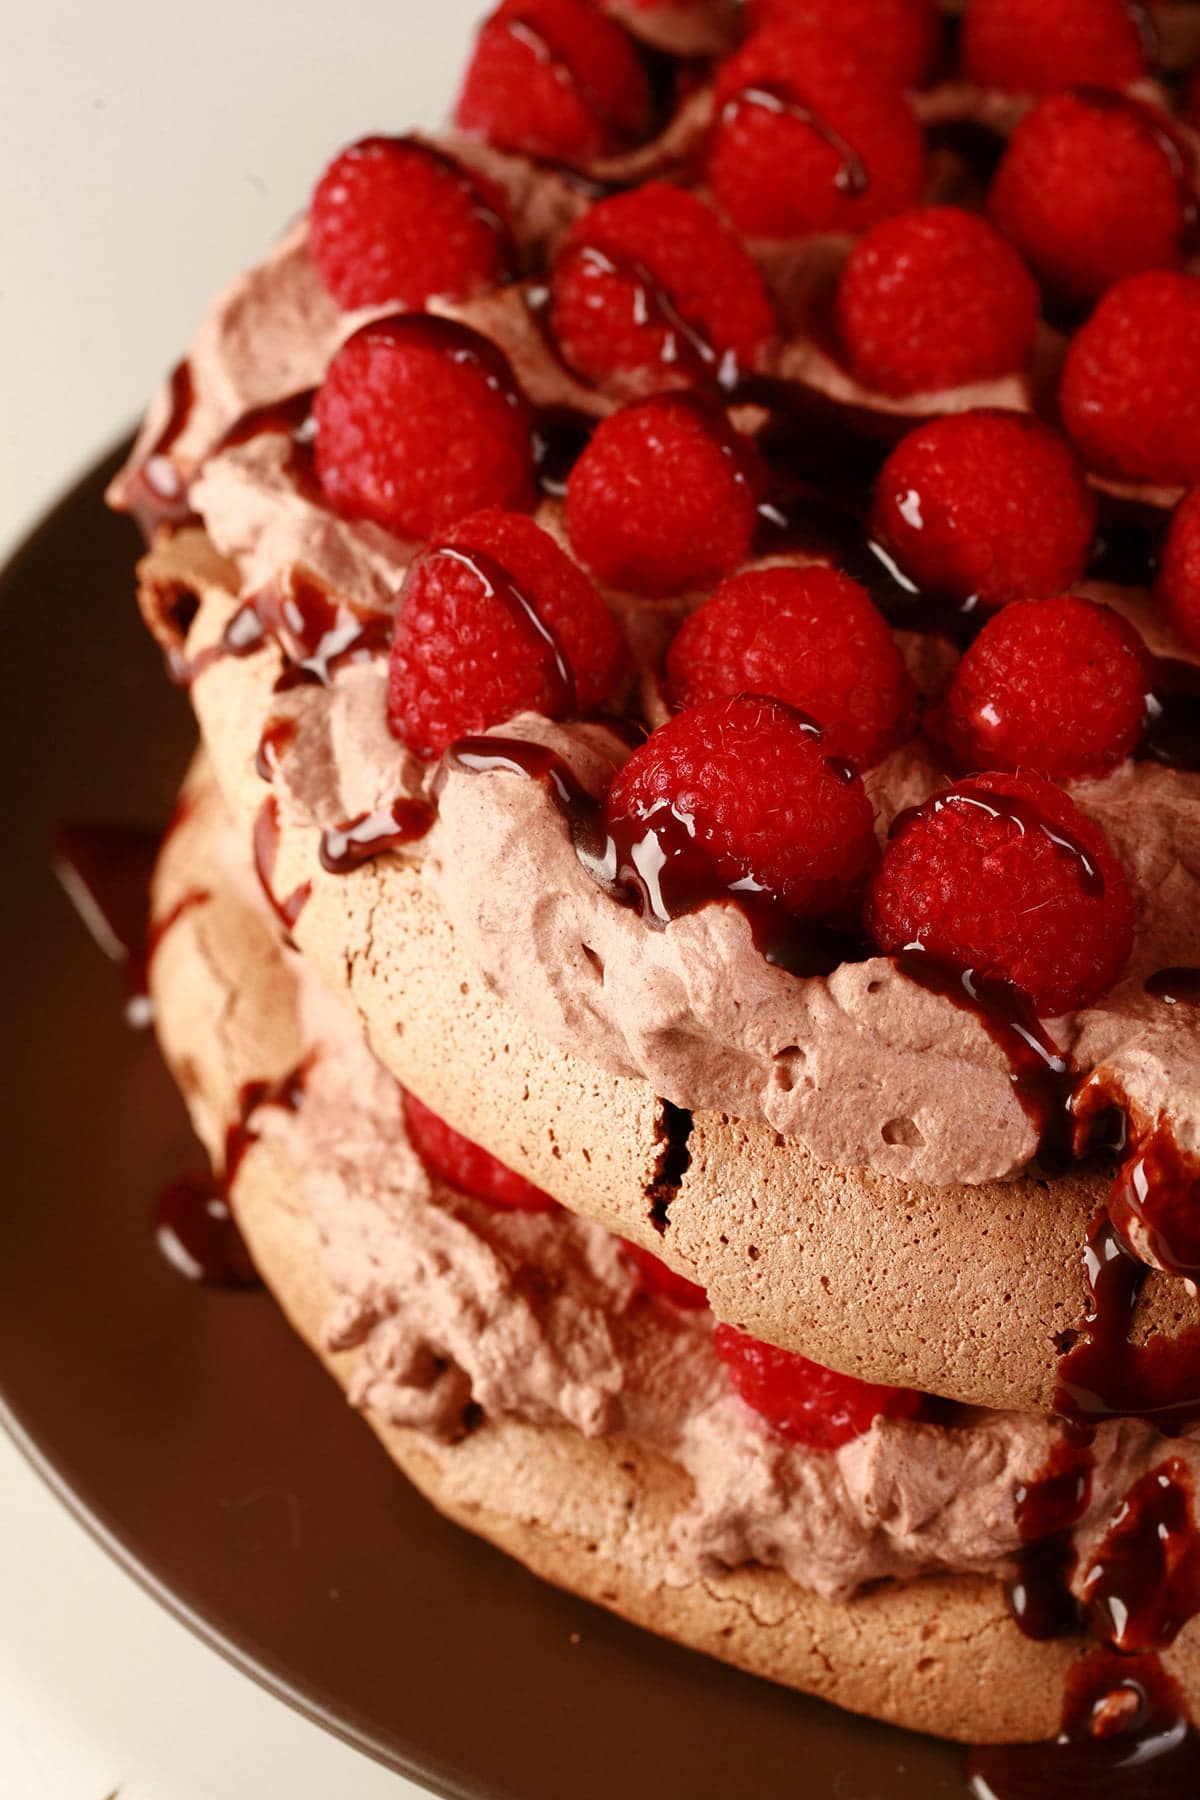
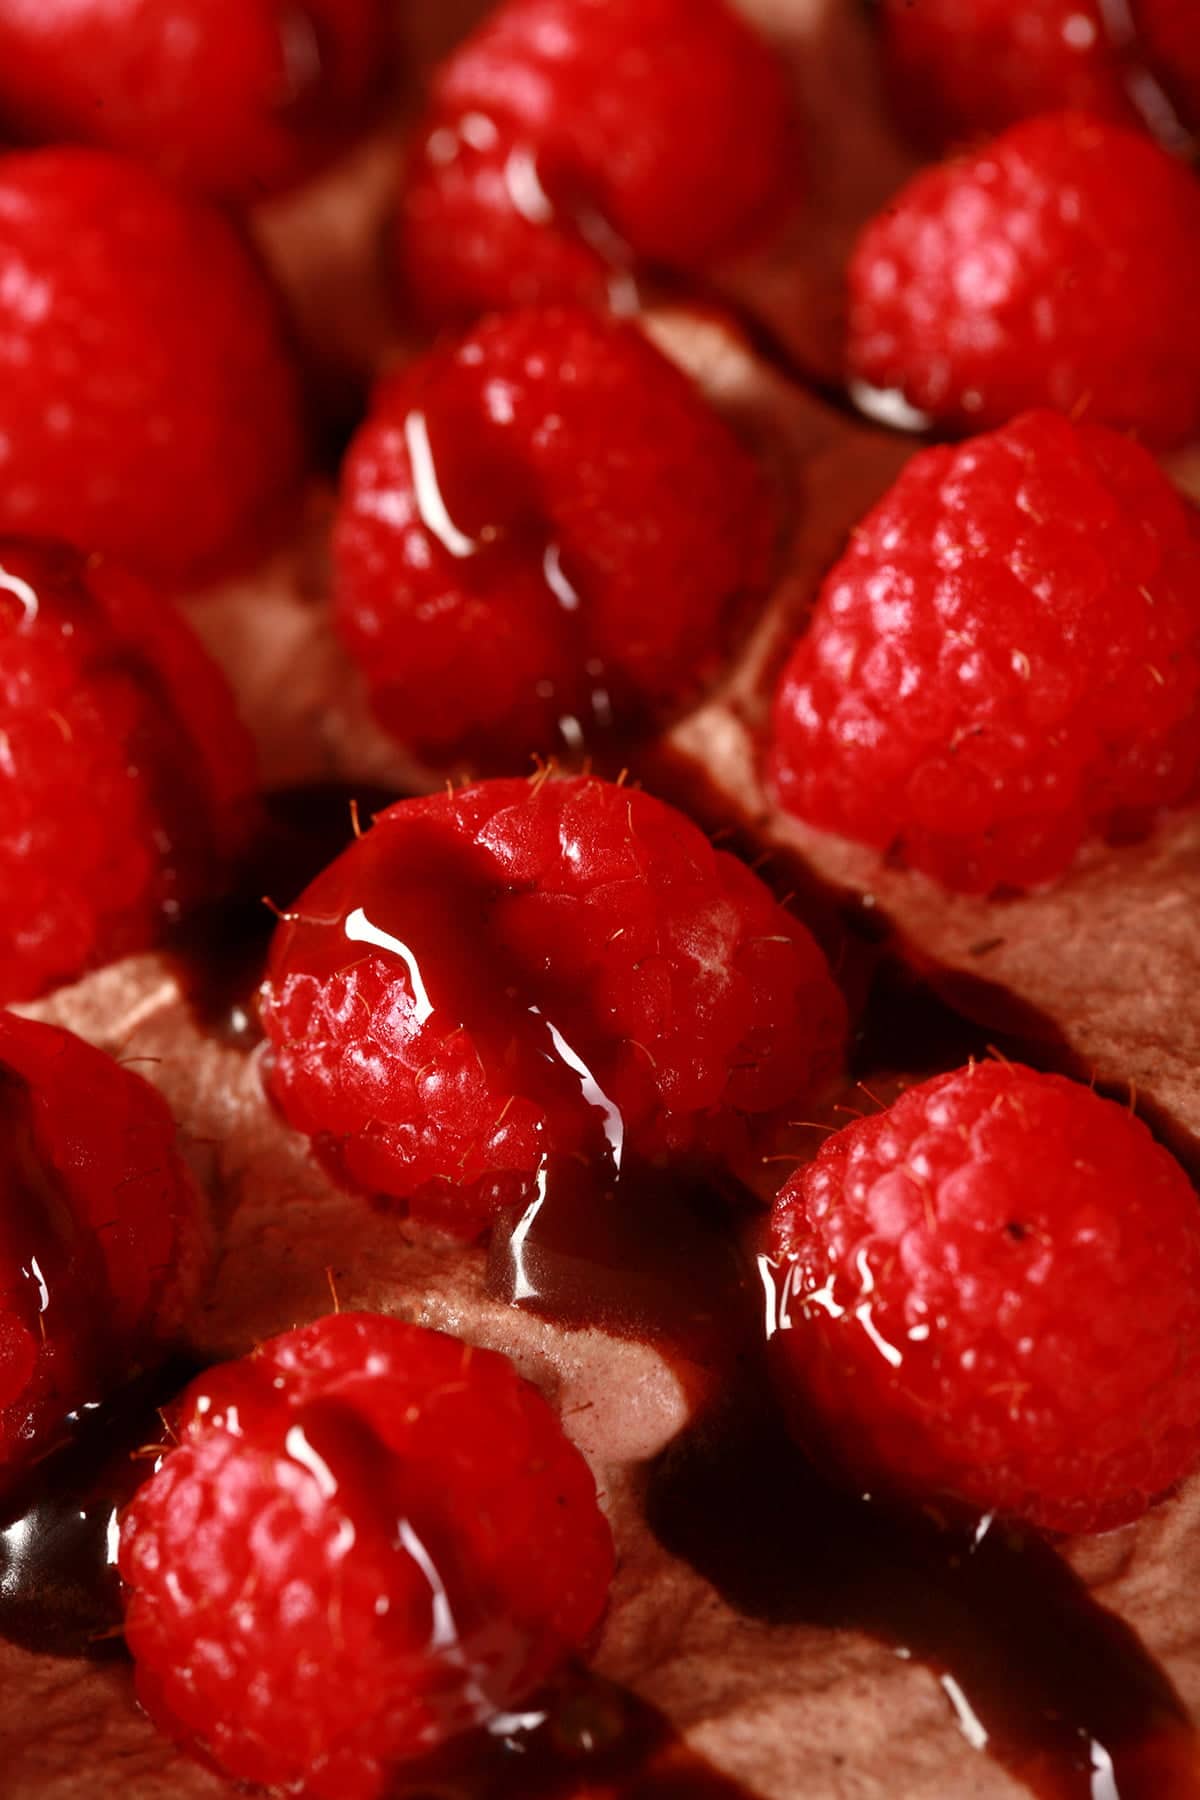
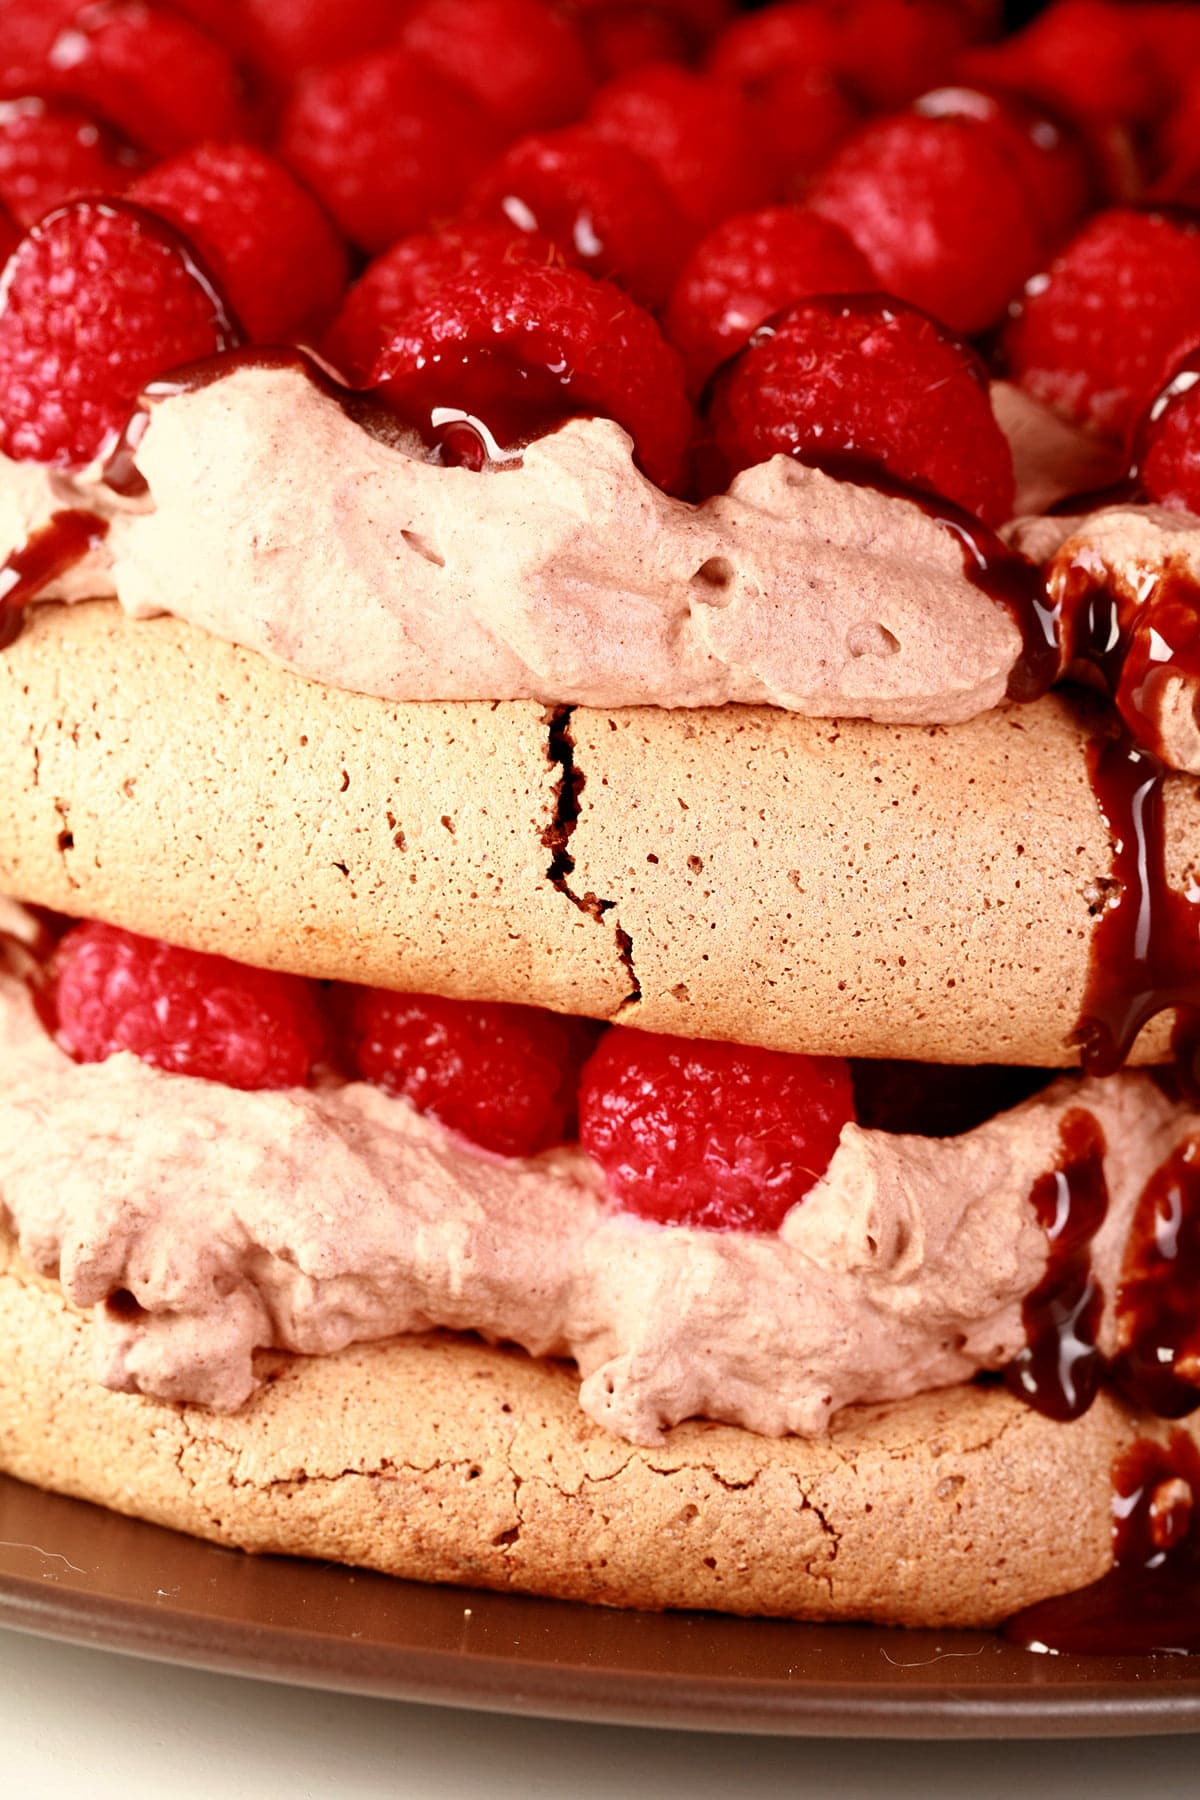
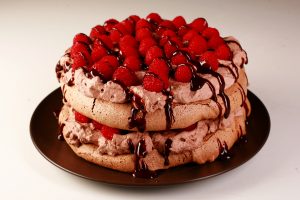
This Chocolate Raspberry Pavlova is a stunner! It’s a double decker, triple chocolate (meringue, whipped cream, and sauce) pavlova. SO good , easy to make... and visually pretty impressive, too.

You see, I take “lucid dreaming” to a whole other level sometimes. I’ve created recipes in my sleep, worked through patterning problems, and more.
It’s handy to wake up and know exactly what you’re doing, having rested AND problem-solved throughout the night.
That night stood out not only for the amount of recipes that resulted - FIVE! - but because the whole thing was Pavlova themed. I worked out 5 wildly different Pavlovas that night, woke up and immediately went grocery shopping.
... Uh, I don’t mess around when it comes to the subject of Pavlovas!
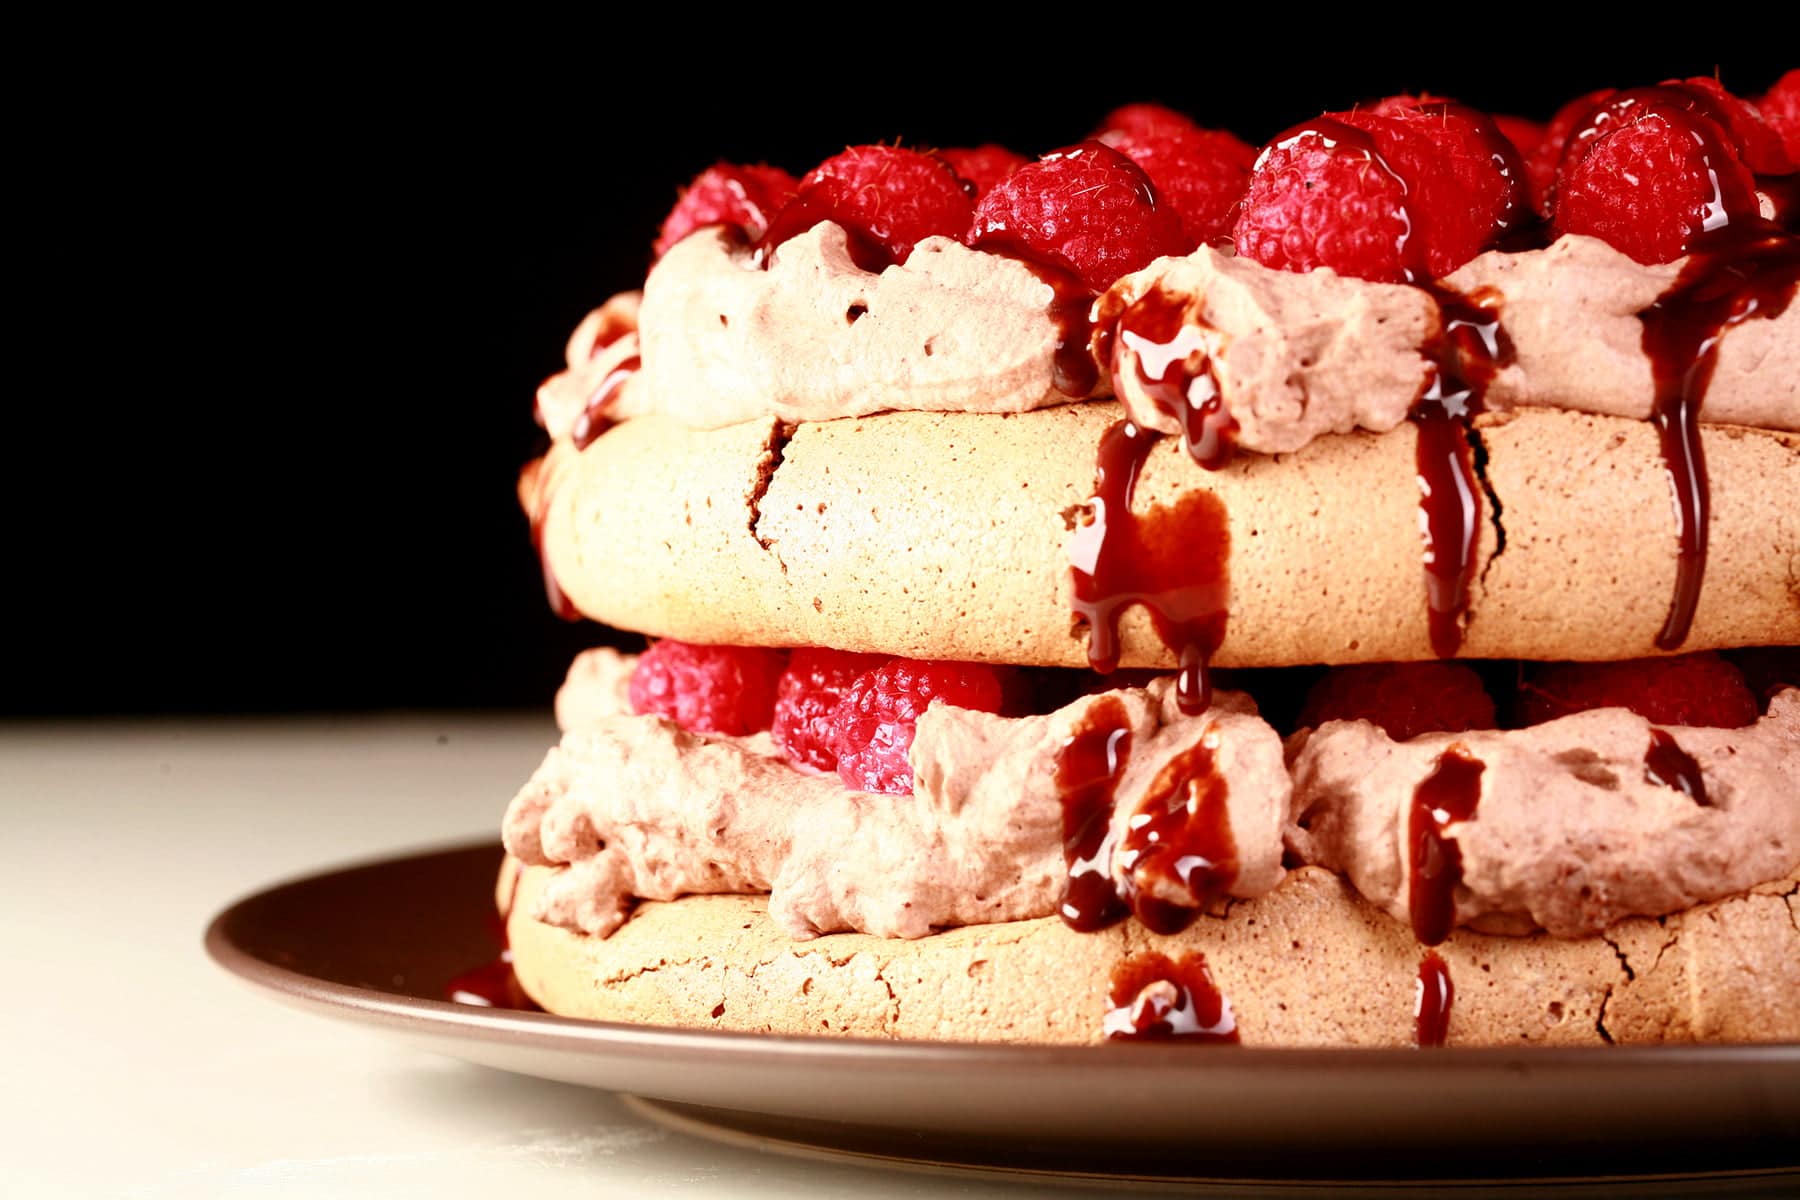
Chocolate Pavlova
Chocolate Pavlova stands out among my other pavlovas, as the inclusion of cocoa in the meringue base alters the texture a bit.
While most Pavlovas are crispy on the outside and basically a big marshmallow inside, chocolate Pavlovas have a little more heft to them. I wouldn’t call them straight-up “cakey”, but they veer in that direction.
Basically, if a brownie and a marshmallow were actual sentient beings that could reproduce at all, AND IF they could reproduce *with each other*... their offspring would be the inside of a chocolate Pavlova.
Ok, that was a lot of “ifs” and such, so just trust me... chocolate pavlovas are *awesome*.
I like to add a nice, deep & dark balsamic vinegar to my chocolate Pavlovas. It really works well with the taste of the cocoa, producing a richer, deeper flavour.

Elevating the Chocolate Raspberry Pavlova
I’ll be honest - the chocolate raspberry Pavlova combo wasn’t new to me, in the dream.
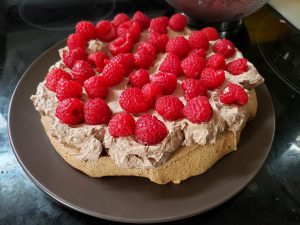
I’d made a more basic version, back on a past Valentine’s day - a single chocolate Pavlova, with cocoa whipped cream and Raspberries.
It was definitely a great end to a Valentine’s Day meal... but it wasn’t a double deckered chocolate raspberry pavlova, drizzled with chocolate sauce!
No, my dream took that simple Valentine’s Day dessert to a whole other level.
The thing is, this version really isn’t any more difficult - or even much more ingredient intensive - than the single layer version.
The Pavlova itself is the same basic recipe - ingredient amounts and all - with only very small tweaks:
- It’s divided into two rounds, instead of made into one big round.
- The baking time was shortened slightly.
- It might have used slightly more raspberries than a single one would. On one hand, the two smaller Chocolate Pavlovas have more surface area to cover than the one normal sized chocolate pavlova...
... on the other, I did a single layer of raspberries on the two layers, rather than just PILE THEM ON, like I tend to do on those single layer Pavlovas.
SO, as I said... not really any more effort than a normal Pavlova.
The next time you’re needing a fancy, impressive dessert for a birthday, anniversary, Valentine’s Day, etc... why NOT do a wild, double decker, triple chocolate pavlova?
Yum!
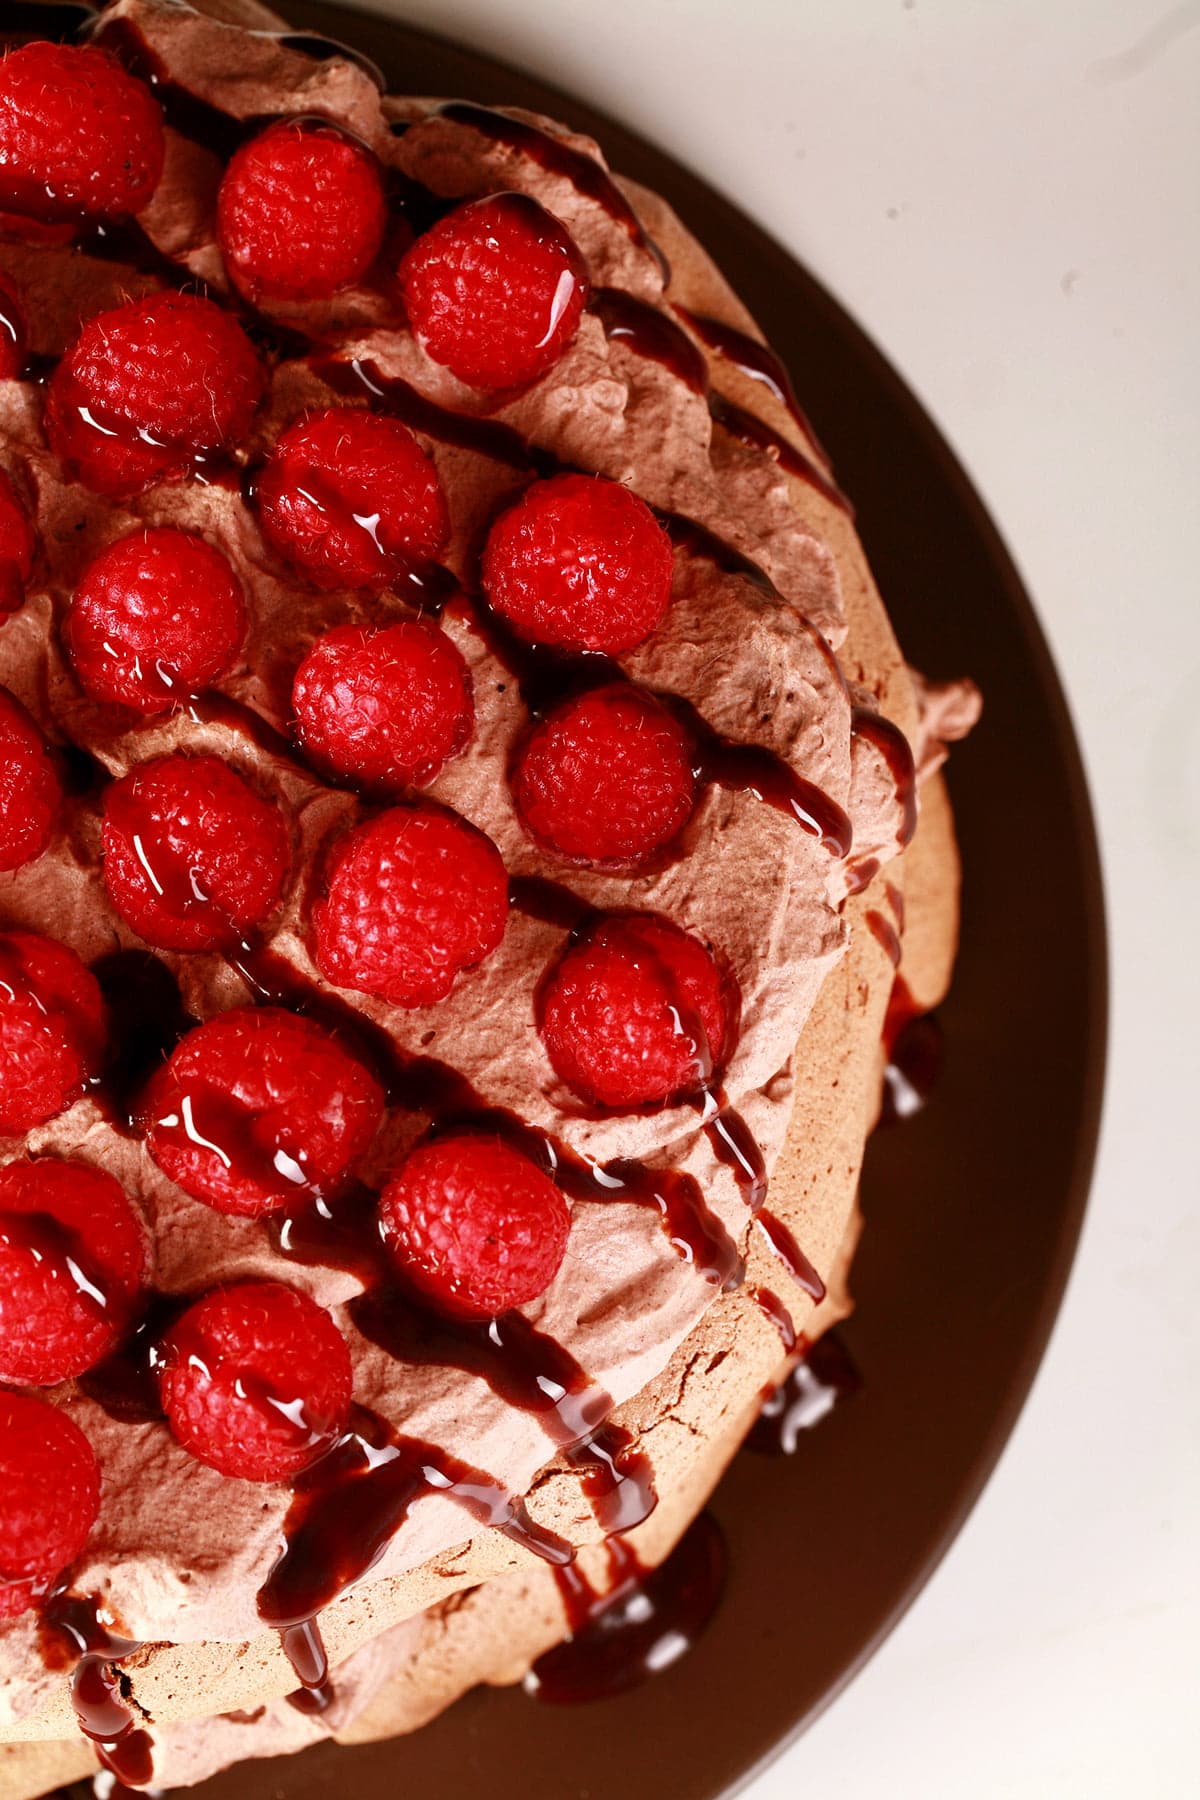
How to Make a Chocolate Pavlova
Pavlovas are super easy to make, if you keep a few basic things in mind. Here are a few tips to help you successfully make a Pavlova:
So, crack them right away when you take them out of the fridge, then cover the bowl and let it sit for a bit to warm to room temp. 10-15 minutes should be plenty of time, you don’t want to leave them out all day, as salmonella is a THING.
Honestly, if you have a good stand mixer - I LOVE my Kitchenaid! - you should be good to go, right out of the fridge. If you’re using a hand mixer... I’d let them warm up.
Any yolk at all - even a speck - will prevent your whites from whipping up as they’re supposed to.
If you do get yolk in the whites, and can’t get it out... start from scratch. Seriously. You can make a nice omelette from those whites, but you won’t be able to get a Pavlova out of them.
For the same reason yolks will mess you up, you also have to be careful to not let fat, oil, grease, etc touch your meringue.
Make sure your mixer and bowl are clean, and use a parchment lined baking sheet - do NOT grease it!
Over beating the egg whites can lead to a weeping meringue, and/or affect the texture. Get them to stiff peaks and that’s it!
Once the pavlovas are in the oven, shut the door *and leave it shut* until you’re ready to use it. At the very least leave it in there for a few hours, for the sake of structural integrity.
I’ll usually leave it in there right up until I’m ready to assemble and serve it, as it’s nice and protected in there. Pavlovas are delicate and fragile and really, Murphy’s Law is a thing.
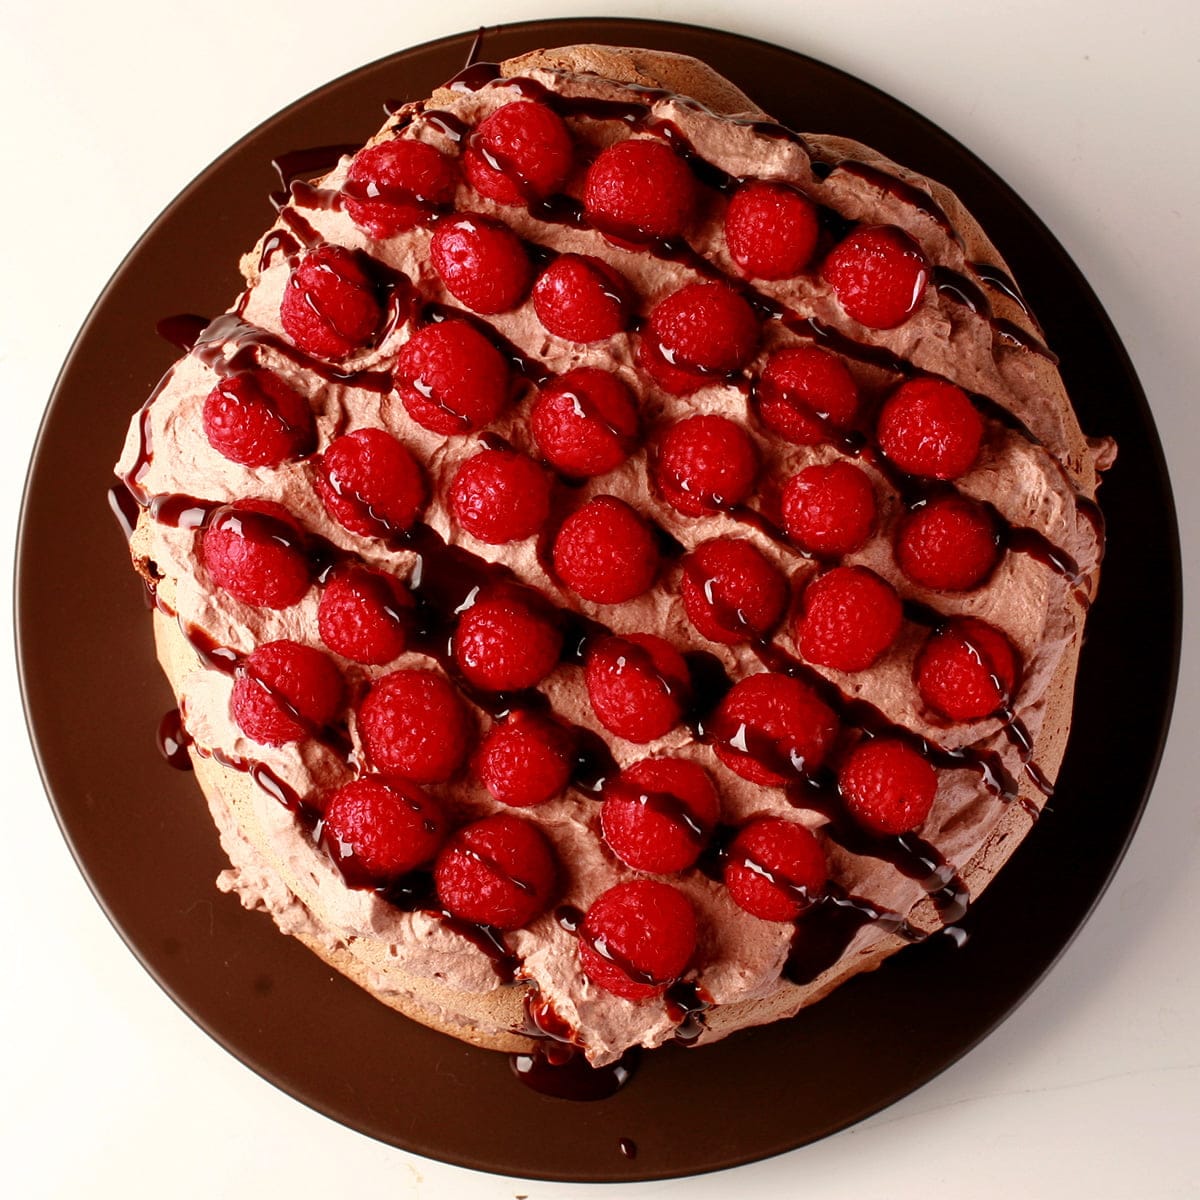
Pavlovas crack - especially when you mound them up with whipped cream and fruit - and that’s just a fact of life. Embrace it.
Don’t mourn “perfection” lost, realize that it’s literally collapsing under the weight of its own awesomeness.
It’s all good!
Once you start whipping the cream for your Pavlova, the timer is started. Once you pile it on the pavlova, have your fruit good and ready to go, and be ready to serve it right away.
Whipped cream breaks down over time - unless you stabilize it with some gelatin. That’s neither here nor there, in this case, as Pavlovas need to be eaten pretty soon after assembling.
So, have everything ready to go when you make the whipped cream, serve it right away, and don’t leave anything behind - it really doesn’t hold up as leftovers.
Can this Pavlova serve 6 people (some say 8!)? Sure, when you’re listening to the same people who think that a serving size of dip is 2 Tbsp.
TWO TABLESPOONS!!!
Personally, I think this makes 4 good sized servings... 2 if you’re ambitious.
Let me be honest, my husband and I have split every Pavlova I’ve blogged, with no leftovers. This one, we destroyed while watching Star Trek reruns, in our living room, in PJs.
Why yes, I do have an ideal marriage, LOL.

We were not elegant about serving and eating this.
More Pavlova Recipes
Do you love Pavlovas like we do? Awesome! I have several more super tasty Pavlova recipes for you...
Bananas Foster Pavlova
Basic Pavlova Recipe
Blueberry Pavlova
Cardamom Fig Pavlova
Matcha Green Tea Pavlova
Pavlova Charcuterie Board
Tropical Dragonfruit Pavlova
Seasonal Pavlovas
Christmas Tree Pavlova
Easter Egg Pavlova
Halloween Pavlova with Bloody Eyeballs
Heart Shaped Valentine's Pavlova

Also, if you're interested in gluten-free cooking and baking, you should definitely check out my gluten-free cookbooks: Beyond Flour: A Fresh Approach to Gluten Free Cooking & Baking, and the sequel... Beyond Flour 2. You can order them through Amazon, or through any major bookseller.
Share the Love!
Before you chow down, be sure to take some pics of your handiwork! If you post it to Bluesky, be sure to tag us - @CelebrationGen. We're also on Pinterest, so you can save all your favourite recipes to a board!
Also, be sure to follow me on Pinterest, and subscribe to my free monthly email newsletter, so you never miss out on any of my nonsense.
Well, the published nonsense, anyway!

Now, on to that Chocolate Raspberry Pavlova recipe!
Chocolate Raspberry Pavlova
Equipment
- Parchment Paper
- Baking Sheet
Ingredients
- 4 Large Egg Whites
- Pinch Salt
- 1 cup Super Fine / Castor Sugar *
- ¼ cup Cocoa Powder
- 3 teaspoon Balsamic Vinegar
- 1 teaspoon Cornstarch
- 1 teaspoon Vanilla Extract
- 1 ¼ cup Heavy Cream
- 1-2 tablespoon Granulated Sugar optional
- 3 tablespoon Cocoa Powder
- 1 teaspoon Vanilla
- 1 pint+ Fresh Raspberries
- Chocolate Sauce of choice
Instructions
- Get ready: Preheat your oven to 350 degrees. Line a baking (cookie) sheet with parchment paper, and set aside. Fit your electric mixer with the whisk attachment.
- Remove eggs from fridge, separate out the whites, and allow to warm to room temp (about 5 minutes).
- In your mixer bowl, beat egg whites together with salt until glossy peaks form.
- Slowly add in the sugar, and continue whipping until stiff peaks form. Turn off mixer, remove bowl.
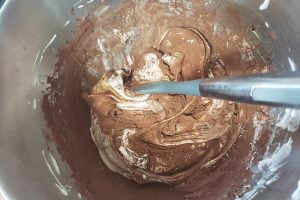
- Sprinkle cocoa, balsamic vinegar, cornstarch, and vanilla over meringue, gently fold in till combined.
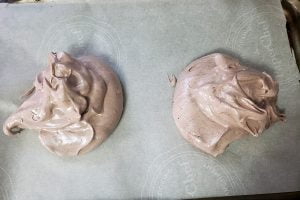
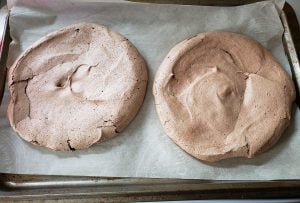
- Divide meringue into 2 rounds on your baking sheet.
- Use a spatula to spread the meringue mounds into 2 rounds, about 7" in diameter. If you want to get really fancy, put the meringue into a pastry bag and pipe it out as a mass of swirls that form your 7″ circles! It’s really up to you!
- Put the baking sheet into your oven, and turn the temperature down to 250 degrees. Bake for 1 hour and 10 minutes.
- Once your timer goes off, turn the oven off and let the meringues cool in the oven for several hours. The baking of the meringue can be done the day before, if needed!
- Just before serving, whip the heavy cream.I like my pavlovas a little sweeter, so I add about 2 tablespoon of sugar – add as much or as little as you want. Purists may not want to sweeten the cream at all! I also like to add a little flavoring, again – optional
- Once heavy cream is whipped to the desired thickness, add the cocoa and vanilla, mix until well incorporated.
- Place one pavlova meringue on your servings dish. Spread with half of your chocolate whipped cream, then top with half of your raspberries.
- Carefully place the second meringue on top, spread with remaining whipped cream, arrange remaining raspberries on top.
- Drizzle with Chocolate Sauce and serve immediately!
Notes
Nutrition







Leave a Reply