

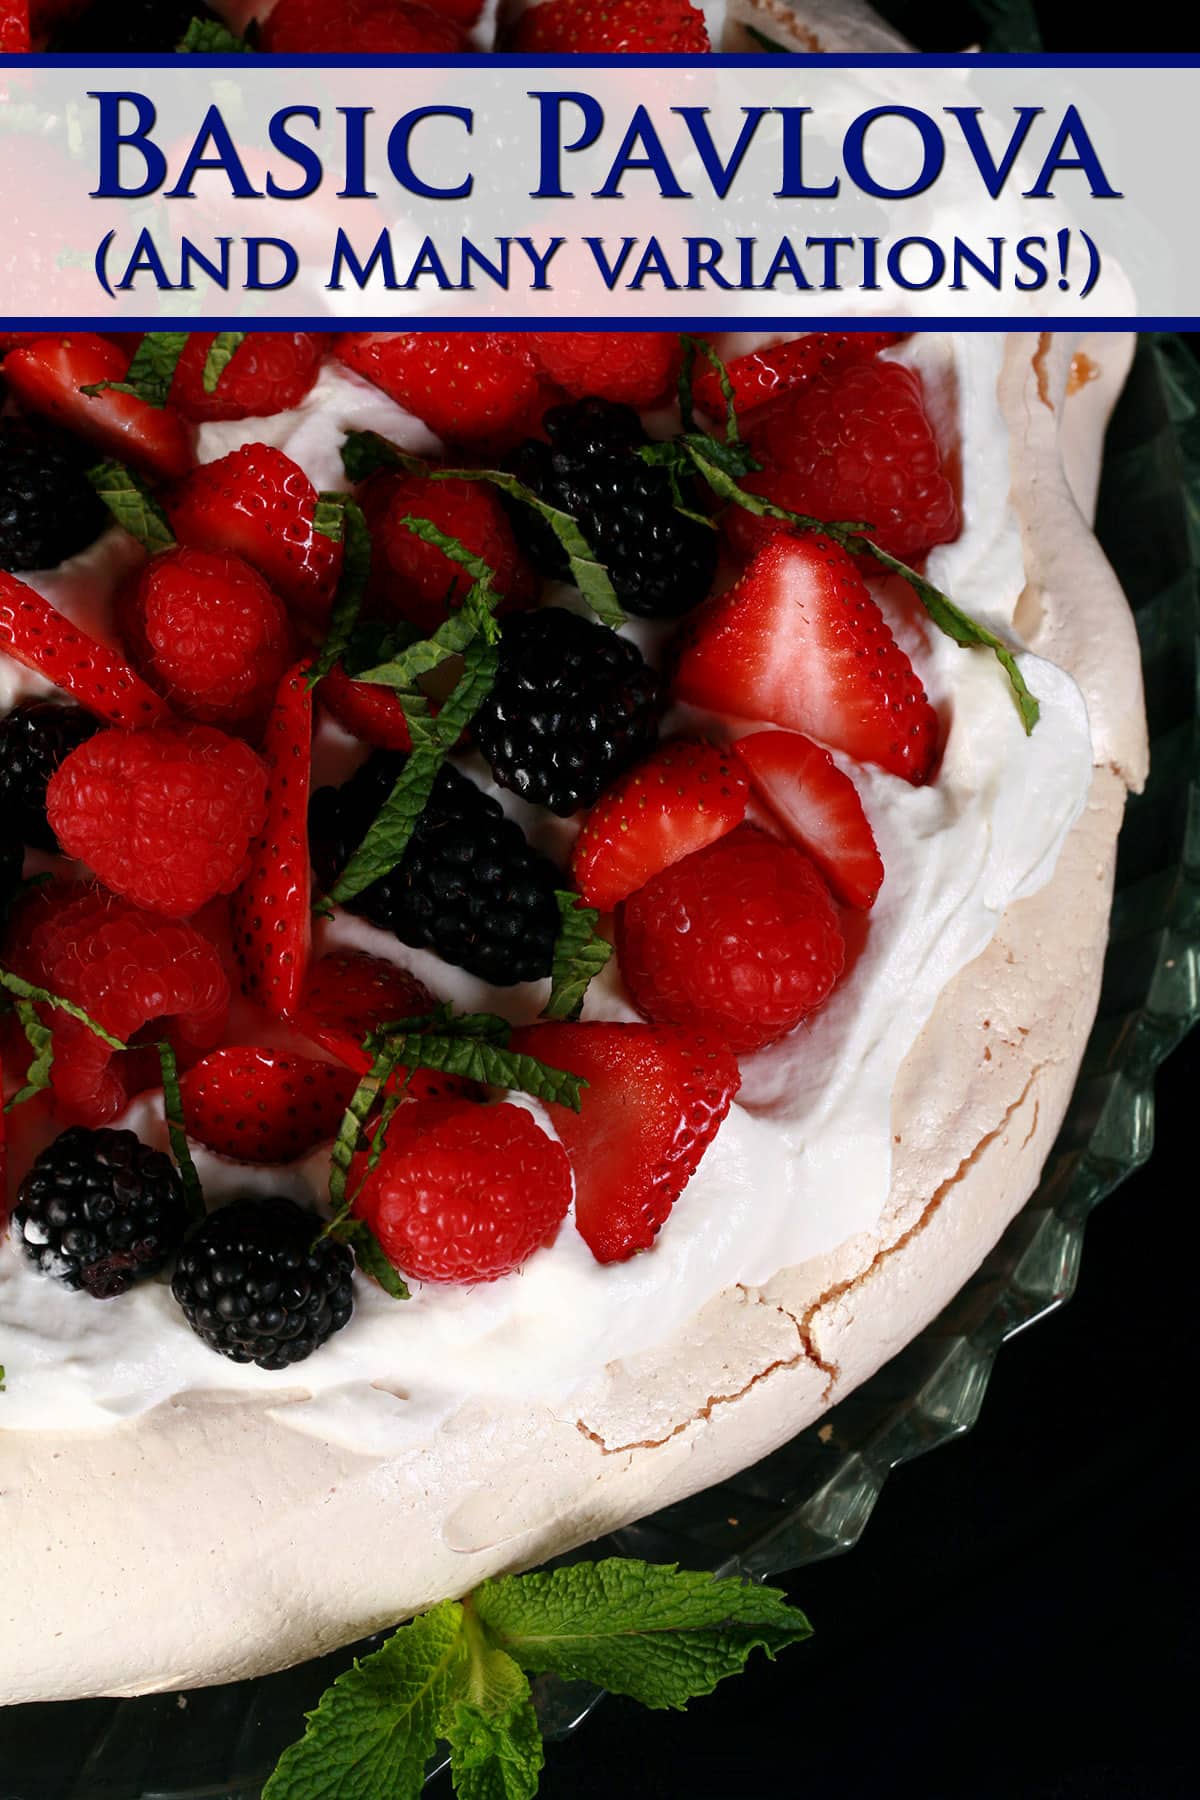
Pavlova is my absolute favorite dessert of all time, and this homemade Pavlova recipe is fantastic: A crunchy meringue-based dessert- marshmallowy inside - topped with whipped cream and fruit!

Originally published Aug 3, 2008, Most recently updated on 11/10/22
In the years since, it’s become WAY more popular (though not by my hand, LOL!), with major food publications and Instgrammers alike all falling for this gorgeous dessert.
It’s the perfect summer dessert for entertaining, and this is a really easy, great recipe for anyone.
A beautiful Pavlova is versatile, too! It’s the perfect dessert for a casual backyard BBQ, AND a fancy dinner party any time of year.
What is a Pavlova?
The OG Pavlova dessert was created in honor of a famous Russian Ballerina Anna Pavlova, and the Pavlova meringue is meant to resemble a tutu.
There’s a great debate over where it was invented.
New Zealanders will tell you that it’s from New Zealand, while Australians believe that Herbert Sachse created it for Perth's Esplanade Hotel in the early 30s
Wherever it came from, they’re amazing. It’s no wonder that multiple countries want to lay claim to it!
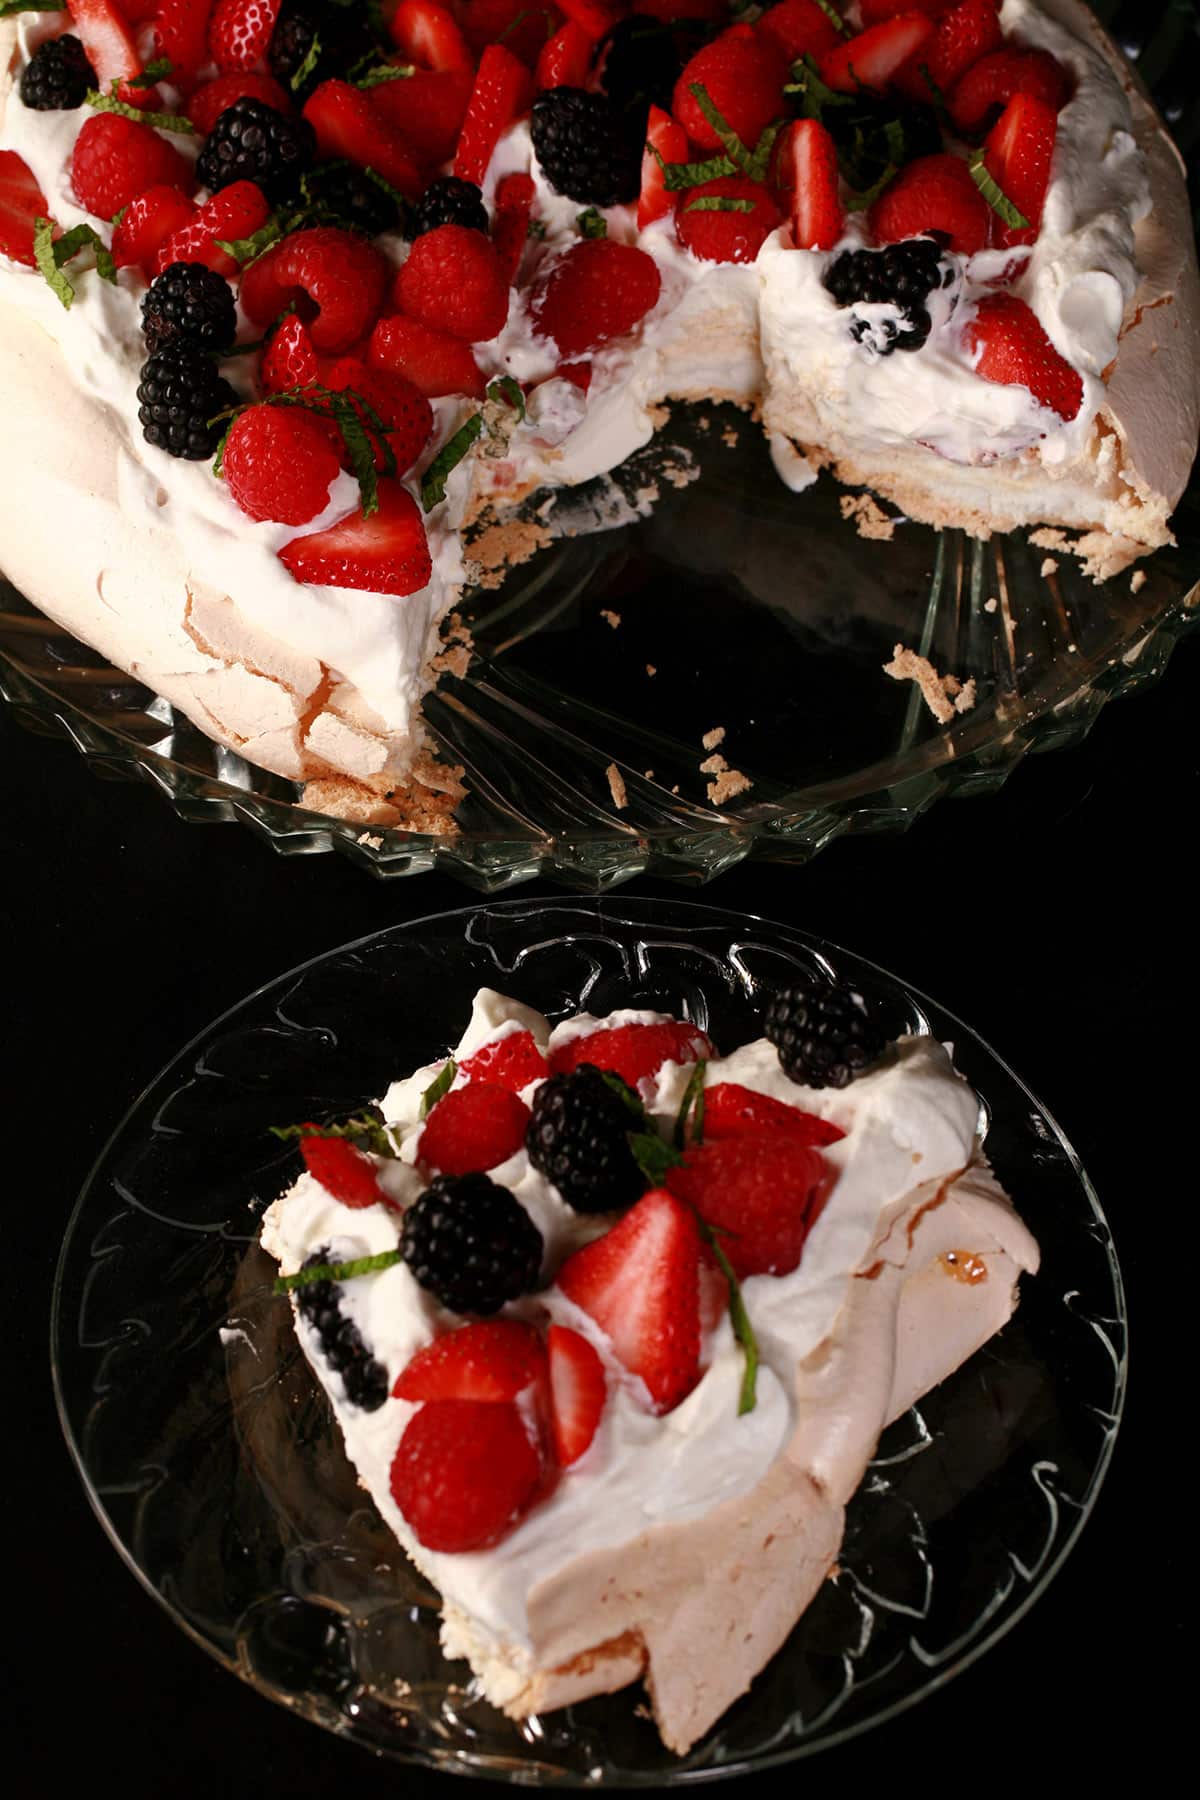
It’s a beautiful thing - I love the contrasts in this delicious dessert.
The sweetness of the meringue vs the bright flavour of the fruit, the crunch AND squish of the meringue, the light colours of the base, topped with brightly coloured berries.
It’s the perfect light dessert for both the mouth AND the eyes!
Anyway, this decadent dessert recipe makes the perfect Pavlova - Nice light texture, and a wonderful way to enjoy fresh fruit.
The full recipe is at the bottom of this post, along with a recipe video. There is a LOT of information along the way, though, to help you design and make your best pavlova ever!
Pavlova Ingredients
This classic Pavlova recipe involves 3 distinct parts: the meringue base, the whipped cream layer, and the fresh fruit topping.
In this most basic form, this elegant dessert requires only a few simple ingredients:
The Classic Meringue Shell
You will need:
Fresh egg whites
Superfine sugar / castor sugar *
Salt
Vanilla extract **
White vinegar (Can use white wine vinegar or apple cider vinegar)
Cornstarch (Can use potato starch)
Super fine sugar is usually sold near the sugar in the baking aisle, in small boxes – sometimes resembling milk cartons.
If you aren’t able to find actual super fine sugar, you can process regular granulated sugar in your food processor until fine. Measure AFTER you process!

** You can swap out the vanilla for other extracts, see the “variations” section below for more details and important restrictions to note.
The Whipped Cream
For the middle layer of your pavlova, you will need:
Heavy cream / Heavy whipping cream
Vanilla extract
Granulated or Castor sugar (optional)
The Fruit
You’ll want some fresh fruit and/or berries for the top.
I like to use seasonal fresh berries when that’s an option, but will go with whatever sounds good, or whatever makes sense for the occasion, when applicable. (See below for variation suggestions!)
Pavlova Variations
The thing that makes this the best Pavlova recipe is that it’s SO versatile!
You can customize everything from the color and shape of your Pavlova meringues - and what the middle tastes like - to the whipped cream, the choice of fruit, etc.
You can even add sauces and garnishes, taking your Pavlova to a whole new level!
Some ideas for you:
Pavlova Flavours
Despite this being such a basic recipe, with very few ingredients, Pavlovas are almost endlessly customizable.
You can flavour the meringue, the whipped cream, or both, and you can put almost any kind of fruit on it. A few ideas:
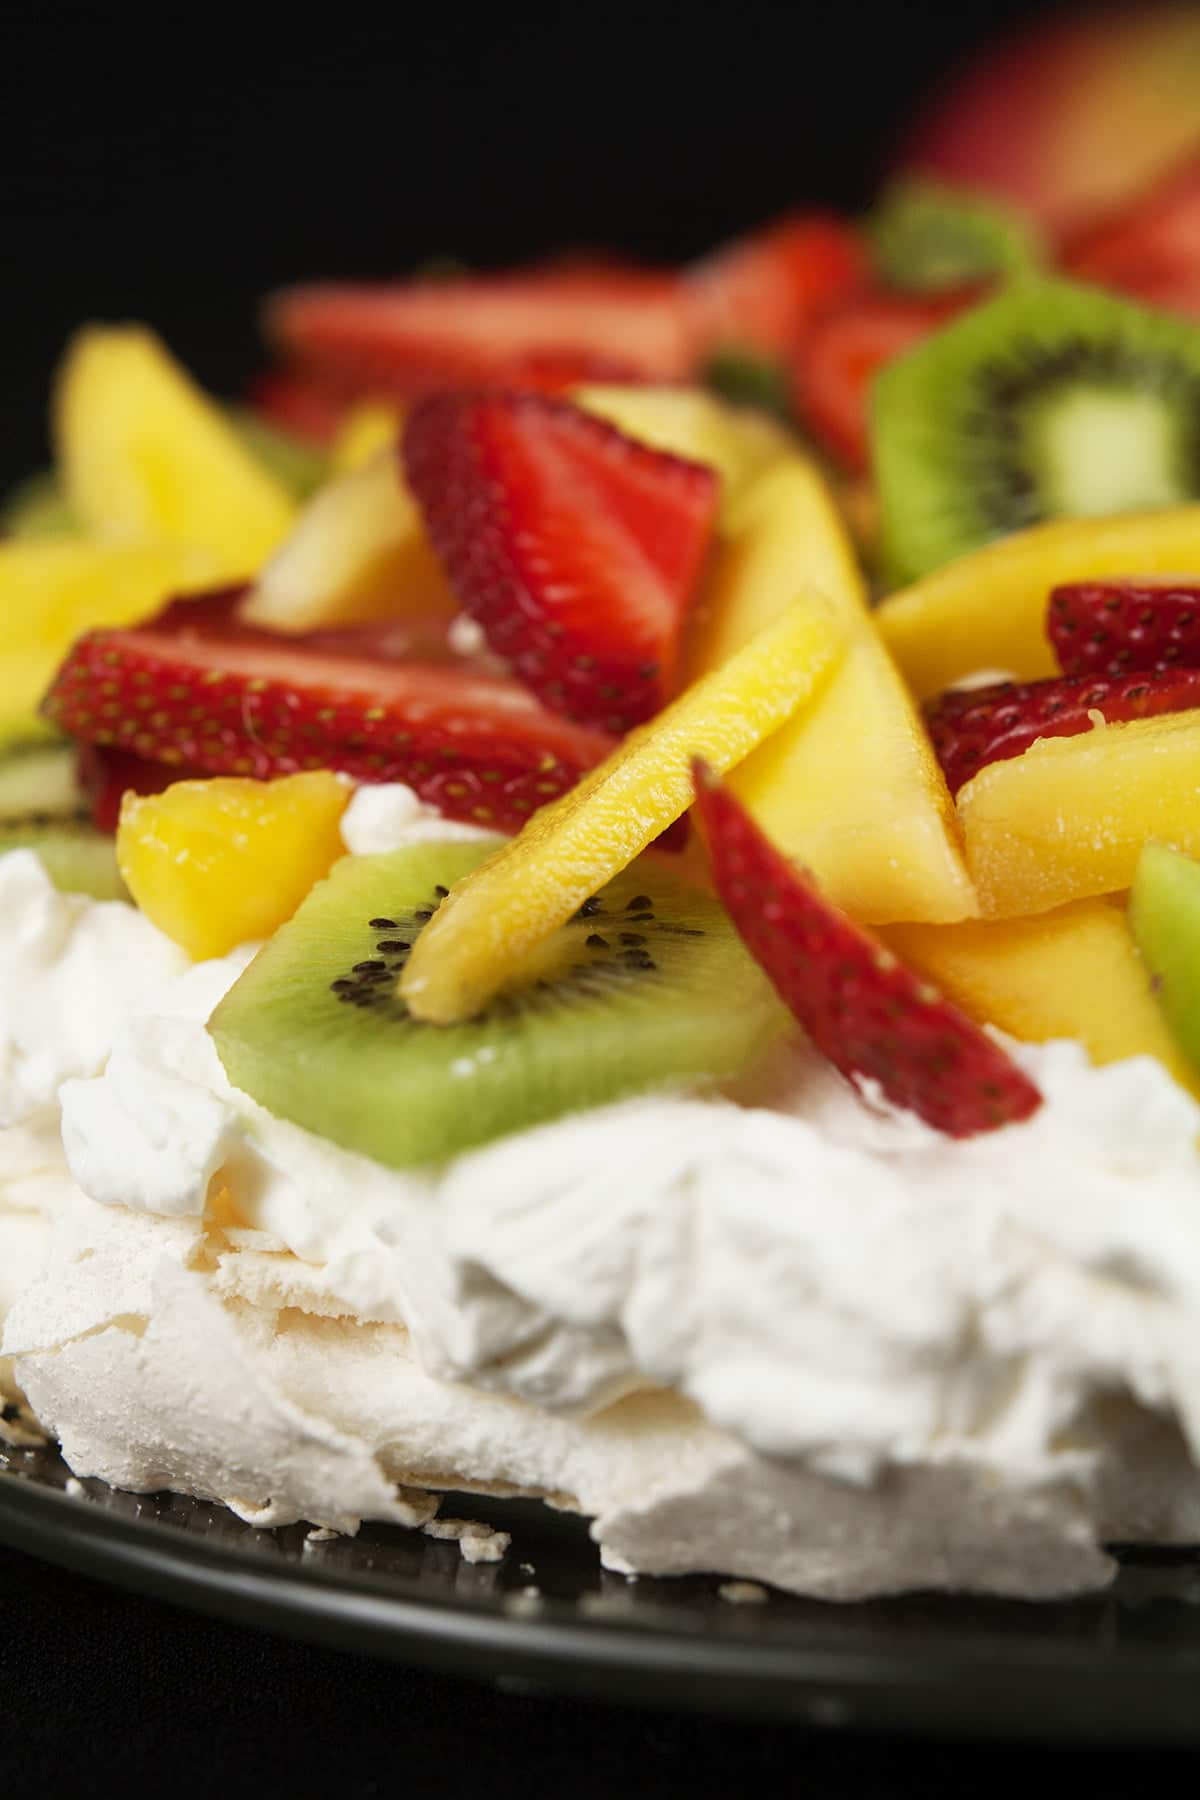
1. Rum flavoring in the meringue and whipped cream. Top with sliced bananas, mango, and toasted coconut.
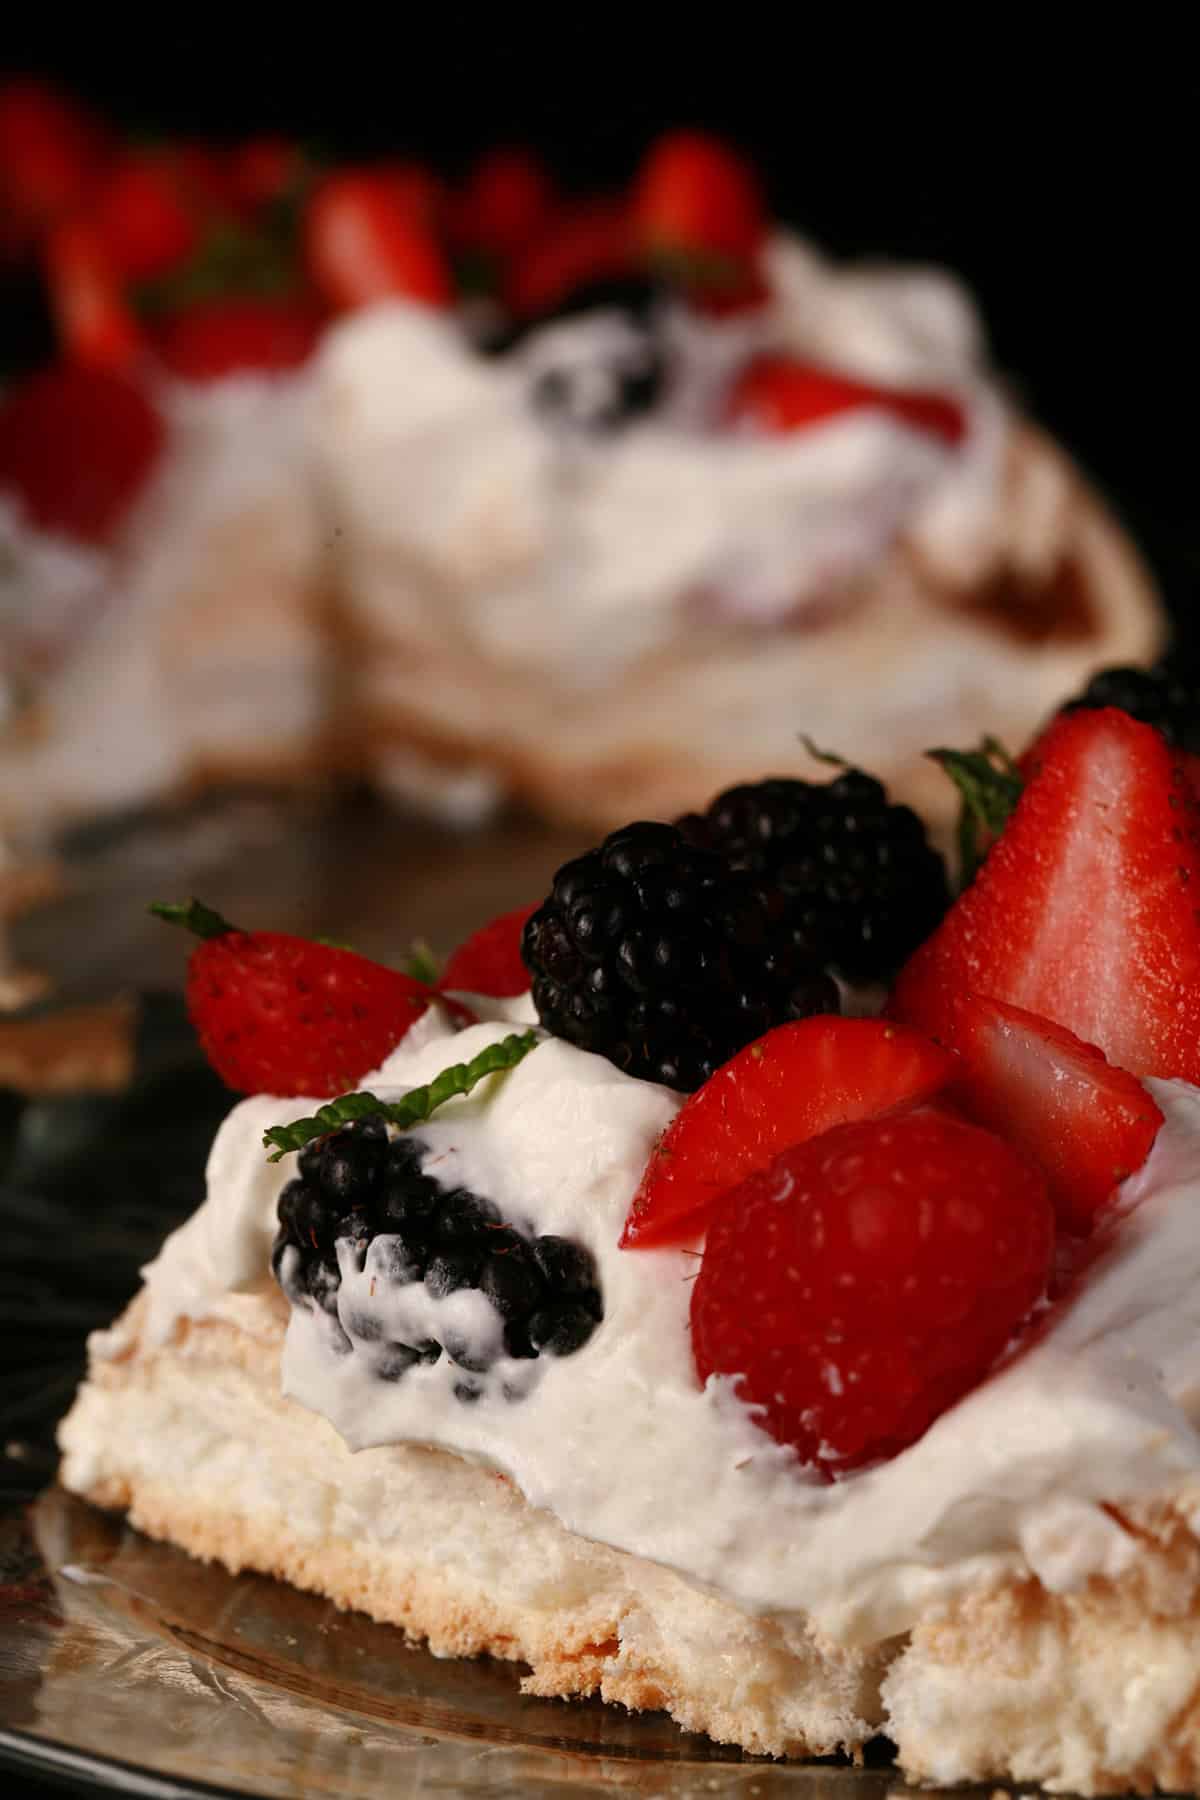
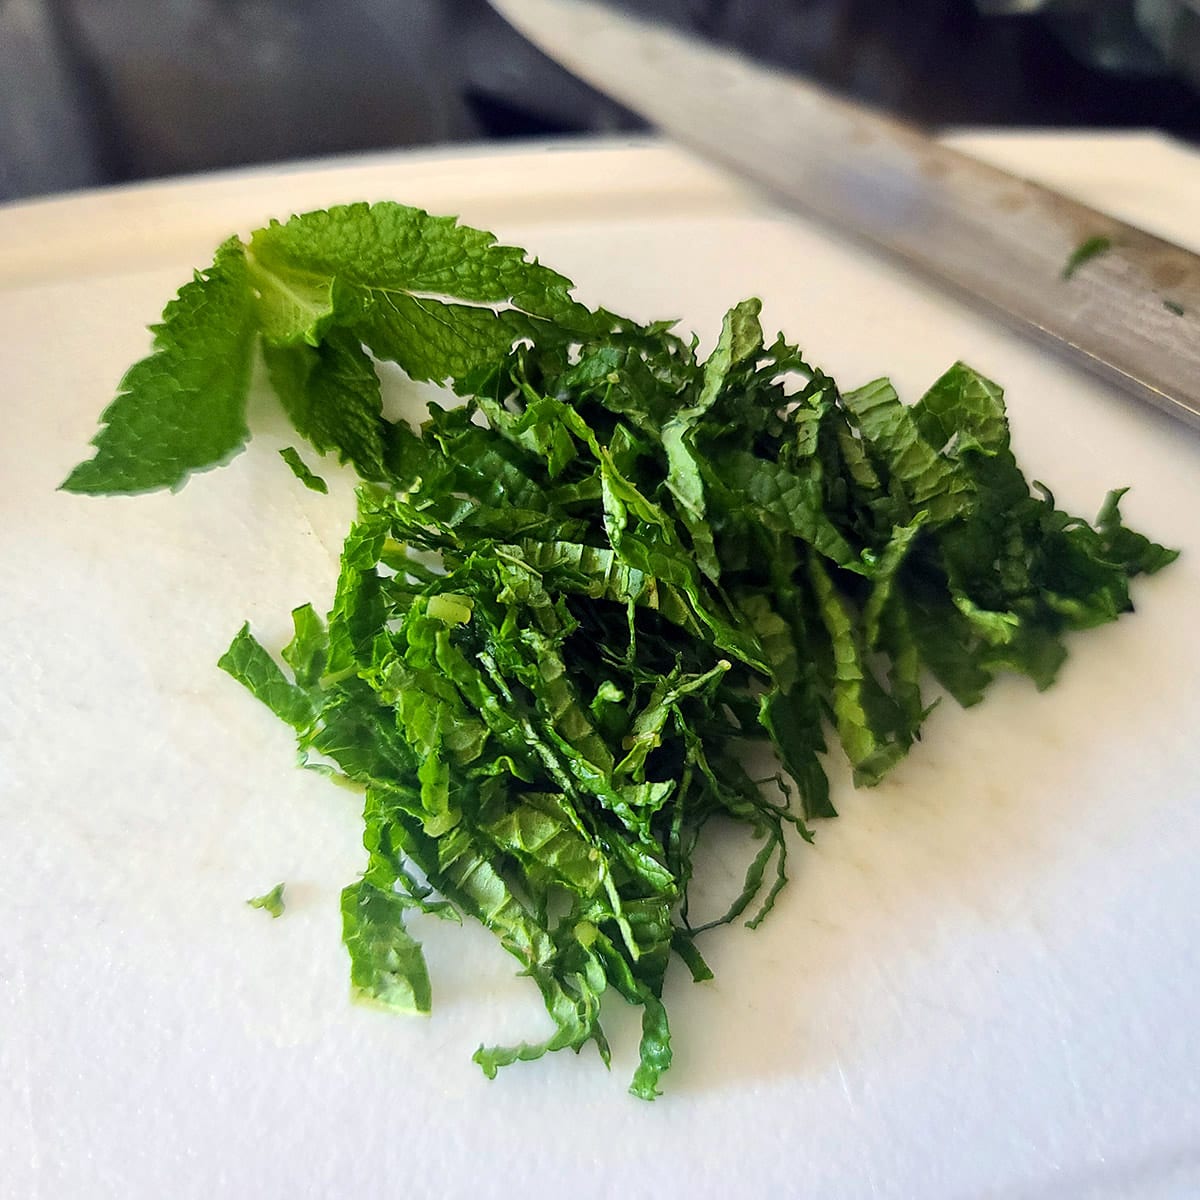
2. Almond flavoring in meringue and whipped cream. Top with strawberries, raspberries, and blueberries, garnishing with thinly sliced fresh mint leaves or lemon zest if available.
One caveat, however: You cannot use oil-based flavoring in your pavlova meringue. Its presence will cause the meringue structure to break down.
Substitute half of the sugar with light brown sugar.
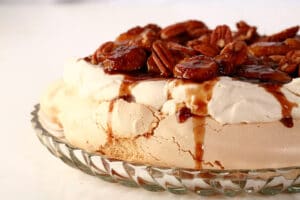
Use rum flavoring in the meringue & whipped cream. Top with cooled bananas foster and pecans!
(Here’s my recipe for Bananas Foster Pavlova)
Use fruit powders - pulverized freeze fried fruit - to flavour your meringue and/or the whipped cream.
See how I do it in my Blueberry Pavlova and my Tropical Dragonfruit Pavlova.
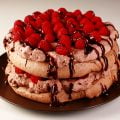
For a chocolate Pavlova, add ¼ cup cocoa powder to the meringue, and 2-3 tablespoons cocoa in the whipped cream.
Top with raspberries (Sometimes marinated in Chambord!), drizzle with chocolate sauce, and/or top with chocolate shavings.
Great for Valentine’s Day - See my Chocolate Raspberry Pavlova recipe for a double decker meringue cake!
Add a Sauce!
Now that I’ve mentioned chocolate sauce, seems like a good idea to mention that you can use any number of sauces to spoon or drizzle over your Pav, before or after adding the fruit.
Run a few passion fruits through a food processor and spoon it over your whipped cream. Pretty much any kind of fruit puree works well!
Use a piping bag to drizzle caramel sauce over your fully assembled Pavlova.
Put on a batch of Lemon Curd to use up the egg yolks, spoon it on before the fruit.
IMHO, the best way to use those leftover egg yolks is to make fruit curd. Lemon curd and passion fruit curd are popular to use on pavlovas (and in general), but don’t feel stuck to those two options!
See my post on How to Make Fruit Curd to learn about how to make basically any kind of fruit curd you can think of!
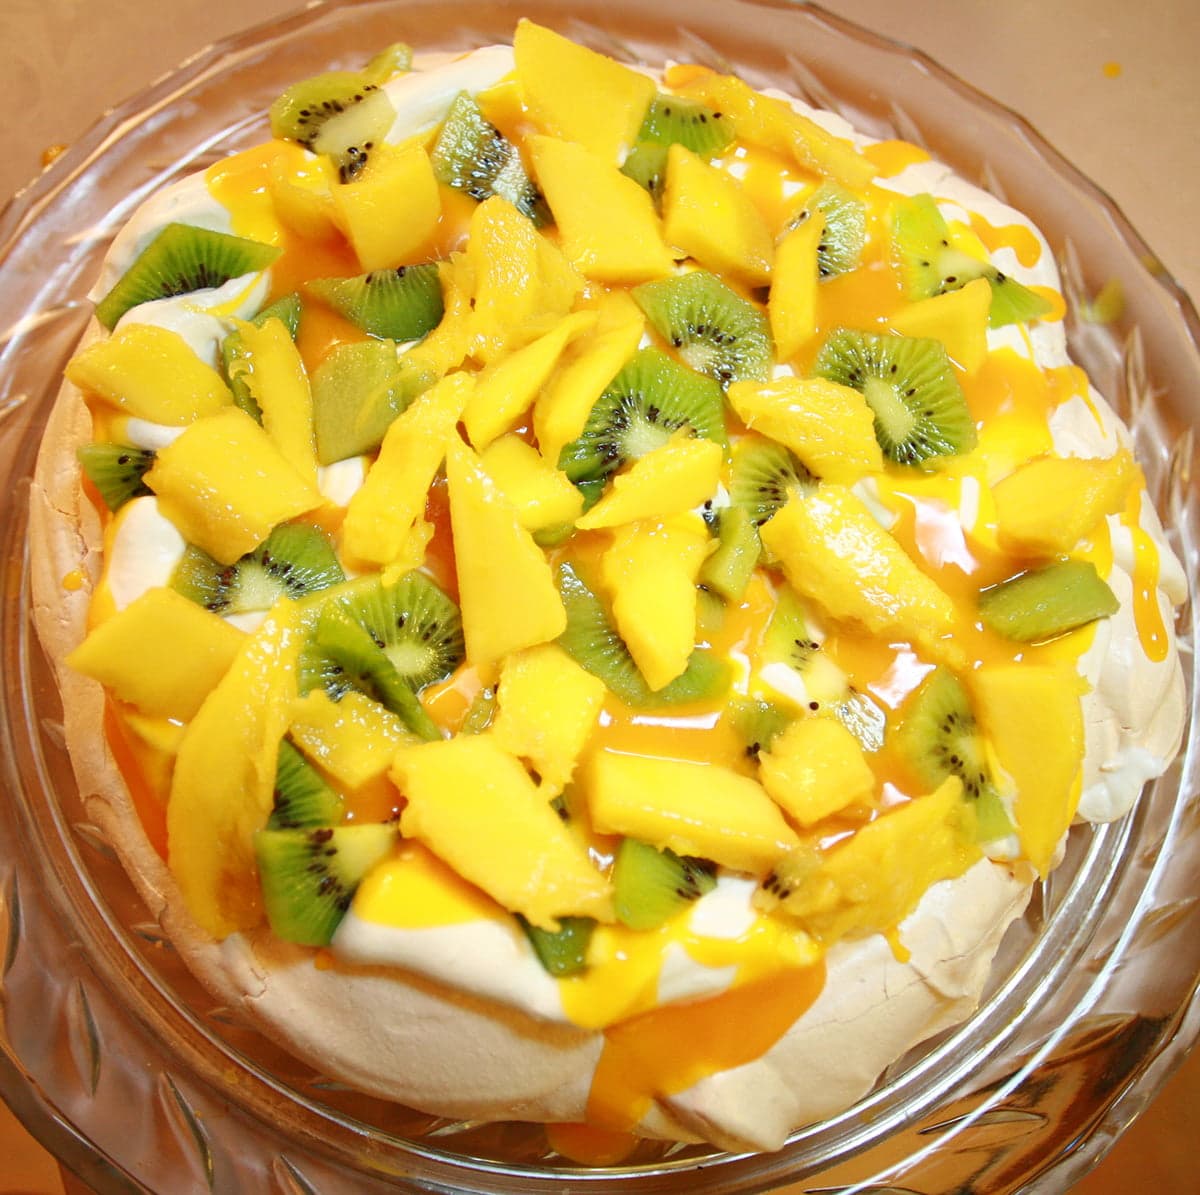
A rum flavoured pavlova with rum flavoured whipped cream, tropical fruit, and a drizzle of mango sauce.
Pavlova Composition
I like to have my meringue a fairly even depth throughout – some like a mound, some like it to be a little concave.
If you want to get really fancy, put the meringue into a pastry bag and pipe it out as a mass of swirls that form your 8″ circle! It’s really up to you!
While we usually just do a basic round shape and don’t get too wild with our Pavlova recipe, sometimes an occasion calls for getting a little weird with it.
Add a bit of food colouring to the meringue, and you can have all kinds of fun, messing around with the shapes
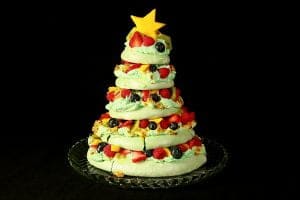
At Christmas time, I pipe out a few different sized pavlovas to make a Christmas Tree Pavlova, and I’ve even made an Easter Egg pav!
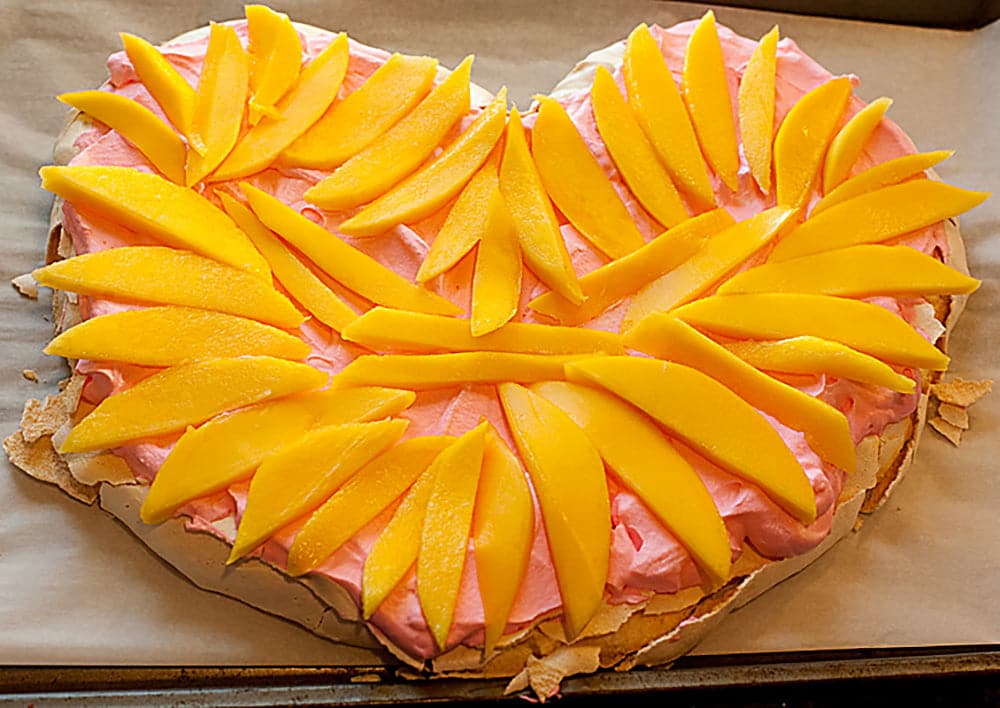
This heart shaped pavlova was the dessert my husband presented me with, one Valentine's Day.
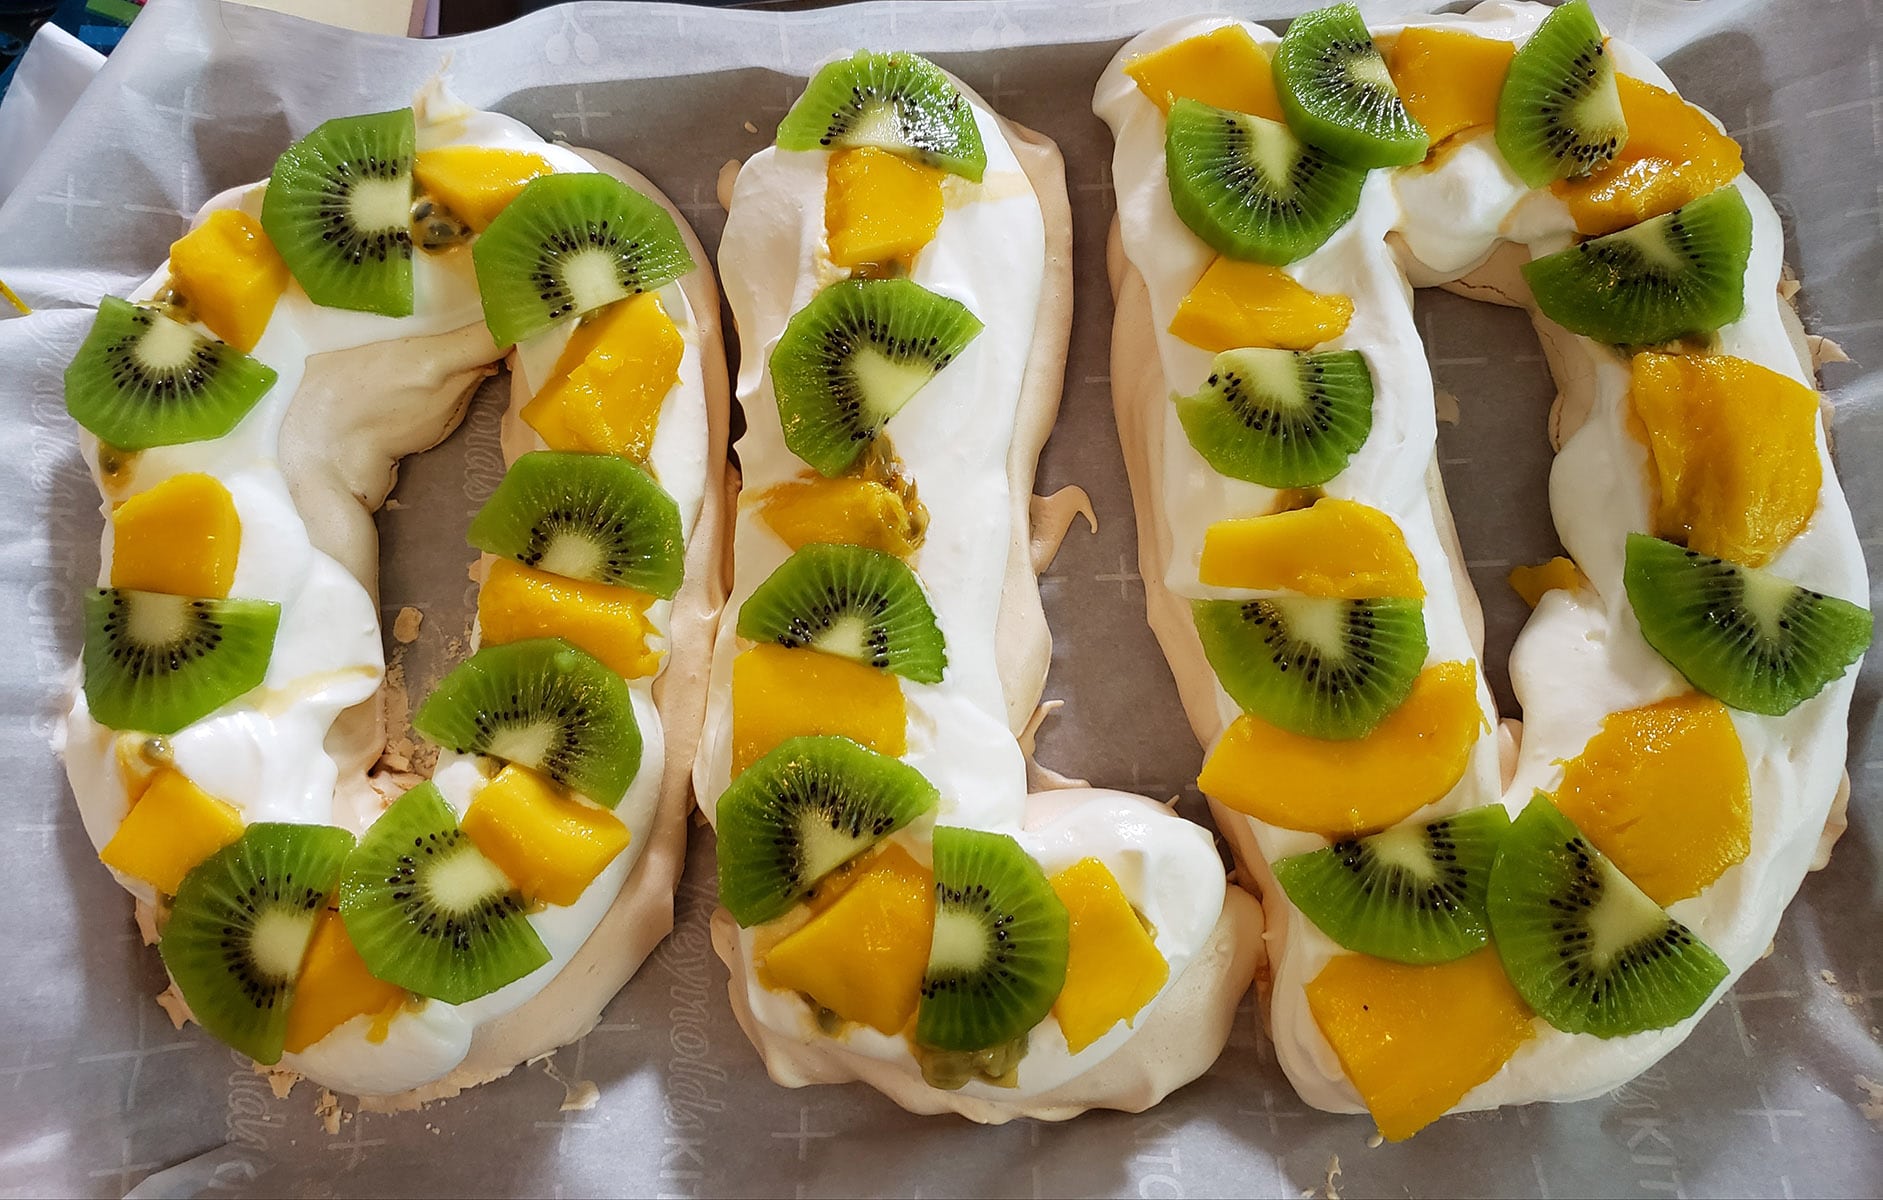
The Pav my husband made for my 40th birthday...

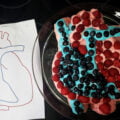
A more anatomically correct Pavlova that my husband surprised me with for valentine's day one year. Nerd love!

This blue and green Pavlova was for our anniversary one year - combining both of our favourite colours into one funky dessert!
How to Make Pavlova
The full recipe - including ingredient amounts -is in the recipe card at the end of this post. Here is a step by step recipe walk through:
Make the Meringue
Preheat your oven to 325 degrees F.
Remove eggs from fridge, separate the egg whites, and and allow to warm to room temp (about 5 minutes).
Line a baking sheet with a sheet of parchment paper, and set aside.
Fit your hand mixer or electric stand mixer with the whisk attachment.
Lower speed down to around a medium speed or medium high speed.
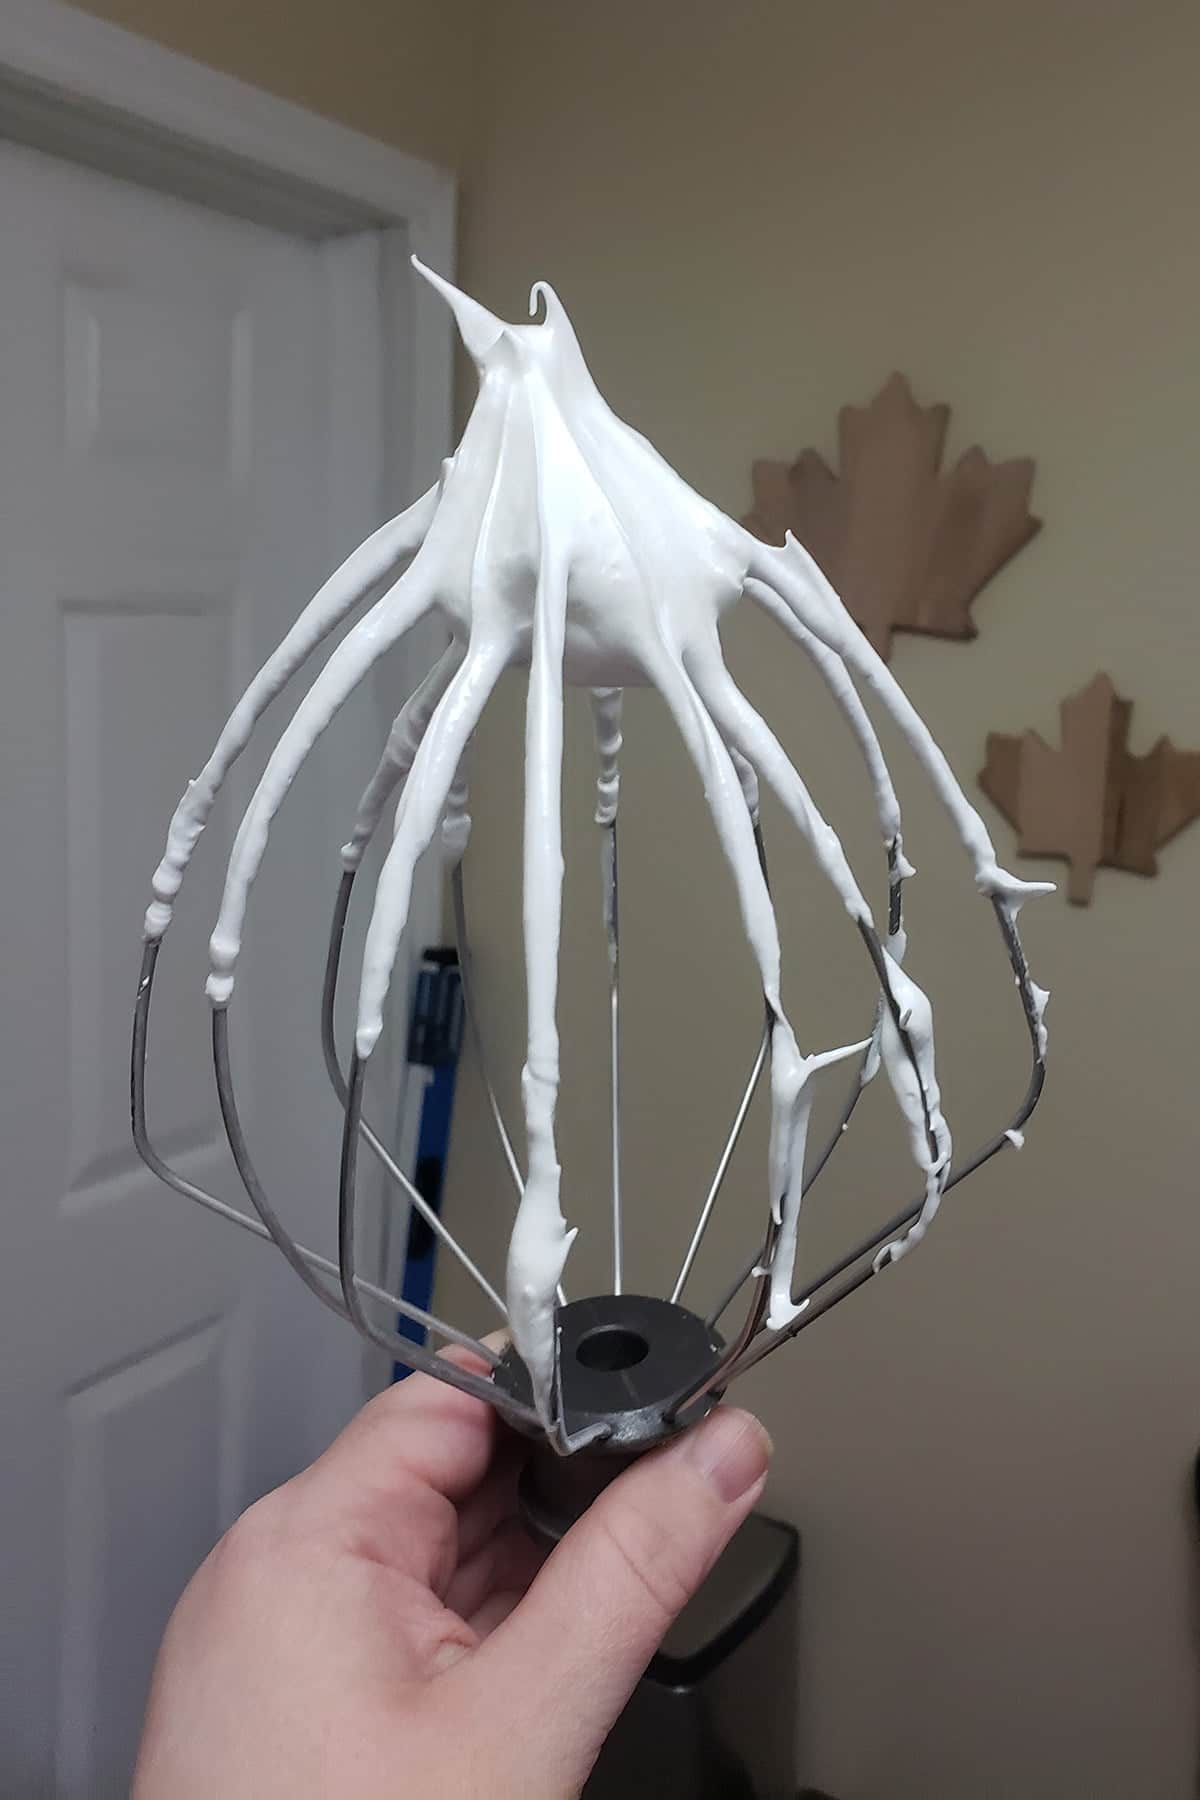
Slowly add the sugar - a little bit at a time - to the egg white mixture, and continue whipping until stiff peaks form.
Make sure to scrape down the sides of the mixer bowl with a rubber spatula from time to time, incorporating any undissolved sugar.
Turn off mixer, remove bowl.
Sprinkle vanilla**, vinegar, and corn starch over meringue, gently fold in till combined.

Form & Bake the Meringue
Heap meringue mixture onto the center of your prepared sheet pan.

Use a rubber spatula or wooden spoon to spread the meringue mixture out to approximately an 8 or 9-inch circle.

Bake for 1 hour and 20 minutes.
Once your timer goes off, turn the oven off and let the pavlova cool in the oven for several hours, without opening the oven door.
Top and Serve!
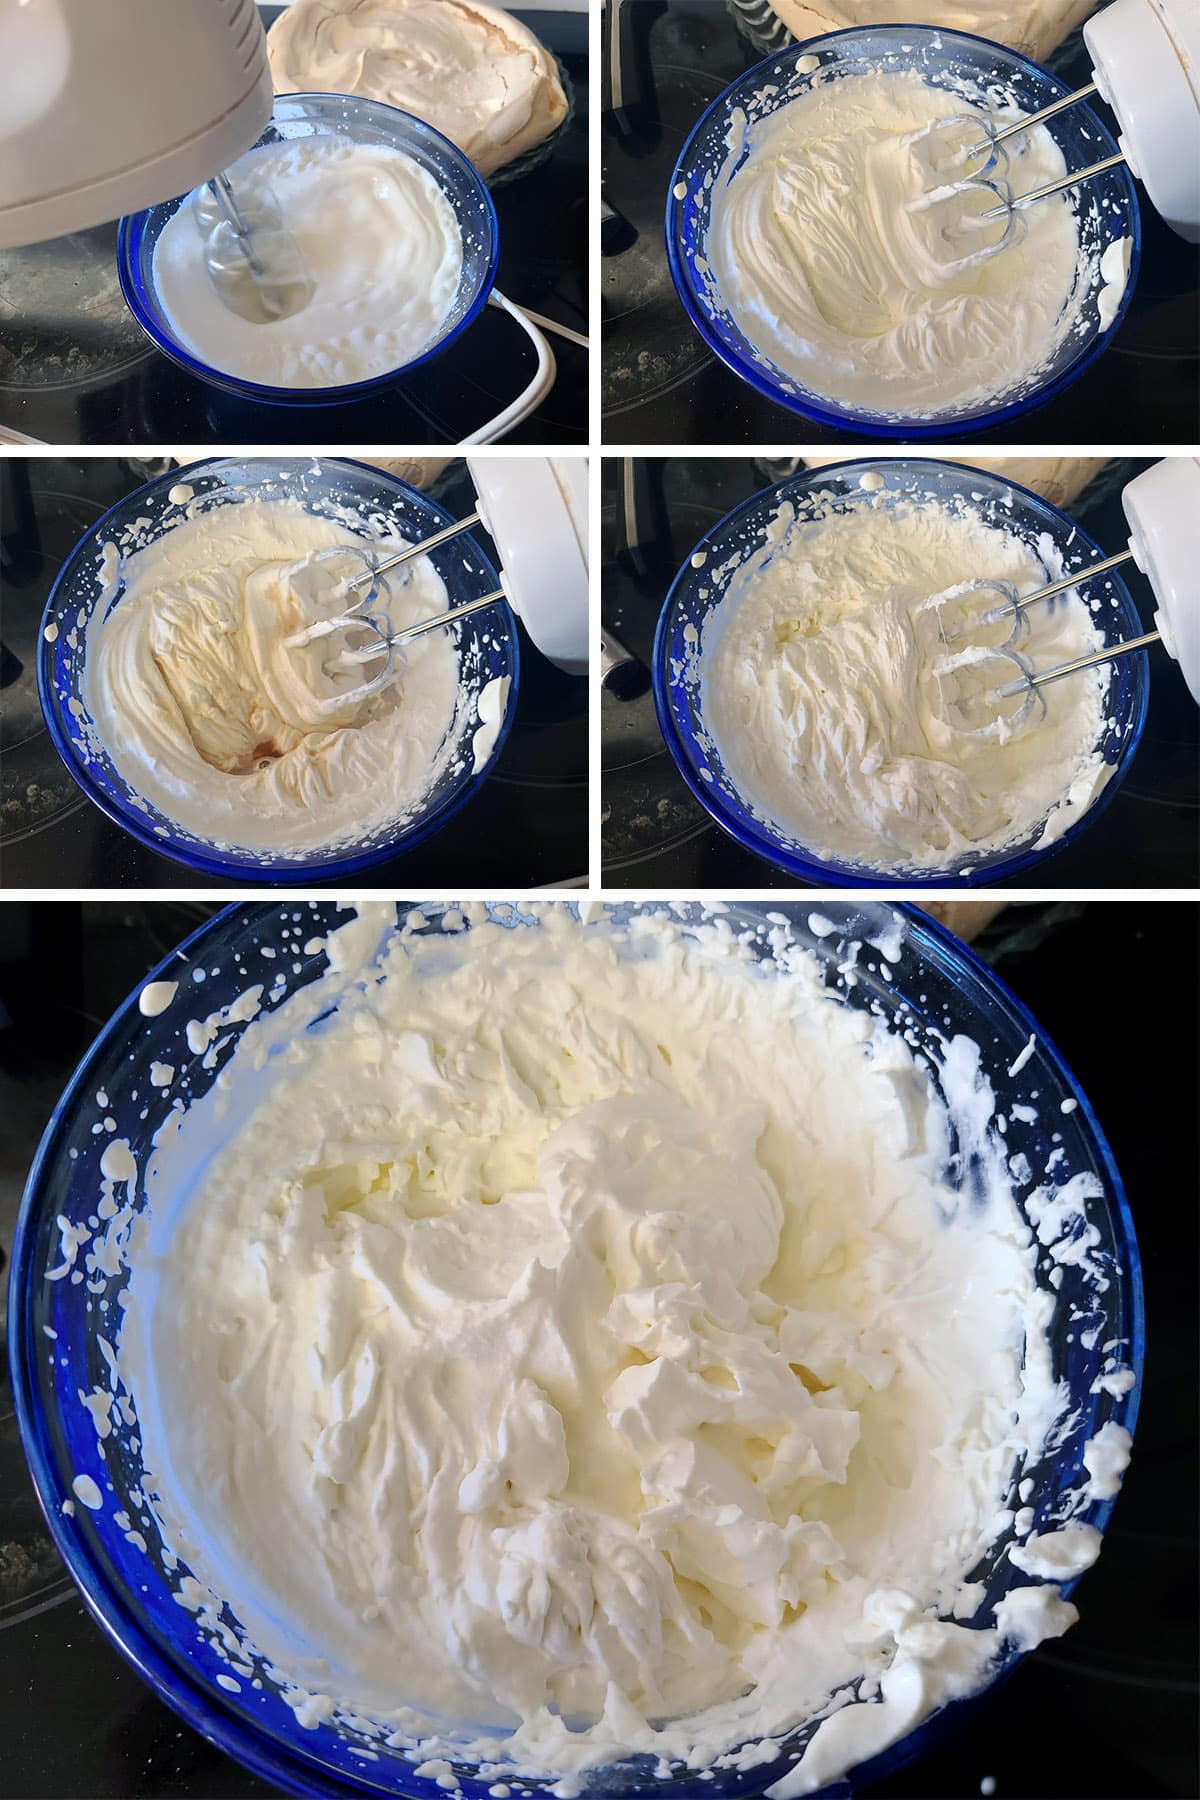
Just before serving, whip the heavy cream in the bowl of an electric mixer, or in a medium bowl with a hand mixer.
I’ll usually start out at medium-high speed, sometimes going up to high speed if I’m impatient!
I like my Pavlovas a little sweeter, so I add about 2 tablespoon of sugar – add as much or as little as you want. (I turn the mixer down to low speed before adding this!)
Purists may not want to sweeten the cream at all! I also like to add a little flavoring, again – optional.
I like to run a very flat, large pancake spatula underneath it, to loosen it from the parchment paper.

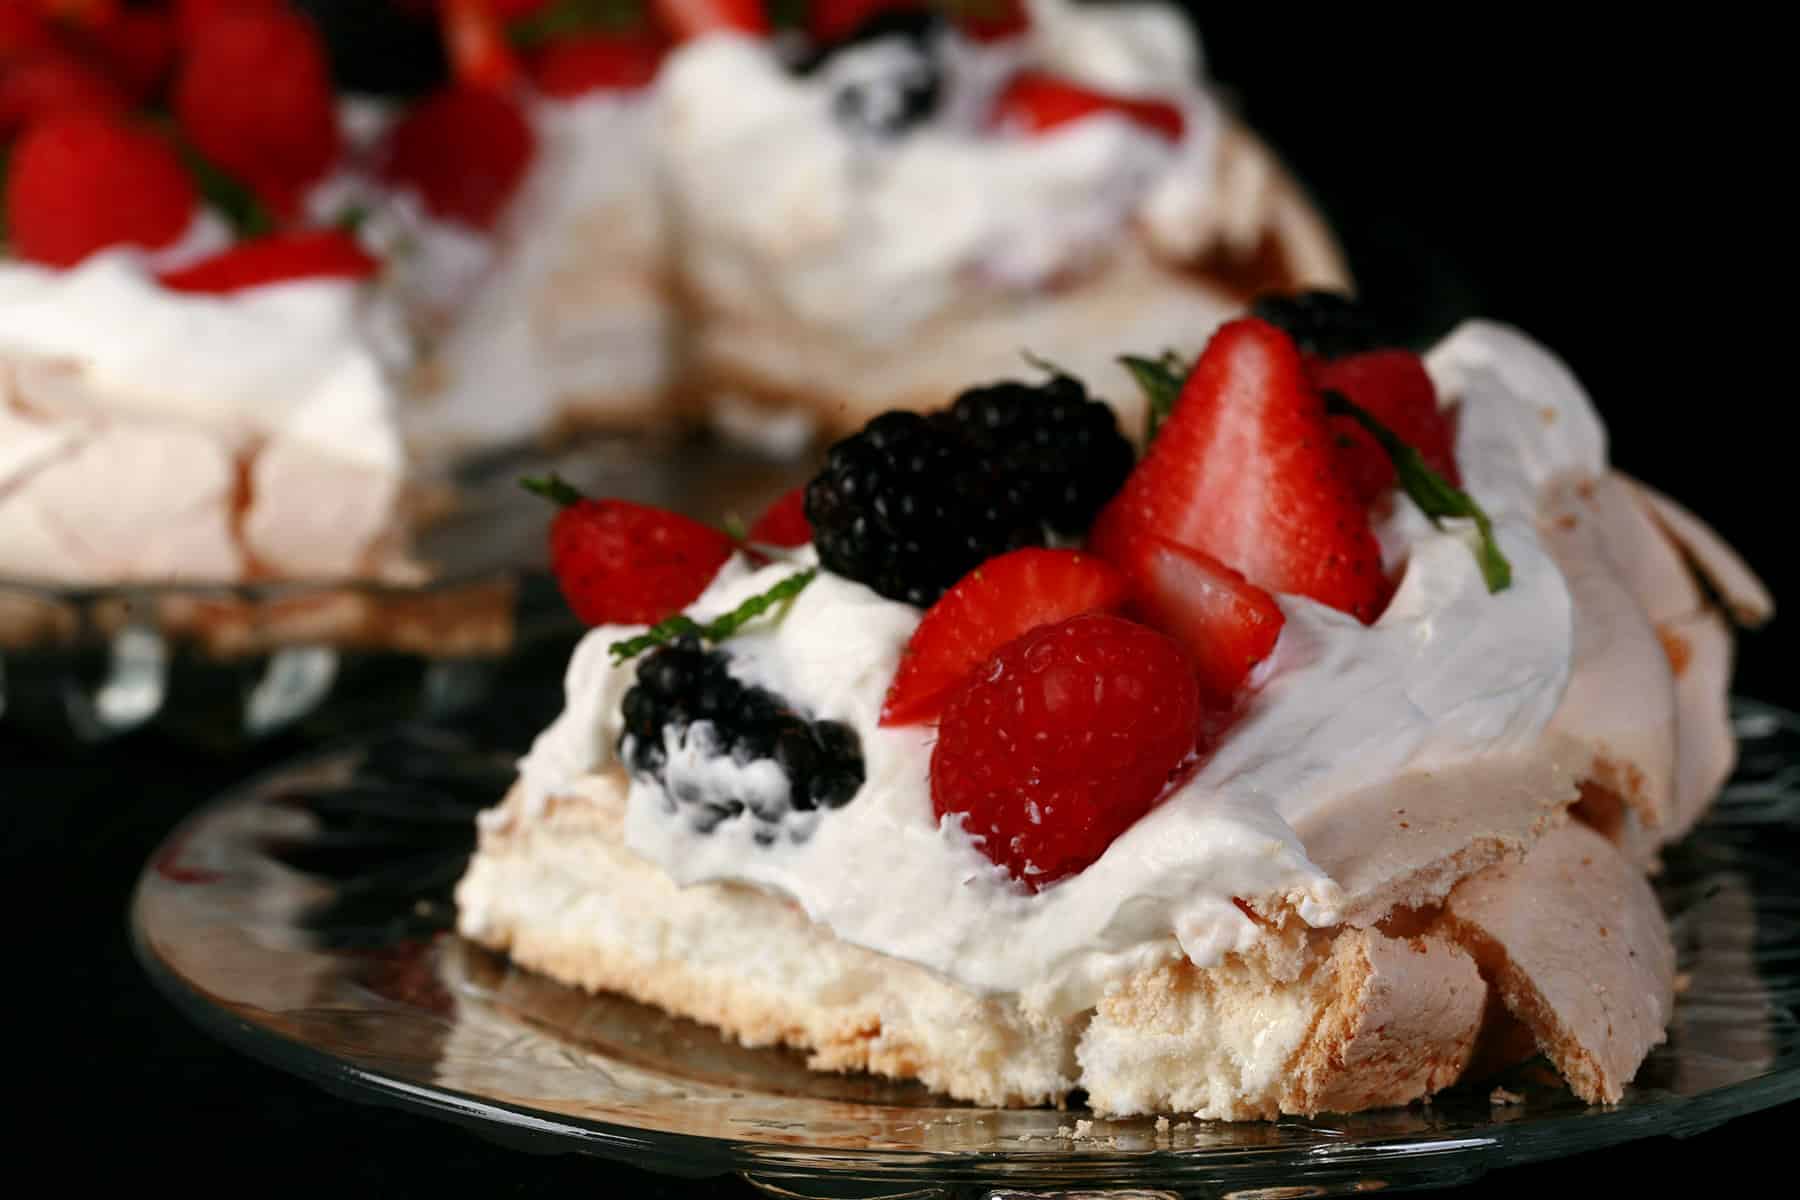
Mound the whipped cream on your pavlova - spreading almost to the outer edges, but not quite! - and top with fresh fruits.
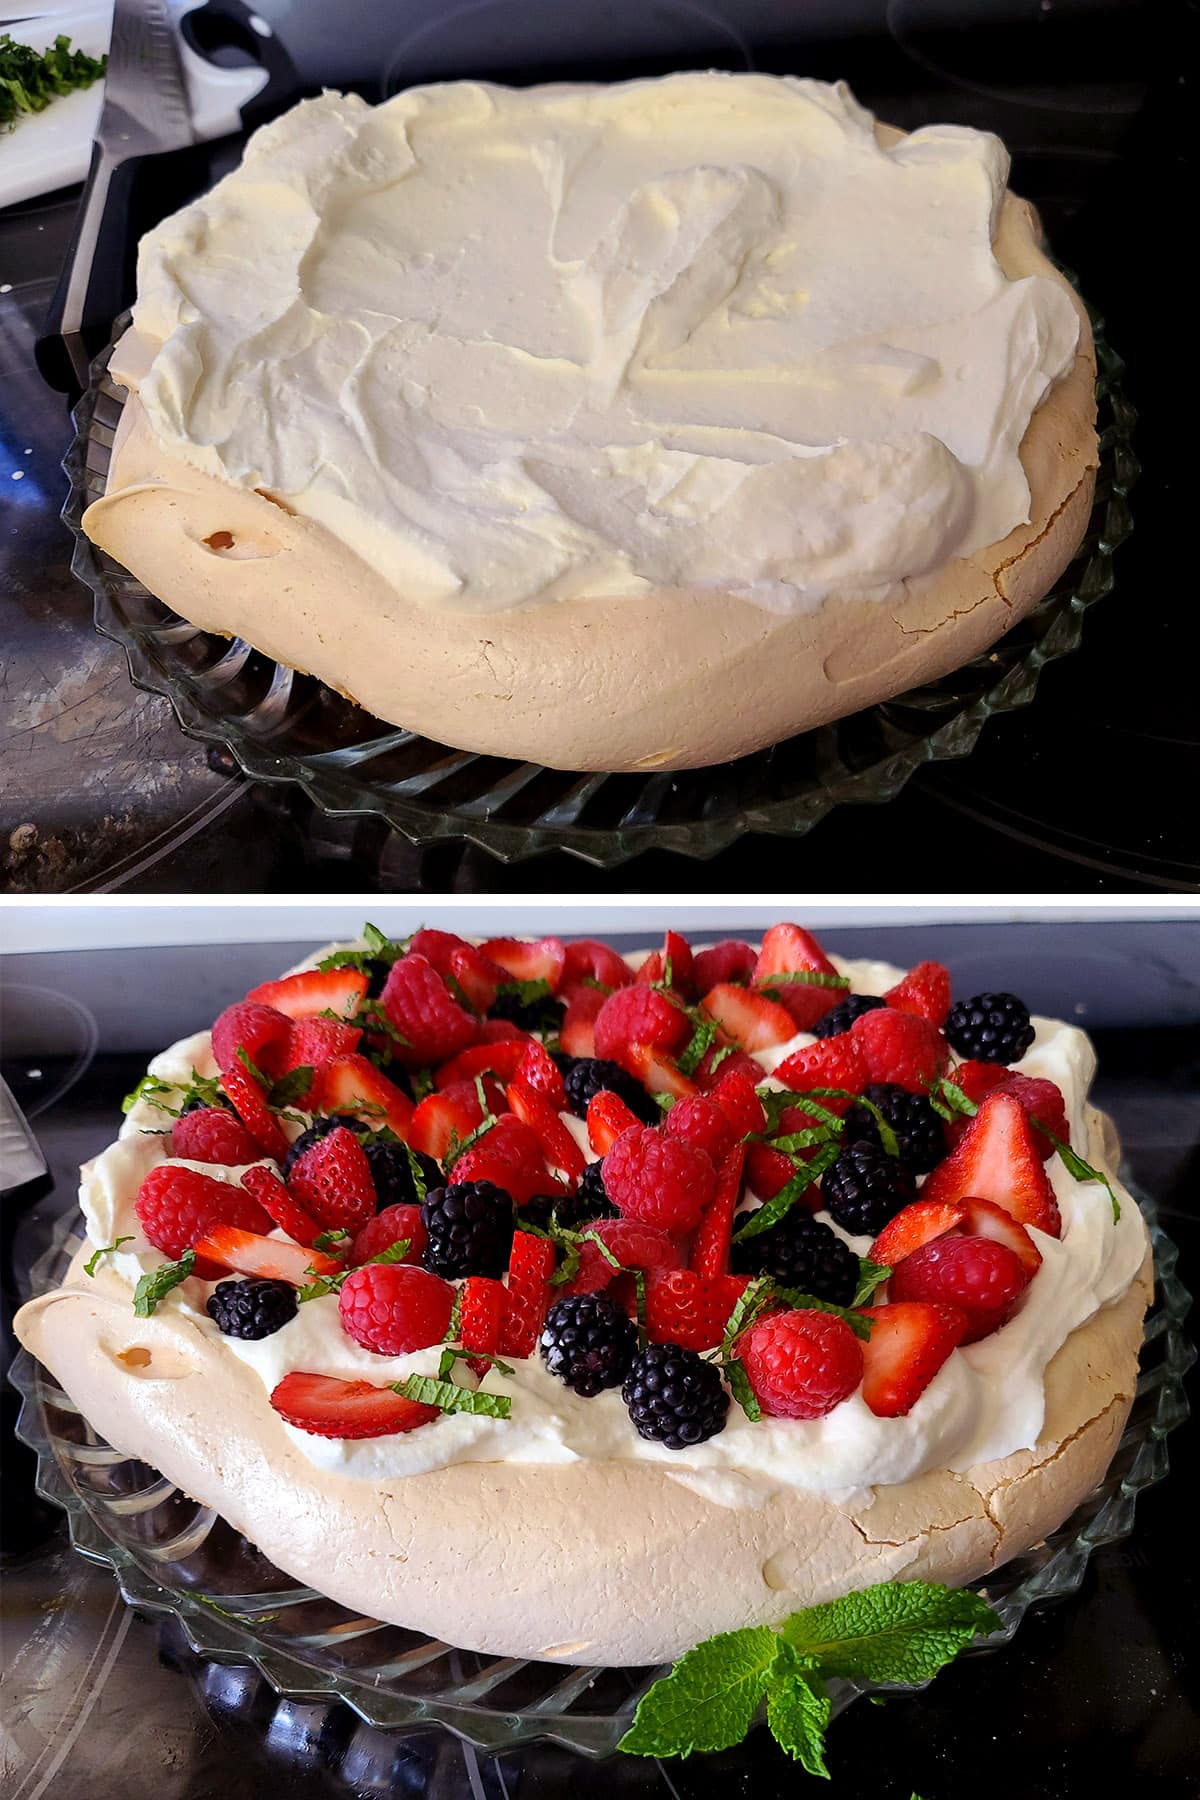
Serve immediately!
Leftovers
Pavlovas are really sensitive, I advise NOT planning to have leftovers.
If needed, you CAN put leftovers into an air-tight container in the fridge for a few hours - after that, the meringue is going to get soggy and break down.
Still tasty, just nowhere near as good as when fresh!

Pavlova Tips
These aren’t exactly “secret tips’, but solid info to help ensure the success of your Pavlova:
Preparation
If you can plan around it, avoid making your Pavlova on rainy days / humid days.
Sugar is hydrophilic, and draws moisture from the air, which isn’t good for the crisp texture of the meringue.
Fresh eggs are easiest to crack when cold, and room temperature egg whites whip up the easiest.
Plan around these facts :)!
Probably the most important thing you can do to ensure a successful Pavlova:
Be VERY careful to not get any egg yolk into the whites at all - not even a speck of it - or the eggs will not whip up.
For that matter, be very careful to use a very clean mixing bowl and mixer.
Any kind of oil / fat / etc is your enemy here, and even a little bit of yolk will ruin the meringue.
If you don’t want to freehand spread your meringue, you can use a springform style round cake pan - just be sure to fully line it with parchment paper.
Execution
Once your Pavlova is in the oven, don’t open the door until several hours after you turn the oven off.
Patience is required - sudden temperature changes can cause cracking.
On that note, A quick head's up:
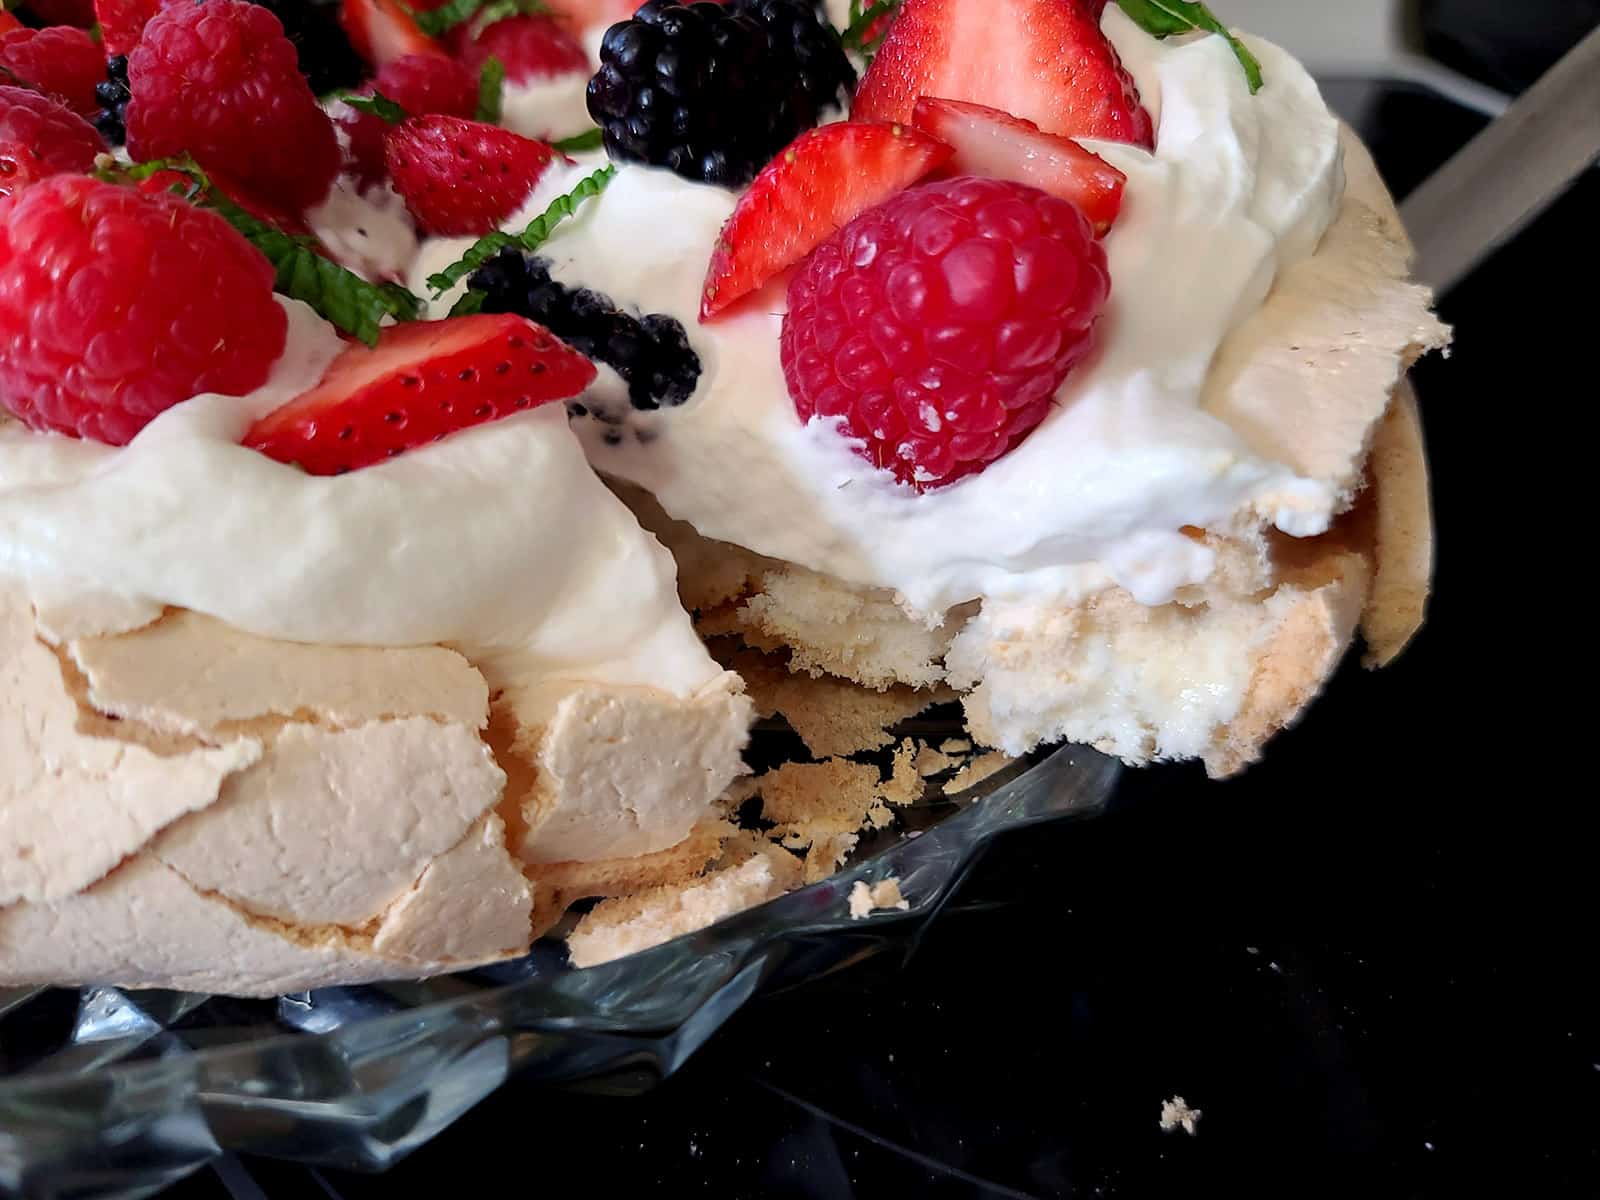
If your meringue disk is not cracked by the time you remove it from the oven, it will likely crack at some other point, and will almost certainly crack when you start garnishing.
Don't worry! Totally normal for a Pavlova, no one will notice or care!
Once you put the whipped cream on, you’ll want to serve it immediately.
Whipping cream whips up best when it’s VERY cold.
Chill it right until you plan to use it. You can chill your beaters, if you like. (I usually don’t bother).
- Related: Pavlova doesn’t keep well as leftovers, so be sure to eat all of it. It won’t be difficult!

More Pavlova Recipes
Do you love Pavlovas like we do? Awesome! I have several more super tasty Pavlova recipes for you...
Bananas Foster Pavlova
Blueberry Pavlova
Cardamom Fig Pavlova
Chocolate Raspberry Pavlova
Matcha Green Tea Pavlova
Mini Pavlova Grazing Board
Tropical Dragonfruit Pavlova
Seasonal Pavlovas
Christmas Tree Pavlova
Easter Egg Pavlova
Halloween Pavlova with Bloody Eyeballs
Heart Shaped Valentine's Pavlova
Share the Love!
Before you chow down, be sure to take some pics of your handiwork! If you post it to Bluesky, be sure to tag us - @CelebrationGen. We're also on Pinterest, so you can save all your favourite recipes to a board!
Also, be sure to subscribe to my free monthly email newsletter, so you never miss out on any of my nonsense. Well, the published nonsense, anyway!
Finally, if you love this recipe, please consider leaving a star rating and/or a comment below, and maybe even sharing this post on social media!

Easy Pavlova Recipe - with Variations!
Equipment
- Parchment Paper
- Baking Sheet
Ingredients
- 4 Large egg whites
- 1 cup Super fine / castor sugar *
- Pinch Salt
- 1 teaspoon Vanilla extract **
- 2 teaspoon White vinegar
- 1 teaspoon Cornstarch
- 1 ¼ cup Heavy cream
- ½-1 Vanilla extract**
- 1-2 tablespoon Granulated Sugar optional
- Fresh Fruits & Berries **
Instructions
- Get ready: Preheat your oven to 325 degrees. Remove eggs from fridge, separate the egg whites, and allow to warm to room temp (about 5 minutes). Line a baking sheet with a sheet of parchment paper, and set aside. Fit your electric mixer with the whisk attachment.
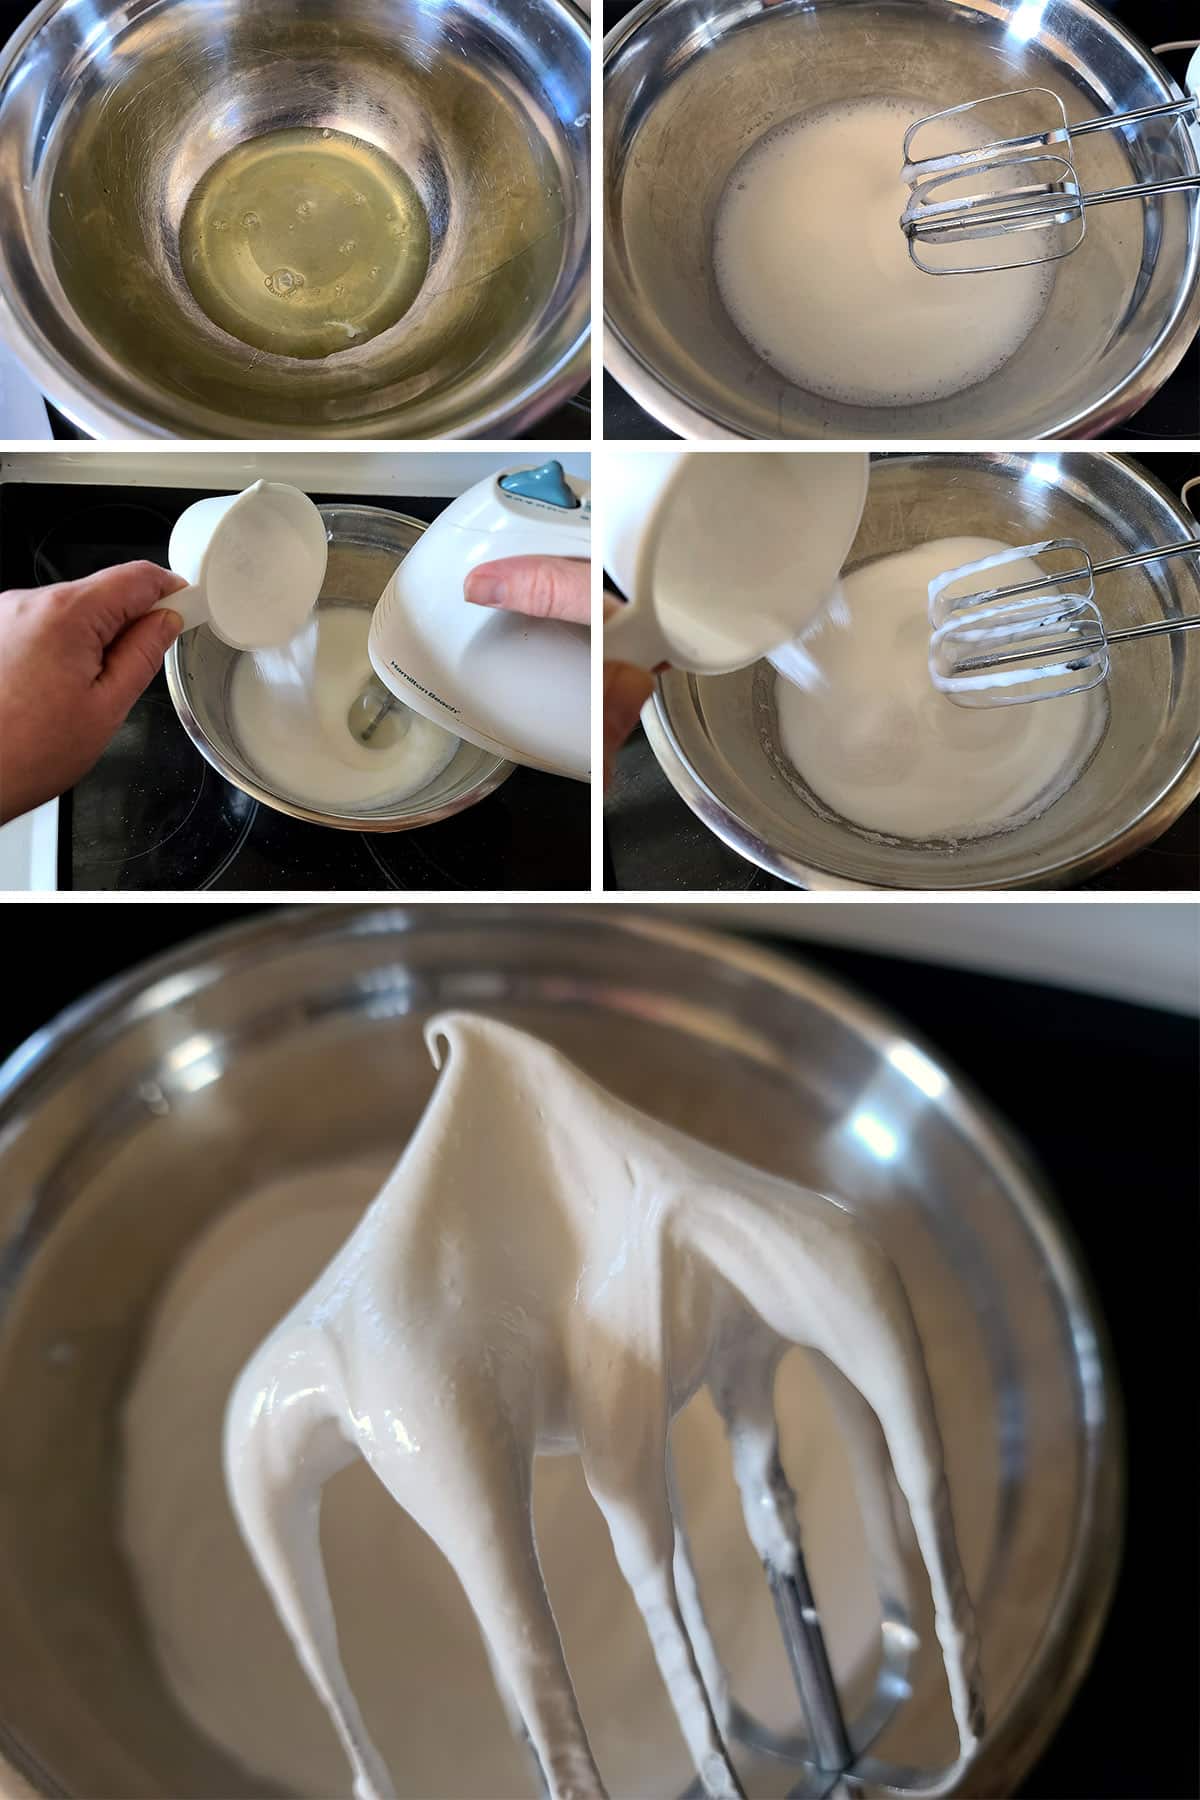
- In your mixing bowl (if using an electric hand mixer) or in the bowl of a stand mixer, beat egg whites together with salt - on high speed - until glossy, soft peaks form.
- Lower speed down to around a low - medium speed. Slowly add the sugar - a little bit at a time - to the egg white mixture, and continue whipping until stiff peaks form. Turn off mixer, remove bowl.
- Sprinkle vanilla**, vinegar, and cornstarch over meringue, gently fold in till combined.
- Heap meringue mixture onto the center of your baking sheet. Use a rubber spatula to spread the meringue out to approximately an 8-9 inch circle.
- Put the sheet pan into your hot oven, and turn the temperature down to 250 degrees.
- Bake for 1 hour and 20 minutes.
- Once your timer goes off, turn the oven off and let the meringue cool in the oven for several hours.
- Just before serving, whip the heavy cream. I like my pavlovas a little sweeter, so I add about 2 tablespoon of sugar – add as much or as little as you want. Purists may not want to sweeten the cream at all! I also like to add a little flavoring, again – optional
- Mound the whipped cream on your pavlova, and top with fresh fruits. Serve immediately!
Video
Notes
Nutrition


Shelby
This pavlova comes out with the perfect blend of refreshing and indulgent!
nancy
Pavlova is my favorite dessert hands down. I always thought it was super hard to make. but your's comes our perfectly. thanks for the tips
Bernice
I had only briefly heard of Pavlova before we moved to Australia but they are absolutely crazy about it there. Now, it is one of my favourite desserts and I especially love it at Christmas time. I think it would be fun to try your Christmas tree pavlova!
Marie B
Pavlova! Never tried but always wanted to. Your recipe is so complete, I will prevail with all the information. On another note... you husband got quite a sense of humor i see;) OLD... haha!
Vanessa
This brought back all the feels for me! I used to live in Australia and have been thinking about it a lot lately. Pavlova was very popular over there around the holidays. I'm going to give it a go this year! Thanks for the step by step instructions!
Colleen
I love pavlova but it always seemed like it was fussy and difficult to make. Your instructions make it seem so doable. I can't wait to try this recipe. Thank you!
Kristen
I have never attempted to make a pavlova until recently, but it is so light and delicious. We are going to make it again for our Christmas eve get together - i think I might try the Xmas tree version. Thanks for sharing.
Sean
I've always found it a bit funny the way the Aussies and the Kiwis argue over who gets to claim this one. But hey, it's pretty tasty stuff... so I get it. Love the recipe, and I ESPECIALLY love the many tips, tricks, and variations you've given here. Awesome stuff.
Meredith DuHamel
I just saw this being made in some cooking show and it looked so delicious! So I looked up some recipes on Pinterest. So glad I found this one. I plan on trying it very soon and might use it at Xmas!