Roasted Garlic is fantastic as an ingredient, or just spread on toast or crackers itself! This easy oven roasted garlic recipe shows you how!
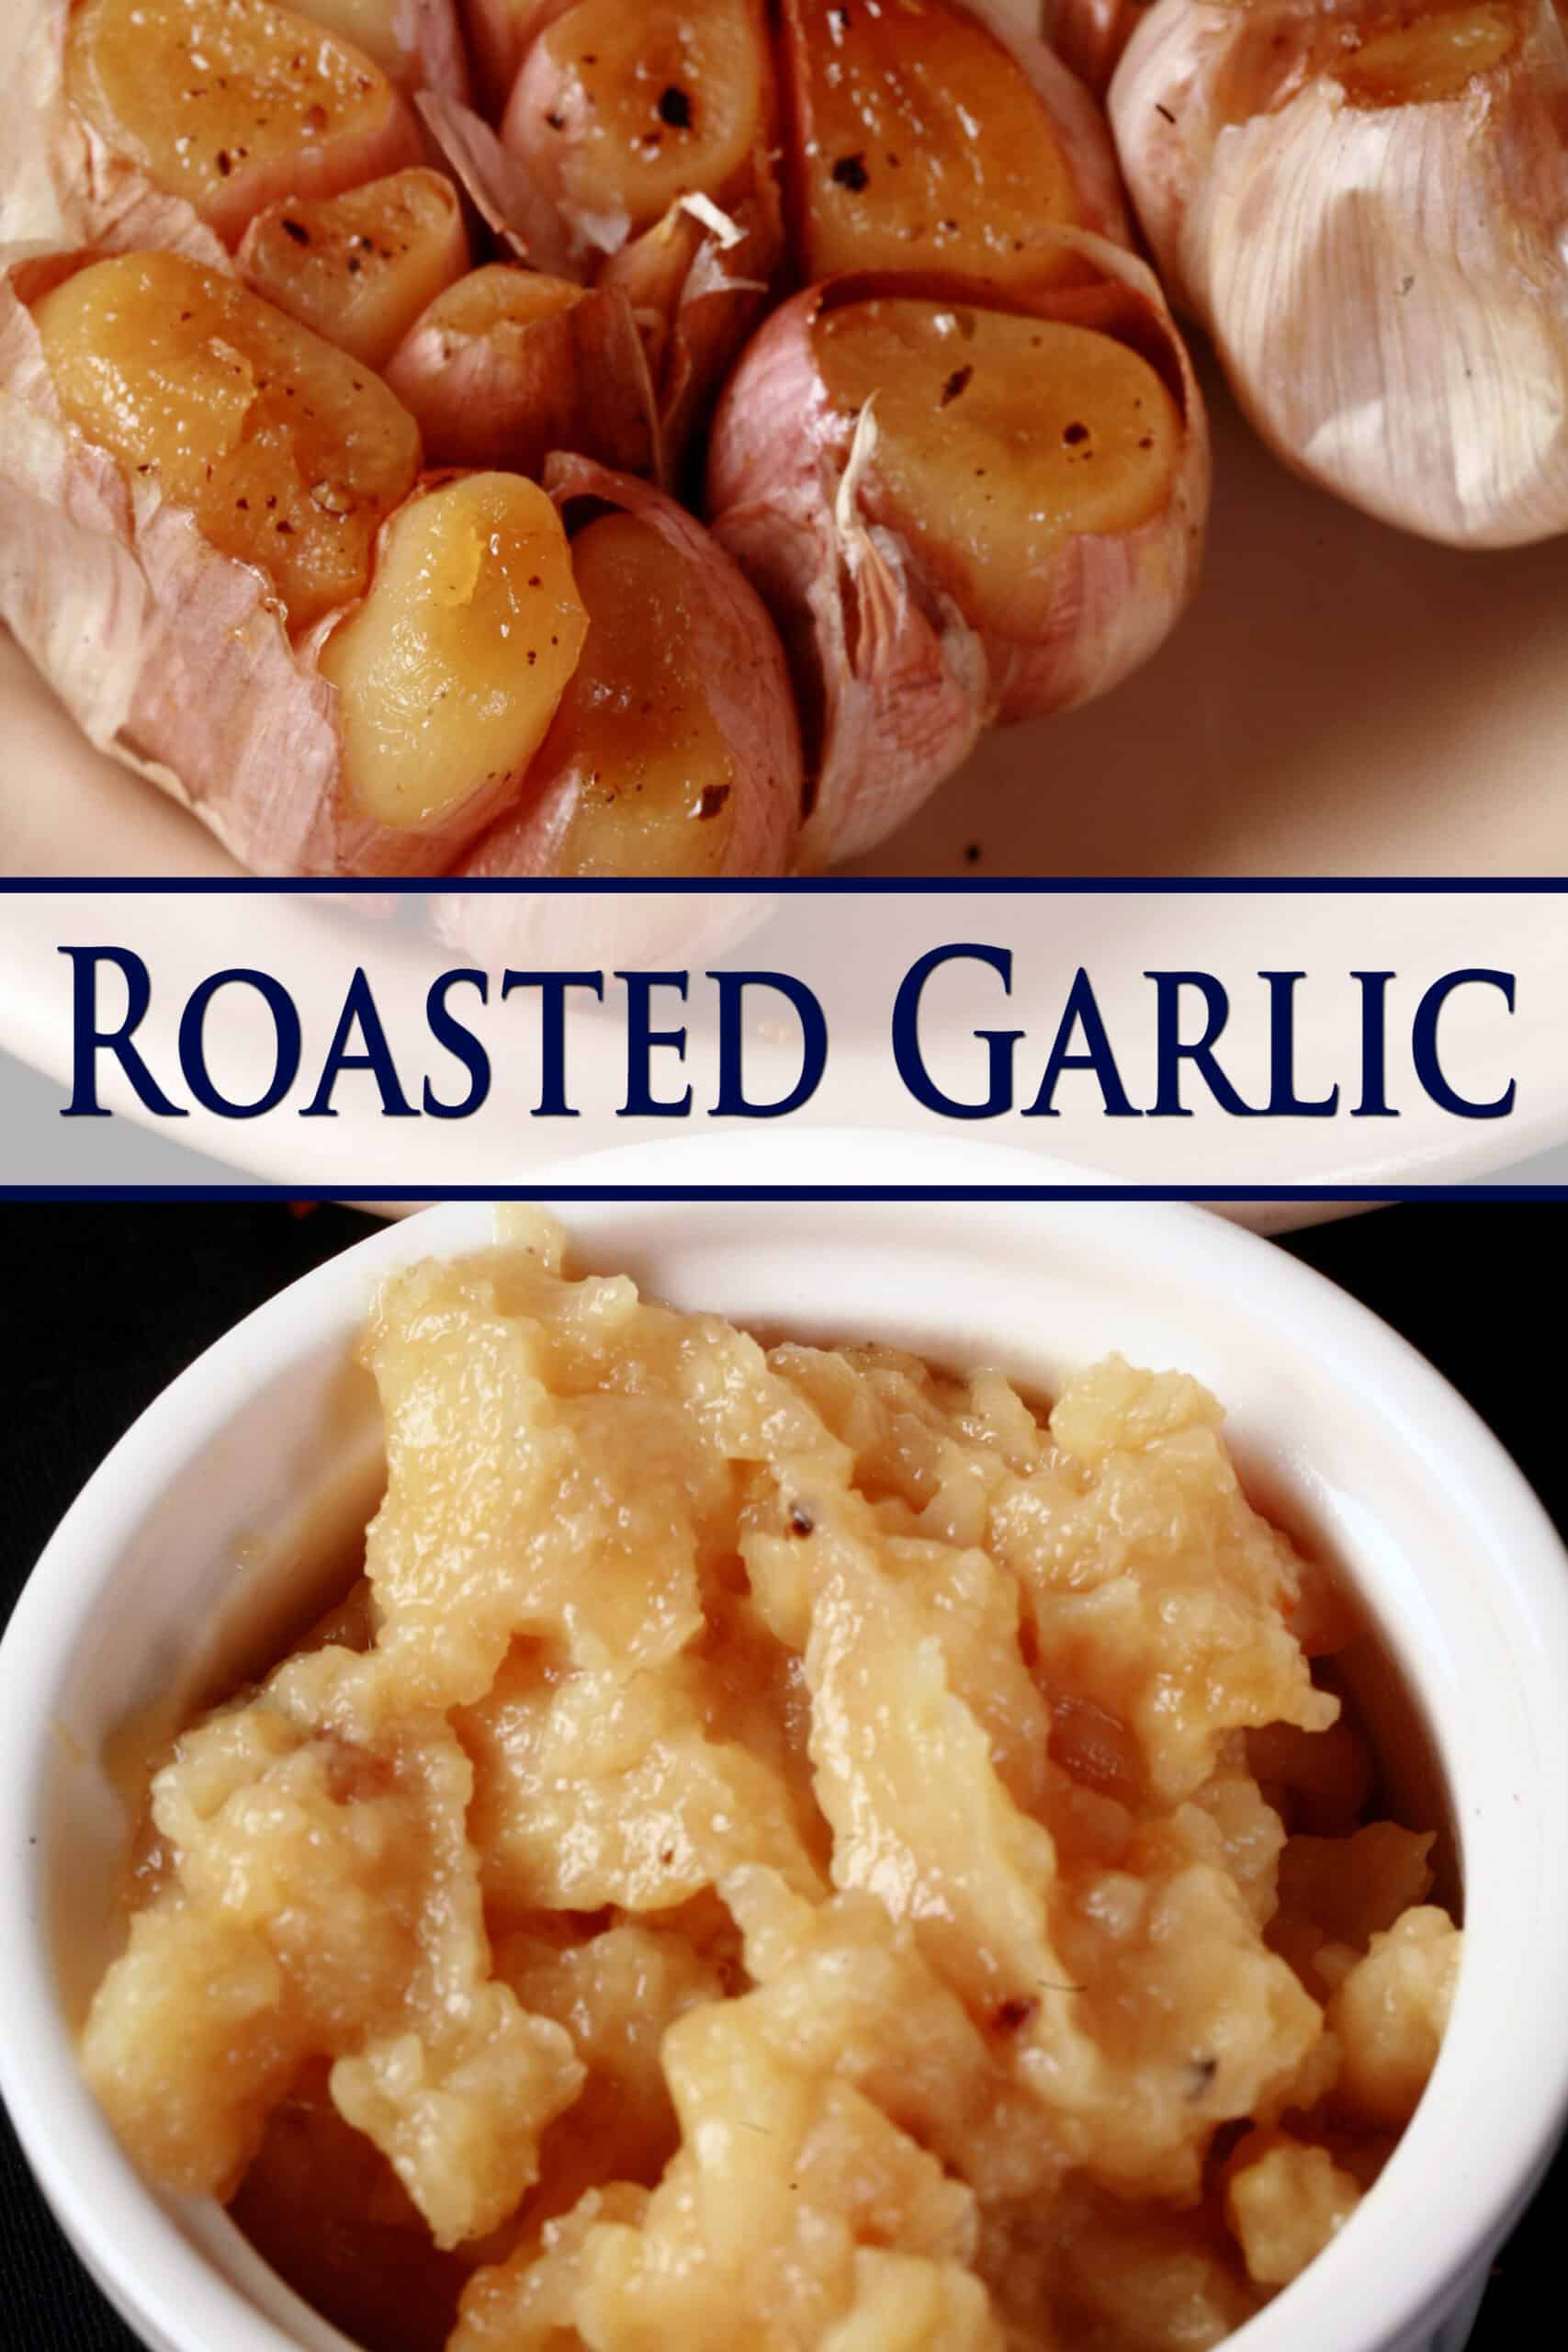
Recently, I designed a Roasted Garlic Asiago Bagels recipe for him, and had to throw on a batch of roasted garlic for it.
The roasting process caramelizes natural sugars in the garlic, and mellows the garlic “bite” right out.
Most people would never think of biting into a raw garlic clove, but you can slather roasted garlic cloves over bread as though they were butter!
Anyway, I figure I should actually post my “recipe” for roasted garlic now, as it’s an important part of that bagel recipe.
Though, really, roasting garlic isn’t so much of an “easy recipe”, as it is a basic skill.
You don’t need to measure anything, the cooking times are wildly approximate, and there are different ways you can flavour it, should you choose.
Roasting Garlic
Now, there are all kinds of different methods to roast garlic.
Some people do it in a muffin tin, with individual bulbs set each in their own cavity, others will wrap the whole heads of garlic individually in foil, and set them on a baking pan.
Others will peel all of the garlic before roasting the garlic cloves, which definitely seems like a tedious thing to do, when roasting larger quantities of garlic!
I’m sure you could even roast them in an air fryer, I just haven’t tried it yet!
I use a really easy method for roasting garlic. It’s such a tried and true method, I just haven’t bothered playing with it too much.
The best part? It takes about 5 minutes of actual work. It will literally take you less time to prepare, than it will to read about it!
So, let’s get to it...
Ingredients
This is less an actual garlic recipe than a simple method for doing something, but either way - you’ll need only a few simple ingredients, and they’re all easy to find in grocery stores.
Fresh Garlic
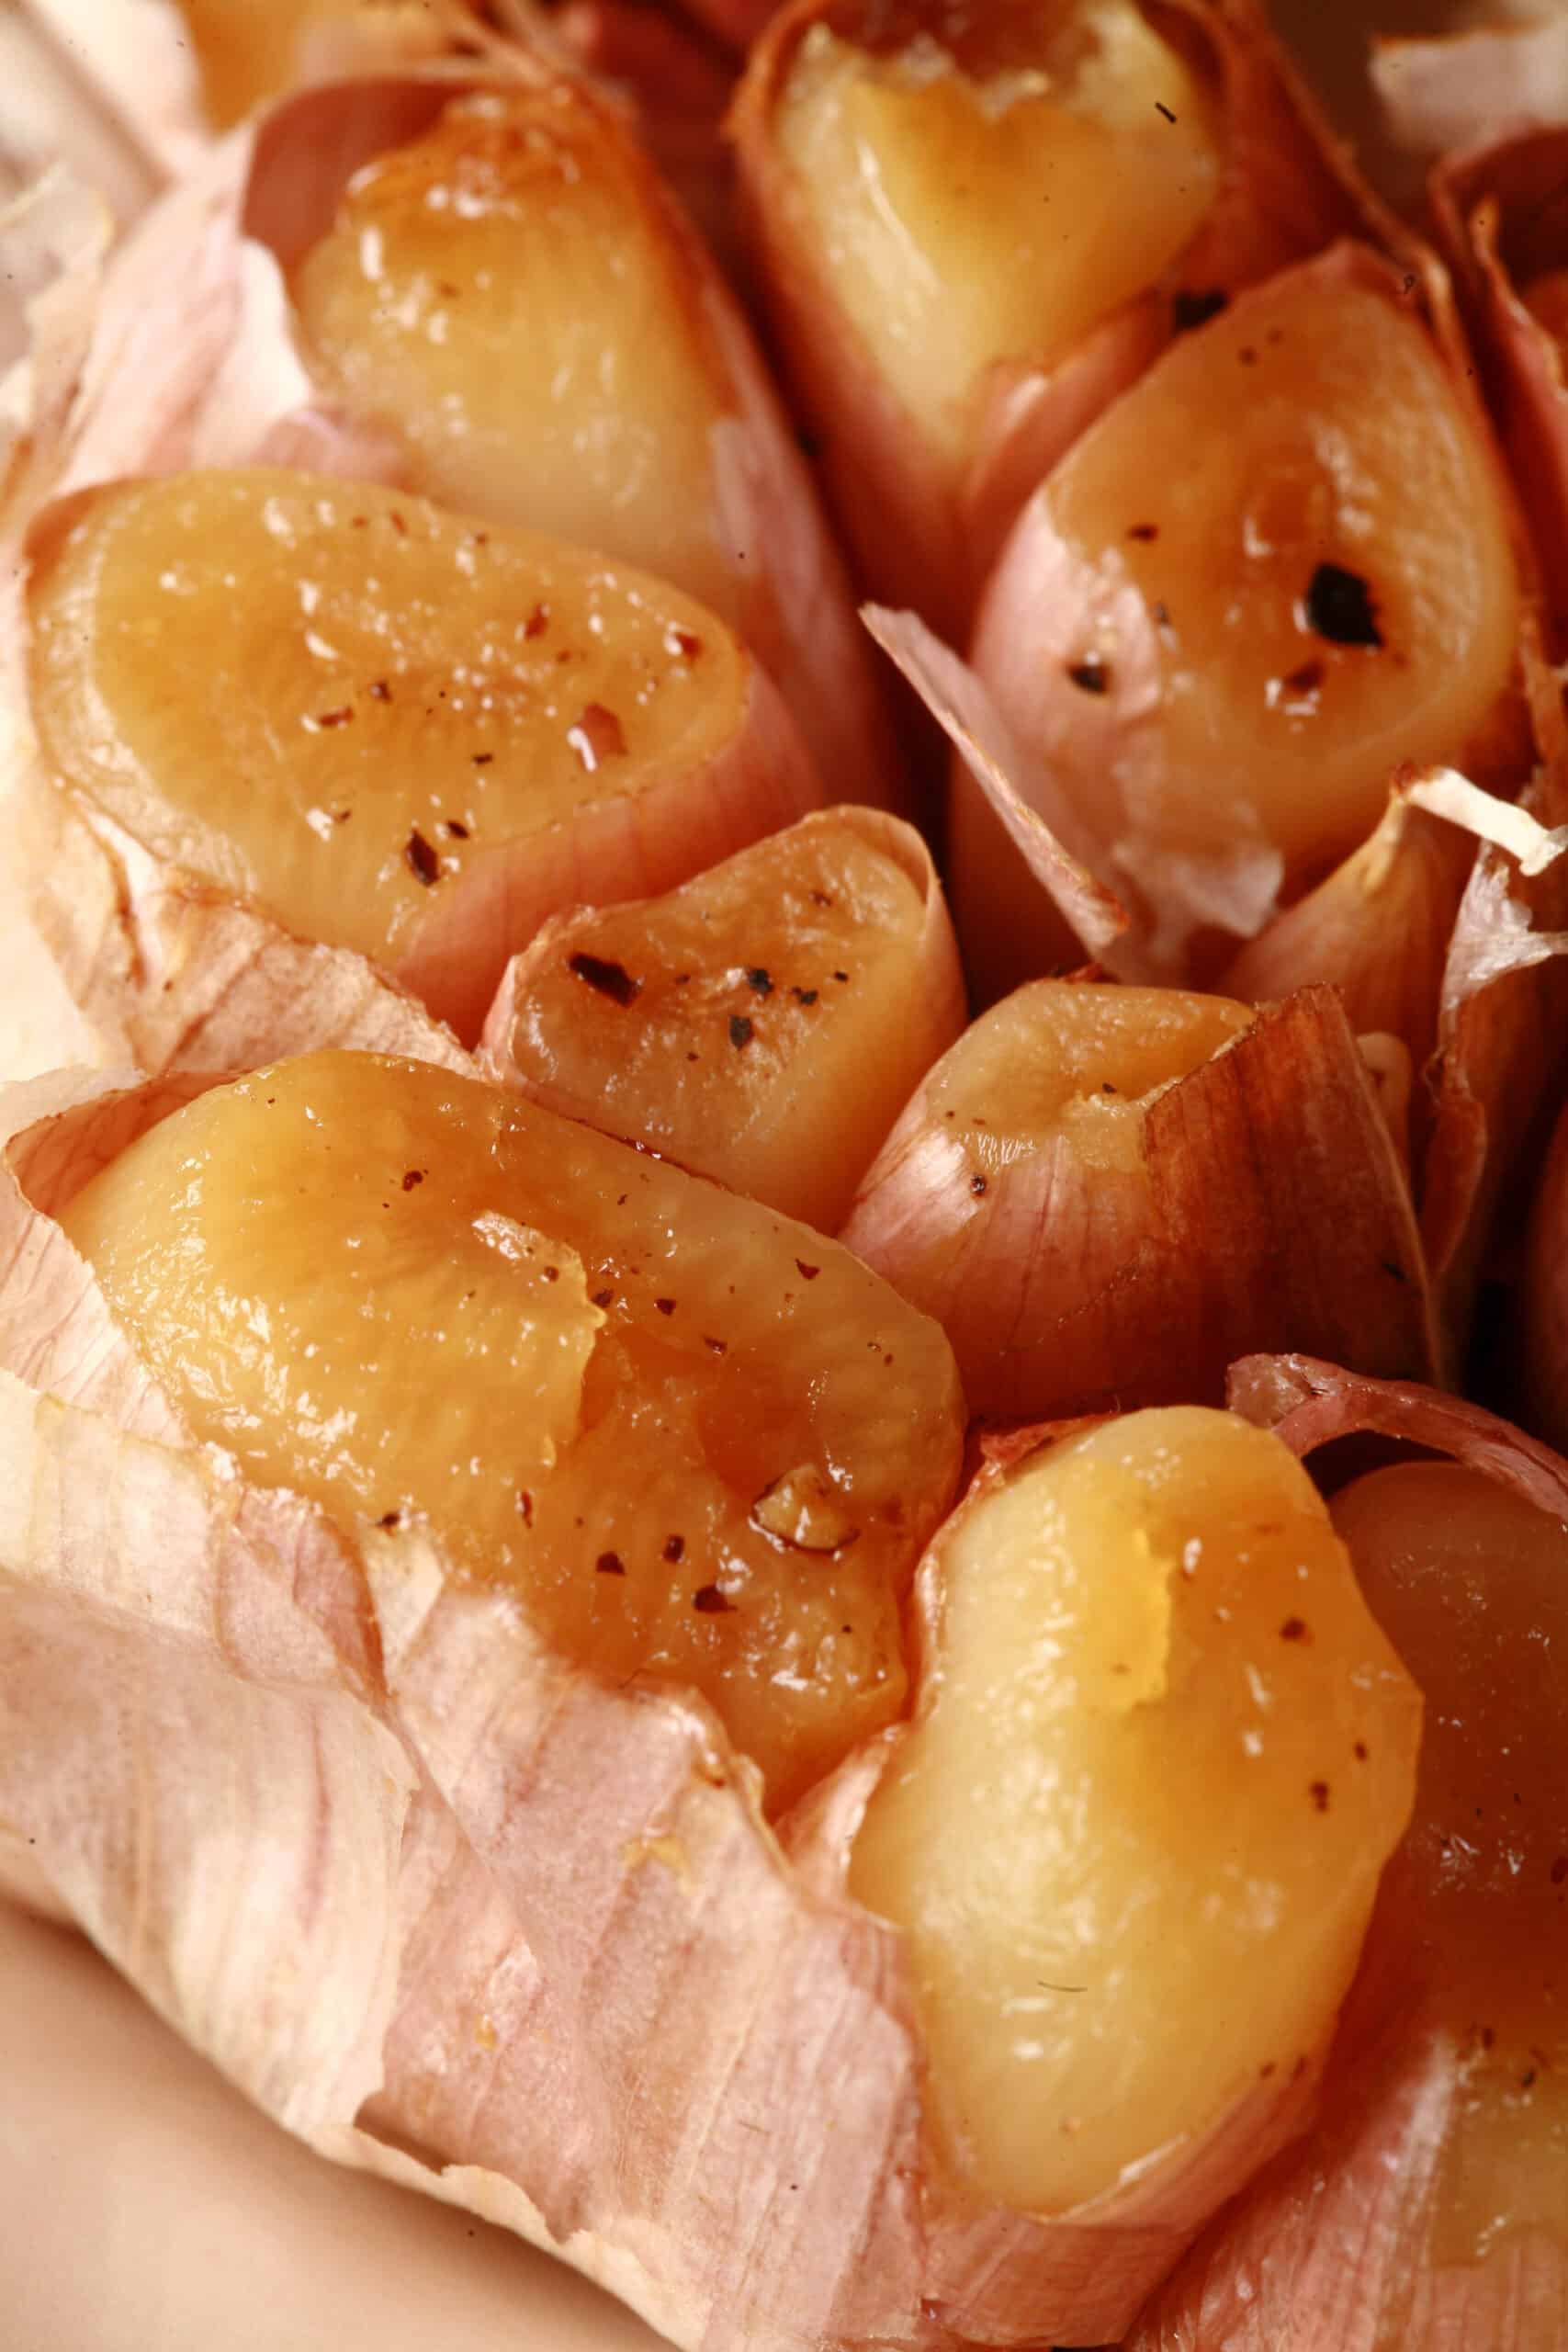
You can use whatever fresh garlic you like / have access to. Personally, I like to use big, fat bulbs of garlic.
Fair warning: you’ll want to roast as many whole garlic bulbs as you think you’ll use, and maybe a couple extra - just in case.
It’s amazing how fast this stuff disappears when we have it on hand.
You might think a whole bulb of garlic is a lot of garlic - when thinking of raw garlic cloves - but the same amount, as the roasted version?
I can go through a whole bulb worth of garlic on like a piece or two of toast. No joke.
Everything Else
At a bare minimum, you’ll need some olive oil, salt, and ground black pepper -that’s all I use, as I like it to be a pure, clean, garlic flavor.
That said, you can infuse your soft roasted garlic during the cooking process, if you like.
Just add some sprigs of fresh rosemary, thyme, savory, or whatever you’d like. Lay them overtop of the prepared garlic, after the oil, salt, and pepper.
Fold up your piece of foil, and have at it!

Uses for Roasted Garlic
You can use roasted garlic for pretty much anything you’d use fresh garlic in* - and then some! It’s a great way to add some extra garlic flavor to your favorite dishes.
* You might want to use a fair amount, though, as the roasting really mellows it!
A few ideas for you:
1. Breads! Beyond my Roasted Garlic Asiago Bagels, you can toss a few Tablespoons of roasted garlic paste into almost any savory bread or biscuit recipe to boost the flavour.
2. As a spread. Serving a whole head of garlic, fresh from the oven, is a great addition a “bread and cheese” snack - just spread the roasted cloves directly on a slice of bread or crackers, or mix into butter to make a great baked garlic bread spread.
3. Add to salad dressings. Even a the most basic vinaigrette dressing can really be elevated with some roasted garlic. For best results, use a stick blender or food processor to really break up and distribute the garlic.
4. Mix into mashed potatoes, with or without cheese.
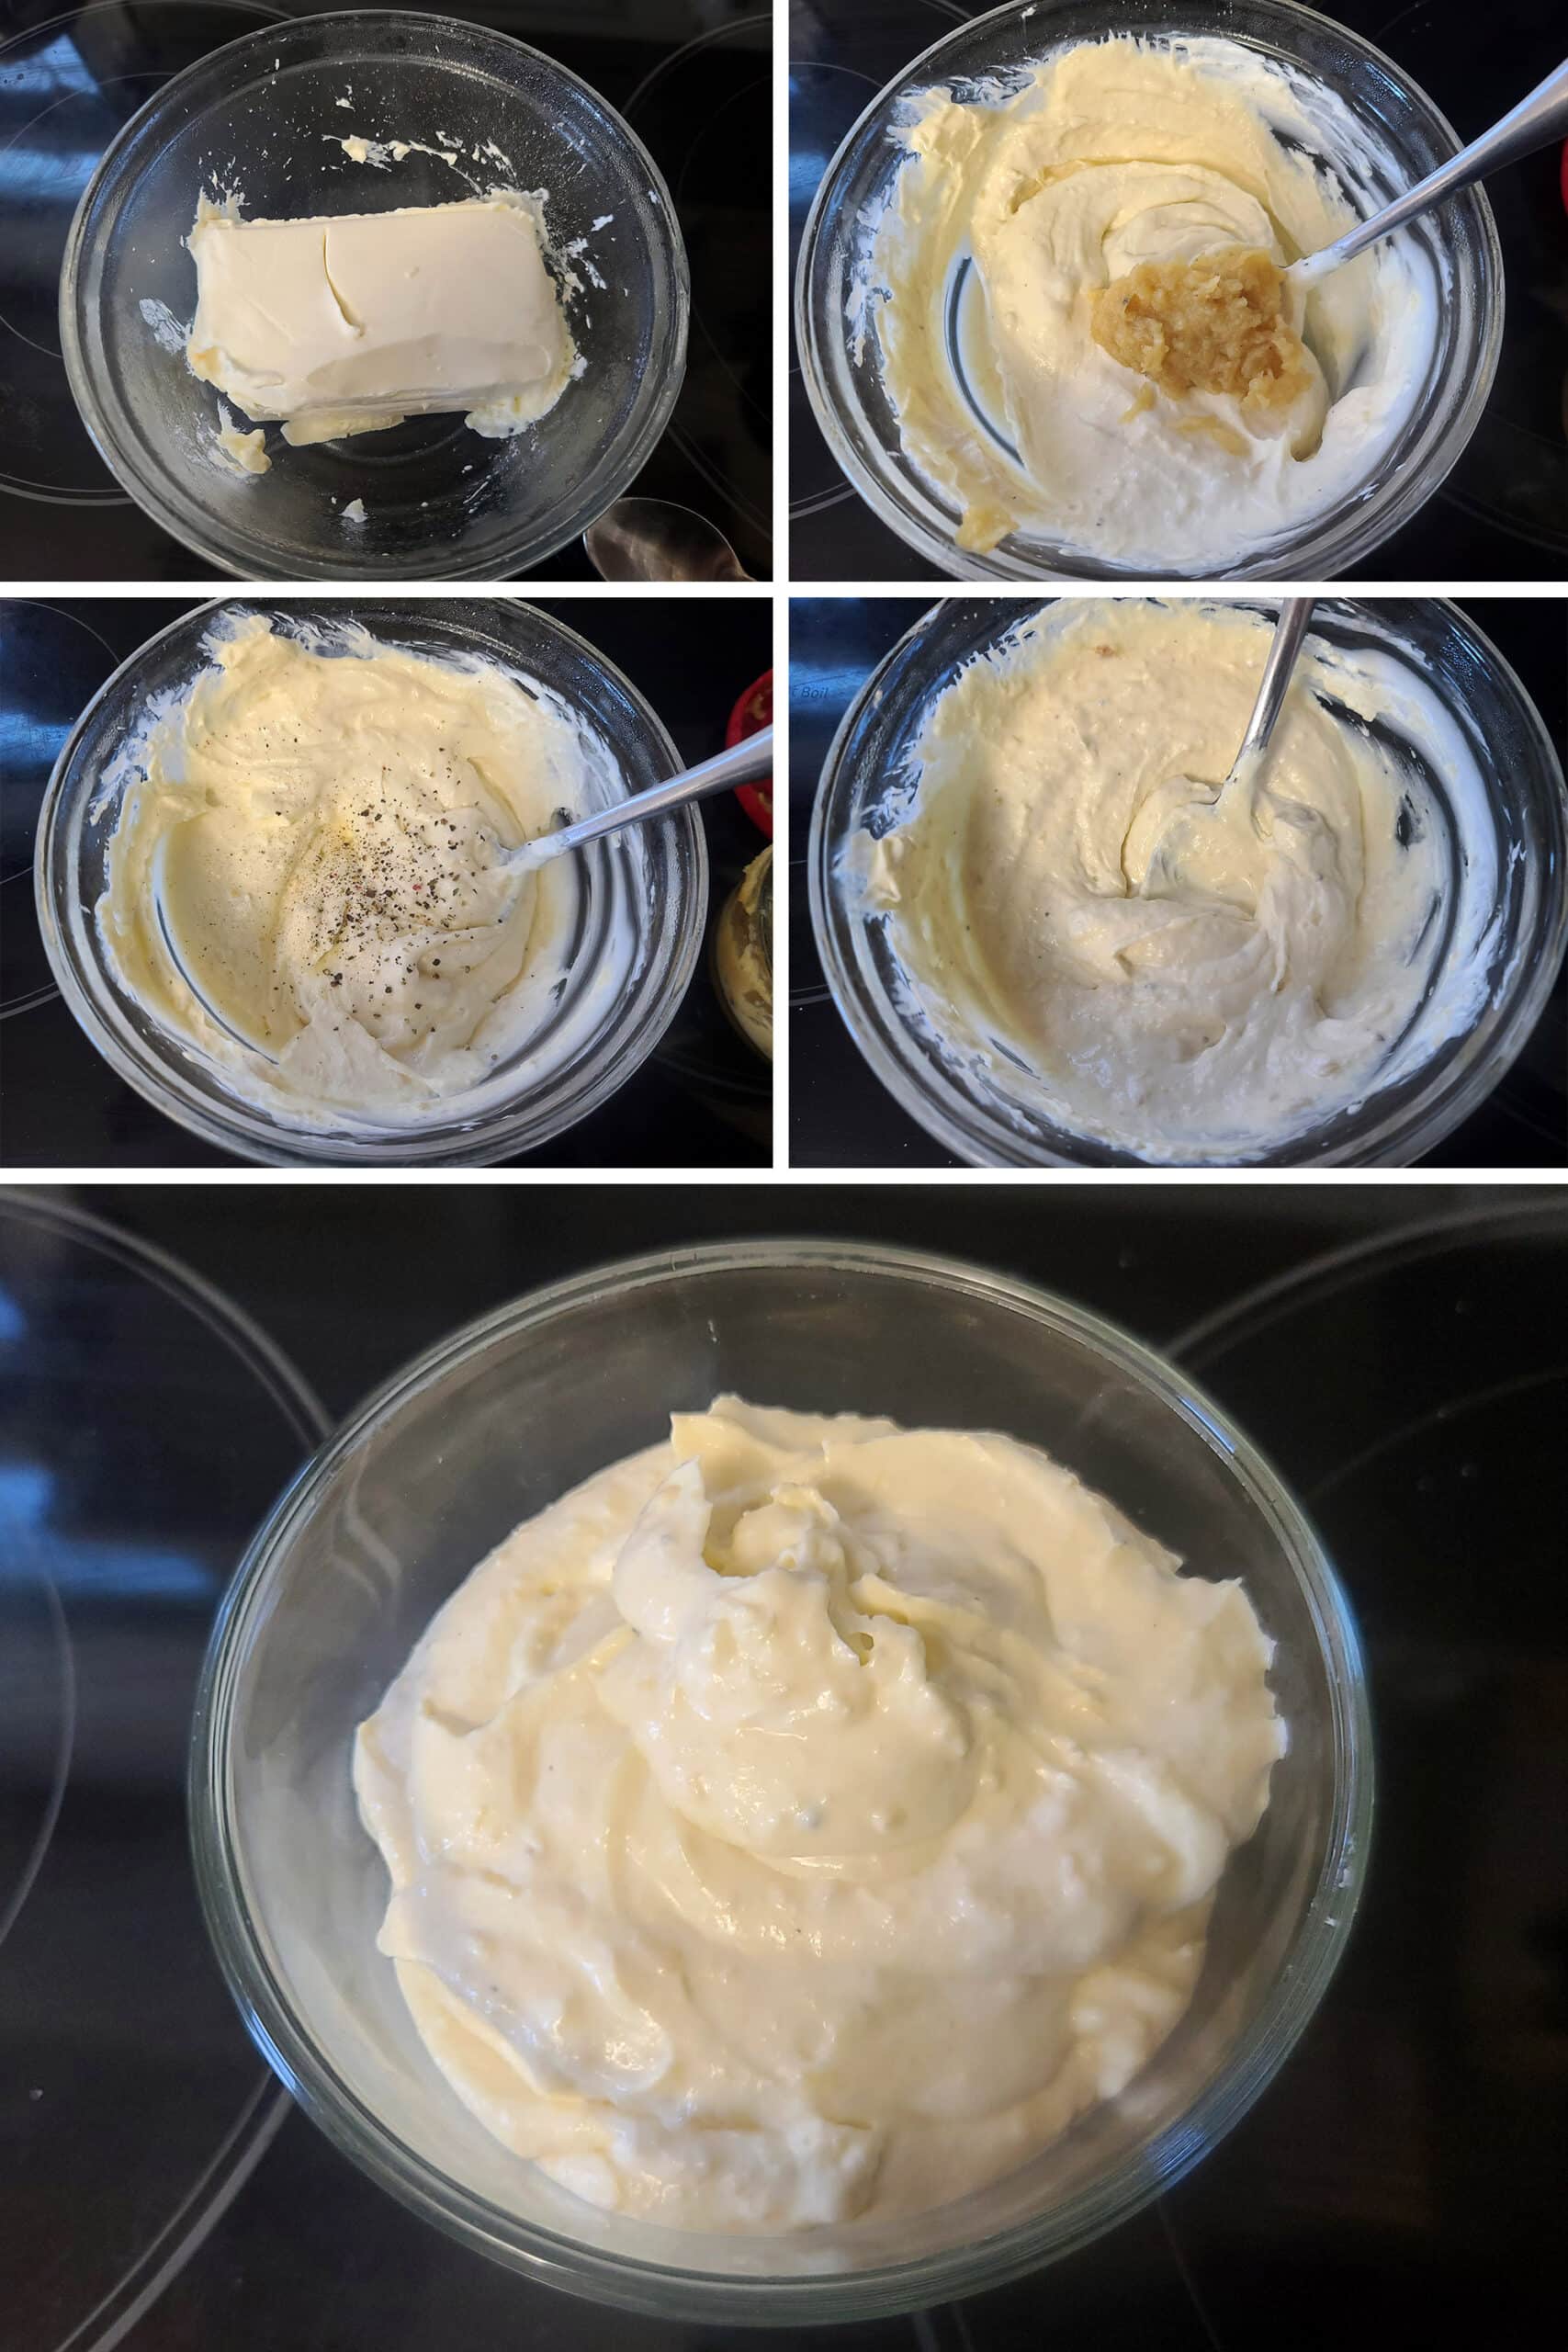
5. Elevate your condiments! Mix some roasted garlic paste into mayonnaise (Try my Homemade Mayonnaise - or Smoked Mayonnaise!), or make some roasted garlic cream cheese:
Roasted Garlic Cream Cheese
First step - Warm some cream cheese up, so it’s just soft enough to whip.
Whip the cream cheese smooth, then add 2-3 tablespoon of roasted garlic.
Beat well to combine, season with salt and pepper, to taste.
Really, you can do anything with the stuff.
I just asked my husband what his favourite ways are, and he gestured to indicate just injecting it into his arm, LOL.
I’ve created a monster. Anyway, we may not inject it, but we’ve both definitely just ate it by the spoonful, straight from the oven.

How to Roast Garlic
The full recipe is in the recipe card at the end of this post, here is a pictorial walk through.
Preheat oven temperature to 400 degrees F. Line a baking sheet or a small baking dish with 2 long pieces of aluminum foil, slightly overlapping up the length of the pan.
Peel all excess layers of the papery skin off each garlic bulb, discard the skins.
Use a sharp knife to cut the top of the bulb off the garlic. You’ll want the top of the cloves exposed for most - if not all - of the individual garlic cloves.

Drizzle a little bit of olive oil across the top of the garlic heads, season with a pinch of salt and some ground black pepper.

Seal both open ends by holding the layers of foil together, and rolling up to secure.
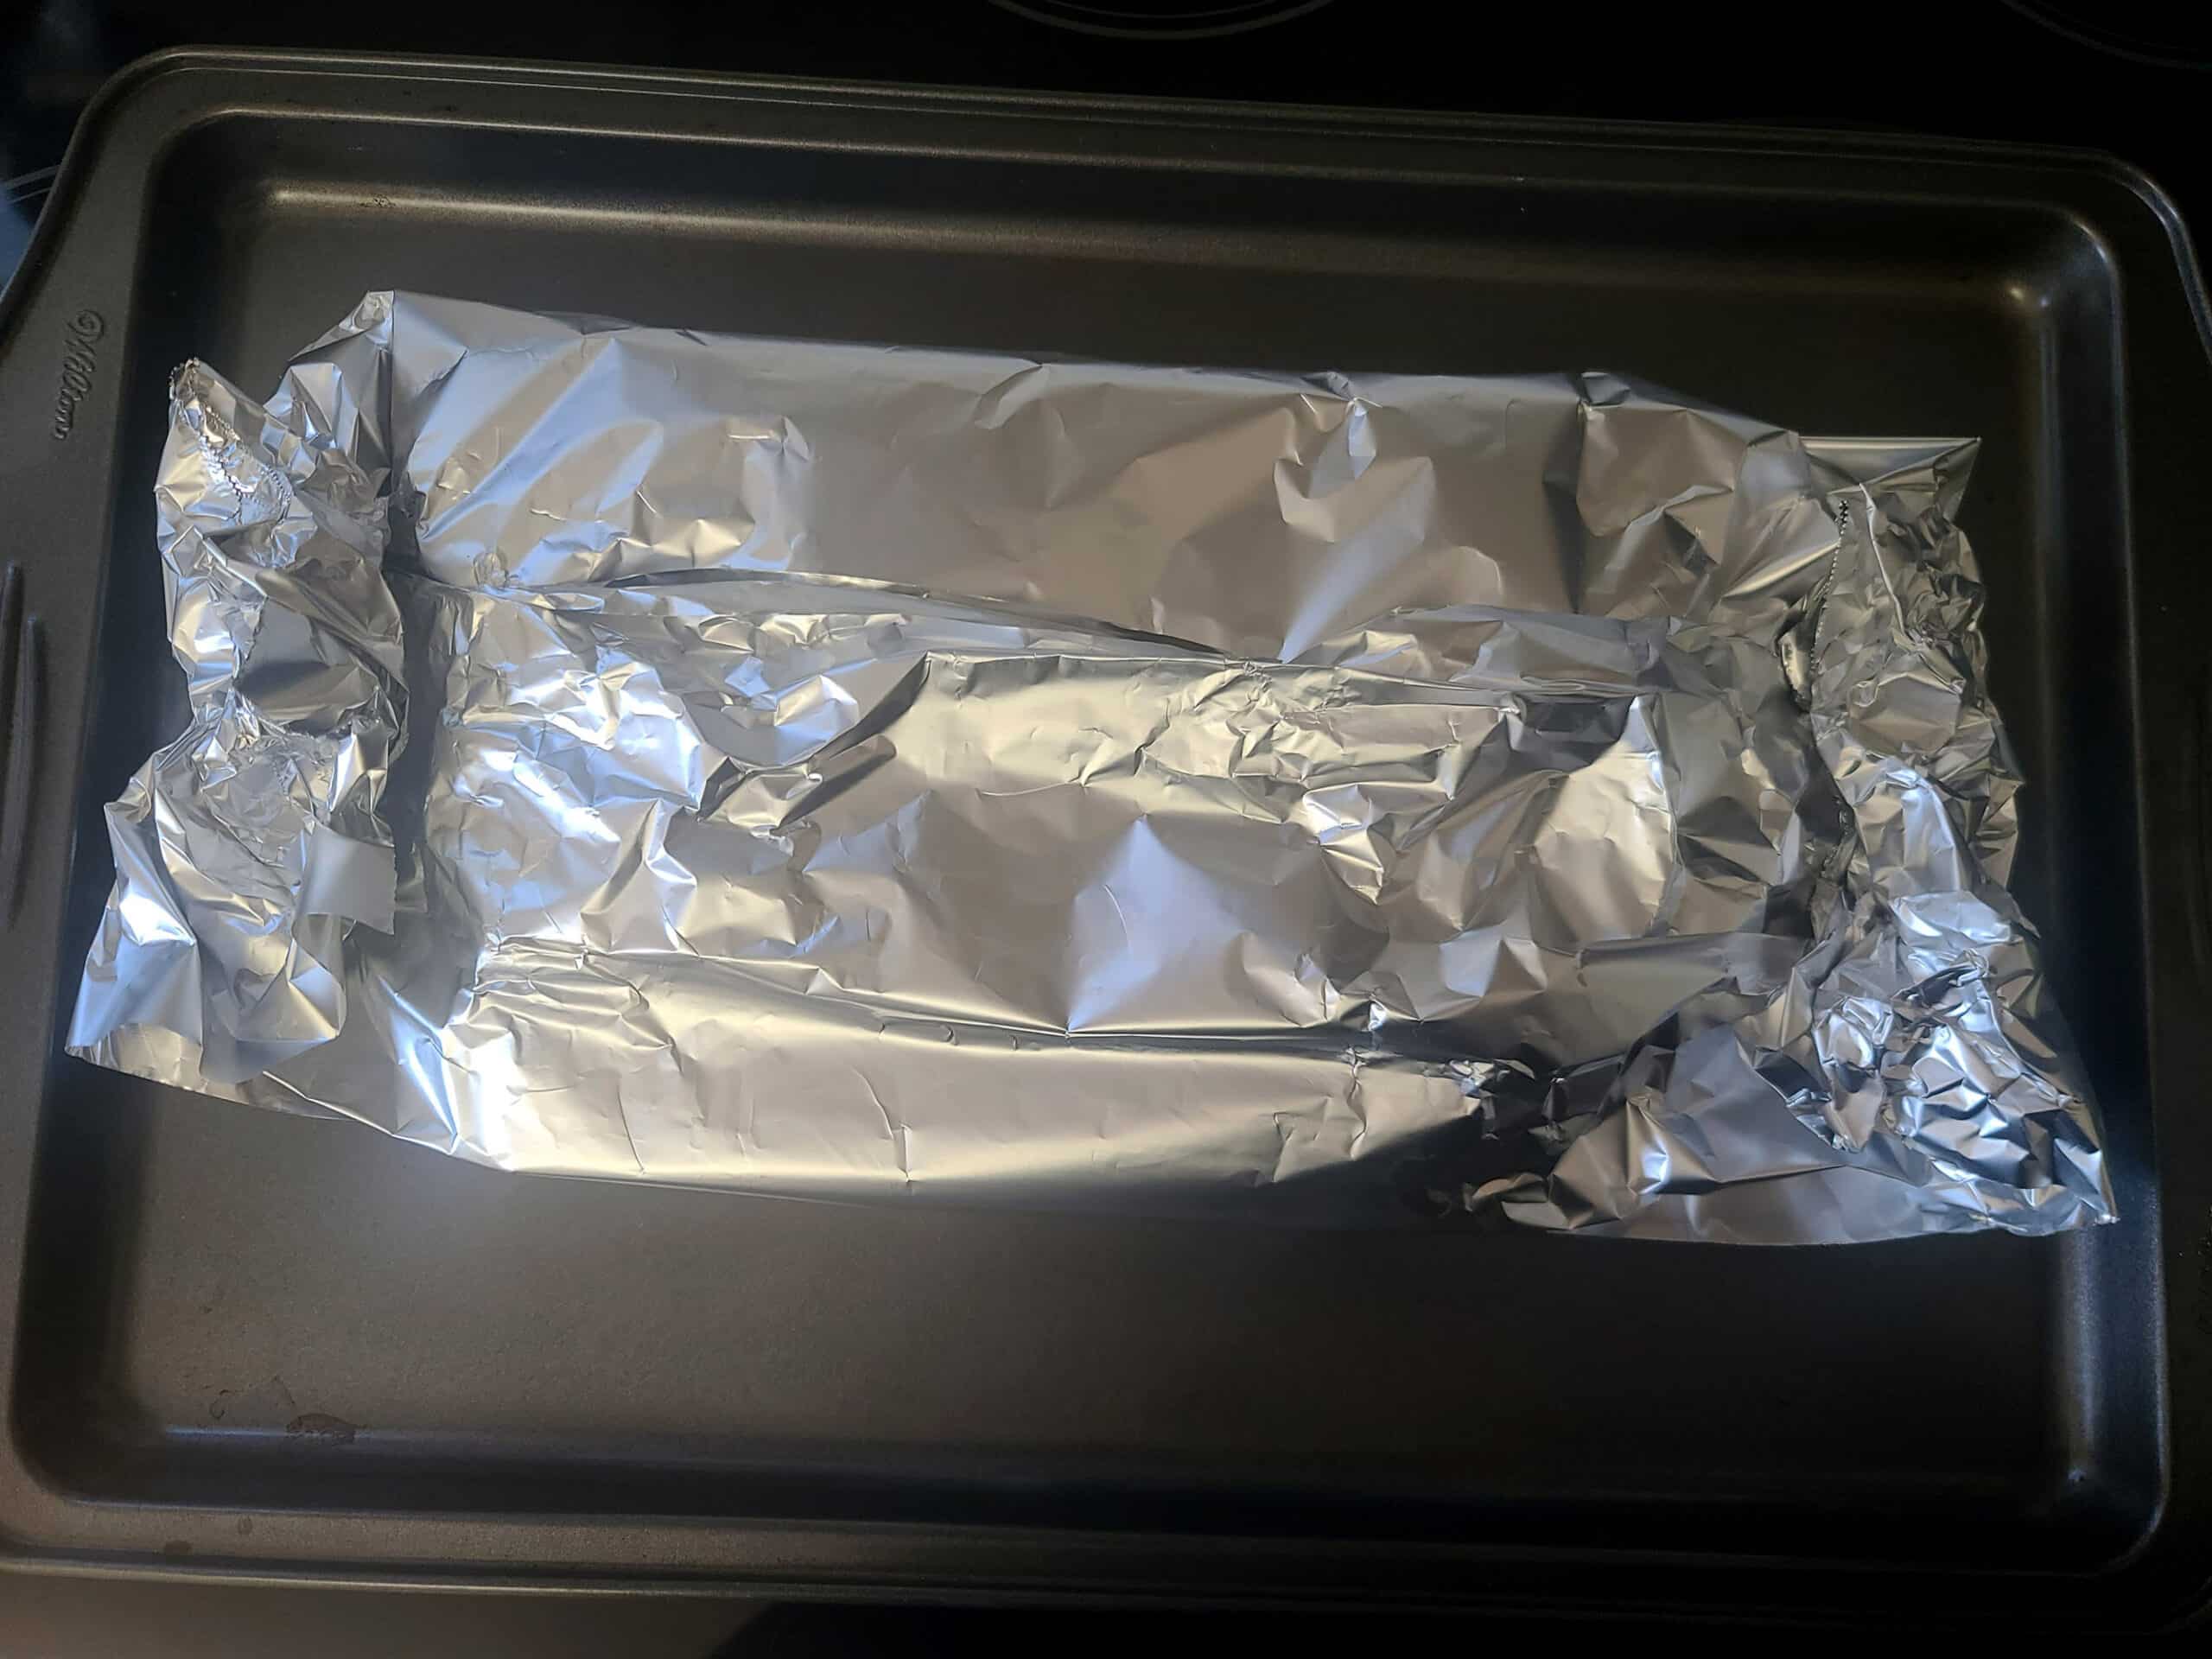
Note: Cook times are approximate, and can vary wildly based on how you wrap your whole cloves of garlic, the size of the bulbs, the sizes of the cloves IN the bulbs, etc
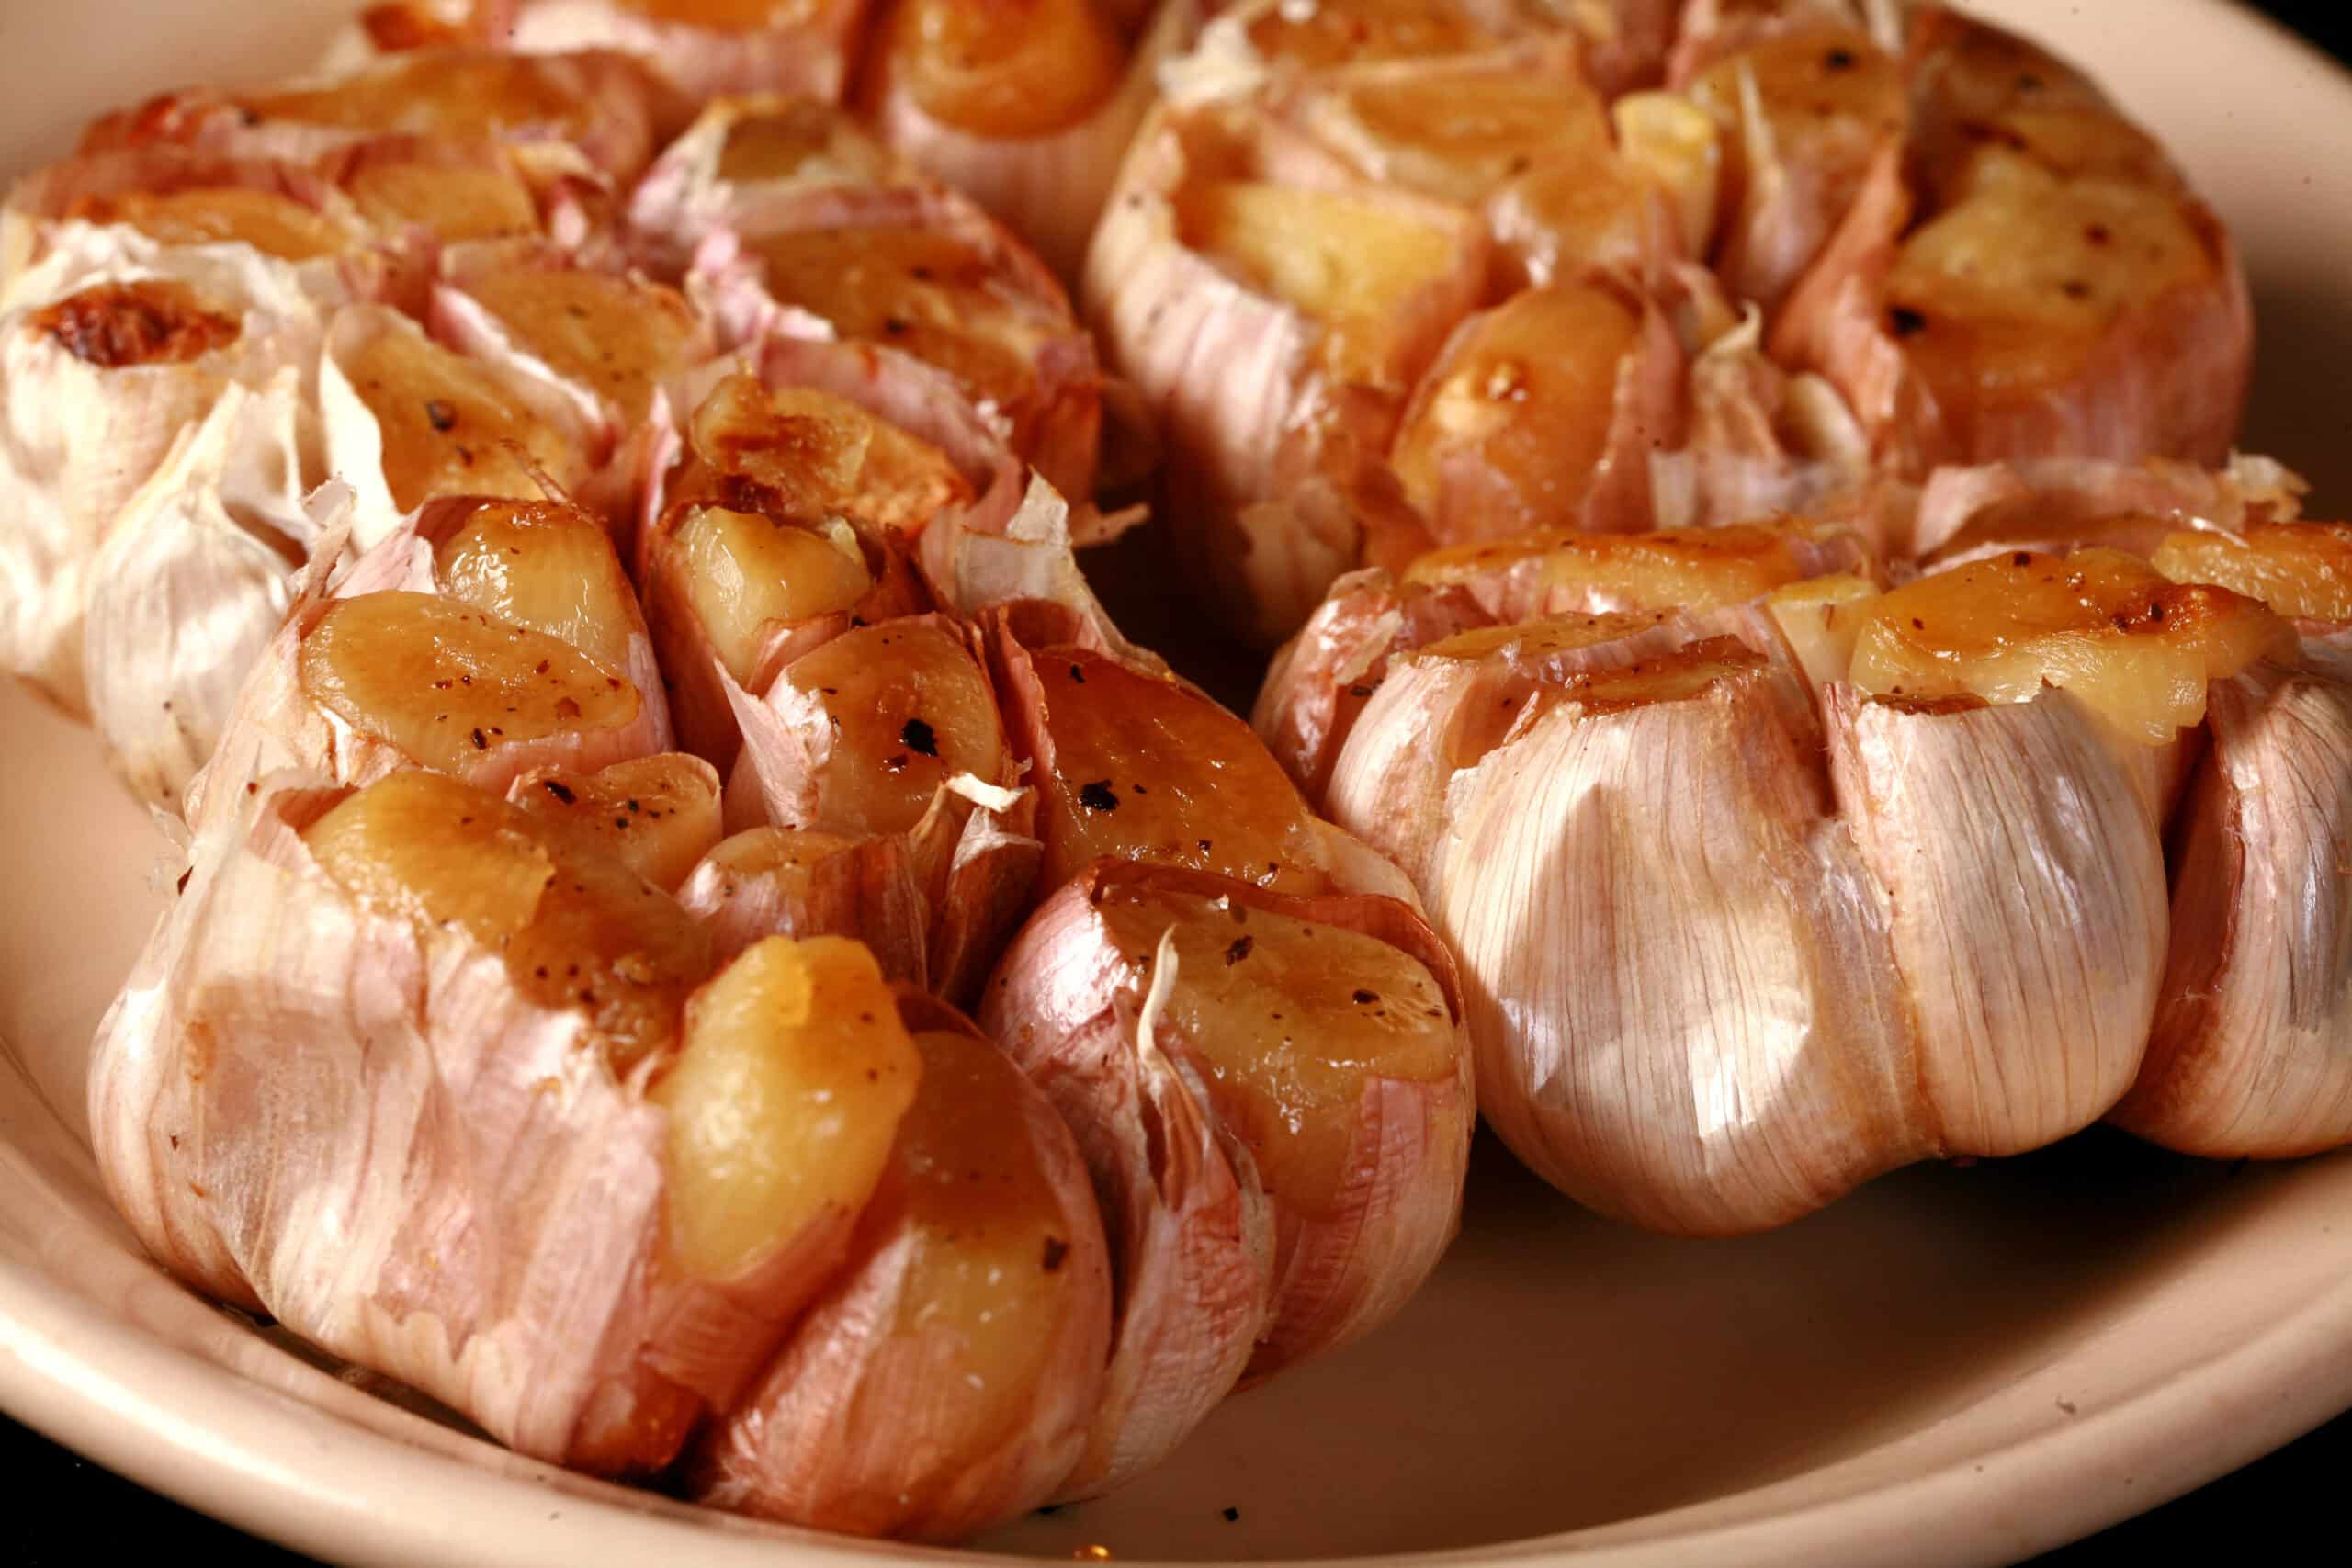
Once an hour is up, check the status of the garlic. You want them to be mushy, golden brown, caramelized cloves.
If the garlic is ready, remove from the oven. If it needs more time, put it in for 10 more minutes at a time, until it’s the desired color and texture.

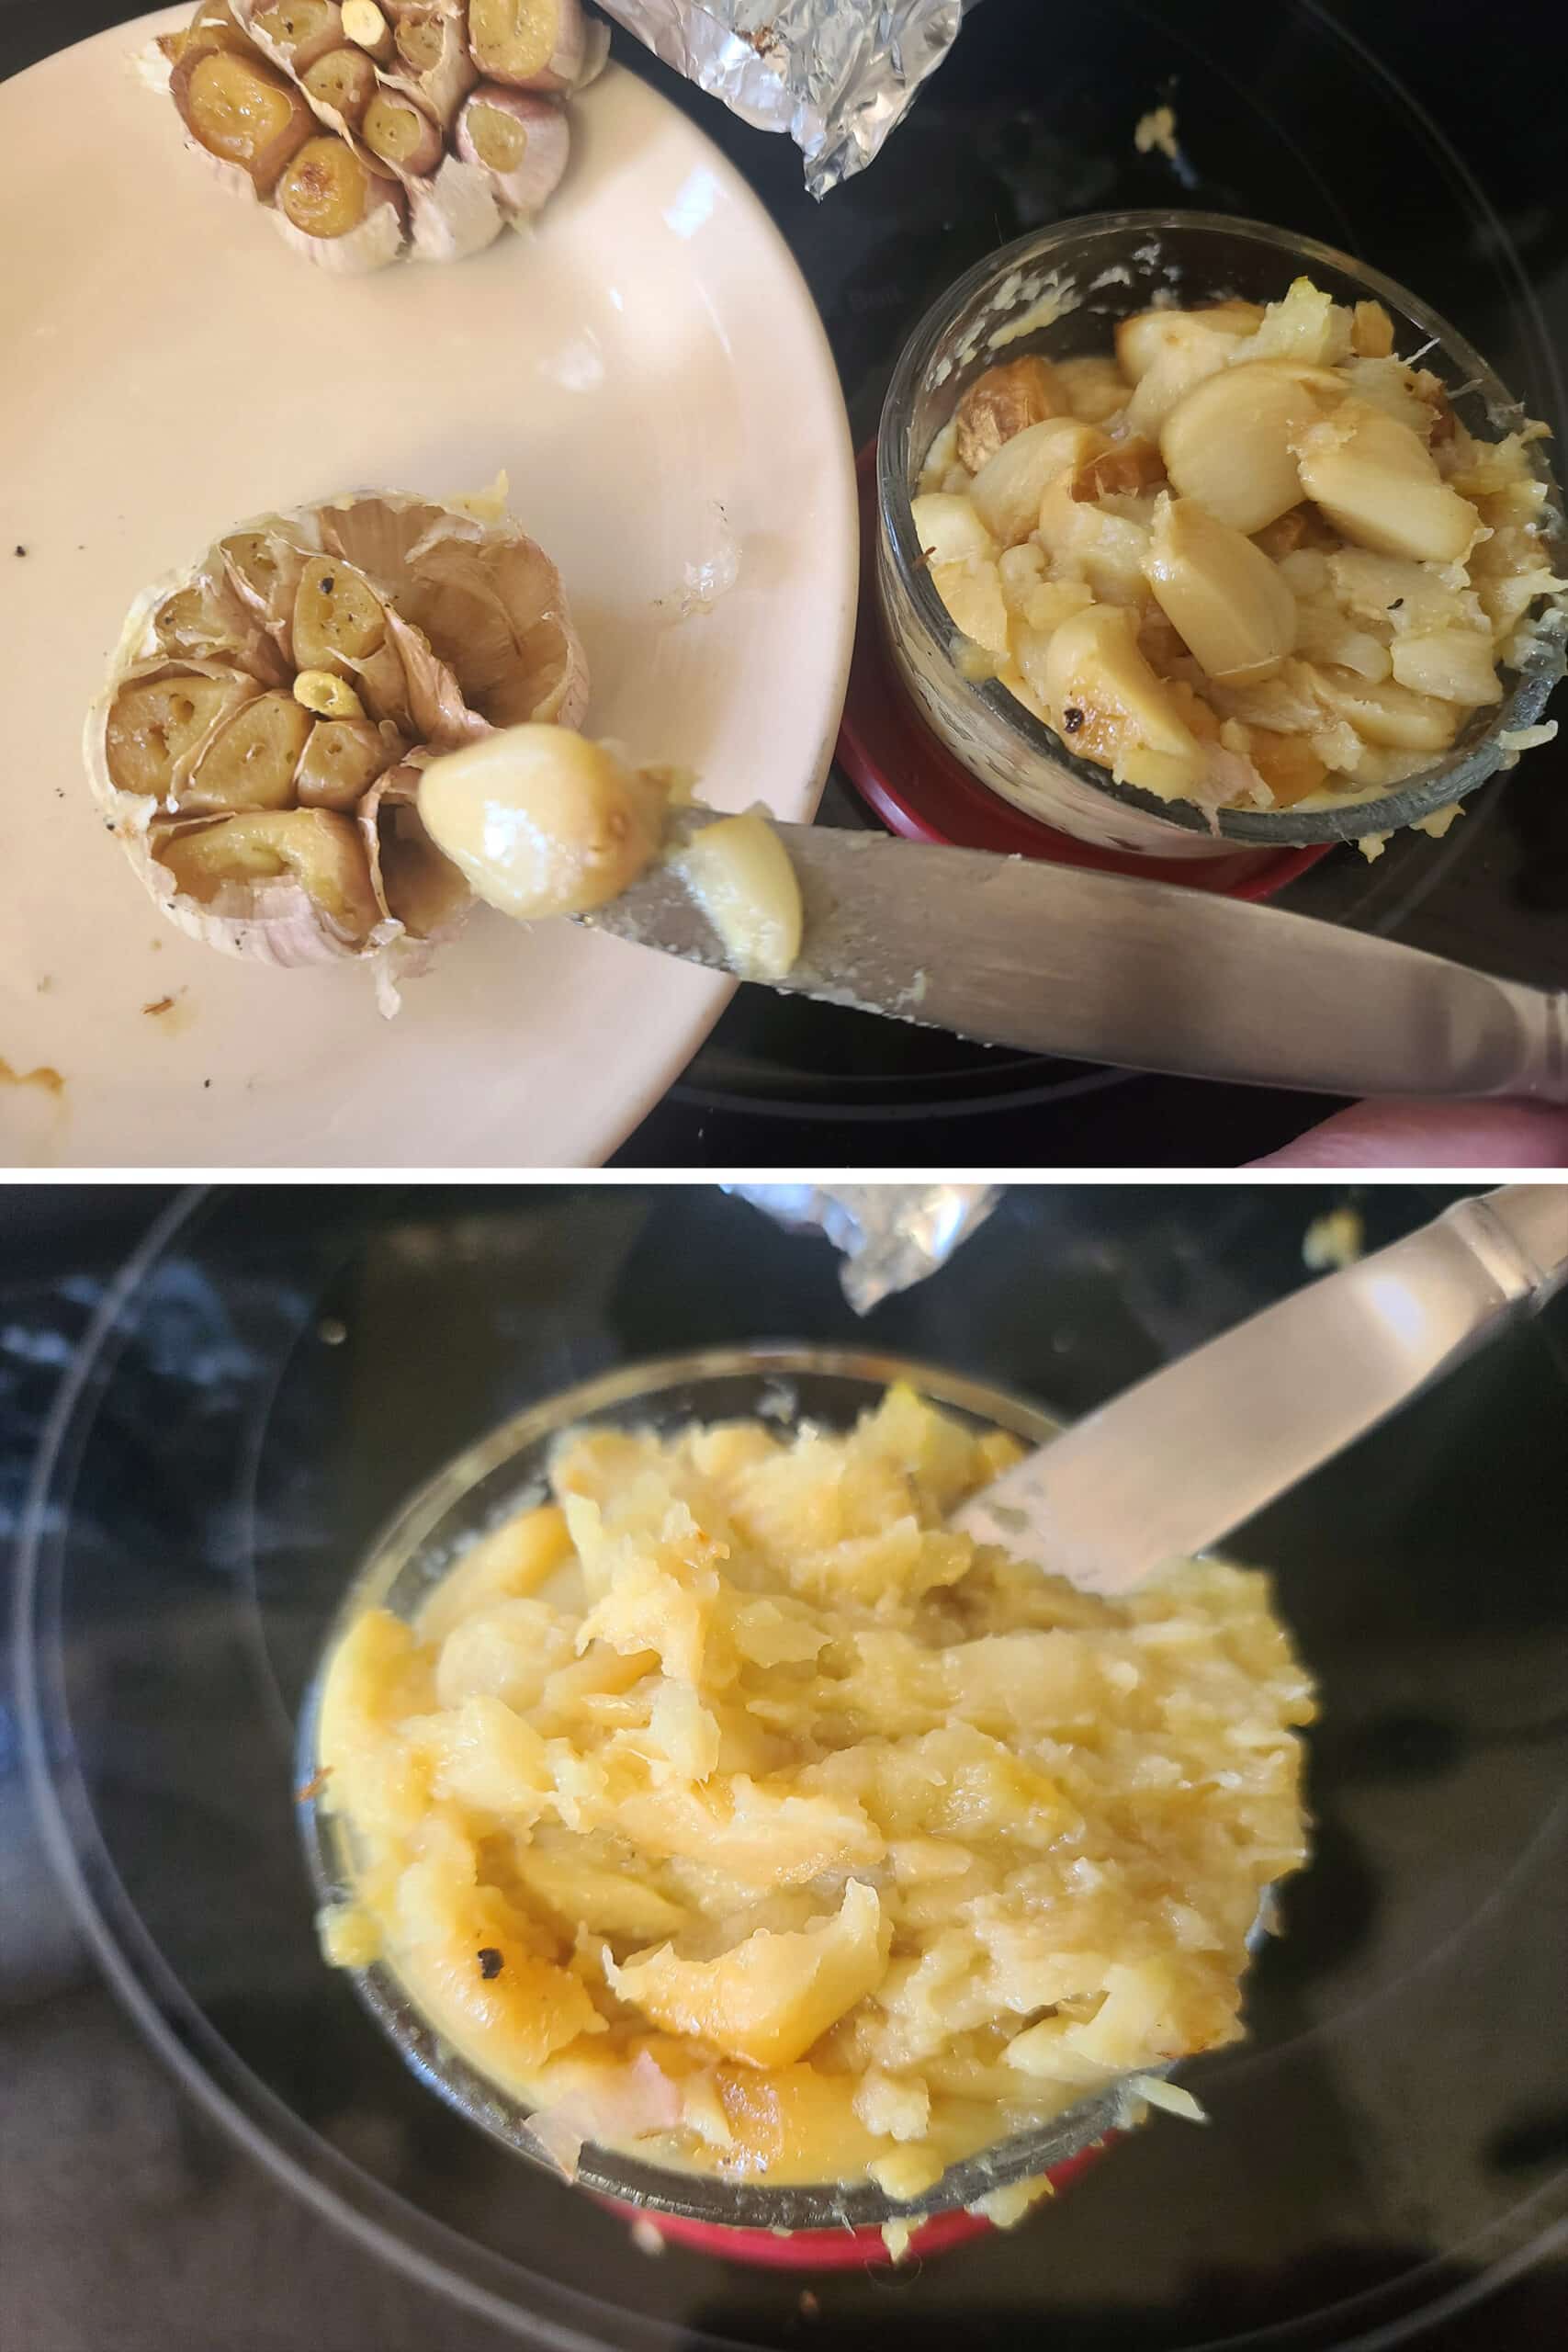
Once garlic is cool enough to handle - but still slightly warm - get the roasted garlic cloves out of the bulb. There are two main ways of doing this:
1 - Turn the garlic cut side down and just squeeze the roast garlic cloves out
or
2 - Use a paring knife, butter knife, or cocktail fork to slide individual cloves out, whole.

Personally, I find taking out the whole cloves to be the best way. Less mess, less waste! I just mash them after I pull them out.
Leftovers
Once roasted garlic paste has cooled to almost room temperature, transfer roasted garlic cloves to an airtight container, keep in the fridge for up to a few days.
Note: DO NOT store them at room temperature, as that’s just a golden invitation for botulism toxin to thrive.
For longer storage, here are a few options:
Fridge
Cover your roasted garlic a little oil - olive oil - to preserve it and prevent oxidation.
Be sure to use enough to completely cover the garlic, and top it up as needed.
Freezer
Spoon mashed roasted garlic into an ice cube tray. Freeze.
Once frozen, transfer the cubes to a freezer-safe bag or freezer-safe container, freeze for up to 3 months.

More Seasoning & Condiment Recipes
Looking for some healthy recipes for tasty ways to add a little something extra to your dish? Here are a few ideas:
Basil Pesto
Berbere Seasoning
Canadian Popcorn Seasonings
Chow Chow Relish
Cilantro-Mint Chutney
Diana Sauces (Replica Recipes)
Hop Extracts
Seasoned Salt
Vanilla Extract
Homemade Mayonnaise
Furikake Seasoning
Honey Dill Dipping Sauce
Honey Garlic Cooking Sauce
Hoppy Dill Pickle Relish
How to Make Compound Butters
Mediterranean Seasoning for Wings
Montreal Steak Spice & Marinade
Olive Salad for Muffalettas
Pistachio Dukkah
Porter's Yogurt & Ice Cream Topping
Roasted Beet Ketchup
Smoky Dry Rub for Wings
Sushi Sauce Recipes
Tangerine Thyme Dry Rub
Thai Cilantro Pesto

Share the Love!
Before you chow down, be sure to take some pics of your handiwork! If you post it to Bluesky, be sure to tag us - @CelebrationGen. We're also on Pinterest, so you can save all your favourite recipes to a board!
Also, be sure to subscribe to my free monthly email newsletter, so you never miss out on any of my nonsense. Well, the published nonsense, anyway!
Finally, if you love this recipe, please consider leaving a star rating and/or a comment below, and maybe even sharing this post on social media!

Roasted Garlic
Equipment
- 1 Sharp Knife
- Heavy Duty Foil
- Baking Sheet
Ingredients
- 1 Whole Garlic Bulb
- Olive Oil
- Salt
- Pepper
Instructions
- Preheat oven to 400 degrees F. Line a baking sheet or a small baking dish with 2 long pieces of aluminum foil, slightly overlapping up the length of the pan.
- Peel all excess layers of the papery skin off each garlic bulb, discard the skins.
- Use a sharp knife to cut the top of the bulb off the garlic. You’ll want most - if not all - garlic cloves exposed.
- Arrange the cut garlic bulbs on the prepared baking sheet. Drizzle a little bit of olive oil across the top of the garlic heads, season with a pinch of salt and some ground black pepper.
- Pull up the two long ends of the foil pieces to tent and enclose the garlic bulbs, hold together and roll down, to secure.
- Seal both open ends by holding the layers of foil together, and rolling up to secure.
- Transfer pan with the foil packet of garlic to the heated oven, roast for 1 hour.
- Once an hour is up, check the status of the garlic. You want it to be golden brown and very mushy.
- If the garlic is ready, remove from the oven. If it needs more time, put it in for 10 more minutes at a time, until it’s the desired color and texture.
- Let garlic cool slightly.
- Once garlic is cool enough to handle - but still slightly warm - get the roasted garlic cloves out of the bulb. There are two main ways of doing this:
- 1 - Turn the garlic cut side down and just squeeze the roast garlic cloves out
- or
- 2 - Use a butter knife or cocktail fork to slide individual cloves out, whole.
- Personally, I the latter to be the best way. Less mess, less waste!
- Once cooled to room temperature, transfer roasted garlic cloves to an airtight container, keep in the fridge for up to a few days.
Notes
Nutrition







Leave a Reply