Acorn Squash Tortellini with Nutmeg Cream Sauce
Originally Posted April 19, 2013. Updated 1/5/2021

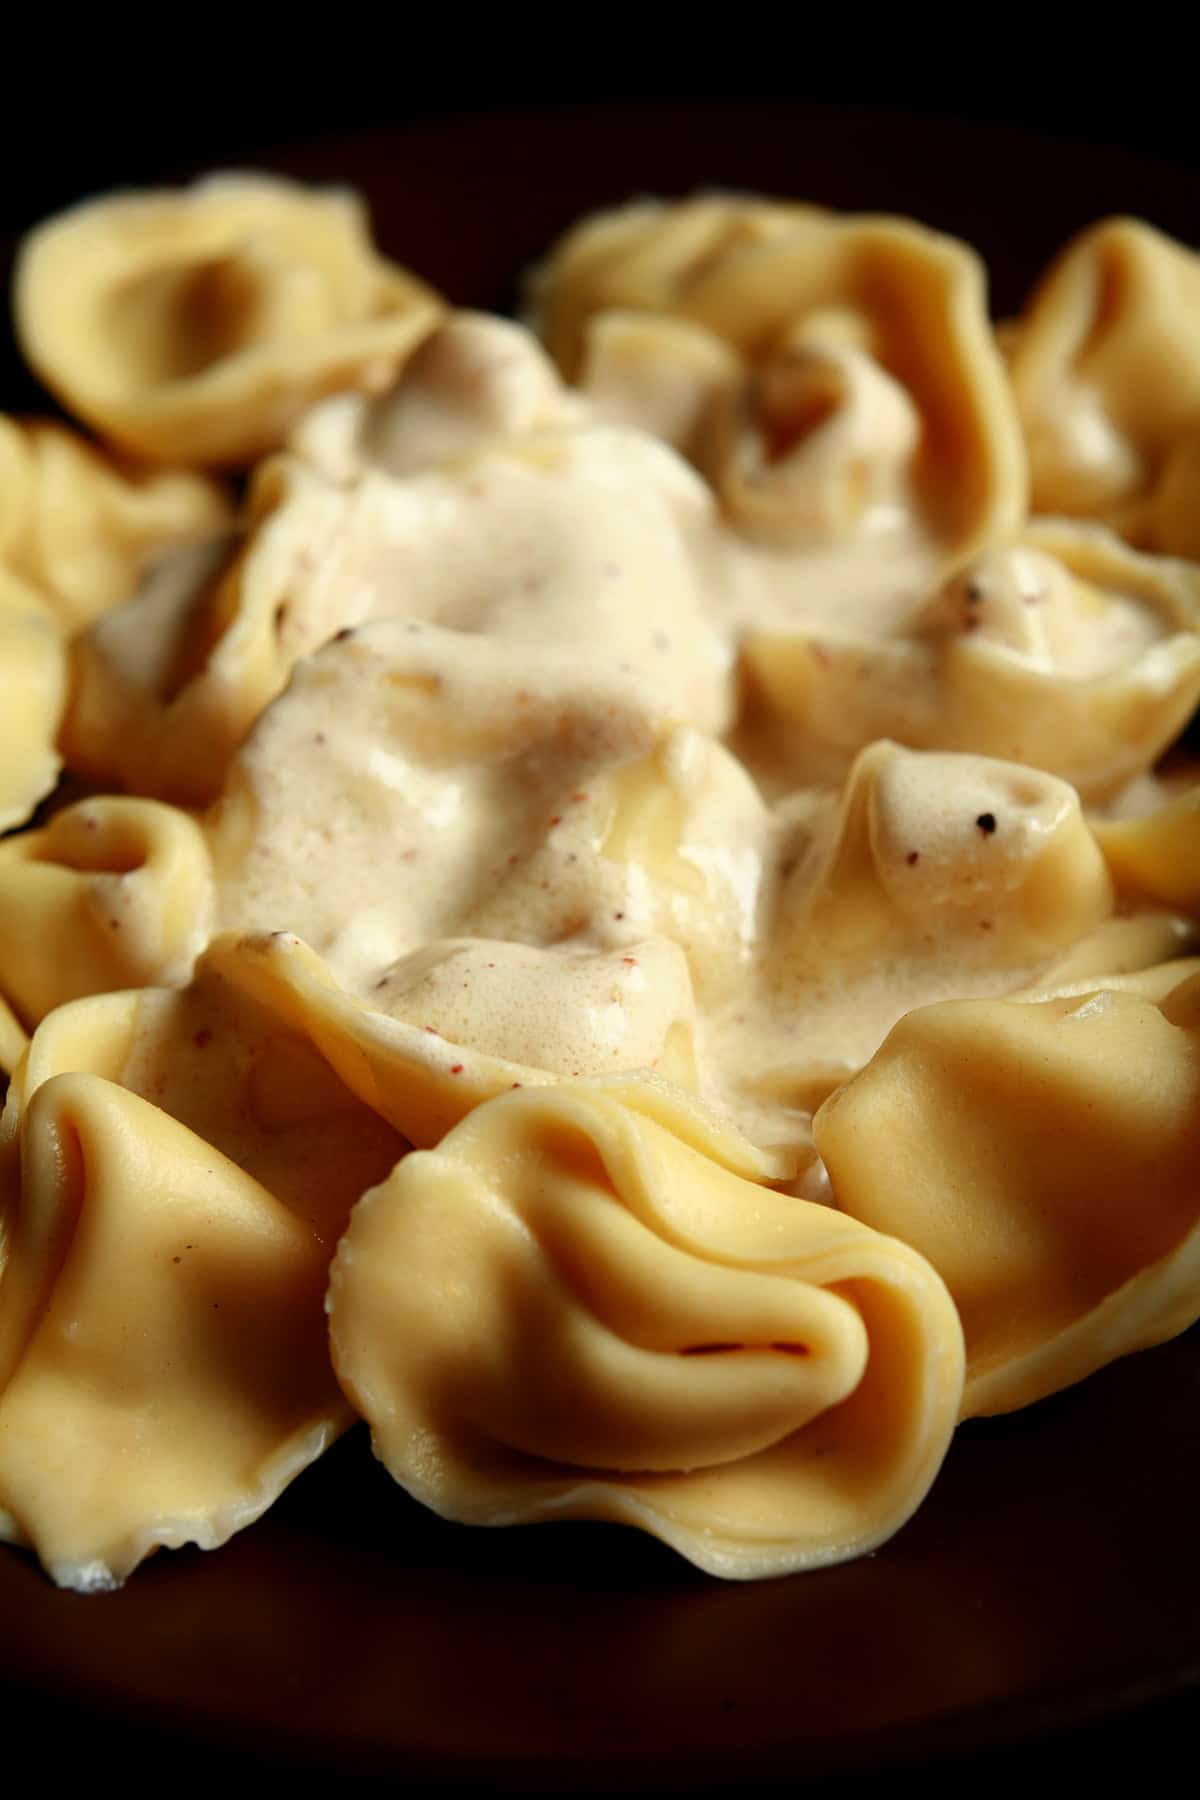
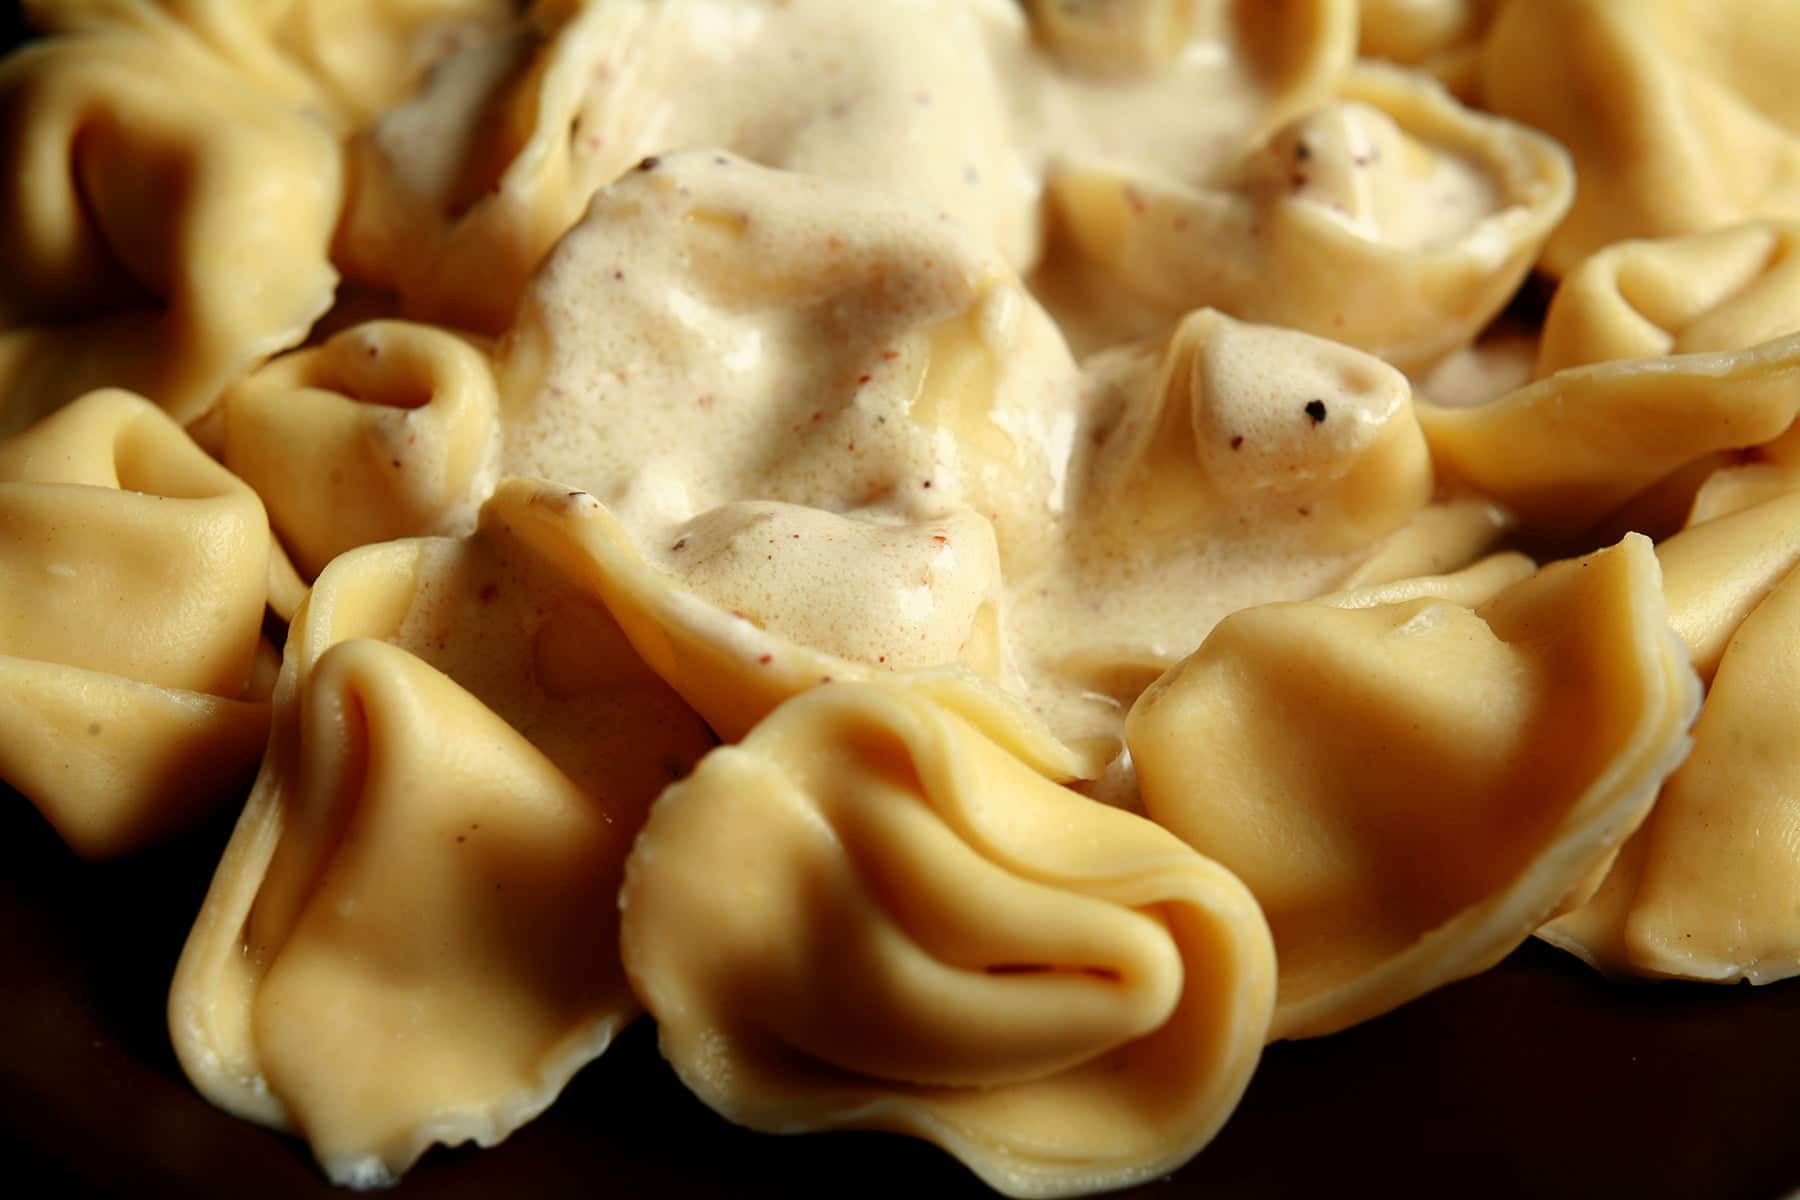
Acorn Squash Tortellini with Nutmeg Cream Sauce is the most beautiful, silkiest pasta I’ve ever made. The cream sauce is perfect for it!
Getting this recipe ready to post was ... an adventure.
Well, after using our pasta maker a total of three times, it bit the big one. Crappy POS...
Also, I had not been having good luck in the kitchen - the death of my pasta maker came only days after my beloved KitchenAid stand mixer decided to take a dive off my kitchen counter...
... ripping a wall outlet in the process, AND denting the beautiful floor that I tiled myself. AAAUGH! Fixing the floor will be a pain, and the mixer is definitely dead also. Boo!
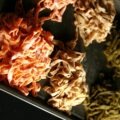
Anyway, this is what I was making when the pasta maker busted. No fault of the pasta, btw - this makes the most beautiful pasta I've ever seen - soft, smooth, silky. Just gorgeous!
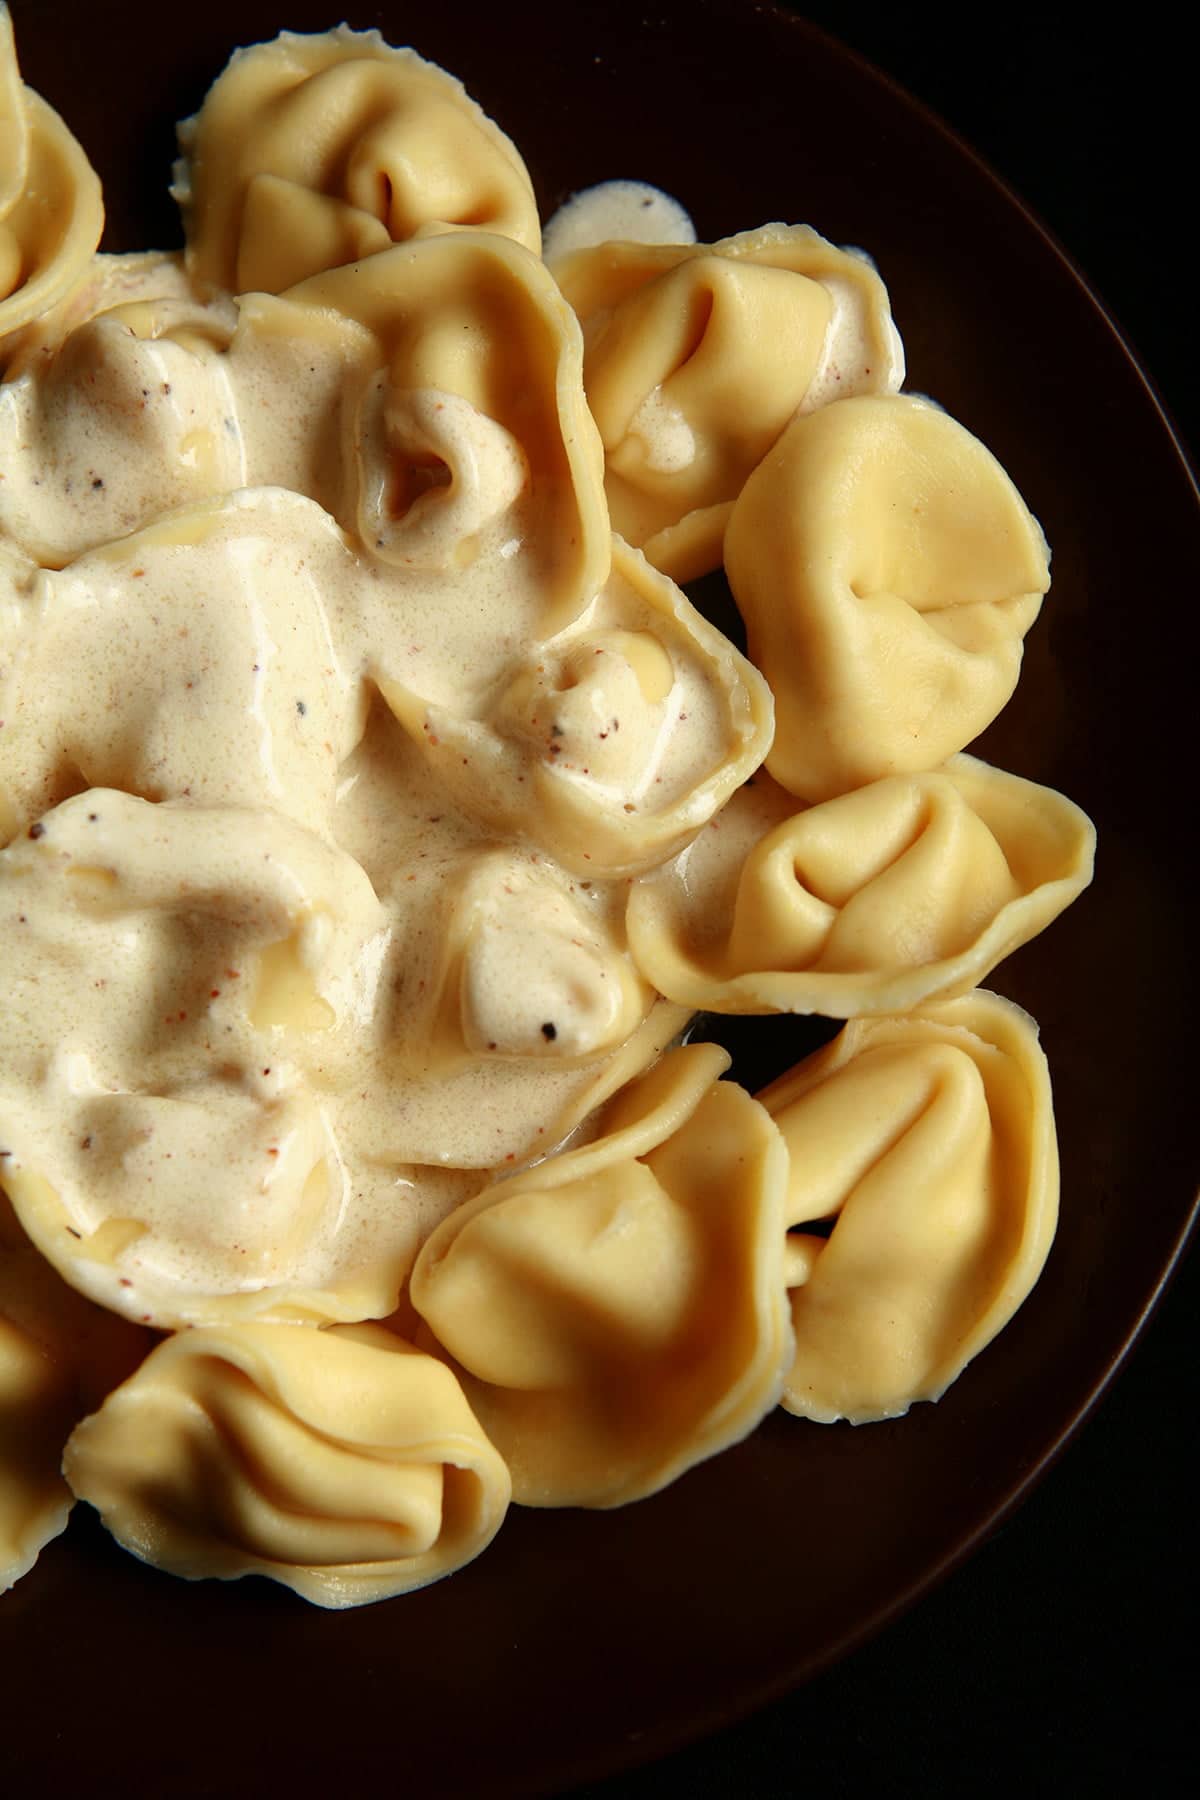
Homemade Tortellini
My husband actually didn't get to eat many of these in an elegant, traditional, or even sit-down fashion: He was picking them off, straight off the pan after cooking!
Yep, he would walk by every couple of minutes - we were in between meals - and grab a few room-temperature tortellinis... sans sauce.
He would like to pass along that he found them *that* addictive!
As with the rest of the pastas we've made since buying our now-defunct pasta machine, Porter has been floored by the fact that he can eat these pastas without sauce, or would ever even want to.
He grew up just drenching store bought pastas in sauce to make them palatable, seeing them more as a delivery method for sauce, than anything.
I think it'll be hard to feed him store bought again, after this. Guess we'll have to find a sturdier model of pasta maker!

Pasta Equipment
As far as equipment goes, you CAN roll this out on a flat surface, using a rolling pin. I find that frustrating, so I use THIS set on my stand mixer.
I also had one of these standalone pasta makers, before I got the set for my stand mixer (but after the one that I wrote about earlier in this post!)
Would wholeheartedly recommend either of those, depending on your needs/situation/budget for it!

How to Make Homemade Squash Tortellini
While the dough, filling, and sauce are pretty straightforward to make from written directions alone, I figure it may be a good idea to add some visual help as far as assembly goes!
- Run your dough through a pasta maker until it is as thin as you can get it.
- One sheet at a time, transfer pasta to a floured work surface, cut into 3″ diameter circles (I used a cookie cutter, you can use a drinking glass, etc)
- Drop a bit of filling (~ ½-1 tsp) in the middle of each pasta circle.

- Use a pastry brush to brush a little whisked egg around the edge of each round.

- Fold each piece in half to form a half circle, pushing out excess air from around the filling as you go. Press to firmly seal edges.
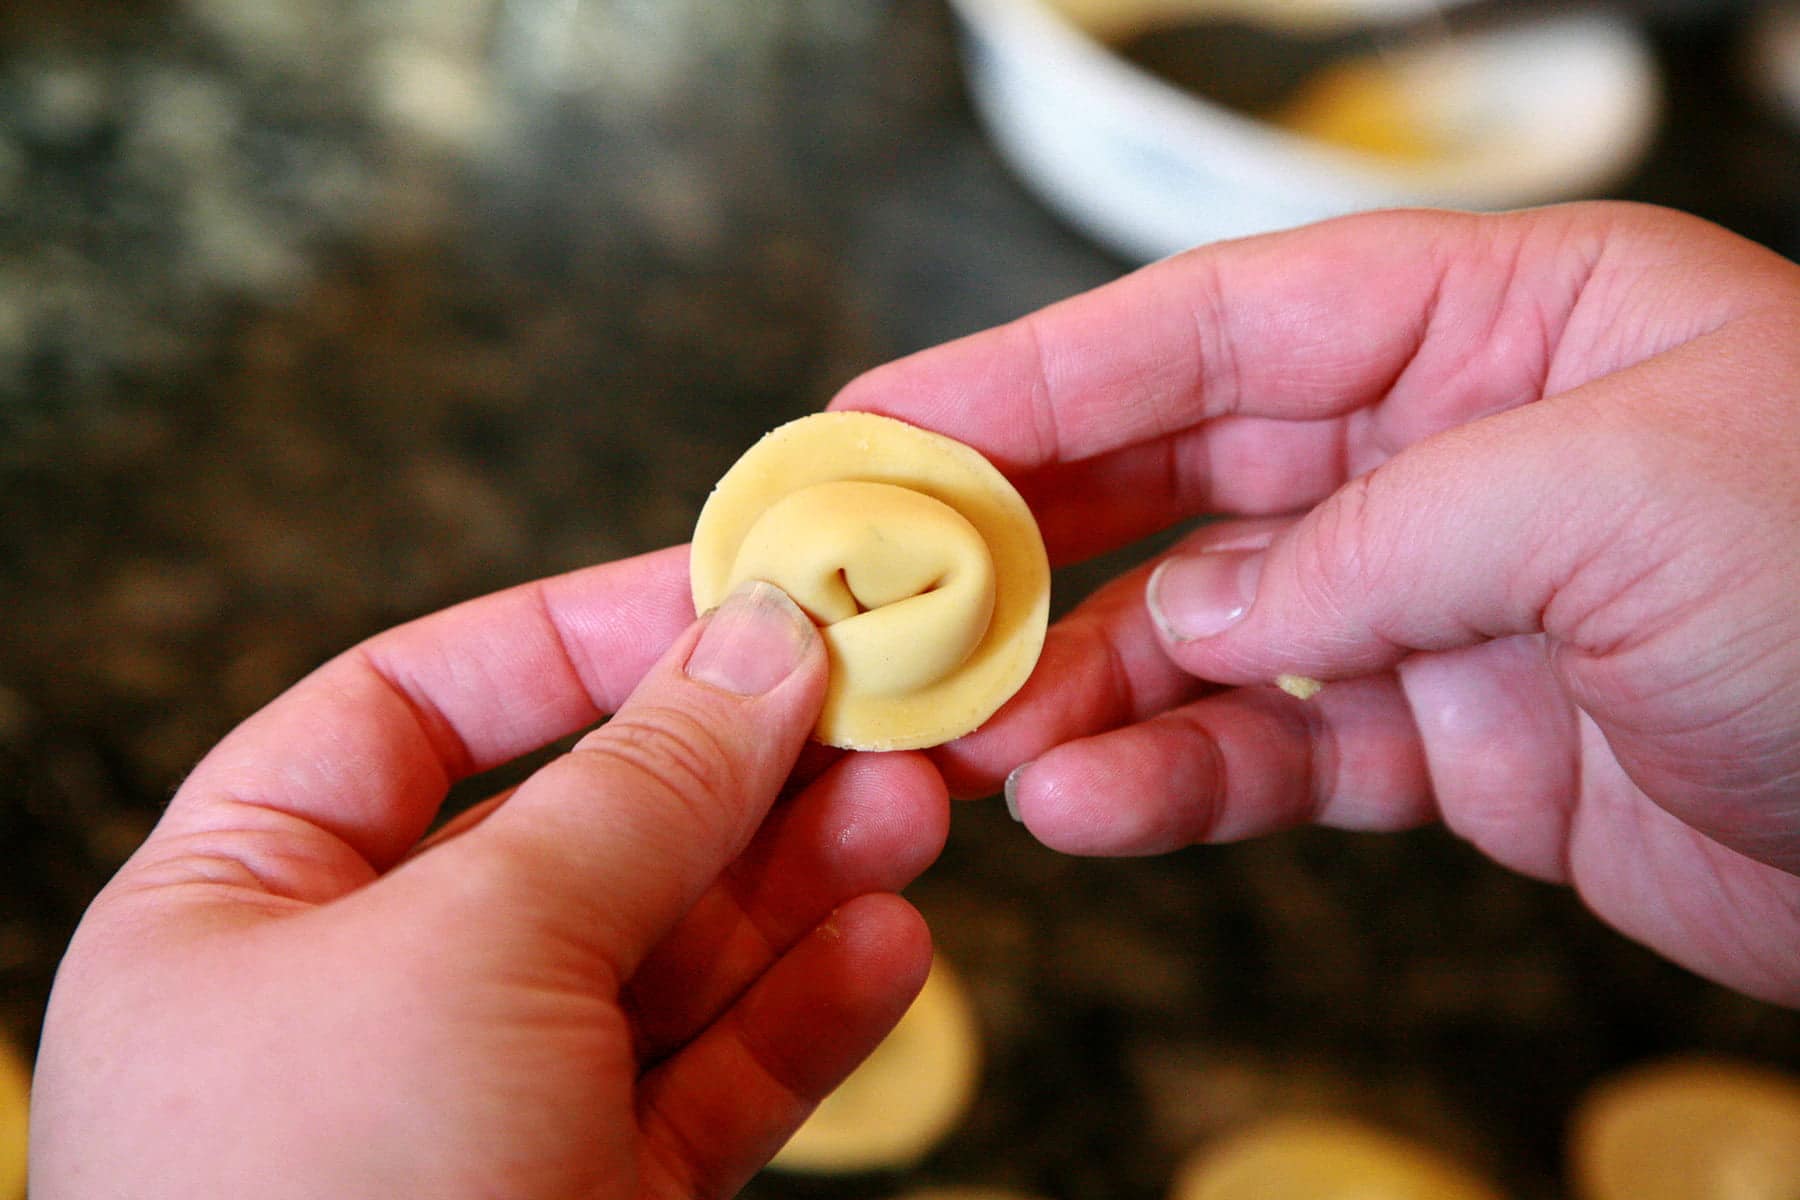
- Push the center (filling) towards the rounded edge, almost like you’re folding it in on itself.

- As you push the center backwards, pull the two ends of the semi circle around it, pressing together to seal.
More Pasta Recipes
Looking for tasty ways to carb load? I've got you covered!
Antipasto Salad
Basic and Flavoured Pasta - Homemade!
Chocolate Dessert Ravioli
How to Make Store Bought Pasta Sauce Taste GOOD
Marie's Pasta Salad
Pasta Alla Porters
Spinach Pine Nut Ravioli with Brown Butter Sauce
Spanakopita Tortellini
Share the Love!
Before you chow down, be sure to take some pics of your handiwork! If you post it to Bluesky, be sure to tag us - @CelebrationGen. We're also on Pinterest, so you can save all your favourite recipes to a board!
Also, be sure to subscribe to my free monthly email newsletter, so you never miss out on any of my nonsense.
Well, the published nonsense, anyway!
Acorn Squash Tortellini with Nutmeg Cream Sauce
Equipment
- Pasta Maker (Optional)
Ingredients
Acorn Squash Pasta:
- 2 Acorn Squashes
- 4 tablespoon Butter
- Salt
- 2+ cups All-Purpose Flour
- 2 Large Eggs
Squash and Ricotta Cheese Filling:
- 1 ½ cups Squash Puree From the 2 squashes in the pasta!
- 2 tablespoon Brown Sugar
- ½ cup Ricotta Cheese
- ⅛-1/4 teaspoon Ground Nutmeg
- ⅛ teaspoon Cinnamon
- ⅛ teaspoon Ground Ginger
- ½ teaspoon Salt
- ¼ teaspoon Ground Pepper
Nutmeg Cream Sauce:
- 4 oz Cream Cheese softened
- ¼ cup Dry White Wine
- 1 cup Heavy Cream
- ¼+ teaspoon Ground Nutmeg
- Salt and Pepper to taste
Assembly:
- Flour
- 1 Large Egg whisked
- Salt
Instructions
Acorn Squash Pasta:
- Preheat oven to 400F
- Cut each squash in half, scoop out seeds and “gunk”. Arrange on a baking sheet, and place 1 tablespoon butter and a pinch of salt in the hollowed out seed cavity of each squash. Roast for about 40 minutes, or until very tender. Remove from oven, allow to cool slightly.
- Scoop out the flesh of the squash, puree in a food processor until almost a paste. Transfer all but ⅓ cup of the puree to a bowl, cover and set aside.
- In the food processor, combine that ⅓ cup puree with 2 cups of flour and 2 eggs. Blitz for about a minute, or until everything is evenly distributed and crumbly.
- Remove the lid of the food processor, and pinch a piece of dough. If it’s sticky, add a little flour and blitz again, adjusting as necessary. When dough feels soft and a little moist, without actually being sticky, you’re good to go!
- Dump dough out onto a floured surface, knead for 2-5 minutes, until soft and elastic.
- Shape the dough into a ball. Cover with plastic wrap and allow it to rest for 30 minutes, to relax the gluten. Go ahead and make your filling while waiting!
Squash and Ricotta Cheese Filling:
- In a clean food processor, blitz ingredients until everything is smooth and well incorporated. Cover with plastic wrap and chill until use.
Nutmeg Cream Sauce:
- In a medium saucepan, whisk cream cheese with wine until smooth. Stream heavy cream into mixture slowly, whisking constantly to form a thick sauce. Add nutmeg, whisking once more until smooth and uniform.
- Heat sauce, stirring often, until it comes to a simmer. Simmer for a few minutes, until thickened. Season with salt and pepper.
Assembly:
- Bring a large pot of water to a boil, salt it well.
- Run your dough through a pasta maker until it is as thin as you can get it. One sheet at a time, transfer pasta to a floured work surface, cut into 3″ diameter circles (I used a cookie cutter, you can use a drinking glass, etc)
- Drop a bit of filling (~ ½ tsp) in the middle of each pasta circle.
- Use a pastry brush to brush a little whisked egg around the edge of each round.
- Fold each piece in half to form a half circle, pushing out excess air from around the filling as you go. Press to firmly seal edges.
- Push the center (filling) towards the rounded edge, almost like you’re folding it in on itself.
- As you push the center backwards, pull the two ends of the semi circle around it, pressing together to seal.
- Transfer tortellini to boiling water in batches, cooking for 3-5 minutes or until they float to the surface. Strain well. Serve tortellini hot, topped with nutmeg cream sauce.
Nutrition
More Fall Eats
Looking for more cool weather, “autumn” type recipes to enjoy as the leaves change? I’ve got you!
Hearty Corn and Black Bean Soup
Homemade Hard Apple Cider
How to Cut & Serve Pomegranate
How to Make Candy Apples
How to Make Pumpkin Mead
How to Roast Chestnuts
Maple Pumpkin Spice Bagels
Roasted Cauliflower Soup with Smoked Serrano Drizzle
Traditional Pumpkin Mousse
Wild Rice & Sausage Stuffed Peppers
Wild Rice Stuffed Chicken Breast




Leave a Reply