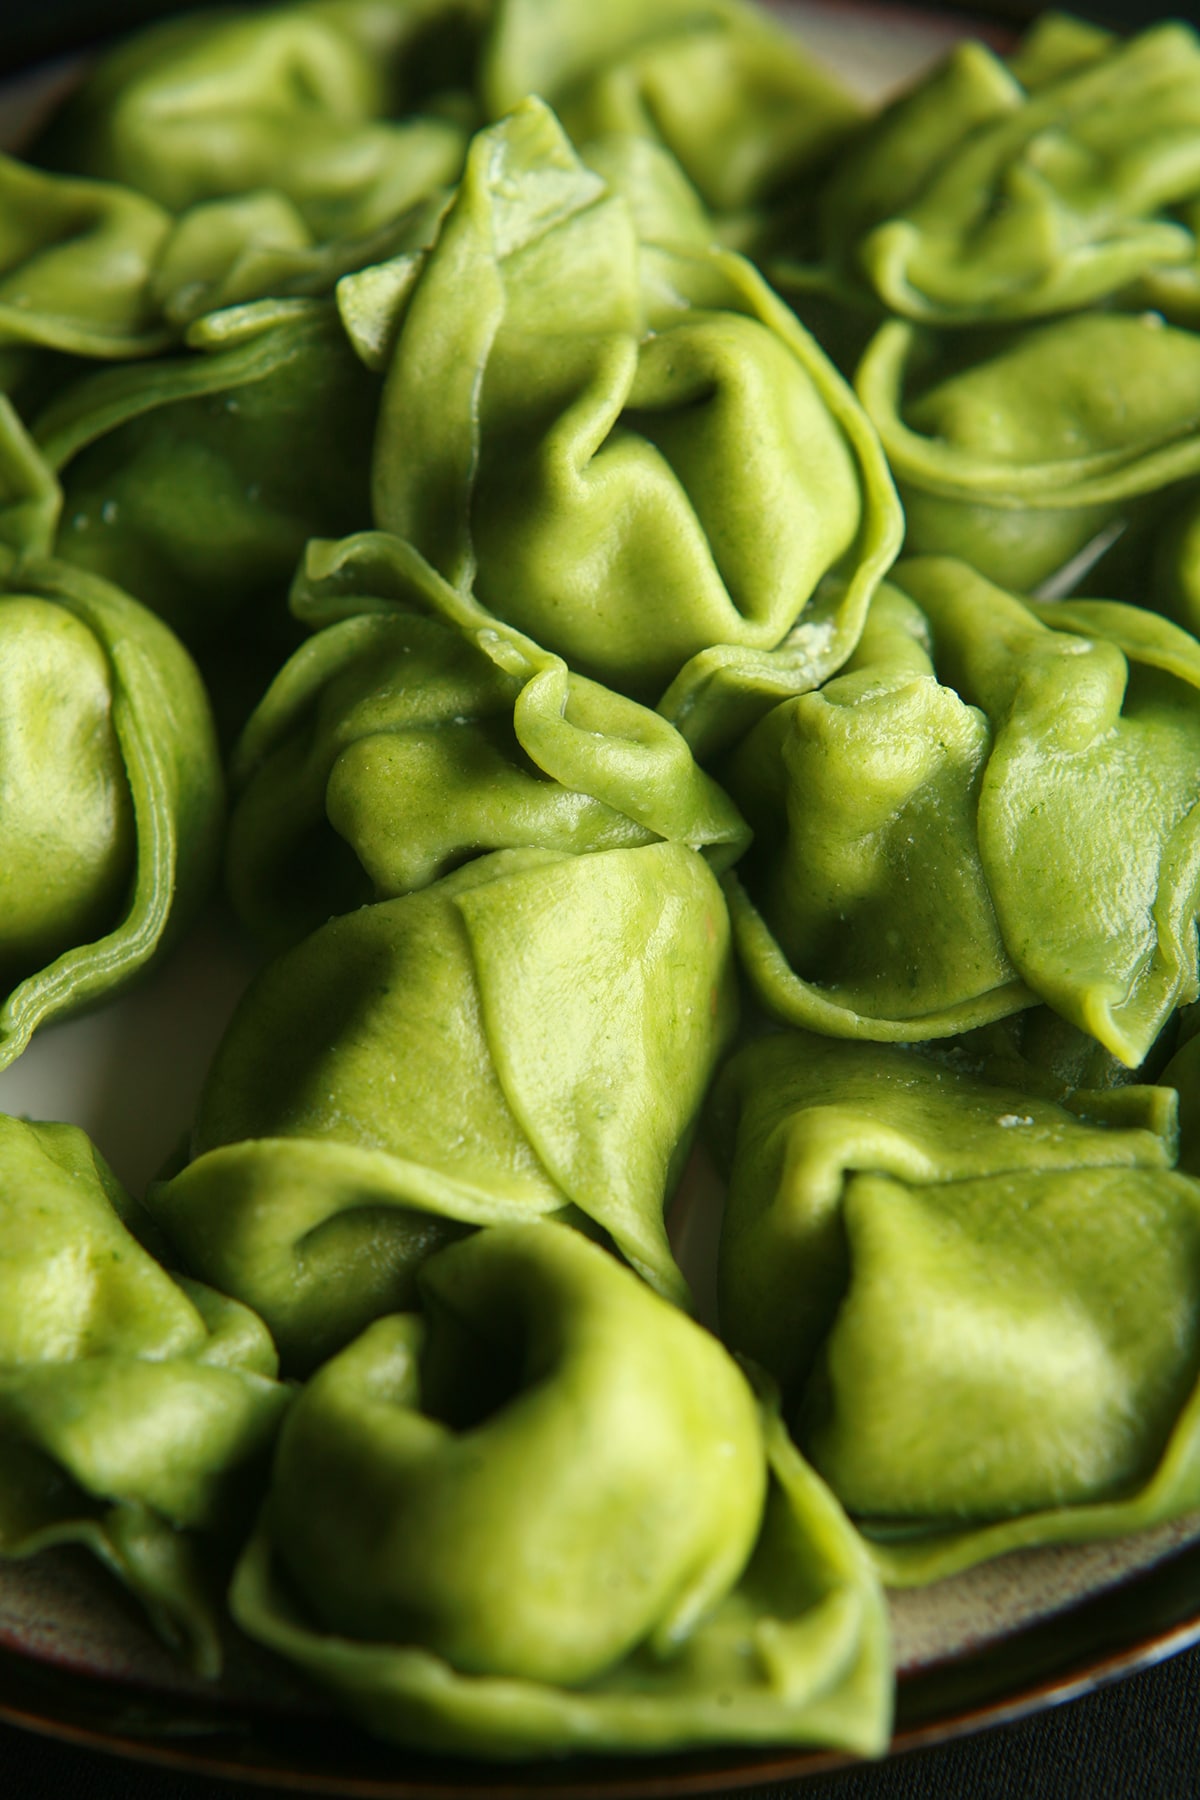
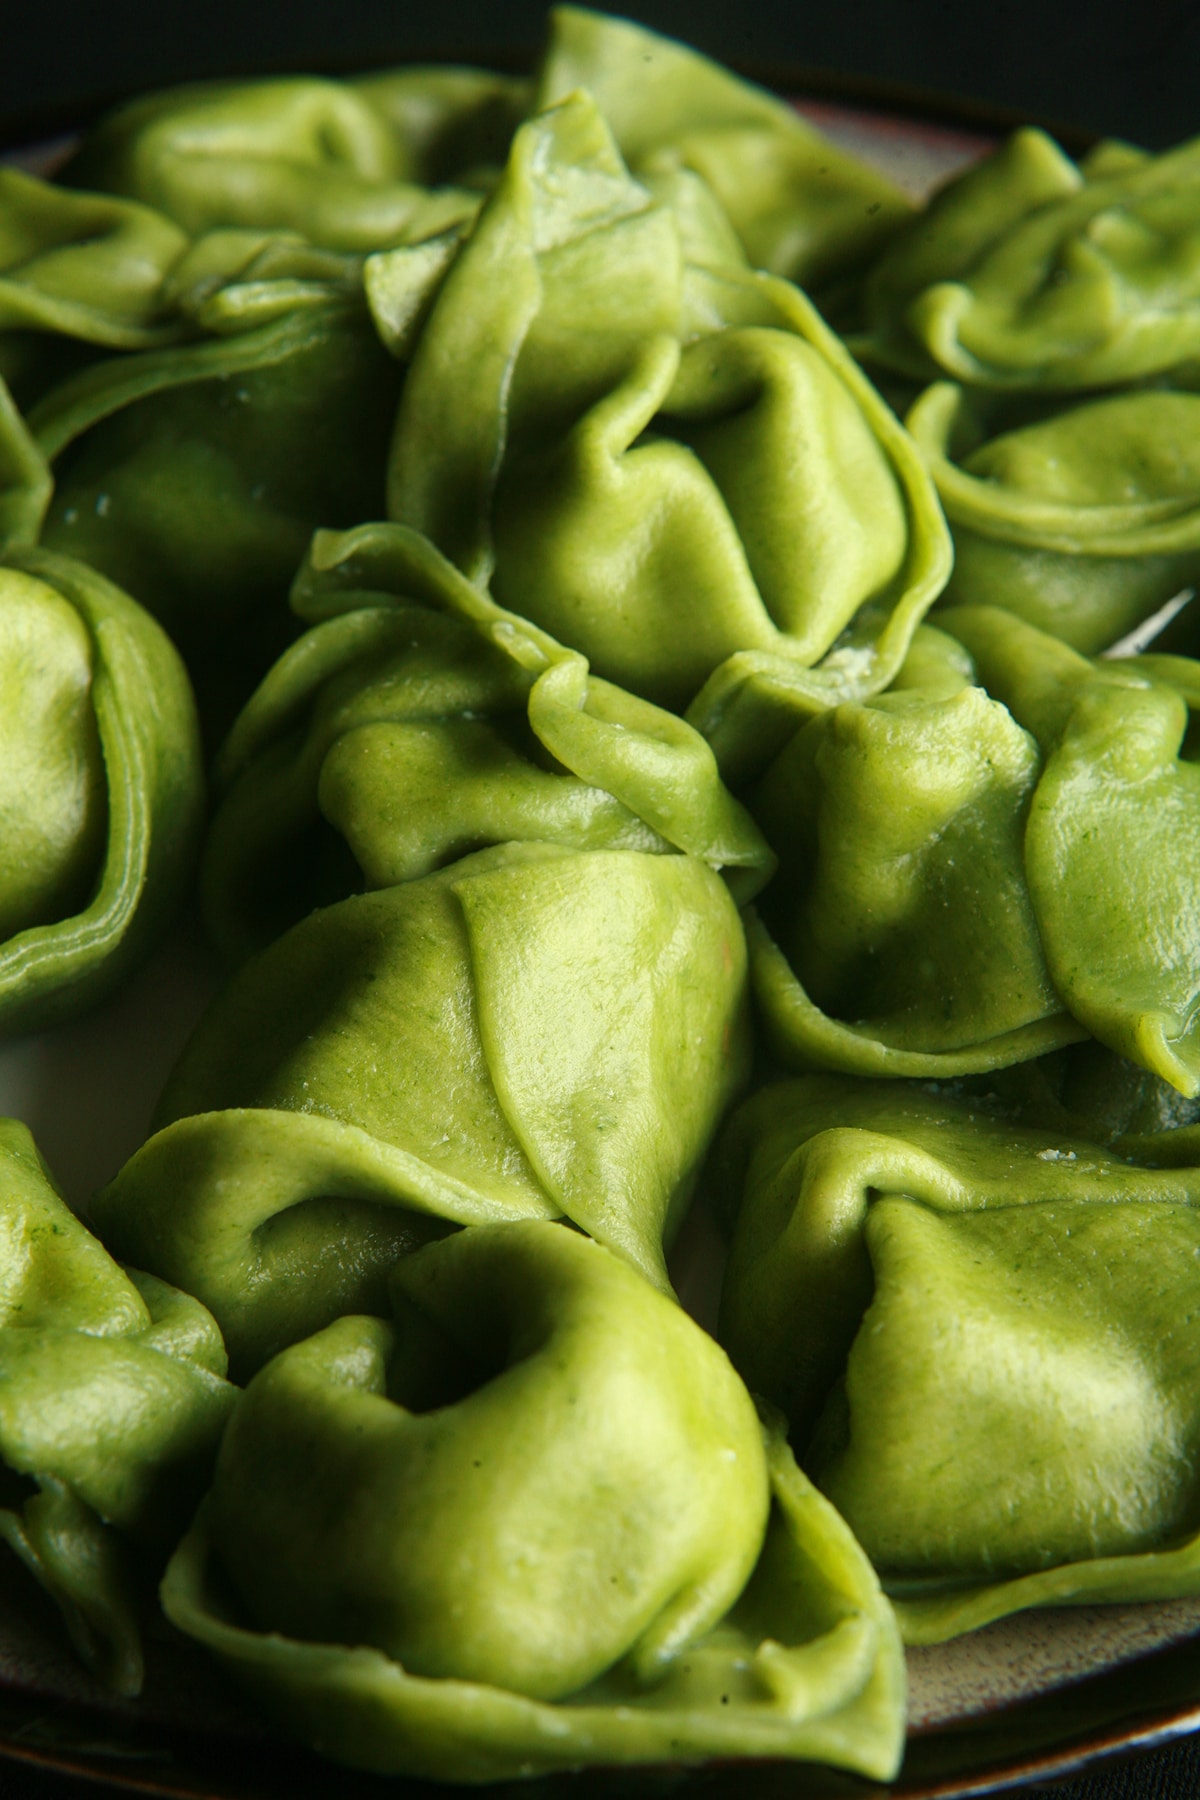
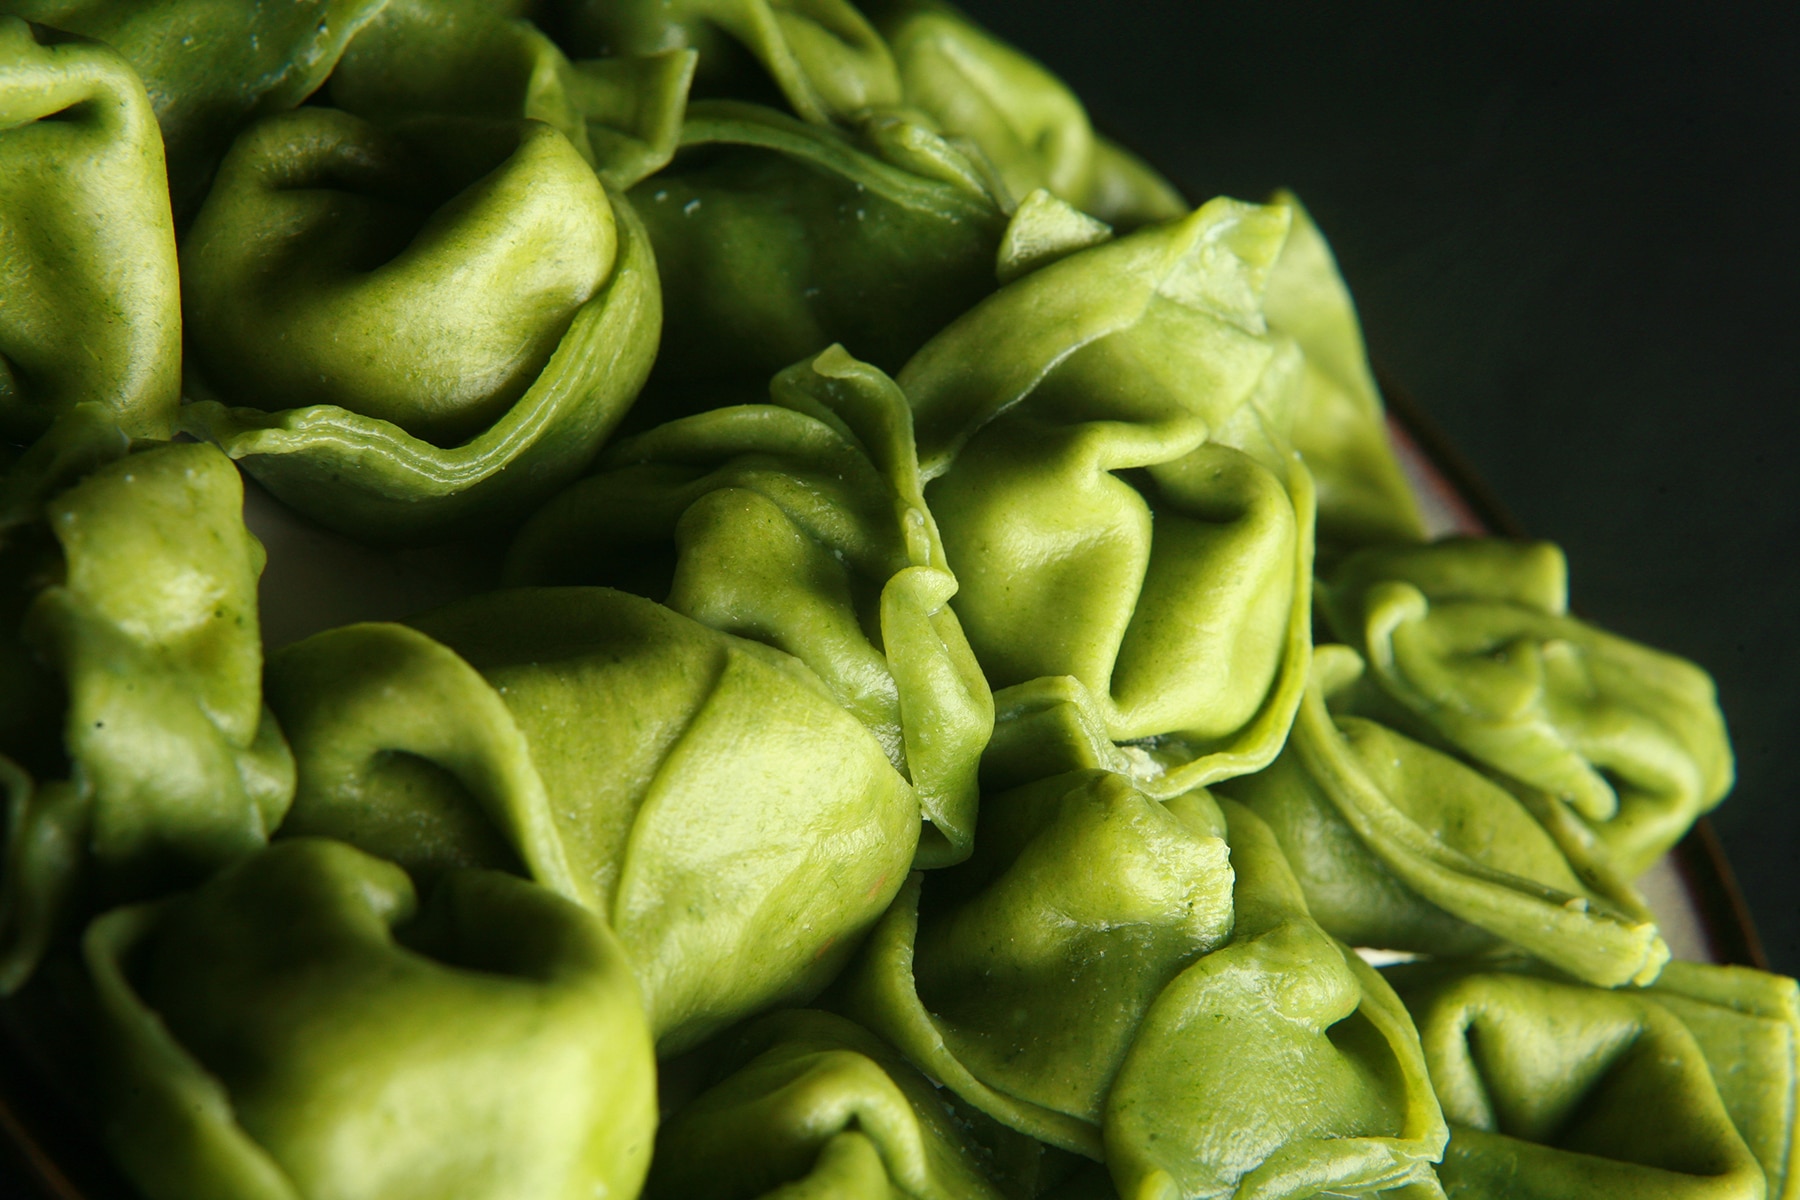
This “Spanakopita” Tortellini takes the main flavours of Spanakopita, and wraps them up in homemade spinach pasta. Doesn’t even need sauce!
Originally published February 19, 2013. Updated on 6/17/2021

We recently purchased a new pasta machine. As we debated what the first thing we would make should be (Plain pasta? No. Running before you walk is always more fun!), I had an idea:
One of Porter's favorite meals ever is Spanakopita. What if I took the basic flavors of spanakopita, made a filling from it... and then wrapped it up in spinach pasta dough, for a funky take on tortellini?
So, I made a filling out of Feta and Ricotta cheeses, flavoured with dill and nutmeg, and wrapped them up in a homemade pasta made from fresh spinach.
It turned out wonderfully! So much so, that my husband declined the idea of sauce, and loudly proclaimed it to be the only pasta he's ever had that didn't NEED sauce.
Awesome - Hope you enjoy this Spanakopita Spinach Tortellini as much as he does!
Pasta Equipment
As far as equipment goes, you CAN roll this out on a flat surface, using a rolling pin. I find that frustrating, so I use THIS set on my stand mixer.
I also had one of these standalone pasta makers, before I got the set for my stand mixer (but after the one that I wrote about earlier in this post!)
Would wholeheartedly recommend either of those, depending on your needs/situation/budget for it!

How to Make Spanakopita Spinach Tortellini
While the dough, filling, and sauce are pretty straightforward to make from written directions alone, I figure it may be a good idea to add some visual help as far as assembly goes!
Note: See my post on Basic and Flavoured Pastas for more information on making pasta dough!
- Run your spinach pasta dough through a pasta maker until it is as thin as you can get it.
- One sheet at a time, transfer pasta to a floured work surface.
- Cut into 3″ squares, drop a bit of filling (~ ½-1 tsp) in the middle of each pasta circle.

- Use a pastry brush to brush a little whisked egg along the edges of pasta.

- Fold each piece in half to form a triangle, pushing out excess air from around the filling as you go. Press to firmly seal edges.
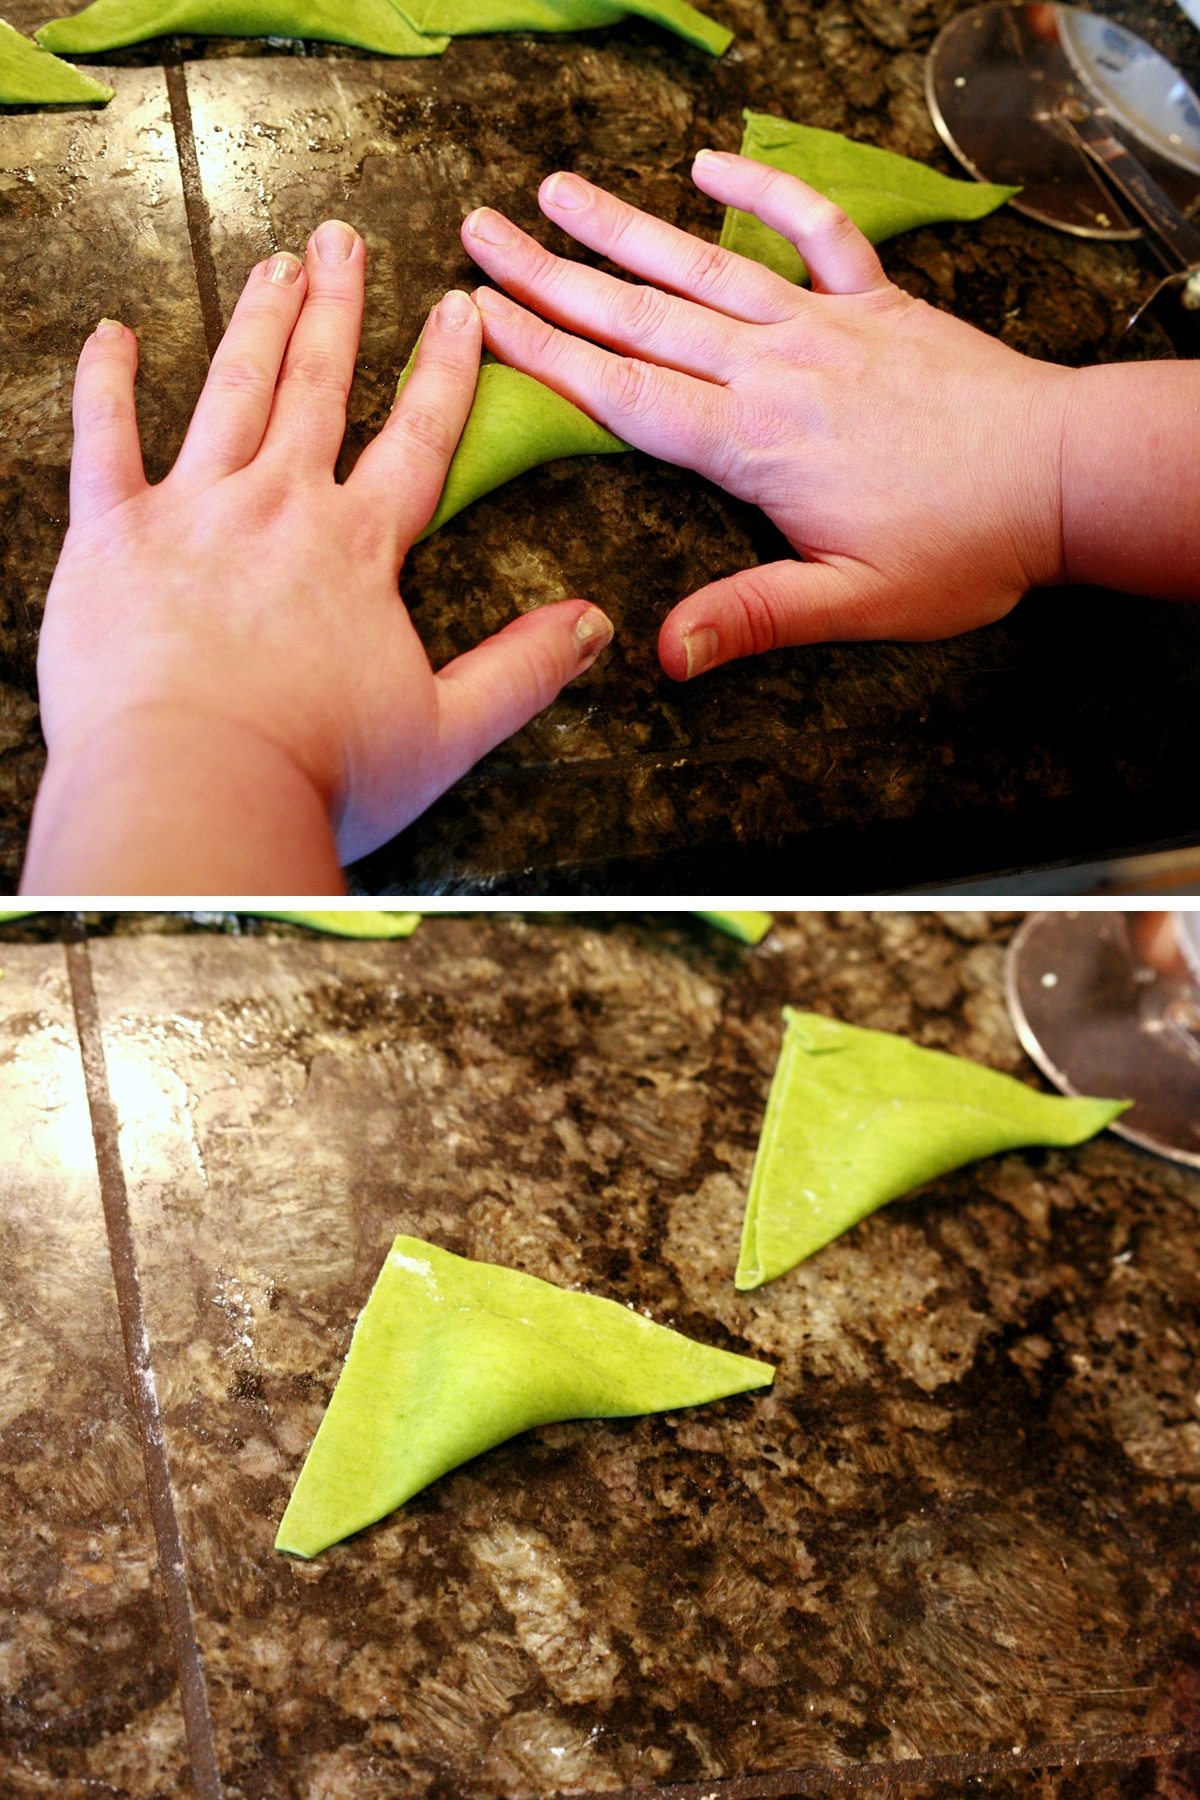
- Fold the “top” tip of the triangle down lightly.

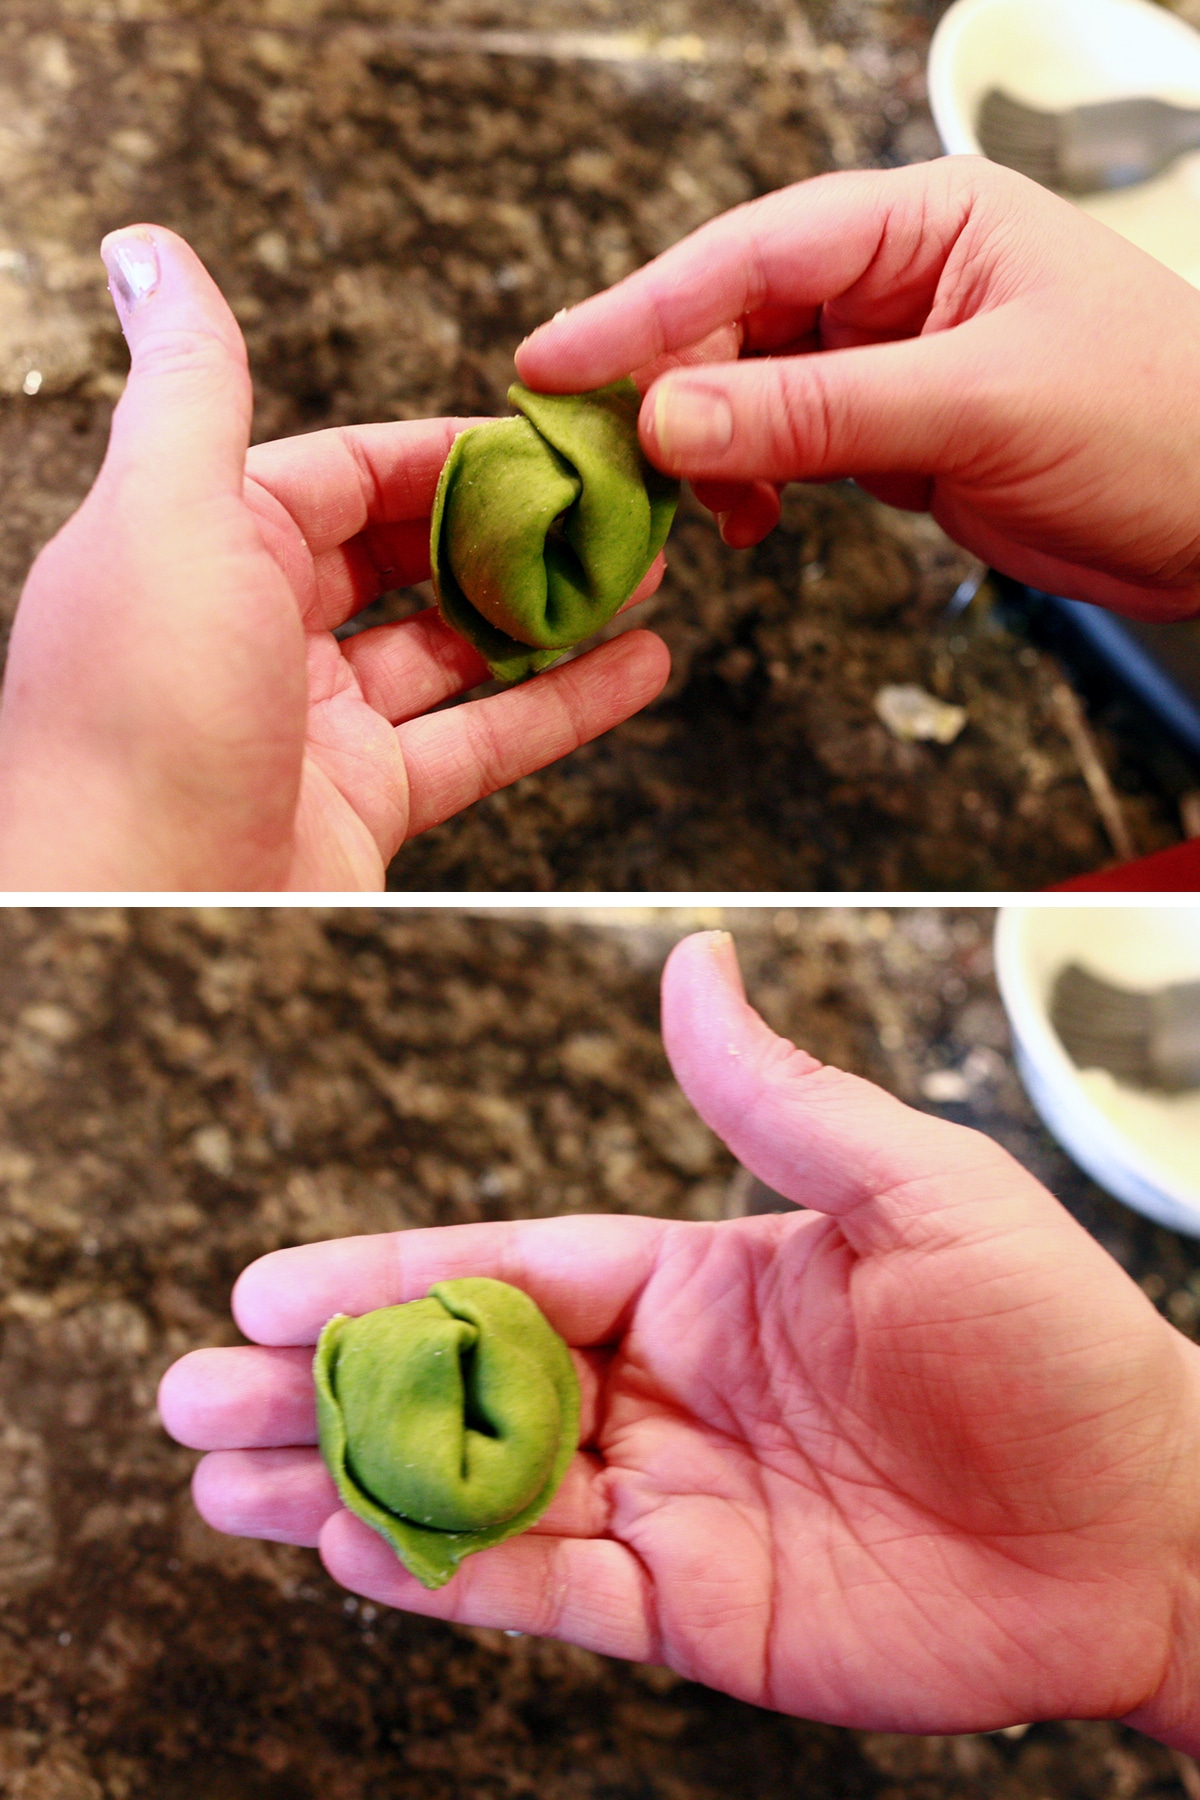
- Bend ravioli edges backwards, pressing together on the opposite side from the folded down top.
- Press edges firmly together to seal.
More Pasta Recipes
Looking for tasty ways to carb load? I've got you covered!
Acorn Squash Tortellini with Nutmeg Cream Sauce
Antipasto Salad
Basic and Flavoured Pasta - Homemade!
Chocolate Dessert Ravioli
How to Make Store Bought Pasta Sauce Taste GOOD
Marie's Pasta Salad
Pasta Alla Porters
Spinach Pine Nut Ravioli with Brown Butter Sauce
Share the Love!
Before you chow down, be sure to take some pics of your handiwork! If you post it to Bluesky, be sure to tag us - @CelebrationGen. We're also on Pinterest, so you can save all your favourite recipes to a board!
Also, be sure to subscribe to my free monthly email newsletter, so you never miss out on any of my nonsense.
Well, the published nonsense, anyway!

Spanakopita Spinach Tortellini
Equipment
- Pasta Maker (Optional)
Ingredients
Spinach Pasta:
- 5 oz Fresh Baby Spinach
- 2+ cups All-Purpose Flour
- 2 Large Eggs
“Spanakopita” Filling:
- 4 oz Feta Cheese
- 1 cup Ricotta Cheese
- 1 teaspoon Dried Dill
- 1 teaspoon Dried Parsley
- ¼ teaspoon Ground Pepper
- ¼ teaspoon Salt
- pinch Nutmeg
Assembly:
- All-Purpose Flour
- 1 Large Eggs whisked
- Salt
Instructions
Spinach Pasta
- Boil spinach for 5 minutes or so, until very soft. Strain, use a spoon to push all additional water out of the spinach – you’ll want it as dry as you can get it.
- Blitz spinach in a food processor until finely chopped, almost a paste. Add 2 cups of flour and the eggs, blitz for 30 seconds, until everything is evenly distributed and crumbly.
- Remove the lid of the food processor, and pinch a piece of dough. If it’s sticky, add a little flour and blitz again, adjusting as necessary. When dough feels soft and a little moist, without actually being sticky, you’re good to go!
- Dump dough out onto a floured surface, knead for 2-5 minutes, until soft and elastic.
- Shape the dough into a ball. Cover with plastic wrap and allow it to rest for 30 minutes, to relax the gluten. Go ahead and make your filling while waiting!
“Spanakopita” Filling:
- Combine all ingredients until everything is well incorporated. Cover with plastic wrap and chill until use.
Assembly:
- Bring a large pot of water to a boil, salt it well.
- Run your spinach pasta through a pasta maker until it is as thing as you can get it. One sheet at a time, transfer pasta to a floured work surface.
- Cut pasta into 3″ squares, drop a bit of filling in the middle of each – about ½ tsp.
- Use a pastry brush to brush a little whisked egg along the edges of pasta.
- Fold each piece in half to form a triangle, pushing out excess air from around the filling as you go. Press to firmly seal edges.
- Fold the “top” tip of the triangle down lightly.
- Bend ravioli edges backwards, pressing together on the opposite side from the folded down top.
- Press edges firmly together to seal.
- Transfer tortellini to boiling water in batches, cooking for 3-5 minutes or until they float to the surface. Strain well, serve hot!
Nutrition




Nani
Now, I inherited my grandma's pasta maker, but I don't have a place to set it up, and it's all manual. So I'm taking this recipe with me next time I visit my dad. He has a motorized pasta machine and loves it when we have a cooking day together. So, thanks for giving me good incentive for a daddy-daughter day. lol
These look FABULOUS!
Katie
So I ran across your blog after a friend tagged you in that face hugger/Easter bunny cake question a couple days ago. These immediately got added to the week's menu. I made them for dinner tonight and they are delicious! I always hate losing all those vitamins by boiling things so I cooked the spinach by putting it in a glass bowl with a dash of water and microwaving it for 4 minutes before continuing the recipe. I also added a 1/4 tsp of salt to the pasta. It was a bit dry for me so I kneaded in a little olive oil and that worked great. I had never made pasta in the food processor so that was fun! The finished tortellini were tossed with a bit of butter and were a bit hit. The kids decided to call them alien belly buttons. For anyone who's OCD like me, the recipe made 87 tortellini with a bit of extra pasta squares so I could have stretched it if needed.
On a side note, our favorite recipe for regular Spanakopita is the one put out by Cooks Illustrated for Weeknight Spanakopita. Rather than wrapping a bunch individually, you layer filo then spread on the filling and more layers of filo. Cut the final thing in appropriate sized squares. Plus it's Cooks Illustrated so it is fantastically delicious!