

Cosplay Tutorial - Handmaid's Tale Cap

So, as I've mentioned on my Facebook Page, I'm in a Handmaid's Tale cosplay group for Convergence 2017. With Hulu's adaptation of Margaret Atwood's classic - Canadian, btw! - novel being SO great, we just have to! I was originally going to do it with just my husband (who wants to be "Janine"/"Ofwarren"), then with a friend or two, and then we ended up joining up with a group of strangers. Adventure!
I offered to pattern up some of the elements, and here we are. Because many of our group are novice seamstresses, I've done this tutorial so that even beginners can make them. Yes, there are cleaner, fussier, more accurate ways of doing it... but this looks legit, and is easy to make. So, here we are!
You're going to want about ½ yard of a natural, white fabric. I used a linen-look fabric from JoAnn (Here), for budget reasons. Actual linen or cotton would work, also.

Additionally: White thread, a bit of elastic (I like ⅜" braided elastic), a sewing machine, a serger (if you have it), a cord threader or safety pin, and a hand sewing needle. For pattern making, some tissue, craft, or medical examination table paper, a ruler, and a pen.
PS: If you'd like to make the "Wings" - the large bonnet that the Handmaids wear outdoors, Click here to go to my Etsy listing for the pattern and tutorial, or click here to buy the PDF directly through my site!
Let's get to it!
Cosplay Tutorial - Handmaid's Tale Cap
Part 1: Patterning

Measure from the middle, top of your head, down the side of your head, to the bottom of your ear. For most adults, this should be about 10" - we'll be using 10" as the measurement for this tutorial.
On your patterning paper, draw 2 lines that are perpendicular to the edge of the paper, and this measurement (10") apart. Have at least 15" of paper extending out to the left.
On one of the lines, mark a spot that is 2.5" from the edge of the paper. (left side, as pictured). On the other line, mark a spot 3.5" from the edge of the picture. Using a ruler, join these two spots.
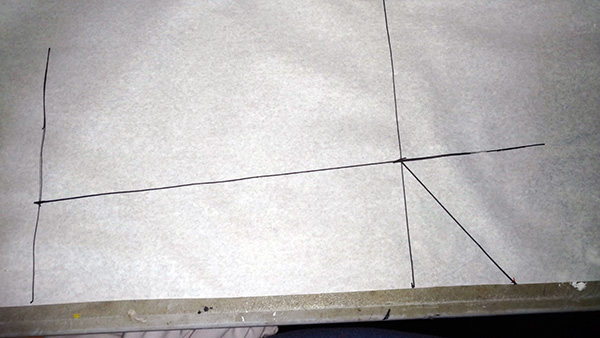
On the edge of the paper, mark a spot that is 2.5" away from the line marked at 3.5" - in this case, the line on the right. Use a ruler to join this new spot, to the 3.5" mark
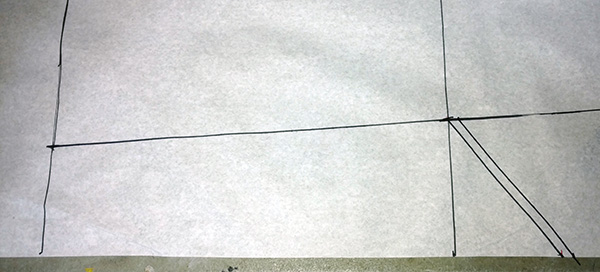
Mark a seam allowance out from the line you just drew. I like to use a ¼" seam allowance. So, I marked ¼" out at both ends, and joined those two spots to form a line ¼" out from the original line, parallel to it.

Fold the paper at the 2.5" line, lining up long edges. Cut out pattern piece.

This is what your pattern piece should look like.
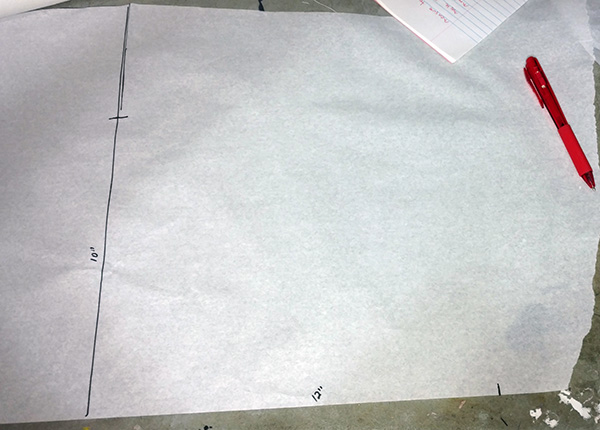
On another piece of paper, use a ruler to draw a line perpendicular to the edge of the paper. Mark it at the measurement you came up with earlier (10", in this case).
Along the edge of the paper, you need to mark a spot that will become the length of the "bag" of the cap. For a larger bag (lots of hair), I like to use 14". For a smaller bag (not much hair to hide), you can go 11-12".
For this tutorial, I used 12". I marked 12" away from the original line.

Fold the edge of the paper to meet the line you drew, and press to form a sharp crease. This will show you the halfway point.

Unfold pattern. Mark a spot along the fold, that is the difference between your two measurements. As I was using 10" and 12", this means I marked a spot 11" from the edge of the paper, measured along the fold.
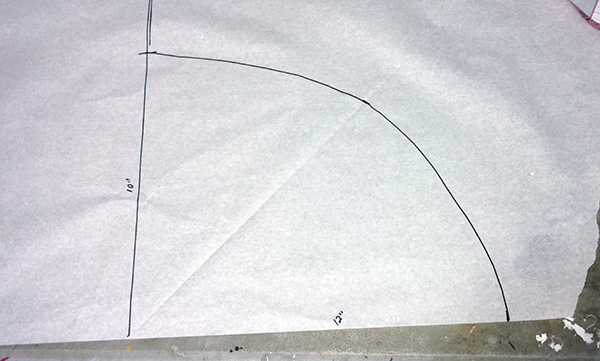
Draw a curved line that smoothly and evenly connects your 3 measurement points.

Draw a second curved line 1" outside of that line. This will be your seam allowance.
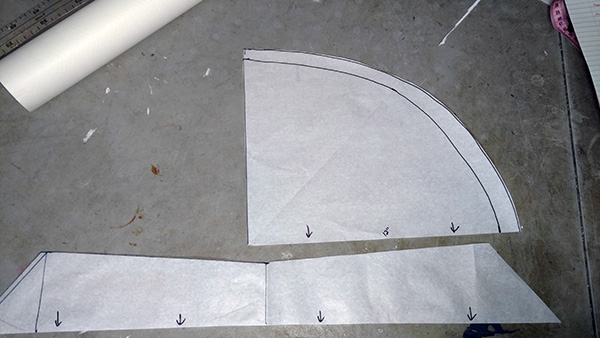
Cut out your pattern pieces. I like to add arrows pointing to the original paper edge on both pattern pieces, as pictured - this is where the fold of the fabric will be.
Part 2: Cutting


Fold your fabric, place arrow-marked edges of the pattern pieces on the folds, cut through both layers of fabric.

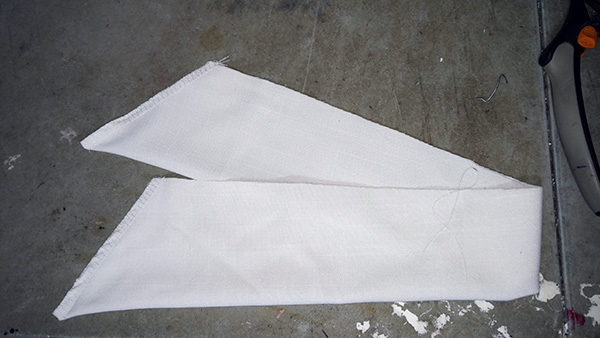
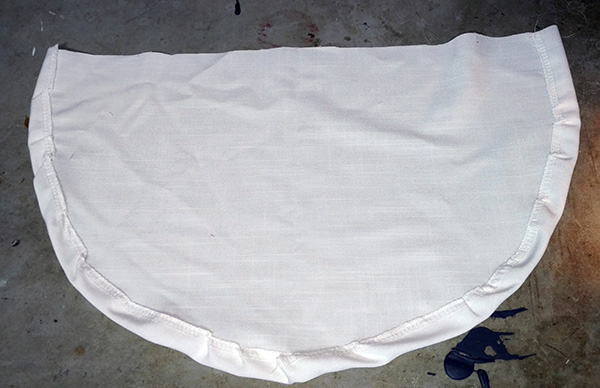
These are the two pieces that will make up your cap.
Part 3: Sewing
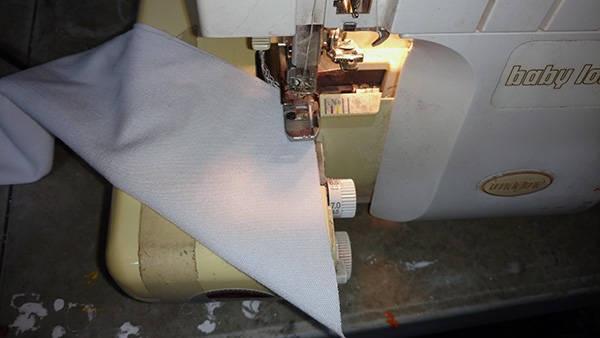
With right sides together (if applicable) - folded lengthwise - sew or serge the pointed ends together, as shows.
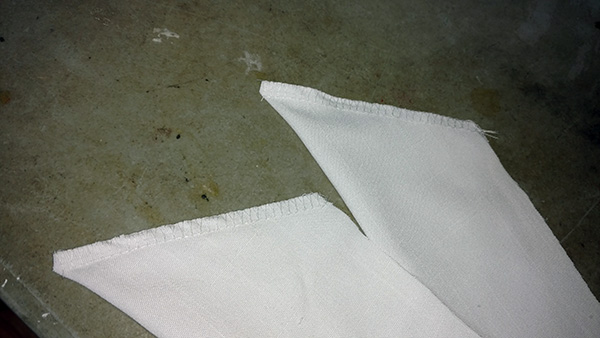
Clip the very tip off each point, without cutting the seam.

Carefully turn the points right-side out. Use a chopstick or other pointy instrument (closed tip of scissors works, just be careful!) on the inside, to push the very point out as much as possible.
While I didn't bother, using a hot iron to press sharp creases into the fold/ pointed ends can make things easier for you.
(not pictured) Serge or zig-zag the rounded edge of the "bag" piece.

Your pieces.

With the right side (if applicable) facing down, fold up and sew a 1" seam around the curved edge of the bag. Sew close to the serged/zig zagged edge, leaving a nice big tunnel, clear.

As you sew, gently gather in the excess fabric that needs to be worked into the seam. Don't worry, this doesn't need to be pretty.
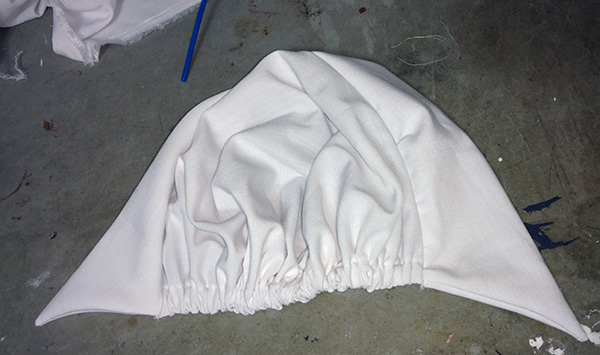
The bag, with the tunnel sewn.

Measure the back of your head, from behind one ear, straight across to the other. Add 2" to this measurement, for the length of elastic to cut. 8" is what we get, so I cut a 10" long piece of elastic.
Thread the elastic into your cord threader, or attach a safety pin to one end.
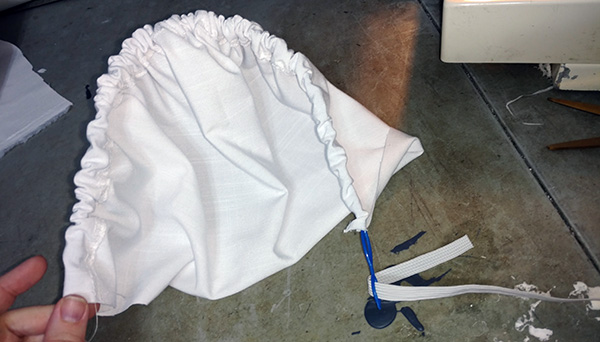
Thread your elastic through the tunnel you made, being sure not to lose the end of the elastic.

Leave 1" of elastic hanging out the side you started threading through.

Sew across the opening of the tunnel, securing the elastic. This seam should be done very close to the opening.

Pull the cord threader or safety pin out the other side of the tunnel. Allow 2" of elastic to stick out, hold it securely!.
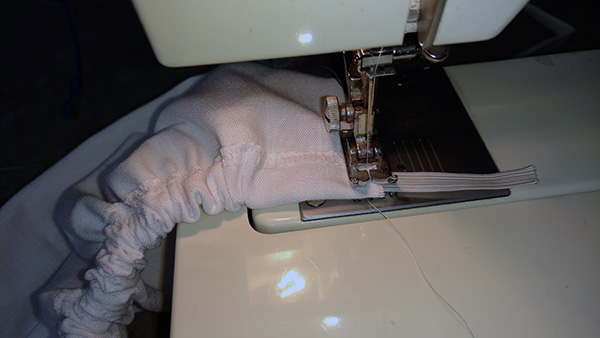
Sew the second tunnel opening closed, as you did the first.

Trim excess elastic from both ends (It was just for ease in working with it). This will leave you with a length of gathered elastic that is 1" shorter than your measurement - this is what we want. (it will be too big, otherwise.)
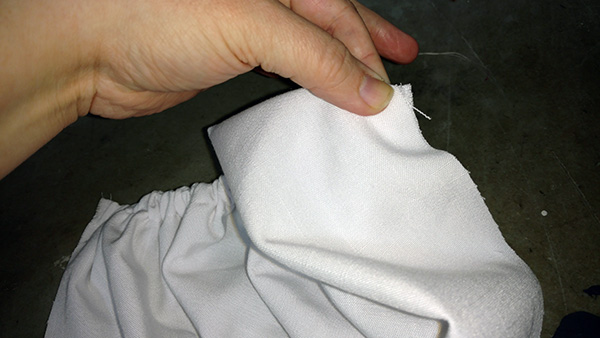
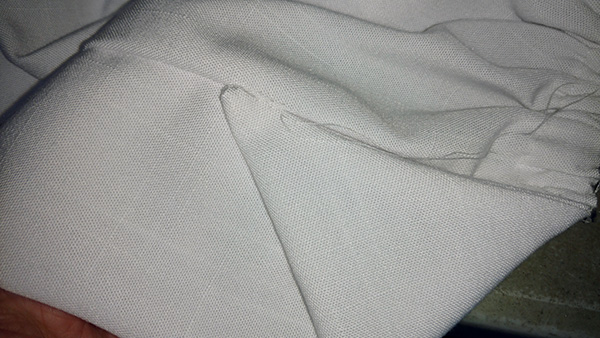
With the right side of your "bag" facing up (ie, the edge seam/tunnel underneath)Line up the raw edge of your brim piece with / on top of the raw edge of your bag piece, as pictured.

Sew or serge the brim piece to the bag. make sure to keep the brim piece folded and lined up with itself the whole time - you can pin it, if needed.
If you find that you didn't do so well with cutting, or with maintaining the seam allowance measurements, you may find one piece slightly bigger than the other, as you approach the end. Feel free to just fold and tuck extra fabric to match the seam ends up, within the last 2-3", if needed. This will be hidden by the folded point.
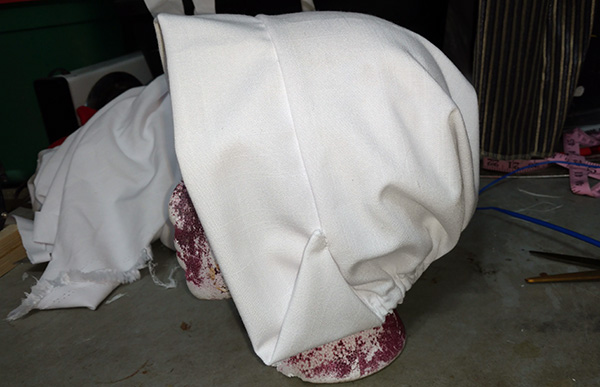
What it should look like at this point.

While not necessary, I like to tack the joining seam backwards against the elastic, just for an inch or so at each edge, as pictured. It just makes it look cleaner when wearing it - You can do this by hand or machine.

The end tack, from the right side.

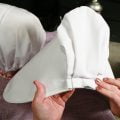
Fold one point backwards to meet the joining seam, as pictured. Press with a hot iron, if desired.

Thread a hand sewing needle with white thread, and knot the end. Bring the needle up from the under/inside of the cap, right under where the point will touch the seam. Make a few stitches to secure it to the seam, bring needle back down to the wrong side of the cap, and finish off with another knot. Trim excess thread, and repeat with the second point.
The secured point.


And that's it! If you'd like a video walk through of how to make them, I've now got one uploaded to youtube, here.
Cosplay Tutorial - Handmaid's Tale Cap
Share the Love!Before you chow down, be sure to take some pics of your handiwork! If you post it to Bluesky, be sure to tag us - @CelebrationGen. We're also on Pinterest, so you can save all your favourite recipes to a board! Also, be sure to subscribe to my free email newsletter, so you never miss out on any of my nonsense. Well, the published nonsense, anyway! |


Cindy
This was perfect!! Thank you so much!
Emily Duff
Thank you! Do you know where to fijnd a dress and cloak pattern as well?
John
Great post, thank you Marie.
Jasmine
What level of difficulty would you say this pattern is? Could a determined beginner manage?
Marie Porter
Definitely good for a beginner!
Mylène
It's a great tuto, so helpful !
I just have one question for you, what do you use as measurements ? Inches, centimeters ? Thanks ^^
Marie Porter
You can use either, just convert
Aline
Thank you so much!!! I could make it!
Rae
This tutorial worked awesome for me, thank you!
Ashley Hafen
How much fabric do you need for this+wings?