Homemade Clementine Mead Recipe
Originally Published March 15, 2011. Updated 11/15/20

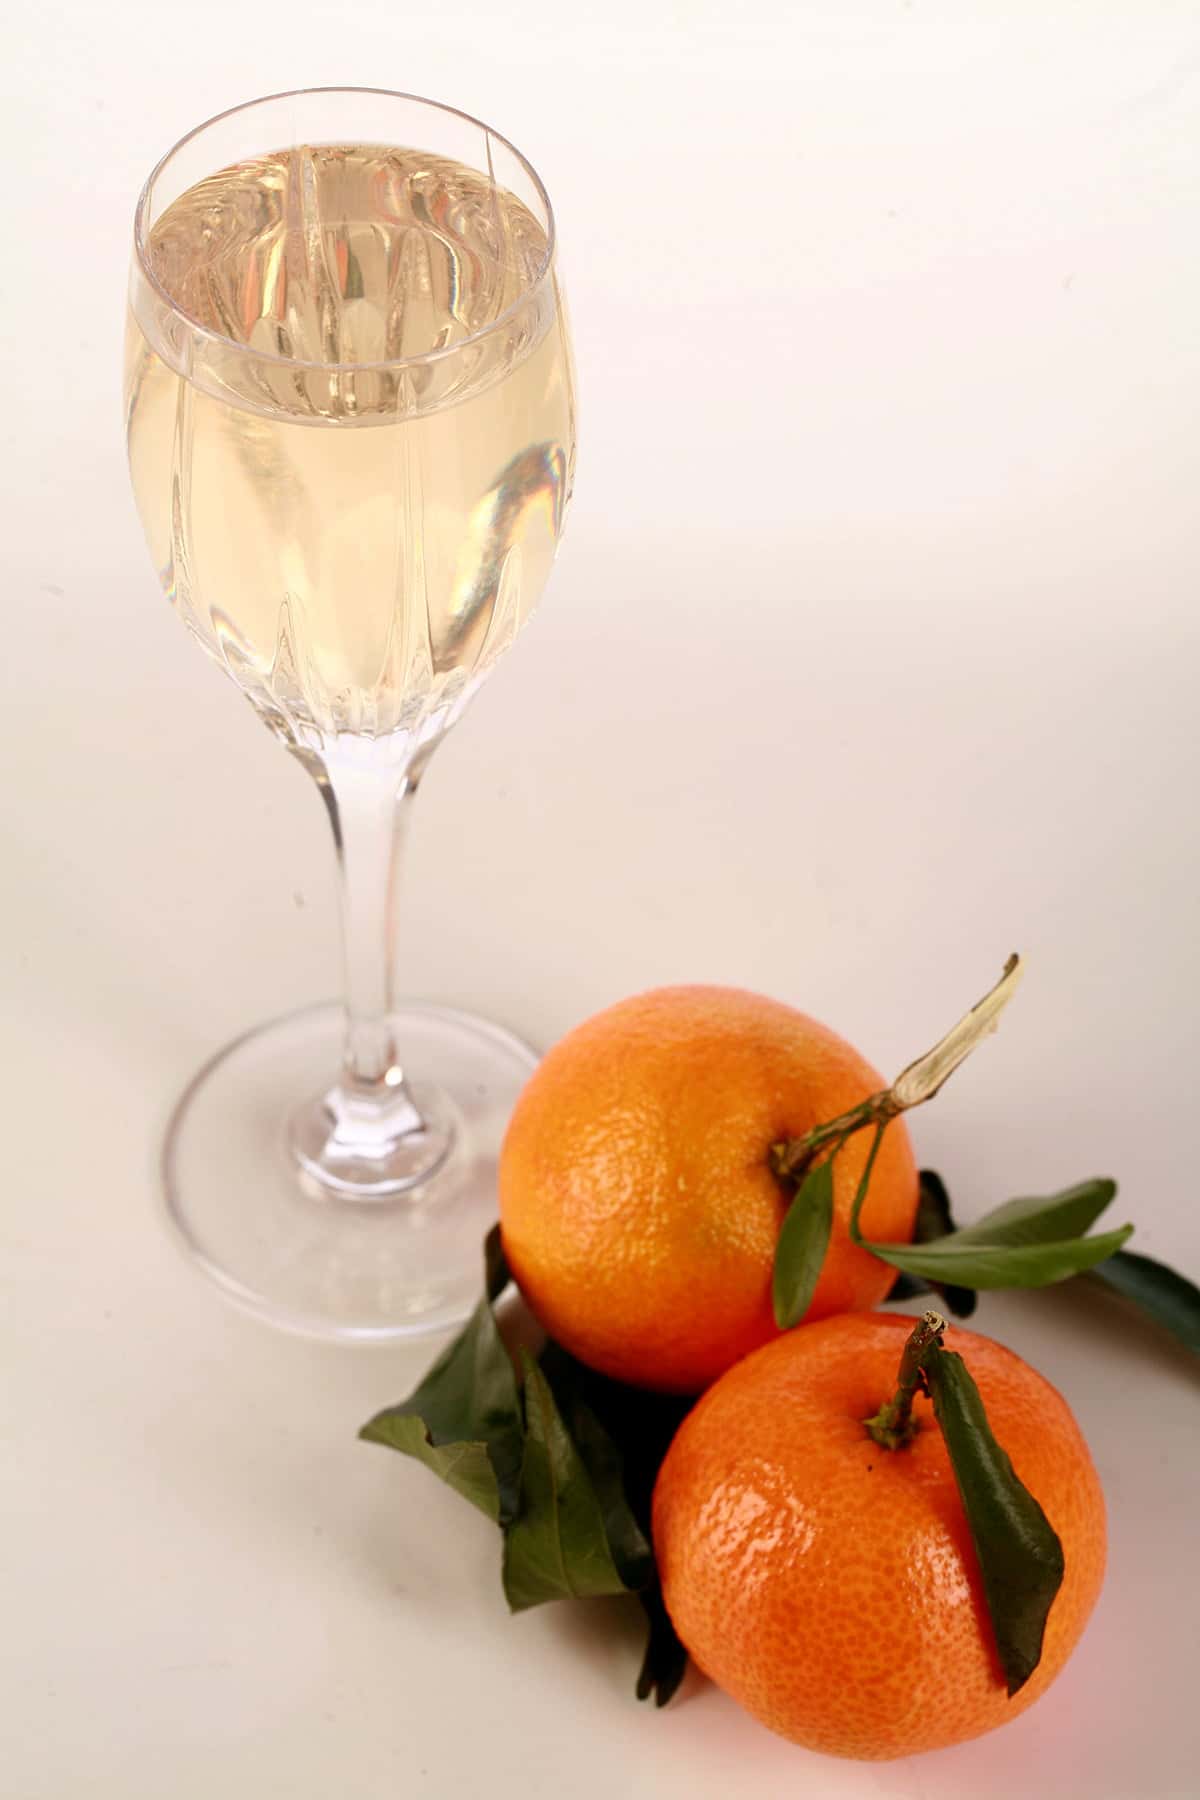
This Homemade Clementine Mead Recipe is a beautiful way to extend one of the best flavours of the season. Make some now, enjoy it next year!
This is the first mead that we ever made, and it turned out so amazing... everything else has pretty much paled in comparison. Definitely one of our top 3 favorite homemade wine recipes!
If you’ve read my Ravings of a Canadian Expat: Christmas Oranges post, you’ll know I’m pretty obsessed with anything resembling a Christmas orange.
So, I may be a little biased about where this recipe ranks among all of our wine recipes!
This recipe is HIGHLY seasonal. If clementines are in season, act fast if you’re looking to make a batch of it!
This mead starts out incredibly fragrant - almost like a delicious, fruity tea - but don't drink much of it before fermenting! The finished product is even better!
Another nice thing about this wine is that it is very good when fairly “young”, compared to many meads - At only 6 months old, this tasted amazing.
Age it if you like – we haven’t been able to keep any long enough to see how it ages. Our first 5 gallon batch was almost all gone LONG before the next Cuties season had started!
The ABV on this came out to about 8%, but - as you’ll learn as you read on - your mileage may vary!iv
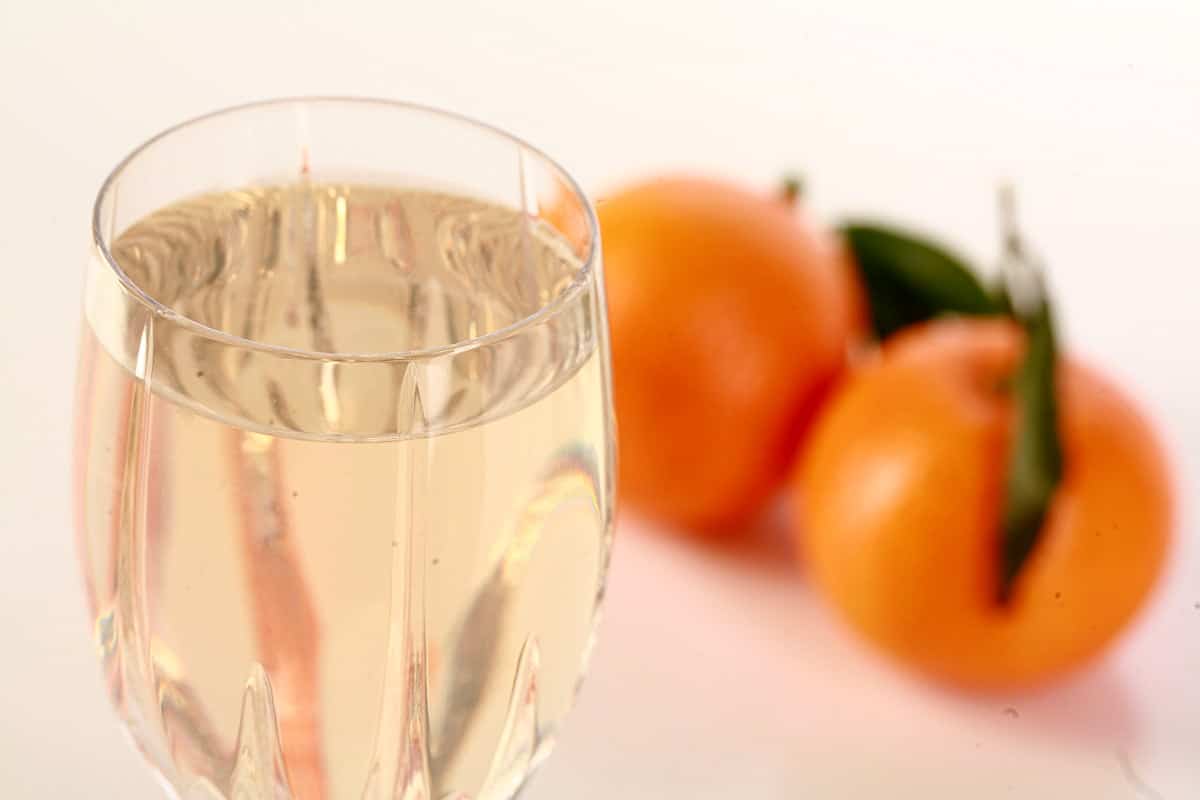
What is Mead?
This post is one of the very first home brewing recipes we shared on the blog, and we’ve since posted a couple more, pretty recently - Homemade Blueberry Mead , How to Make Pumpkin Mead, Homemade Wildflower Mead ... so you may already know about mead 😉
Mead is basically a wine, but instead of being made from fruit, it’s made from honey. Technically, this recipe is a melomel - a mead that’s been fermented with the addition of fruit - but “mead” is a much better-known term.
How to Make Clementine Mead
If you haven't attempted making mead before, don't be intimidated! Check out our primer to home brewing:
- Wine Making At Home, Part 1: Why?
- Wine Making at Home, Part 2: Equipment to Get Started
- Wine Making at Home, Part 3: The Brewing Process.
- Wine Making at Home, Part 4: How to Stabilize and Back Sweeten Wine
Just a small handful of entries, and you'll be good to go!
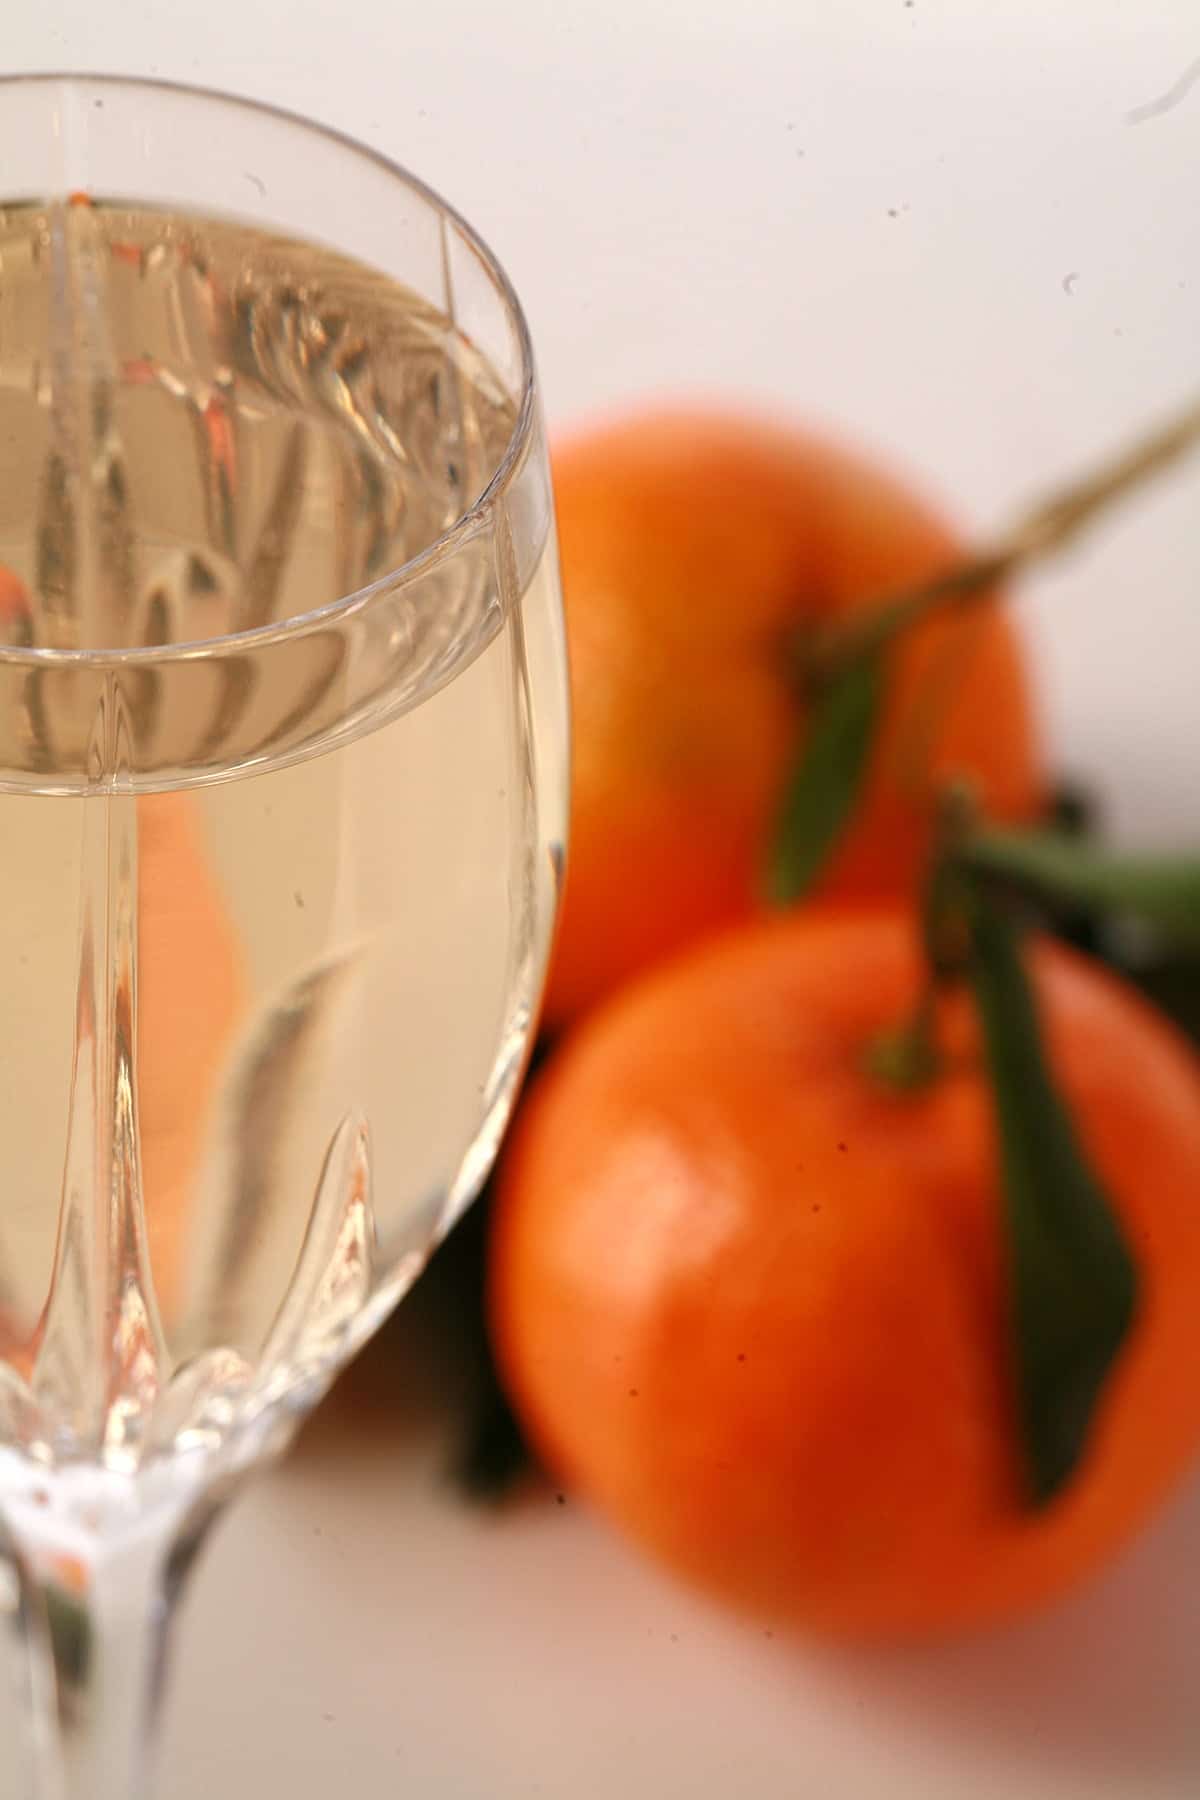
Clementine Mead Ingredients
This mead recipe requires only a few ingredients to make - super simple! Here is some information about those base ingredients that you may find helpful.
Spring Water
While using tap water can be an option, we opt to use jugs of spring water, for a couple of reasons..
First of all, life in Minneapolis opened our eyes to the fact that tap water doesn’t always taste good. While our water here in Hamilton always tastes fresh and clean (without a filter even!), we know that’s not the case for everyone. Bottled spring water won’t introduce any weird, undesirable flavours to your mead.
Additionally, there’s the convenience factor. Not only is it clean tasting, it’s pre-measured, sterile, and handy.
However, if your tap water is consistently tasty and safe, feel free to use that instead of bottled.
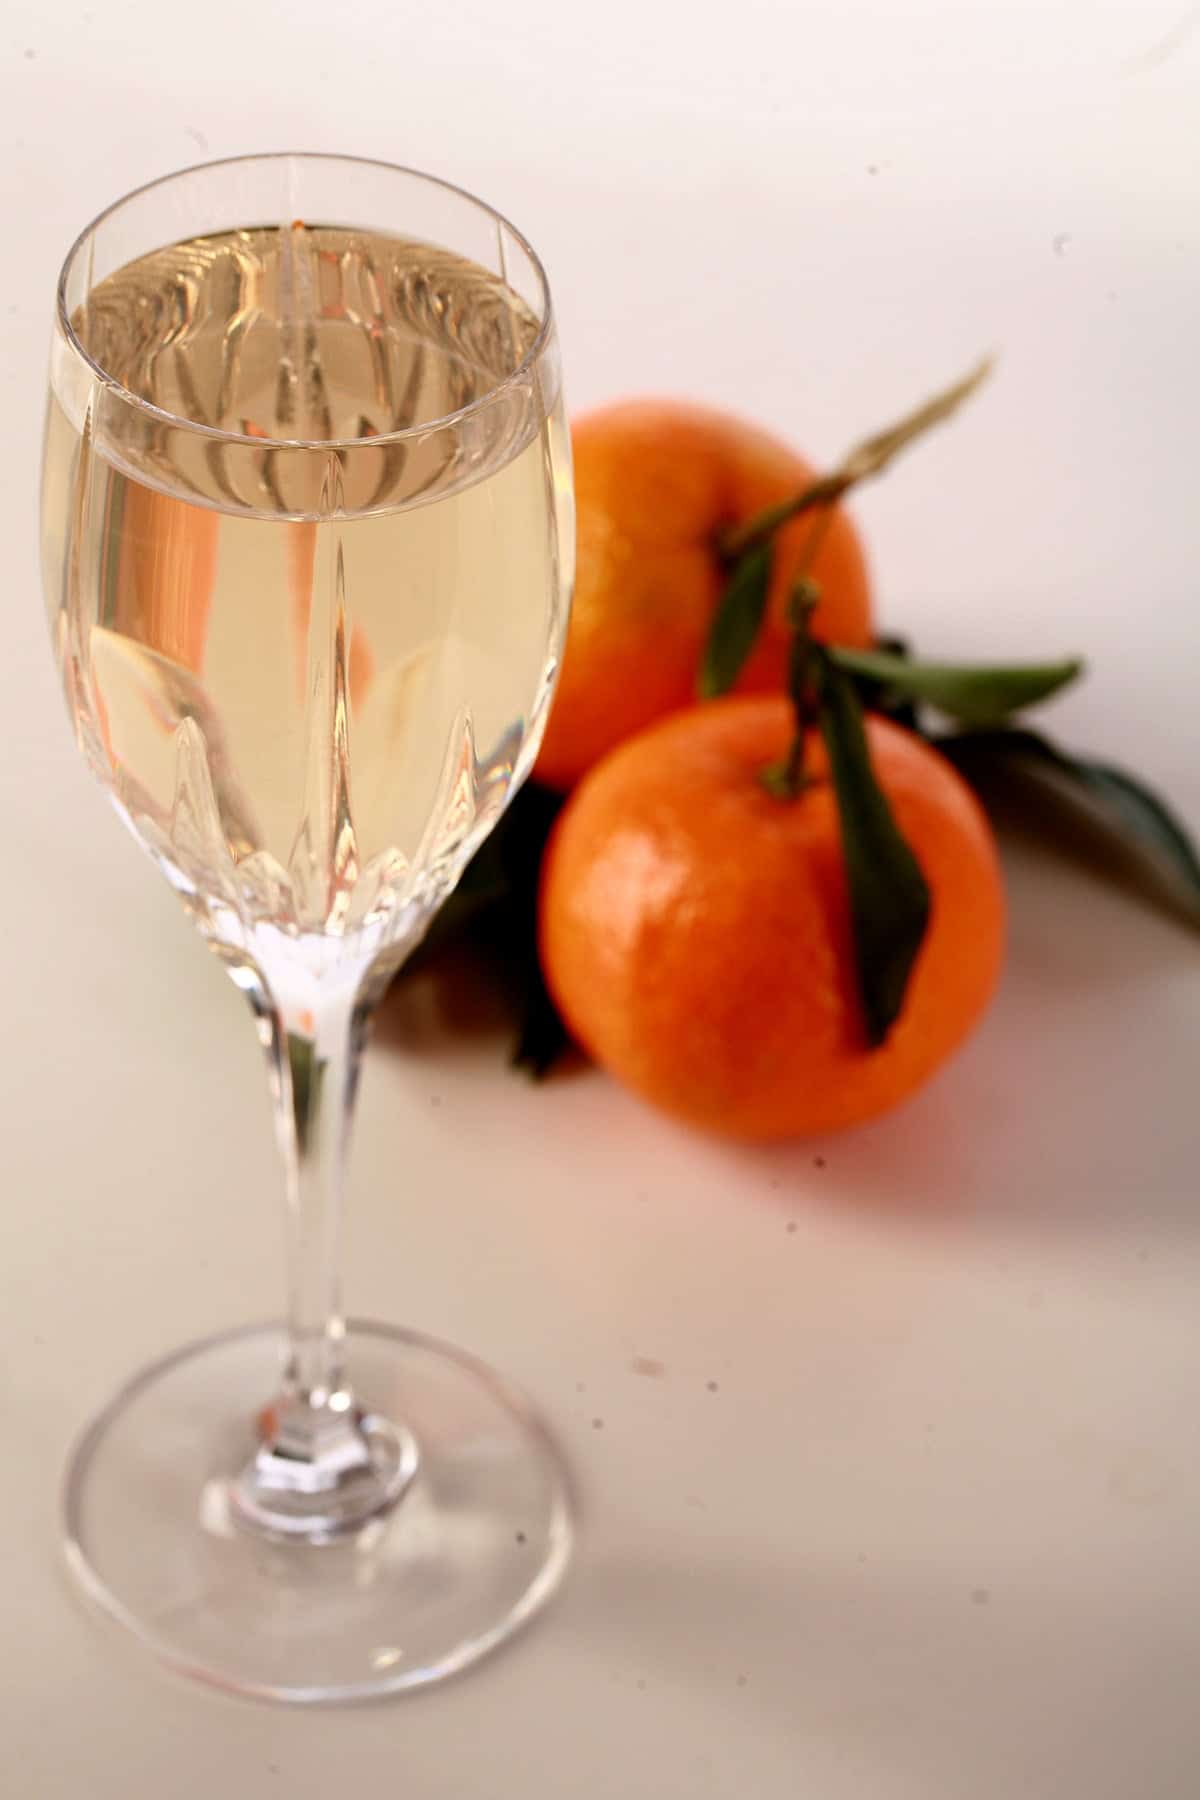
The Honey
Type of Honey
When you’re using honey instead of sugar, you’re going to want to be careful in your choice of honey. Where white sugar is fairly neutral in flavour, honey can be aggressively flavoured.
I recommend picking something lightly coloured and lightly flavoured - a clover or orange blossom honey, for instance.
Something like a wildflower or buckwheat honey is likely to completely overwhelm the flavour from the orange peel.
Clementine Oranges
When we were in the USA, we would use peels from crates of "Cuties" oranges, which are only in season for a few months each year. Love them... I can snarf a crate by myself, in a sitting, if left to my own devices. Yum.
Now that we’re back home in Canada, we’ll use whatever brand of clementines are readily available - there tends to be more variety when it comes to Christmas type oranges here.
We’ll buy a crate or two of oranges and polish them off in a couple/few days. As we peel each, the peel goes into a plastic baggie, and into the fridge or freezer. Once we have enough, we make this Clementines Mead.
Other times, we'll just buy a crate or two, and make this from the oranges, rather than the peels.
If you're not the type to save up orange peels, feel free to just slice up your oranges and use them like that - peel and all. That's how I've written the recipe.
No clementine oranges available? Substitute other oranges! Blood oranges, satsumas, even just navel oranges work really well in this recipe.

A few notes:
- If you're using really big oranges, you can halve the number of oranges you use.
- If you're using really pithy oranges, use a vegetable peeler to get just the outer, orange rind off. Including a lot of pith can make your mead a bit bitter.
Other Flavourings
While you can make this mead with just the orange as the flavouring, we like to add the other items to boost the flavour.
While you won't really be able to pick out the vinger, vanilla, rosemary, and spice in this - we wanted to keep it subtle - it DOES make for a more complex flavour than if you leave those items out.
Alcohol Content
Aside from flavour, there’s the matter of alcohol content.
Your mead’s final ABV will vary wildly dependent on a couple of main things: How much honey you use, and what kind of yeast you use (more on that in a bit)
Sugar - in this case, the sugars from the honey - is what feeds the yeast. Yeast eats up the sugars, and gives off alcohol as the byproduct of that process.
More honey = more food = more alcohol... to a point, anyway. About that...
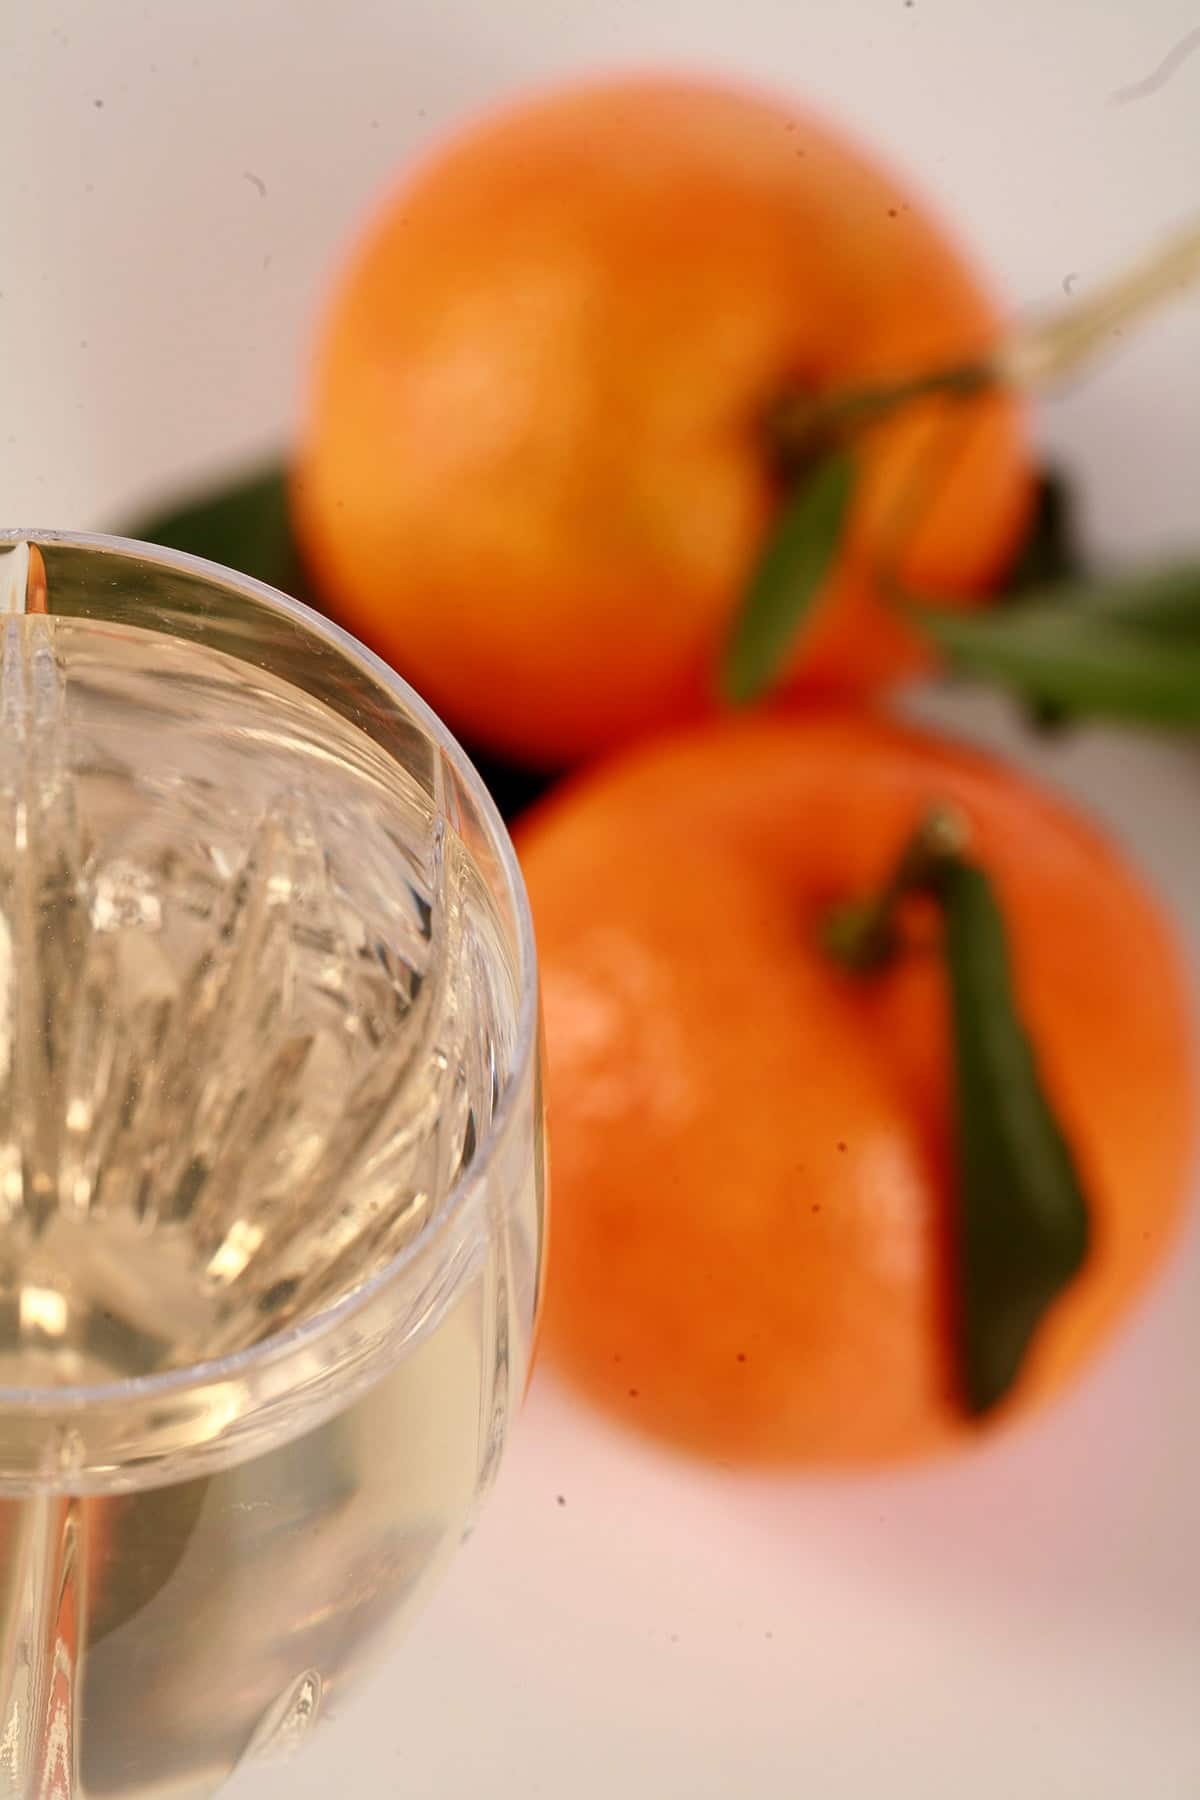
Yeast
The type of yeast you use will impact the alcohol content of the final product.
Yeast organisms don’t have an *unlimited* capacity to process sugar into alcohol. At some point, the environment they’re living in - the brewing mead - becomes too high in alcohol for the yeast to survive. They die off, the fermentation stops.
Different types of yeast have different tolerances for alcohol in the environment. That is, some yeast will be able to survive higher amounts of alcohol in the mead, so they’ll continue producing it longer than some other types.
Some types of yeast will bring you to something like an 8% ABV, while others will let things run wild until close to 20% ABV.
It’s good to know what you have in mind, when you choose your yeast.
If you want a sweet mead with a low-ish ABV - without having to back sweeten it (more on that in a bit) - choose a yeast with a lower tolerance for alcohol.
If you’re looking for a dry mead with a low ABV, choose a yeast with a lower tolerance for alcohol, and don’t use a ton of sugar.
If you want a sweet mead with a high ABV, use a bunch of sugar with a high-tolerance yeast... and be prepared to backsweeten it.
If you want a dry mead with a high ABV, use a fair amount of sugar and a high tolerance yeast.
We generally use a sweet mead yeast with this, and don’t end up needing to back sweeten it. Your mileage
Making Larger Batches of Mead
As a note, you can easily scale this mead recipe up - in fact, there's a function inside the recipe card itself to do the math for you!
One note, though: You don't need to multiply the yeast, but the software doesn't know that. We will use one pouch of yeast for anything from 1-5x batches, and then 1 pouch for every 5x batches beyond that.
As a related note: The recipe software is definitely geared towards cooking, not wine making. Therefore, you can pretty much ignore all of the info it gives you: The nutritional info is calculated on everything that goes into the mead.
It does not take into account how much sugar will be fermented out, how much volume is lost to racking, etc.
Back Sweetening Your Homemade Clementine Mead
Sometimes - usually, even - you’ll find that the yeast went a bit too far with their smorgasbord, and you end up with a Clementine Mead that’s not as sweet as you’d like it.
... and that’s when you back sweeten it! You can read my How to Stabilize and Back Sweeten Wine post for information on how to back sweeten it.
How to Make Sparkling Clementine Mead
Clementine Mead is especially nice as a bubbly beverage - it tastes festive and celebratory! There are two main ways to accomplish this, both of which happen AFTER fermentation has ceased.
Note: Consult your local homebrew store for what your options are when it comes to bottling sparkling wine. As this ferments a bit in the bottle, normal wine bottles aren’t a good idea - they can explode from the extra pressure.
We’ll usually use beer bottle and caps for any sparkling wine or sparkling ciders that we make, but there are options more along the lines of champagne bottles. Selection and brands tend to vary wildly by location.
Anyway!
For Naturally Carbonated Sparkling Clementine Mead
In a small pot, mix together 1 cup of water with 1 cup of honey. Use a sanitized funnel to pour this into a sanitized large carboy.
Rack the mead over into this carboy, swirling it as you go.
Bottle the wine into appropriate bottles, following directions for whatever kind of cap/closure you will be using.
Allow mead to age at least a month or two – residual yeast will ferment the added sugar, carbonating the mead. Serve chilled.
For Force-Carbonated Sparkling Mead
Alternatively, you can rack the mead (without the added honey syrup!) into a keg and force carbonate it, if you have the set up for that - That’s what we tend to do with our ciders.

More Home Brewing Recipes!
While you've got your current homebrew fermenting away, why not consider putting a batch of something else on, to occupy your wait time? Here are a few of my other wine, cider, and mead recipes:
Wine Recipes
Banana Wine Recipe
Blackberry Wine Recipe
Blackcurrant Wine Recipe
Blueberry Wine Recipe
Cherry Wine Recipe
Cranberry Clementine Christmas Wine Recipe
Cranberry Wine Recipe
Faux Lingonberry Wine
Lychee Wine Recipe
Mango Strawberry Wine Recipe
Mango Wine Recipe
Mint Wine Recipe
Lychee Wine Recipe
Partridgeberry Wine Recipe
Passionfruit Wine Recipe
Peach Wine Recipe
Stone Fruit Wine Recipe
Strawberry Wine Recipe
Ube Wine Recipe
Watermelon Wine Recipe
Mead Recipes
Black Cherry Mead Recipe
Blueberry-Clementine Mead Recipe
Blueberry Mead Recipe
Pumpkin Mead Recipe
Wildflower Mead Recipe
Cider & Miscellaneous Homebrew Recipes
Hard Apple Cider Recipe
Home Brew Hard Iced Tea Recipe
Maple Hard Apple Cider Recipe
Share the Love!
Before you drink up, be sure to take some pics of your handiwork! If you post it to Bluesky, be sure to tag us - @CelebrationGen. We're also on Pinterest, so you can save all your favourite recipes to a board!
Also, be sure to subscribe to my free monthly email newsletter, so you never miss out on any of my nonsense.
Well, the published nonsense, anyway!
Anyway, on to that Clementine Mead Recipe!
Homemade Clementine Mead
Equipment
- 7.5 gallon pot (or bigger)
- 1 6.5 gallon fermenter bucket and lid
- 1 or 2 6.5 gallon glass carboys
- 1 air lock and stopper
- Siphon, siphon tubing.
Ingredients
- 4 gallons spring water
- 15 lbs honey
- 2-3 oz fresh ginger peeled and sliced
- 2 vanilla beans sliced in half lengthwise
- Peels and juice from about 20 clementine oranges
- ¼ teaspoon fresh rosemary
- ¼ teaspoon ground cinnamon
- ¼ teaspoon ground nutmeg
- 5-6 whole cloves
- 1 teaspoon acid blend
- 3 teaspoon yeast nutrient
- 1 packet White Labs “WLP 720 Sweet Mead” yeast
Instructions
- Heat 3 gallons of the water to a simmer. Add honey, stir until dissolved.
- Add ginger, vanilla beans (scraping seeds into the mixture before adding the pods), peels, juice, rosemary, and spices. Bring mixture back up to a simmer and keep it there – just simmering, not boiling – for about 45 minutes.
- Strain mixture into a sanitized bucket, removing herbs, spices, and fruit. Cover bucket with sanitized lid, allow to cool to room temperature.
- Using a sanitized funnel, transfer cooled mixture to a sanitized 5 gallon carboy, topping up with remaining water until carboy is almost full. Swirl to combine.
- Using sanitized equipment, take a gravity reading. It should be in around the 1.088 area. Keep track of the number!
- Sprinkle yeast into carboy, cover with sanitized air lock. Let sit, undisturbed, overnight.
- Within 24 hours, you should notice fermentation activity – bubbles in the airlock, carbonation and /or swirling in the wine must. This means you’re good to go! Put the carboy somewhere cool (not cold!), and leave it alone for a month.
- Using sanitized equipment, rack the clarified wine off the sediment, into a clean, freshly sanitized 5 gallon carboy. Cap with sanitized airlock, leave it alone for another 2-3 months.
- Repeat racking process. Leave wine alone for a month or two. By 6 months in, your mead should be very clear, and VERY tasty!
- Using sanitized equipment, take a gravity reading, then rack the mead into clean, sanitized bottles. Cork. (We like to use these for corking our homemade wine. Easy to use – no special equipment needed! – easy to uncork, and – should you have any wine left in your bottle after serving (pfft!), the “cork” is easily replaced for temporary storage!)


Charlie
I've been making Mead for the 22 years.
Thought theirs sounded good. Wonderful! Tastes alot like orange tea.
I had to change it up a bit of course, used orange blossom honey, One 12oz non-pulp frozen OJ, and orange zest from 4 Valencia oranges. (Ate the oranges.) 4tsp vanilla extract. The rest is the same.
Angie
Humorously, I actually woke up thinking about this today. I remembered that it was a thought from a while ago and wondered if you had perfected the recipe. Then I saw your post and I was glad to see that you had. Now I just have to weigh the pros and cons of starting up a new hobby. 🙂
Joel
The recipe look exciting. I can't wait to try it. I have a question about the recipe though. You instructions do not use the ingredients you listed below. Also, as I understand it the yeast you listed is in a liquid form. Did you just drop it into the batch, or did you do a starter yeast using the 3 tsp of yeast nutrients, or are you just putting all in the batch.
1 tsp acid blend
3 tsp yeast nutrient
1 packet White Labs “WLP 720 Sweet Mead” yeast
Clifford Stubbs
You are Canadian?
Does this mean your batch recipe is imperial gallons which will need to be scaled down for US gallons?
Cliff Stubbs
Marie Porter
As with the rest of the site, the measurements are US.