Homemade Mango Strawberry Wine is easy to make, and produces a light, fruity, sweet dessert wine. Start now, drink in a year or so!

Our Homemade Mango Wine Recipe is one of the most popular wine recipes we’ve ever developed... for good reason. It’s easy to make, doesn’t need seasonal ingredients, and it doesn’t need to age as long as many other wines.
A few years ago, we decided to riff on it a bit to create what would become another great summer wine option - Mango Strawberry Wine!
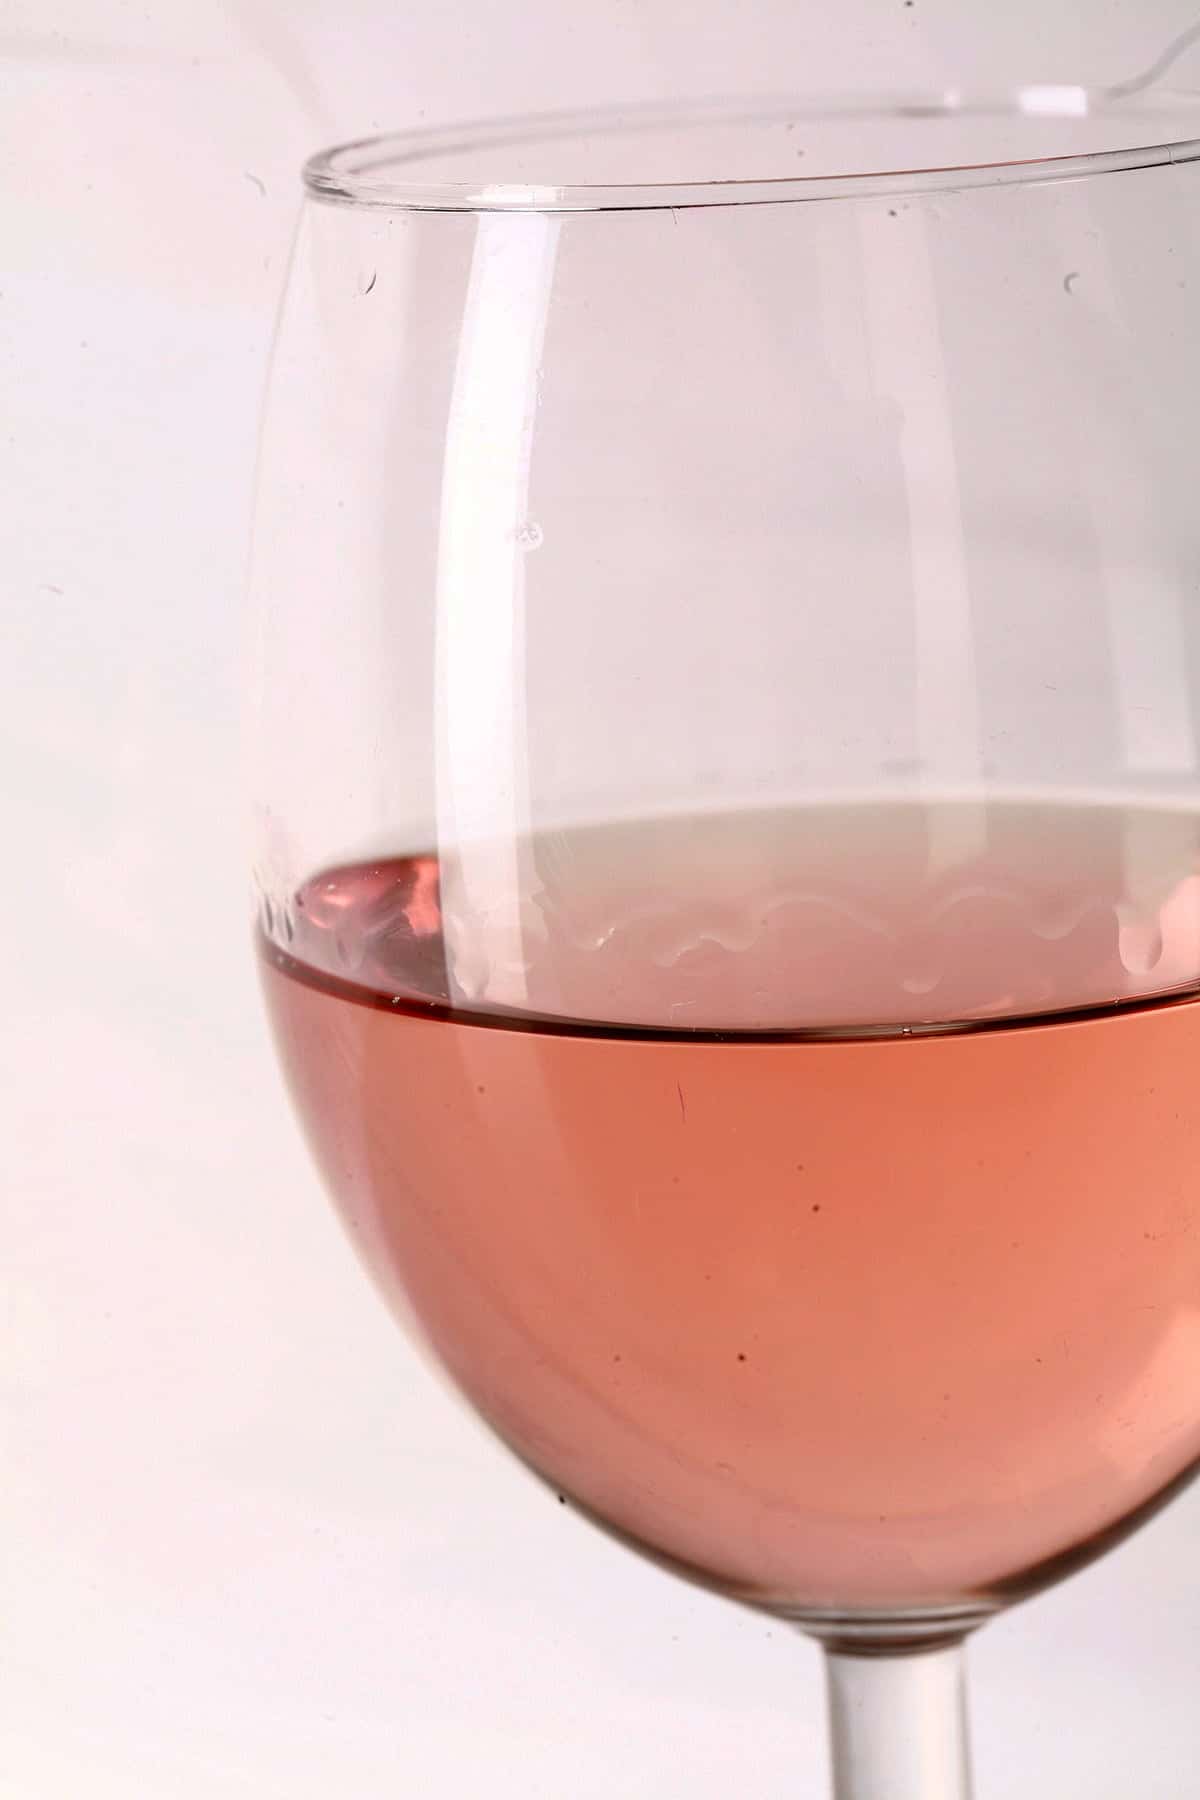
This wine turns out looking like a beautiful rosé wine, with a tun of bright, summery fruit flavour. Much like the Mango Wine Recipe, it becomes potable - and then very good! - at a much younger age than most wines we make.
While many really need to be a year old before they’re anything worth drinking, this one usually tasty and ready to drink before the 6 month mark!
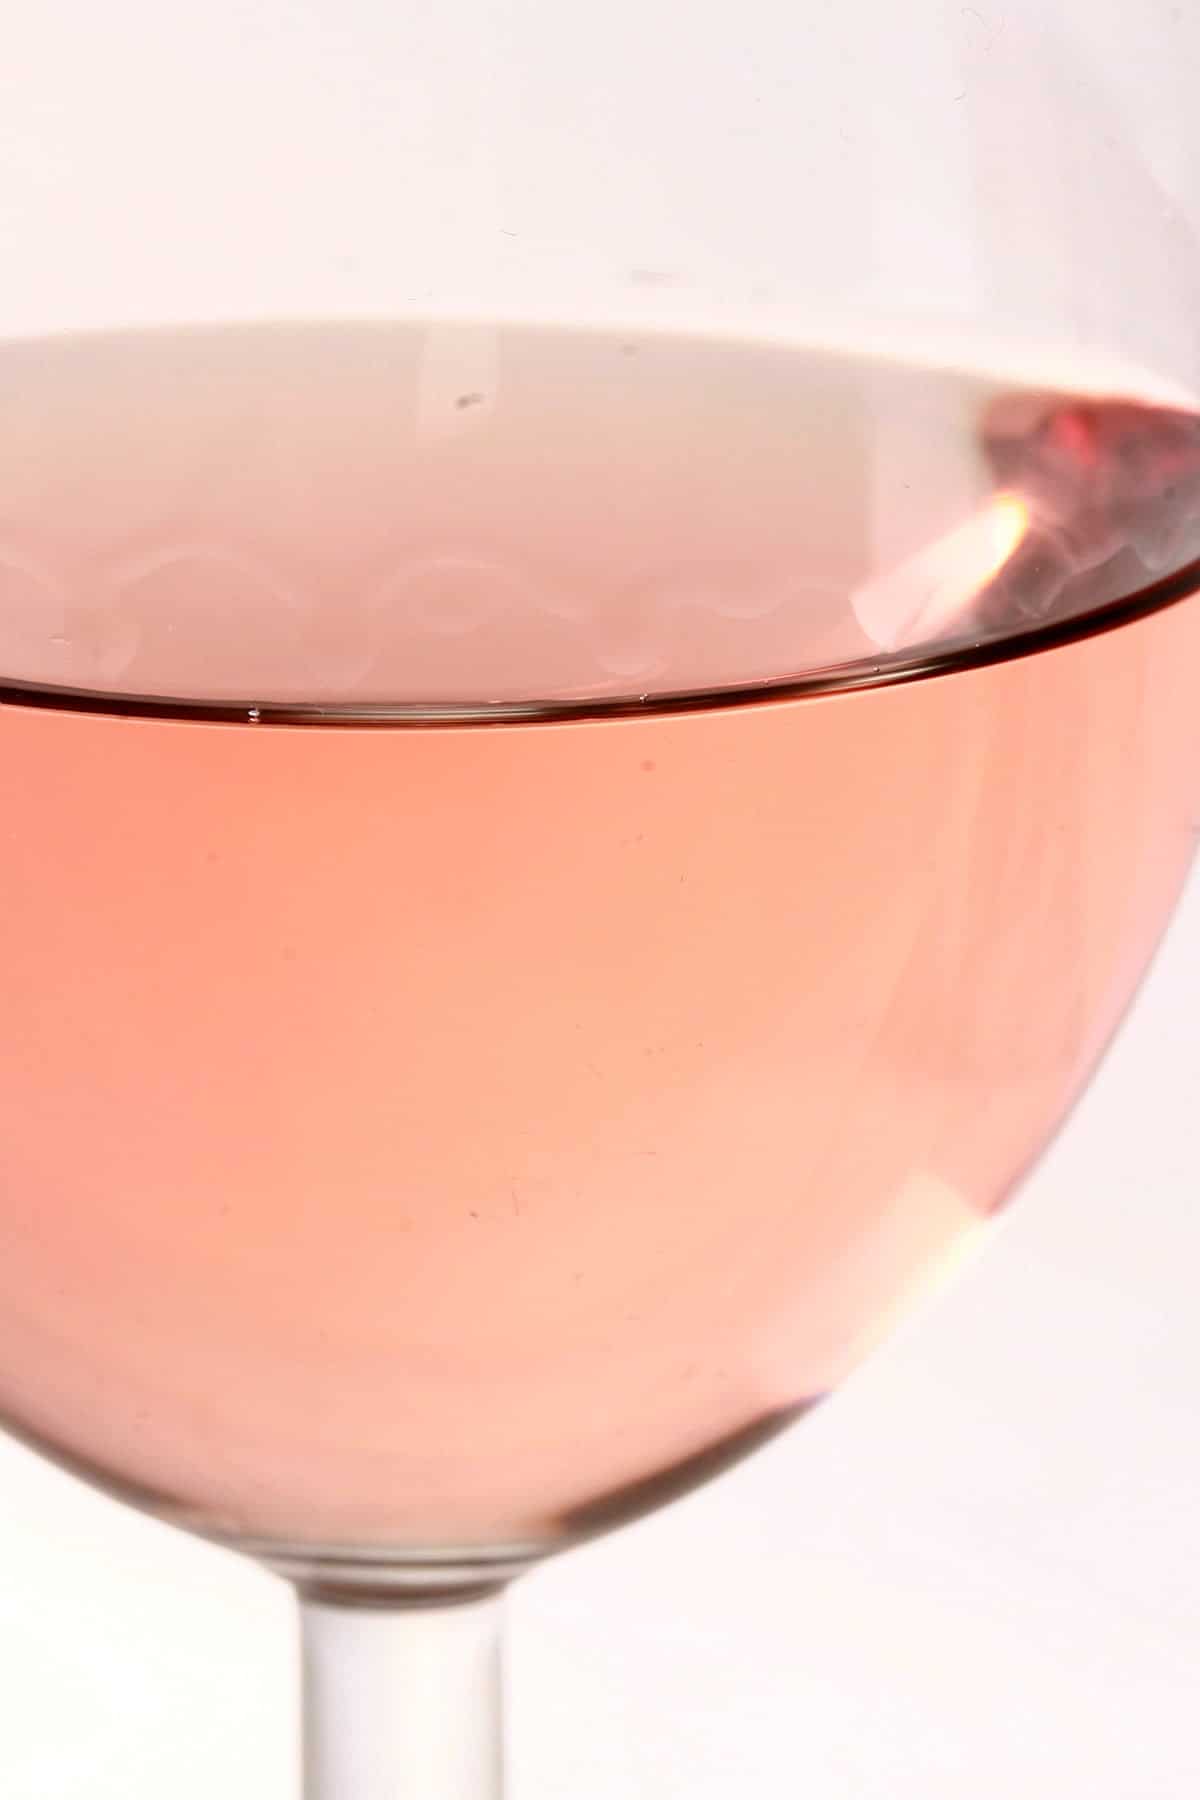
This wine starts out very orange, thick, and pulpy. It won’t look anything like wine for a few months, as the pulp and yeast slowly settle. When all is said and done, you will be left with a crystal clear, pink coloured wine. Sweet, fruity, delicious wine that goes down a little too well... and costs only $~2/bottle!

How to Make Mango Strawberry Wine
If you haven't attempted making wine before, don't be intimidated! Check out our primer to home brewing:
- Wine Making At Home, Part 1: Why?
- Wine Making at Home, Part 2: Equipment to Get Started
- Wine Making at Home, Part 3: The Brewing Process.
- Wine Making at Home, Part 4: How to Stabilize and Back Sweeten Wine
Just a small handful of entries, and you'll be good to go!
The Ingredients
Canned Mango Pulp
We use canned sweetened mango pulp as the basis for both this Homemade Mango Strawberry Wine, and for our Homemade Mango Wine, for a few reasons:
Flavour
Canned mango pulp is super flavourful, and really just delightful. Fresh mangoes are also super flavourful - though more work, more on that in a minute - but frozen mangoes were another option we’d considered.
Frozen mangoes don’t necessarily seem to be made from mangoes at peak ripeness, and I find their flavour and sweetness to be lacking.
Consistency
Mangos can vary wildly in size, flavour, sugar content, ripeness, and more... but buying a can of mango pulp takes all those variables out of the equation.
One can of mango pulp is fairly indistinguishable from the next can of the same brand, and that’s handy when it comes to making future batches of a wine you like. While your fermentation may vary the final ABV, etc... the general flavour and outcome should be pretty similar between batches.

Convenience
Opening a can of mango pulp and dumping it into the mix is a whole lot easier than peeling, pitting, and chopping ripe mangoes.
... not to mention the hassle of looking for the perfectly ripe mangos, before even getting to that point! We like to keep a few cans of pulp on hand for whenever a mango craving hits - it’s great for making things like Mango Lassi Popsicles, Mango Fruit Leather, or Mango Mojito Ice Cream, after all!
Price
A can of mango pulp usually costs around $3.. While the mangos that would be needed to make the same amount of pulp would cost several times that amount.
When you add in the labour savings AND the bonus of consistency... canned mango is a no-brainer, IMHO.
When we first created this recipe, we were still living in the USA. At the time, Swad Kesar Sweetened Mango Pulp was our default, as it was readily available in our local grocer’s international foods aisle for about $3/ can. It’s also available at Indian grocery shops and online.
Now that we’ve moved, the brand that we see more often locally - Quality Alphono Mango Pulp - is the one we tend to default to. Both taste great and work well, so go with what you have access to!
There are probably other brands out there - if it’s in the 800-850 g range and is sweetened, you’re good to go.

The Strawberries
You can use fresh or frozen strawberries, there are just a few differences in how to use them, and things to keep in mind:
Fresh strawberries
Using fresh, be sure to use ripe strawberries, picking through to remove anything that's not ripe, is moldy, etc. I like to chop the strawberries and let them sit in the sugar for a couple hours before starting on the wine making, as it - maceration - draws the juices out of the berries
Frozen Strawberries
When using frozen strawberries, you can skip the maceration process. Freezing and thawing strawberries breaks them down in a way that ends up with a result similar to maceration.
Just be sure to buy only frozen strawberries, not frozen strawberries in syrup/ in sugar. The extra sugar added to that type of frozen strawberry will throw off the recipe - and it’s impossible for me to say by how much!

Sugar
For best results, use plain white granulated sugar for this recipe.
Sweetness
As with most fruit wines - especially light coloured fruit wines - this wine definitely benefits from being a sweet wine, specifically.
If you cut the sugar and/or ferment this out til it’s dry, it won’t really taste like much of anything. The sugar content is really needed to bring out the fruit flavours of the final wine.
If your fermentation takes it a bit too dry for your liking, read my How to Stabilize and Back Sweeten Wine post for information on how to back sweeten it.

More Home Brewing Recipes!
While you've got your current homebrew fermenting away, why not consider putting a batch of something else on, to occupy your wait time? Here are a few of my other wine, cider, and mead recipes:
Wine Recipes
Banana Wine Recipe
Blackberry Wine Recipe
Blackcurrant Wine Recipe
Blueberry Wine Recipe
Cherry Wine Recipe
Cranberry Clementine Christmas Wine Recipe
Cranberry Wine Recipe
Faux Lingonberry Wine
Lychee Wine Recipe
Mango Wine Recipe
Mint Wine Recipe
Lychee Wine Recipe
Partridgeberry Wine Recipe
Passionfruit Wine Recipe
Peach Wine Recipe
Stone Fruit Wine Recipe
Strawberry Wine Recipe
Ube Wine Recipe
Watermelon Wine Recipe
Mead Recipes
Black Cherry Mead Recipe
Blueberry-Clementine Mead Recipe
Blueberry Mead Recipe
Clementine Mead Recipe
Pumpkin Mead Recipe
Wildflower Mead Recipe
Cider & Miscellaneous Homebrew Recipes
Hard Apple Cider Recipe
Home Brew Hard Iced Tea Recipe
Maple Hard Apple Cider Recipe

Share the Love!
Before you drink up, be sure to take some pics of your handiwork! If you post it to Bluesky, be sure to tag us - @CelebrationGen. We're also on Pinterest, so you can save all your favourite recipes to a board!
Also, be sure to subscribe to my free monthly email newsletter, so you never miss out on any of my nonsense.
Well, the published nonsense, anyway!
Homemade Mango Strawberry Wine
Equipment
- 2 gallon fermenter bucket and lid
- 1 air lock and stopper
- Siphon, siphon tubing.
- 1 - 2 1 gallon glass carboys
Ingredients
- 2-3 lbs Fresh or frozen strawberries*
- 3.5 lbs Granulated sugar
- 1 Can Mango Pulp
- 1 gallon Spring water
- 1 teaspoon Yeast nutrient
- ½ teaspoon Acid blend
- ½ teaspoon Pectic enzyme
- ⅛ teaspoon Wine tannin
- 1 packet Wine yeast of choice We used Red Star Champagne yeast
- Wine stabilizer of choice optional
Instructions
- Rinse and pick through strawberries, removing any that are moldy, etc. Remove stems, chop them up.
- Place in a large pot, along with the sugar. Using a potato masher or VERY clean hands, stir and mash strawberries. Let sit for an hour.
- Add mango and water, stir well. Heat to ALMOST boiling, then simmer gently for 30 minutes.
- Stir in yeast nutrient, acid blend, enzyme, and tannin.
- Pour mixture into a freshly sanitized fermenting bucket. Cover with sanitized lid and air lock, allow to cool to room temperature (overnight).
- The next morning, give the mixture a quick stir with a long, sanitized spoon, and – using sanitized equipment – take a gravity reading of the liquid (strain out any strawberries). Keep track of the number! (This is an optional step, but will allow you to calculate your final ABV %)
- Sprinkle yeast into fermenter, cover with sanitized cover and air lock. Within 48 hours, you should notice fermentation activity – bubbles in the airlock, carbonation and /or swirling in the wine must. This means you’re good to go!
- After a week or so, use your sanitized siphon setup to rack the must into a freshly sanitized carboy. Put the carboy somewhere cool (not cold!), and leave it alone for a month or so.
- Using sanitized equipment, rack the wine off the sediment, into a clean, freshly sanitized carboy. Cap with sanitized airlock, leave it alone for another 2-3 months.
- Rack one more time, leave it for another 3 months or so.
- When your wine has been racked a few times and shows NO more fermenting activity for a month or so (no bubbles in the airlock, no more sediment being produced, you can move on to bottling. **
- If stabilizing, follow the instructions on your selected type of wine stabilizer to stop fermentation. For potassium sorbate, this needs to be done 2-3 days before bottling.
- Using sanitized equipment, take a gravity reading, then rack the wine into clean, sanitized bottles. Cork.
Notes
Nutrition







Leave a Reply