Cherry Wine is easy to make, whether from fresh fruit or frozen. This Cherry Wine Recipe will show you how. Make now, drink in one year.
Cherry Season is upon us!
As you gaze upon rows and rows of fresh cherry cartons at your farmer's market (we're lucky to live in the fruit belt!) or store, you may start considering the possibilities.
Cherry jam and cherry pie are the usual go-tos, but what if you're looking for something a little different? A more long-game project, perhaps?
Consider making some cherry wine!
- You get some fruit, some sugar, and some yeast
- You let the yeast go to town on the fruit and sugar (in a sanitized bucket!), vomiting out alcohol
- The fruit pulp and yeast waste settle to the bottom of the bucket, leaving you with beautiful clear wine on top.
- You get the wine off that waste, and into a sanitized jug.
- You let it do its thing for a bit, before moving it over to a new clean jug.
- You wait.
- You have wine!

How to Make Cherry Wine
If you haven't attempted making wine before, don't be intimidated! Check out our primer to home brewing:
- Wine Making At Home, Part 1: Why?
- Wine Making at Home, Part 2: Equipment to Get Started
- Wine Making at Home, Part 3: The Brewing Process.
- Wine Making at Home, Part 4: How to Stabilize and Back Sweeten Wine
Just a small handful of entries, and you'll be good to go!
The Fruit
The fun thing with cherry wine is that your wine can vary wildly from batch to batch, based on the fruits you use.
Black cherries will make a deeper, darker wine.
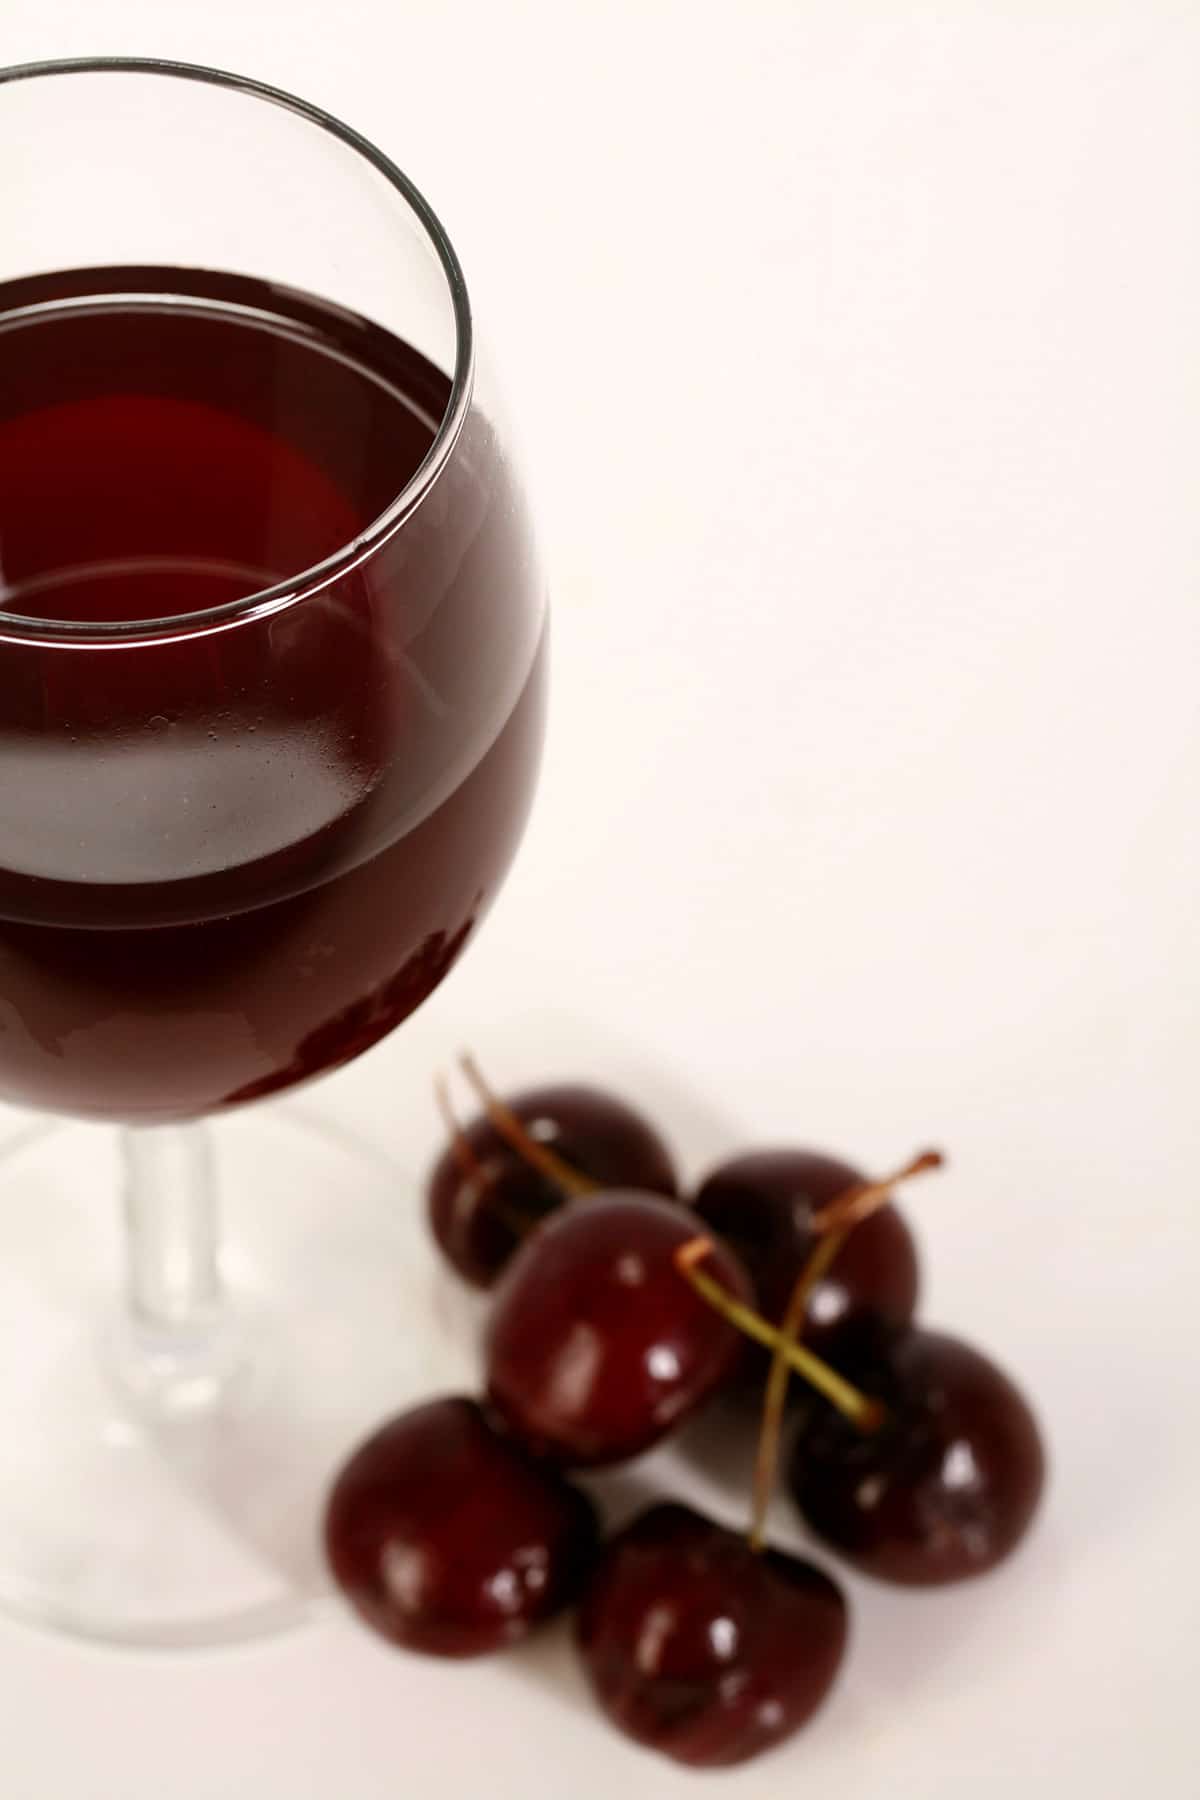
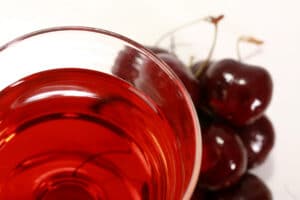
Red cherries will make a lighter, brighter red wine, as pictured in this post.
Rainier cherries will make a white or blush wine.
Frozen cherries - thawed - of any variety will give up their juices easier than fresh fruit, as a general rule.
Note: If you're using fresh cherries, I HIGHLY recommend getting a cherry pitter, if you don't already have them. Even if this batch of wine is the only time you'll ever be pitting cherries, it's worth the investment - makes life so much easier. This one is the model we have, I love it!
In addition to the colour differences, the flavour profile will be a bit different between them. Additionally, the sweetness of the variety used - and the ripeness - will impact the final wine:
The Sugar
Assuming the same level of ripeness, the various types of cherries have different sweetness (and acid!) levels. In general, Rainier tends to be the sweetest, followed by black cherries, followed by red.
Individual varieties in each of those categories can be exceptions to that rule, of course.
Then, there's the matter of ripeness. Cherries that are more ripe have a higher sugar content than less-ripe cherries.
When making wine, sugar comes from two sources - the cherries themselves, and the sugar you add. I recommend only tweaking the added sugar, in customizing your wine - ripe cherries have better flavour, and their juices are more readily available. You should always use the ripest cherries you can.
If you're looking to make a wine that's more on the dry side, you can always cut back the added sugar. I wouldn't recommend using less-ripe cherries as a way of aiming for a dry wine.

In addition to the sweetness of the finished wine, the amount of sugar your start with also contributes to the final alcohol level - ABV - of the wine. The other determining factor there is:
The Yeast
You can choose your yeast variety to customize the alcohol content of your wine.
Some yeast are more robust, and can survive in a higher alcohol environment. These yeasts - such as champagne yeast - will eat up more of the sugars in the mix, and produce more alcohol.
Some yeast are less robust, and will die off faster, as their environment becomes more alcoholic. These yeasts - such as a sweet mead yeast - basically deactivate before they've made the wine super high ABV, or super dry.
Of course, this depends on your Cherry Wine Recipe to an extent, as well. A recipe that starts out with less sugar and uses a less robust yeast will not necessarily turn out sweeter than a wine that starts out with more sugar and uses a more robust yeast.
Isn't wine making fun? 🙂
Another consideration: No matter what kind of yeast you use, you can keep an eye on things, sampling every once in a while (sanitized equipment!), and just prevent the yeast from continuing to multiply, when the wine reaches the sweetness/dryness level that you want. This is called "stabilization", and is usually achieved through the addition of potassium sorbate. (½ teaspoon per gallon of wine)
For this particular Cherry Wine Recipe, we're aiming for a mid-sweet wine. Not too dry (Dry fruit wines don't tend to taste like the fruit used, IMHO), and not TOO sweet. Again, this will depend on the fruit used - just have some fun with it!
Back Sweetening Your Homemade Cherry Wine
Sometimes - usually, even - you’ll find that the yeast went a bit too far with their smorgasbord, and you end up with a peach wine that’s not as sweet as you’d like it.
... and that’s when you back sweeten it! You can read my How to Stabilize and Back Sweeten Wine post for information on how to back sweeten it.

Combining liqueurs with more traditional baking ingredients can yield spectacular results.Try Mango Mojito Upside Down Cake, Candy Apple Flan, Jalapeno Beer Peanut Brittle, Lynchburg Lemonade Cupcakes, Pina Colada Rum Cake, Strawberry Daiquiri Chiffon Pie, and so much more.
To further add to your creative possibilities, the first chapter teaches how to infuse spirits to make both basic and cream liqueurs, as well as home made flavor extracts! This book contains over 160 easy to make recipes, with variation suggestions to help create hundreds more! Order your hard copy here on my website, through Amazon, or through any major bookseller.
More Home Brewing Recipes!
While you've got your current homebrew fermenting away, why not consider putting a batch of something else on, to occupy your wait time? Here are a few of my other wine, cider, and mead recipes:
Wine Recipes
Banana Wine Recipe
Blackberry Wine Recipe
Blackcurrant Wine Recipe
Blueberry Wine Recipe
Cranberry Clementine Christmas Wine Recipe
Cranberry Wine Recipe
Faux Lingonberry Wine
Lychee Wine Recipe
Mango Strawberry Wine Recipe
Mango Wine Recipe
Mint Wine Recipe
Lychee Wine Recipe
Partridgeberry Wine Recipe
Passionfruit Wine Recipe
Peach Wine Recipe
Stone Fruit Wine Recipe
Strawberry Wine Recipe
Ube Wine Recipe
Watermelon Wine Recipe
Mead Recipes
Black Cherry Mead Recipe
Blueberry-Clementine Mead Recipe
Blueberry Mead Recipe
Clementine Mead Recipe
Pumpkin Mead Recipe
Wildflower Mead Recipe
Cider & Miscellaneous Homebrew Recipes
Hard Apple Cider Recipe
Home Brew Hard Iced Tea Recipe
Maple Hard Apple Cider Recipe

Share the Love!
Before you drink up, be sure to take some pics of your handiwork! If you post it to Bluesky, be sure to tag us - @CelebrationGen. We're also on Pinterest, so you can save all your favourite recipes to a board!
Also, be sure to subscribe to my free monthly email newsletter, so you never miss out on any of my nonsense.
Well, the published nonsense, anyway!

ANYWAY. Let's get to that recipe, shall we?
Homemade Cherry Wine
Equipment
- Cherry Pitter
- 2 gallon fermenter bucket and lid
- 1 air lock and stopper
- Siphon, siphon tubing.
- 1 - 2 1 gallon glass carboys
Ingredients
- 6 lbs fresh cherries*
- 3 lbs white sugar
- 1 gallon spring water
- ½ teaspoon acid blend
- ½ teaspoon pectic enzyme
- 1 teaspoon yeast nutrient
- ¼ teaspoon wine tannin
- 1 packet Red Star “Pasteur Red” yeast
- Wine stabilizer of choice optional
Instructions
- Rinse and pick through cherries, removing any that are moldy, etc. Remove stems and pits, chop them up.
- Place in a large pot, along with the sugar. Using a potato masher or VERY clean hands, stir and mash cherries.
- Add water, stir well. Heat to ALMOST boiling, then simmer gently for 30 minutes. Stir in acid blend, enzyme, nutrient, and tannin.
- Pour mixture into a freshly sanitized fermenting bucket. Cover with sanitized lid and air lock, allow to cool to room temperature (overnight).
- The next morning, give the mixture a quick stir with a long, sanitized spoon, and – using sanitized equipment – take a gravity reading of the liquid (strain out any cherries). Keep track of the number! (This is an optional step, but will allow you to calculate your final ABV %)
- Sprinkle yeast into fermenter, cover with sanitized cover and air lock. Within 48 hours, you should notice fermentation activity – bubbles in the airlock, carbonation and /or swirling in the wine must. This means you’re good to go!
- After a week or so, use your sanitized siphon setup to rack the must into a freshly sanitized carboy. Put the carboy somewhere cool (not cold!), and leave it alone for a month or so.
- Using sanitized equipment, rack the wine off the sediment, into a clean, freshly sanitized carboy. Cap with sanitized airlock, leave it alone for another 2-3 months.
- Rack one more time, leave it for another 3 months or so.
- When your wine has been racked a few times and shows NO more fermenting activity for a month or so (no bubbles in the airlock, no more sediment being produced, you can move on to bottling. **
- If stabilizing, follow the instructions on your selected type of wine stabilizer to stop fermentation. For potassium sorbate, this needs to be done 2-3 days before bottling.
- Using sanitized equipment, take a gravity reading, then rack the wine into clean, sanitized bottles. Cork.
Notes
Nutrition
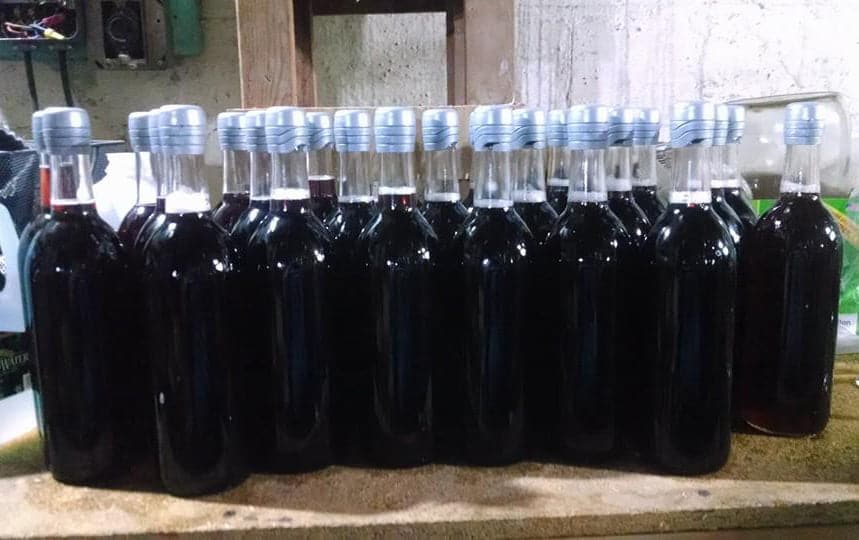
A 5 gallon batch of cherry wine, freshly bottled





Elliott
Can you just skip pitting the cherries??? Thanks
Marie Porter
I wouldn't recommend it.
Cherry pits contain a compound that your body converts into cyanide. Not enough to matter when you're talking about a bit or two, but I wouldn't mess with it in quantities for wine making.
Paul K.
How many gallons of wine does this recipe make?
What would be the recipe to make 5 gallons?
Thank You.
Marie Porter
Per the recipe, it makes 1 gallon.
To make 5 gallons, you need 5X each ingredient except the yeast, which you can still use 1 packet of.
Debbie Rivett
quick question - is the 6 pounds before or after I remove pits?
Marie Porter
Before, but you don't have to be super exact, either way
Colleen
Can you use Sour cherries in this recipe?
Marie Porter
Sure, but you may find yourself wanting some extra sugar in the back sweetening step, and I'd probably back off on the acid blend a little.
Jen
At which stage do you strain out the cherry pulp?
Marie Porter
YOu don't, you rack it off the pulp as stated.
66 Club
Wow, this homemade cherry wine recipe looks amazing! I can’t wait to try it out with the cherries from my backyard. Thanks for sharing your tips and tricks – I love the idea of letting it age a bit for more flavor! Cheers!
Teer Win Login
This cherry wine recipe sounds delicious! I can't wait to try making it for our next family gathering. Thank you for sharing such detailed instructions! 🍒🍷
Carl
I have found a small wooden barrel at a thrift shop. Any way I can use this to store the wine? It's not essential, but it would be cool!
Marie Porter
Personally, I wouldn't. You won't know what condition it's in, what has been in there, etc and could end up losing your batch of wine before you even get to try it!