

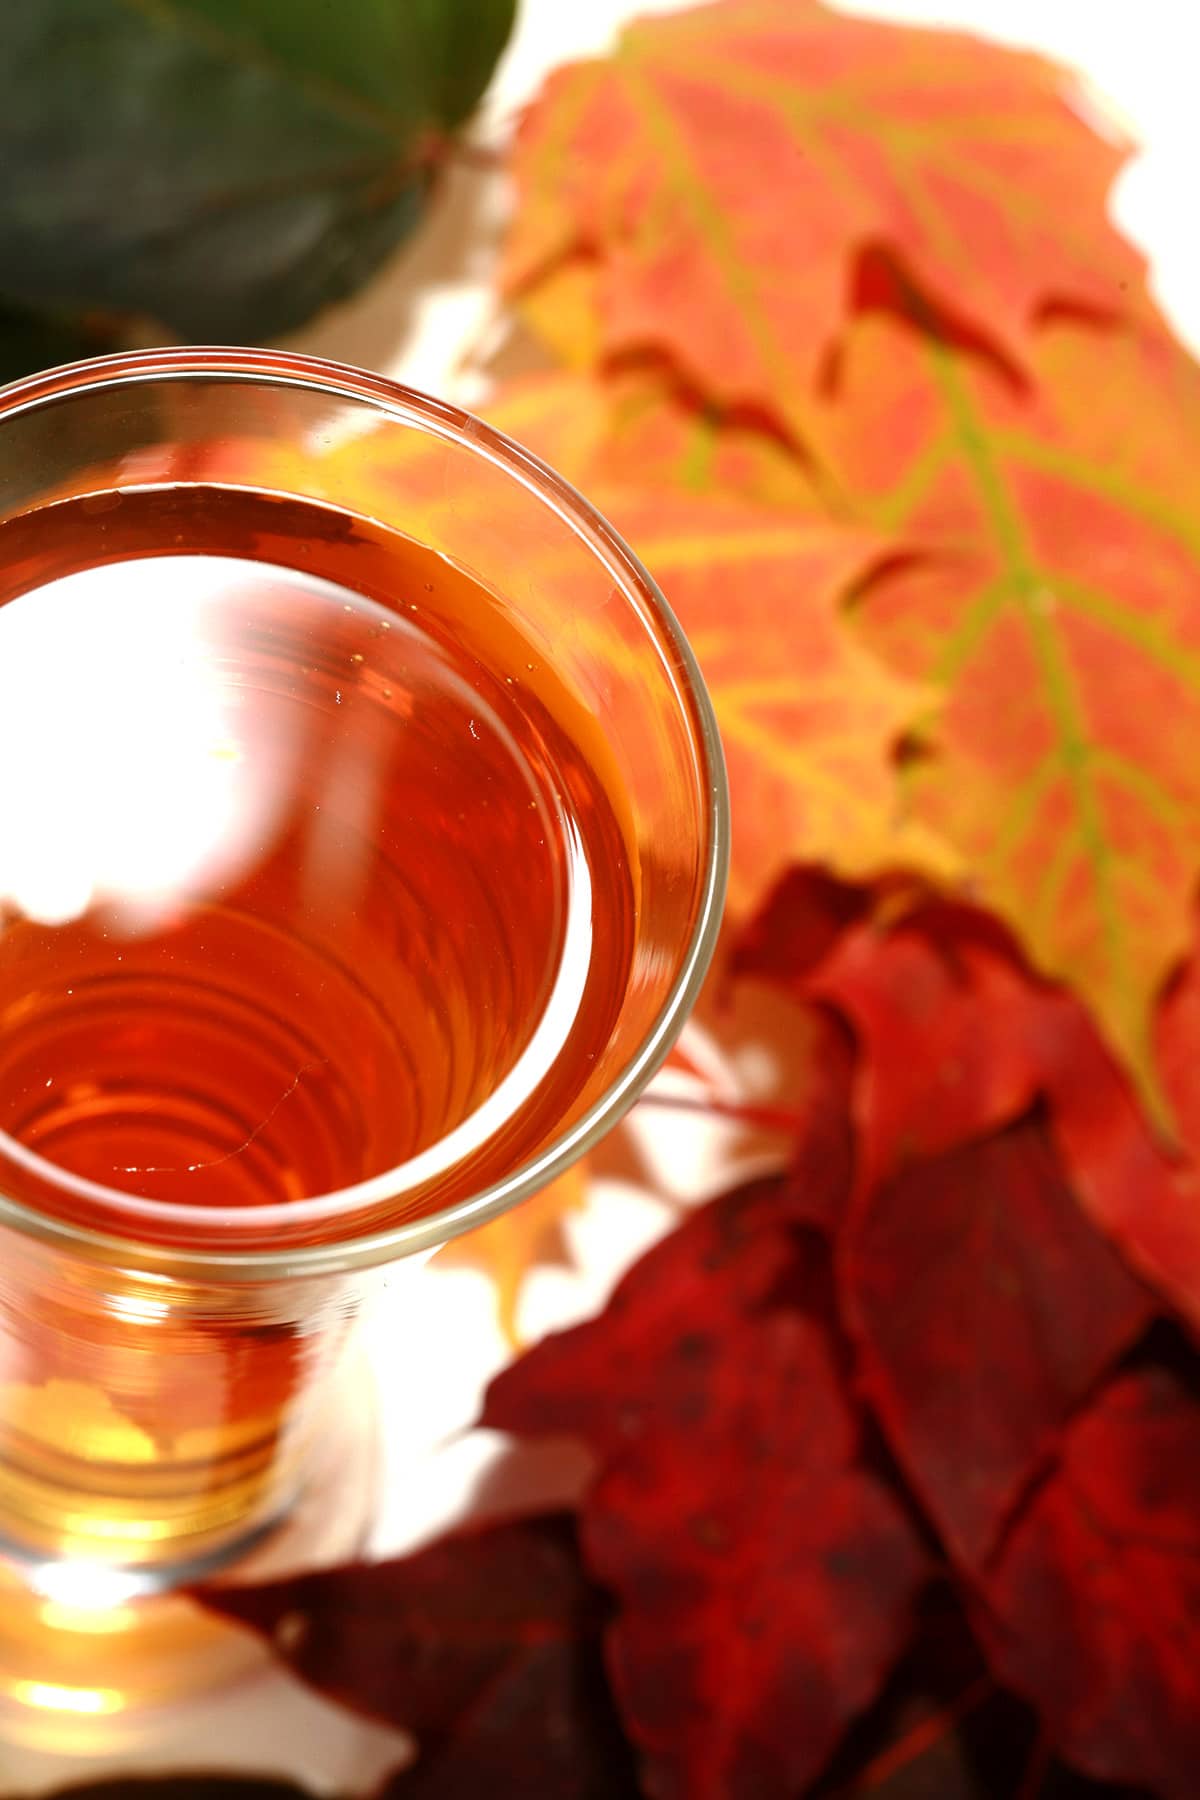
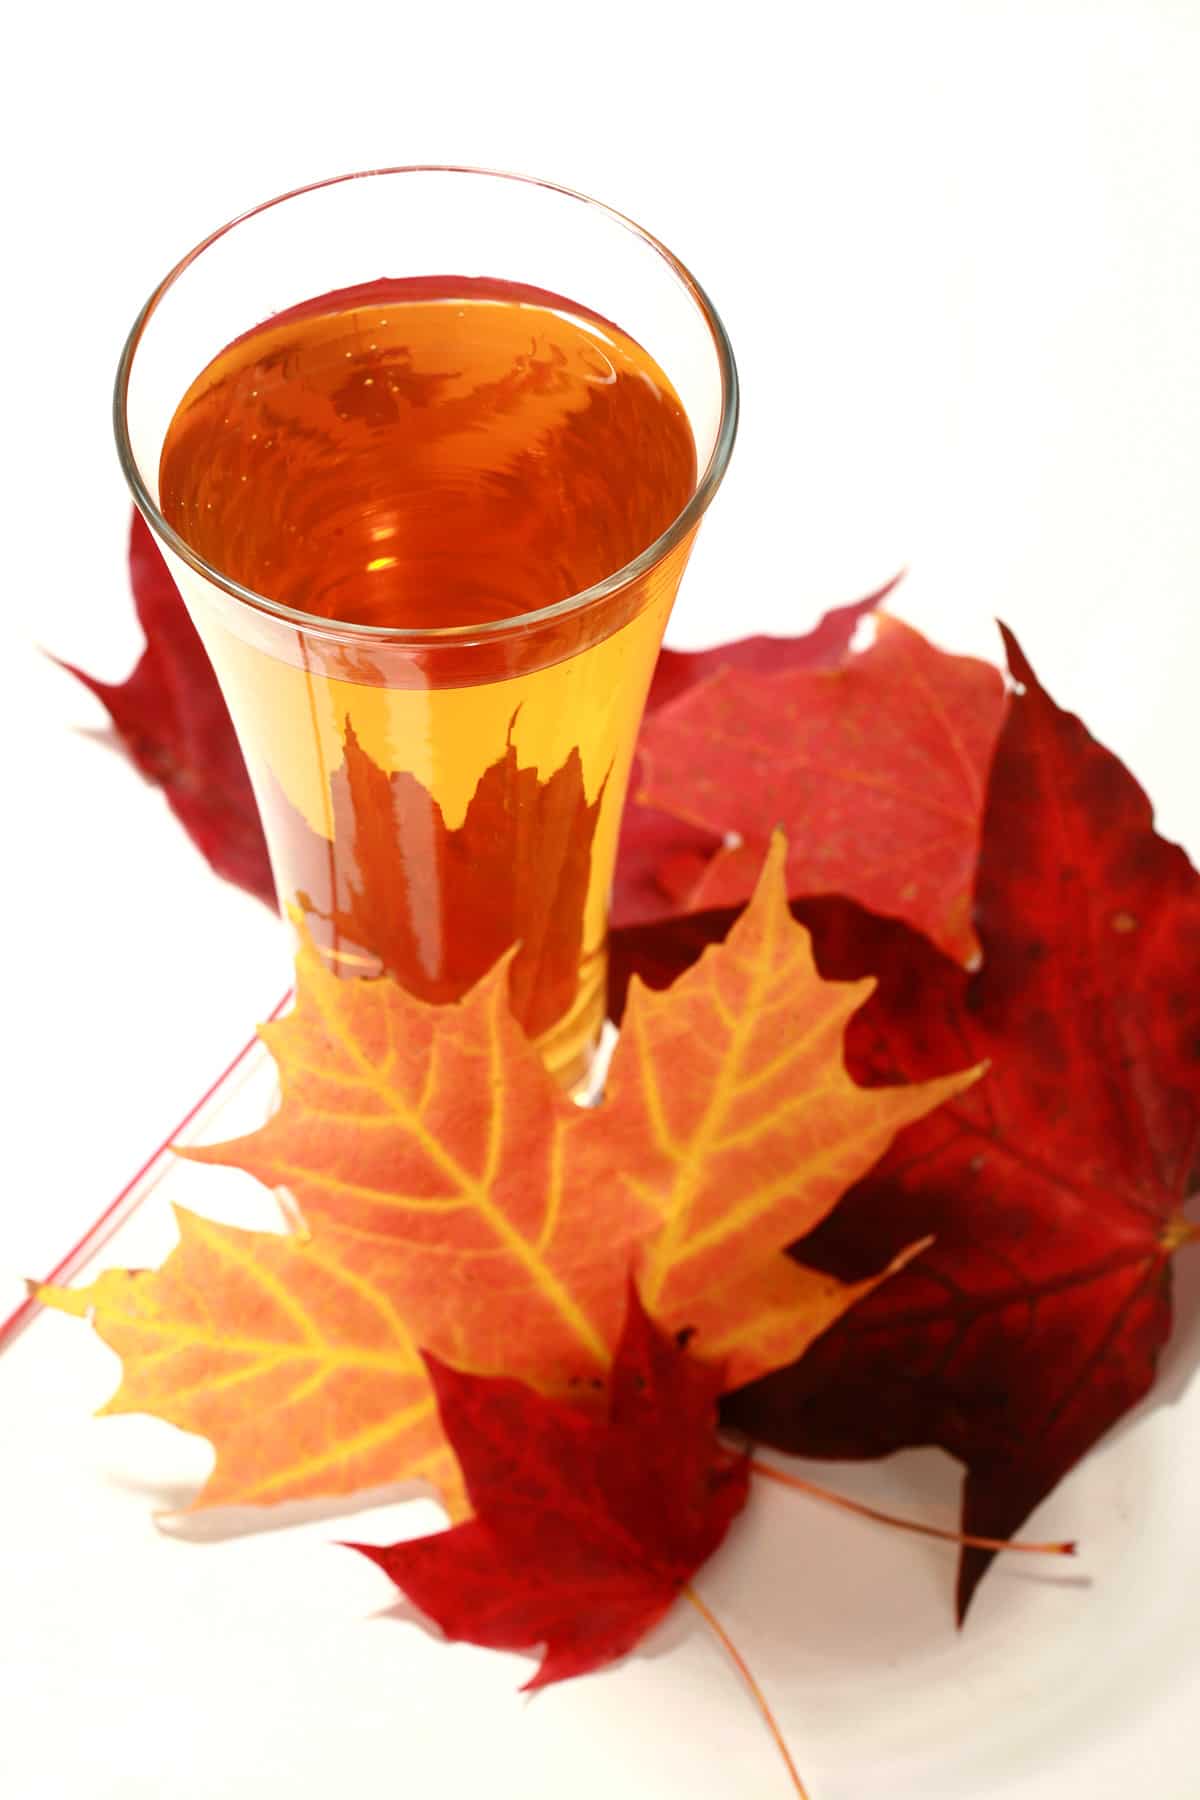
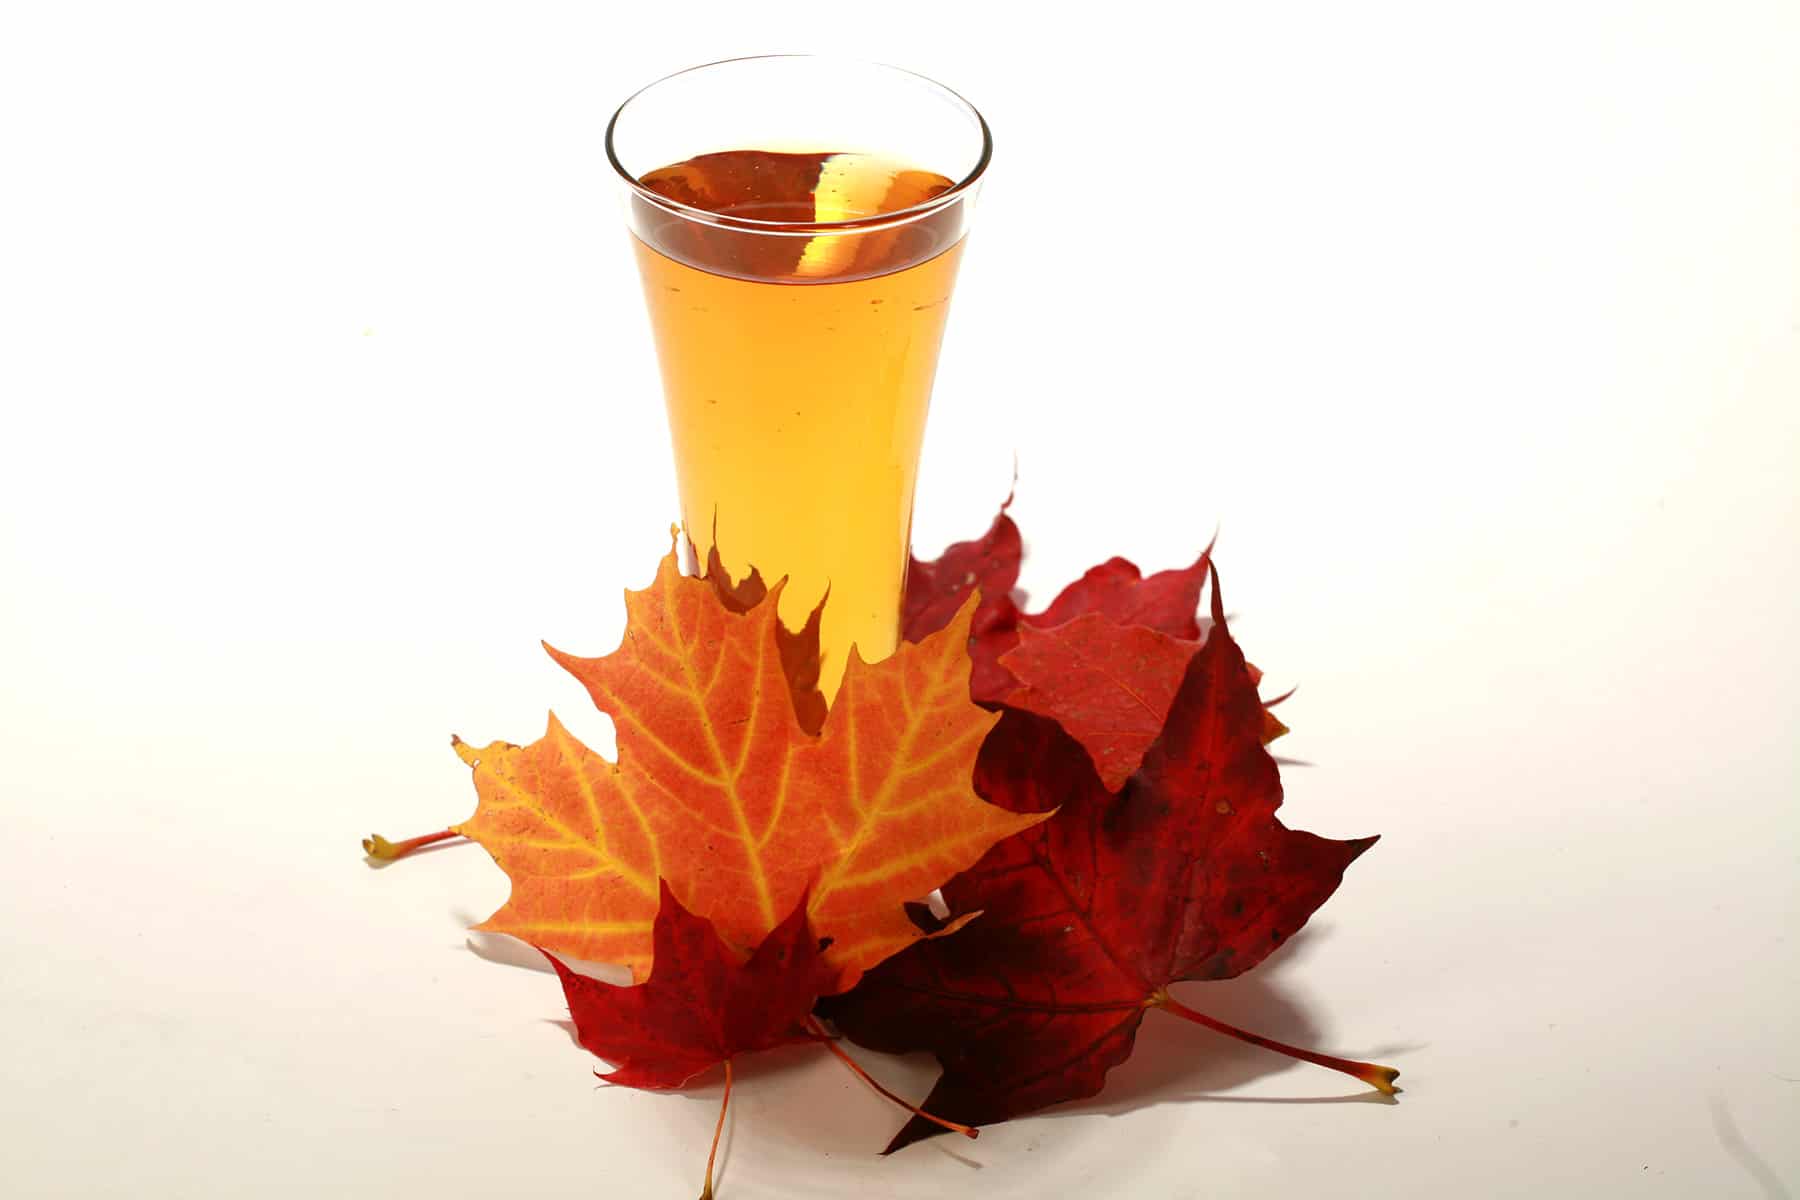
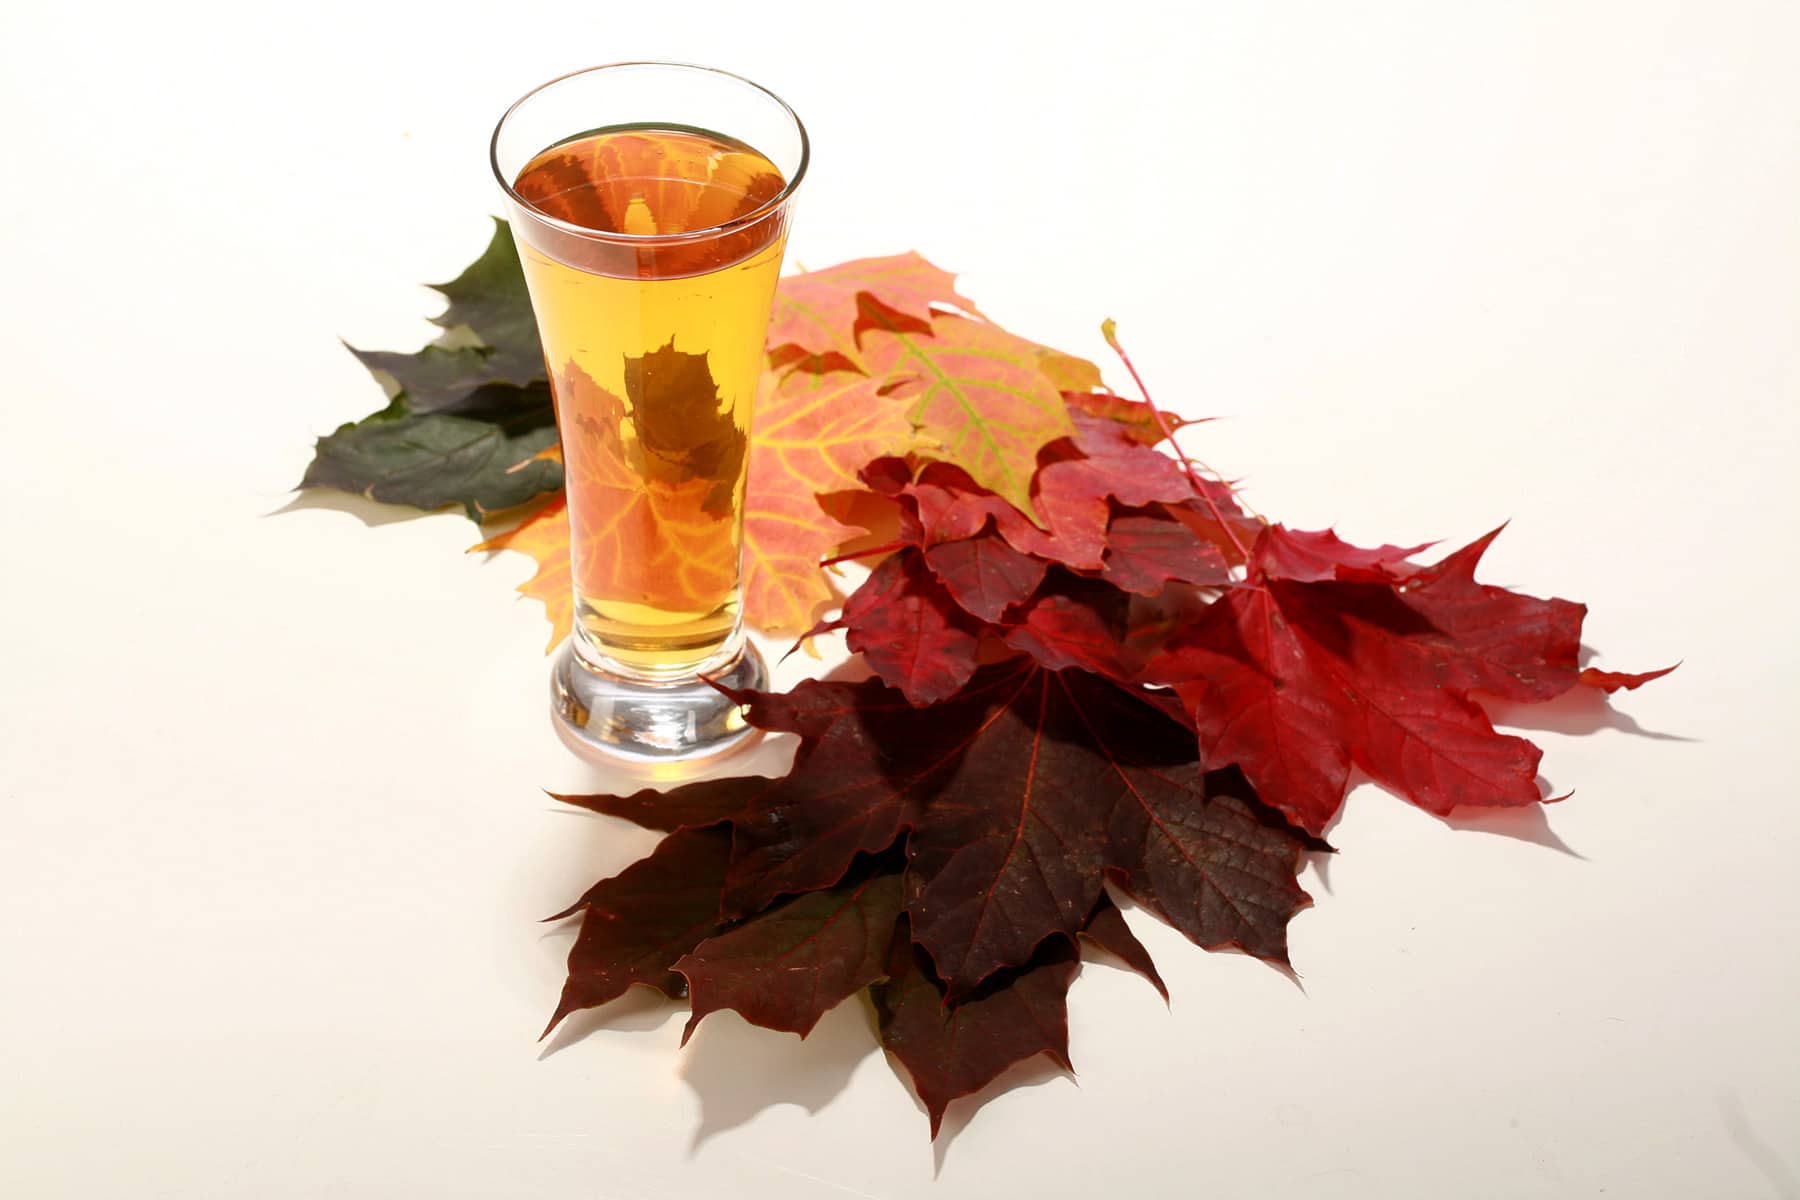
Hard Apple Cider is easy to make, and SO tasty. This Homemade Maple Hard Apple Cider recipe leans in on those fall flavours even more!

Fall is finally coming!
After a long hot summer, the weather FINALLY turned cool this week, and it’s been gorgeous!
Yesterday I watched a yellowed leaf fall from the big maple tree out front, and had to sigh happily. A good friend in Minneapolis posted a photo of a brilliantly red tree the other day, and I can’t wait!
Fall colour season is my favourite!
I’m not sure how normal this fall will be - will apple picking be an option? - I’m still looking forward to enjoying it in every way possible!
Now that I’m back in Ontario, apple season is a WAY bigger deal for me. The apples in Minneapolis were OK, but they weren’t Mutsus I obsess over Mutsu apples almost as much as I obsess over oranges - and that’s saying something!
Whether we pick them ourselves or mask up and pick them up from the farmers’ market, fresh apples are *definitely* in our near future. The first varieties are already showing up on farmers market tables here!
It’s been a minute since I posted about making Hard Apple Cider , so I figure it’s time to share our Maple Hard Apple Cider version.
No more difficult than making our basic (or not so basic, once we’ve doctored it all up at times!) Hard Apple Cider, just with the ingredients tweaked a bit.

Learn The Basics of Homemade Maple Hard Apple Cider
If you haven't attempted making wine before, don't be intimidated! Check out our primer to home brewing:
- Wine Making At Home, Part 1: Why?
- Wine Making at Home, Part 2: Equipment to Get Started
- Wine Making at Home, Part 3: The Brewing Process.
- Wine Making at Home, Part 4: How to Stabilize and Back Sweeten Wine
Just a small handful of entries, and you'll be good to go!

Homemade Maple Apple Cider Ingredients
Base Ingredients
Maple Hard Apple Cider requires only a few ingredients to make - super simple! Here is some information about those base ingredients that you may find helpful.
Apple Juice or Apple Cider
As this is your most important ingredient, you should start out by figuring out where and how you’ll be obtaining it. There are 2 main ways to go:
Juice Some Fresh Apples!
This was how we started with making Hard Apple Cider. About 13 years ago, we lived in a house that had a GIANT apple tree out back. Neither of us had ever seen - or had to deal with - an apple tree of that size, so we had NO idea what to do with all those apples.
There’s only so much apple pie one can handle, after all!
We decided to try making hard apple cider, and that was how we got into making homemade wine in general!
We used a crappy, really old juicer. It wasn’t very good, took forever, and made a huge mess. If we’d had a better juicer, it would have gone a lot better... but still, juicing is a TON of work.

Press - or Have Someone Else Press -Your Apples
When you have the apples - but not the spoons! - look into either renting an apple press, or having someone else press your apples for you.
Autumn is when, the apple presses come out, and you can usually find some for hire. Sometimes you can rent one and do it yourself at home, sometimes you can pay for the use of one on-site, etc.
Sometimes you can find one to use for free, or free with the purchase of apples. It’s a benefit that some home brew supply stores and orchards offer to their customers.
Trust me, it’s worth paying to have someone do it, if it comes down to that!
I recommend calling your local home brew supply stores first, to see if they offer the use of an apple press, whether on site or as a rental. Generally speaking, if they don’t have one, they’ll usually know someone who does, and be able to point you in that direction.
If they don’t - or you don’t have a local home brew supply shop - start calling around to apple orchards. If you know any that sell their own cider, I’d start with those ones. You already know they have a press!
Why pay an orchard to press apples, when they already sell cider? Because of preservatives! More on that in a bit...
If you’re unable to find a way to get apples pressed for you, you can always...
Buy Some Apple Cider or Apple Juice
This is the quickest, easiest, and usually cheapest (unless you have your own apple tree!) route to go, but you’ll need pay attention to the ingredients on what you’re buying.
No matter where the cider or juice is coming from - store or orchard - it need to be preservative free. 100%, if you overlook this point, your juice will not work.
To be clear, I’m talking about the “big name” preservatives, like sodium benzoate, potassium sorbate, etc. Citric acid is fine - that’s about preserving the colour, not stopping fermentation.
Worst case scenario, most grocery stores will sell some sort of pasteurized apple juice or apple cider in the juice aisle - just be sure to carefully read the labels!
Maple Syrup
I read the weirdest exchange on a speciality diet group the other day. Someone was asking about “sugar-free maple syrup”, and the Canadians were all “??????”.
It turned out that “pancake syrup” - You know, sugary syrup with no actual maple in it - can be referred to as “maple syrup” in the USA. 12 years down there, and I don’t think I ever came across that.
So, for the purposes of this recipe, I am talking about actual maple syrup - sap that was tapped from an actual maple tree and boiled down... no funny business added.
As to what grade / type, go with what you like best, and what your goal is for the cider. The darker the syrup, the stronger the flavour - so if you want a more robust flavour, go dark. More subtle, go lighter.
Sugar
While added sugar is technically optional to any hard cider, NOT adding any sugar will result in an INCREDIBLY dry cider.
Sweet tooth aside, I find that pretty much any fermented fruit juice beverage - Homemade wine OR Hard Apple Cider - just tastes better when there’s some degree of sweetness there. It really brings out the fruit flavour.
With Maple Hard Apple Cider specifically... Maple flavoured anything *should* have at least a bit of sweetness!
Type of Sugar
In terms of type of sugar, you can use plain white granulated sugar, and/or brown sugar.
We use brown sugar to up the sugar content - and, by extension, the alcohol content - while keeping the maple flavour balanced. It’s a Maple Hard Apple Cider, after all - not maple wine. (Though I do have a recipe for Maple Wine that I’ll be posting in October!)
Personally, I like how brown sugar supports and accents the maple syrup, and that’s why I use it. If you’d prefer a ... cleaner?... maple taste, you can use plain granulated sugar.
Feel free to use either type, raw cane sugar, or a mixture of any/all of these.

Alcohol Content
Aside from flavour, there’s the matter of alcohol content.
Your final ABV will vary wildly dependent on a few things: The initial sugar content of the apples you use, how much sugar you add, and what kind of yeast you use (more on that in a bit)
Any amount of sugar will result in a higher alcohol content. Sugar - both in the base apple cider itself, and from the added sugars - is what feeds the yeast, the yeast eats up the sugars and gives off alcohol as the byproduct of that process.
More sugar = more food = more alcohol... to a point, anyway. About that...
Yeast
The type of yeast you use will impact the alcohol content of the final product.
Yeast organisms don’t have an *unlimited* capacity to process sugar into alcohol. At some point, the environment they’re living in - the brewing cider - becomes too high in alcohol for the yeast to survive. They die off, the fermentation stops.
Different types of yeast have different tolerances for alcohol in the environment. That is, some yeast will be able to survive higher amounts of alcohol in the cider, so they’ll continue producing it longer than some other types.
Some types of yeast will bring you to something like an 8% ABV, while others will let things run wild until close to 20% ABV.
It’s good to know what you have in mind, when you choose your yeast.
Note: I’m going to refrain from using brand names in this section, as what’s available varies wildly between suppliers and regions! Ask your local homebrew supply shop for recommendations based on what you’re looking for.
If you want a sweet wine with a low-ish ABV - without having to back sweeten it (more on that in a bit) - choose a yeast with a lower tolerance for alcohol.
If you’re looking for a dry wine with a low ABV, choose a yeast with a lower tolerance for alcohol, and don’t use a ton of sugar.
If you want a sweet wine with a high ABV, use a bunch of sugar with a high-tolerance yeast... and be prepared to backsweeten it.
If you want a dry wine with a high ABV, use a fair amount of sugar and a high tolerance yeast.

Optional Ingredients
I want to mention this here, as the addition of other flavours IS an option for customizing your Maple Hard Apple Cider ... however, it’s one that we don’t usually go for, ourselves.
Raisins
Raisins are optional, but actually bring a lot to the finished product. Not only do they add a bit of flavour and sweetness, they also add body.
I don’t generally add them for apple cider that’s been pressed from apples, but if we’re doing one from a filtered apple juice, they do help!
In that case, we’ll usually toss between about a lb of golden raisins into the primary fermenter bucket, and rack the cider off them from there.
Alternatively, some people will use a can of frozen white grape juice in place of raisins, but we usually stick to the raisins. I don’t know why, it just feels more proper for Homemade Apple Cider in particular. That’s probably just a “me” quirk, though.
Spices
When I’m making a non-Maple Hard Apple Cider, I usually have at it with the spices - cinnamon, nutmeg, ginger, etc.
When I’m making Maple Hard Apple Cider, I generally don’t spice it. The times I do, I’ll add maybe just a cinnamon stick - that’s it.
I like the Maple Syrup taste to be prominent!
If you do want to add spices, you can add them in any form - a bit of ground spice added in at the simmering stage, and/or a stick or two of cinnamon in the primary fermenter with a tablespoon or two of whole cloves and/or some slices of fresh ginger.
Just be judicious in your use of spices. You can always add more flavour later... but you can’t really remove it if you overdo it!
Back Sweetening Your Maple Hard Apple Cider
Sometimes, you’ll find that the yeast went a bit too far with their smorgasbord, and you end up with a maple hard apple cider that’s not as sweet as you’d like it.
... and that’s when you back sweeten it! You can read my How to Stabilize and Back Sweeten Wine post for information on how to back sweeten it.
More Home Brewing Recipes!
While you've got your current homebrew fermenting away, why not consider putting a batch of something else on, to occupy your wait time? Here are a few of my other wine, cider, and mead recipes:
Wine Recipes
Banana Wine Recipe
Blackberry Wine Recipe
Blackcurrant Wine Recipe
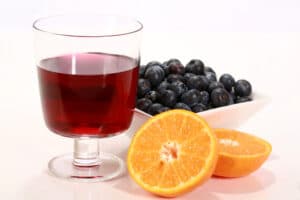
Blueberry Wine Recipe
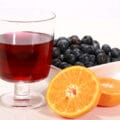
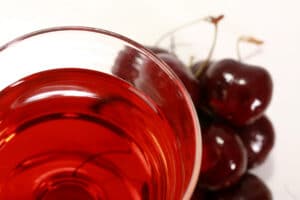
Cherry Wine Recipe
Cranberry Clementine Christmas Wine Recipe
Cranberry Wine Recipe
Faux Lingonberry Wine
Lychee Wine Recipe
Mango Strawberry Wine Recipe
Mango Wine Recipe
Mint Wine Recipe
Lychee Wine Recipe
Partridgeberry Wine Recipe
Passionfruit Wine Recipe
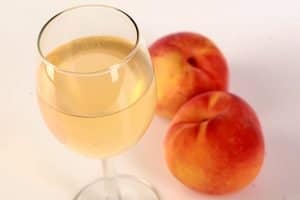
Peach Wine Recipe
Stone Fruit Wine Recipe
Strawberry Wine Recipe
Ube Wine Recipe
Watermelon Wine Recipe
Mead Recipes
Black Cherry Mead Recipe
Blueberry-Clementine Mead Recipe
Blueberry Mead Recipe
Clementine Mead Recipe
Pumpkin Mead Recipe
Wildflower Mead Recipe
Cider & Miscellaneous Homebrew Recipes
Share the Love!
Before you drink up, be sure to take some pics of your handiwork! If you post it to Bluesky, be sure to tag us - @CelebrationGen. We're also on Pinterest, so you can save all your favourite recipes to a board!
Also, be sure to subscribe to my free monthly email newsletter, so you never miss out on any of my nonsense.
Well, the published nonsense, anyway!


Maple Hard Apple Cider Recipe
Equipment
- 2 gallon fermenter bucket and lid
- 1 - 2 1 gallon glass carboys
- 1 air lock and stopper
- Siphon, siphon tubing.
Ingredients
- 1 gallon Apple cider*
- 2 cups Light Brown Sugar packed
- 2 cups Maple Syrup
- 1 teaspoon Yeast Nutrient
- 1 Packet Wine or Cider yeast We like Red Star “Cote de Blancs” for this recipe
Instructions
- In large stock pot, combine apple cider, brown sugar, and maple syrup. Heat to almost boiling, stirring until sugar is dissolved.
- Once cider starts bubbling, turn the temp to low and simmer for 20 minutes. Think more “keep it warm”, than any kind of active simmer.
- While the pot is simmering, prepare your fermenter bucket:Wash and sanitize a 2 gallon plastic fermenter, lid, stopper, air lock, and wire strainer.
- Place yeast nutrient into the plastic fermenter. Affix the stopper to the lid of the fermenter, cover and set aside.
- Once the 20 minute simmer is up, remove from heat, allow to cool.**
- Carefully pour cider into the fermenter.
- Once mixture has cooled to room temperature, use a sanitized funnel to transfer cooled mixture to a sanitized 2 gallon fermenter.
- Using sanitized equipment, take a gravity reading. Keep track of the number! (This is an optional step, but will allow you to calculate your final ABV %)
- Sprinkle yeast into fermenter, cover with sanitized air lock. Let sit, undisturbed, overnight.
- Within 48 hours, you should notice fermentation activity – bubbles in the airlock, carbonation and /or swirling in the cider must. This means you’re good to go! Put the carboy somewhere cool (not cold!), and leave it alone for a month or so.
- Using sanitized equipment, rack the clarified cider off the sediment, into a clean, freshly sanitized 1 gallon carboy (and an extra ½ gallon carboy, if you need it!). Cap with sanitized airlock, leave it alone for another 2-3 months.
- When you’ve let it clarify as much as you have patience for – with no more sediment being produced – you can move on to bottling:
For Uncarbonated Cider
- Using sanitized equipment, take a final gravity reading, then rack the cider into clean, sanitized beer bottles, and cap them. Allow to age for a month or so before drinking. (Like wine, the flavor improves with age!)
For Naturally Carbonated Cider
- In a small pot, mix together 1 cup of water with 1 cup of sugar or brown sugar. Use a sanitized funnel to pour this into a sanitized large carboy. Rack the cider over into this carboy, swirling it as you go. Bottle cider as described in the previous step. Allow to age at least a month or two – residual yeast will ferment the added sugar, carbonating the cider.
For Force-Carbonated Cider
- Alternatively, you can rack the cider (without the added sugar syrup!) into a keg and force carbonate it, if you have the set up for that. That’s what we did with our last batch, and blew through it pretty quick during the tornado clean up! Chilled hard apple cider is just what’s needed for that sort of thing, LOL!
- Enjoy.. and start planning for next year’s batch(es)!


Leave a Reply