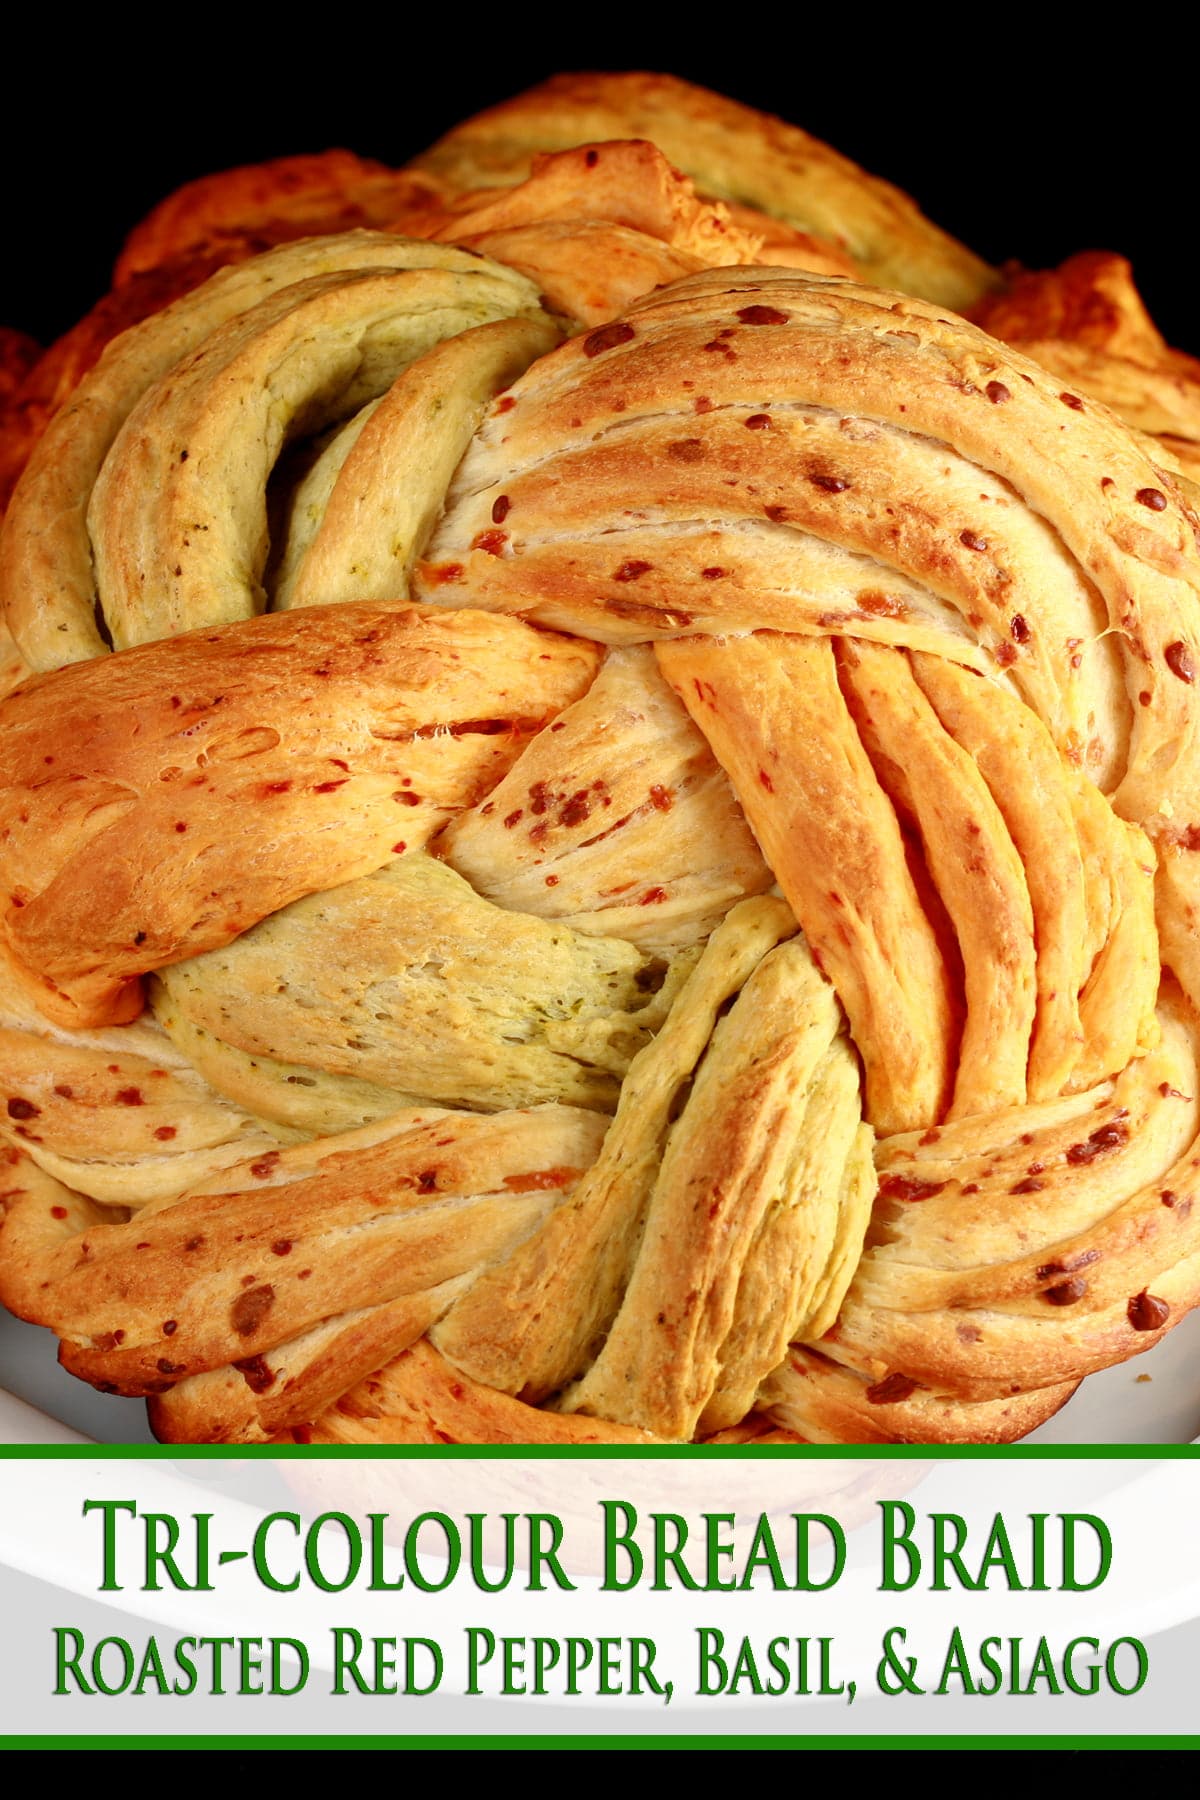
Basil, Roasted Red Pepper, and Asiago Bread Braid - This tri-colour bread braid is easier to make than you might think - and full of flavour!
Originally posted January 20, 2015, Updated 2/1/2021
Late last week, the forecast for the weekend was looking great, so we decided to drop everything and catch up on some photo shoots.
I had a few costume commissions I hadn't had pro shots of yet, so we picked two locations and contacted everyone who had costumes suitable to them: one superheroes set, and one wintery location.
It was a bunch of work to organize people, logistics, model releases, etc.. but the results were fantastic - I have some preview pics up on my Facebook page, here.
ANYWAY.
I have a "family discount" with my fabulously talented husband when it comes to his photography.
This time, he asked to be paid in homemade bread. Bread that I can't have, due to my gluten issues... so he's been deprived of it for a while.
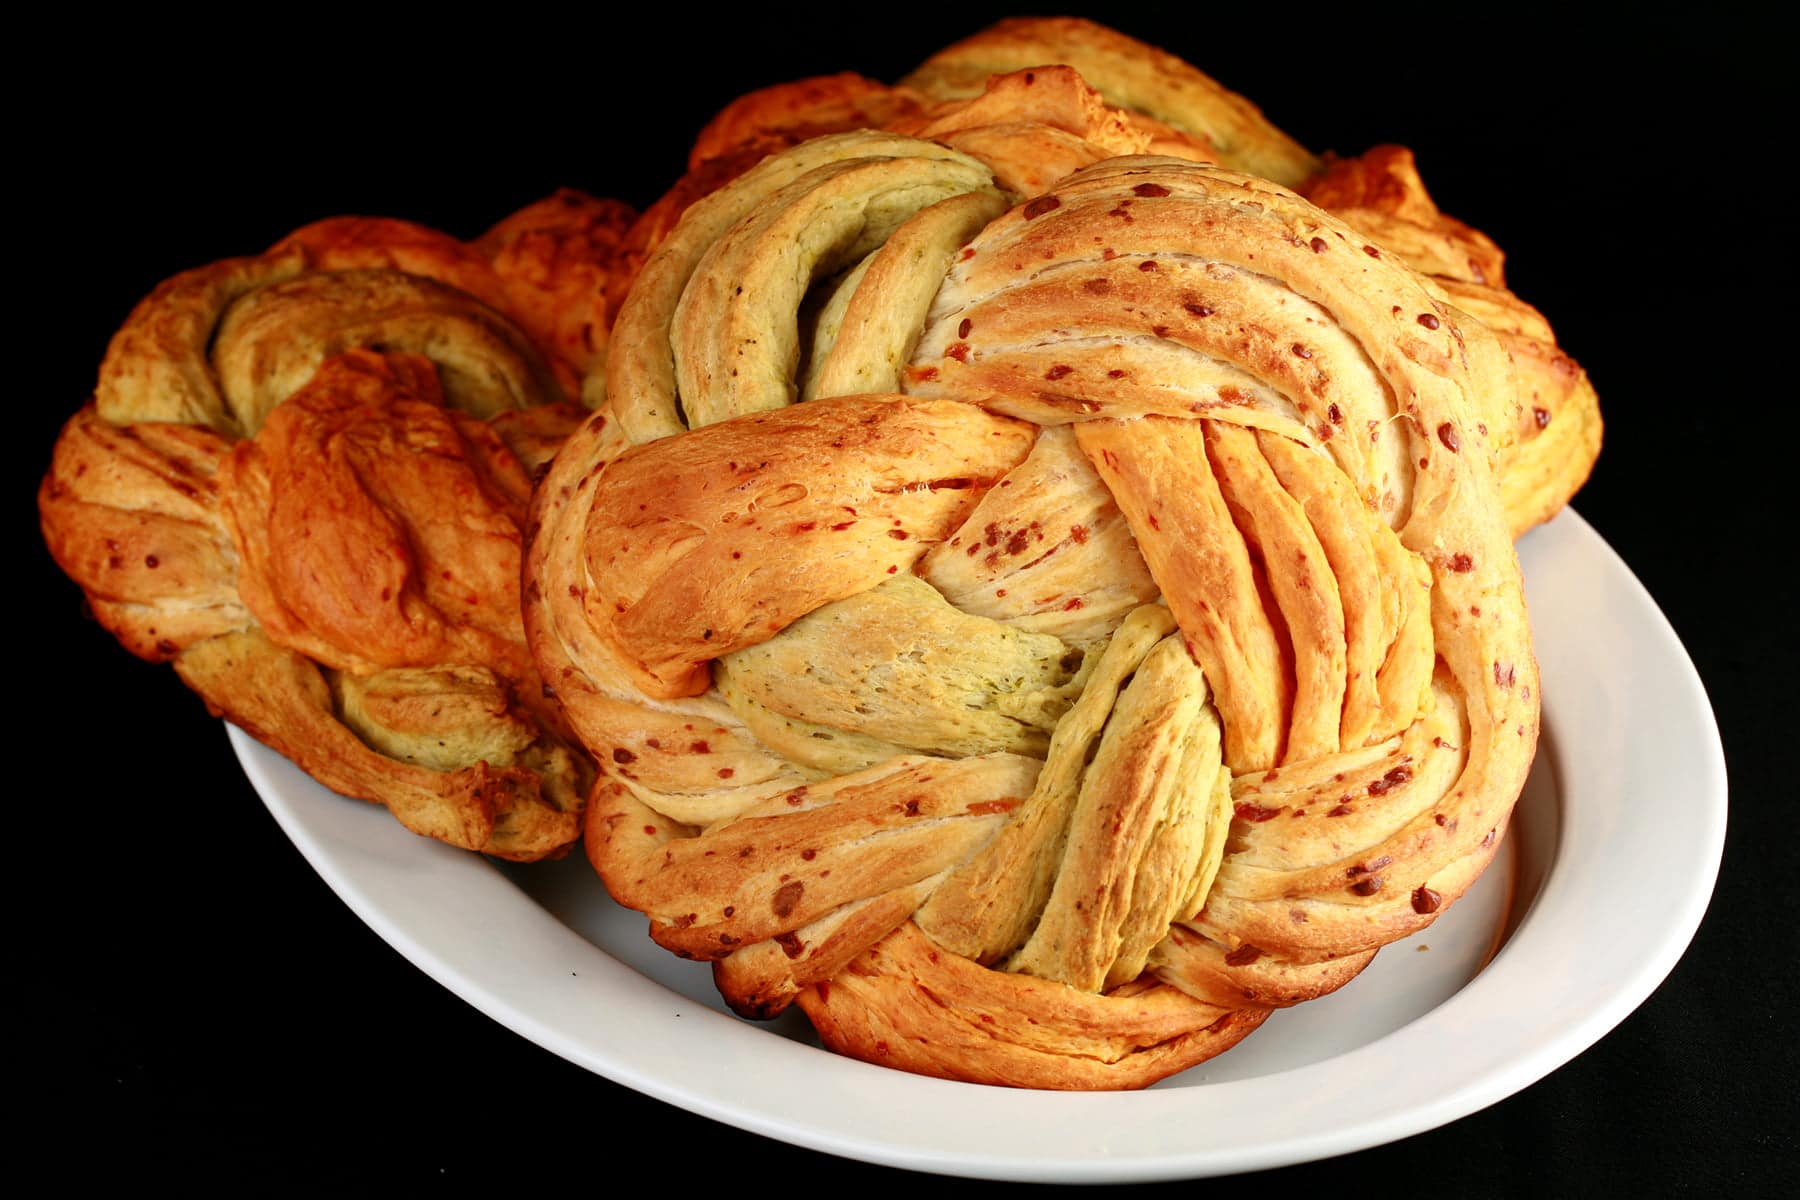
Tri-Colour Braid Bread
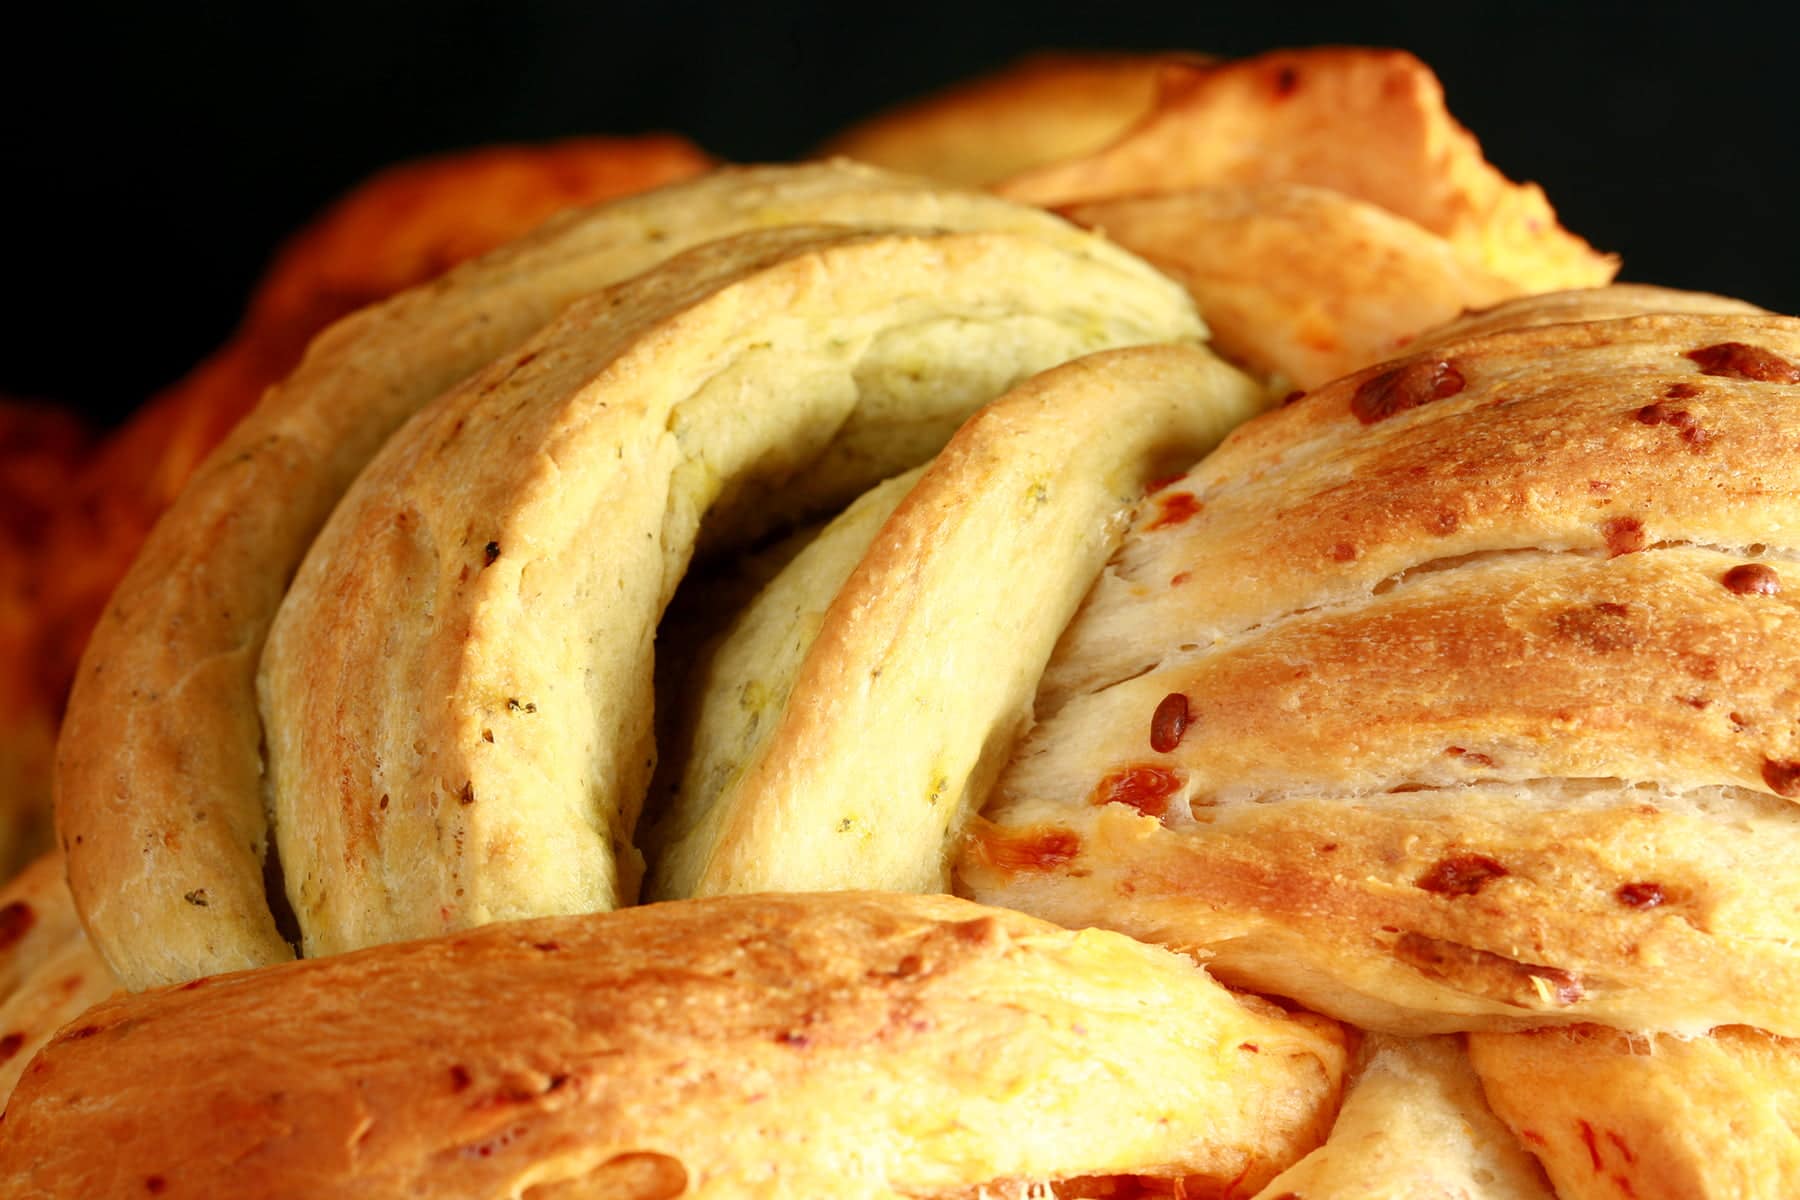
I decided to create a very special bread recipe just for him, utilizing a few of his favourite flavours... all done up in a visually stunning way: As a Basil, Roasted Red Pepper, and Asiago Bread Braid.
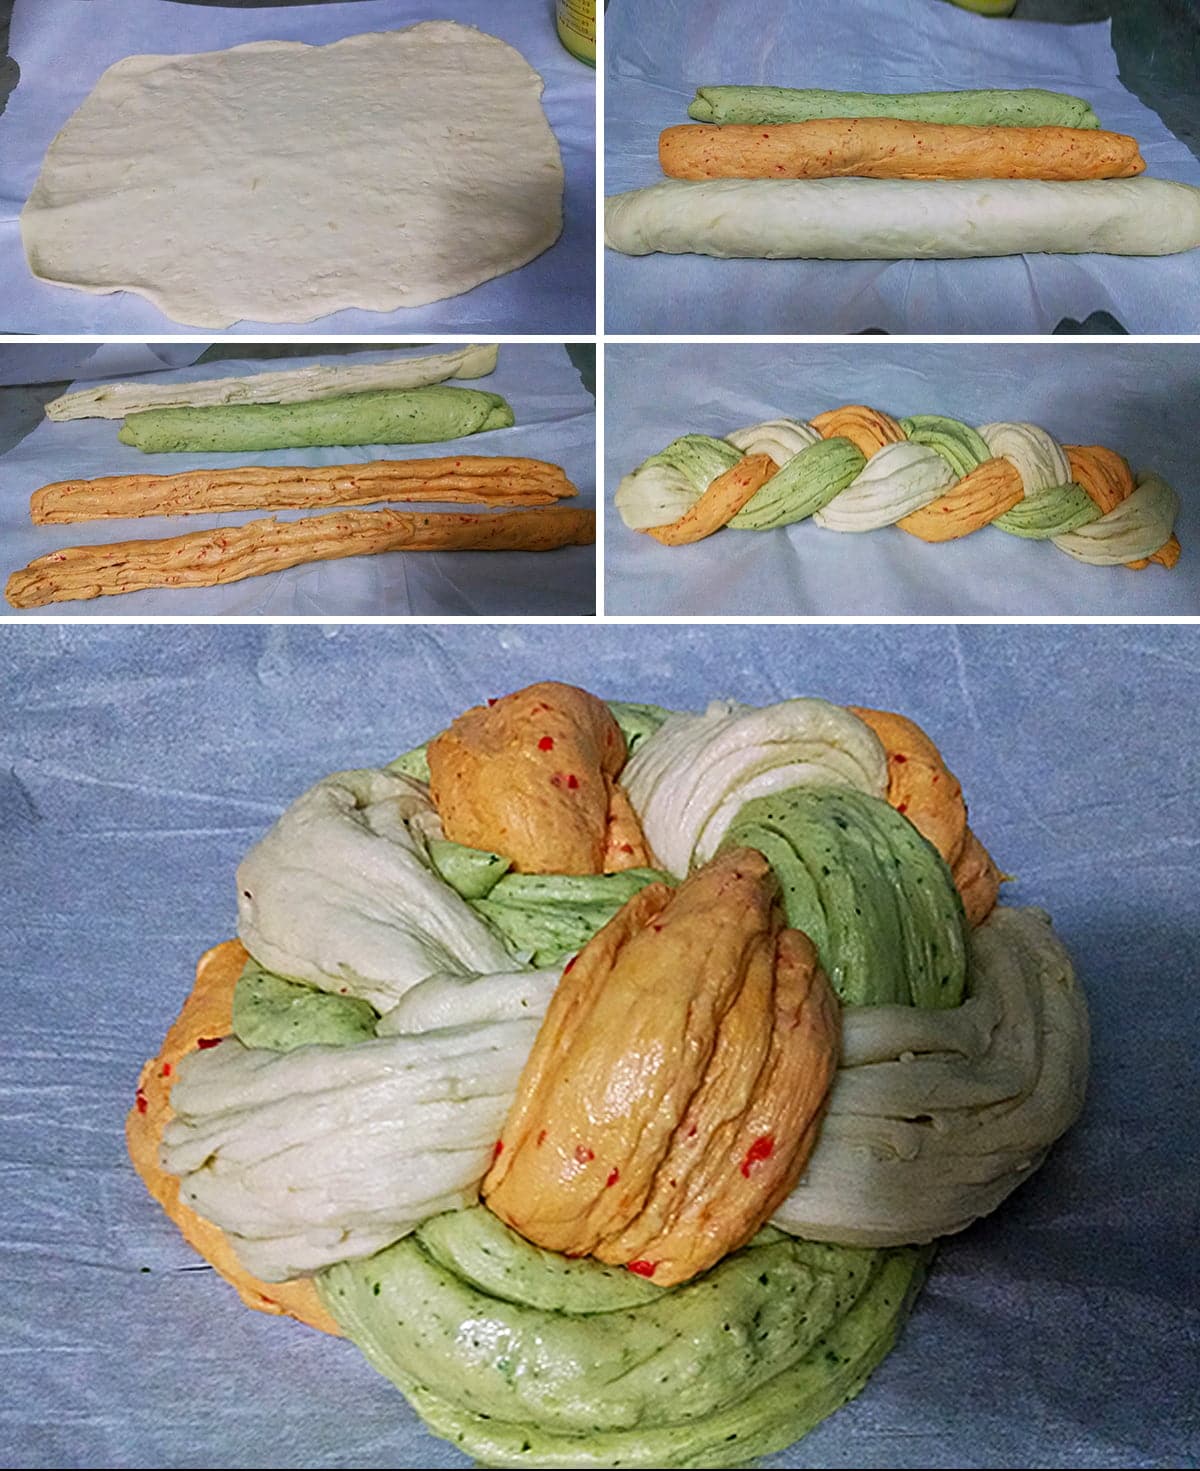
I made three different batches of dough, rolled, braided, and coiled them.. and it was a HUGE hit.
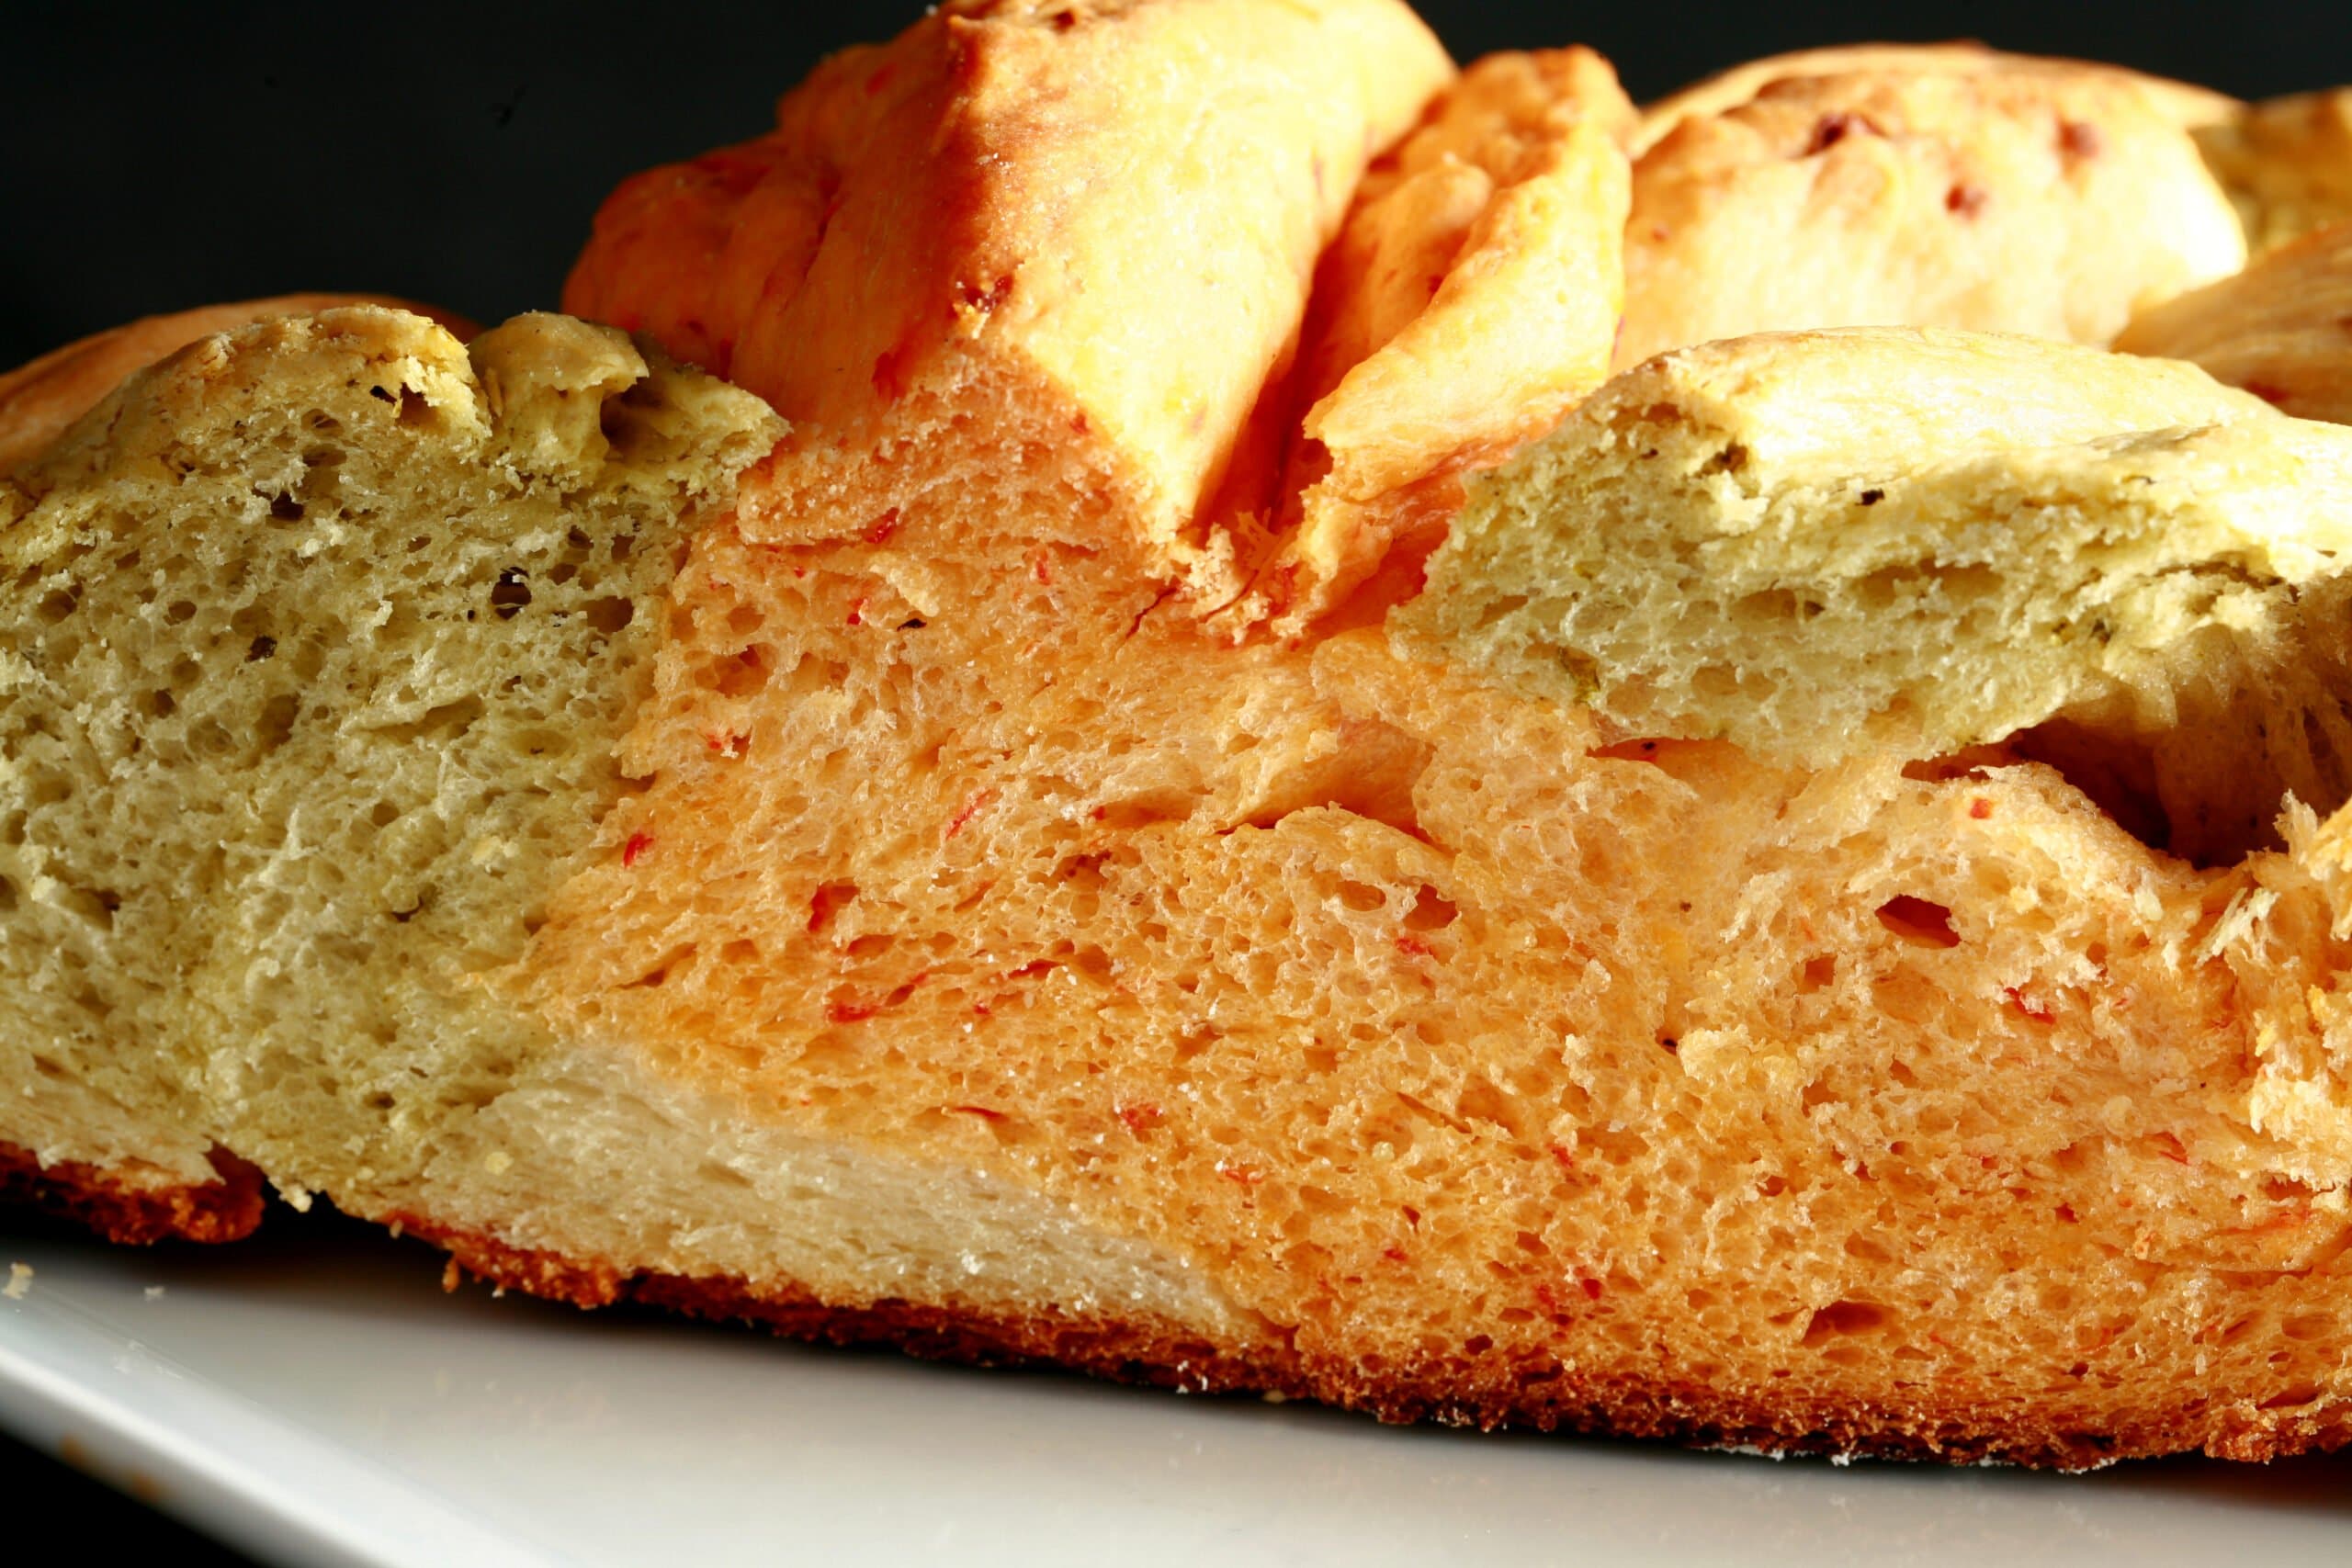
The technique used for rolling the dough before braiding it results in almost a "pull apart bread", and the garlic butter adds a great, complimentary flavour to all three doughs.
It's a bit of effort and makes a ton of bread - 4 decent sized loaves! - but trust me when I say that it's not hard to find some friends who are excited to take a loaf off your hands!
This is totally worth the effort. This makes a soft, flavourful, and gorgeous bread... and with the red, white, and green colouring, it would be a pretty addition to any holiday table!
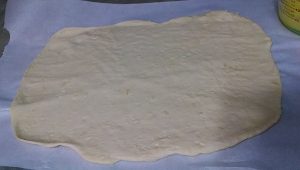
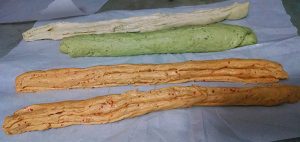
Excuse the crappy in-progress photography. I had to take cell phone pics, as my photographer was busy building my kitchen 🙂

More “Capital B” Baking Recipes
Does the smell of yeast proofing just make you happy? Oh, I love the smell of it. Anyway, if you’re looking for more excuses to bake something that involves waiting for rise times, here are a few more recipes!
Apple Cinnamon Buns
Beer Pretzels & Jalapeno Jack Dip
Buffalo Chicken Buns
Chai Cinnamon Rolls
Everything Bagels
How to Make Bagels
Jalapeno Popper Stuffed Pretzel Bites
Maple Walnut Spiced Pumpkin Buns
Marble Rye Bagels
Paska - Ukrainian Easter Bread
Persians Recipe
Reuben Buns
Roasted Red Pepper Bagels
Rye Bagels with Caraway Seeds
Sauerkraut Balls - Pyrizhky
Seeded Whole Wheat Flax Bagels
Smoky Cheese Bagels
Spinach Hand Pies
Strawberry Orange Rolls
Za'atar Manakish (With Cheese!)

Share the Love!
Before you chow down, be sure to take some pics of your handiwork! If you post it to Bluesky, be sure to tag us - @CelebrationGen. We're also on Pinterest, so you can save all your favourite recipes to a board!
Also, be sure to subscribe to my free monthly email newsletter, so you never miss out on any of my nonsense.
Well, the published nonsense, anyway!
Basil, Roasted Red Pepper, and Asiago Bread Braid
Ingredients
Asiago Dough
- 1 ⅓ cup Warm Water
- 2 tablespoon Honey
- 2 tablespoon Active Dry Yeast
- 4 cups All-Purpose Flour
- 1 cup Finely shredded Asiago cheese
- ⅓ cup + 1 tablespoon Olive Oil
Basil Dough
- 1 ¼ cup Warm water
- 2 tablespoon Honey
- ½ teaspoon Salt
- 2 tablespoon Active Dry Yeast
- ⅓ cup + 1 tablespoon Olive Oil
- 1 cup Packed Fresh Basil Leaves
- 4 cups All-Purpose Flour
Roasted Red Pepper Dough
- 1 cup Warm water
- 2 tablespoon Honey
- ½ teaspoon Salt
- 2 tablespoon Active Dry Yeast
- 4 cups All-Purpose Flour
- 3 tablespoon Olive Oil Divided
- ½ cup Pureed Roasted Red Peppers
Assembly
- 1 cup Butter
- 1 tablespoon Pressed, Minced, or Pureed Garlic
Instructions
Asiago Dough
- Add honey to warm water, stir till well blended. Add yeast and stir again. Allow to sit (somewhere warm!) for 10 minutes.
- In the bowl of a stand mixer fitted with a dough hook, combine flour, cheese, ⅓ cup olive oil, and foamy yeast mixture. Mix on low speed till well blended, then turn speed up a bit and let it “lazy knead” for 5 minutes or so. Dough should ball easily – if it’s too wet, add a bit of flour. If it’s too dry, add a bit more water.
- Put 1 tablespoon olive oil into a large bowl, add dough, flip over to coat. cover with plastic wrap and allow to rise in a warm place for one hour.
Basil Dough
- Add honey and salt to warm water, stir till well blended. Add yeast and stir again. Allow to sit (somewhere warm!) for 10 minutes.
- While yeast is hydrating, combine ⅓ cup olive oil and the basil leaves in a food processor or blended, blitz until smooth.
- In the bowl of a stand mixer fitted with a dough hook, combine flour, basil olive oil, and foamy yeast mixture. Mix on low speed till well blended, then turn speed up a bit and let it “lazy knead” for 5 minutes or so. Dough should ball easily – if it’s too wet, add a bit of flour. If it’s too dry, add a bit more water.
- Put 1 tablespoon olive oil into a large bowl, add dough, flip over to coat. cover with plastic wrap and allow to rise in a warm place for one hour.
Roasted Red Pepper Dough
- Add honey and salt to warm water, stir till well blended. Add yeast and stir again. Allow to sit (somewhere warm!) for 10 minutes.
- In the bowl of a stand mixer fitted with a dough hook, combine flour, 2 tablespoon olive oil, red pepper puree, and foamy yeast mixture. Mix on low speed till well blended, then turn speed up a bit and let it “lazy knead” for 5 minutes or so. Dough should ball easily – if it’s too wet, add a bit of flour. If it’s too dry, add a bit more water.
- Put 1 tablespoon olive oil into a large bowl, add dough, flip over to coat. cover with plastic wrap and allow to rise in a warm place for one hour.
Assembly
- Put butter and garlic in a microwave safe cup or bowl. Heat until just melted.
- Gently knead each of the doughs to deflate slightly, divide each into two equal sized balls. Work with one set of 3 different doughs, while leaving the other set covered with plastic wrap.
- Roll one dough ball out to about 12″ x 15″ rectangle – I like to do this on a large piece of parchment paper. Brush with melted garlic butter, leaving a 1″ border unbuttered.
- Roll one long side towards the other long side, taking care to keep it tightly rolled, and not just slidding in the butter as you go. Repeat with other two doughs in the set.
- Use a sharp knife to cut each long in half, lengthwise. Be careful in handling – each ½ log consists of concentric semi-circles of dough now, and can be prone to sliding around. Also, be careful not to stretch them out of shape.
- Working with one strip of each colour, secure the three strips together at one end and carefully braid them, taking care to have the cut sides facing up the whole way. Pinch strips together at the end.
- Gently coil braid into a round loaf – I like to tuck the start of the coil under itself, to elevate the middle of the loaf a bit. Tuck the end of the coil under the load to secure.
- Repeat braiding with rest of cut rolls, starting on a new piece of parchment.
- Repeat rolling, buttering, cutting, braiding, and coiling on second set of dough, having each loaf on its own piece of parchment paper.
- VERY LOOSELY cover each with plastic wrap. Start timing 30 minutes, preheat oven to 375 F.
- Transfer each sheet of parchment / loaf to its own baking sheet. Don’t remove loaves from parchment!
- Melt remaining garlic butter, gently brush over each loaf.
- One or two loaves at a time, bake for about 35 minutes, or until golden brown.
Notes
Nutrition











Michael Porter
This bread is great! Every piece I take I find myself saying "Ooooh, I like THIS flavor the BEST!" Then I cycle through the flavors over and over, each one being the "best" as I eat it. The three flavor thing is really fun, and it looks really cool too.
Rachel
If anyone can figure out how to make a great chewy flavorful Gluten Free bread, it will be you. I'm desperately waiting, since good chewy braided challah is still the one thing I can't master. Please?
Marie Porter
Working on it! I'm really picky about what I'll put out there, and one of my requirements is that it has to have a good texture at room temperature - very difficult!