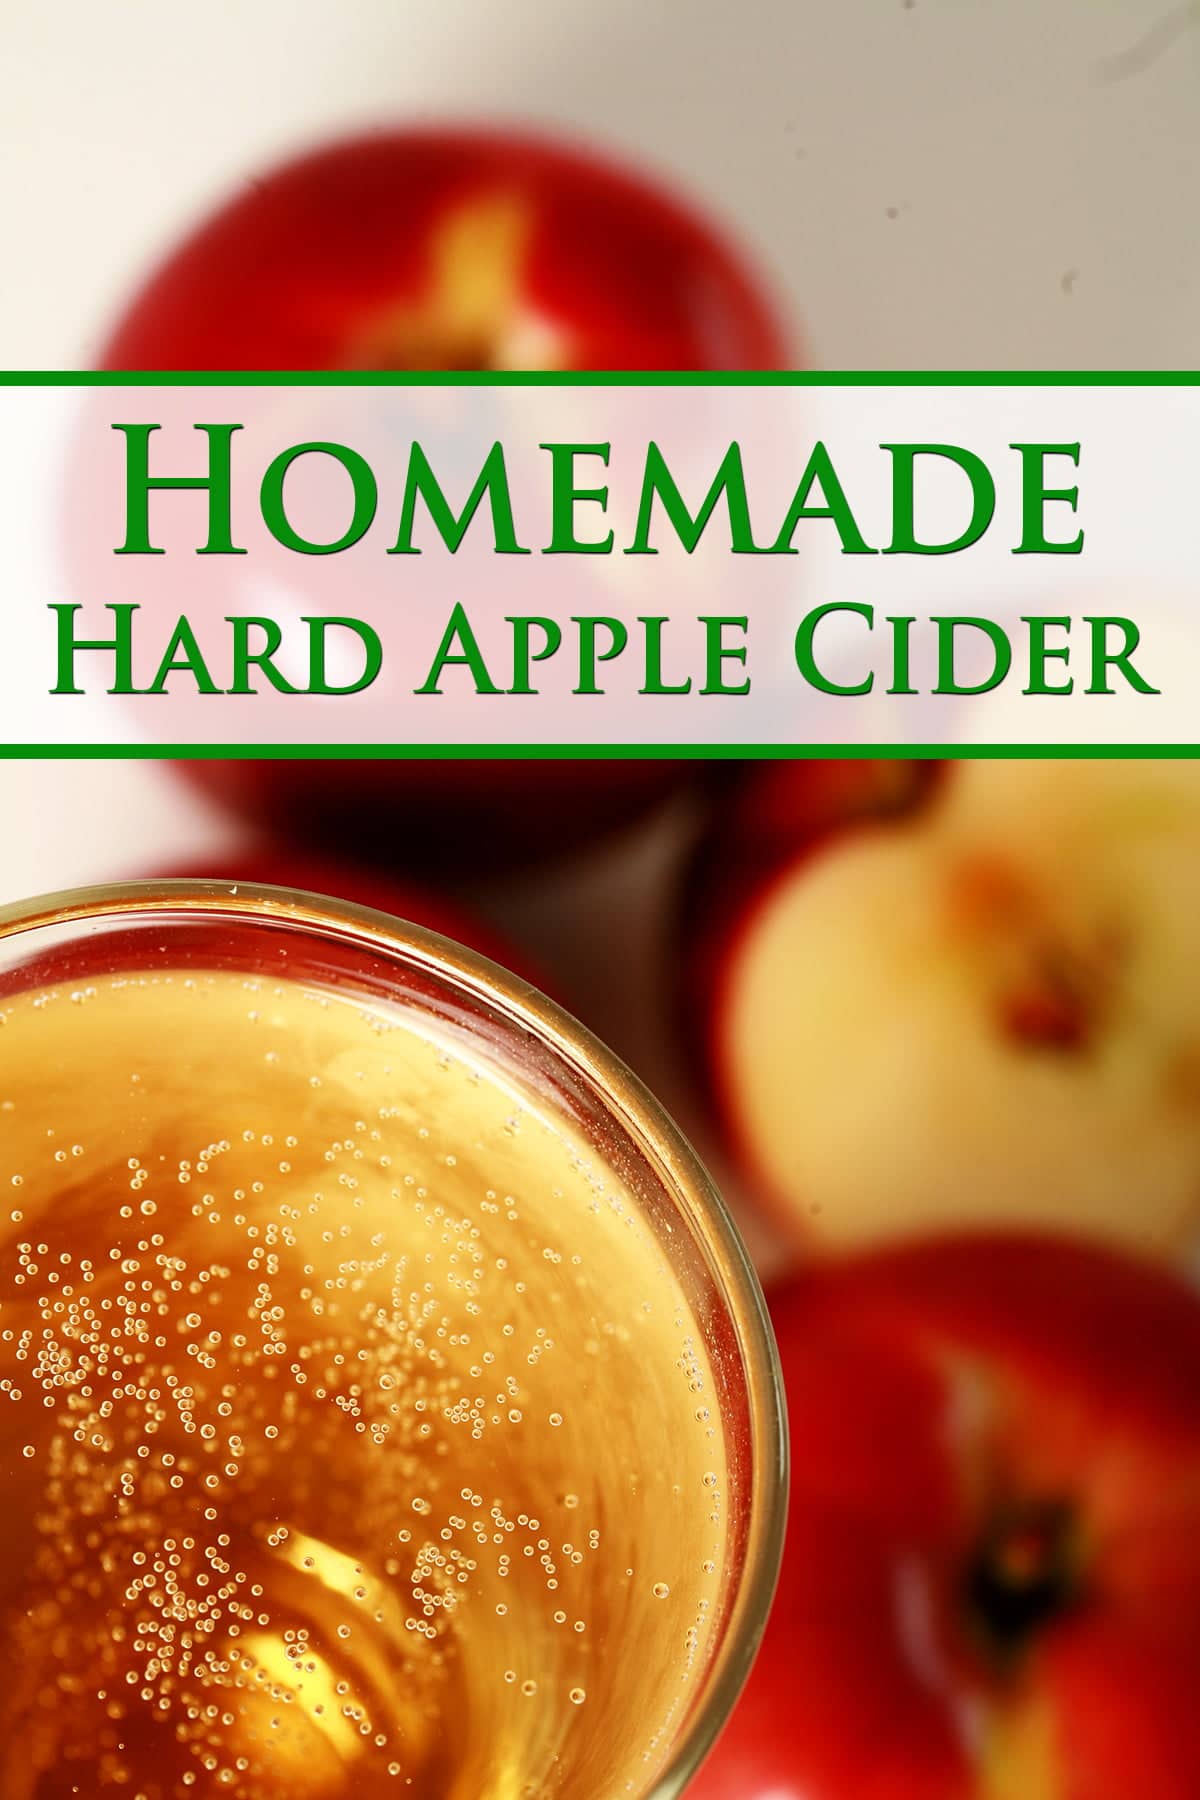
This Hard Apple Cider Recipe is fun and easy to make, and highly customizable. Make your Hard Apple Cider from apples, or purchased cider!
Originally published September 14, 2011, Updated on 10/27/20
After a long, overly hot summer... man, did it ever feel good to wake up to 44 F / 7 C!
At this point, we lost our entire summer to the tornado - it happened May 22, and we've been busting our butts ever since. Any outdoor activities have been long hours of removing debris, hauling bricks, or construction. Sunburns all around, a heat stroke... Yeah, I'm about ready to commit the summer of 2011 to the books - complete write off.
Even before this ... Summer of our Discontent (Yes, now I have an ear worm!) ... I’ve always loved and looked forward to fall.
I LOVE fall. I love the smell of the air, the feel of it against my skin, the colors... everything. I love being able to go outside without worrying about the possibility of overheating.
I love that fall means that winter is right around the corner. It's like this perfect, happy, and drawn-out reward for surviving summer. And, you know... that goes DOUBLE, this year!
Before moving to the US, I used to go apple picking almost every fall. Oh, I miss Ontario apples - Mutsu apples were my absolute favourite, and nothing here compares. Anyway.
It was actually an abundance of apples at our last home - in Minneapolis - that led to our home brewing hobby.
We're probably not going to have time to put on a batch this year, because... really. We still haven't racked our wines that were due for it back in early June! It sucks, but by posting our recipe, we can live vicariously through you, my awesome readers!
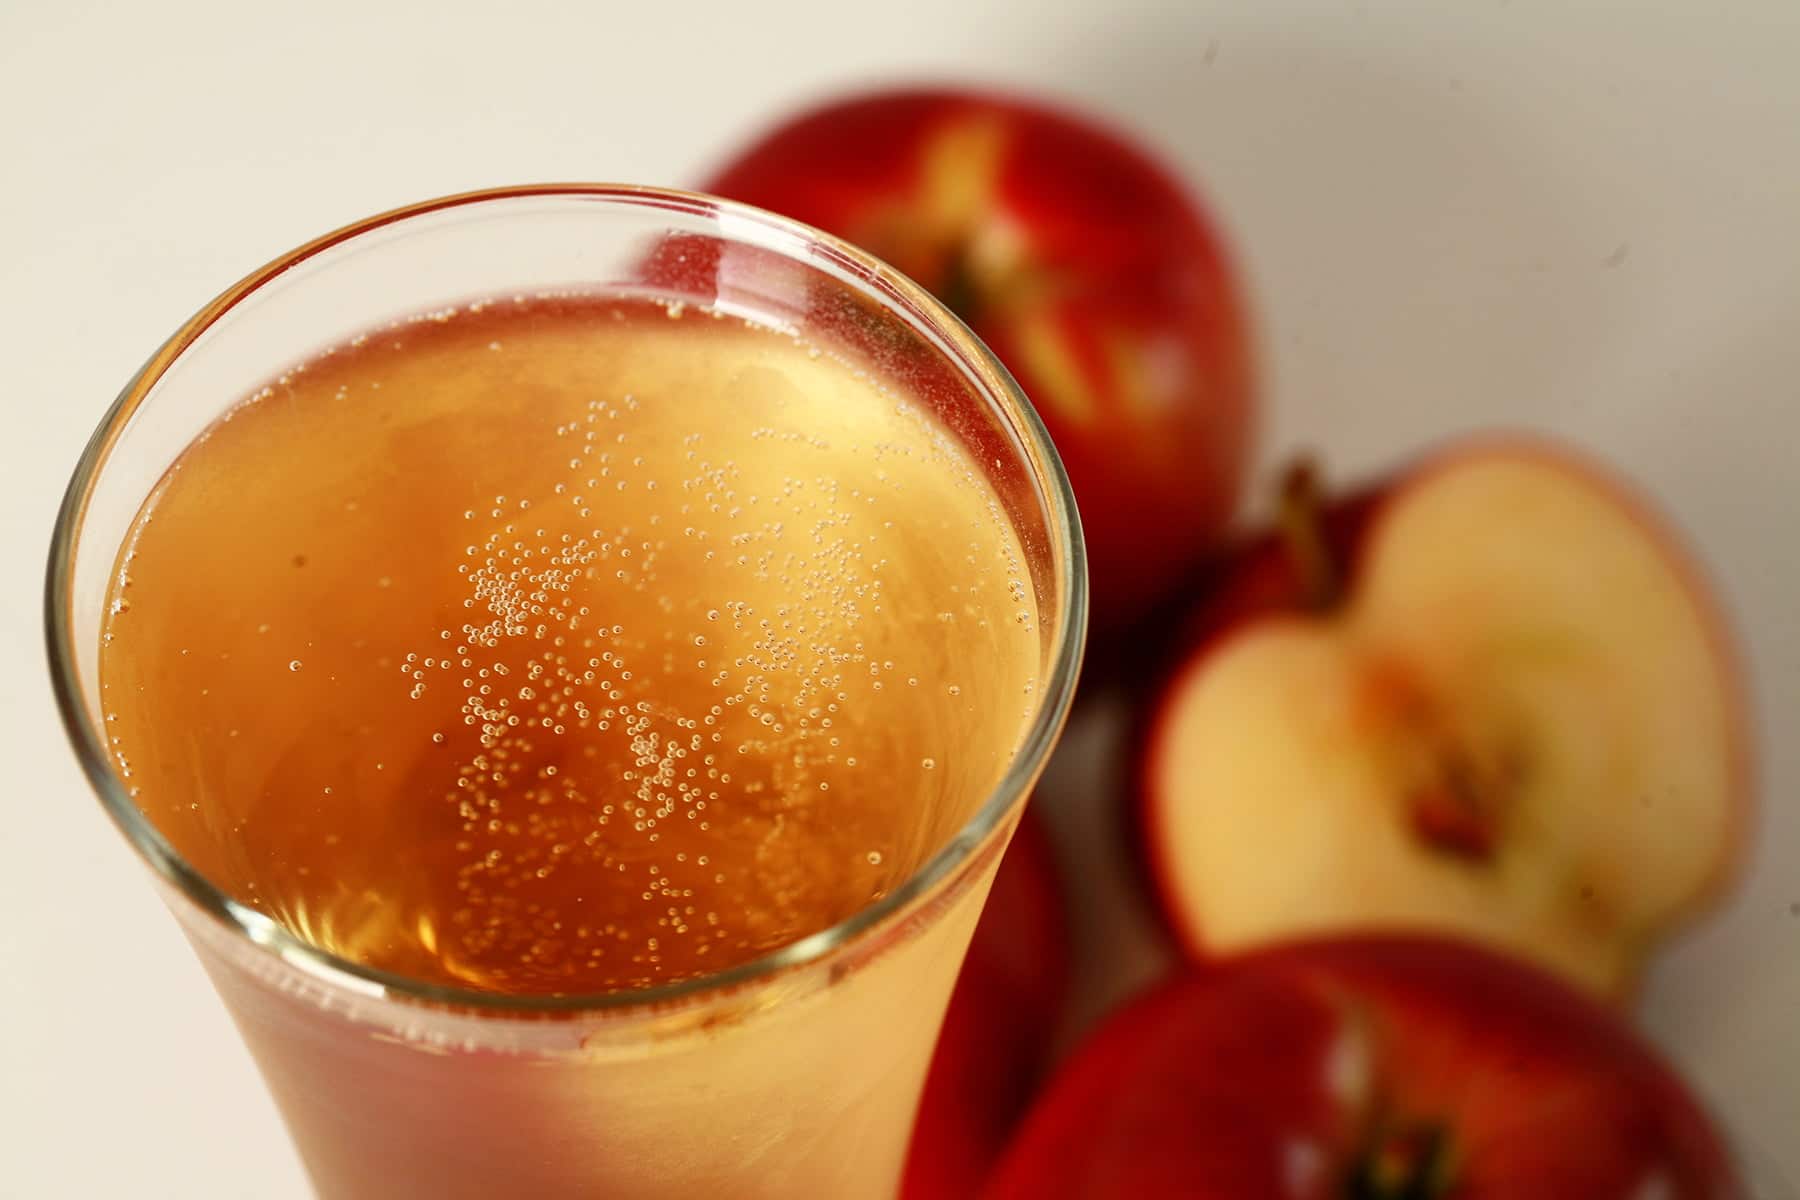
How to Make Hard Apple Cider
If you haven't attempted making hard cider or wine before, don't be intimidated! Check out our primer to home brewing:
- Wine Making At Home, Part 1: Why?
- Wine Making at Home, Part 2: Equipment to Get Started
- Wine Making at Home, Part 3: The Brewing Process.
- Wine Making at Home, Part 4: How to Stabilize and Back Sweeten Wine
Just a small handful of entries, and you'll be good to go!
Hard Apple Cider Recipe Ingredients
Base Ingredients
This hard cider recipe requires only 3 ingredients to make - super simple! Here is some information about those base ingredients that you may find helpful.
Apple Juice
You’ll want to start off by figuring out where you’re getting your most important ingredient from. There are 2 main ways to go:
Make Hard Cider from Fresh Apples!
This is the way we went... the first time. It’s labour intensive, but also gives you a great feeling of accomplishment. Eventually, anyway.
We used a juicer. It took forever and made a gigantic mess. Looking back, if we’d had a better juicer it would have gone better... but it’s still a lot of work.
We ARE talking about coming up with 5 gallons of juice, after all!

Have Someone Press Your Apples
When you have the apples - but not the spoons! - look into having someone else do it for you!
When apple season rolls around, the apple presses come out... and you may luck into finding somewhere to do it for you. Sometimes it’s free, sometimes it’s free with purchase, and sometimes it’s a paid service.
Trust me, it’s worth paying to have someone do it, if it comes down to that!
Call your local home brew supply stores to see if they have an apple press that they use, loan, or rent out. If they don’t, they’ll usually be able to point you in the direction of someone who does.
Why hire them to press apples, when they already sell cider? Because of preservatives! More on that in a bit...
If you strike out completely, you can always try..

Making Hard Apple Cider from Apple Juice
Buying some Apple Juice / Apple Cider is a great route to go if you want to just avoid all the fuss, but you’ll have to pay attention to what you’re buying.
Whether from a store or an orchard, you *absolutely* want your apple cider to be preservative free. This is absolutely key!
Citric acid and related preservatives are fine, but if your apple cider has anything like sodium benzoate, potassium sorbate, etc, your yeast will not be able to ferment it.
As a worst case scenario, most grocery stores will carry a pasteurized apple cider in plastic bottles, near the apple juice.

Sugar
Sweet Hard Apple Cider vs Dry Hard Apple Cider
While sugar is technically optional, NOT adding any sugar will result in an INCREDIBLY dry cider.
Sweet tooth aside, I find that pretty much any fermented fruit juice beverage - Homemade wine OR Homemade Hard Apple Cider - just tastes better when there’s some degree of sweetness there. It really brings out the fruit flavour.
At 3-5 lbs will give you a dry Hard Apple Cider that still tastes like apples.
At around 7 lbs, you should have a good semi sweet cider.
I’ll usually go 10 lbs, for a sweet cider.
Type of Sugar
In terms of type of sugar, you can use plain white granulated sugar, and/or brown sugar. We like to use brown sugar, as we find that it gives the final cider a richer flavor. Feel free to use either type, raw cane sugar, or a mixture of any/all of these.
Alcohol Content
Aside from flavour, there’s the matter of alcohol content.
Your final ABV will vary wildly dependent on a few things: The initial sugar content of the apples you use, how much sugar you add, and what kind of yeast you use (more on that in a bit)
Any amount of sugar will result in a higher alcohol content. Sugar - both in the base apple cider itself, and from the added sugars - is what feeds the yeast, the yeast eats up the sugars and gives off alcohol as the byproduct of that process.
More sugar = more food = more alcohol... to a point, anyway. About that...
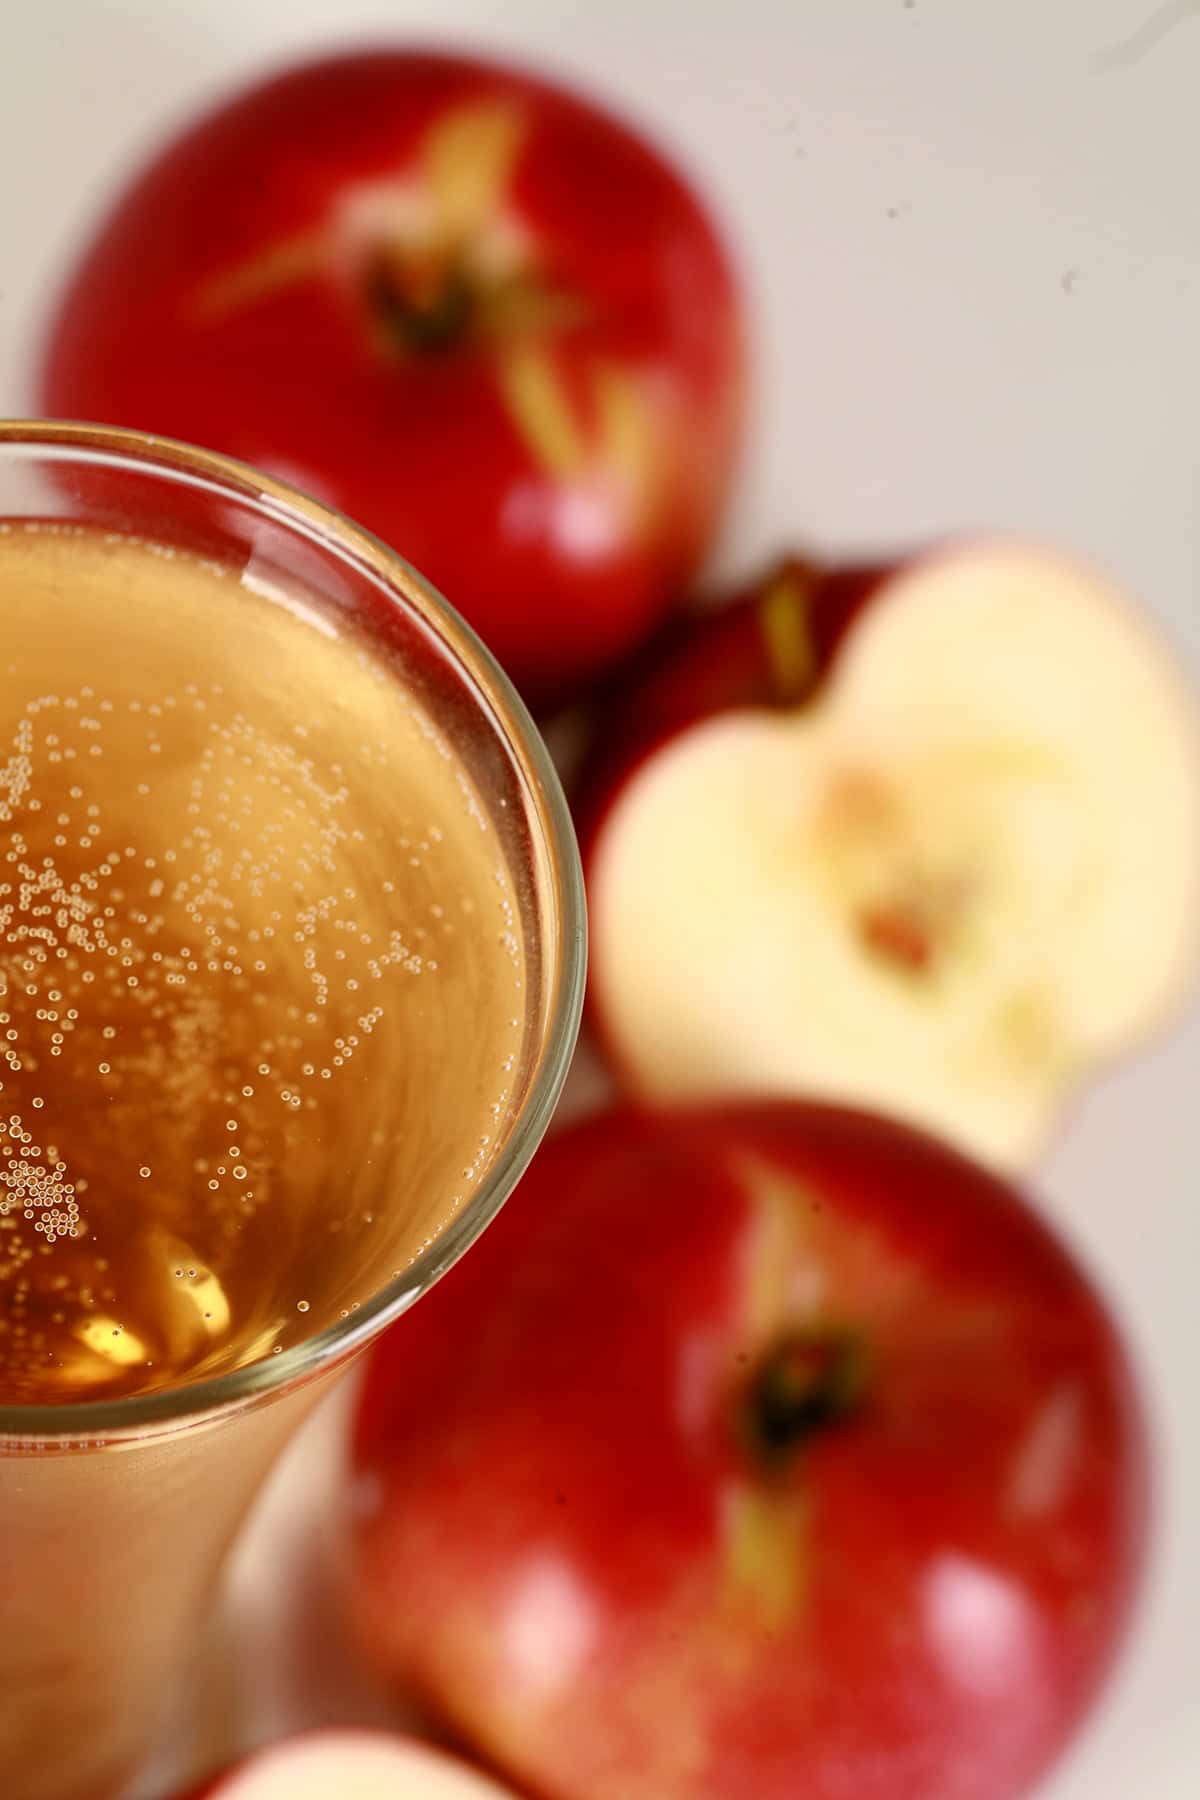
Yeast
The type of yeast you use will impact the alcohol content of the final product.
Yeast organisms don’t have an *unlimited* capacity to process sugar into alcohol. At some point, the environment they’re living in - the brewing cider - becomes too high in alcohol for the yeast to survive. They die off, the fermentation stops.
Different types of yeast have different tolerances for alcohol in the environment. That is, some yeast will be able to survive higher amounts of alcohol in the cider, so they’ll continue producing it longer than some other types.
Some types of yeast will bring you to something like an 8% ABV, while others will let things run wild until close to 20% ABV.
It’s good to know what you have in mind, when you choose your yeast.
If you want a sweet wine with a low-ish ABV - without having to back sweeten it (more on that in a bit) - choose a yeast with a lower tolerance for alcohol.
If you’re looking for a dry wine with a low ABV, choose a yeast with a lower tolerance for alcohol, and don’t use a ton of sugar.
If you want a sweet wine with a high ABV, use a bunch of sugar with a high-tolerance yeast... and be prepared to backsweeten it.
If you want a dry wine with a high ABV, use a fair amount of sugar and a high tolerance yeast.

Optional Ingredients
While optional ingredients are *optional*, they give you an enormous amount of ability to customize your Homemade Hard Apple Cider.
Honey
Honey can be swapped in for all or part of your sugar - it makes for a more mellow, smooth flavour to the finished product, IMHO.
Cider sweetened with honey ends up making a cross between a Mead (honey wine) and a hard cider, and it’s got its own name - cyser.
Honey can be swapped in for sugar, pound for pound.
Maple Syrup
Maple syrup gives Homemade Hard Apple Cider a great flavour, but you should really only substitute it for *part* of your sugar.
Using maple syrup in place of ALL your sugar - while tasty - overwhelms the apple flavour, and becomes more of a Maple Wine, than a Hard Cider recipe.
Like honey, it can be swapped in pound for pound.
Molasses
Molasses add a deep rich flavour to your cider, but - like Maple Syrup - you need to use it *judiciously*.
Personally, I wouldn’t swap it in for more than a pound of the sugar, as it can easily overwhelm the flavour of the apple cider.

Raisins
Raisins are optional, but actually bring a lot to the finished product. Not only do they add a bit of flavour and sweetness, they also add body.
We’ll usually toss between 2-5 lbs of golden raisins into the primary fermenter bucket, and rack the cider off them from there.
Alternatively, some people will use a can of frozen white grape juice in place of raisins, but we usually stick to the raisins. I don’t know why, it just feels more proper for Homemade Apple Cider in particular. That’s probably just a “me” quirk, though. Have at it!
Spices
Spices aren’t necessary, but can be nice to add. It takes a crisp, clean, basic apple flavour to something more warm and evocative of fall.
Cinnamon, nutmeg, cloves, and ginger are all great options. You can add them in any form - a bit of ground spice added in at the beginning, a stick or two of cinnamon in the primary fermenter with a tablespoon or two of whole cloves and/or some slices of fresh ginger.
Your imagination is really your only limit!

Back Sweetening Your Homemade Hard Apple Cider
Sometimes, you’ll find that the yeast went a bit too far with their smorgasbord, and you end up with a homemade hard apple cider that’s not as sweet as you’d like it.
... and that’s when you back sweeten it! You can read my How to Stabilize and Back Sweeten Wine post for information on how to back sweeten it.
More Home Brewing Recipes!
While you've got your current homebrew fermenting away, why not consider putting a batch of something else on, to occupy your wait time? Here are a few of my other wine, cider, and mead recipes:
Wine Recipes
Banana Wine Recipe
Blackberry Wine Recipe
Blackcurrant Wine Recipe
Blueberry Wine Recipe
Cherry Wine Recipe
Cranberry Clementine Christmas Wine Recipe
Cranberry Wine Recipe
Faux Lingonberry Wine
Lychee Wine Recipe
Mango Strawberry Wine Recipe
Mango Wine Recipe
Mint Wine Recipe
Lychee Wine Recipe
Partridgeberry Wine Recipe
Passionfruit Wine Recipe
Peach Wine Recipe
Stone Fruit Wine Recipe
Strawberry Wine Recipe
Ube Wine Recipe
Watermelon Wine Recipe
Mead Recipes
Black Cherry Mead Recipe
Blueberry-Clementine Mead Recipe
Blueberry Mead Recipe
Clementine Mead Recipe
Pumpkin Mead Recipe
Wildflower Mead Recipe
Cider & Miscellaneous Homebrew Recipes
Home Brew Hard Iced Tea Recipe
Maple Hard Apple Cider Recipe

Share the Love!
Before you drink up, be sure to take some pics of your handiwork! If you post it to Bluesky, be sure to tag us - @CelebrationGen. We're also on Pinterest, so you can save all your favourite recipes to a board!
Also, be sure to subscribe to my free monthly email newsletter, so you never miss out on any of my nonsense.
Well, the published nonsense, anyway!
Anyway, on to that Homemade Hard Cider Recipe!
Homemade Hard Apple Cider
Equipment
- 1 6.5 gallon fermenter bucket and lid
- 1 or 2 6.5 gallon glass carboys
- 1 air lock and stopper
- Siphon, siphon tubing.
Ingredients
- 5 gallons Apple cider*
- 5-10 lbs white and/or brown sugar we use ~7 lbs brown sugar**
- 2 packets of wine yeast We like Red Star “Cote de Blancs” for this recipe
- Optional Ingredients:***
- Honey
- Maple syrup
- Molasses
- Raisins
- Cinnamon
- Nutmeg
- Cloves
Instructions
- In large stock pot, combine apple cider with the sugar. Heat to almost boiling, stirring until sugar is dissolved. Continue to heat for about 45 minutes – never allowing it to come to a boil. Remove from heat, cover with sanitized pot lid. (If you don’t have a 7-10 gallon stock pot or turkey fryer, you can do this in batches.)
- Once mixture has cooled to room temperature, use a sanitized funnel to transfer cooled mixture to a sanitized 6.5-7.5 gallon fermenter. Using clean hands and sanitized utensils, add any flavoring ingredients you’ll be using to the fermenter. Go easy on the flavorings – you can always add more later, but cannot take it away if you overdo it!.
- Using sanitized equipment, take a gravity reading. Keep track of the number! (This is an optional step, but will allow you to calculate your final ABV %)
- Sprinkle yeast into fermenter, cover with sanitized air lock. Let sit, undisturbed, overnight.
- Within 48 hours, you should notice fermentation activity – bubbles in the airlock, carbonation and /or swirling in the cider must. This means you’re good to go! Put the fermenter somewhere cool (not cold!), and leave it alone for a month or so.
- Using sanitized equipment, rack the clarified cider off the sediment, into a clean, freshly sanitized 6.5 gallon carboy. Cap with sanitized airlock, leave it alone for another 2-3 months.
- When you’ve let it clarify as much as you have patience for – with no more sediment being produced – you can move on to bottling:
- For uncarbonated cider:
- Using sanitized equipment, take a final gravity reading, then rack the cider into clean, sanitized beer bottles, and cap them. Allow to age for a month or so before drinking. (Like wine, the flavor improves with age!)
- For naturally carbonated cider:
- In a small pot, mix together 1 cup of water with 1 cup of sugar or brown sugar. Use a sanitized funnel to pour this into a sanitized large carboy. Rack the cider over into this carboy, swirling it as you go. Bottle cider as described in the previous step. Allow to age at least a month or two – residual yeast will ferment the added sugar, carbonating the cider.
- Alternatively, you can rack the cider (without the added sugar syrup!) into a keg and force carbonate it, if you have the set up for that. That’s what we did with our last batch, and blew through it pretty quick during the tornado clean up! Chilled hard apple cider is just what’s needed for that sort of thing, LOL!
- Enjoy.. and start planning for next year’s batch(es)!



Al BeVier
Ahhhhh...... I see a measurment for sugar but nothing else. Like 5 pounds of sugar for ....? how many gallons of juice? How much yeast? Activated or no? The write up was great! Easy to read, some really nice takes on what you might want to do with the cider (dry vs sweet, high or low abv, spices, raisons, molassas, etc). But without at least the amounts of the key ingredients being listed, this cannot be called a recipe.
Marie Porter
Hey, did you happen to miss the "jump to recipe" at the top of this page, or the actual giant recipe card at the end of this post?
I removed your 1 star rating from your comment, as it's clear that you missed the actual recipe - with measurements - on this very page.
Hope you get the chance to try it!