

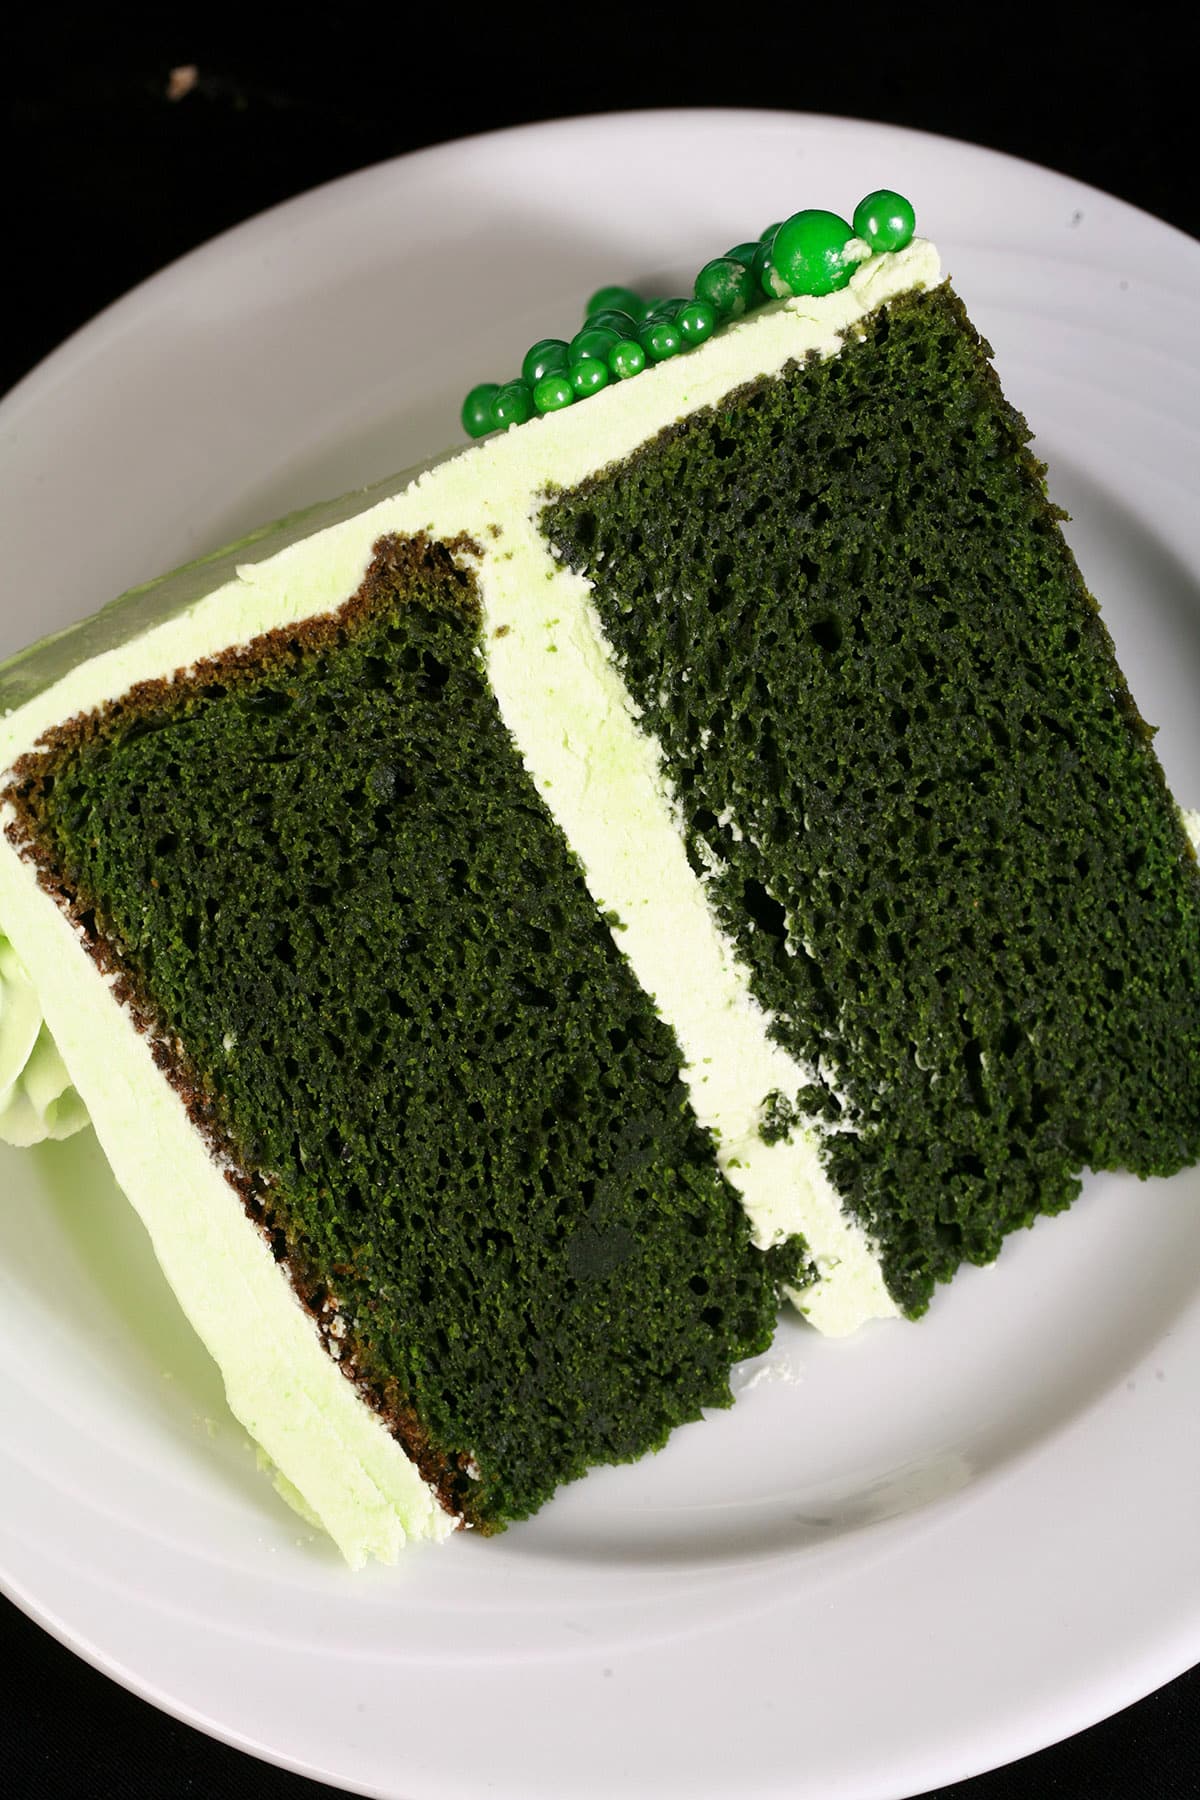
Green velvet cake may not be as traditional as the OG red velvet cake, but it's way more fun when it comes to St Patrick's Day desserts!

With a a few different colors of food coloring, you can make a velvet cake for pretty much any occasion!
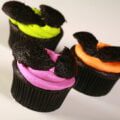
Traditional red velvet cake is great for Valentine’s Day or Christmas, but have you considered Black Velvet Cupcakes - or Gluten-Free Black Velvet Cupcakes for Halloween?
I’ve even made a midnight blue velvet cake for a “An American Tale” themed wedding cake, back when I was still doing such things.
With St. Patrick’s Day coming up, what could be better than a green cake?
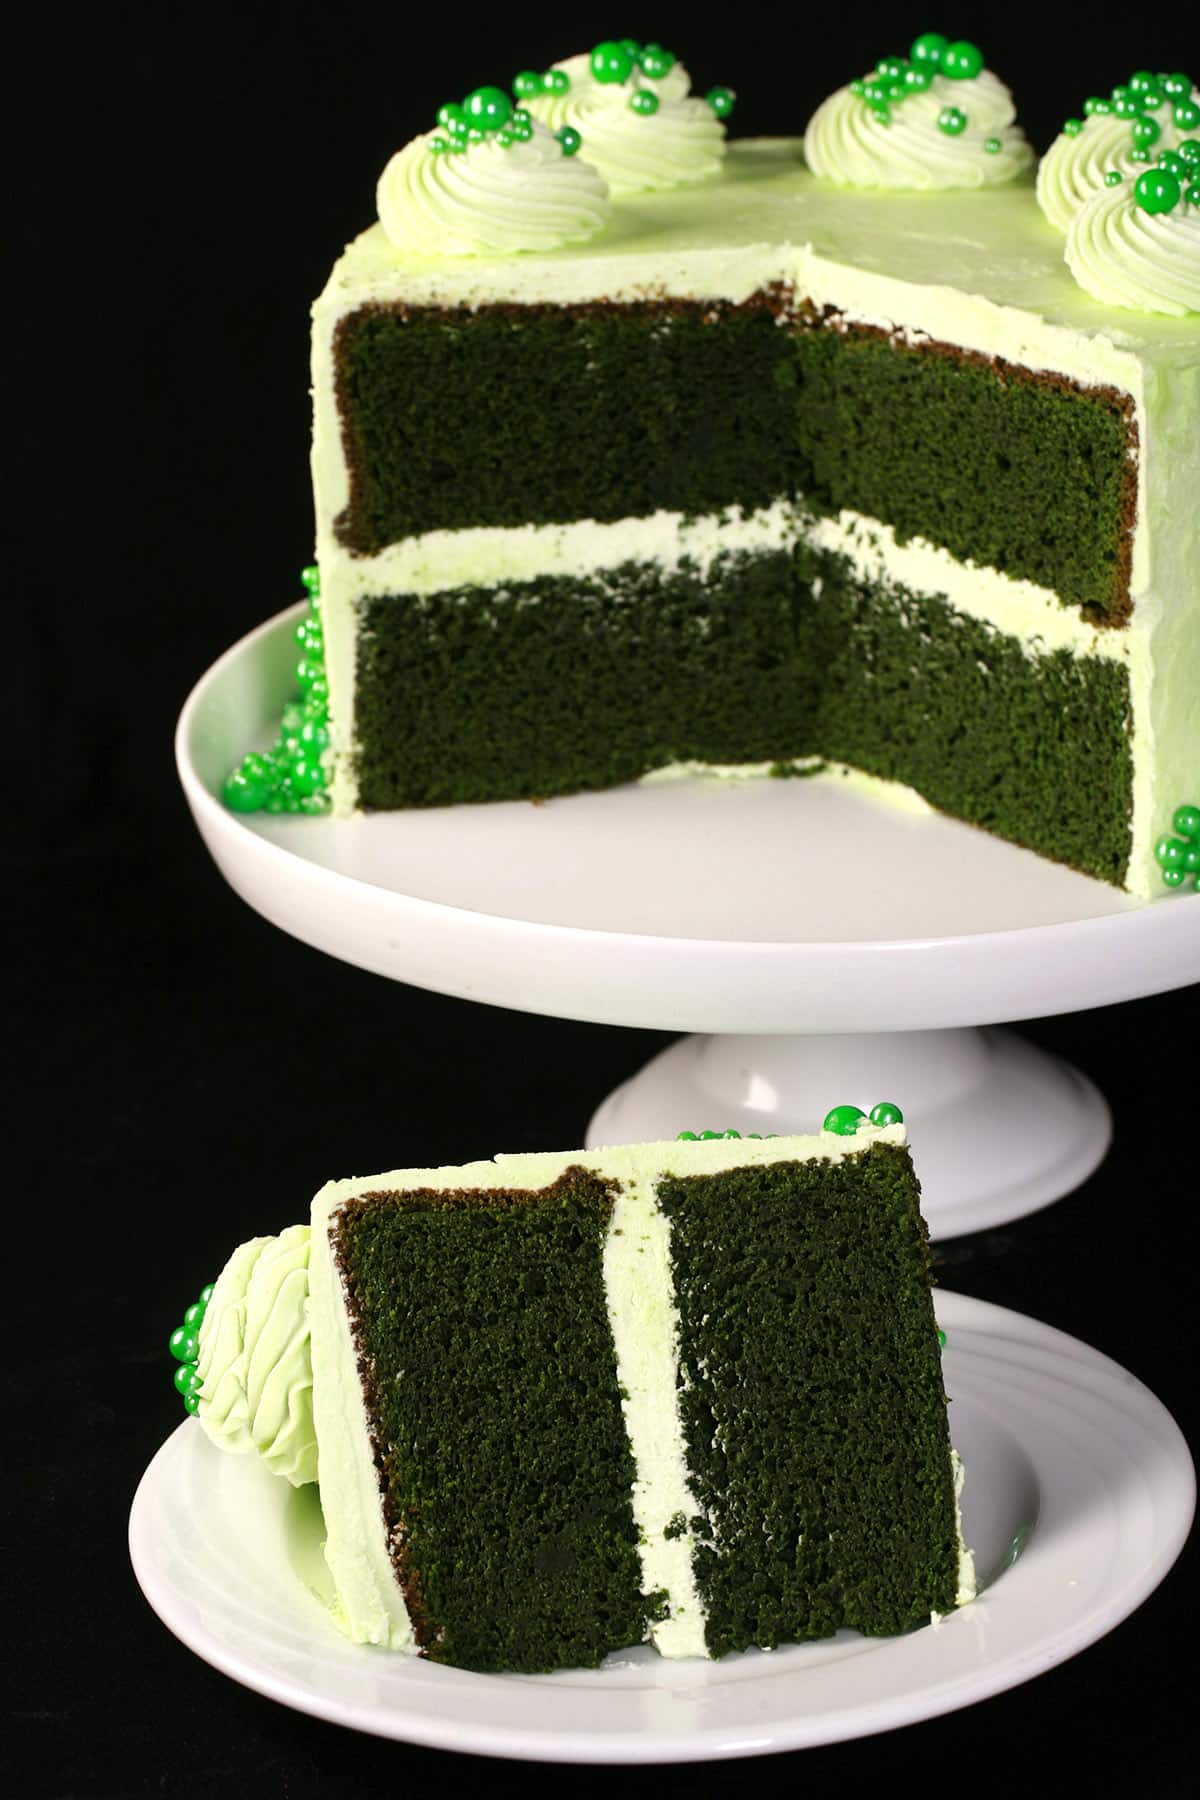
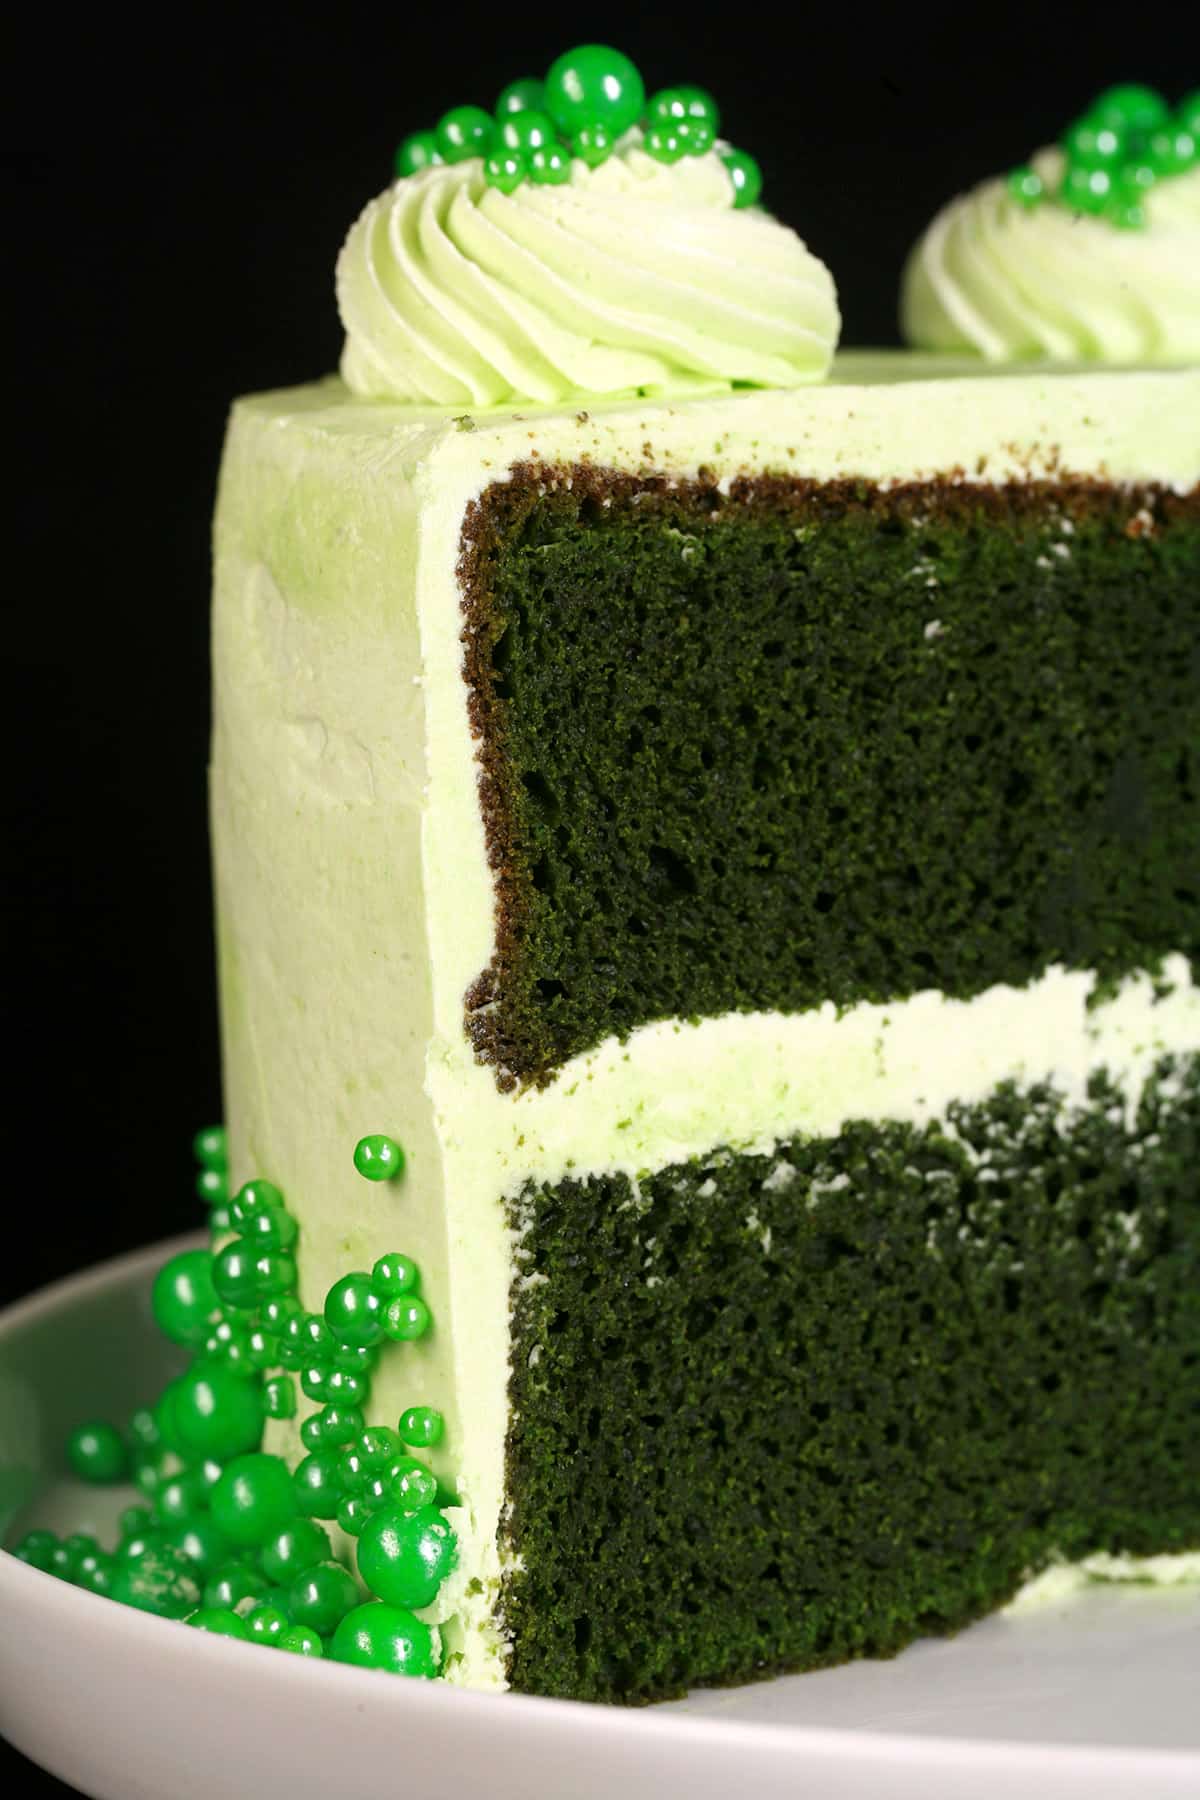
So, here I am with my green velvet cake recipe - A fun, festive treat for St. Patrick's Day, to celebrate your favourite green-themed sports team or school.
The best part of this sweet treat?
This cake batter works up in one mixing bowl, with no creaming needed!
When it comes to decorating, you can frost and go - letting the cake color take center stage - or have some fun with the St. Patrick's Day theme, and add some green sprinkles!
if you’re feeling fancy, you could even consider using a 4 leaf clover shaped pan!
So much fun! Let’s get to it!
Ingredients
This recipe uses some pretty simple ingredients that should be available in most grocery stores. A few notes for you:
Cake Flour
I like to use Cake Flour when making cakes and cupcakes, as I find it gives a softer, finer texture.
That said, you can use all purpose flour instead - cake flour can be expensive, and if you’re not baking a lot of cakes, it can feel like a bit of a waste.
Cocoa Powder
You want to use Unsweetened Cocoa Powder, as you find it in the baking aisle.
This is NOT the same thing as cocoa mix, as found in the coffee/tea aisle!
Dairy Ingredients
This recipe calls for both buttermilk and butter.
If you don’t have buttermilk, you can use regular milk and just add 1 tablespoon of lemon juice or white vinegar to it.
If you need to make a dairy free green velvet cake, you can use any of the alternative milks - we tend to use unsweetened almond milk.
Just be sure to add that 1 tablespoon of lemon juice or vinegar so you can get the acidity you need for that classic “velvet” cake flavour!
If going dairy free, you can swap out the butter for melted margarine, or your favourite neutral flavoured cooking oil - vegetable oil, canola oil, etc.
Icing
I’ve done this recipe up as the cake only, so can use your favourite frosting recipe for it.
Cream cheese frosting is most traditional when making red velvet cake - I’ve yet to post my cream cheese icing recipe yet, though! Whoops.
If you’re doing a cream cheese icing, I just recommend using a full-fat cream cheese, for the best flavour and texture.
The other two options I tend to use with this cake are:
American Buttercream - this is the most common type of icing, using powdered sugar.
Swiss Meringue Buttercream - my personal favourite icing. It’s a bit more expensive and labour intensive to make, but SO worth it. It’s creamy and rich, while still feeling kind of light.
Either way you go, I recommend making a double batch for this size of cake.
Green Food Coloring
You’ll need some green food colouring, to get that great green color. Food coloring comes in 3 main formats:
Liquid food coloring: Generally found in the baking aisle at the grocery store.
Paste food coloring: Usually Wilton brand, you can find this style in craft supply stores and cake decorating supply shops.
Gel food coloring: Comes in a few brands, also found in the larger craft supply chains (sometimes), and in cake decorating shops.
I always use gel colors, as they give the most intense colour, without adding a ton of liquid. This is especially important when dealing with baked goods.
Specifically, I recommend Americolor (what I used when I was in the USA), or ChefMaster (Which is the option more readily available here!).
Green gel food coloring comes in a several different shades - I usually use a Leaf Green or an emerald type green.
I find anything too yellow will end up making a gross olive green color when combined with the cocoa, rather than a rich forest green.
Everything Else
Rounding out the recipe, you will need:
Granulated sugar
3.4 oz Instant Vanilla Pudding Mix
Large eggs
Pure vanilla extract
Baking powder
Salt
Green sprinkles, etc - optional
... I just don’t have anything to add, about any of these ingredients!
Equipment
You’ll really only need a few basic pieces of equipment, beyond the standard “bowls and measuring implements”.
Cake Pans
I use 2 8" Round Cake Pans for this recipe, but feel free to use a couple of 9" round cake pans, if that’s what you have on hand.
They’ll cook a little faster, that’s all.
Muffin Tins
Alternately, you can do this recipe up as green velvet cupcakes - it’ll make between 18-24 cupcakes, depending on how full you do your cupcakes.
You’ll want to bake them at 350F for around 22 minutes - just start checking for doneness around the 20 minute mark.
Mixer
Unless you’re really looking for a workout, I don’t recommend beating this batter by hand.
I like to use either an electric hand mixer - as shown - or my stand mixer.
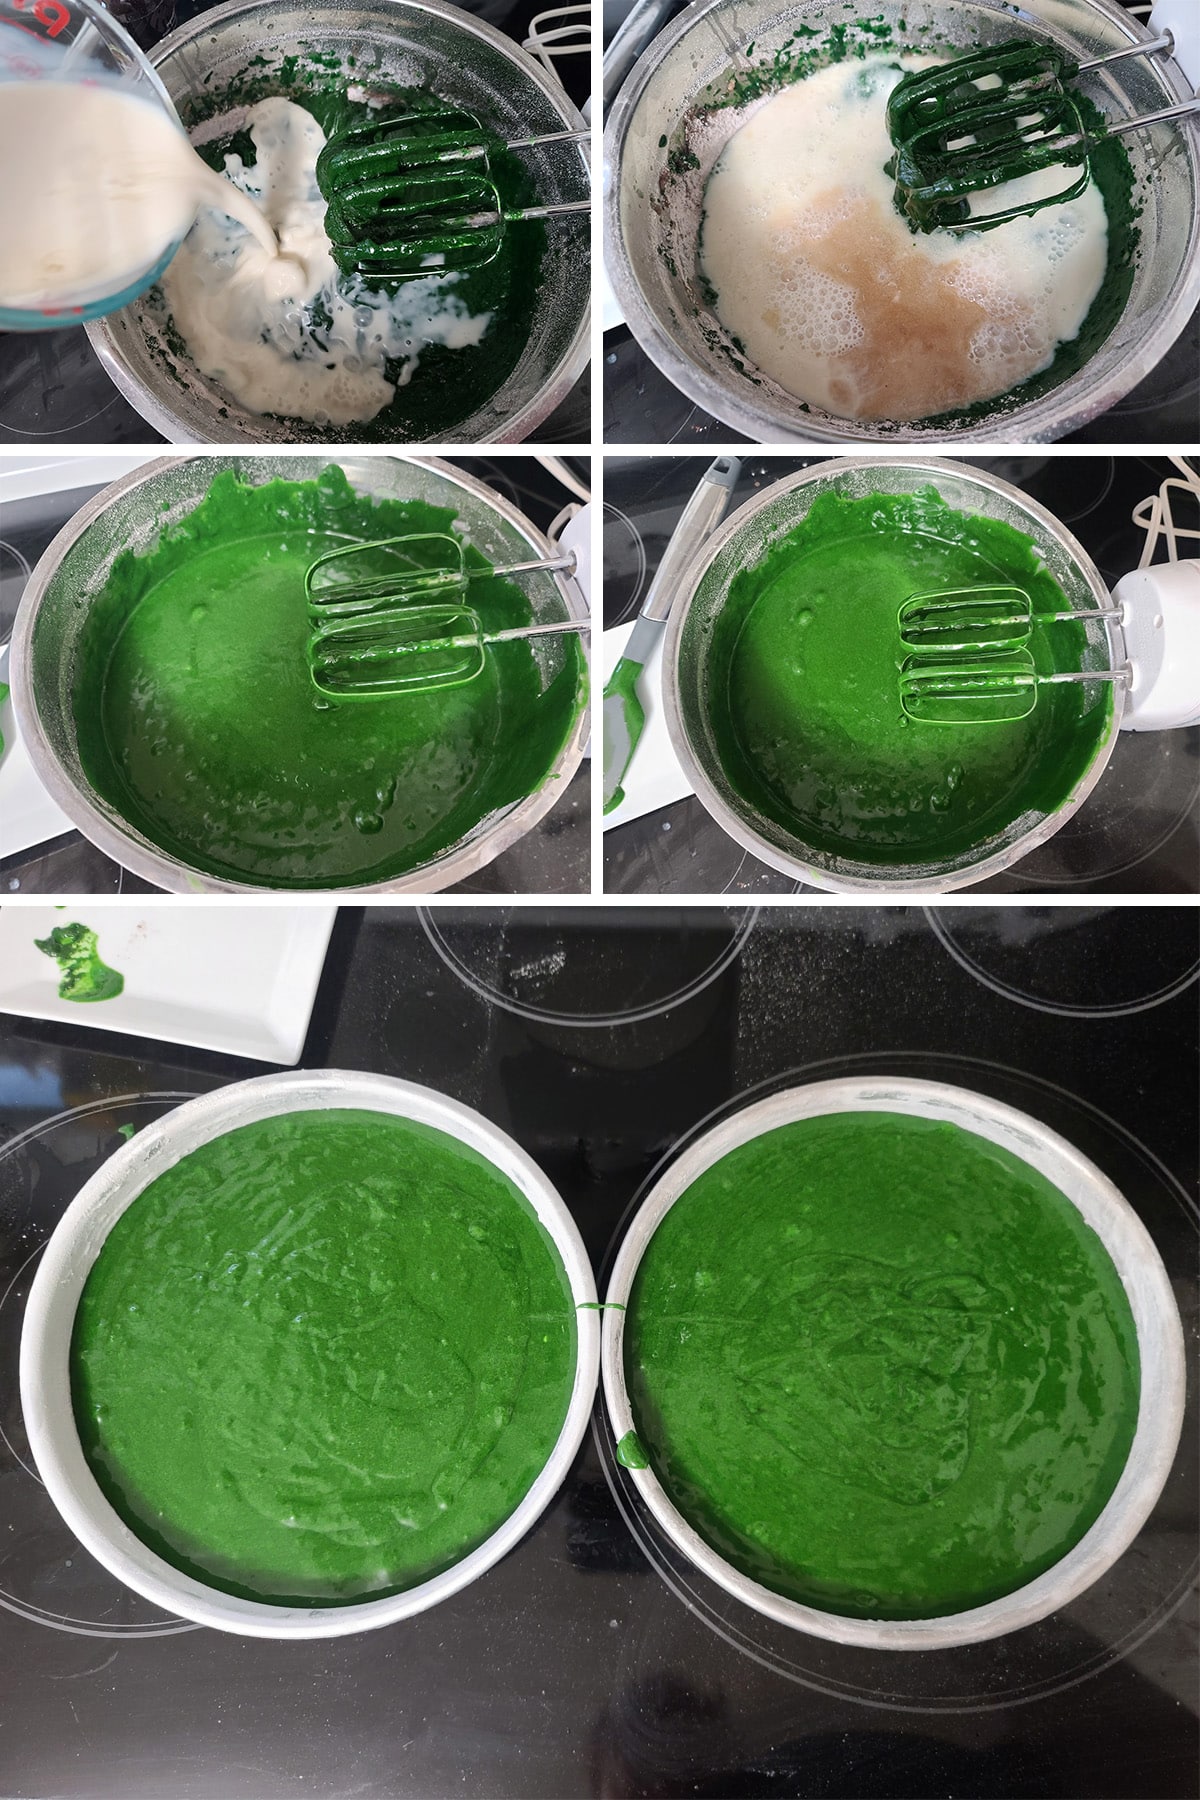
How to Make Green Velvet Cake
The full recipe is in the recipe card at the end of this post, here is a pictorial walk through.
Bake the Cakes
Preheat oven to 350°F (180°C). Liberally grease two 8″ round cake pans with vegetable shortening, and/or spray with baking spray.
Personally, I like to coat the bottom and edges of the pan with shortening, then a thin layer of flour. Some may prefer to spray the pan with nonstick spray, then line with parchment paper.

Add in eggs and butter to the dry ingredients, beating on low speed until smooth.

Add buttermilk to the cake batter, mix until well incorporated and smooth, scraping the bottom and sides of the bowl as you go.
Pour batter evenly between the prepared cake pans.
Bake until golden and knife or toothpick inserted into the center of the cakes comes out clean and cake springs back – about 45-60 minutes.

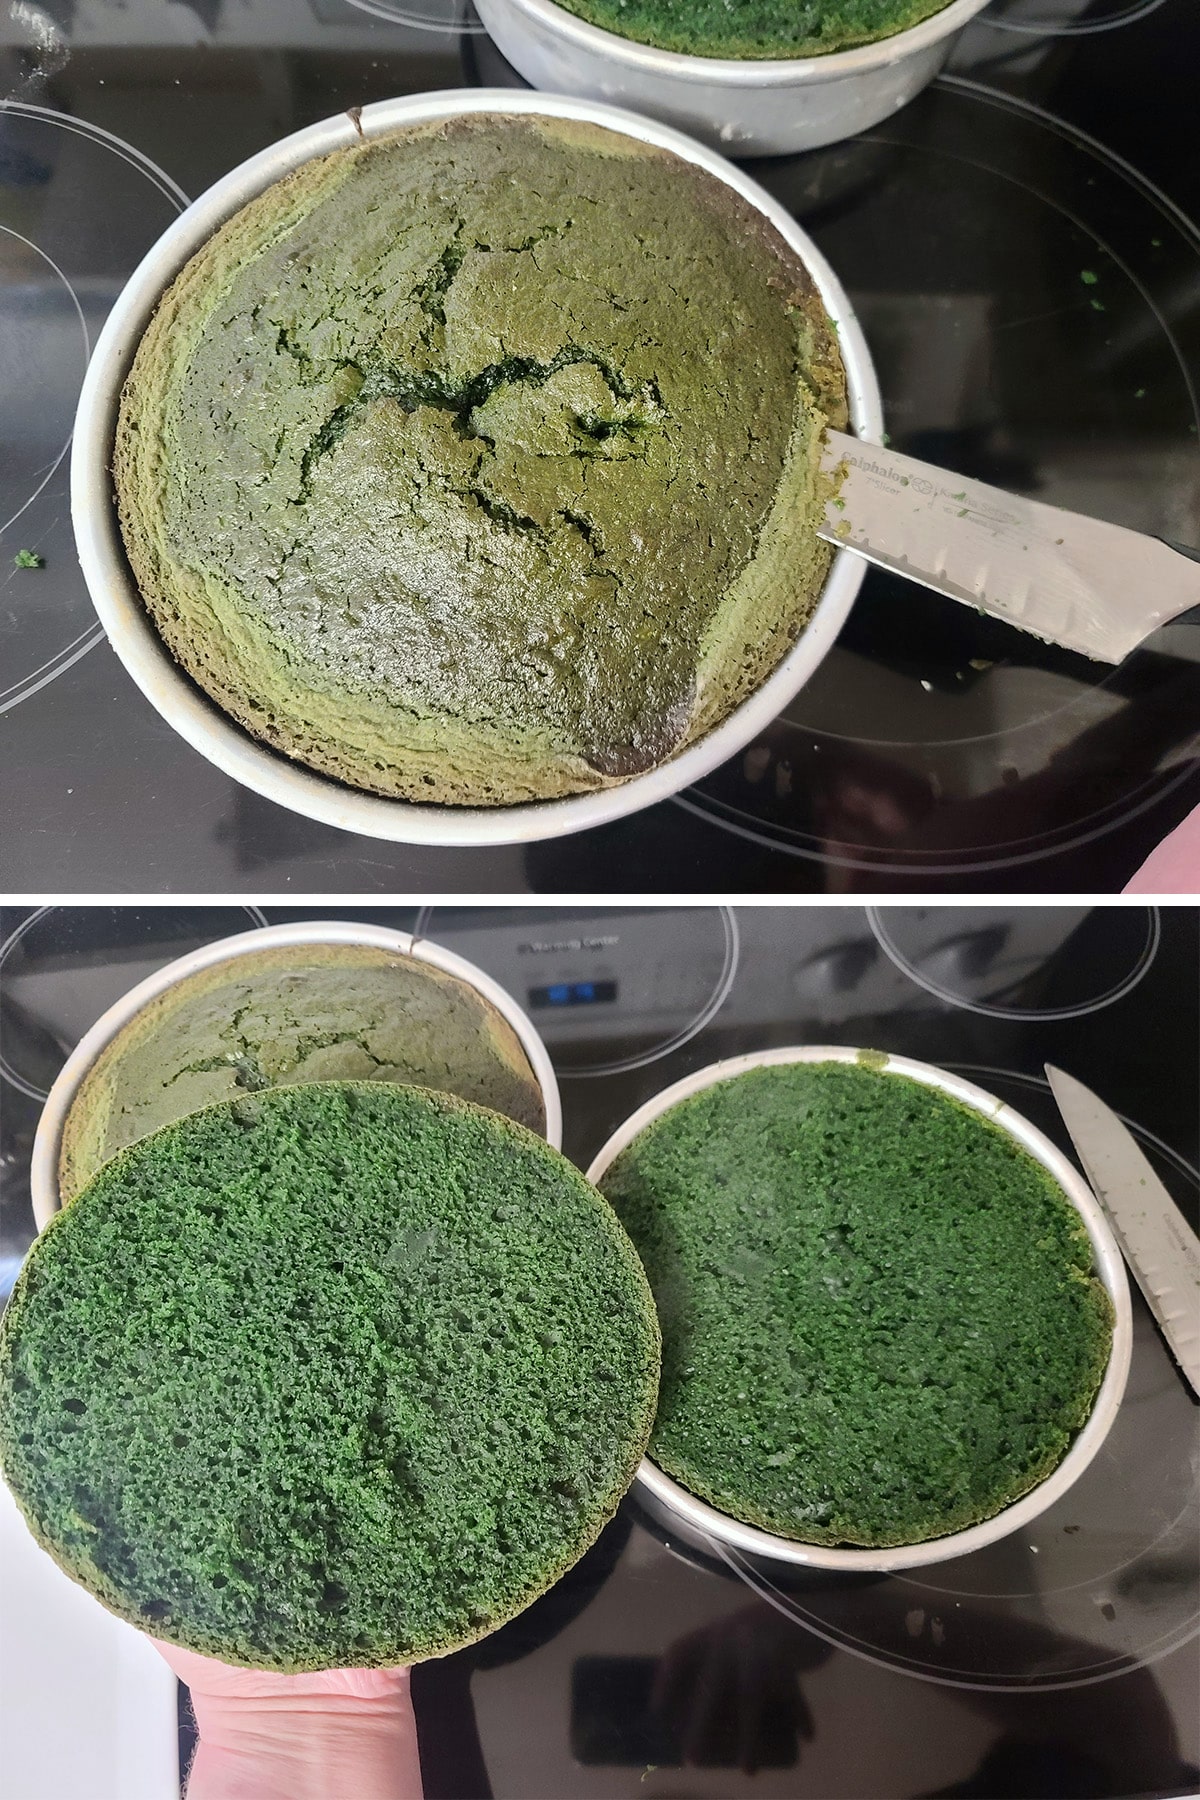
For best results, allow to cool to room temperature, then wrap cake layers tightly with plastic wrap.
Allow cake to sit overnight.
To Assemble Cake
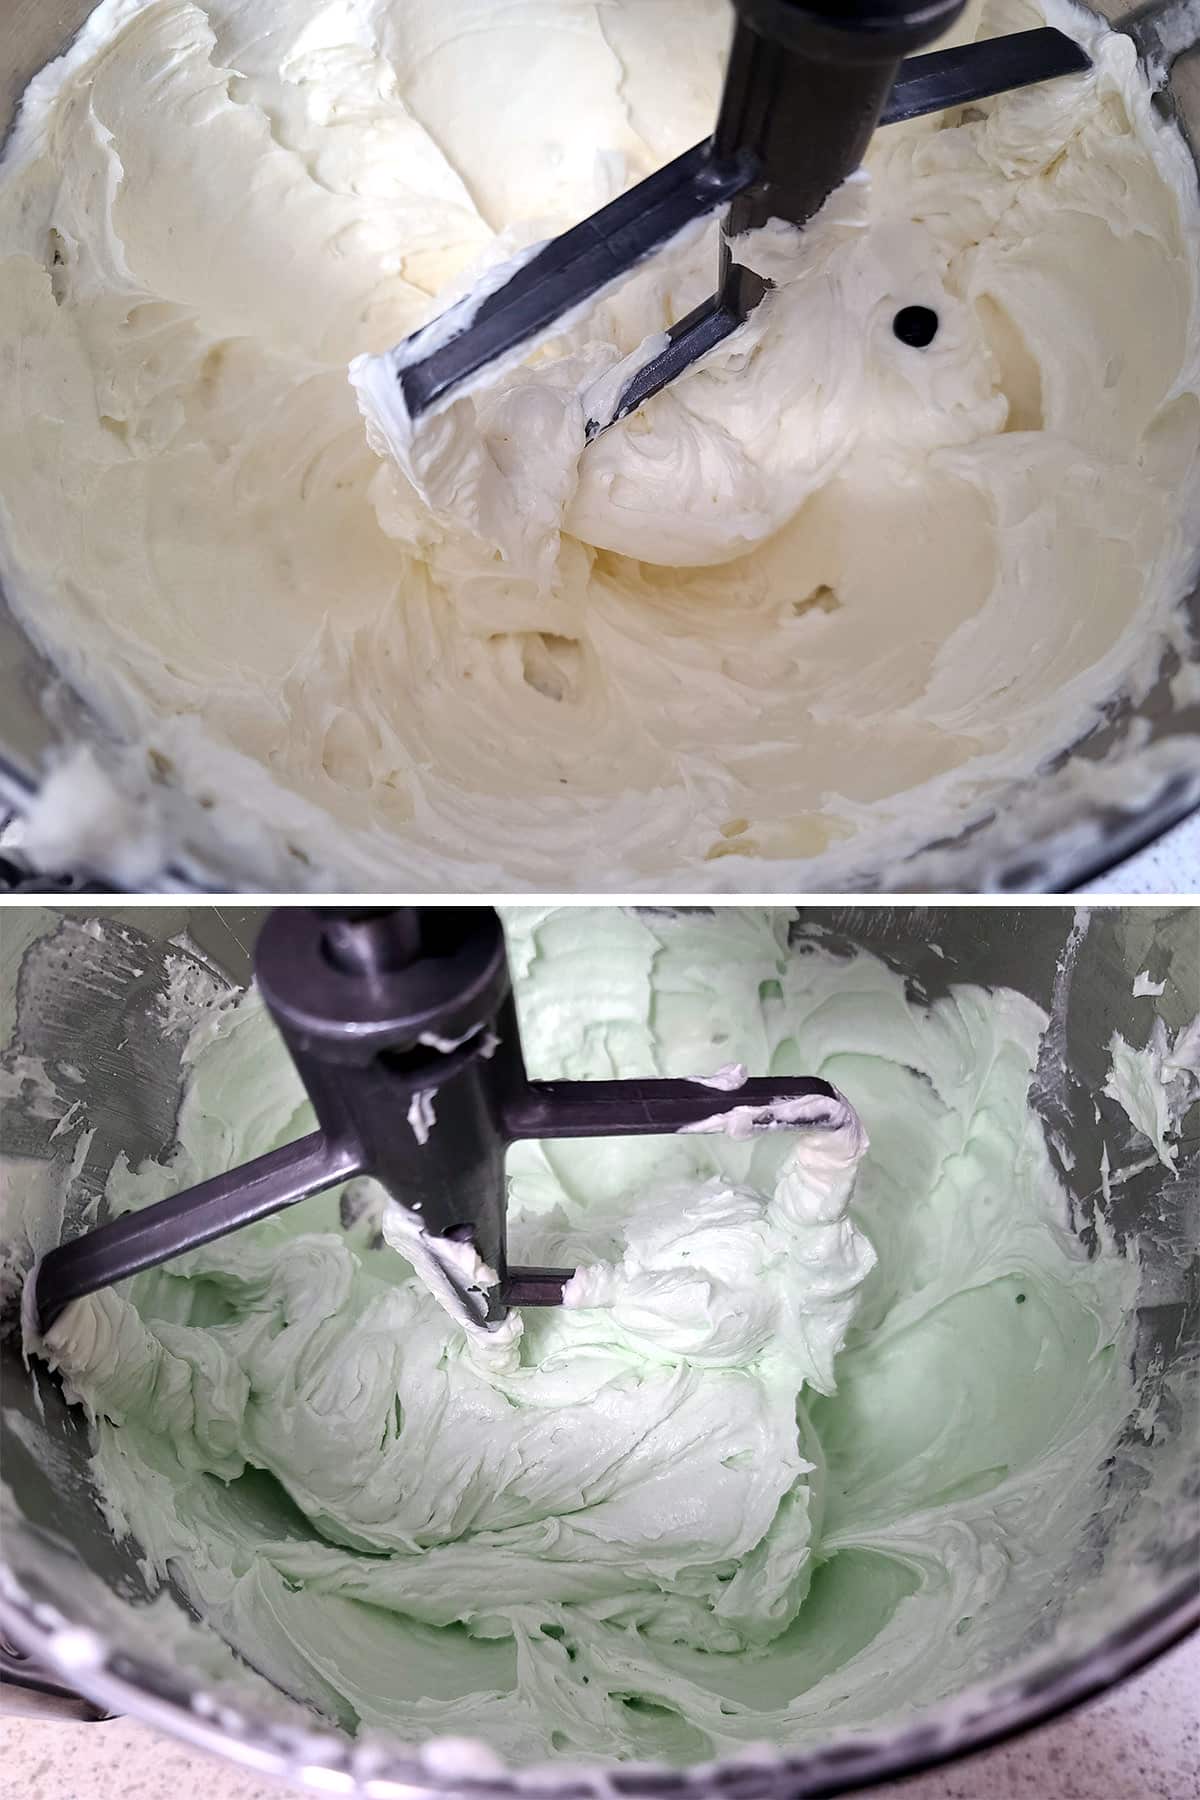
Prepare your frosting of choice, tint green with a few drops food coloring.
Remove plastic wrap from cake layers. Carefully slice the domed top off each round, leveling the surface of the cake.
Frost sides and top of the cake with remaining buttercream.

Garnish with sprinkles, if desired. Serve at room temperature.
Note: I recommend frosting the cake with a thin layer of frosting - you can use a bench scraper if you like, I just use an offset spatula - and then chilling it well before spreading with a final, thicker layer of frosting.
This is called a “crumb coat”, and basically glues crumbs to the cake. This allows for a cleaner, more hassle free frosting spread!

Leftover Green Velvet Cake
Leftover cake can be wrapped with plastic wrap or kept in an airtight container in the fridge for up to a week or so.
Be sure to always let servings of the cake come up to room temperature before serving - cold cake is dry cake!

More St Patrick's Day Recipes
Looking for more fun, tasty recipes to serve on St Paddy's Day? Here are a few fun Irish - and Irish-inspired - recipes to try:
Irish Stew Meatballs
Keto Irish Cream
Irish Pizza
Shepherd's Pie
Keto Shepherd's Pie
Homemade Corned Beef
Irish Nachos
Hearty Beef Stew
Keto Beef Stew
Rainbow Bagels
Rainbow Charcuterie Board
Rocky Road to Dublin Brownies
St Patrick's Day Charcuterie Board
Share the Love!
Before you chow down, be sure to take some pics of your handiwork! If you post it to Bluesky, be sure to tag us - @CelebrationGen. We're also on Pinterest, so you can save all your favourite recipes to a board!
Also, be sure to subscribe to my free monthly email newsletter, so you never miss out on any of my nonsense. Well, the published nonsense, anyway!
Finally, if you love this recipe, please consider leaving a star rating and/or a comment below, and maybe even sharing this post on social media!

Green Velvet Cake
Equipment
- 1 8" round cake pans
Ingredients
Green Velvet Cake
- 3 cups Cake flour
- ⅓ cup Cocoa powder
- 2 ¼ cups Granulated sugar
- 2 tablespoon Baking powder
- 1 ½ teaspoon Salt
- 3 ½ oz Instant vanilla pudding mix
- 6 Eggs
- 1 ½ cups Butter melted
- 2 tablespoon Pure vanilla extract
- 1 ½ cup Buttermilk or 1 ½ cups milk and 1 tablespoon lemon juice or white vinegar.
- Green food colouring Gel works best
Assembly
- 2 batches Swiss Meringue buttercream
- or
- 2 batches American buttercream
- Green food colouring
- Green sprinkles etc
Instructions
Green Velvet Cake Rounds
- Preheat oven to 350°F (180°C). Liberally grease two 8″round cake pans with vegetable shortening, and/or spray with baking spray.I like to grease the pans with shortening, then dust with flour.
- Combine flour, cocoa, sugar, baking powder, salt, and pudding mix in a large mixing bowl. Add in eggs and butter, beating until smooth.
- Carefully add melted butter and vanilla, and a generous amount of green food colouring to the flour mixture, mixing on medium speed until smooth.
- Add buttermilk to batter, mix until well incorporated and smooth.
- Divide batter among prepared cake pans, bake until golden and knife inserted into center of batter comes out clean and cake springs back – about 45-60 minutes.
- Allow to cool 10-15 minutes before turning cakes out onto baking rack to cool fully. Ideally, allow to cool to room temperature, wrap tightly with plastic wrap.
- Allow cake to sit for a few hours - ideally overnight
To Assemble Cake:
- Prepare your frosting, tint green with food colouring.
- Remove plastic wrap from cake layers. Carefully slice the domed top off each round, leveling the surface of the cake.
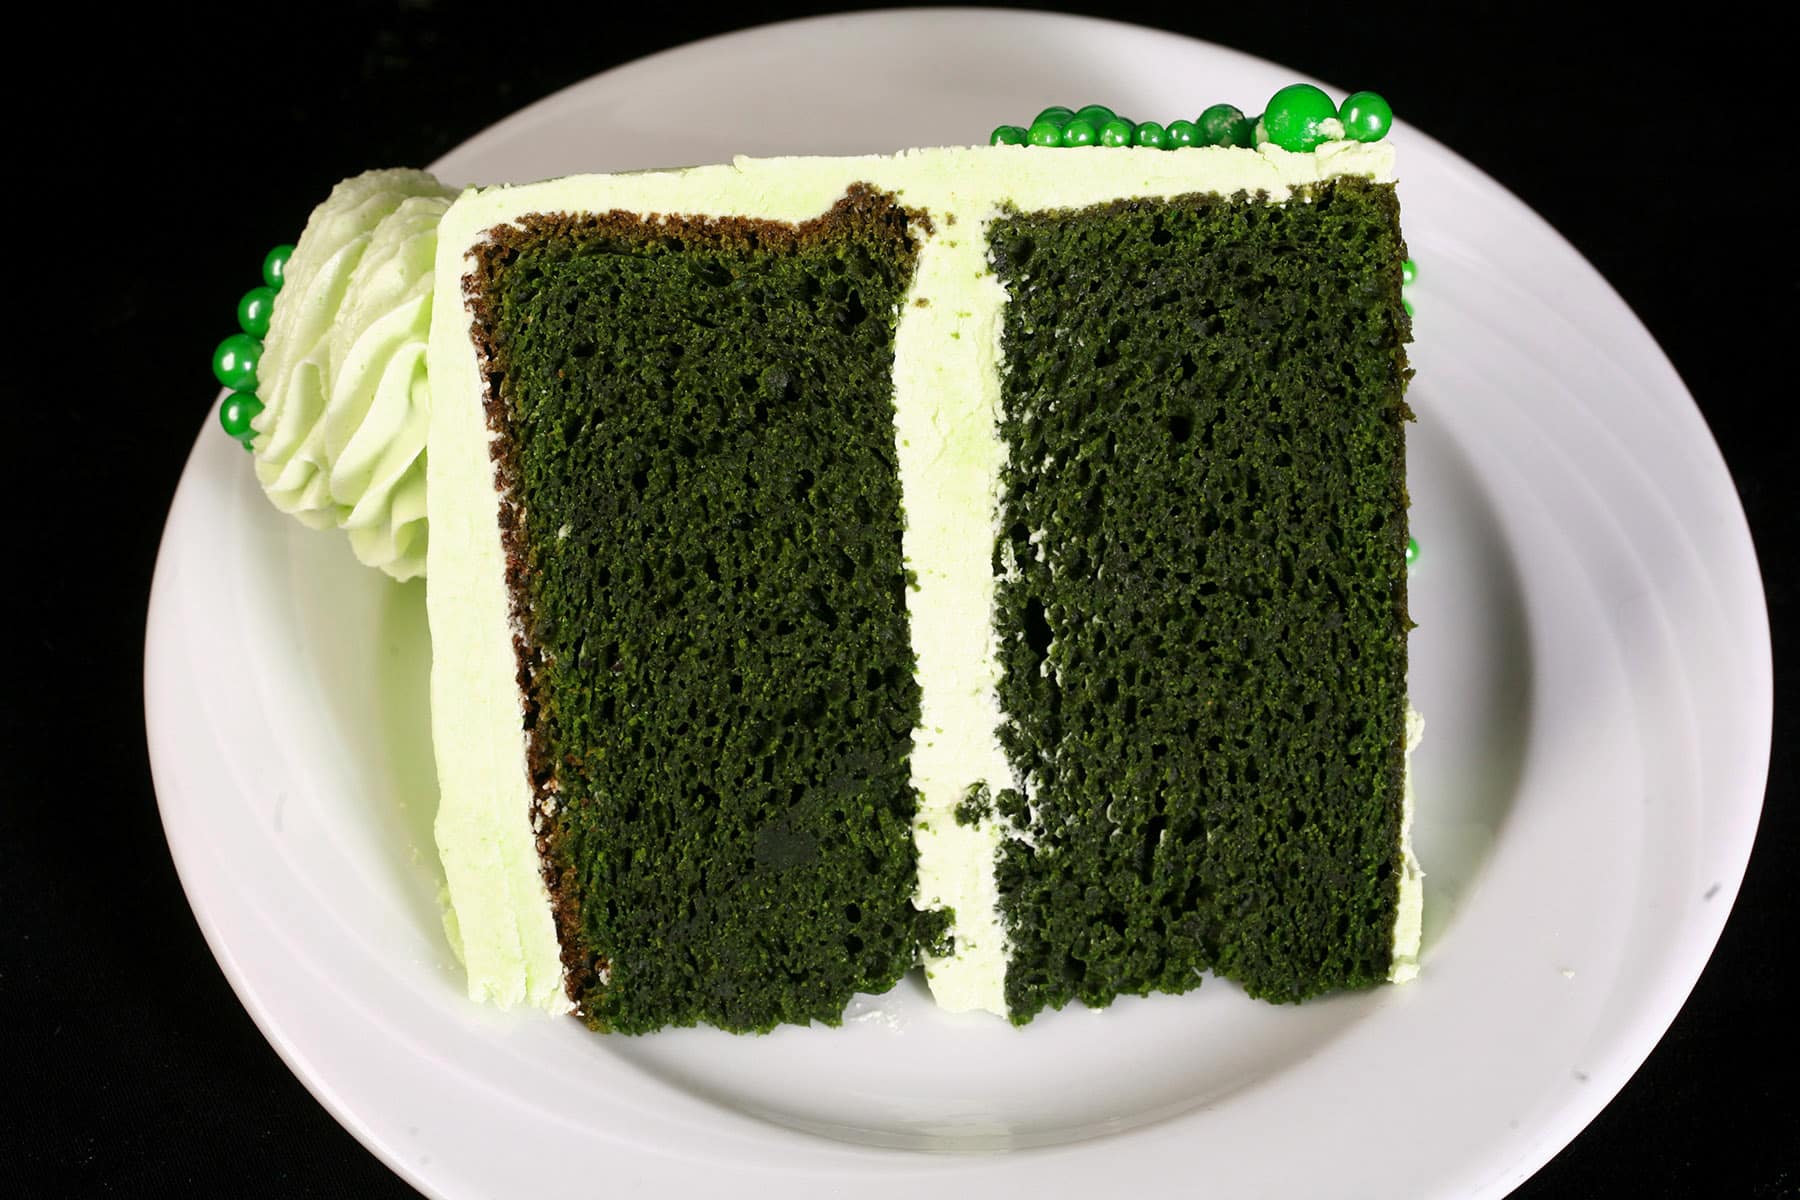
- Place one round of cake on cake plate, spread with buttercream. Top with the remaining layer of cake.
- Frost sides and top of cake with remaining buttercream. Garnish with sprinkles, if desired. Serve at room temperature.
Notes
Nutrition


Beverly Kukhta-Jackson
This is a delicious cake. It is flavourful and yet not heavy at all.