

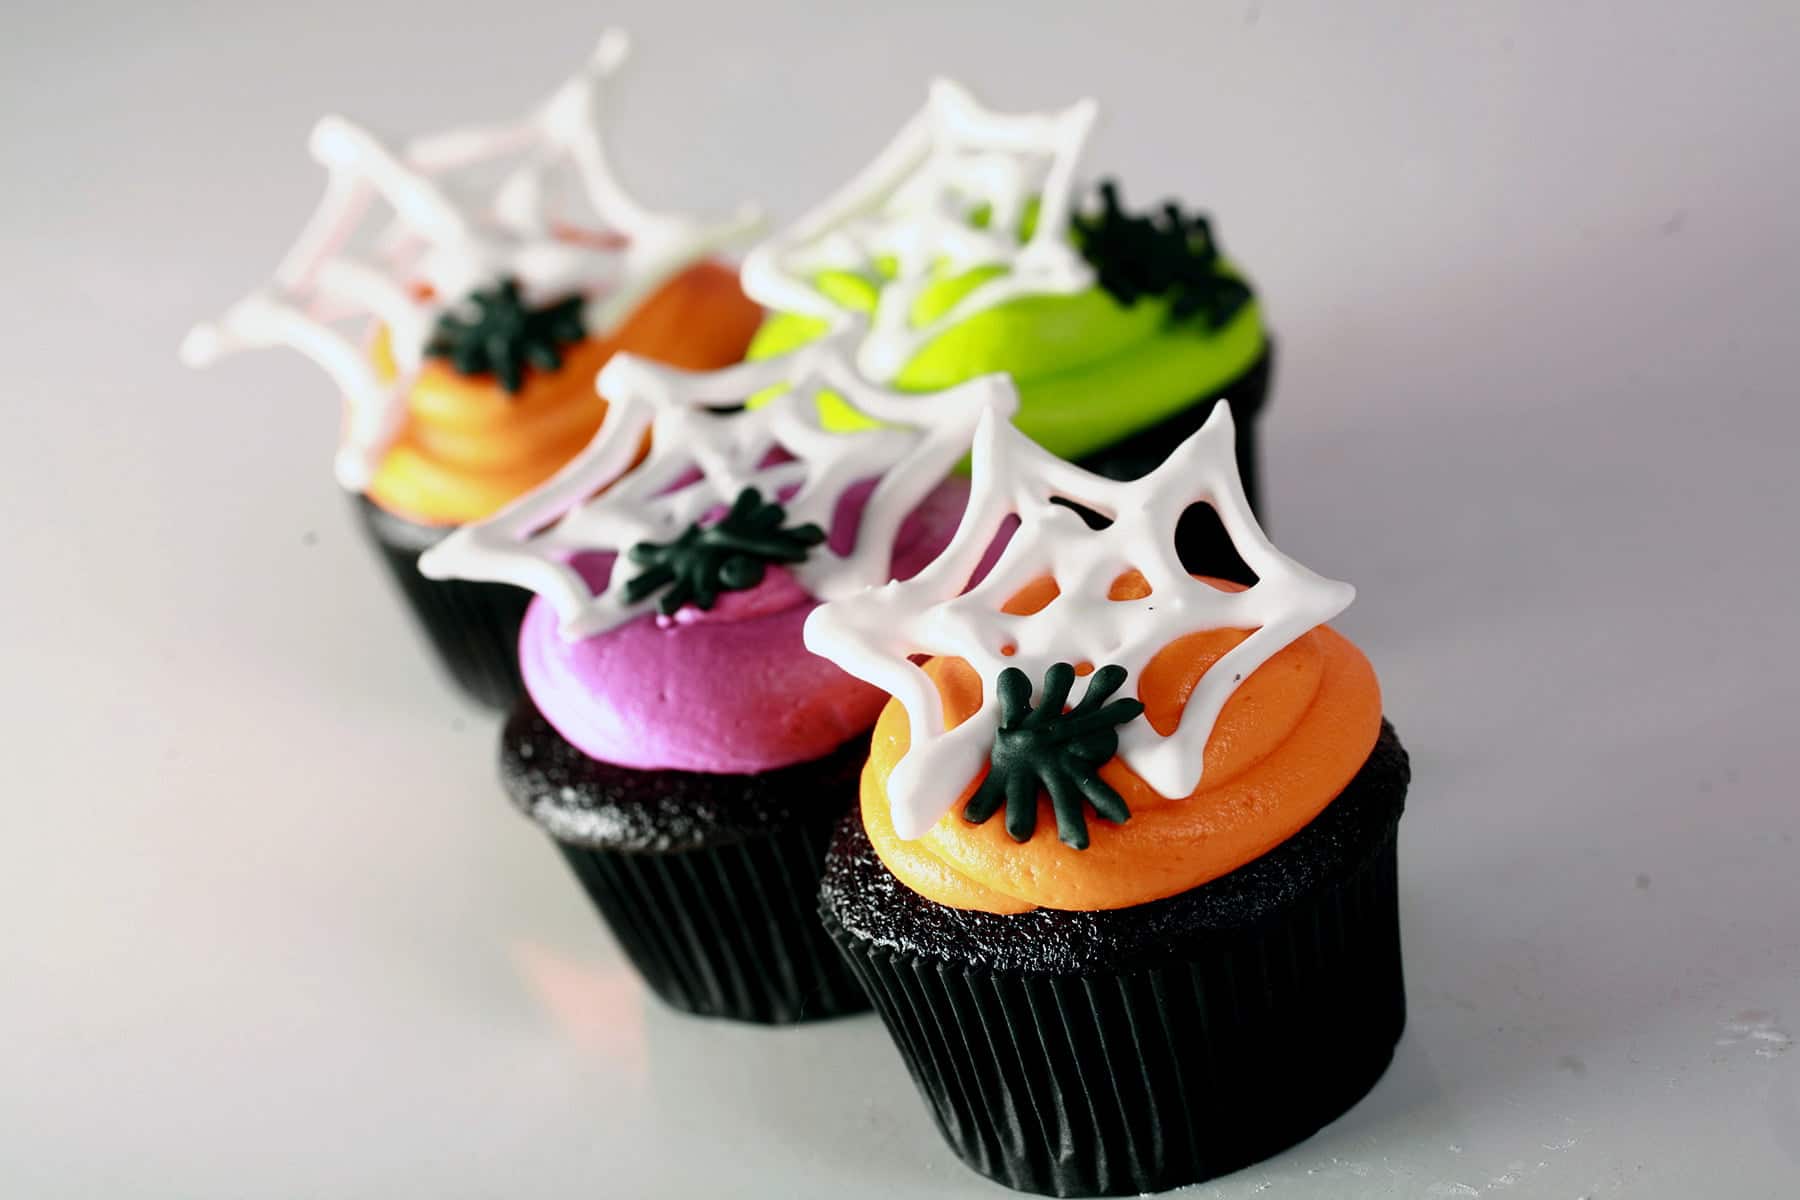
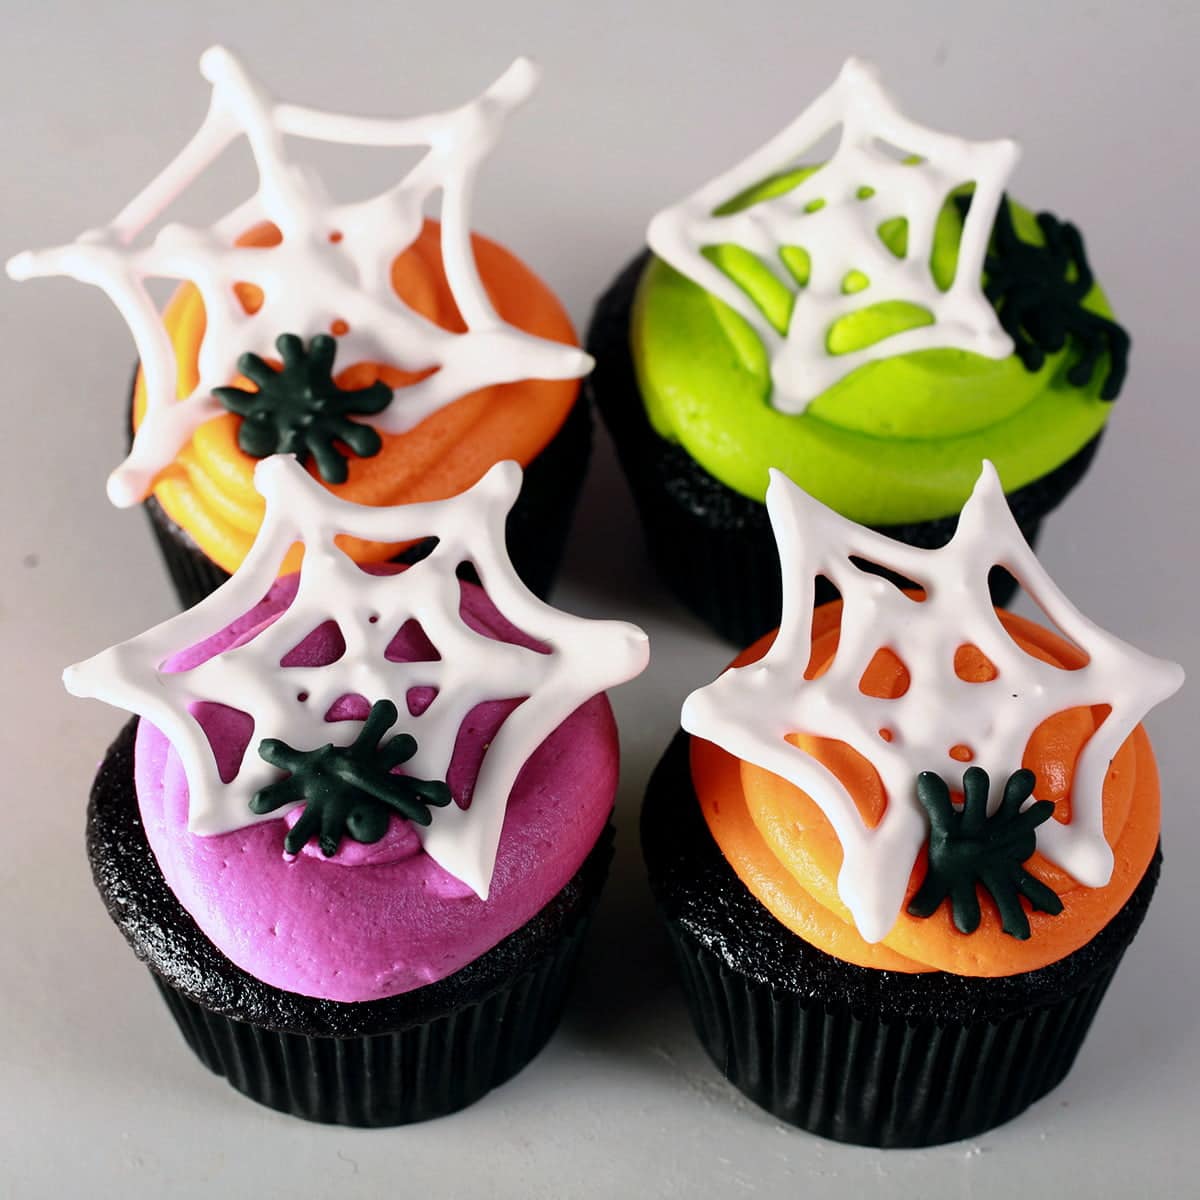
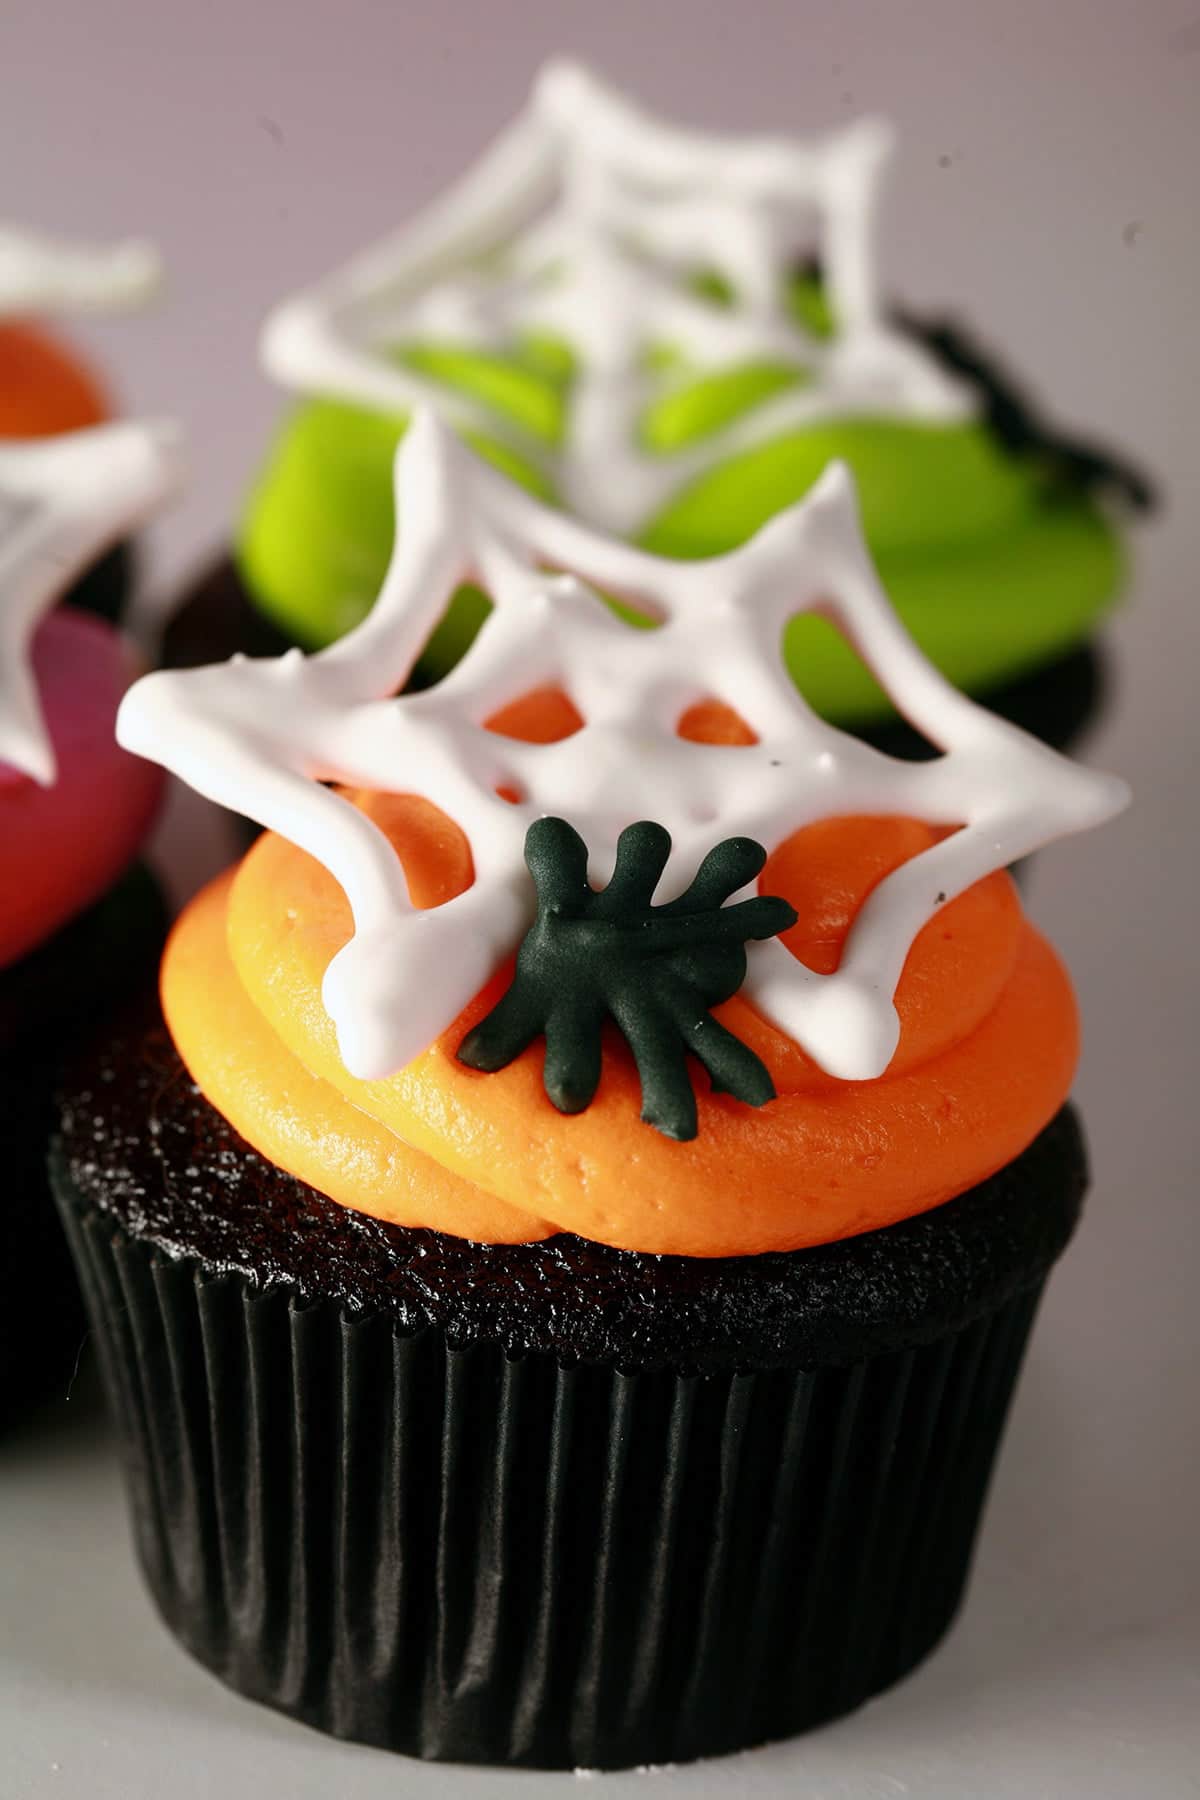
Royal Icing is easy to make, & can be used to make simple, fun decorations for your Halloween goodies - like these Halloween Spider Web Cupcakes!

Originally posted August 12, 2020. Updated 8/20/2022
So, time to update my spiderweb cupcakes tutorial - something I didn’t get around to doing last year!
I love easy recipes for Halloween treats. During a normal spooky season, I’m always so busy with costumes, I don’t necessarily have time to mess around with food!
These spider web Halloween cupcakes only take a little bit of time to make. The base is just a regular cupcake and frosting - hell, you could even use store bought, if you like - and the royal icing spider webs and little spiders only take minutes to pipe out.
These spooky treats require minimal time investment. They’re so much fun to make, too!
If you haven’t worked with royal icing before, these easy spider web cupcakes are a great introduction.
The frosting whips up in just minutes, dries hard and can be used for all kinds of different decorating techniques.
On one end of things, you’ve got simple piping, as I used to achieve the spider web design for these cute cupcakes.
Then - on the more masochistic end of things - you can also use royal icing to try your hand at the Lambeth Method for Cake Decorating... but it's not what I'd call “A ton of fun”, LOL!
Simple Royal Icing Spider Webs
What IS a lot of fun though, IMHO, is being able to customize cupcakes - or cakes, for that matter - with almost any design you can think up.
While you CAN print out designs to use as a template for these Spider Webs, I tend to just freehand it.
The basic idea behind this delicious treat is that you pipe your design out on parchment paper and leave it to dry out.
As it dries, it hardens. Then, you simply - CAREFULLY - remove it from the parchment paper, and stick it to whatever treat you want to decorate!
The best thing? When properly stored, you can make these spider webs even WEEKS ahead of time!
IMHO, it’s the best way to be able to have a bit of homemade customization on your cupcakes, while also not having to invest much time or effort the day of the Halloween party.
Anyway.
While I’m specifically demonstrating how to make Spider Web Cupcakes here, this technique can be used for almost any design - freehand or traced.

Before You Start
Just a few things to keep in mind, mostly around the fact that Royal Icing is FRAGILE:
The bigger your design, the more fragile the design, and the more likely it is to break.
but...
The bigger your design, the easier it is to pipe more details
Conversely
A smaller design will be more durable.
but ...
A smaller design will need to be more simple in design
The design shouldn’t be much wider than the top of the cupcake, or it will not fit in with the other cupcakes in the holder
If your design stands up, make sure the container has some clearance for that design!
So, try to strike a balance between appearance, durability, and logistics when dealing with your templates.
Plain black outlines on a white background is the easiest to work with.
Finally, make several extras. These are quite fragile and you will very likely break some - even just lifting them off the work surface. We all do, no judgement here!
Anyway, better to end up with too many, than too few... especially with the 12-24 hour dry time!
So, with all that said, let’s get to the Halloween Spider Web Cupcakes Tutorial!

Ingredients
You’ll need 3 main ingredients for this:
Cupcakes
You can use any kind of cupcakes you like for this.
Personally - as a Halloween cupcake - I like to use either my Black Velvet Cupcakes recipe, or my https://beyondflourblog.com/gluten-free-black-velvet-cupcakes/" target="_new">Gluten-Free Black Velvet Cupcakes recipe - tasty buttermilk chocolate cupcakes, dyed black.
That said, you can use your favorite cupcake recipe, or even a boxed mix.
While you can definitely use a vanilla cupcake box mix, I like a dark chocolate base for these - cake mix or otherwise.
You know your guests, though - do whatever will be popular!
Buttercream
This is the frosting you’ll top your cupcake with, before adding the spider webs.
I have 3 basic recipes that I go to for frosting cupcakes:
American Buttercream - this is the powdered sugar based frosting that is most common when it comes to cupcakes in North America.
Swiss Meringue Buttercream - A little more effort, a bit more expensive.. But LUXURIOUS tasting.
Milk Chocolate Whipped Ganache - A whipped form of chocolate ganache. Like a really thick chocolate whipped cream, used as a chocolate frosting.
With the two actual buttercreams, you can use food coloring to tint them bright colors, or a bit of cocoa powder and black gel color to achieve a deep black frosting.
Whichever colour(s) I go with, I like to use a nice quality gel based colour, such as Americolor (what I used when I was in the USA), or ChefMaster (Which is the option more readily available here!)
You can use the grocery store liquid food colouring if you like - it’ll just take a bit more of it!
Royal Icing
This is what you’ll use to make the spider webs and spiders.
There are two main kinds of royal icing you can make. They’re both easy to make, each has a benefit and a drawback:
Traditional Royal Icing - uses raw egg whites. Cheap to make, but shouldn’t be served to pregnant people, very young people, or the immune compromised.
Easy Royal Icing - uses meringue powder. Safer option, feel free to serve it to those aforementioned people... it’s just more expensive to make.
I generally don’t bother flavouring either option, and the meringue powder already tastes like vanilla extract. If you are going to flavour them, use a clear, non-oil based flavor.
Equipment
You don’t need anything really fancy to make these. In addition to a muffin tin / muffin tray / cupcake tray for actually making the cupcakes, I recommend having:
Muffin Cups
To me, cupcakes should be in muffin pan cups - you can get them in all kinds of colours and prints, including seasonal designs.
Personally, I like to use plain, super basic Black Cupcake Liners, as they provide a neutral background and don’t distract from your frosting and webs.
Piping Bag
I’ll use at least two piping bags for this - one for the spider webs, one for the spiders.
While you can use a small offset spatula to add the buttercream to the cupcake, I’ll use another bag for each buttercream colour I’m using.
You can use Cake Decorating Couplers and Round Tip for more clean, precise piping, if you like.
Personally, I usually get lazy and just cut the tip off the bag, piping directly from there - a large hole for the buttercream, a smaller one for the webs, and an even smaller hole for the spiders.
I find actual pastry bags to be so much easier to use than a small plastic bag, though.
A box of large pastry bags is a great addition to your collection of kitchen supplies, in my opinion. I use mine for everything from frosting, to things like... filling jalapeno poppers, getting batter into mini bundt pans, drizzling sauce on desserts, etc.
How to Make Spider Web Cupcakes
1. Prepare Your Work Surface
You’ll need to pipe your spider webs on something flat and stable - you DON'T want them to bend or flex while they’re drying.
I like to use a cutting board, or the back of a baking sheet / cookie sheet.
Either one is small enough to make them easy to work with, but nice and sturdy to keep it safe.
Secure Template to Work Surface
If you're using one, tape your spider web template down to your work surface. Masking tape works fine for most surfaces.
Affix Parchment Paper
Tape some parchment paper down over your template, being sure to leave a bit of space around the edges of your design.
As a heads up: While most tapes work fine for most surfaces, parchment paper is a unique case, as most tape does NOT stick to it.
I like to use hockey tape here. It’s not the most amazing hold, but it’s SOME hold - which is better than most tape, and is good enough in this case!
As you tape your parchment paper down to the template and board, be sure to keep it smooth, straight, and with any excess air pushed out.
Note: I find parchment to work a bit better than wax paper, but wax paper also works.
2. Prepare Your Piping Bag
Here’s where we - once again - get into some “do as I say, not as I do”.
You know, kind of like the time I wrote my Dalek Sugar Cookie Decorating tutorial... just with a totally different excuse this time!
As you can see in the pics - and video, below - I didn't use a coupler and tip in my piping bag.
You see, I got rid of ALL my caking stuff... sometime between when quit decorating cakes and when I moved to Canada.
Then I eventually decided to do these tutorials, so bought a little cake decorating set on Amazon. I put it aside until it was time to film and shoot this tutorial.
So, I’m demonstrating with just the very end of my piping bag cut off. It’s not as clean, the edges aren’t as pretty - but you can do it!
If you’d like to do it the more proper/professional way, I recommend a Wilton #3 or Wilton #4 tip for the webs, and a Wilton #2 for the spiders.
3. Make your Royal Icing
Following the recipe for either Traditional Royal Icing (with raw egg whites) or Easy Royal Icing (with meringue powder), make your royal icing.
Tint Some Icing, Optional
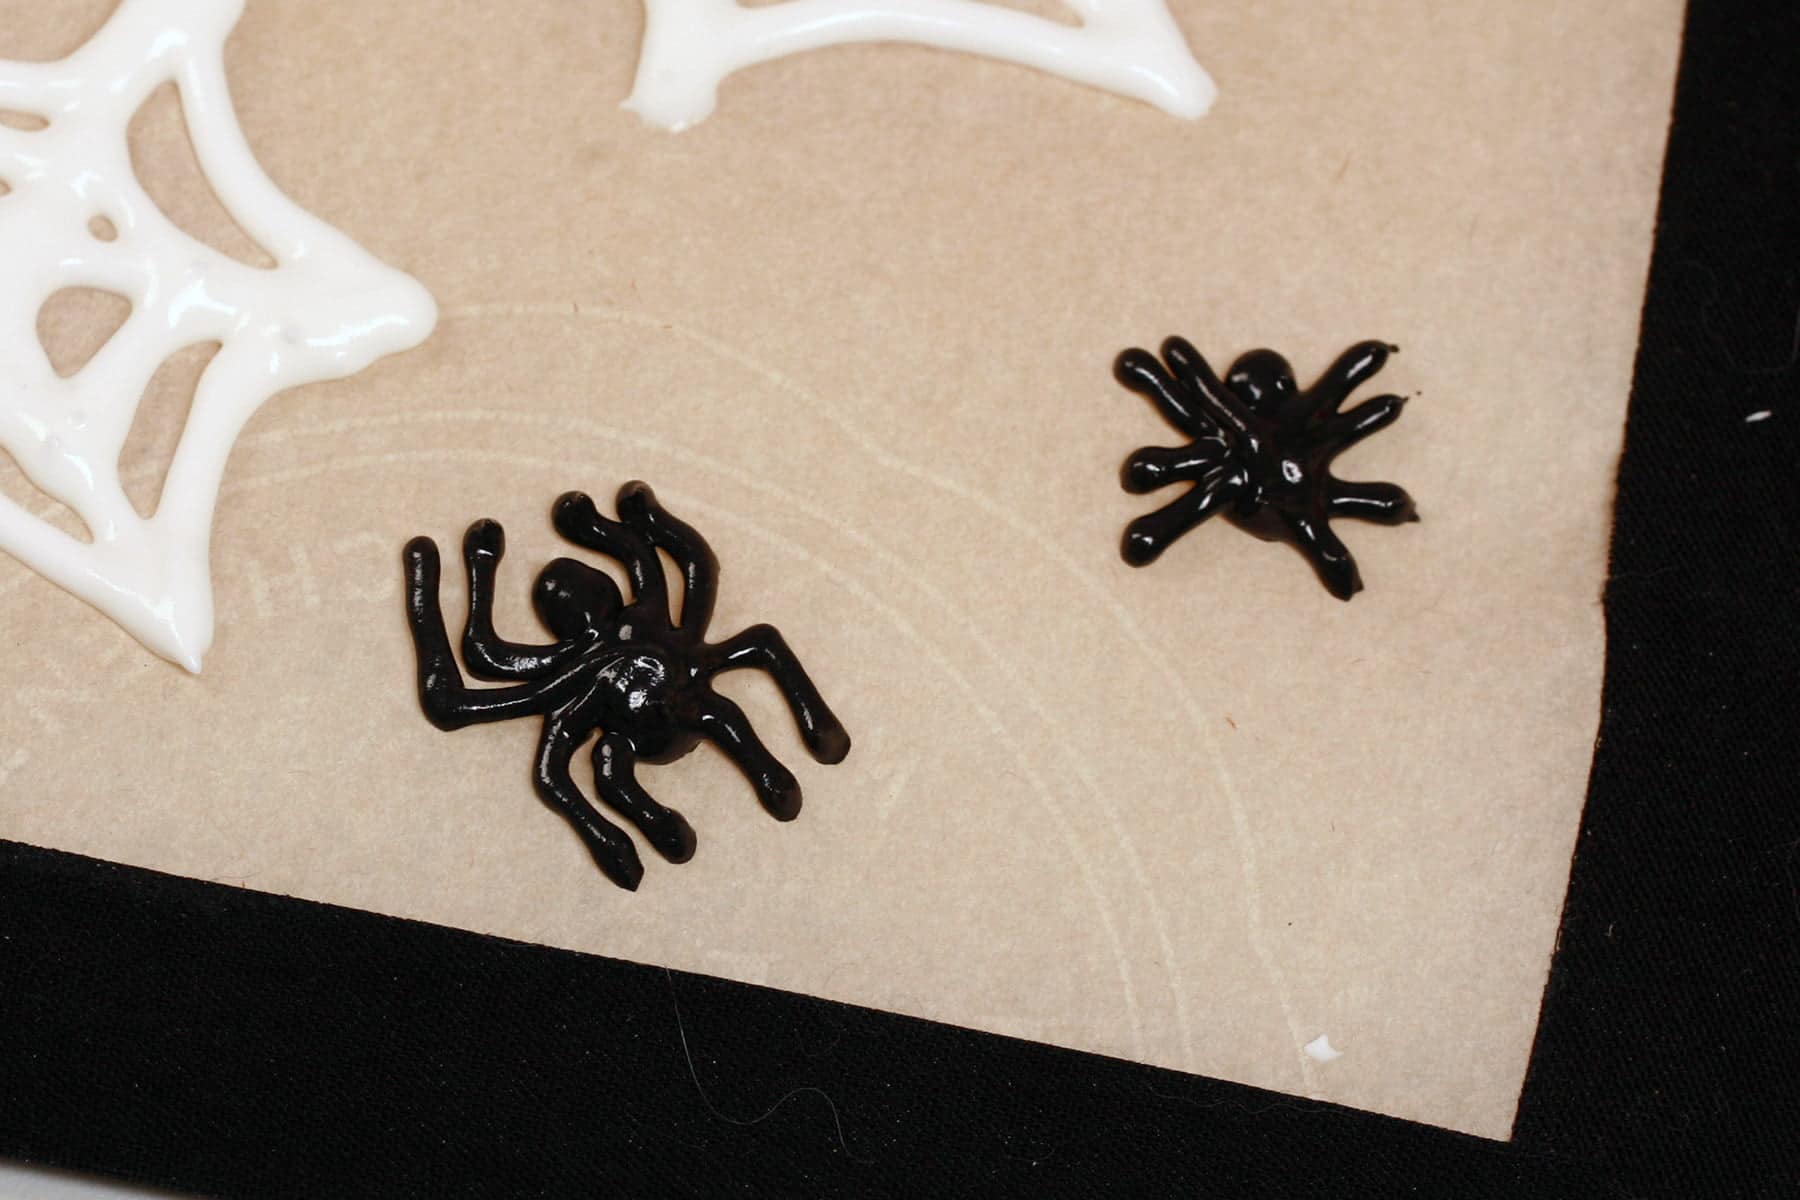
If you'd like to pipe some little spiders to include on your cupcakes, tiny a bit of the royal icing black. I like to use gel colouring for this - I find it gives a stronger, richer colour.

Check Icing Consistency
A good way to figure out if your icing is the right consistency is to pull a spoon through the middle of the frosting bowl.
– If the frosting settles out in less than 10 seconds, it’s way too runny. Add a little more powdered sugar.
– If the frosting takes longer than 10 seconds to settle, it’s good to go.
Note: I was using a runnier consistency when photographing this tutorial. 10+ seconds will work fine.
The thicker it is, the quicker it will dry, and the sharper the edges will be. I wanted kind of a soft / smooth look at the time. These days, I mostly use “stff consistency” royal icing, and don’t thin it down at all.
4. Start Piping
Holding the tip / end of your white icing bag about 1 cm away from the surface, carefully pipe spiderwebs.
I’ll do each spiderweb design as a series of straight line segments, then pipe in the connecting swoopy lines, as shown:


If you're piping spiders, Start with the bodies and use a small tip - or a piping bag with only the smallest bit of end cut off - to pipe the legs:

(If you're feeling a bit wild, you can do a "Spiderman" style spider... I'm still shocked this one worked out, without breaking the legs off when I took it off the parchment!)
5. Wait
Set the work surface somewhere safe and dry, and leave it to harden overnight at minimum (depending on how humid your house is), but 24 hours as an ideal.
6. Bake Your Cupcakes
Once baked, allow them to cool to room temperature.
7. Make Your Cupcake Frosting
I prefer Swiss Meringue Buttercream, but American Buttercream is cheaper and easier.
For that matter... you can use canned, if you’d like.
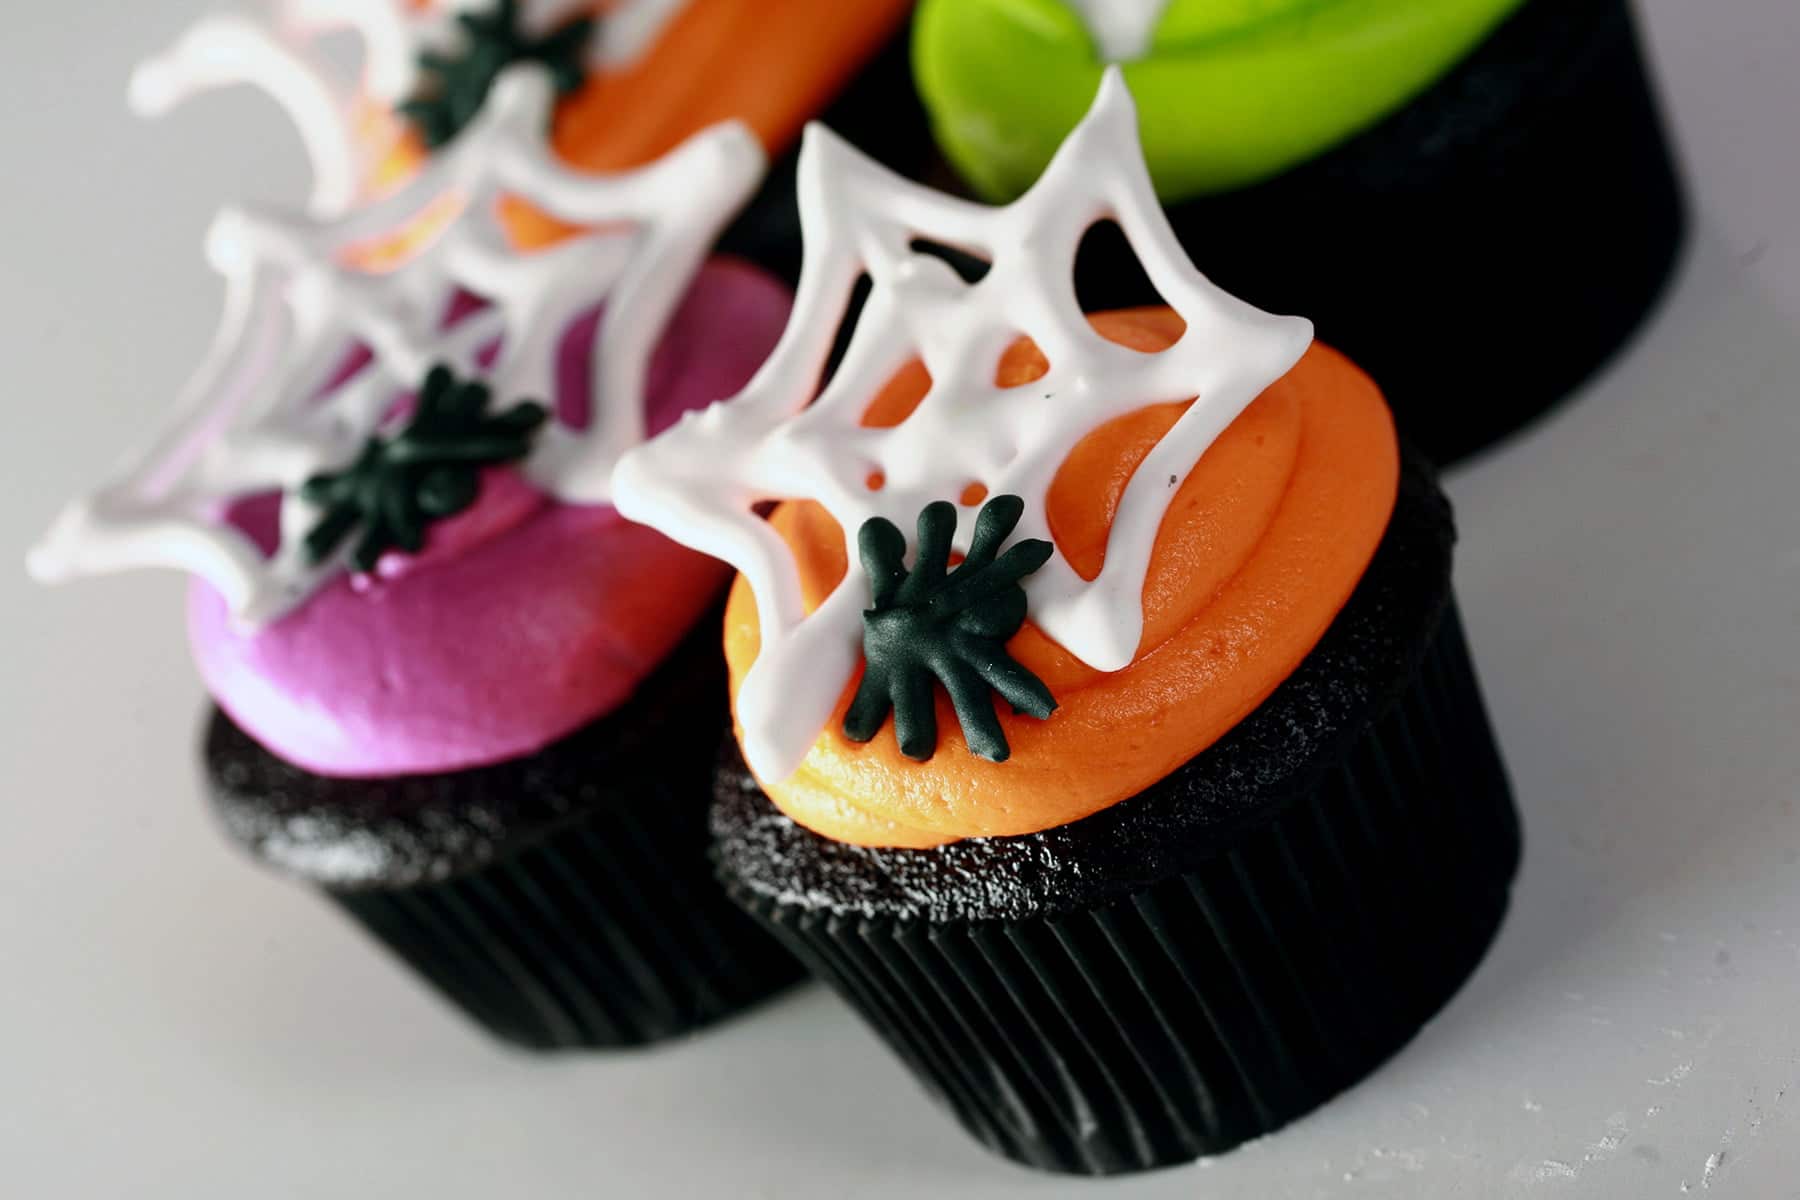
Whichever way you go, tint and flavour it as desired! I went with a few bright "Halloween" colours, using separate bowls for each color.
Love how cute they turned out!
8. Pipe Your Frosting
Set up a piping bag with a coupler and a wide round or star tip (optional), or cut the end off.
Pipe a generous helping of frosting on each cupcake, starting around the edge of the cupcake, swirling up and over as you reach the center of the cupcake.
Frosting is the best part - especially if we’re talking Swiss Meringue Buttercream!
9. Liberate Your Spiders and Webs!
VERY carefully, lift each Spider web and cute little spider from the work surface. I like to slip a fingernail under an edge and just really gently lift.
If the webs or spiders feel stuck, they’re likely not dry yet - give them a few more hours!
10. Assemble Your Cupcakes!
Carefully stick each web into the frosting on top of each cupcake, then place spiders onto each cupcake.
Serve immediately, or store in an airtight container until you do.
Here is a video of the whole process, BTW:
Melted Chocolate Version
You can use this technique to make chocolate spiders and webs - they harden a LOT quicker than royal icing.
Place some white chocolate chips (webs) or black candy melts (spiders) into a small, microwave safe bowl.
Heat in small intervals - the more volume, the longer your intervals can be. I’ll usually start at 30 second intervals, and move up/down from there.
Stir after each turn in the microwave, until melted.
Transfer melted chocolate to your piping bag, pipe your designs as directed above, and allow them to fully harden before proceeding.
More Halloween Ideas
If you're still considering ideas for Halloween recipes and other ideas, be sure to check out my:
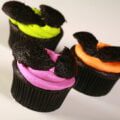
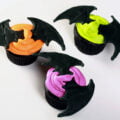
3D Halloween Bat Cupcakes
Bacon Wrapped Mummy Meatloaf
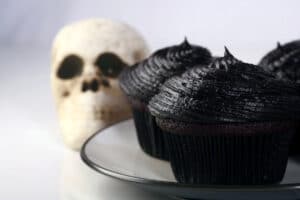
Black Velvet Cupcakes
Bloody Eyeball Cupcakes
Bloody Eyeball Halloween Punch
Breakfast Mummy Pastries
Candy Apples
Easy Halloween Bat Cupcakes
Easy Spider Web Cookies
Elegant Halloween Charcuterie Board
Fudgy Halloween Brownies
Glazed Halloween Popcorn
Gluten Free Mummy Dogs
Gluten-Free Mummy Jalapeno Poppers
Halloween Shooters
How to Carve a Pumpkin Like a Pro
Lychee "Bloody Eyeball" Pancakes
Lychee Bloody Eyeball Halloween Pavlova
Mummy Dogs
Mummy Jalapeno Poppers
Nightmare Before Christmas Cookies
Spider Bread Bowl
Keto Witch Finger Cookies
Gluten Free Witch Finger Cookies
... and check out our Holiday Recipes section for recipes to suit any holiday!
Share the Love!
Before you chow down, be sure to take some pics of your handiwork! If you post it to Bluesky, be sure to tag us - @CelebrationGen. We're also on Pinterest, so you can save all your favourite recipes to a board!
Also, be sure to subscribe to my free monthly email newsletter, so you never miss out on any of my nonsense. Well, the published nonsense, anyway!
Finally, if you love this recipe, please consider leaving a star rating and/or a comment below, and maybe even sharing this post on social media!


Halloween Spider Web Cupcakes
Equipment
- Disposable Pastry Bags
Ingredients
- 1 batch Black Velvet Cupcakes
- 1 batch American buttercream
- or
- 1 batch Swiss Meringue buttercream
- 1 batch Traditional Royal Icing
- or
- 1 batch Meringue Powder Royal Icing
Instructions
- If you're using one, tape your spider web template down to your work surface. Masking tape works fine for most surfaces.
- Tape some parchment paper down over your template, being sure to leave a bit of space around the edges of your design. As a heads up: While most tapes work fine for most surfaces, parchment paper is a unique case, as most tape does NOT stick to it. As you tape your parchment paper down to the template and board, be sure to keep it smooth, straight, and with any excess air pushed out.
- Following the recipe for either Traditional Royal Icing (with raw egg whites) or Easy Royal Icing (with meringue powder), make your royal icing.
- If you'd like to pipe some little spiders to include on your cupcakes, tiny a bit of the royal icing black.
- Holding the tip / end of your white icing bag about 1 cm away from the surface, carefully pipe spiderwebs.
- Set the work surface somewhere safe and dry, and leave it to harden overnight at minimum (depending on how humid your house is), but 24 hours as an ideal.
- Bake your cupcakes, allow them to cool to room temperature.
- Set up a piping bag with a coupler and a wide round or star tip (optional), or cut the end off. Pipe a generous helping of frosting on each cupcake, starting around the edge of the cupcake, swirling up and over as you reach the center of the cupcake.
- VERY carefully, lift each Spider web and cute little spider from the work surface. I like to slip a fingernail under an edge and just really gently lift.
- Carefully stick each web into the frosting on top of each cupcake, then place spiders onto each cupcake.


Leave a Reply