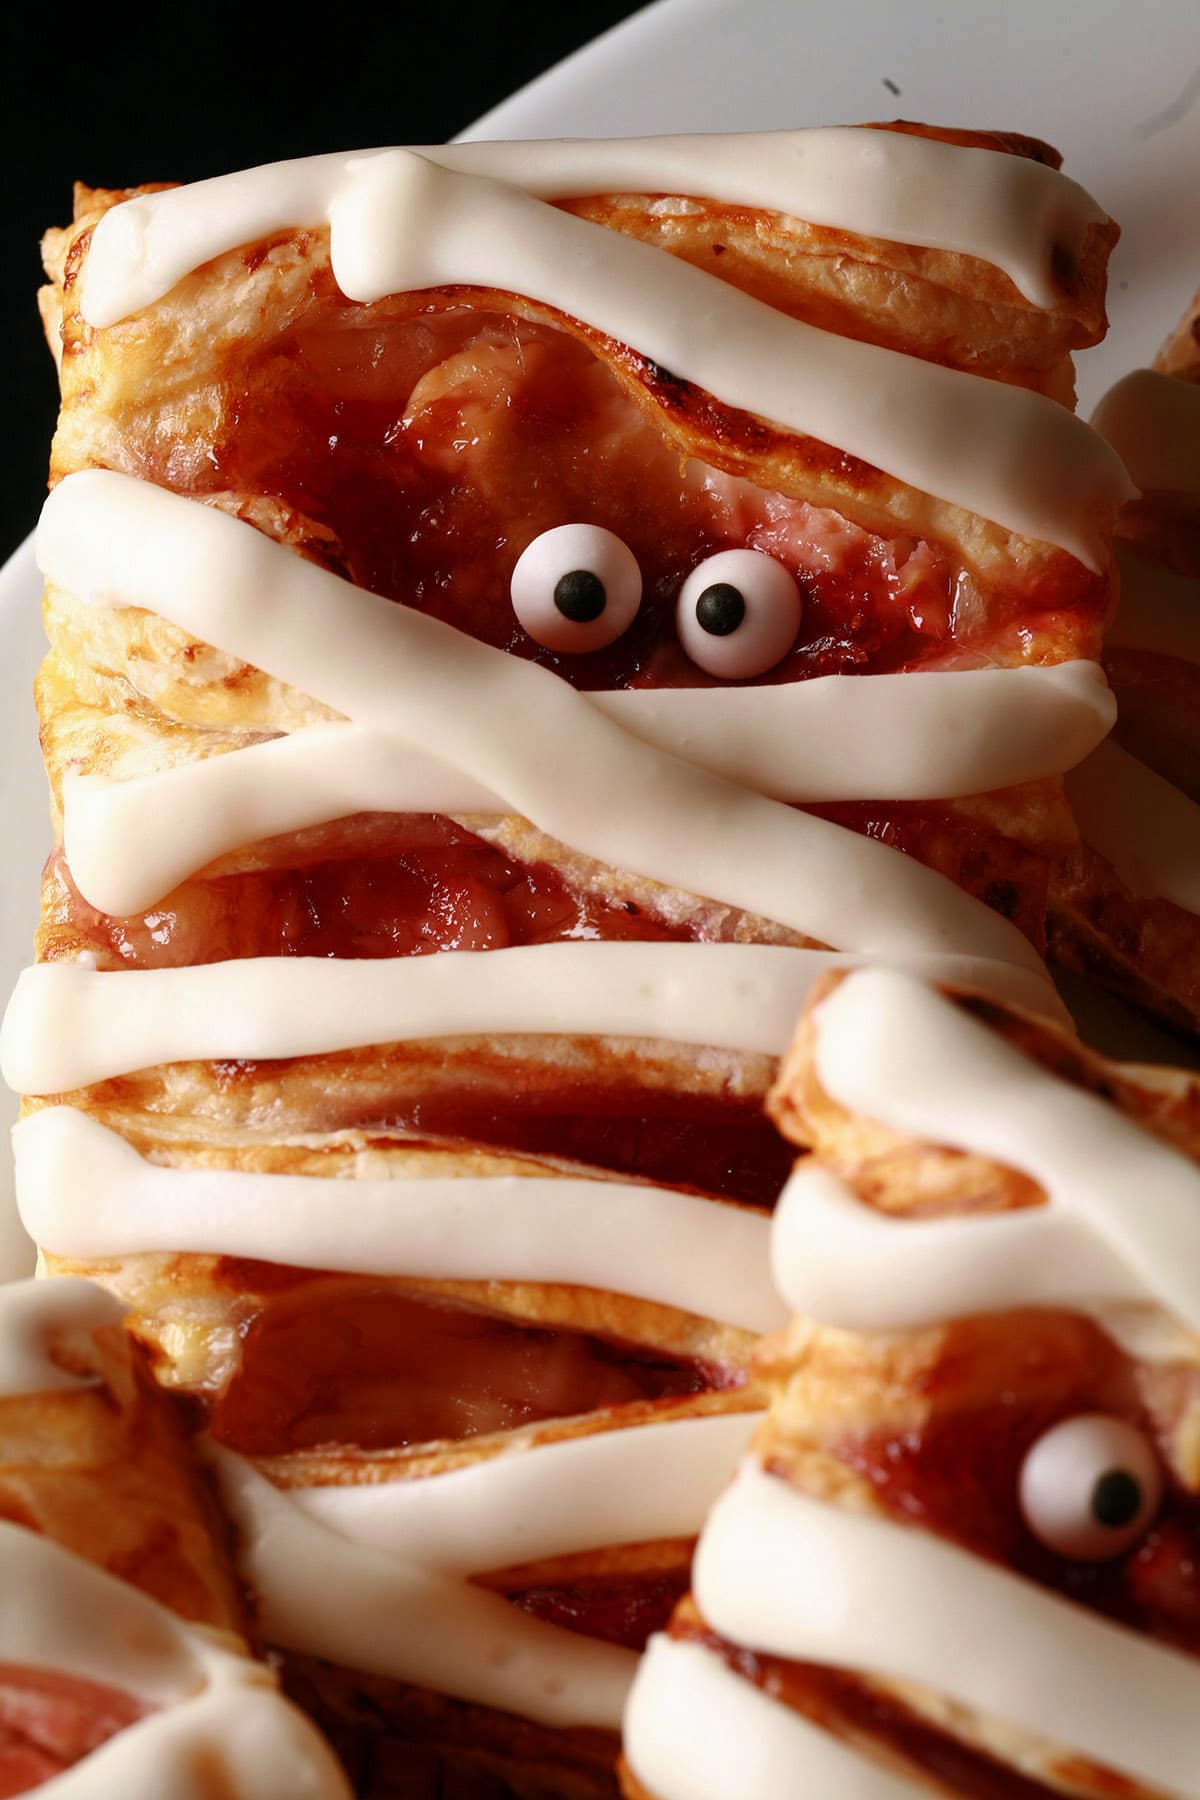
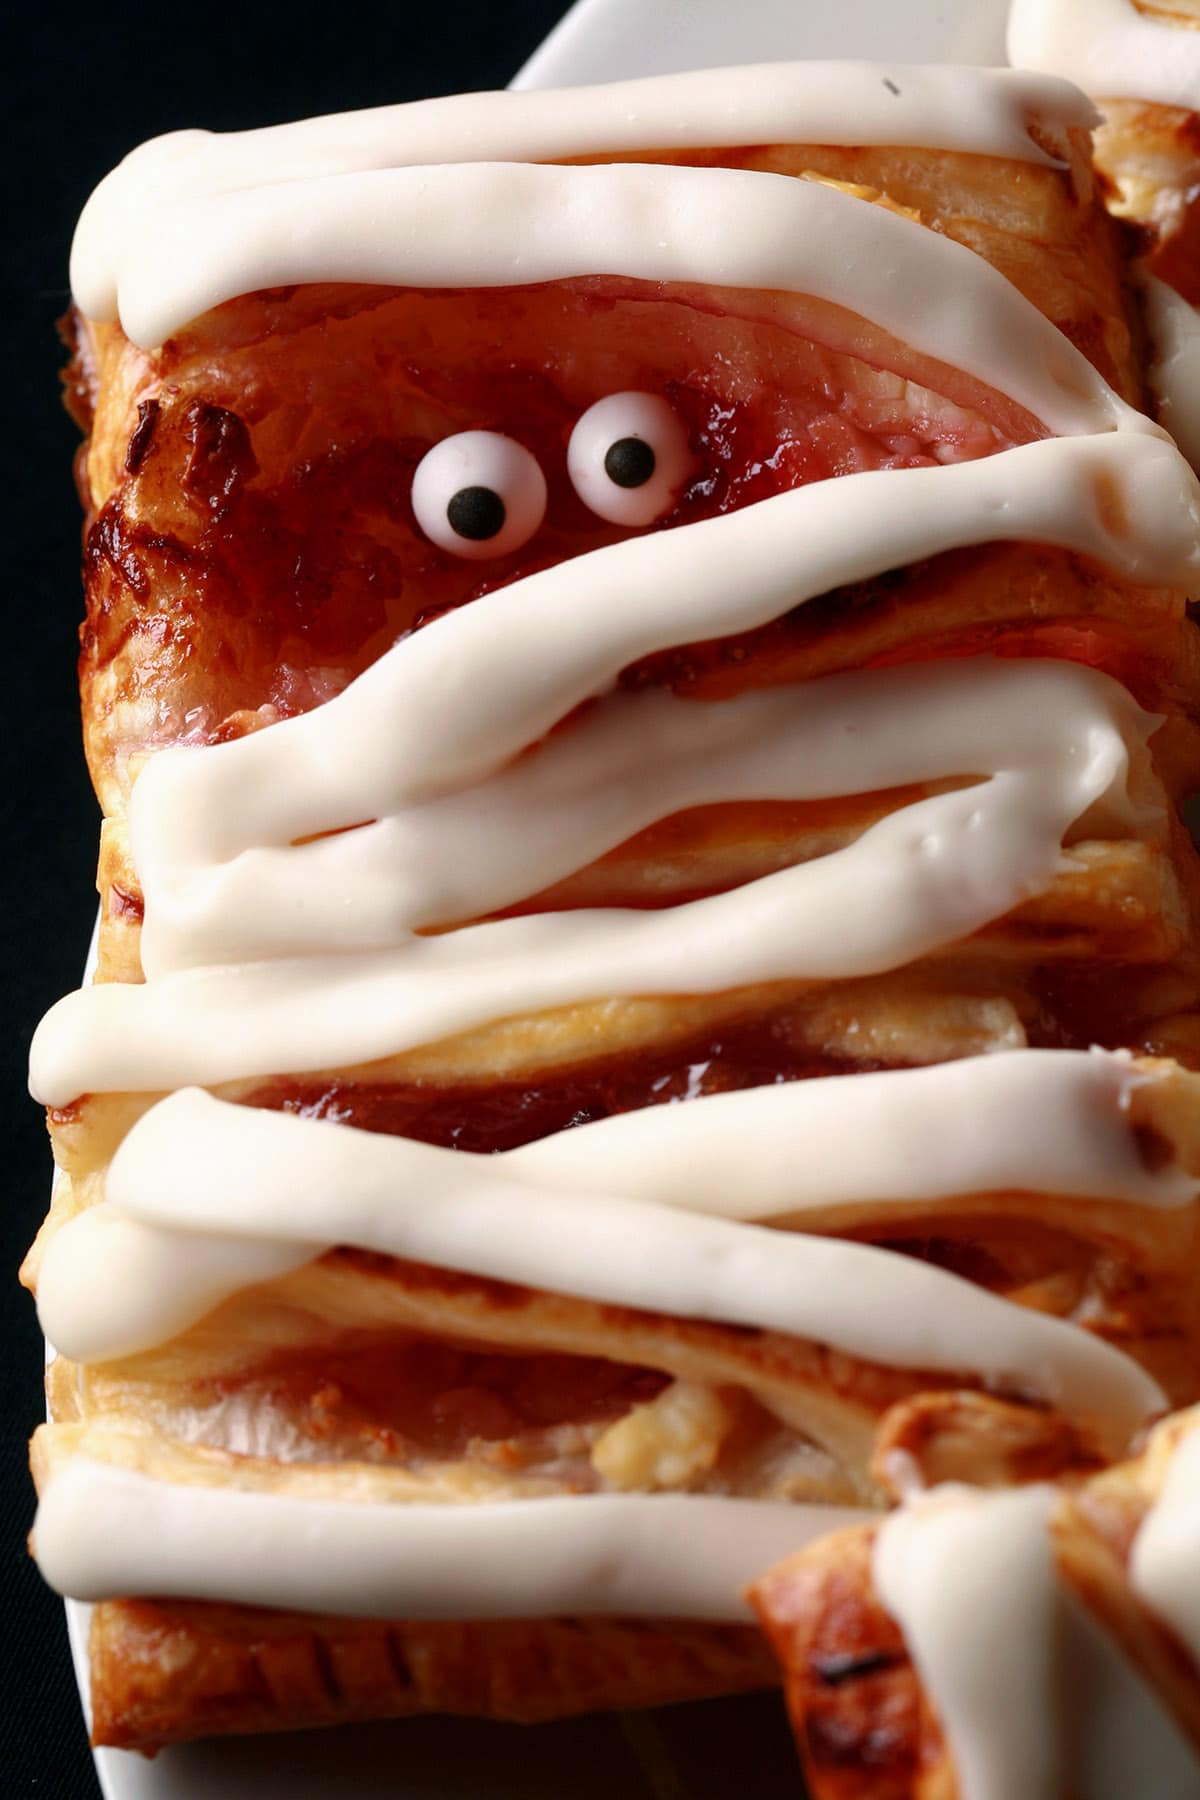
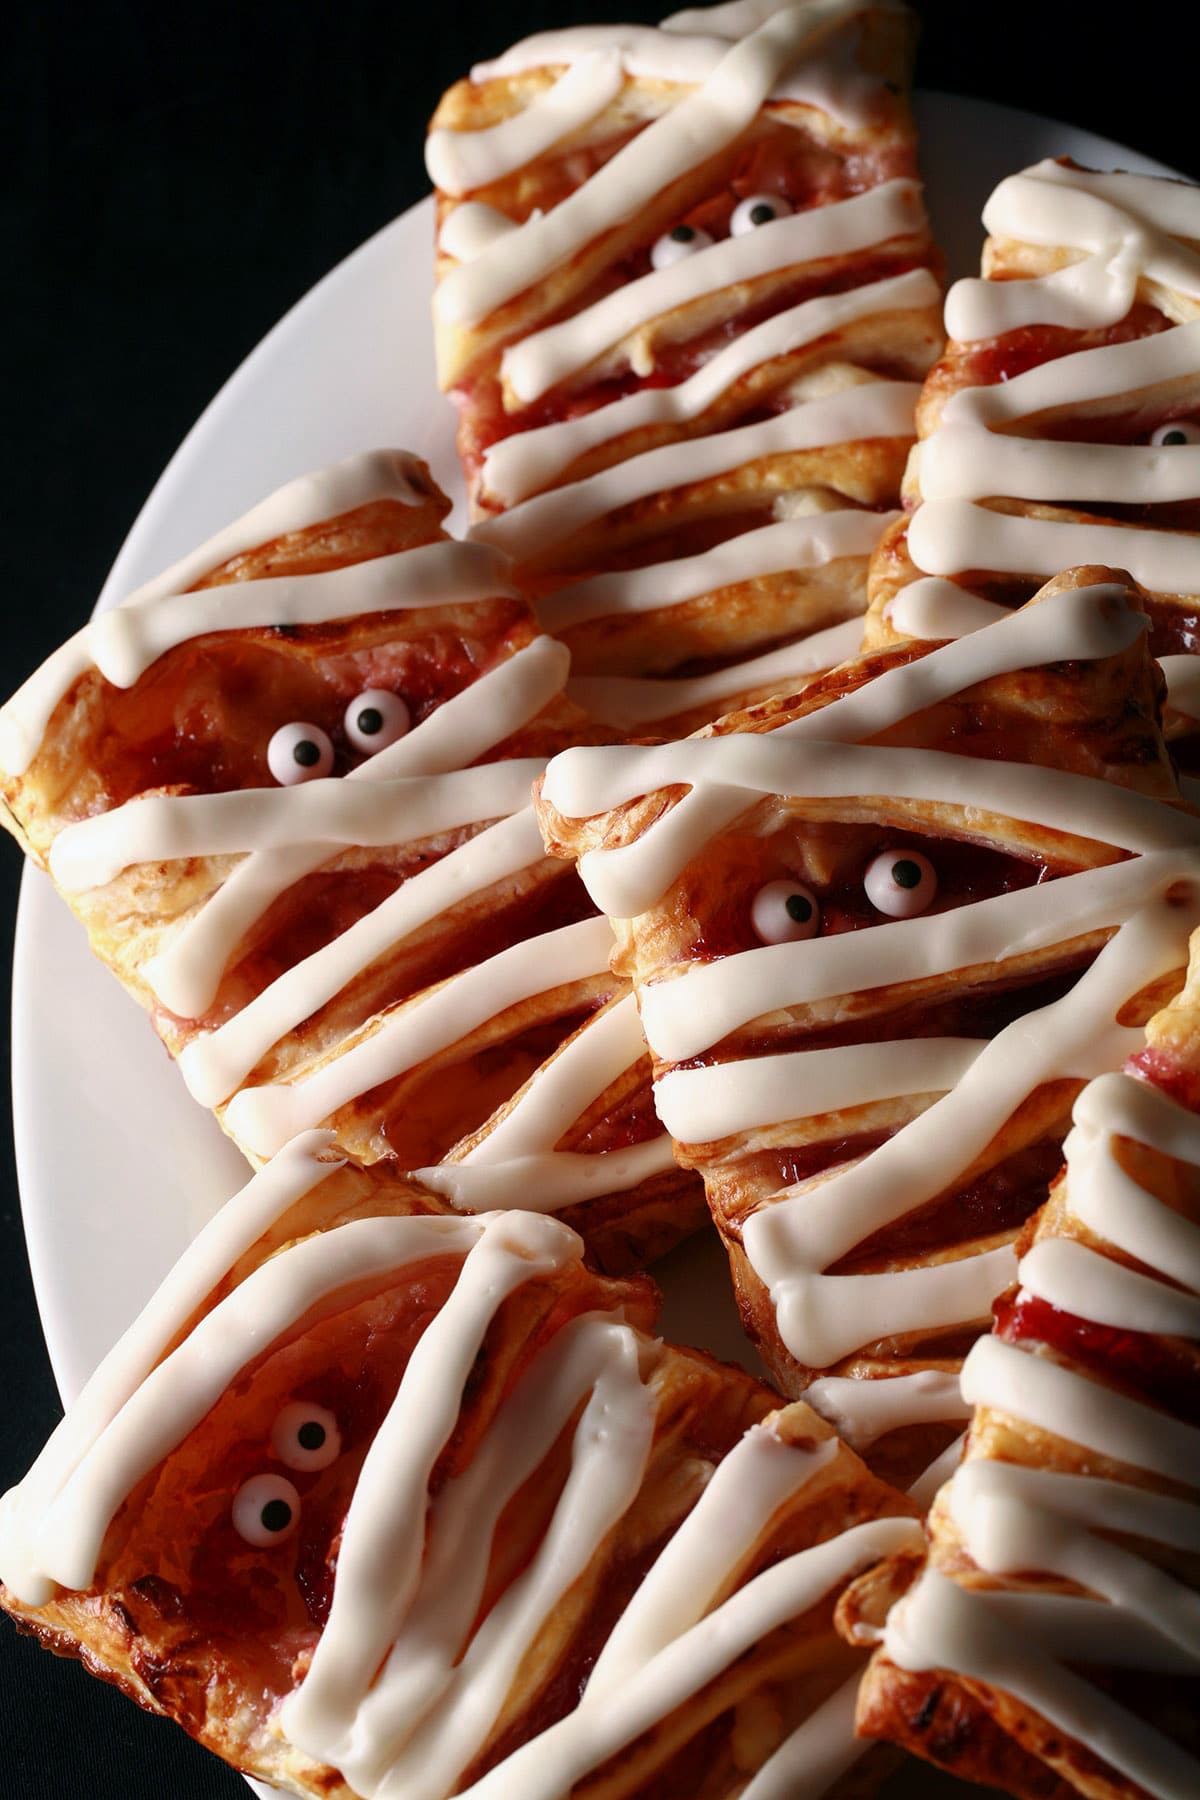
These Halloween Mummy Pastries work up in just a few minutes, and are super cute. Think "berry and cheese Danishes", just.. festive!

I’ve been all about the Halloween spirit lately, and am in the midst of posting a bunch of sweet treats for the upcoming Halloween season.
Some savories, too - I can’t wait to share some of the ridiculousness we’ve been up to!
Anyway, I figured it was about time to start addressing Halloween breakfast.
Why should Halloween be confined to afternoon and evening, after all? Time to bring on the Halloween breakfast ideas!
These mummy hand pies are SUPER easy Halloween treats to make, and whip up in just minutes.
It’s also a fun project for your little monsters to join in on, Halloween morning... or in preparation for their Halloween party!
This recipe is a re-imagined fruit and cheese Danish, just done up as Halloween hand pies. A delicious treat, however you make it.
We’ve been going through a ton of Candy Eyeballs lately, because they make me laugh.
It’s such a cheap, easy way to render even the most elegant of foods completely ridiculous.
Kind of reminds me of the year that someone at one of the fandom conventions we used to go to went around sticking googly eyes on all of the posters. So simple, but somehow endlessly hilarious.
Anyway, enough about how easily entertained I am, let’s get on with it.
Oh, and Happy Halloween!

Ingredients
This recipe uses very few ingredients, most of which should be easily found at any grocery store. A few notes:
Puff Pastry
I use 1 package of puff pastry, which is 1 lb / 454 grams of dough, done in 2 sheets. If your package is bigger or smaller, you may need to adjust the recipe size a bit.
It’s really important that the puff pastry sheets are thawed in the fridge, NOT in the microwave. Improperly thawed sheets will stick together and/or just cook, and can be rendered pretty useless.
See your package instructions for more details.
Filling Ingredients
This recipe basically makes a fruit and cream cheese danish, and what fruit you use is really up to you. Raspberry cheese danish, strawberry cheese danish, even a cherry cheese danish - it’s all up to you!
I like to use a seedless raspberry or strawberry jam when I’m doing Halloween pastries for photos, but that’s all about aesthetic.
If you like the seeds, go for it!
Blackcurrant Jam is my ABSOLUTE favourite for this, btw.
Aside from that, you can use a bit of pie filling if you prefer. Large pieces of fruit may give your mummies a more lumpy appearance, but it’s all good.
Note: I use a conservative amount of jam, so they don’t leak all over the place. If you’re less concerned about the appearance, you can definitely use a bit more!
As far as the cream cheese goes, I generally use a basic, full fat cream cheese, but use whatever you like. Light cream cheese, a neufchatel, vegan cream cheese all work fine.
For that matter, so does goat cheese - Try a goat cheese and fig jam pastry if you’re feeling bougie!
Everything Else
The rest of the ingredients are all super basic, no real commentary for them:
Large egg
Melted butter (Can use vegan butter)
Powdered sugar
Vanilla extract
Salt
Milk (Can use a dairy free alternative)
Candy Eyes
Equipment
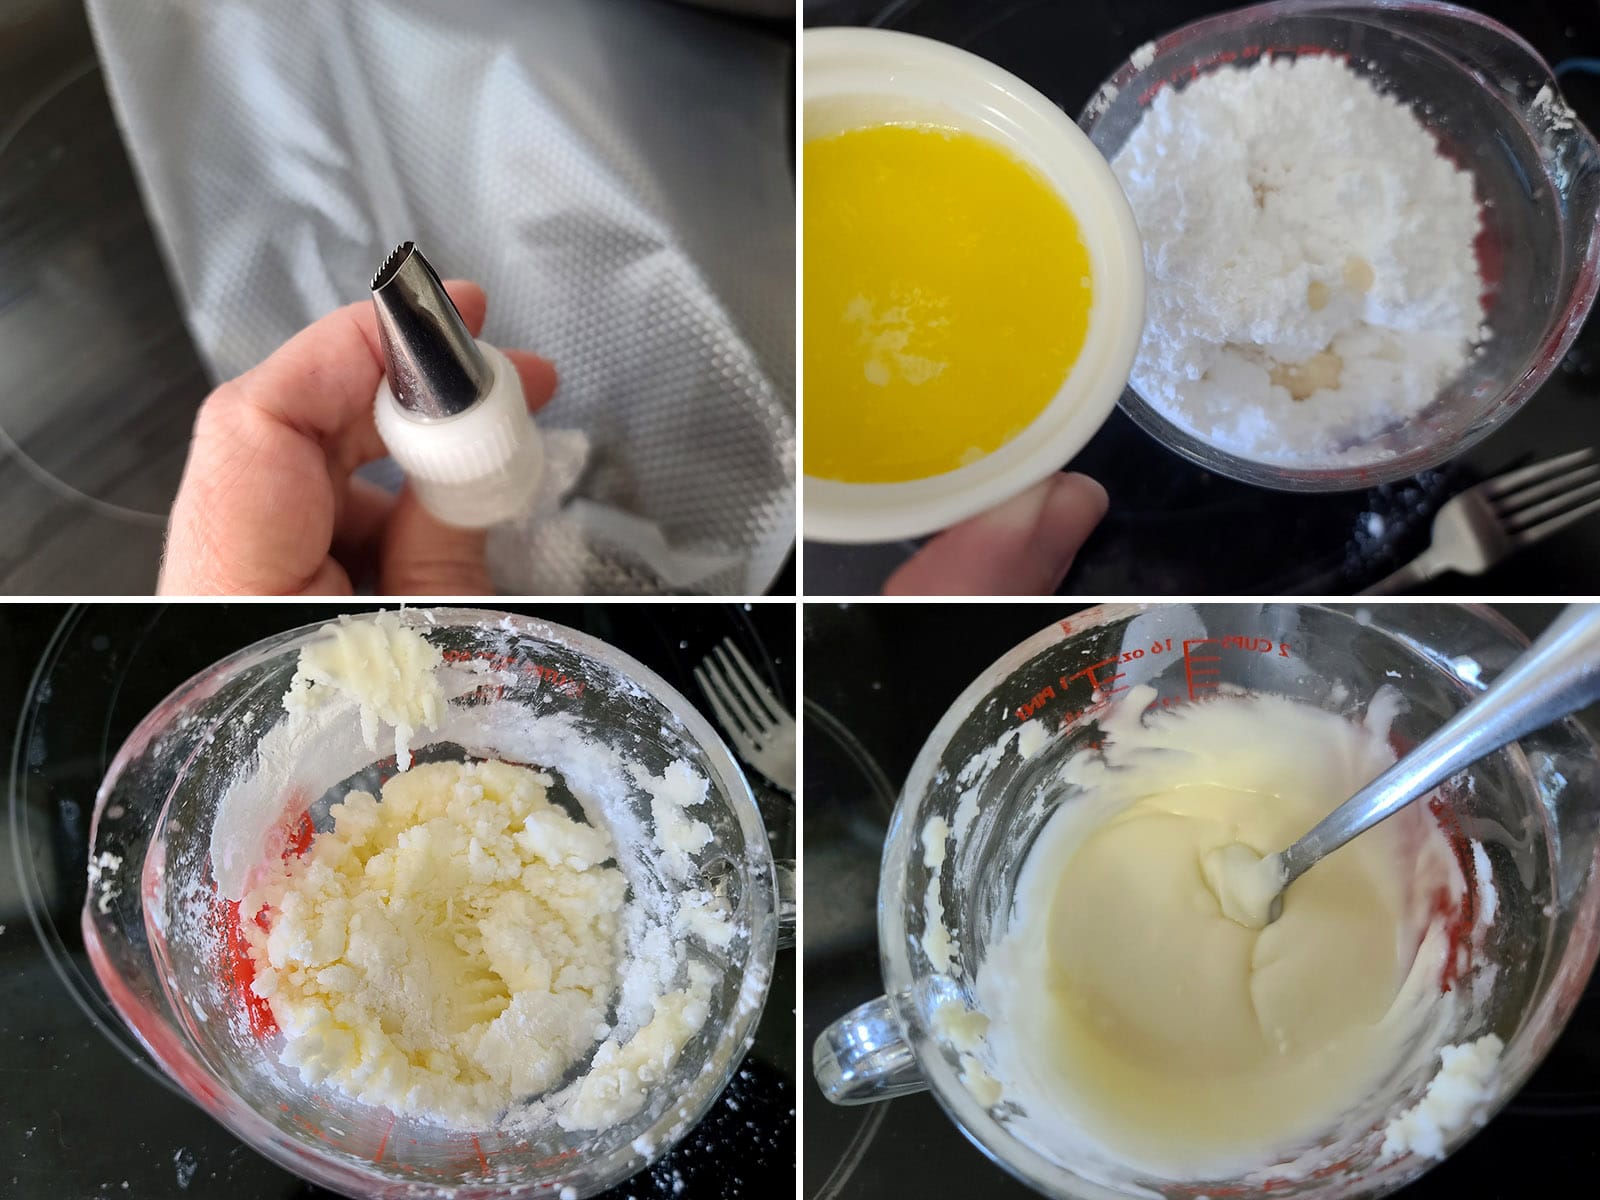
If you're doing the glaze, you'll want a Piping Bag fit with a Decorating Coupler and a narrow Basketweave Tip.
Wilton has a few that would work well, it's just a matter of your taste.
I like their #46 or #47 , but you can use anything from 44-48.
How to Make Mummy Danishes
The full recipe - including nutritional information - is in the recipe card at the end of this post, here is a pictorial walk through.
Make the Pastries
Preheat oven to 400 F, line a large baking sheet with parchment paper. Set aside.
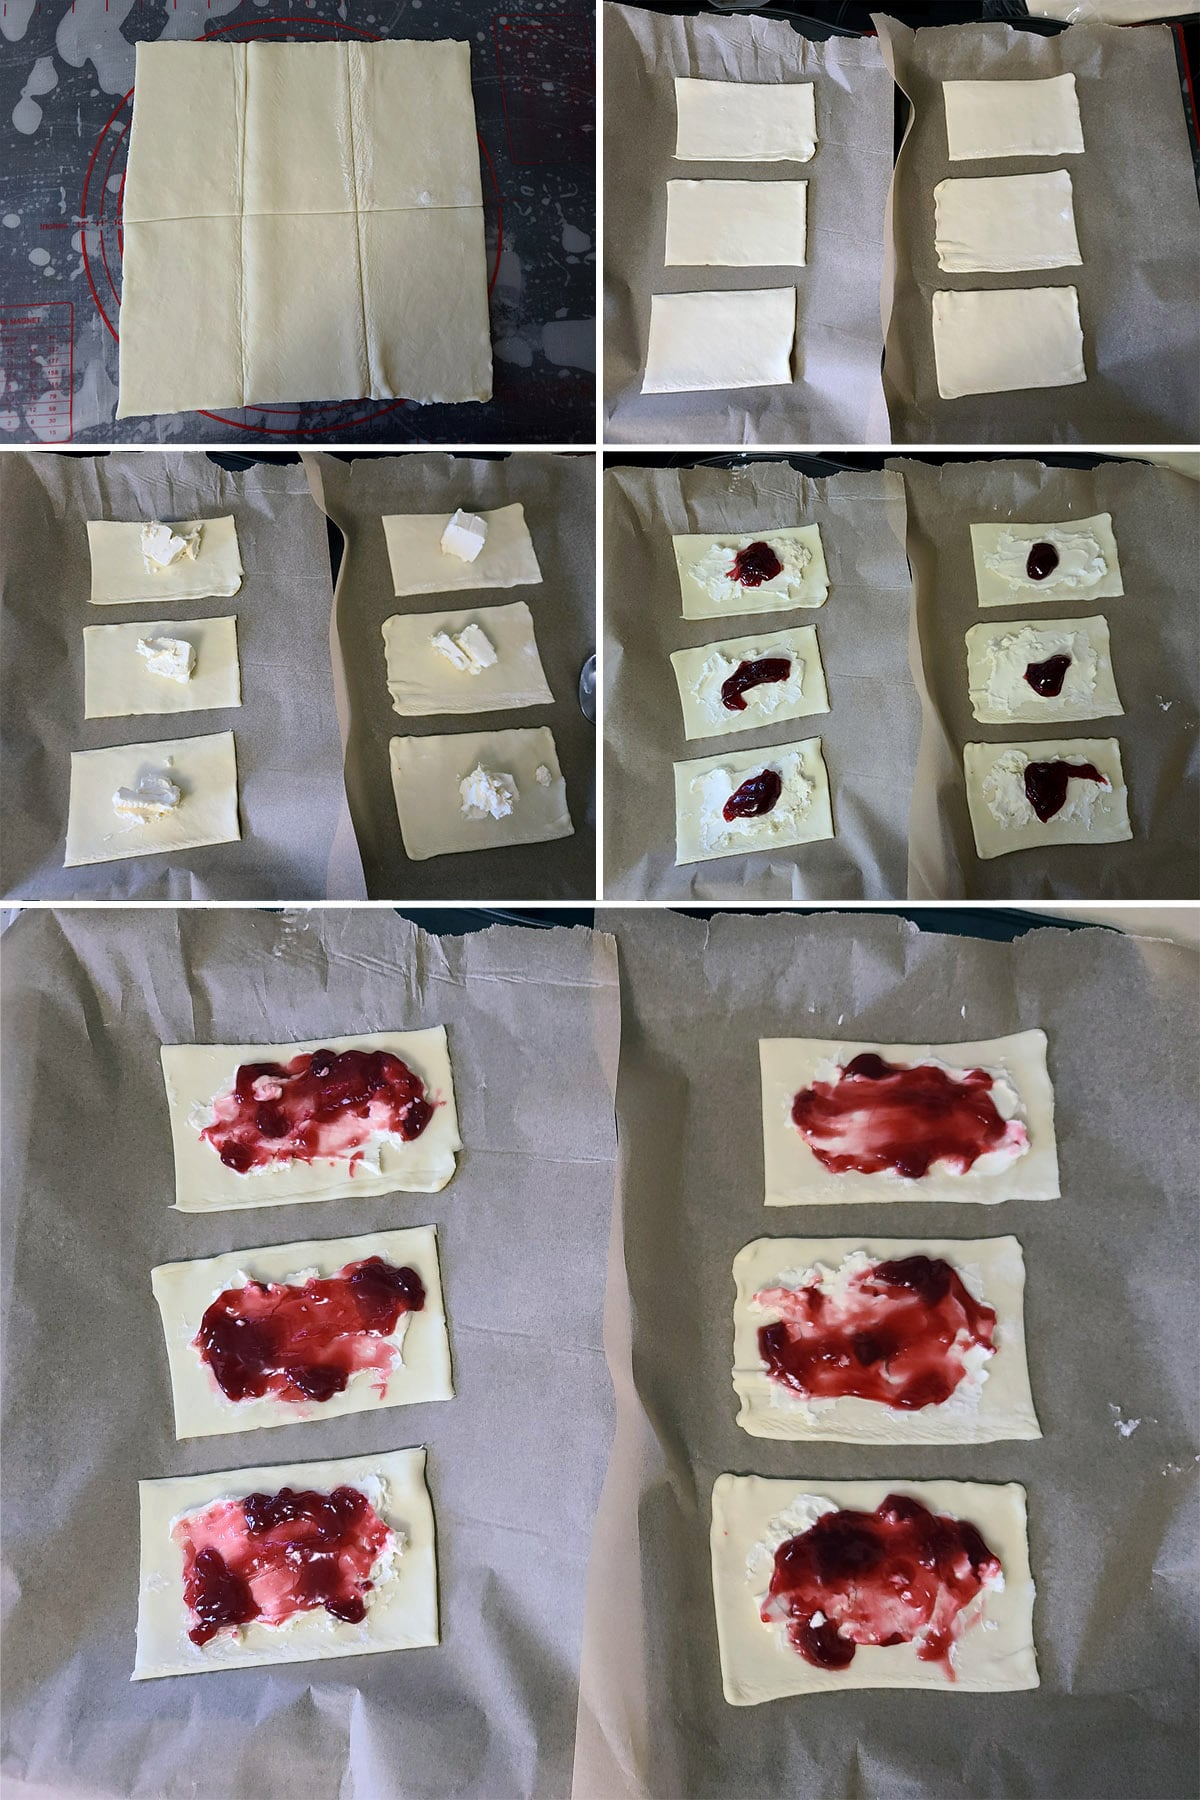
On a clean work surface, lay one sheet of puff pastry dough, cut into 6 equal rectangular shapes - one cut to divide it in half lengthwise, then 2 cuts across to divide each half into 3 parts.
Place pastry rectangles on the prepared baking sheet.
Divide cream cheese between the 6 pastry rectangles, spreading a relatively even layer in the center of each. Be sure to leave a ½" border of pastry edge, around the cream cheese.
Spoon 1-2 teaspoon of jam over the cream cheese on each pastry, again leaving the ½" border of pastry around the outside edge of each puff pastry rectangle. Set pan aside.
Arrange the puff pastry strips over the prepared pastry rectangles at random angles.
I like to leave an small strip of exposed filling about ¼ of the way down from the “top” edge, for the googly eyes.
Use the pizza wheel to trim any overhanging dough strips, then use the tines of a fork to crimp the outer edge of each pastry, sealing the crust pieces down to the base.

Whisk the egg until smooth, then use a pastry brush to brush this egg wash over top of each pastry. (The pastry parts, anyway!).
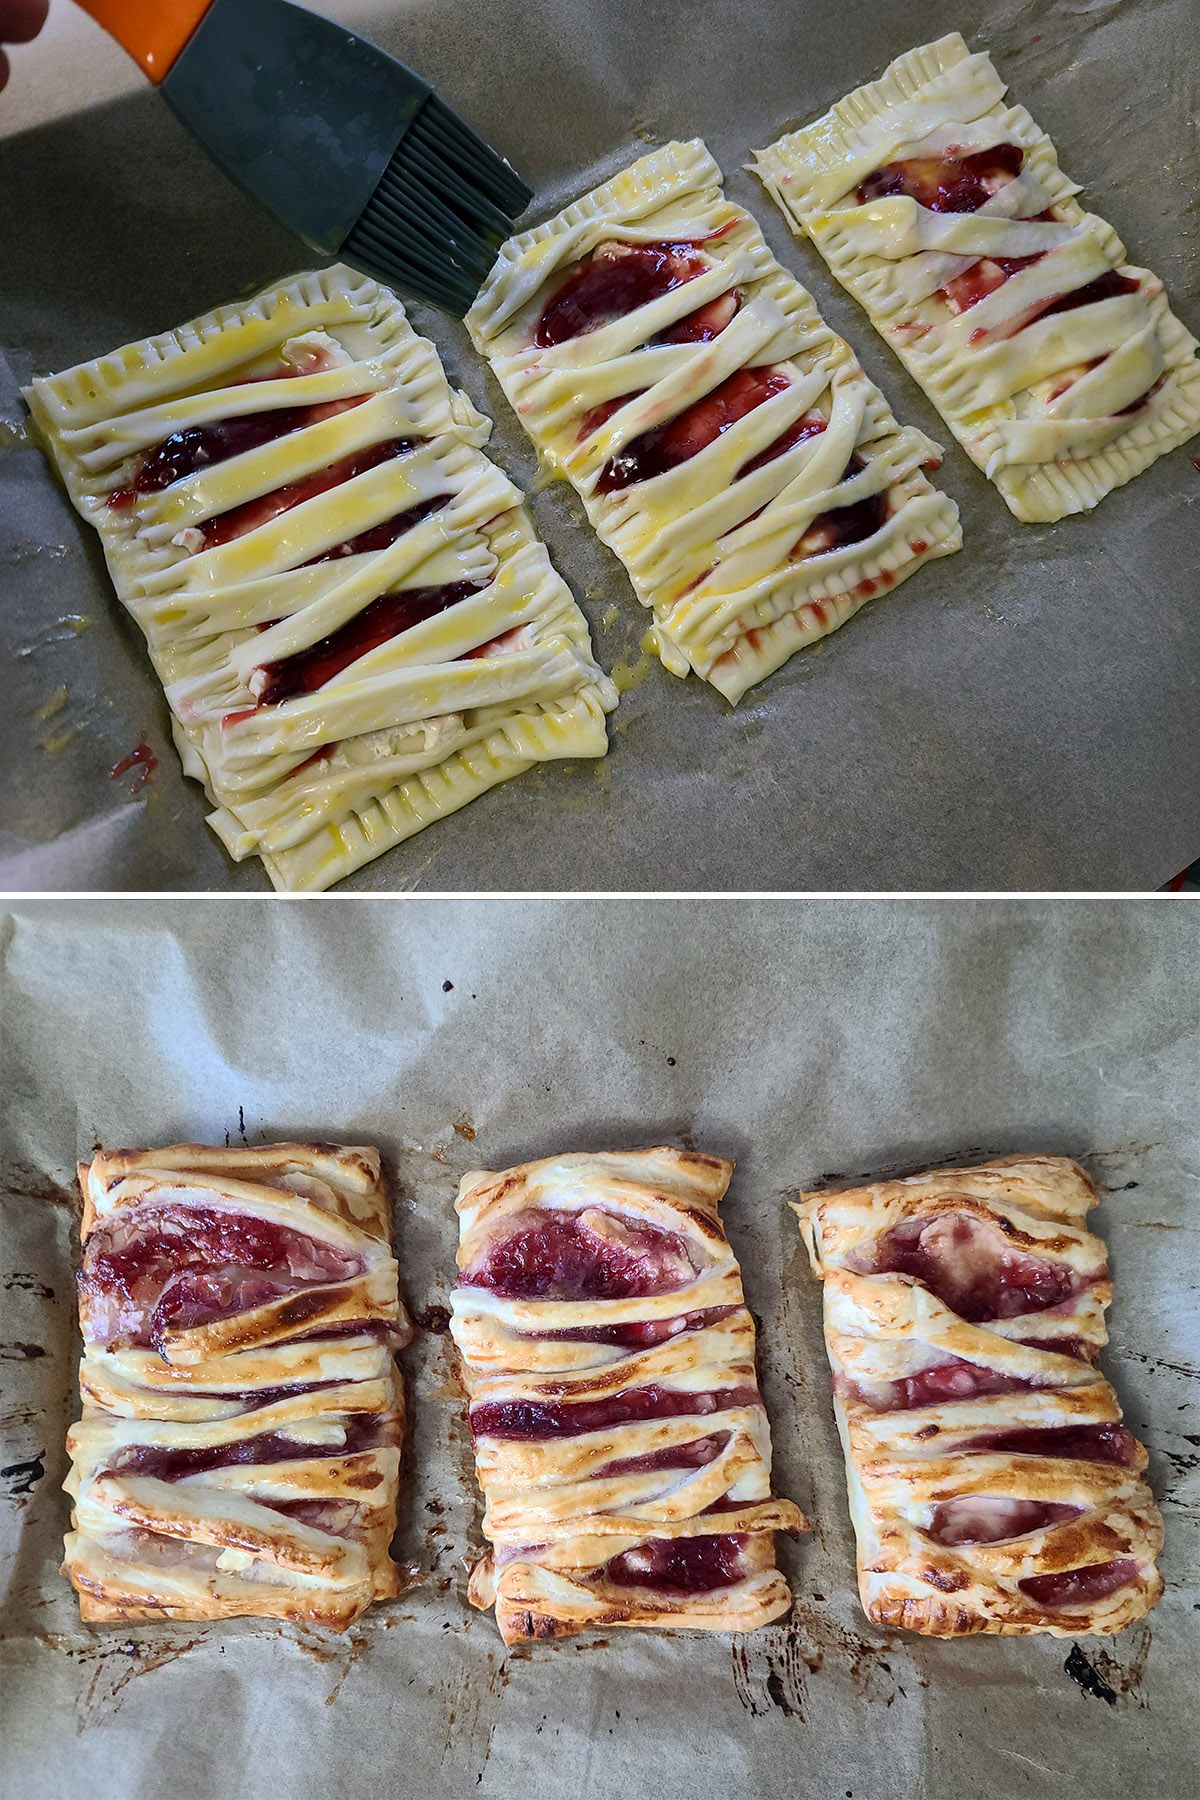
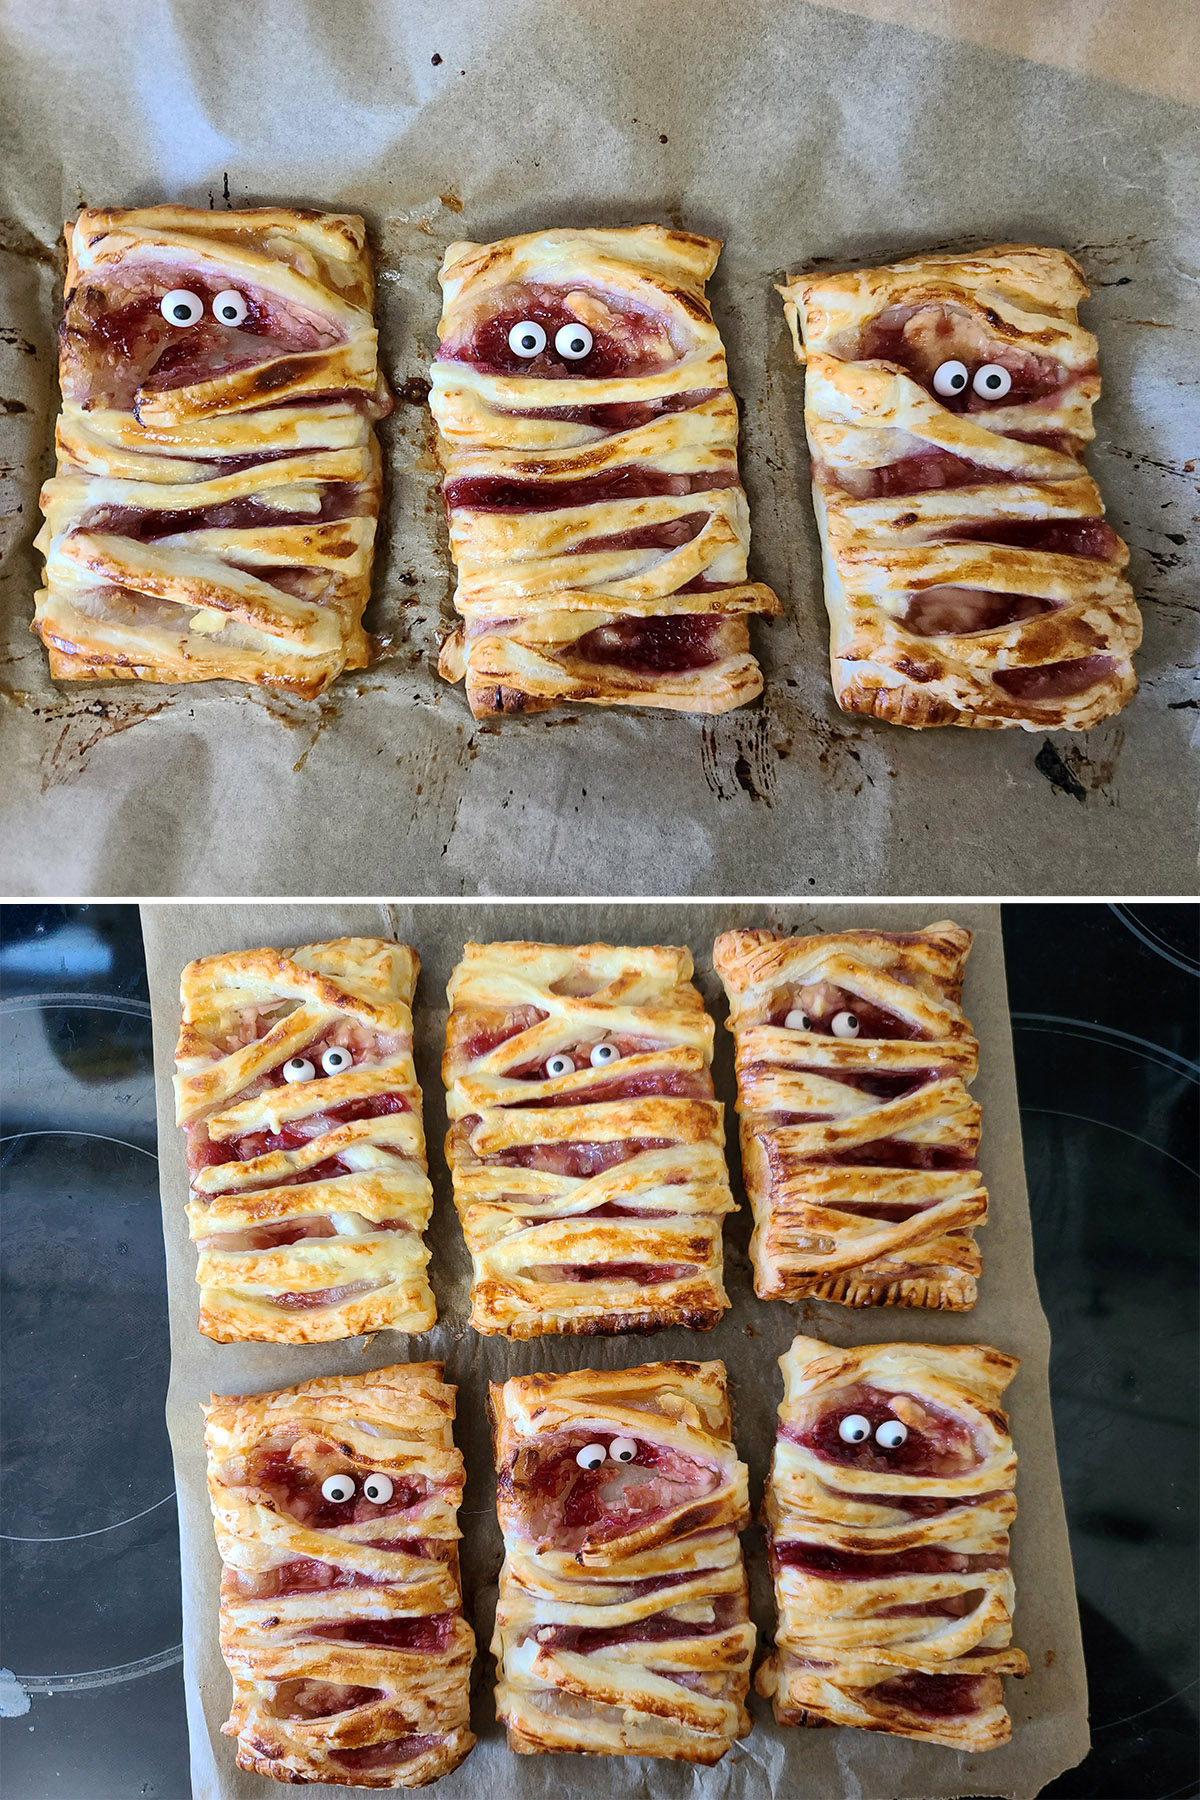
Bake for 18-20 minutes, or until the puffed pastry is flaky and golden brown. Remove from oven and allow to cool to room temperature.
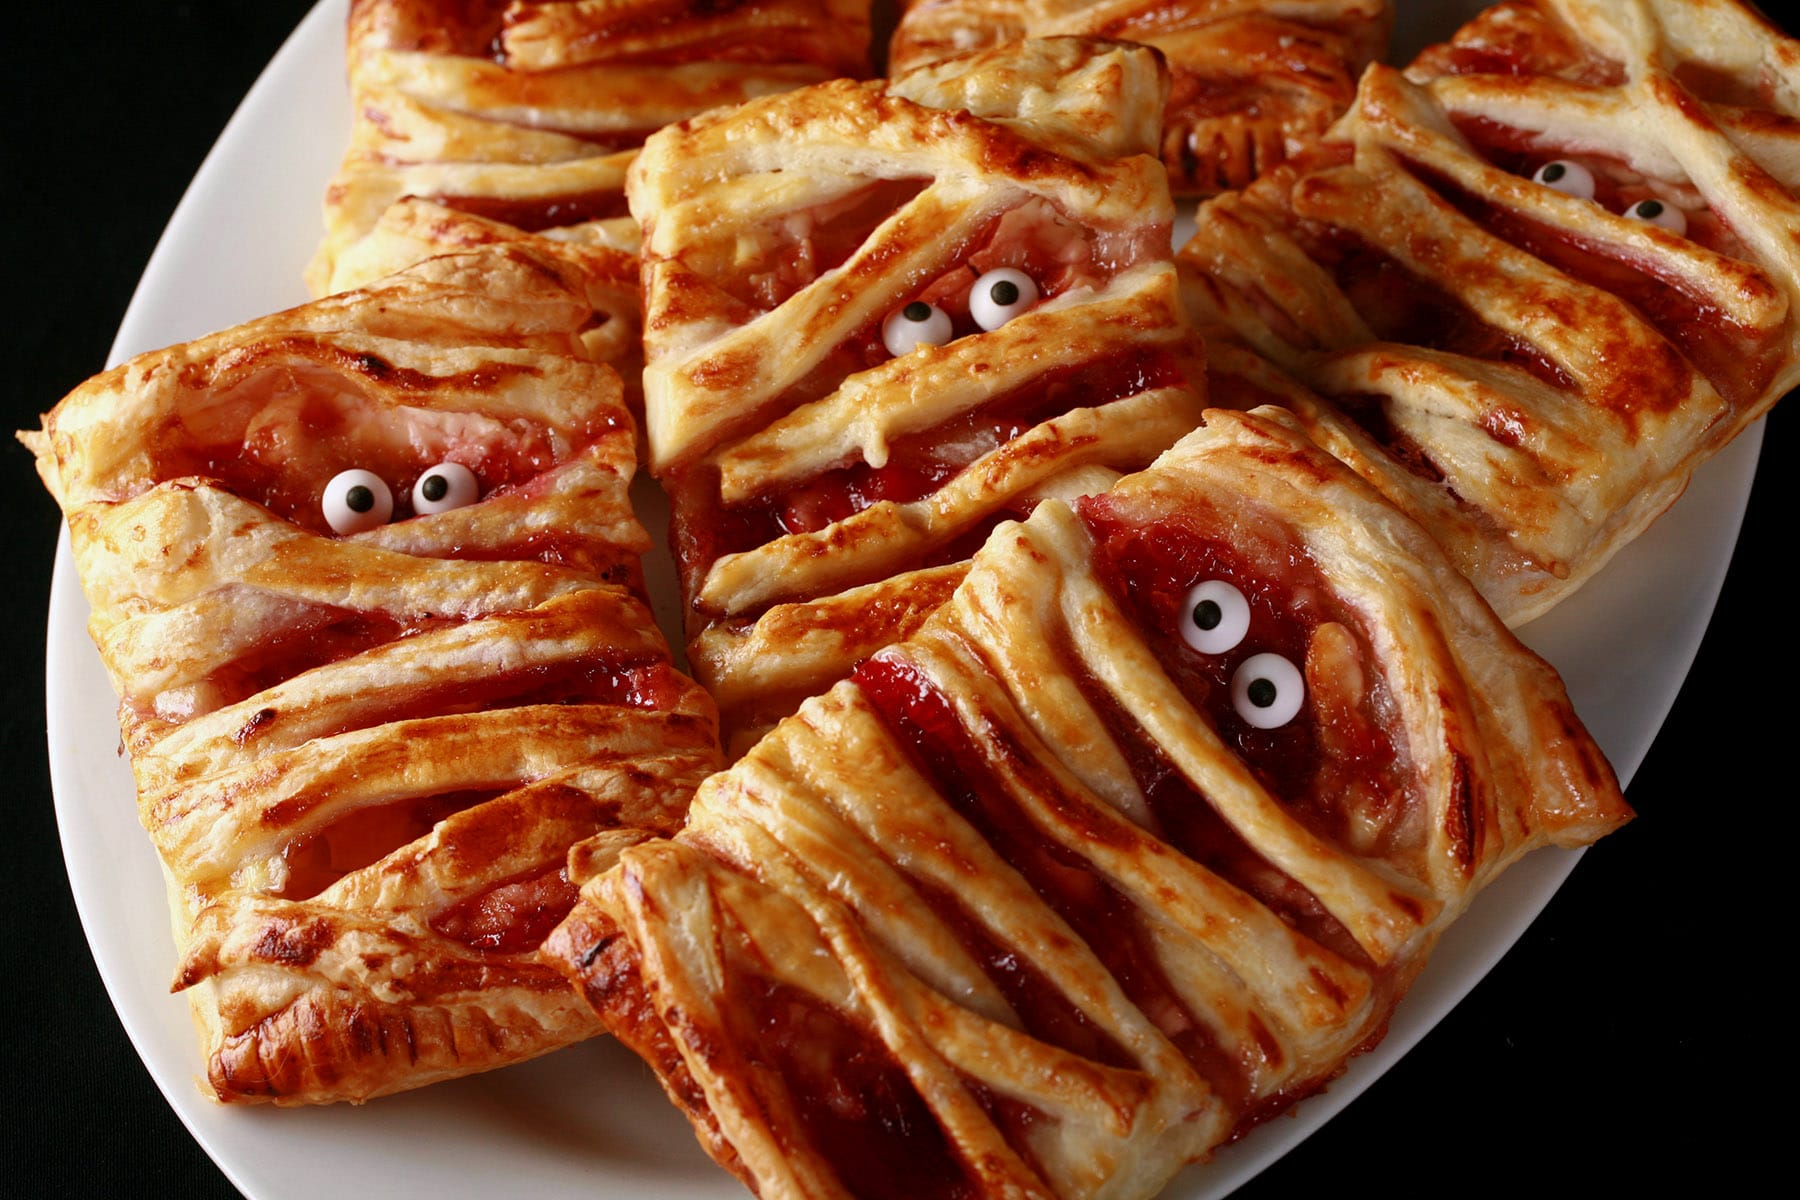
These are cute even without the glaze!
Glaze & Decorate
In a small bowl or measuring cup, whisk together glaze ingredients (except eyes) until smooth. You may want to add a little more sugar or milk, to get the consistency you want to work with.
Place 2 confectionery eyes on each pastry - This is easier to do before frosting them, but has to be done after they’ve cooled.
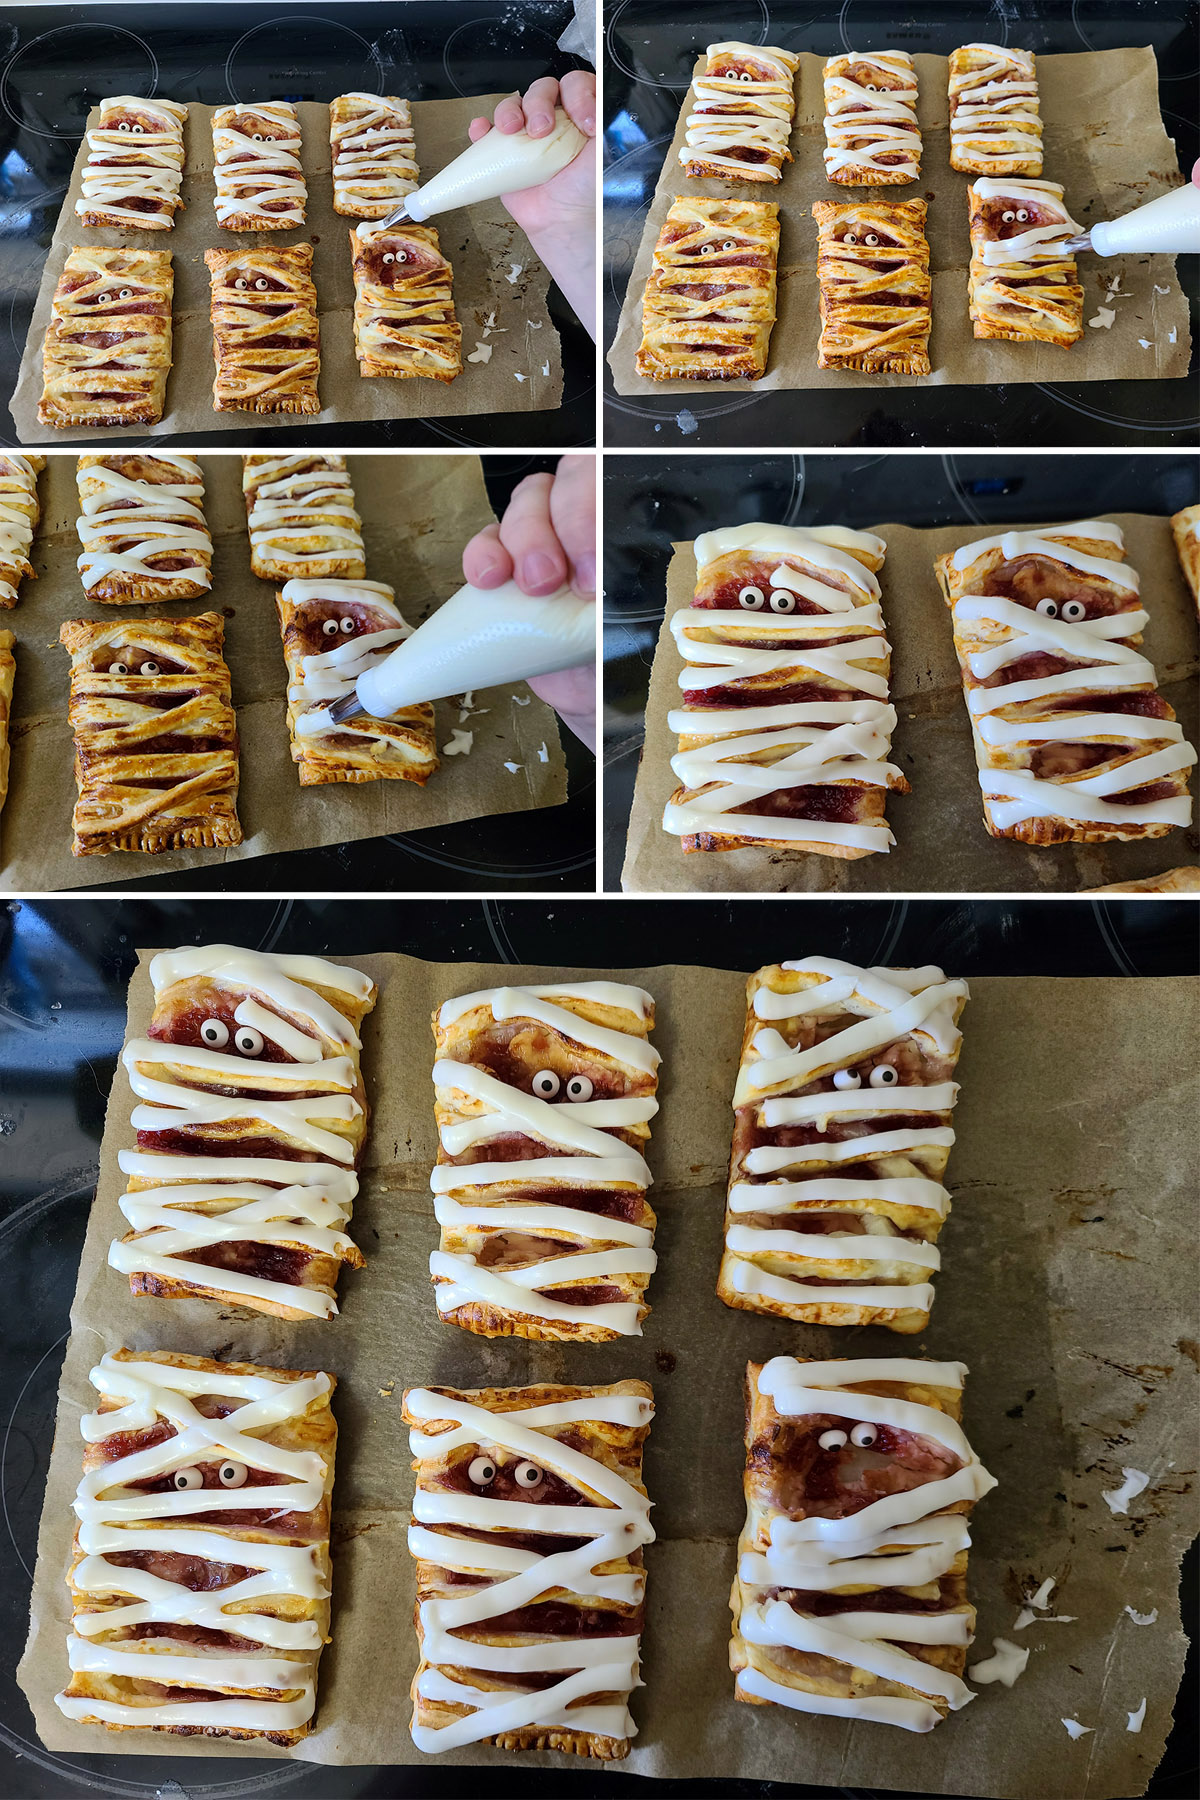
Carefully pipe the glaze over each cooled pastry, following the lines of the strips on top of the pastry.
Leftovers should be stored in an airtight container. Best when eaten within 24 hours.

Variations
Want to play with the idea? Change the filling!
Sweet Mummy Pastry Fillings
- Skip the cream cheese if you like.
- Try apple pie filling... or any other pie filling, for that matter. Just go easy on the amount of liquids, you may end up with a mess on your hands after baking!
- Want to skip the frosting? You can skip it entirely, or replace it with a sprinkling of brown sugar or cinnamon sugar, right before baking.
- For a pumpkin mummy hand pies, use pumpkin pie filling. Pumpkin puree is unsweetened and unseasoned, so not the tastiest pumpkin filling, without dolling it up!
Savory Mummy Pastry Fillings
- For Pizza Mummy Hand Pies, spread each with a bit of tomato sauce, top with mozzarella cheese and your favourite pizza toppings, cut very small. (A mini food processor comes in handy for this!). You can skip the candy eyes in favor of sliced olive eyes - I’ll usually add them before baking, in this case.
- Cream cheese and sliced spring onions / green onions makes a nice filling. For that matter, you could make these with Crab Rangoon filling!
- Make a half batch of Mushroom Turnovers filling, use it with or without cheese.
More Halloween Ideas
If you're still considering ideas for Halloween recipes and other ideas, be sure to check out my:
3D Halloween Bat Cupcakes
Bacon Wrapped Mummy Meatloaf
Black Velvet Cupcakes
Bloody Eyeball Cupcakes
Bloody Eyeball Halloween Punch
Easy Halloween Bat Cupcakes
Easy Spider Web Cookies
Elegant Halloween Charcuterie Board
Fudgy Halloween Brownies
Glazed Halloween Popcorn
Gluten Free Mummy Dogs
Gluten-Free Mummy Jalapeno Poppers
Halloween Pavlova
Halloween Shooters
Easy Halloween Spider Web Cupcakes
Homemade Pastry Mummy Dogs
How to Carve a Pumpkin Like a Pro
Jalapeno Popper Mummies
Lychee "Bloody Eyeball" Pancakes
Nightmare Before Christmas Cookies
Spider Bread Bowl
Share the Love!
Before you chow down, be sure to take some pics of your handiwork, for posterity - and social media! If you post it to Bluesky, be sure to tag us - @CelebrationGen. We're also on Pinterest, so you can save all your favourite recipes to a board!
Also, be sure to subscribe to my free monthly email newsletter, so you never miss out on any of my nonsense. Well, the published nonsense, anyway!
Finally, if you love this recipe, please consider leaving a star rating and/or a comment below!

Mummy Pastries
Equipment
- 2 Baking Sheets
- Parchment Paper
Ingredients
Pastries
- 1 package Puff Pastry thawed (1 lb / 454 grams)
- 4 oz Cream Cheese softened
- ½ cup Seedless raspberry or strawberry jam
- 1 Large egg beaten
Glaze
- 2 tablespoon Melted butter
- 2 cups Powdered sugar
- 1 teaspoon Vanilla extract
- Pinch Salt
- 2 tablespoon Milk
- Confectionery eyes
Instructions
Pastries:
- Preheat oven to 400 F, line a large baking sheet with parchment paper. Set aside.
- Lay one sheet of puff pastry, cut into 6 rectangles - one cut to divide it in half lengthwise, then 2 cuts across to divide each half into 3 parts.
- Place pastry rectangles on the prepared baking sheet.
- Divide cream cheese between the 6 pastry rectangles, spreading in the center of each. Be sure to leave a ½" border of pastry edge, around the cream cheese.
- Spoon 1-2 teaspoon of jam over the cream cheese on each pastry, again leaving the ½" border of pastry around the outside edge of each puff pastry rectangle. Set pan aside.
- Lay out the second sheet of puff pastry. Use a pizza wheel to cut the sheet into thin strips.
- Arrange the pastry strips over the prepared pastry rectangles at random angles. I like to leave an opening about ¼ of the way down from the “top” edge, for the confectionary eyes.
- Use the pizza wheel to trim any overhanging pastry strips, then use the tines of a fork to crimp the edges, sealing the strips down to the base.
- Whisk the egg until smooth, then use a pastry brush to brush the egg over each pastry. (The pastry parts, anyway!).
- Bake for 18-20 minutes, or until the pastry is flaky and golden brown. Remove from oven and allow to cool to room temp.
Glaze:
- In a glass bowl or measuring cup, whisk together glaze ingredients (except eyes) until smooth. You may want to add a little more sugar or milk, to get the consistency you want to work with.
- Affix a pastry bag with a couple set and a flat piping tip. Spoon glaze into the prepared pastry bag.
- Place 2 confectionery eyes on each pastry, serve.
- Carefully pipe the glaze over each cooled pastry, following the lines of the pastry strips on top. Allow glaze to set, then serve!
Nutrition






Leave a Reply