

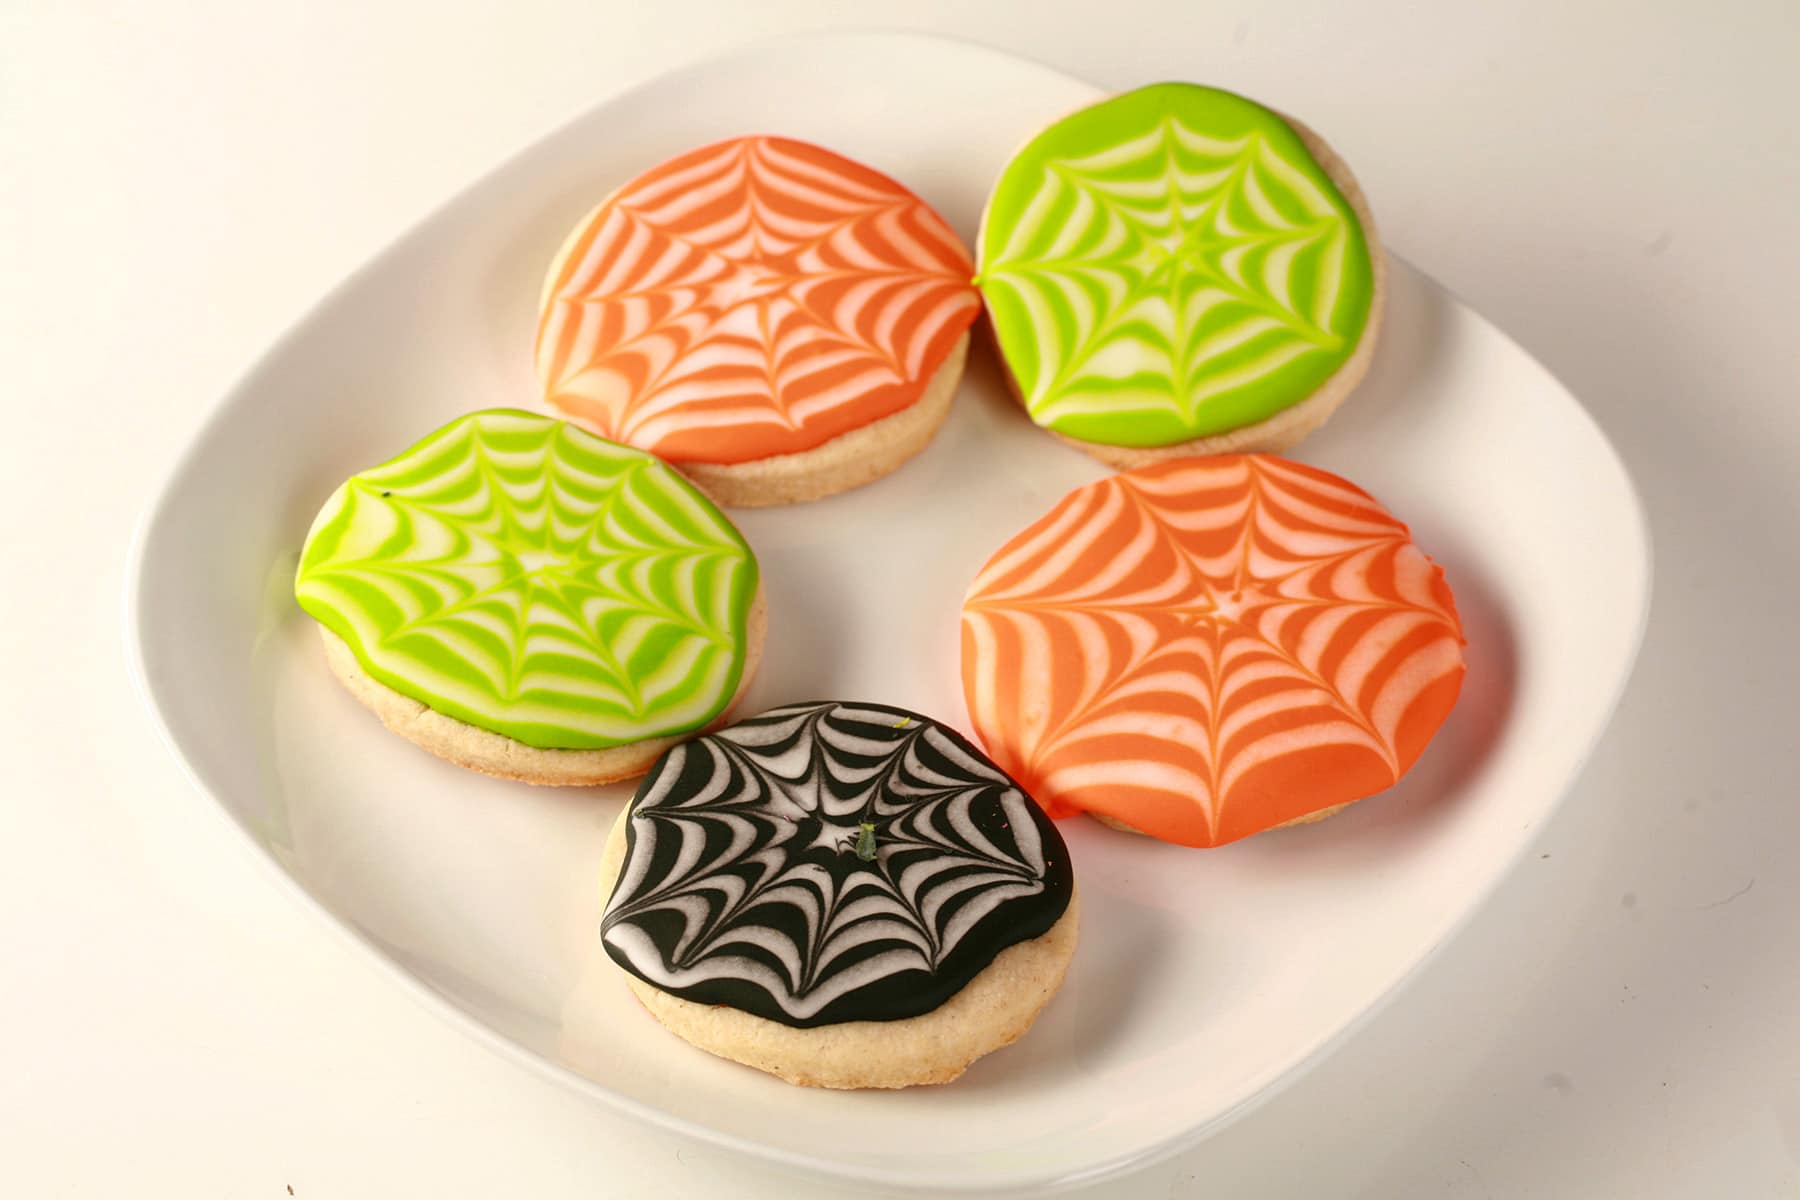
Using just two colours of icing, you can quickly and easily make these fun Spider Web Cookies, for your Halloween Treats spread - Here's how!

Originally published September 1, 2020. Updated on 8/20/2022
These Halloween cookies are super easy to decorate.
They start with sugar cookies - you can use your choice of sugar cookie dough, and I make some suggestions a bit further down in this post.
Hell, you can even use store bought sugar cookies - as long as they’re flat.
Once those are baked, the spider web design is piped on, using a simple technique. Each of the spiderweb cookies will take less than a minute to pipe!
In fact, most of the time involved with making these sweet treats is just waiting for the icing to harden!
Both the sugar cookies themselves - as well as the icing - have fairly long shelf lives.
You can make these spooky spider web cookies several days early and just store them at room temp, or you can make them a few MONTHS early, and freeze them!
You know, a great quality to have when you’re busy making All. The. Treats. for your Halloween party!
While the design is really easy to make, the tutorial is kinda long.
I like to make sure to have all the bases covered, to make it go as smoothly as possible for those trying this for the first time.
So, let’s get to it!

Ingredients
Sugar Cookies
This cobweb cookies recipe is only a recipe in the loosest sense of the term - you can start with whatever cookie you want, for the base
You have two main options: homemade or store-bought.
Homemade Sugar Cookies
Homemade is going to be the best way to go, both for flavour and control over the final product.
What you’re looking for is a sugar cookie recipe that holds its shape, and doesn’t spread.
Be sure to use a cookie recipe that is intended specifically for rolled sugar cookies. Some sugar cookies are more of a drop cookie, and will spread.
For this kind of sugar cookie decorating, you want a cookie that doesn’t spread, and retains nice, sharp edges with a flat surface.
The basic sugar cookie recipes I recommend are:
Cut Out Sugar Cookies
Pumpkin Spice Cookies
Both are easy recipes that roll and bake beautifully, and are perfect for decorating. One is a traditional sugar cookie flavour, the other is a fun seasonal variant.
If you need gluten free cookies, I recommend my Gluten-Free Sugar Cookie Recipe .
It tastes AND behaves beautifully. Great texture, too!
I LIGHTLY press down to just flatten out any distortions that may have occurred during baking - it really makes for a perfectly flat cookie.
Note: You CAN decorate cookies that aren’t perfectly flat, but due to the nature of this style of decoration, they’re likely to run off the edges.
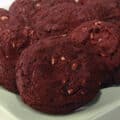
I did a batch from store bought dough that I didn’t use the level rolling pin on, and didn’t flatten with a cookie sheet after making, to demonstrate what that looks like:
Store Bought
If you buy premade cookies, just get something that is nice, flat, and tastes great. No sense decorating cookies that taste bad!
If you’re buying dough, read the directions carefully before proceeding. Some sugar cookie dough requires additional flour to be added if it’s to be used for rolled sugar cookies.
The Icing
For these cookies, you’ll want to use a royal icing recipe. It’s an egg-based icing that dries hard - perfect for decorating cookies like this.
There are two main types of royal icing, it’s up to you which you want to use:
Traditional Royal Icing
Traditional Royal Icing is a white icing made from raw egg whites, lemon juice, and powdered sugar.
It’s generally regarded as safe, but may not be the best option for pregnant people, immunocompromised people, etc.
Traditional royal icing dries a little harder than Meringue Powder Royal Icing, and is cheaper to make.
Meringue Powder Royal Icing
Meringue Powder Royal Icing is also egg-based, but uses meringue powder instead of raw egg.
This makes it a safer option for people who need to worry about such things.
Meringue Powder Royal icing dries a little softer than Traditional Royal Icing does, which makes it nicer to eat.. But meringue powder makes this frosting quite a bit more expensive than Traditional Royal Icing
Also, meringue powder can be difficult to find in grocery stores. You can order online, or check out large craft supply chain stores, or your local cake decorating supply store.
Whichever recipe you choose, you’ll have to pay attention to the viscosity AFTER adding the food coloring. I give details on this in the tutorial, though.
Food Coloring
Generally speaking, I’ll leave the “Web” frosting white, and color the base frosting with bright colors.
You’ll want intense color - bright or dark - for the base, to provide a good amount of contrast for the web pipng.
I recommend gel food colouring over paste or liquid colour.
It’s super concentrated, available in a ton of colours, and doesn’t screw with the icing viscosity too much. Several brands make gel colour, you can get it on Amazon or at your local cake decorating supply store.
In particular, I recommend Americolor (what I used when I was in the USA), or ChefMaster (Which is the option more readily available here!)
You can use the grocery store liquid food coloring if you like - it’ll just take a bit more of it!
Black Icing
Using a gel based black food coloring is important when it comes to making black frosting. It’s so difficult to get a true black with paste or liquid color.
If you do have to use paste or liquid, add a bit of cocoa powder to your royal icing, in place of a bit of the icing sugar. It’ll give the color a bit of a boost to start with.
Equipment
The equipment and supplies required for this are important, but fairly basic:
Rolling Pin - I recommend using a Rolling pin with adjustable thickness guides, to get a perfectly even roll - important, when it comes to decorated cookies!
Cookie Cutters - You’ll want round cookie cutters, ideally without a scalloped edge. I like to do these 3-4" in diameter - big enough to get a nice design going, without being unwieldy about it.
Frosting Bags - I like to use disposable bags for this, personally. You’ll want a separate piping bag for each colour you do, plus an extra pastry bag for the white icing.
No pastry bags? You can use a resealable plastic bag! Fill it with your icing, and cut off a bottom corner of the bag - a small hole for a base color, a tiny hole for the web.
Toothpicks - Any basic toothpick will work for this - you’re just using it to drag icing outward on the cookie, to create the swags in the design.

How to Make Spider Web Cookies
Roll and Bake Cookies
1. Following your recipe directions - especially with regard to chilling! - roll and cut out your cookies - I like doing 3-4" diameter rounds for this.
Take care to ensure the cookies are of VERY even thickness, for the best results.
While I generally use an old-school wooden rolling pin and just freehand it, when I’m decorating cookies I like to use a rolling pin with thickness guides on it - it’s the best way to get a perfectly even roll. This is the rolling pin, I use and I LOVE it.
2. As soon as take the baked cookies out of the oven, you can place a piece of parchment over top of the hot cookies and gently press another cookie sheet down - lightly - between the baking sheets to flatten any distortion that may have happened during baking.
This is optional, but gives a very flat surface to decorate.
3. Allow cookies to cool to room temperature.

Prepare Your Icing
1. Prepare your royal icing in a large bowl, following the directions in your chosen recipe (I have my two royal icing recipes at the end of this post!)
2. Take out about ⅕-1/4 of your royal icing and set it aside in a small bowl, covered with plastic wrap. This will be your white, for the spider webs.
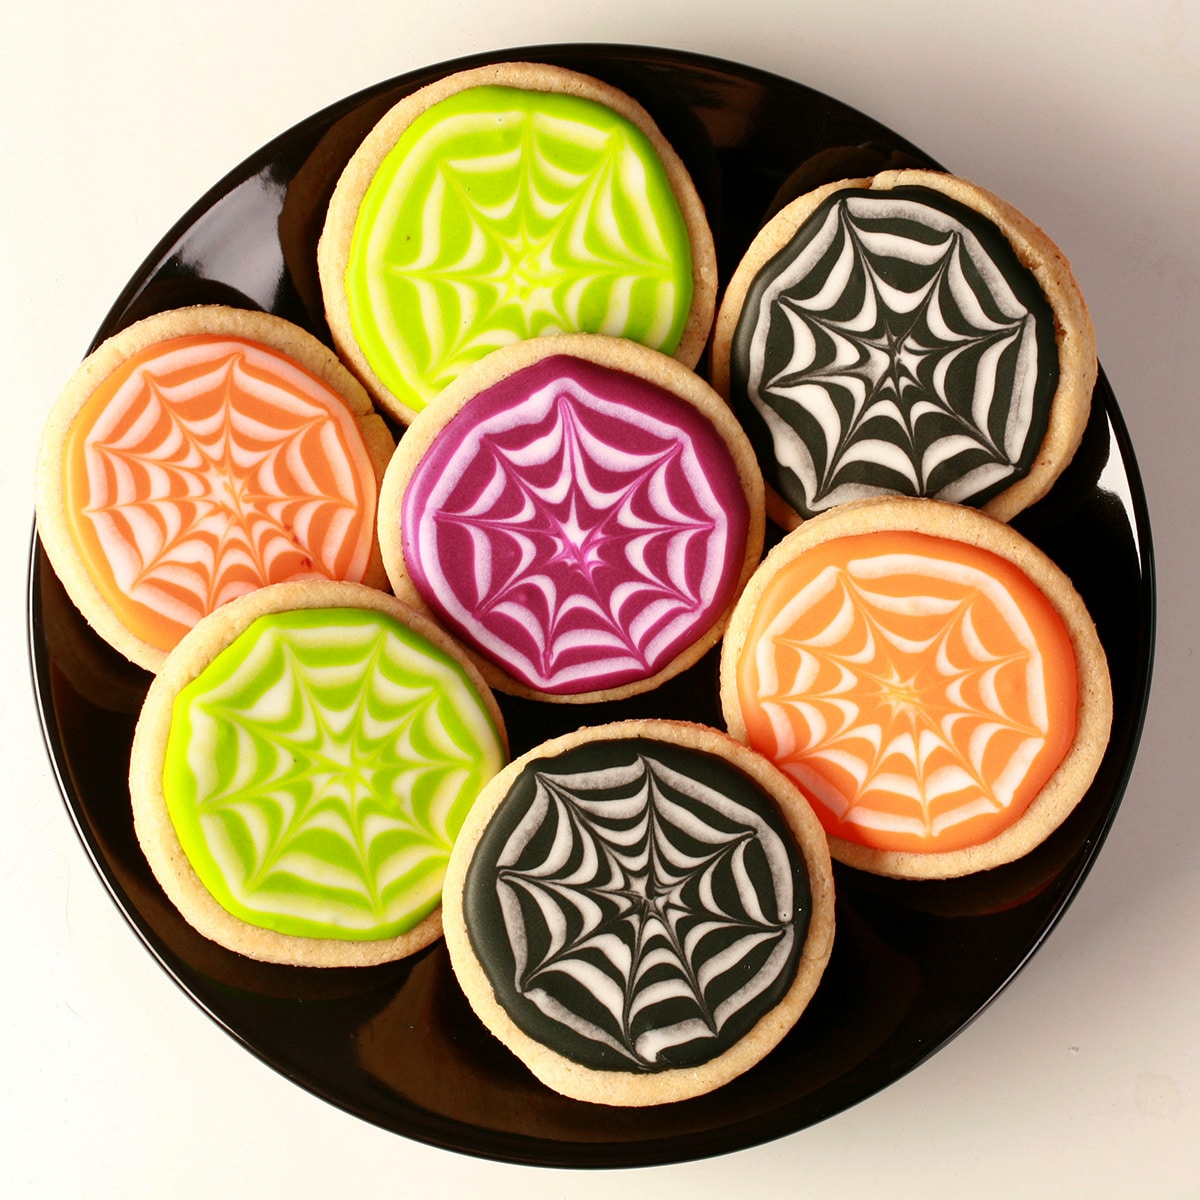
3. Tint your remaining royal icing. You can do it all the same base color in a medium bowl, or divide it into little bowls to tint different colours. I like to do a mix of orange, green, purple, and black,
4. Check the consistency of your icing AFTER tinting. When you use a spoon to pick some of the frosting up and drop it back down into the bowl, you’ll want it to smooth out in between 12-18 seconds. (I like to keep it about 12-14 seconds)
If your icing smooths out and disappears in less than 12 seconds, it’s too runny. Stir a little more powdered sugar in, until it is in the 12-18 second range.
If your dropped icing takes more than 18 seconds to disappear back into the rest of it, it’s too thick. Add a little water - a few drops at a time - and stir well. Re-test, and adjust more as needed.
Note: I’ve updated these times over the years. When this tutorial was photographed, I was using a runnier icing, about 9 seconds. 12-14 is much easier to work with, and dries faster!.
For me, I’ll put the colours into bags just as-is. You can use a coupler and round tip if you’d like, I don’t find it worth the hassle. Squeeze any air pockets out the back end, tie off the bag close to the frosting, and do not cut the tip off til you’re ready to use it.
For the white frosting, I’ll set the frosting bag up with a coupler inside, trim the end, and affix a smallish round tip - usually about a #3. You want it small enough to be relatively dainty, but wide enough that it leaves a thick enough pipe of white frosting to pull out well. Squeeze out air pockets and tie off the bag.
6. Cover any frosting not being used, it dries out quickly! Airtight container, with plastic wrap right against the surface of the frosting works best.
Decorate Your Spider Web Cookies
1. If you’re doing multiple background colours, decide how many cookies you’ll do in each one, and divide them out. When you get in the groove, it’s easy to do more than you thought you were doing, and not have cookies left for the other colours!
2. Grab your first frosting bag, and cut the very end of the tip off. I like to cut enough off as to leave about a ¼" diameter opening.
3. Carefully pipe your outer circle, inside the outer edge of the cookie. I like to leave a bit of a border along the outside of the cookie top, as it gives a little room for dragging the icing outward.

4. Once the outer edge is piped, quickly - but carefully - fill in the center of the cookie with frosting. You don’t have to pipe all of the frosting in, think of it more as “flooding” - you can use the frosting bag to sort of encourage frosting to spread across the top ofthe cookies, as you’re adding more.

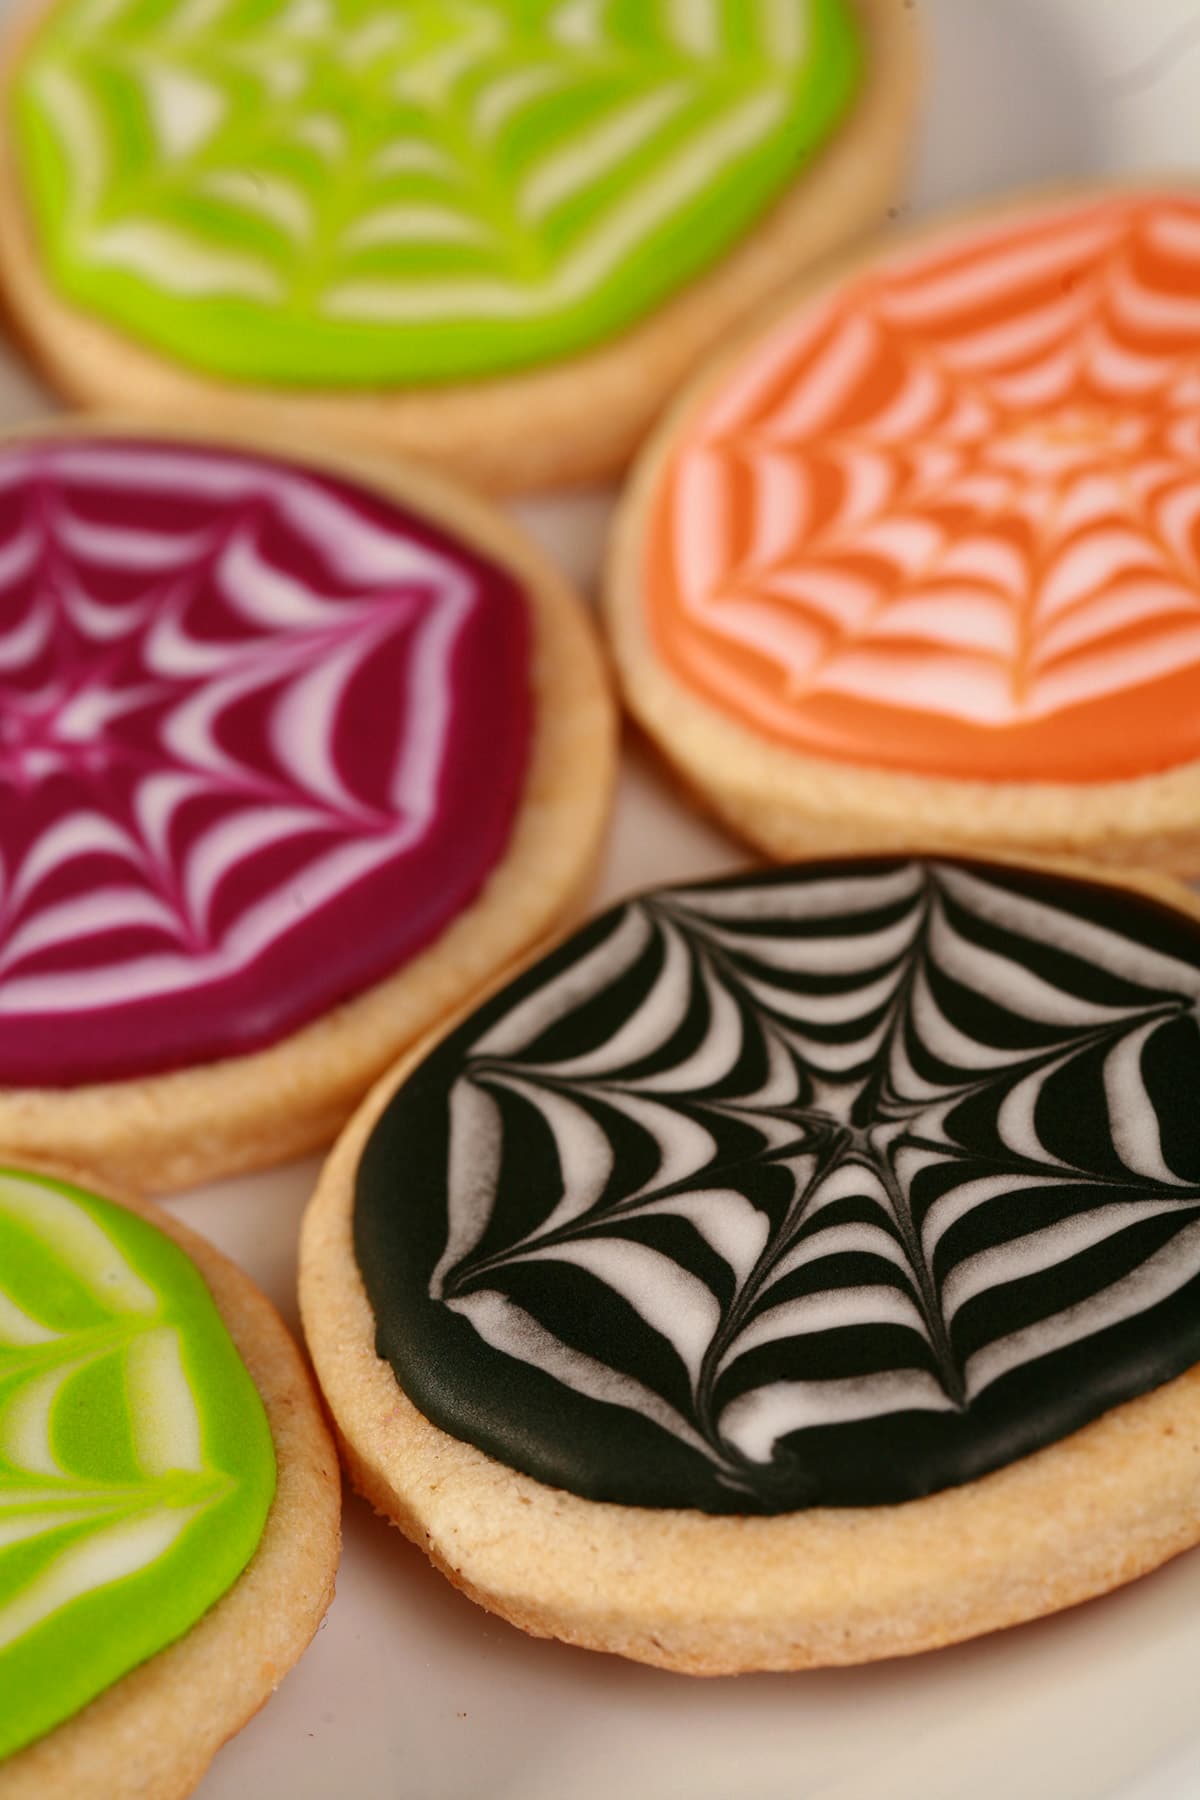
6. Pipe concentric circles of white around the center circle. Note that these don’t have to be perfect, they’re going to get distorted in the next step.

Place the point of one toothpick into the center blob of frosting, and just gently drag it though the icing in straight lines, each ending at the outer edge of icing.

9. Once all the lines are pulled out, set the cookie aside to dry, and repeat on your remaining cookies.

Wait!
Allow the cookies to dry for at least 12 hours, ideally 24.

More Halloween Ideas
If you're still considering ideas for Halloween recipes and other ideas, be sure to check out my:
3D Halloween Bat Cupcakes
Bacon Wrapped Mummy Meatloaf
Black Velvet Cupcakes
Bloody Eyeball Cupcakes
Bloody Eyeball Halloween Punch
Breakfast Mummy Pastries
Candy Apples
Easy Halloween Bat Cupcakes
Elegant Halloween Charcuterie Board
Fudgy Halloween Brownies
Glazed Halloween Popcorn
Gluten Free Mummy Dogs
Gluten-Free Mummy Jalapeno Poppers
Halloween Shooters
Halloween Spider Web Cupcakes
How to Carve a Pumpkin Like a Pro
Lychee "Bloody Eyeball" Pancakes
Lychee Bloody Eyeball Halloween Pavlova
Mummy Dogs
Mummy Jalapeno Poppers
Nightmare Before Christmas Cookies
Spider Bread Bowl
... and check out our Holiday Recipes section for recipes to suit any holiday!
Share the Love!
Before you chow down, be sure to take some pics of your handiwork! If you post it to Bluesky, be sure to tag us - @CelebrationGen. We're also on Pinterest, so you can save all your favourite recipes to a board!
Also, be sure to subscribe to my free monthly email newsletter, so you never miss out on any of my nonsense. Well, the published nonsense, anyway!
Finally, if you love this recipe, please consider sharing it on social media, and leaving a star rating and/or a comment below!

Halloween Spider Web Cookies
Equipment
- Round Cookie Cutters
- Frosting Bags
- Cake Decorating Set (Optional)
- Gel Food Colouring
- Toothpicks
Ingredients
- 1 Batch Sugar Cookies or
- 1 Batch Gluten-Free Sugar Cookies
- 1 Batch Traditional Royal Icing or
- 1 Batch Meringue Powder Royal Icing
Instructions
Roll and bake your cookies.
- Following your recipe directions - especially with regard to chilling! - roll and cut out your cookies - I like doing 3-4" diameter rounds for this.
- Take care to ensure the cookies are of VERY even thickness, for the best results. I like to use a rolling pin with thickness guides to help with that.
- Once the cookies are out of the oven, you can place a piece of parchment over top of the hot cookies and gently press another cookie sheet down - lightly - to flatten any distortion that may have happened during baking. This is optional, but gives a very flat surface to decorate.
- Allow cookies to cool to room temperature.
Prepare Your Icing
- Prepare your royal icing, following the directions in your chosen recipe.
- Take out about ⅕-1/4 of your royal icing. This will be your white, for the spider webs.
- Tint your remaining royal icing. You can do it all the same colour, or divide it into little bowls to tint different colours. I like to do a mix of orange, green, purple, and black,
- Check the consistency of your icing AFTER tinting. When you use a spoon to pick some of the frosting up and drop it back down into the bowl, you’ll want it to smooth out in between 12-18 seconds. (I like to keep it about 12-14 seconds)
- If your icing smooths out and disappears in less than 12 seconds, it’s too runny. Stir a little more powdered sugar in, until it is in the 12-18 second range.
- If your dropped icing takes more than 12 seconds to disappear back into the rest of it, it’s too thick. Add a little water - a few drops at a time - and stir well. Re test, and adjust more as needed.
- Once your icing is all the proper consistency, transfer it to frosting bags.
- For me, I’ll put the colours into bags just as-is. You can use a coupler and round tip if you’d like, I don’t find it worth the hassle. Squeeze any air pockets out the back end, tie off the bag close to the frosting, and do not cut the tip off til you’re ready to use it.
- For the white frosting, I’ll set the frosting bag up with a coupler inside, trim the end, and affix a smallish round tip - usually about a #3. You want it small enough to be relatively dainty, but wide enough that it leaves a thick enough pipe of white frosting to pull out well. Squeeze out air pockets and tie off the bag.
- Cover any frosting not being used, it dries out quickly!
Decorate your cookies
- If you’re doing multiple background colours, decide how many cookies you’ll do in each one, and divide them out. When you get in the groove, it’s easy to do more than you thought you were doing, and not have cookies left for the other colours!
- Grab your first frosting bag, and cut the very end of the tip off. I like to cut enough off as to leave about a ¼" diameter opening.
- Carefully pipe your outer circle, inside the outer edge of your first cookie. I like to leave a it of a border along the outside of the cookie top, as it gives a little room for dragging the icing outward.
- Once the outer edge is piped, quickly - but carefully - fill in the center of the cookie with frosting. You don’t have to pipe all of the frosting in, think of it more as “flooding” - you can use the frosting bag to sort of encourage frosting to spread, as you’d adding more,
- Take your white frosting, and pipe a small circle / blob of frosting in the center.
- Pipe concentric circles of white around the center circle. Note that these don’t have to be perfect, they’re going to get distorted in the next step.
- Once you have all of your circles piped, use a toothpick to draw the frosting out from the center blob. Place the point of one toothpick into the center blob of frosting, and just gently drag it though the icing, ending at the outer edge of icing.
- Wipe your toothpick off, and repeat. Sometimes I’ll just do lines one after another around the circle, sometimes I’ll do one, then go immediately across from it and pull the center out in the opposite direction. Do what feels right to you!
- Once all the lines are pulled out, set the cookie aside to dry, and repeat on your remaining cookies.
Wait!
- Allow the cookies to dry for at least 12 hours, ideally 24.


Leave a Reply