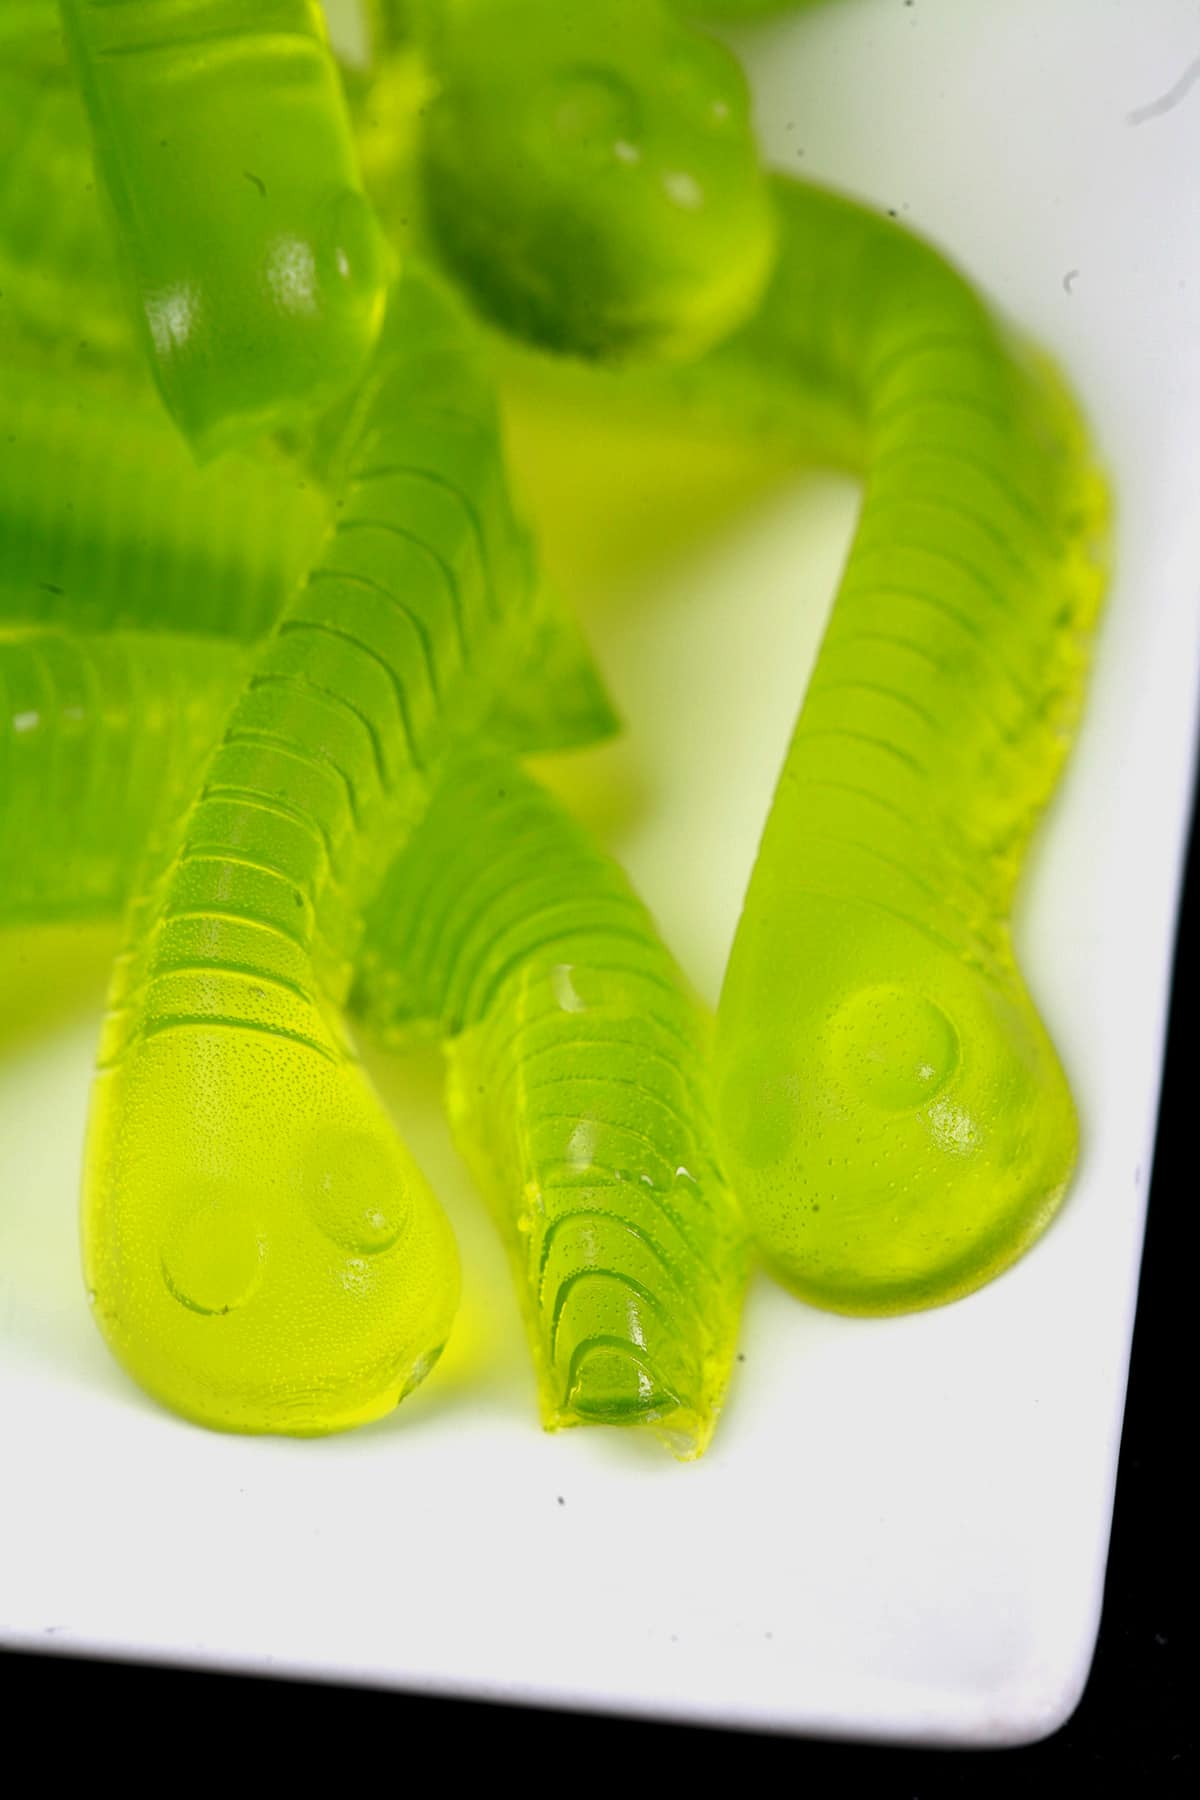
If you've got some gummy candy molds, why not get weird with it? These Dill Pickle Gummy Worms are hilarious AND they're actually tasty!
Originally published July 15, 2020. Updated on 7/1/2021

I have no idea why the idea even came to mind, as I had so many other cool ideas on the go - Homemade BCAA Gummies, Tart Cherry "Gouties", all kinds of exotic fruits on hand... but no.
Pickle gummies was 100% my focus at first!
I made them on a Friday night - skating night. We made and ate some, laughed a bunch, and decided to bring them to the rink for our adult skating practice.
I was handing them out, not telling people what flavour they were -I said they should guess. It was SUPER fun to see the looks on everyone's faces as they realized what the flavour was.
A LOT of people asked for seconds, including someone's kid who was WAY into them - I ended up giving them the remainder of the batch!
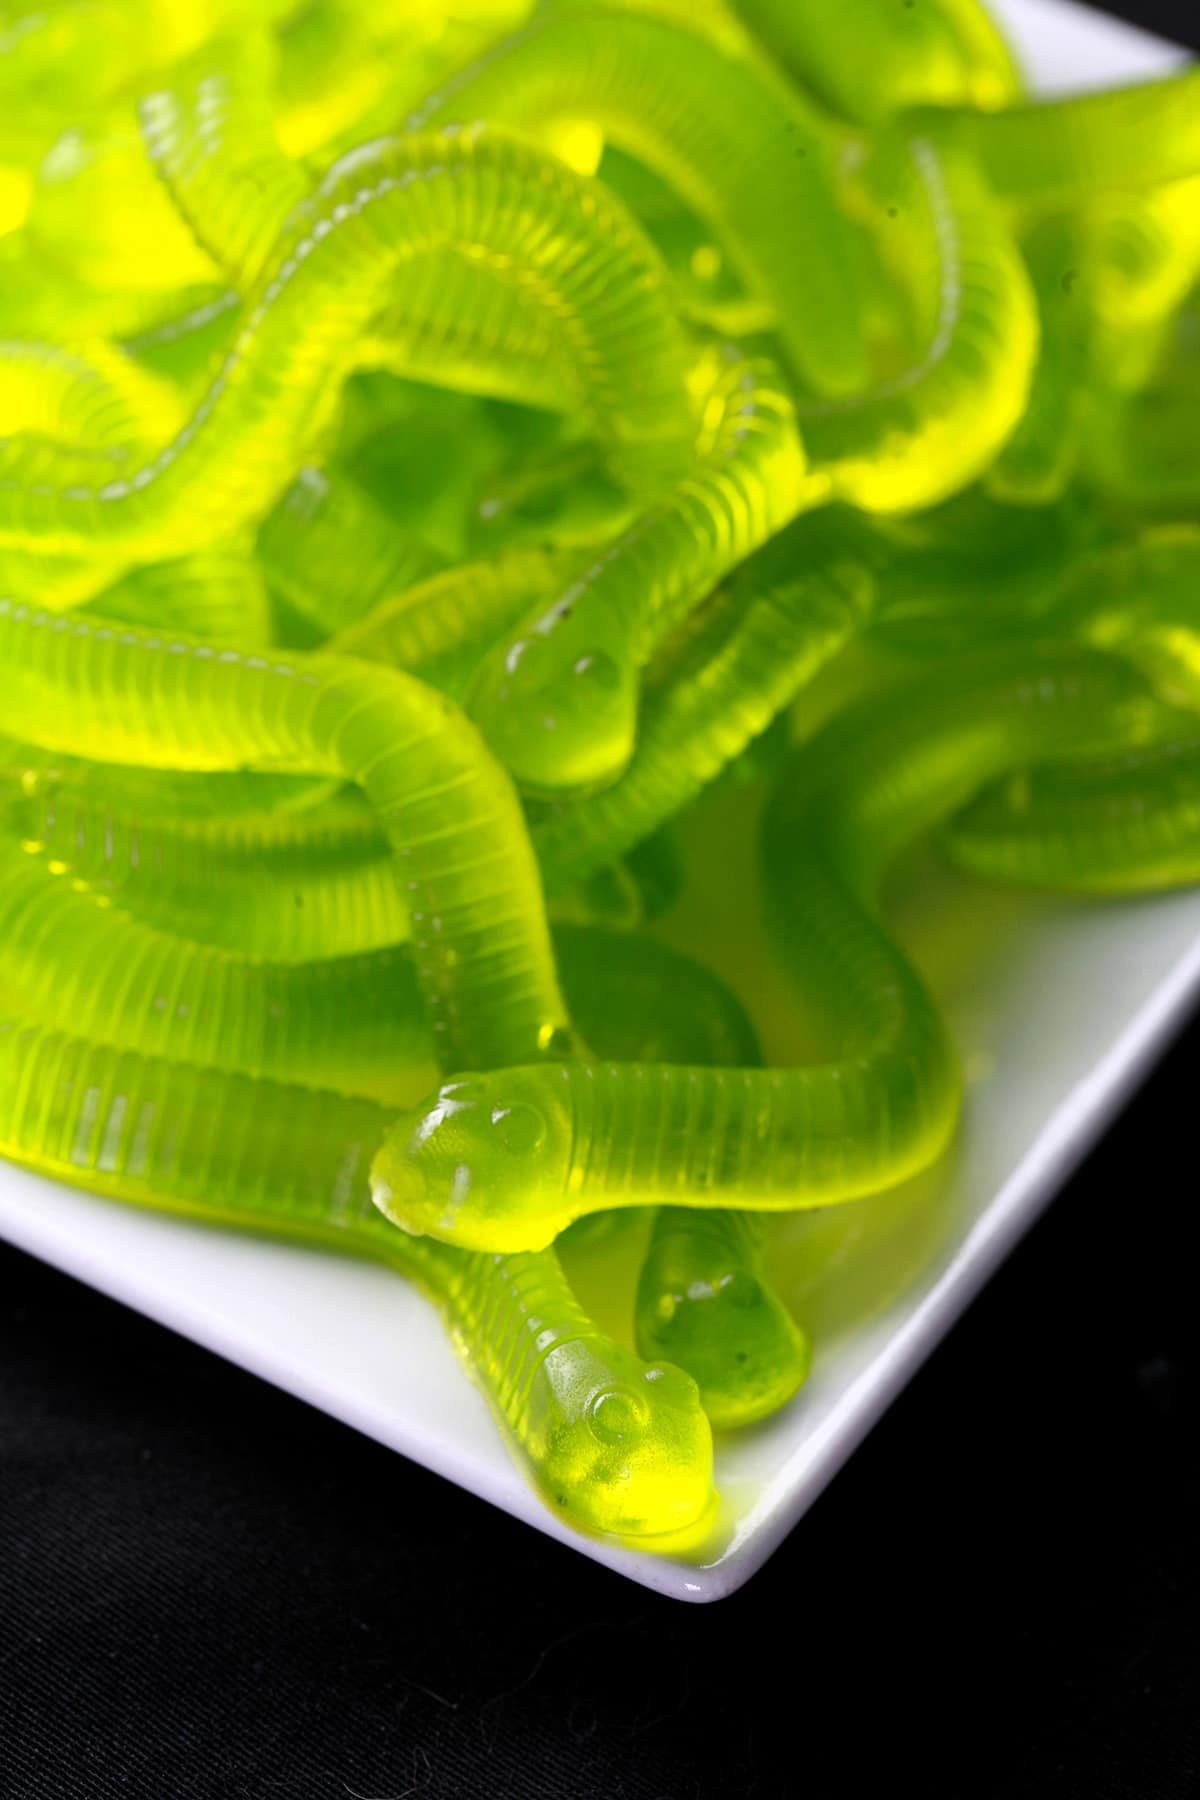
Dill Pickle Flavoured Gummy Worms
The flavour profile of these is going to vary wildly based on the type of pickle brine you use. I used a pretty basic garlic dill pickle, but you can use whatever you like. Spicy ones could be fun!
Hell, olive brine could make some fun martini garnishes, for that matter.
I am NOT a fan of sweet pickles at all, so there's not a ton of sugar in these.
It's weird - they definitely register as sweet / candy, but don't trip the "OMG GET IT OUT OF MY MOUTH NOW UGH" that accidentally biting a sweet pickle does. They're really tasty!
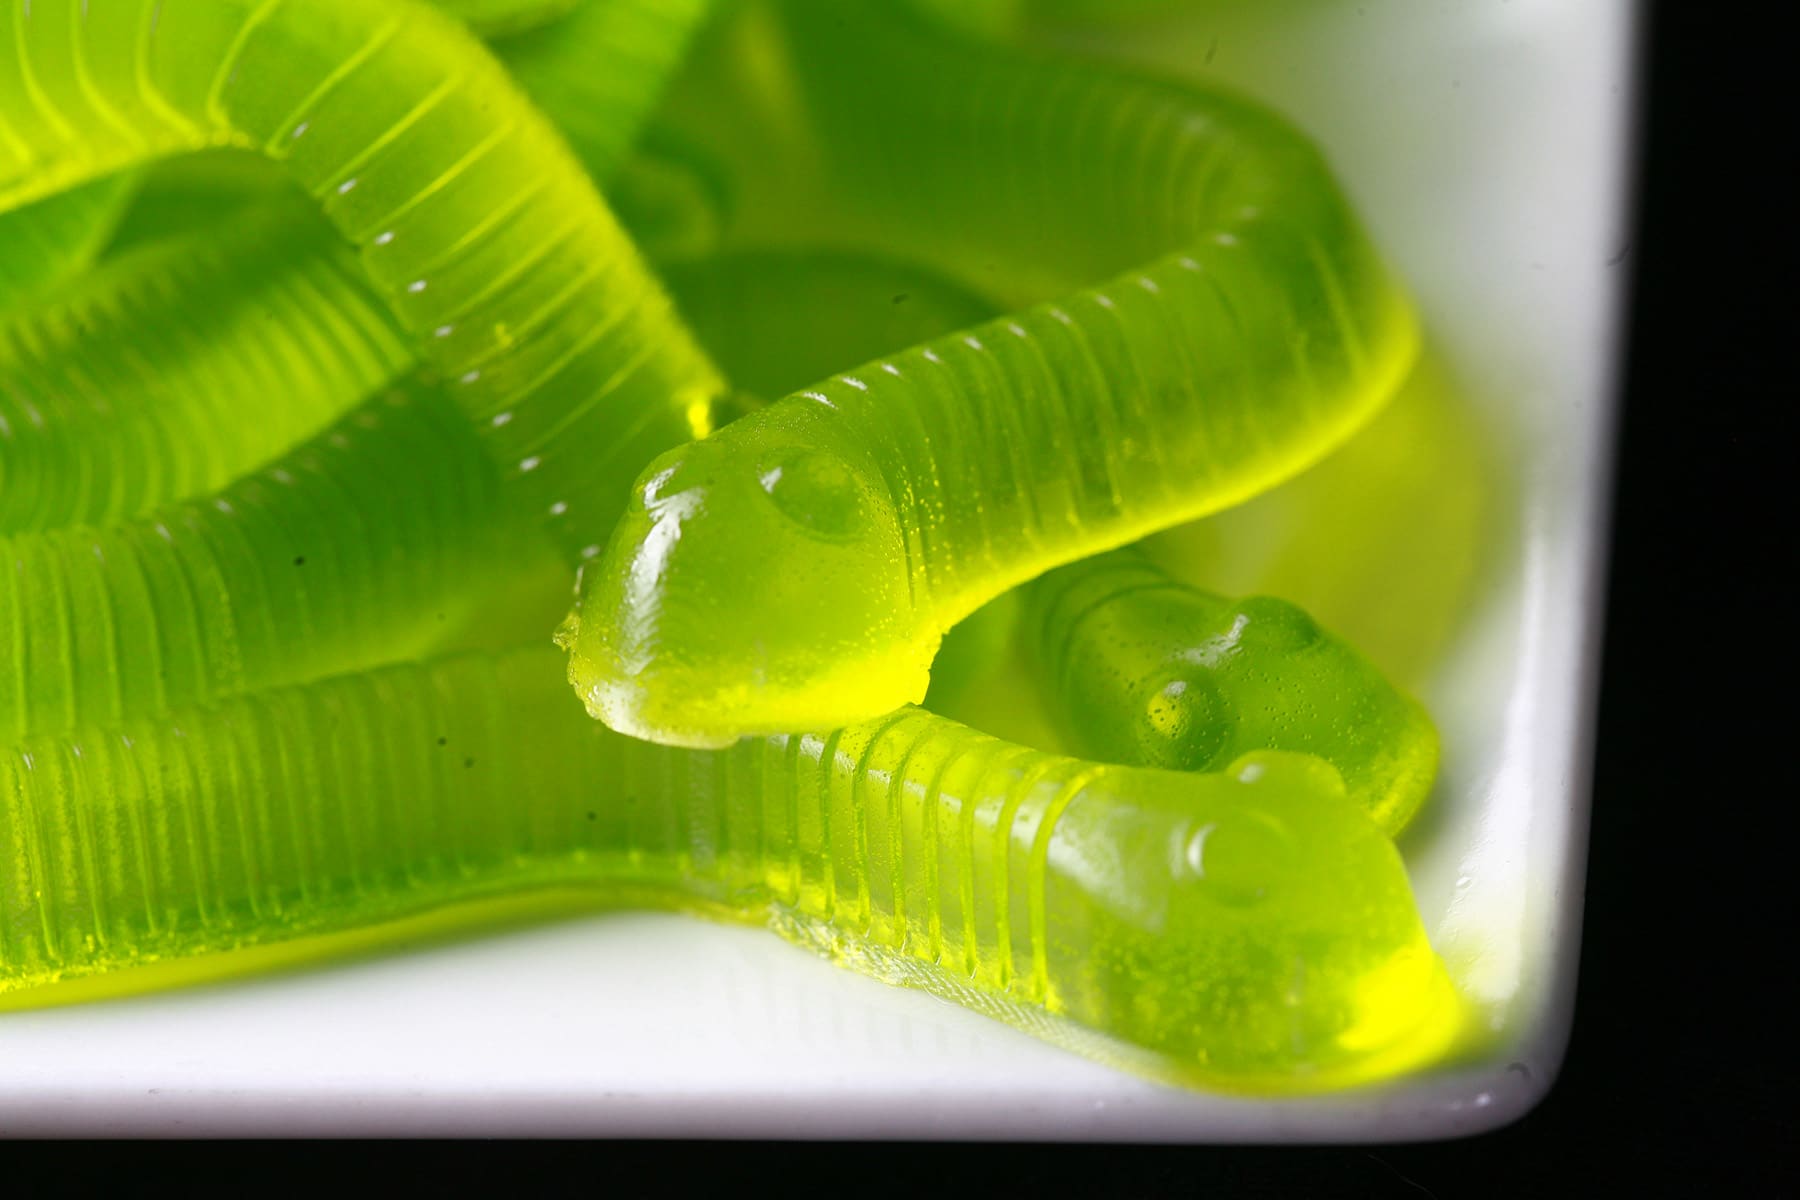
A Note on Colouring Your Gummy Worms
Our first batch of these, we didn't add any colouring at all, and they turned out a pale, straw colour. It was pretty meh and nondescript, so I do recommend colouring them.
Having gotten rid of all of my cake decorating stuff before our move - including many dozens of Americolor gel tints - which would have been perfect! - I only have a little box of Wilton paste colors on hand.
This is the box I have, and I used a little each of Lemon Yellow and Leaf Green to come up with the lime green you see pictured. (More yellow than green).
If you haven't used Wilton or Americolor tints before, a word of caution - a little goes a LONG way. For this, I whirled the end of a toothpick in the paste, and added that to the gummy mixture. Start with less than you think you'll need!
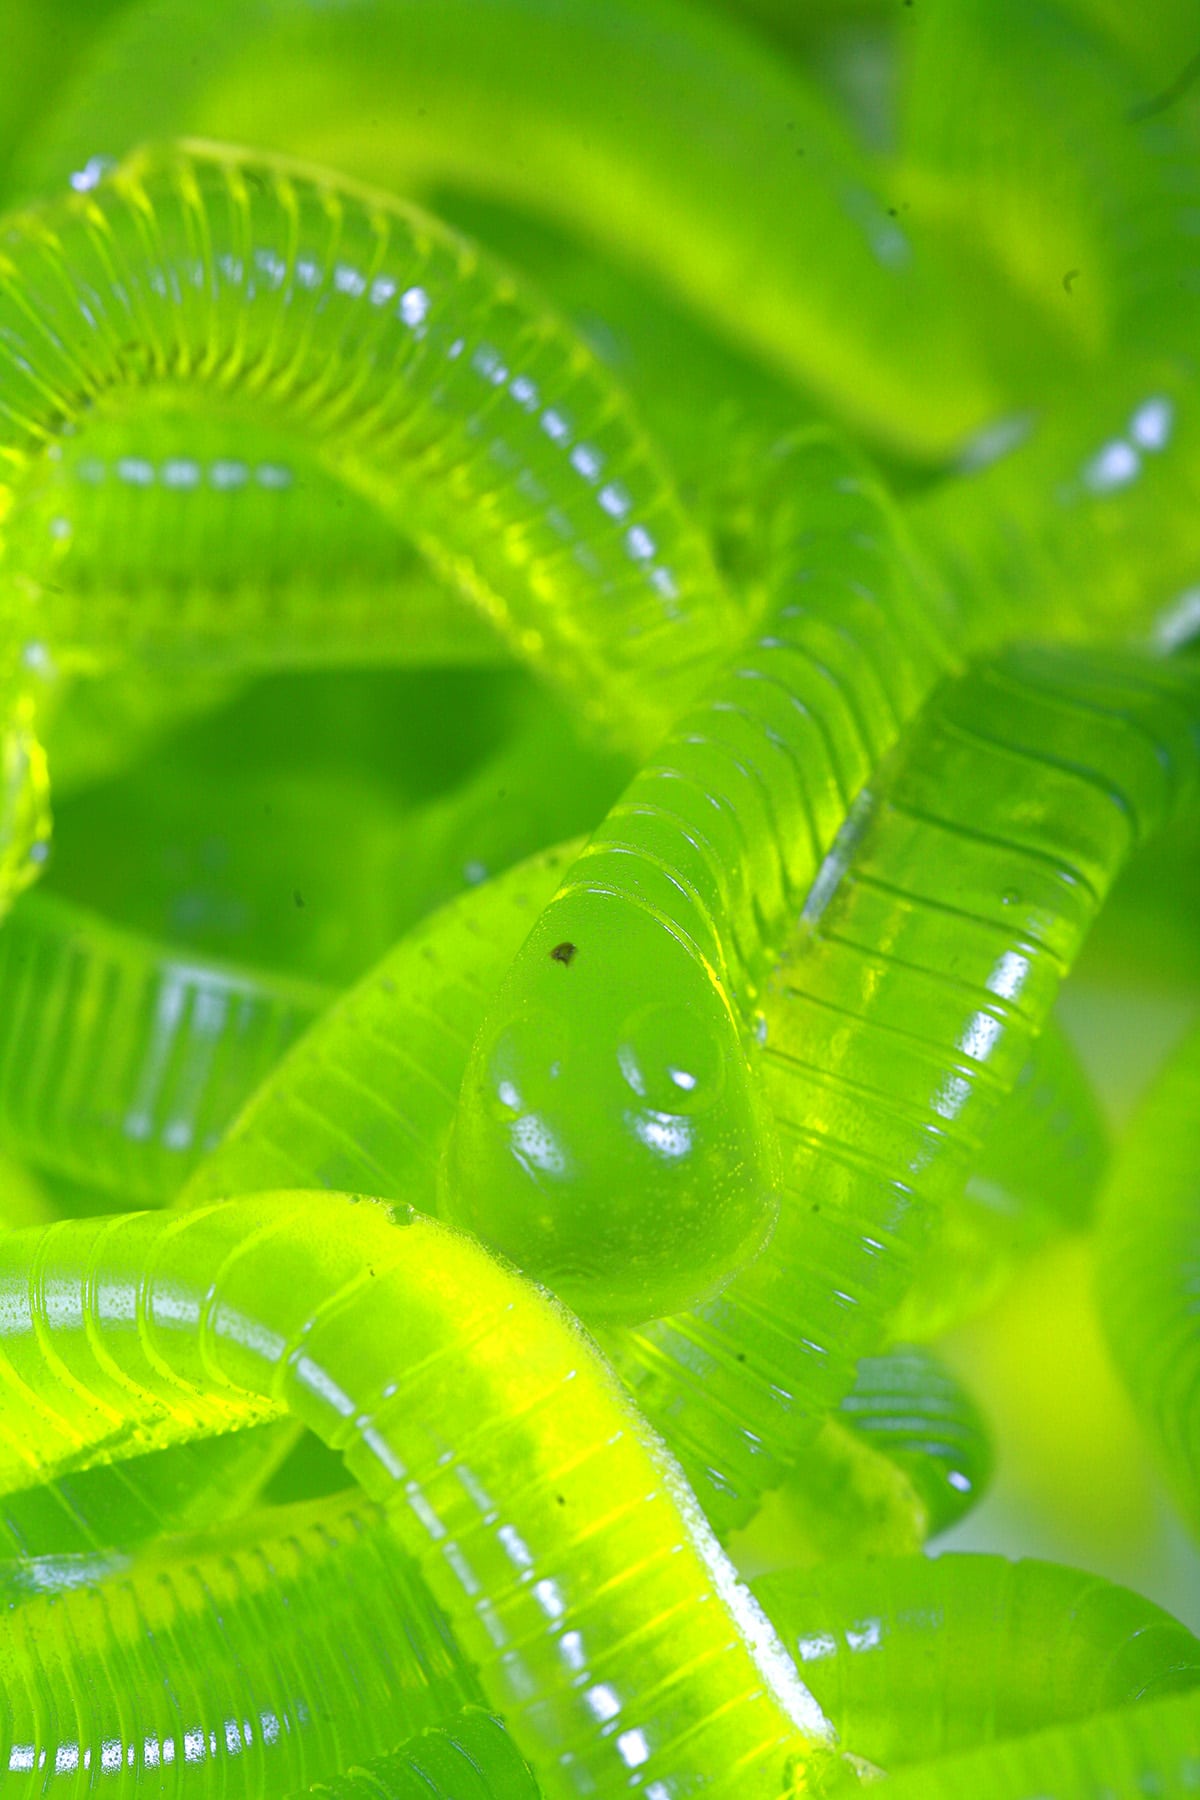
Storing Your Pickle Gummies
Unlike commercially made gummies, there really aren't any preservatives in homemade gummies in general.
These pickle gummies may be a bit different, as pickling brine is a preservative, but I still recommend treating them the same as other homemade gummies.
SO, store them in an airtight container or ziplock baggie, and keep them in the fridge while you're not eating them.
Dried-out gummies just get kind of crusty, gross, and shrunken, and the gelatin is a magnet for microbial growth. So, eat them soonish after making them!

Gummy Worm Molds
The number of molds you'd need will vary based on the mold, but in the style shown - This is the set I used - this recipe fills 2 trays exactly. (The set comes with 3).
Enjoy!
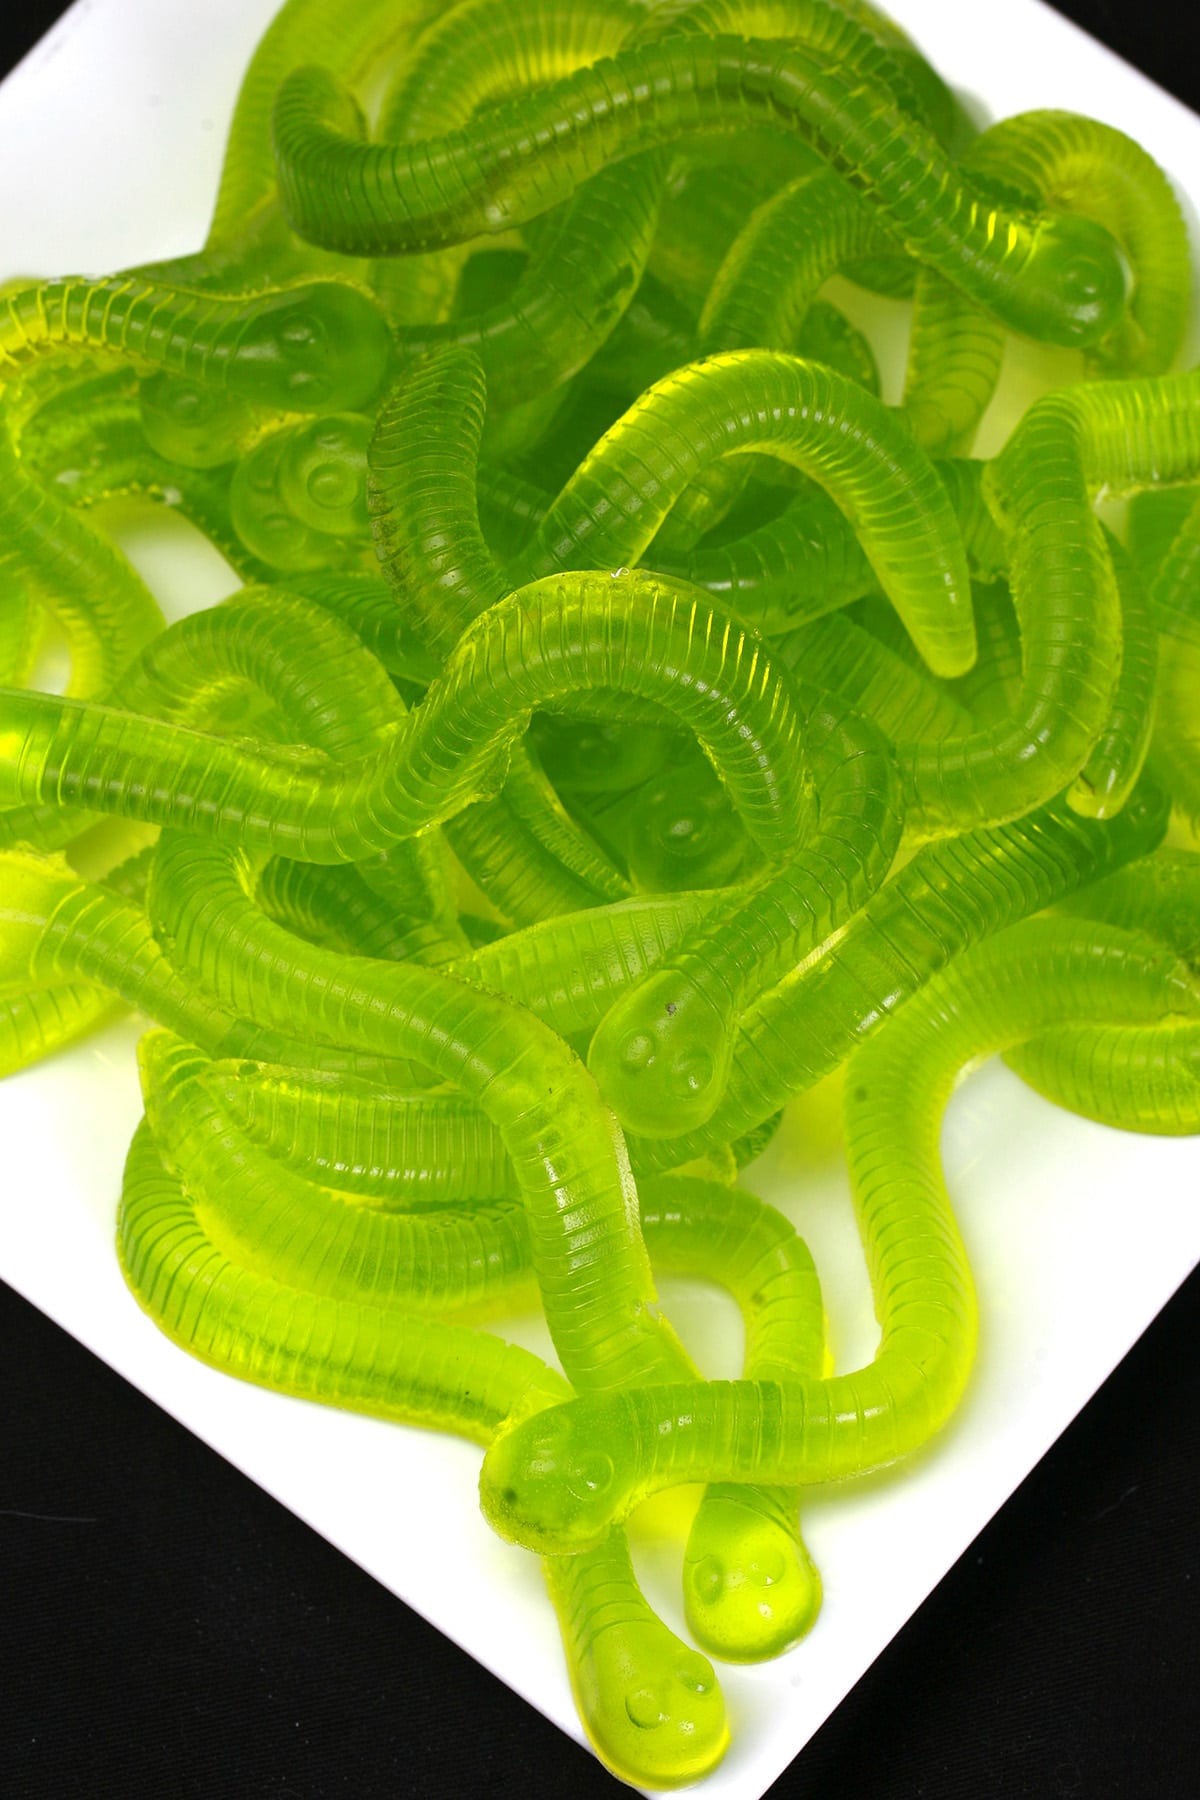
More “Sounds Weird, but it WORKS!” Recipes
Got a bit of a sense of adventure in the kitchen? Here are some more recipes that sound weird, but actually work!
Canadian Candy Bar Salad
Cardamom Fig Pavlova
Crab Rangoon Pizza
Hopped Cheesecake with Citrus Glaze
How to Make Haggis
Moon Mist Ice Cream
Moroccan Twist Salted Caramel Popcorn
Pumpkin Spice Nanaimo Bars
Savoury Alligator Pie
Spicy Southern Comfort Glazed Chicken
Sweet Corn Ice Cream
Share the Love!
Before you chow down, be sure to take some pics of your handiwork! If you post it to Bluesky, be sure to tag us - @CelebrationGen. We're also on Pinterest, so you can save all your favourite recipes to a board!
Also, be sure to subscribe to my free monthly email newsletter, so you never miss out on any of my nonsense.
Well, the published nonsense, anyway!

Homemade Dill Pickle Gummy Worms
Equipment
- Gummy Worms Mold
Ingredients
- ¼-1/3 cup Unflavoured Gelatin Powder
- ¾ cup Pickle brine
- 1 tablespoon honey
- Food Colouring Optional
Instructions
- In a small pot, whisk together gelatin powder and pickle brine. Add honey, whisk until honey dissolves a bit.
- Heat mixture over medium heat, until gelatin is completely dissolved and mixture is smooth. Turn headsetting down to lowest setting
- If you'd like to add food colouring, do so now.
- Working quickly, use eye dropper to transfer mixture to clean gummy molds.
- Allow gummies to set - it'll take an hour or so at room temperature, or 10-15 minutes if refrigerated.I like to allow it to gel a bit - about 10 minutes - at room temperature before chilling. It lowers the chances of a messy spill when transferring to the fridge!
- Once set, pop candies out of the mold and transfer to an airtight container or zipper baggie.
Notes
Nutrition
More Snacky Recipes
Looking for something fun to munch on? I've got some fantastic recipes for you!
Cactus Cut Potatoes & Dip
Canadian Popcorn Seasonings
Clodhoppers
Dill Pickle Cream Cheese Dip
Dill Pickle Waffle Fries
"Everything" Honey Glazed Cashews
Game Day Fruity Glazed Popcorn
Ginger Wasabi Dip
Honey Jeow Glazed Cashews
Hot Cheeseburger Dip
Jalapeno Beer Peanut Brittle
Maple White Cheddar Popcorn
Moroccan Twist Salted Caramel Popcorn
Porter House Guacamole
Porter's Epic Popcorn
Queso Dip from Scratch
Roasted Chickpeas
Smoked French Fries
Sweet Heat Salted Caramel Popcorn




Leave a Reply