

This easy royal icing recipe uses meringue powder. Not only is it quick and easy to make, it comes without the risks of using raw egg whites.

Now, it’s time to share my meringue powder royal icing recipe - same results as the classic royal icing recipe, the biggest difference is the minor risk of using raw egg whites vs not.
Like the other recipe, this is a traditional icing with a ton of uses - you commonly see it used for gingerbread houses - along with gingerbread men and other Christmas cookies.
Cookie decorators use royal icing to make fancy sugar cookies, and cake decorators use it to make royal icing transfers, piped decorations, and for things like Lambeth Method Cake Decorating.
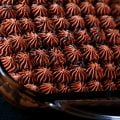
Stiff royal icing holds its shape well, and can be used for piping things like old school roses, while a thinner frosting can be used to flood a smooth layer of icing onto a cookie, providing a nice smooth surface to decorate on.
... and all you need is a little water, to adjust the consistency of the icing.
This versatility is why it’s the perfect icing to hold up a gingerbread house or decorate those gingerbread cookies (and Cookie Decorating in general!).
This recipe takes only about 5 minutes to make, and yields about 2.5 cups of icing.
There’s a lot to discuss, though, so let’s get to it!

Ingredients
On its most basic level, this recipe only requires 2 simple ingredients (plus warm water!), both of which should be available at most grocery stores:
Confectioners' Sugar
Confectioners sugar, powdered sugar, icing sugar ... whatever you call it, this forms the base of the icing.
You can sift it if you like - I generally don’t bother - but sift it AFTER measuring it. Otherwise, your newly light-and-aerated sugar will take up more space than non-sifted, and you won’t have enough in your icing.
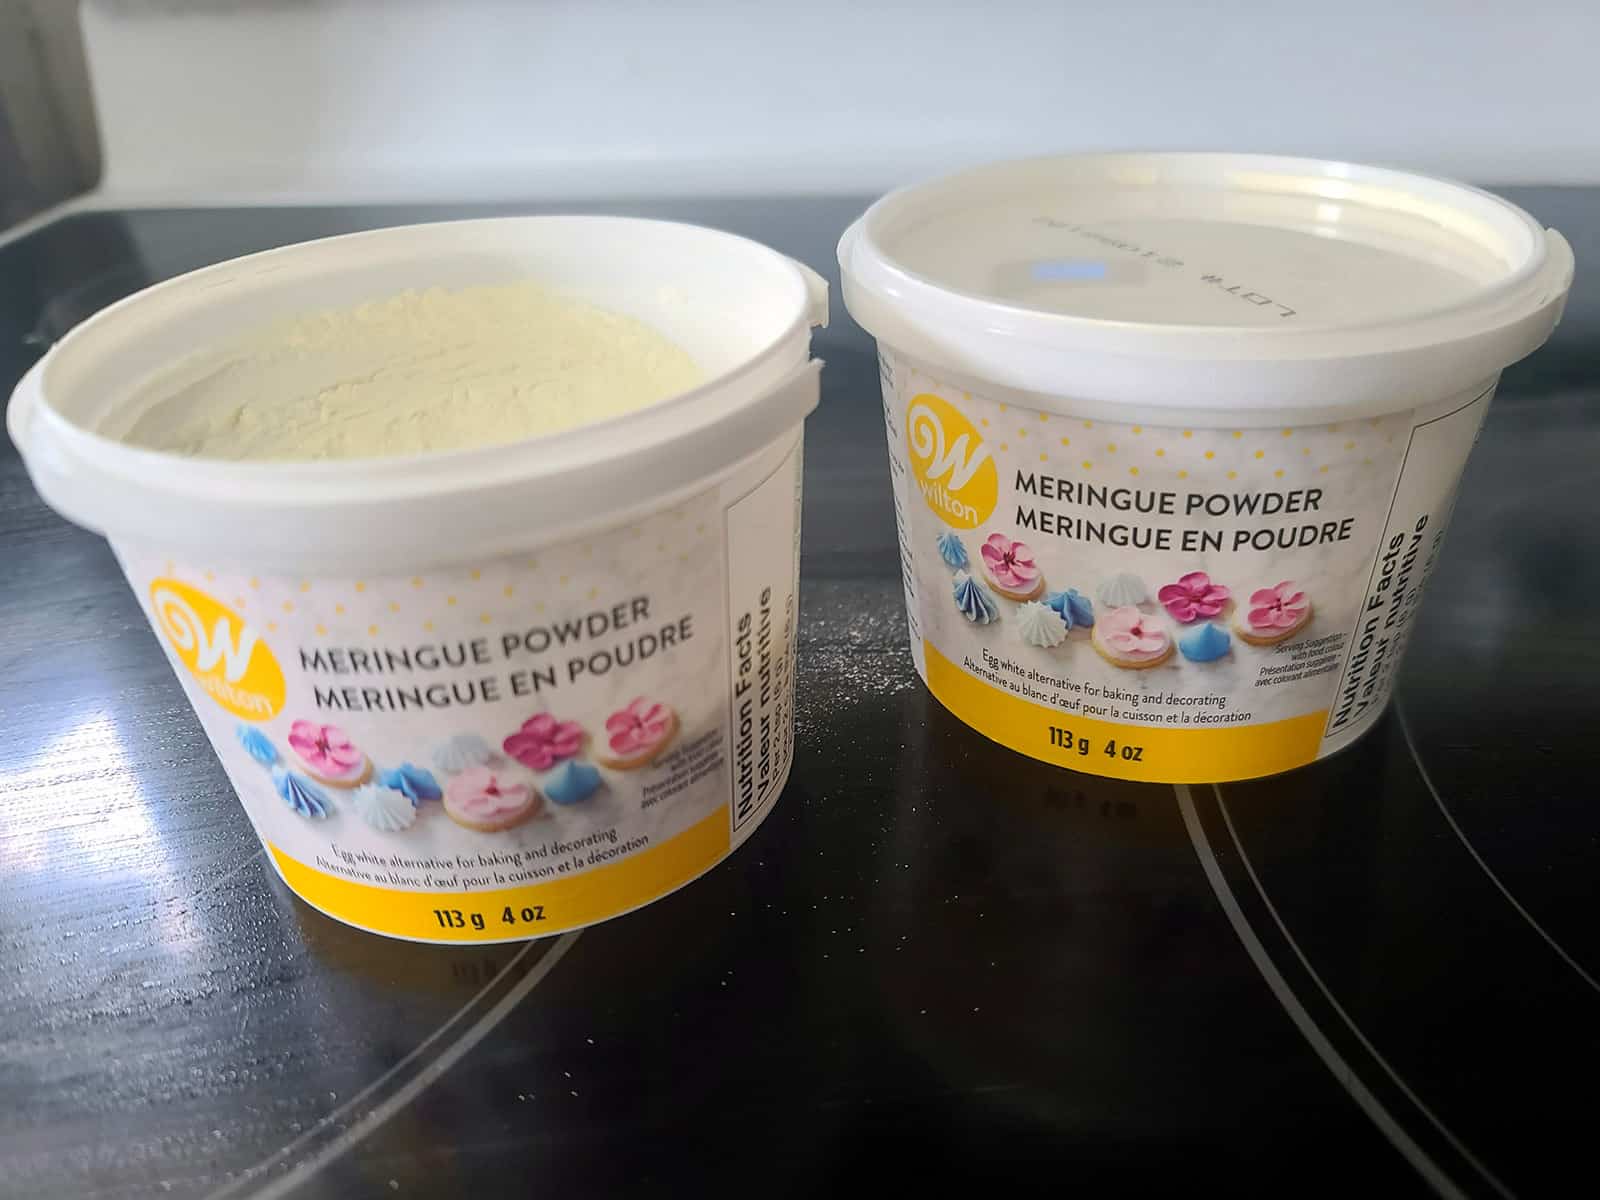
Meringue Powder
Wilton Meringue Powder can be hit or miss to find.
If your local grocery store doesn’t have it (baking / cake section), you can generally find it in the cake decorating section of major craft chains, as well as on Amazon, and in cake decorating supply stores.
Wilton Meringue Powder is the most widely available, in my experience, and a good go-to. (If you’re buying in bulk, you’ll want a different brand).
Meringue powder take the place of both the fresh egg whites (or liquid egg whites) and the lemon juice in traditional royal icing.
This makes it not only an easier option (just a bit more expensive!), it’s also a safer option to serve to people who are pregnant, immune compromised, or very, very young.
All of those groups are recommended to avoid consuming raw eggs, after all.
It also has a bit of flavour added, and whips up to a delicious taste, without any need to add flavoring to your icing.
For reference, my recipe uses ¼ cup of meringue powder, and I get 3 batches from a 4 oz tub of meringue powder.
If you’re making white royal icing, that’s really all you’ll need. There are two optional ingredients that you CAN use, however:
Flavoring
If you’d like to add a bit more flavor to your royal icing, I recommend using a small amount of almond extract or lemon extract.
As the meringue powder already has a bit of a vanilla flavor to it, I generally won’t add vanilla extract.
I don’t like the artificial clear vanilla extract, and regular extract will add a brownish tinge to the icing.
You can flavor it with whatever extract you want, just avoid using an oil based flavor - it can break down the protein structure of the eggs, and - as a result - break down the icing.
Coloring
The type of food coloring you use can make a big difference in this recipe, as it’s very liquid-dependant.
I’m a big fan of gel food coloring in general. Gel colors just give so much color, using smaller amounts than liquid food coloring takes to reach the same intensity - IF it can reach the same intensity.
I recommend using a good quality gel icing colour, such as Americolor (what I used when I was in the USA), or ChefMaster (Which is the option more readily available here!).
Both brands are available in a wide variety of different colors.
That said, you CAN use liquid (or paste) food coloring, it’s just more likely to thin out your icing, especially if you’re aiming for dark colors.
Whichever type you use, color your royal icing before thinning it, for better control over the consistency.

How to Make Royal Icing with Meringue Powder
The full recipe is in the recipe card at the end of this post, this is a pictorial walk through with some additional tips and information.
First things first - equipment.
You can make this in a with a stand mixer (paddle attachment works better than a whisk attachment), or with an electric mixer.
Either way, just be sure that your bowl and attachments are very clean. This icing is still egg based - even though it’s in meringue form - and grease has the potential to break it down.

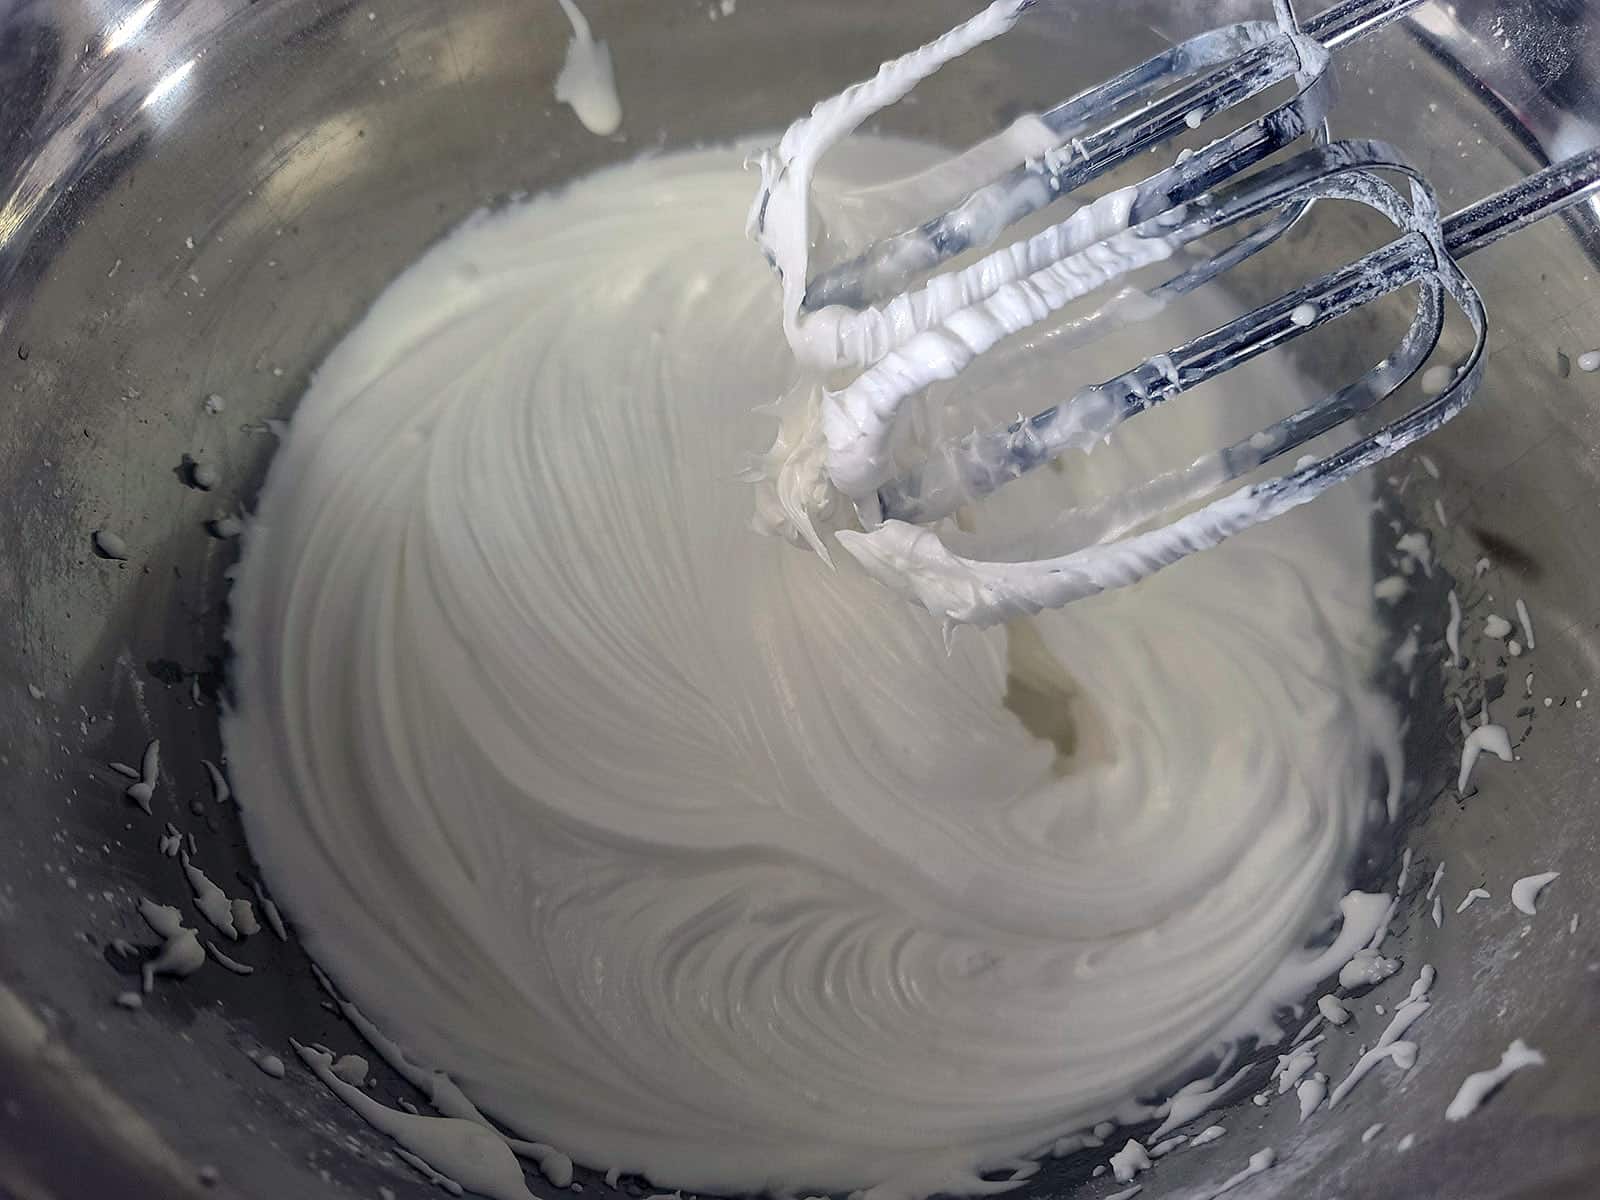
Add about ⅔ of the lukewarm water, mix on low speed until combined and soft peaks form.

Check the frosting for consistency, adjust to reach the correct consistency for your intended usage.
Personally, I like to keep the main batch of icing at stiff peaks consistency*, and thin it out as needed, in small amounts.
* “Stiff Peaks” is when you can take your attachment out of the icing, turn it upside down, and the “peak” of frosting stands straight up, without flopping over.
How to Store Royal Icing
If you're not using it immediately, transfer to an airtight container.
Cover the surface of the icing with plastic wrap, directly on top of the icing, to prevent any air from getting in and drying out the surface.
Note: This is important to keep in mind even when you’re using the icing!
Cover with a tight fitting lid, store meringue based royal icing at room temperature for up to a month. (Chilling can break it down).

The frosting icing may or may not separate as it’s stored - separation is expected, a common occurrence, and not at all a problem.
You will need to re-whip the frosting before use, whether or not there’s any visible separation.
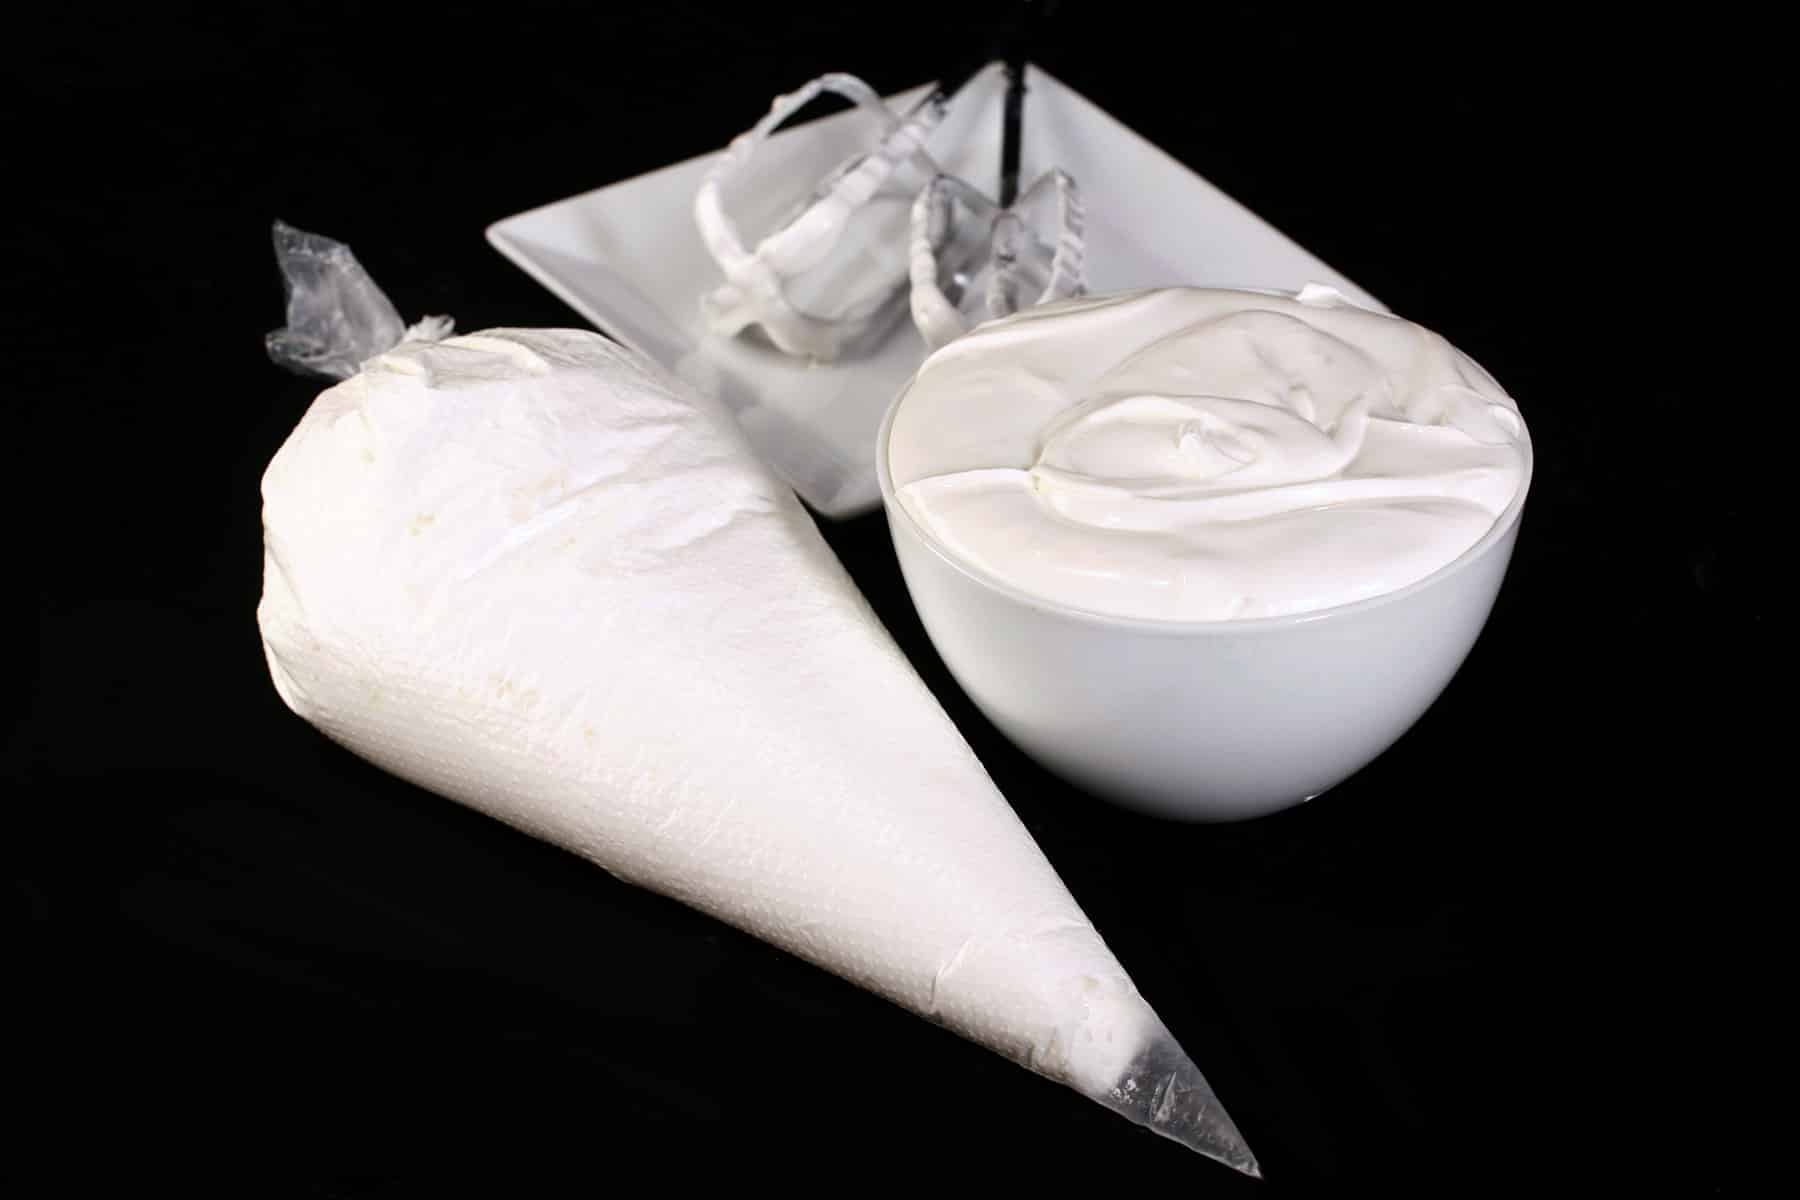
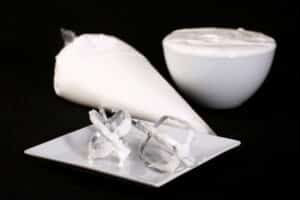
I don’t advise storing the leftover royal icing in the piping bags, but sometimes I get lazy - so I won’t judge!
If you DO store it in the piping bags, plan to pour the frosting out into a small bowl and re-beat it, before transferring it into a new, clean piping bag for use.

Royal Icing Consistency & Uses
I’m going to give a quick overview of the consistencies you want to aim for - and what they’re used for.
To get a LOT more information on it - including decorating techniques, more information about storage, important information on coloring it, etc - see my post Sugar Cookie Decorating for Beginners .
Basic Consistencies
There are 4 basic consistencies you’ll aim for when using royal icing. Each is the perfect consistency perfect consistency for a specific task.
When talking about the consistency of your royal icing, everything is measured in “seconds”. When reading tutorials and recipes, you’ll see references like “15 second icing” or “7 second icing”.
This refers to the amount of time it takes for icing drizzled back into the bowl to completely level out.
Thicker icing will have a higher number - longer to settle out - and thinner icing will settle out faster.
Always use the thickest icing you can get away with for your intended use.
The thinner icing is, the longer the drying process takes - and the more unpredictable the finish, as a result.
Too-thin icing can take a long time to dry, which can result in a weird matte finish, or developing dimples in the surface as the water evaporates.
In general, you want the cookies to dry as fast as possible. I like to lay them out in a single layer on my work surface, in front of a fan.
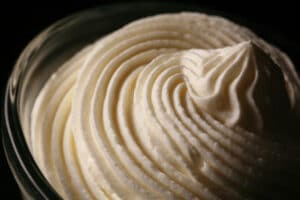
Stiff Consistency
As is, this recipe results in stiff icing - stiff peaks, will hold a sharp edge when piped, etc.
It’s soft enough to pipe, but when dropped back into the bowl of icing, there will be no spread.
This thick consistency icing is the right consistency to pipe things like roses - other heftier icing flowers - for the “glue” and detailing on gingerbread houses, etc.
Medium Consistency
This is a thicker consistency icing, but slightly thinner than stiff.
If you drop some back in the bowl, it WILL level out, but slowly - around 20 seconds, maybe more.
This is the proper consistency for piping cookie borders, overpiped borders, and details after the base surface of a cookie after it’s dried (the next day, usually.)
Border & Fill Consistency
I’m a bit old school and generally border decorated cookies with an “outline consistency” (medium), before flooding with a flood consistency icing, but “border and fill” is an icing consistency that can do both in one shot.
The desired consistency for this use is “15-20 second icing”, or “15-20 count icing”.
When using this, you’d still pipe a border, you’d just use the same bag of frosting to immediately flood icing across the surface of the cookie.
Thin / Flood / Flow Consistency
This is a thin icing - the thinnest you’re going to want to deal with - and it will level out in 7-10 seconds.
It’s the proper consistency for flooding areas of cookie that have been piped with a thicker border, to create a smooth base of solid color to decorate over.

Tips for Use
Storing While Using
Keep your royal icing covered at all times, as any drying out will affect its ability to be piped cleanly.
While some people recommend using a damp paper towel or damp towel over the bowl, I prefer to keep plastic wrap right on the surface.
Damp cloths can introduce more moisture to the frosting, and affect the consistency.
I like to keep the main batch of royal icing in one bowl, and portion it out to small bowls for coloring and thinning as needed.
Also: thinning it out doesn’t really affect the color, thickening does tend to mute it a bit.
When I’m talking about adding a small amount of water to thin it, I’m talking drops of water at a time. I recommend using a pipette, or even a spray bottle to *mist* water into it for thinning.
Of course, this will depend on scale.
Adding a “little bit” of water to a big bowl of icing is going to look very different than thinning out ¼ cup of icing.
Coloring and Flavoring
When adding color or flavor to your icing, stir it slowly and gently in a figure 8 pattern until fully incorporated - don’t whip it.
It’s super easy to add air at this point, and too much air = air bubbles.
Tools and Supplies
For that matter, you can even use a squeeze bottle instead of a pastry bag - you can find them at craft stores with a cake section.
That said, if you’re looking to make intricate designs, you’ll want to set your pastry bags up with Standard Decorating Couplers and a Small Round Tip.
I generally use a Wilton #3, Wilton #4, or Wilton #5 for piping borders and larger lines, and a Wilton #1 or Wilton #2 for finer detail.
The larger the number, the bigger the hole.

More Cookie Decorating Posts
Looking for more excuses to roll some sugar cookie dough out? In the mood to break out the royal icing? Here are some more cookie recipes and tutorials you may be interested in!
Cut-Out Rolled Sugar Cookies
Decorating Dalek Cookies
Easy Spider Web Cookies
Gingerbread Biscotti
Gluten-Free Gingerbread Cookies
Gluten-Free Sugar Cookies for Decorating
Nightmare Before Christmas Cookies
Rolled Pumpkin Spice Cookies
Sugar Cookie Decorating for Beginners
Traditional Royal Icing
.. and be sure to check out our Cookies & Bars recipe section for even more delicious cookie recipes!
Low Carb Cookie Decorating
Need options that are both gluten free AND sugar free? Here a a few fantastic recipes over on my keto blog, Low Carb Hoser:
Low Carb Gingerbread Cookies
Keto Pumpkin Spice Cookies
Low Carb Rolled Sugar Cookies
Sugar Free Royal Icing

Share the Love!
Before you chow down, be sure to take some pics of your handiwork, for posterity and social media! If you post it to Bluesky, be sure to tag us - @CelebrationGen. We're also on Pinterest, so you can save all your favourite recipes to a board!
Also, be sure to subscribe to my free monthly email newsletter, so you never miss out on any of my nonsense. Well, the published nonsense, anyway!
Finally, if you love this recipe, please consider leaving a star rating and/or a comment below!
Meringue Powder Royal Icing
Equipment
- Stand Mixer or
Ingredients
- 4 Cup Icing Sugar
- ¼ cup Meringue Powder
- ½ cup Lukewarm water
Instructions
- Combine icing sugar and meringue powder in the bowl of a stand mixer - ideal - or large mixing bowl (to beat with an electric hand mixer)
- Add about ⅔ of the water, mix on low speed until combined.
- Turn speed up to high, beat for a couple minutes until thick, smooth, and glossy. Add more water, if needed.
- Check the frosting for consistency, adjust as needed for your intended usage.
- If you're not using it immediately, transfer to an airtight container, cover surface with plastic wrap, and secure lid tightly.
- Re-whip before use.
Video
Notes
Nutrition


Angella
Is this icing suitable to decorate wedding fruit cakes ?
Marie Porter
Depending on how you're decorating it, yes!