

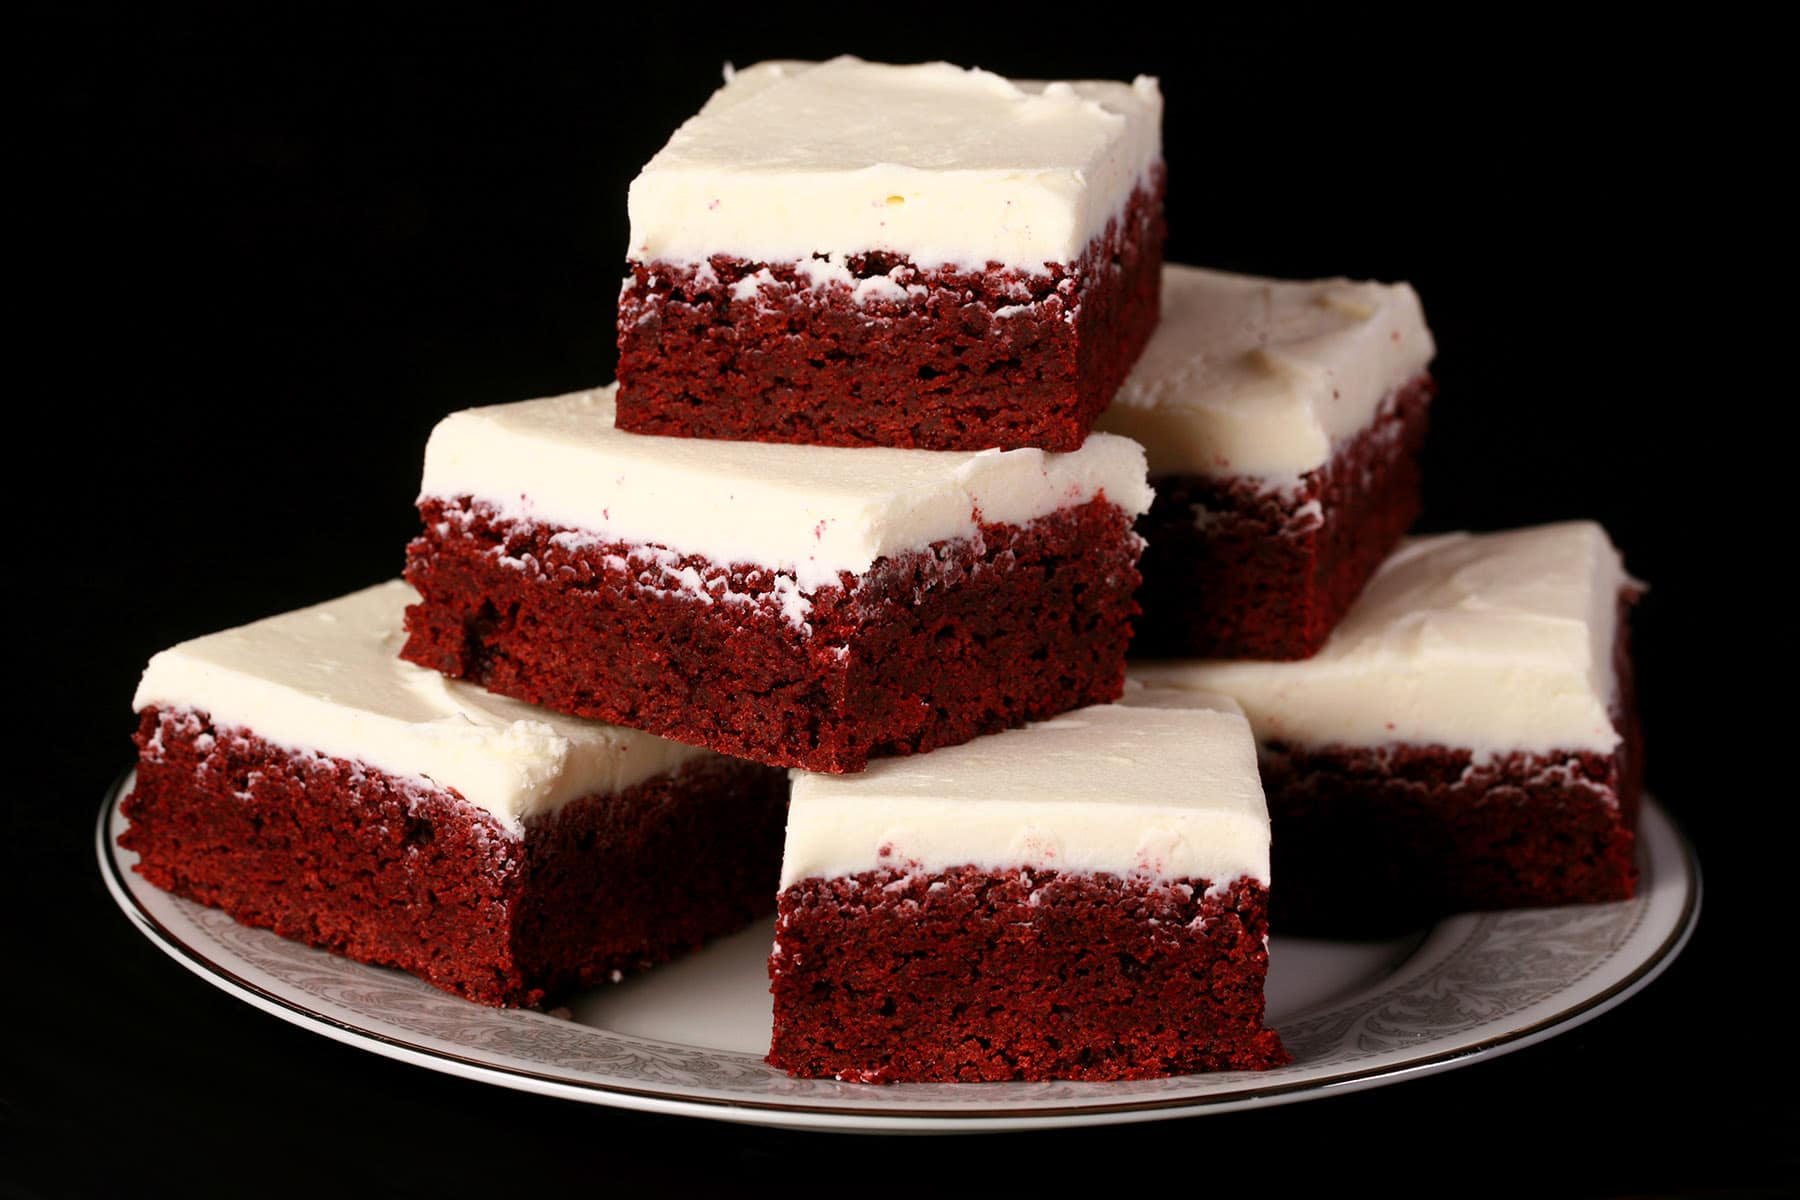
These homemade red velvet brownies are easy to make, rich, full of flavour, and visually striking! Makes an impressive addition to any dessert tray!
Originally posted June 27, 2022, updated on 2/7/2023.

So far, I’ve shared a handful of recipes - some gluten free, some that may seem weird, all tasty:
Convention Brownies (Gluten-Free)
Easter Creme Egg Brownies
Gluten-Free Nanaimo Bar Brownies
Hop Brownies
Ultimate Double Chocolate Brownies
I’ve also shared a few recipes for red velvet desserts - Red Vellvet Brownies, Red Velvet Biscotti and Gluten Free Red Velvet Cookies (with a pretty crackly top!) - but I recently posted my Red Velvet Bagels recipe and my Red Velvet Muffins, and my red velvet pancakes are coming soon!
... you know, pretty much everything EXCEPT my classic red velvet cake with cream cheese filling. Whoops!
Anyway, because that beautiful red velvet color comes with a mild chocolate flavor - from a hint of cocoa in the batter, I figured it would be a good idea to make a brownies recipe, featuring that beautiful red color and distinct flavor.
Today, it’s all about my chewy red velvet brownies recipe!
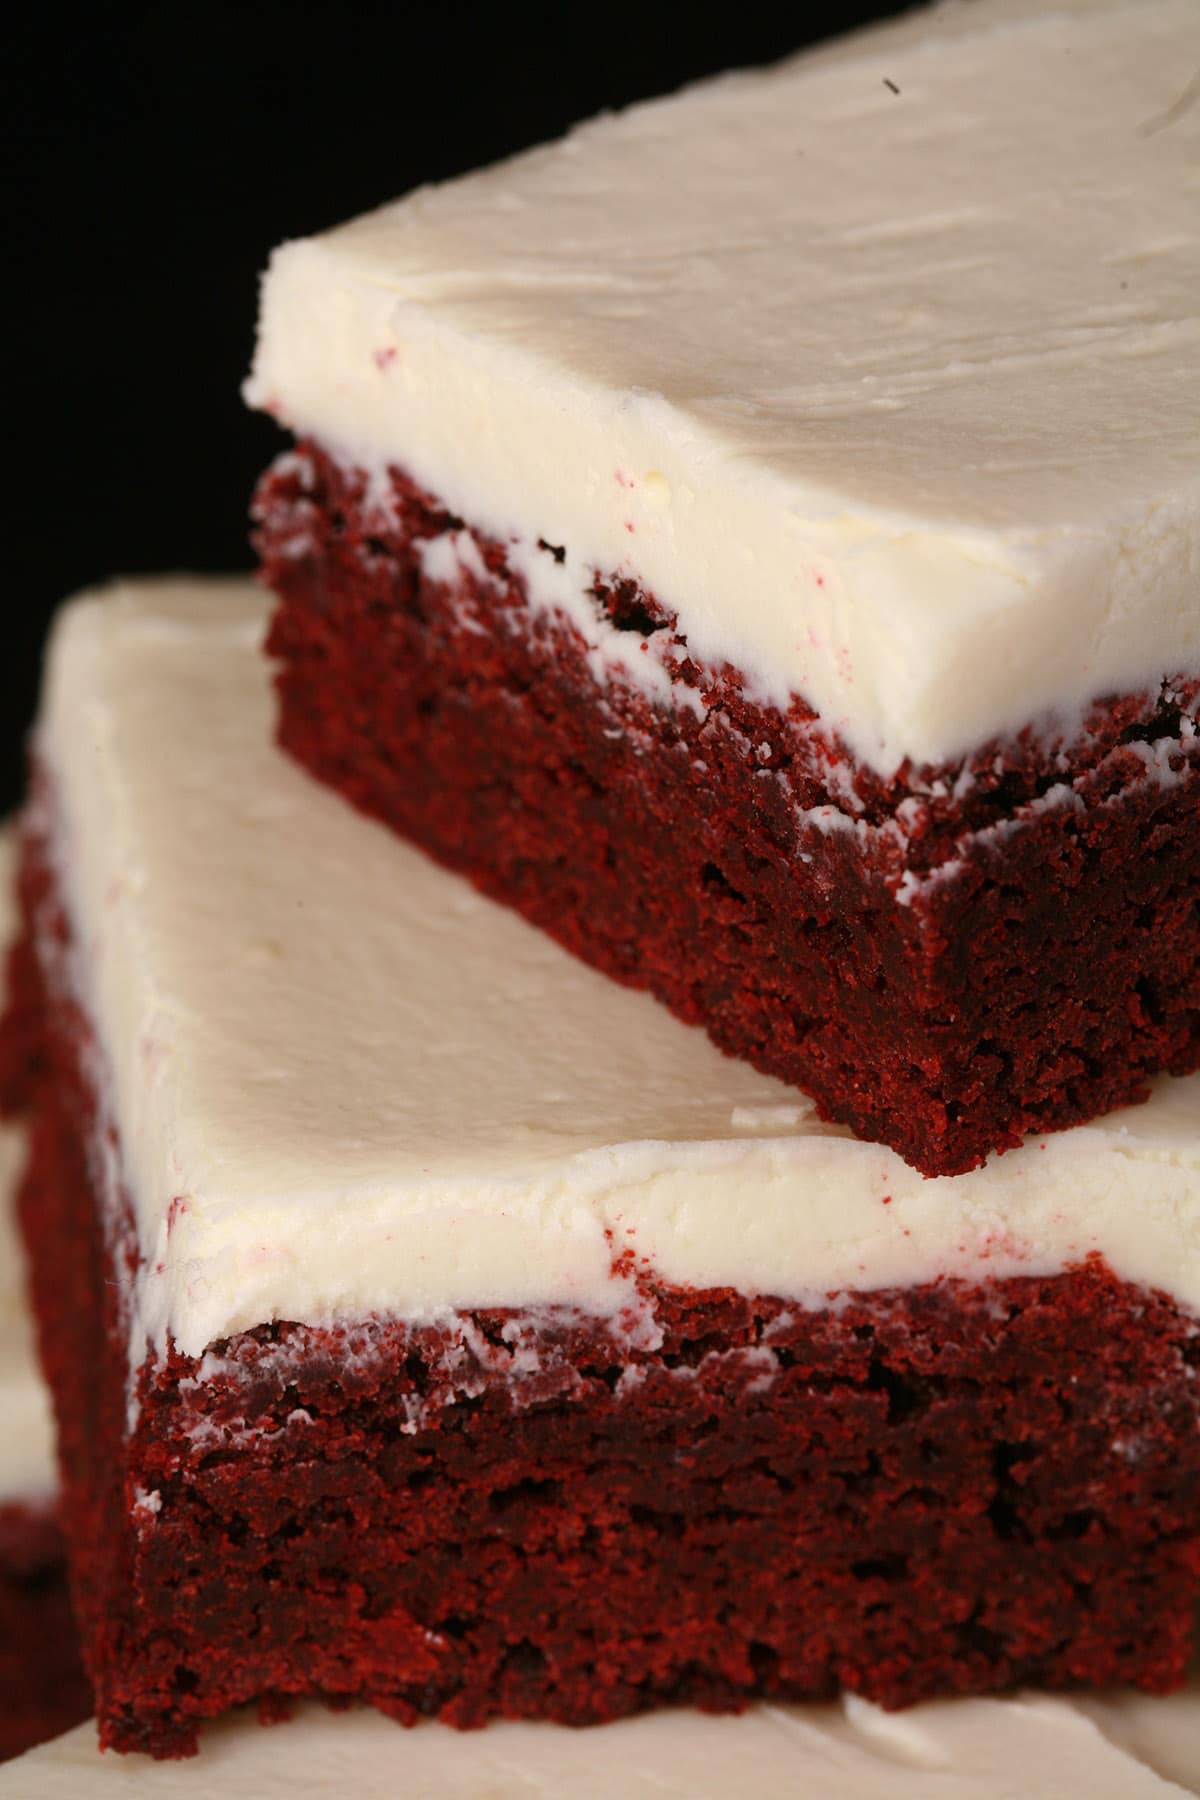
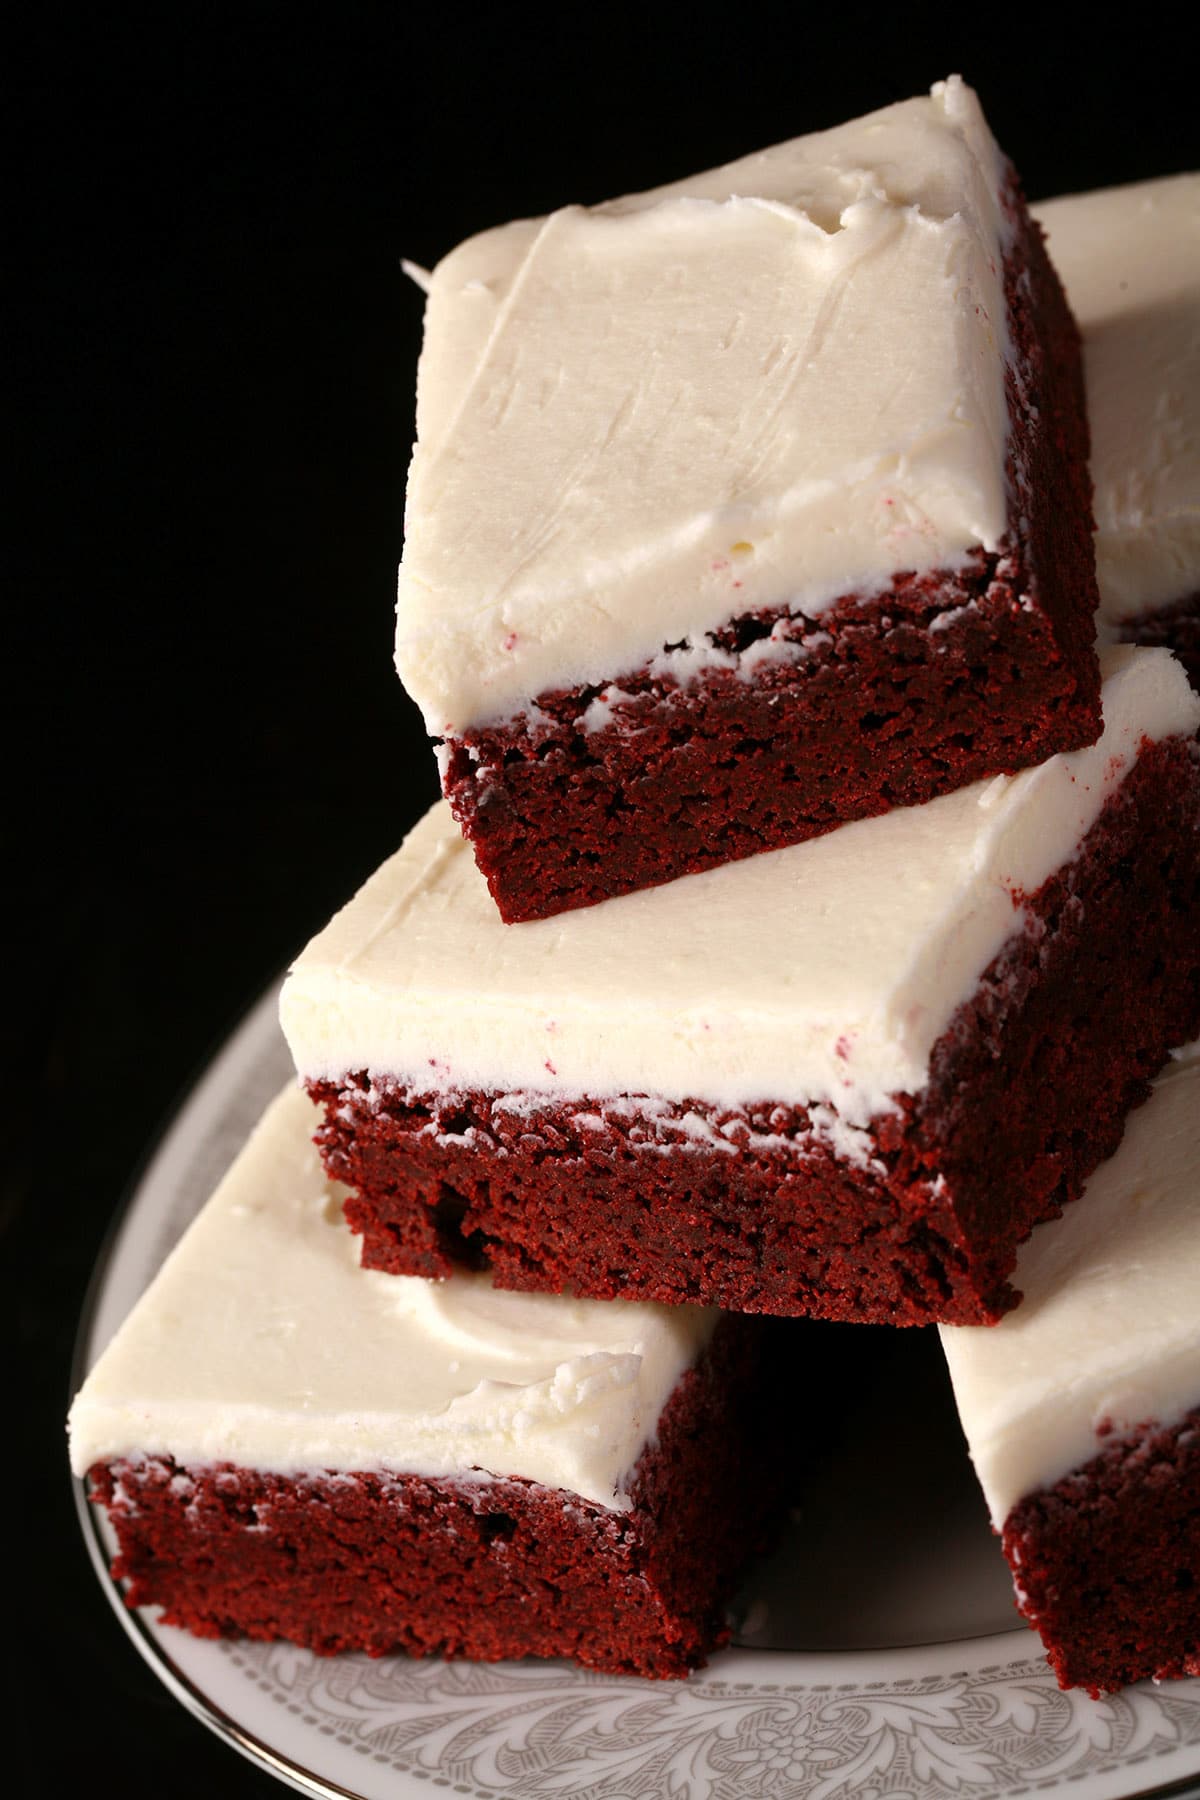
Chewy Red Velvet Bars
These fudgy brownies are not only a stunning bright red color, they feature that classic red velvet flavor ... slathered in a fluffy cream cheese frosting.
As red velvet recipes go, though, this is a fabulous one.
These decadent red velvet brownies top a rich, moist chewy brownie - with perfect red velvet flavor - with a tangy cream cheese frosting.
These easy red velvet brownies are a perfect choice for any fan of red velvet, and are one of my favorite desserts to serve on special occasions, or during the holiday season - always a hit to bring to a Christmas party - or for Valentine’s Day.
The best part?
They come together quickly and easily, no need for hard work here!
Ingredients
This red velvet brownie recipe uses mostly simple ingredients that can be found at any grocery store. Each ingredient was chosen with purpose, contributing either to the texture or flavor.
For the base recipe, you will need:
All-purpose flour
Dark Brown Sugar
Granulated Sugar (White sugar)
Unsweetened Cocoa Powder
Butter (Can use the same amount of vegetable oil, if needed)
Eggs
Pure Vanilla Extract
White vinegar
Red food coloring (More in this in a minute!)
Baking Powder
Salt
Cream cheese
Unsalted butter
Powdered sugar
Vanilla extract
Optionally, you can add 1-2 cups of chocolate chips to the batter, if you’d like. I like to use either Milk Chocolate Chips or White Chocolate Chips, depending on my mood at the time!
Tips to Make the BEST Red Velvet Brownie
1. Red velvet brownie batter can be tricky to work with, as you don’t want to overwork the batter. This is why I add the red dye to the wet ingredients!
The best way to avoid over mixing the batter is to use plenty of food coloring in the wet mix, so you don’t have to add any to the finished batter.
2. Related to that last point, I ABSOLUTELY recommend using gel colouring, rather than grocery store or Wilton food colouring.
Specifically, I recommend Americolor gel food coloring (what I used when I was in the USA), or ChefMaster (Which is the option more readily available here!).
Gel red food colouring is just FAR more intense, and gives a much better deep red color than the liquid version. It’s red velvet, afterall... not pink velvet!
It’s also so much better to work with, without adding a lot of extra liquid to the batter.
The cooking spray helps the parchment stick to the sides and bottom.
It holds it in place a bit as you spread the batter - makes for less mess and fuss, and easier cutting/cleanup.
The brownies do firm up a bit when they cool. Overcooked brownies - while still tasty! - are dry brownies.
5. I photographed this batch before I had purchased my handheld electric mixer.
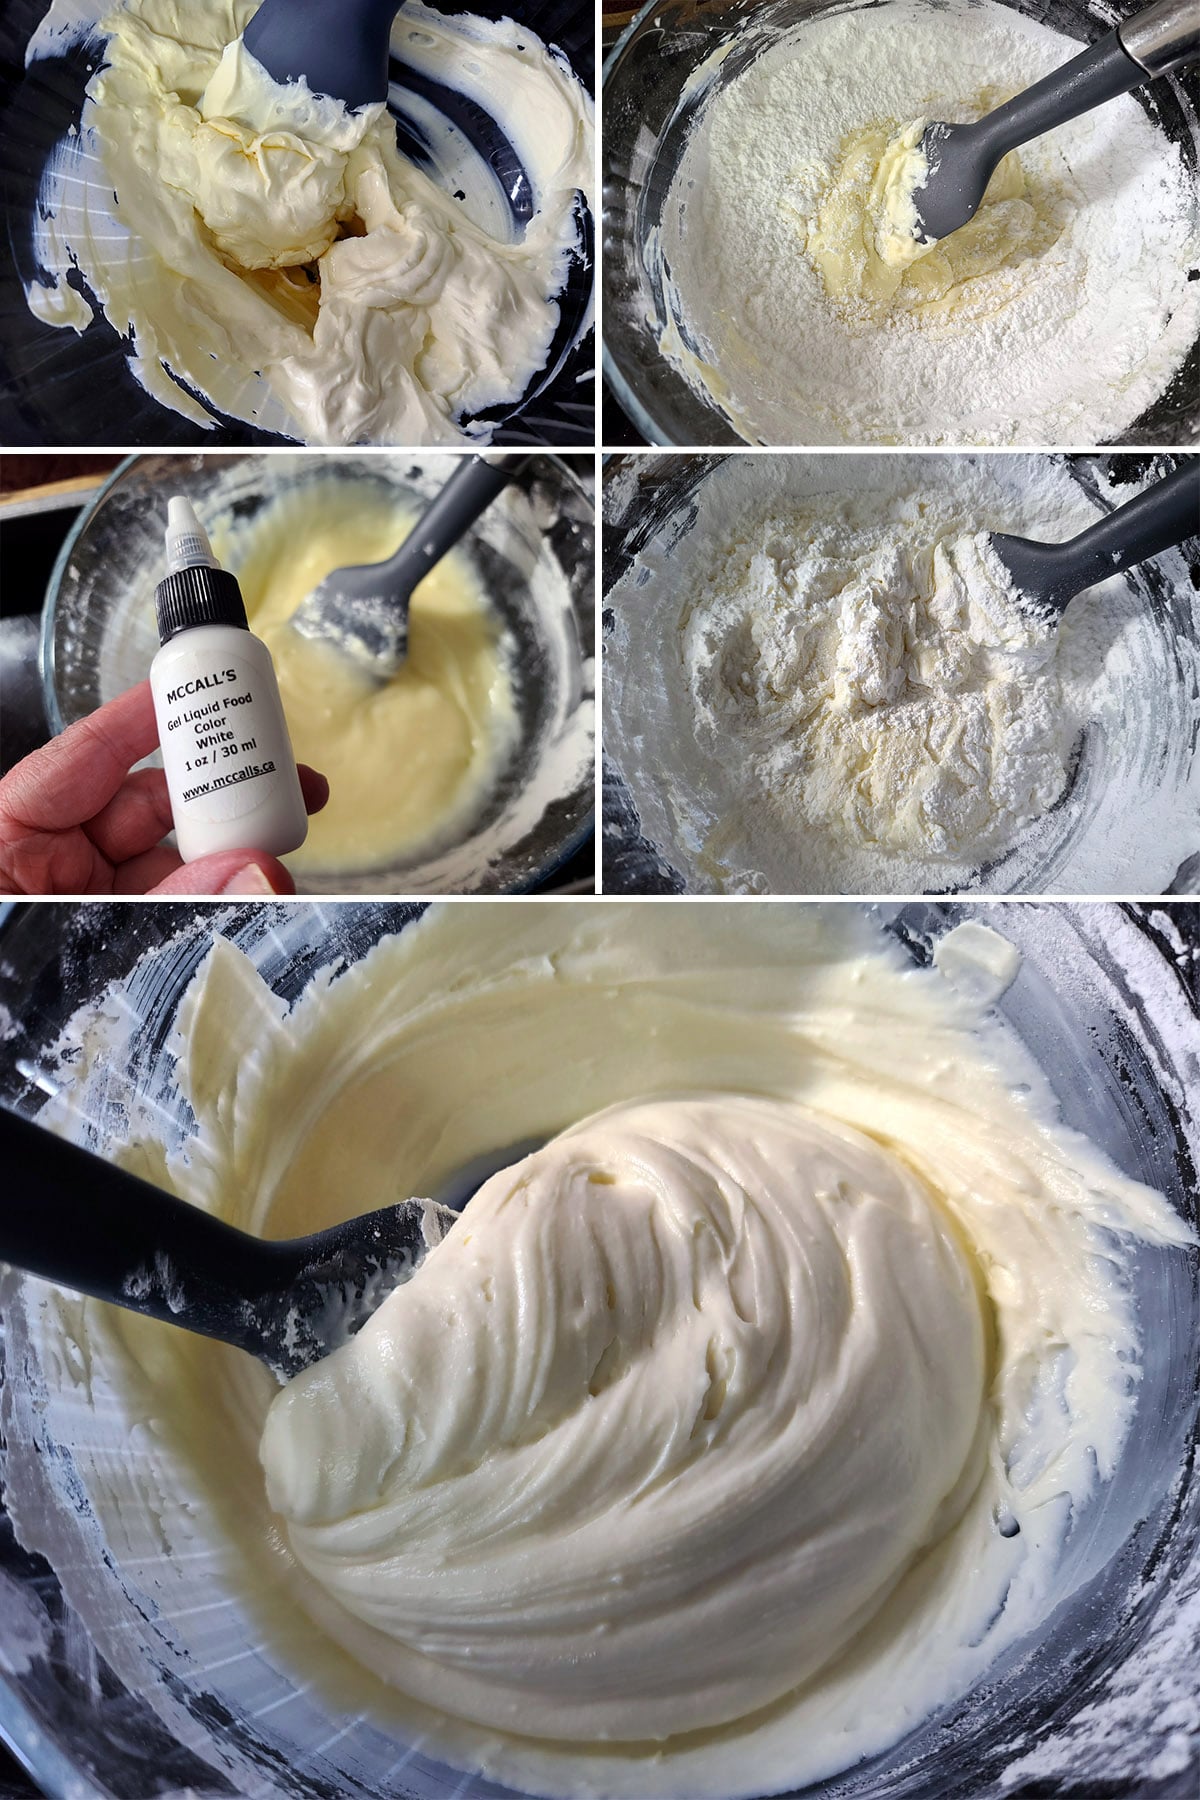
You should mix the batter by hand (if possible), and you CAN mix the frosting by hand - as shown... but using an electric mixer makes for smoother, fluffier frosting.
I like to use a bit of white gel food colouring (Americolor or Chefmaster White) to whiten it after using brown vanilla extract. (Personally, I don't like clear vanilla extract, as it doesn't taste as good.)
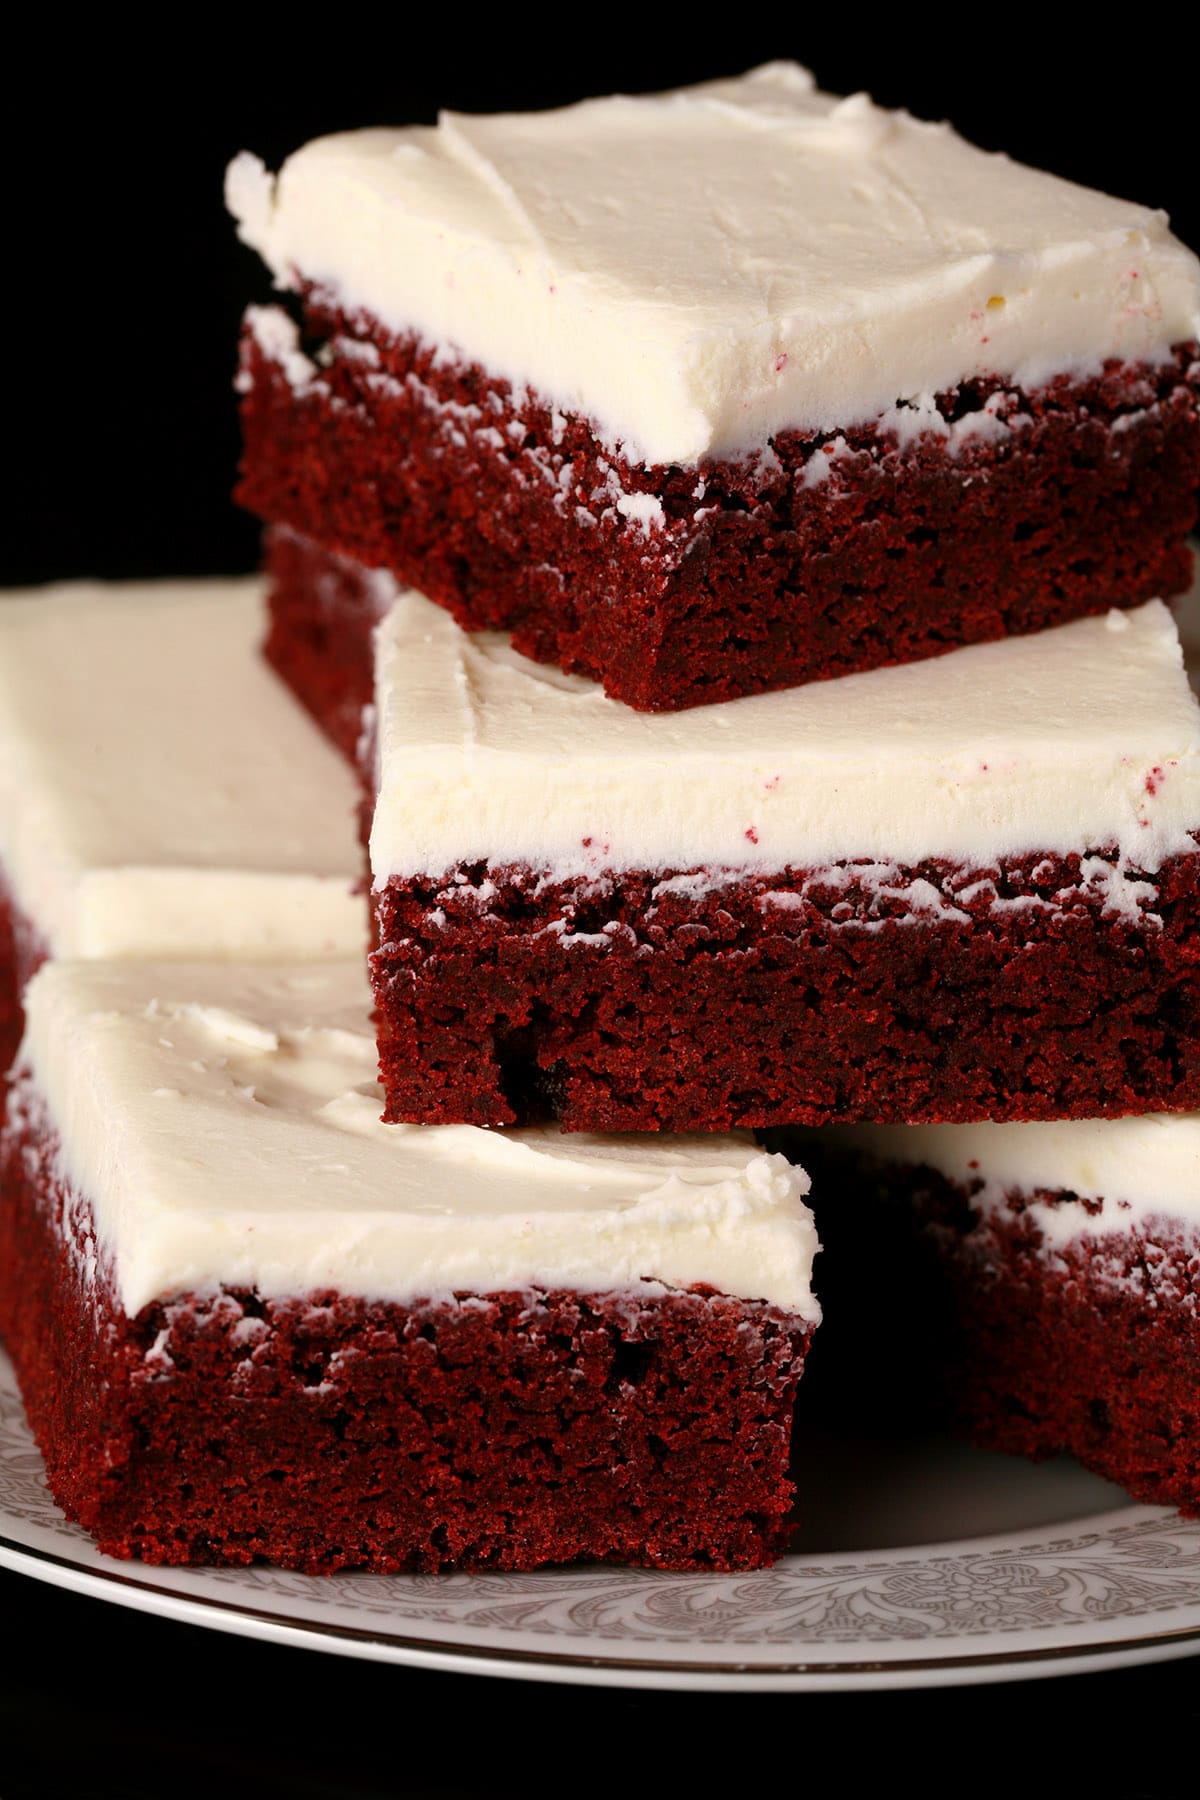
7. To get a really clean cut on your brownies (as pictured), chill your pan of brownies thoroughly before cutting them. Use a knife with a thin blade, and wipe it after each cut.
8. Always let your brownies come up to room temperature before serving.
Cold brownies = dry brownies. You want to enjoy these as the chewy red velvet brownies they were designed to be!

How to Make Fudgy Red Velvet Brownies
See the recipe card at the end of this post for the whole recipe. This is a pictorial walk though:
Preheat oven to 350°. Prepare 9 x 13 pan with pan spray or shortening.
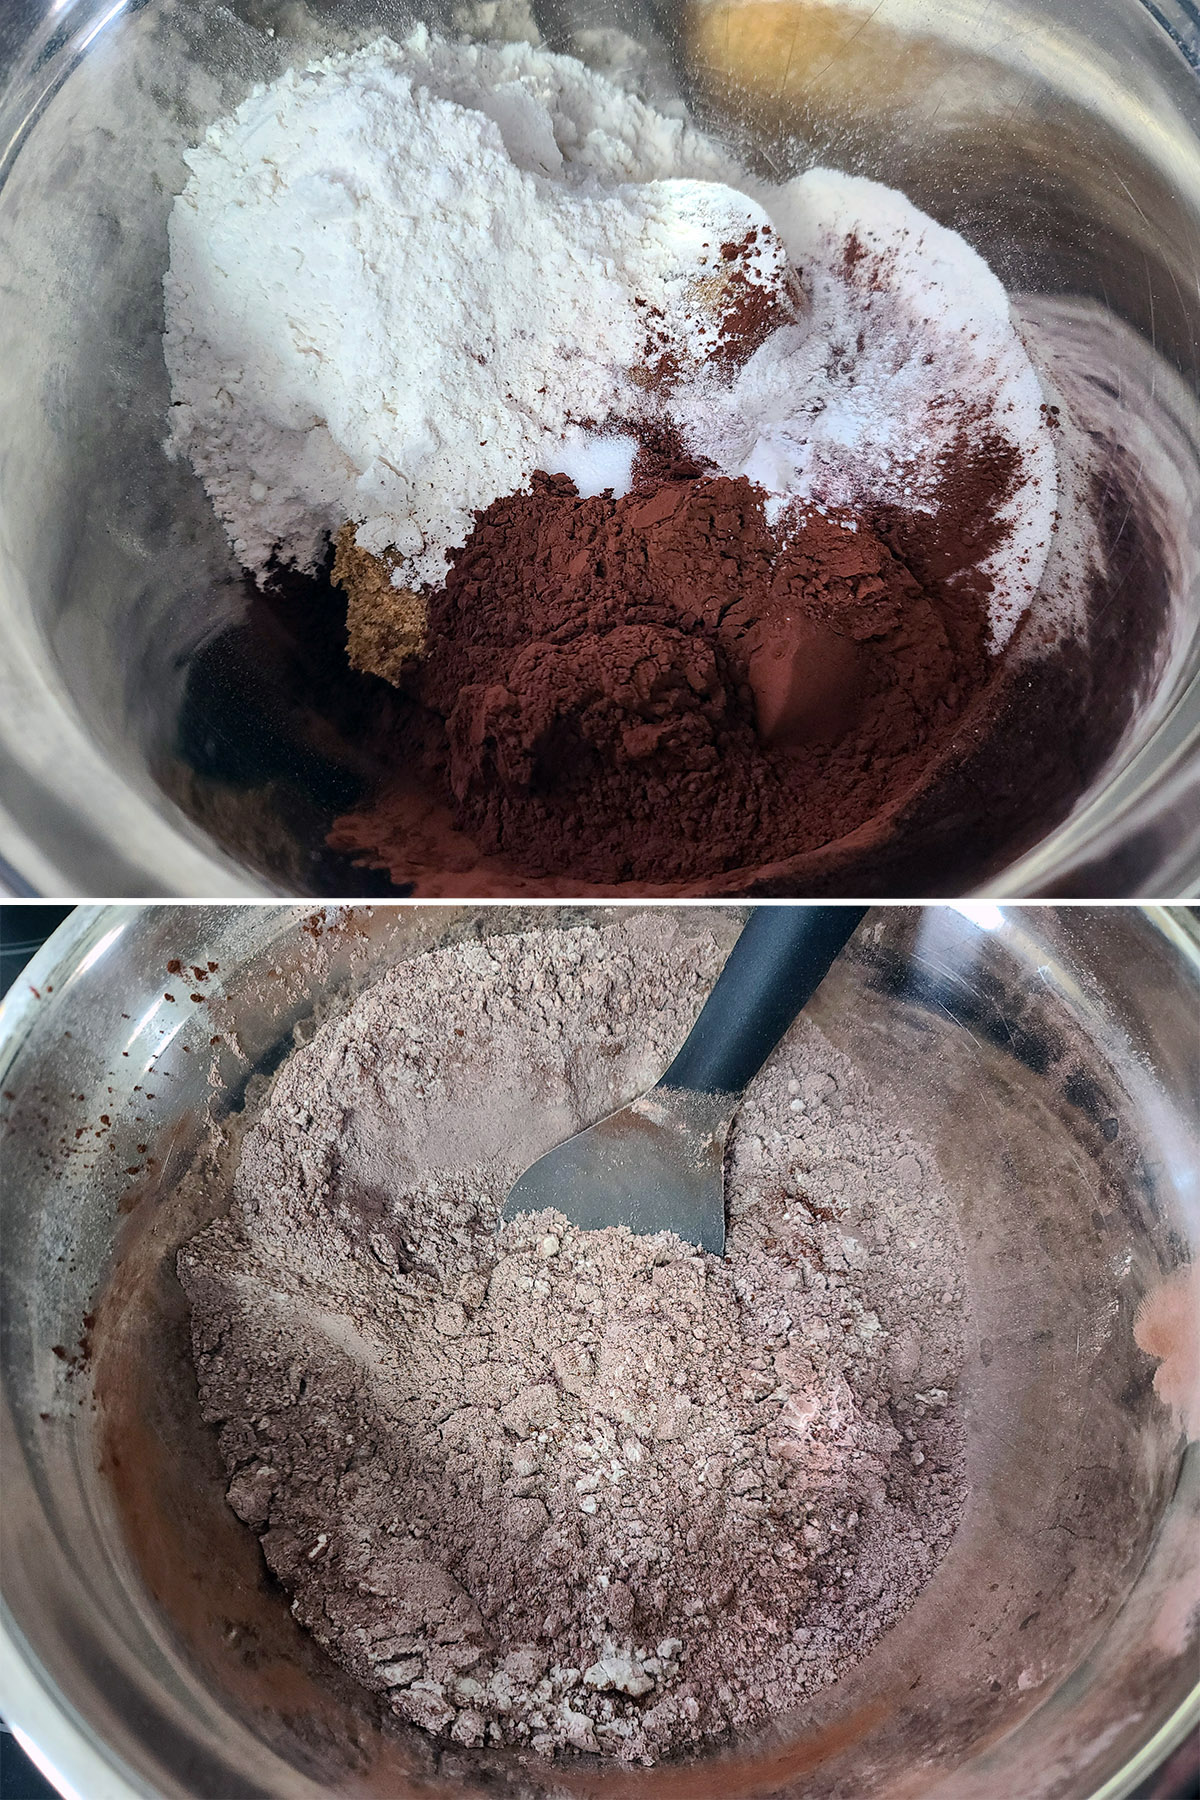
In large mixing bowl, combine sugars, flour, cocoa, baking powder, and salt. Set aside.
Add egg mixture to the large bowl with the dry ingredients, along with the melted butter.
Stir with a rubber spatula until dry ingredients are well incorporated.

Note: Baking time will vary based on your oven, and the type of baking pan. Keep an eye on the brownies, let their condition dictate when they’re done!

Let cool completely before spreading with frosting and cutting into squares - a cooling rack can help speed that along.
Cream Cheese Frosting
Beat together cream cheese, butter, vanilla, and salt on medium speed until smooth.
Add powdered sugar - a little at a time - to the cream cheese mixture, beating on low until it’s all well incorporated. If you’d like to whiten the icing, you can use a little white food colouring.
Spread onto cooled red velvet brownies, cut into squares, and enjoy!

Leftovers
Leftovers should be stored in an airtight container - or on a tray, covered with plastic wrap - in the fridge for up to a week.
Be sure to let chilled brownies come up to room temperature before serving!
More Bars & Squares Recipes
Looking for more handheld desserts & sweet snacks? I’ve got you covered, across all 3 blogs - some gluten free and/or low carb options mixed in, below:
Chewy Chai Blondies
Chewy Keto Lemon Bars
Confetti Bars
Creme de Menthe Nanaimo Bars
Gluten-Free Butter Tart Bars
Gluten Free Lemon Bars
Gluten-Free Puffed Rice Bars
Gluten Free Raspberry Bars
Keto Raspberry Coconut Bars
Maraschino Cherry Nanaimo Bars
Mocha Nanaimo Bars
Puffed Wheat Squares
Pumpkin Spice Nanaimo Bars

Share the Love!
Before you chow down, be sure to take some pics of your handiwork! If you post it to Bluesky, be sure to tag us - @CelebrationGen. We're also on Pinterest, so you can save all your favourite recipes to a board!
Also, be sure to subscribe to my free monthly email newsletter, so you never miss out on any of my nonsense. Well, the published nonsense, anyway!
Finally, if you love this recipe, please consider leaving a star rating and/or a comment below, and maybe even sharing this post on social media!
Red Velvet Brownies with Cream Cheese Frosting
Equipment
- 9 x 13 cake pan
Ingredients
Brownies:
- 1 cup Dark Brown Sugar
- 1 cup Granulated Sugar
- 1 ¾ cups All-purpose flour
- ½ cup Cocoa powder
- 1 teaspoon Baking Powder
- ¼ teaspoon Salt
- 4 Large Eggs beaten
- 1 ½ tablespoon liquid red food coloring or 1 teaspoon Red gel food colouring
- 2 teaspoon Vanilla extract
- 2 teaspoon White vinegar
- 1 cup Melted Butter
Frosting:
- 8 oz Cream cheese room temp
- ½ cup Unsalted butter room temp
- 2 cups Powdered sugar
- 1 teaspoon Vanilla extract
- Pinch salt
Instructions
- Preheat oven to 350°. Prepare 9 x 13 pan with pan spray or shortening.
- In large mixing bowl, combine sugars, flour, cocoa, baking powder, and salt. Set aside.
- In a smaller bowl, whisk together eggs, food colouring, vanilla extract, and vinegar.
- Add egg mixture to the flour mixture, along with the melted butter. Stir until dry ingredients are well incorporated.
- Spread batter into prepared pan, Bake for 30 min.
- Brownies are done when knife inserted into center comes out clean - but don’t OVER cook them.
- Let cool completely before spreading with frosting and cutting into squares.
- Frosting:
- Beat together cream cheese, butter, vanilla, and salt until smooth.
- Add powdered sugar, a little at a time, beating on low until it’s all well incorporated. If you’d like to whiten the icing, you can use a little white food colouring.
- Spread onto cooled red velvet brownies, cut into squares, and enjoy!
Nutrition


Asha
These brownies came out absolutely beautifully. They are rich in both colour and flavour!
Bernice
I was looking for a simple Canada Day dessert for our BBQ and I've found it. Had to do a test run to be sure but they are delicious! Happy Canada Day!
Shelby
I love the cream cheese frosting on these! They came out delicious and faaarrr too easy to eat lol
Nancy
What an amazing combo of two of our fav desserts. Extra flavourful with red velvet and perfect for our camping trip