

This Chewy Black Forest Cookies recipe is a perennial favourite. These chocolate cherry cookies are pretty, tasty, easy to make, and great for holiday entertaining & gifting!
Originally posted July 21, 2011. Updated 11/19/2022

This recipe is a variation of my chewy chocolate cookie base recipe, that you might recognize from my Chewy Chocolate Mint Chip Cookies Recipe, or Chewy Chocolate White Chip Cookies recipes.
Later on, it inspired the creation of my chewy chocolate gluten-free cookies recipe, which I've blogged in the form of my Gluten-Free Chewy Chocolate Salted Caramel Cookies.
Loads of good stuff, here!
Black Forest Cookies
This recipe for soft chocolate cookies is inspired by black forest cake, as far as the cherry flavor, chocolate, and “white accent” goes. No Kirsch or whipped cream here, though!
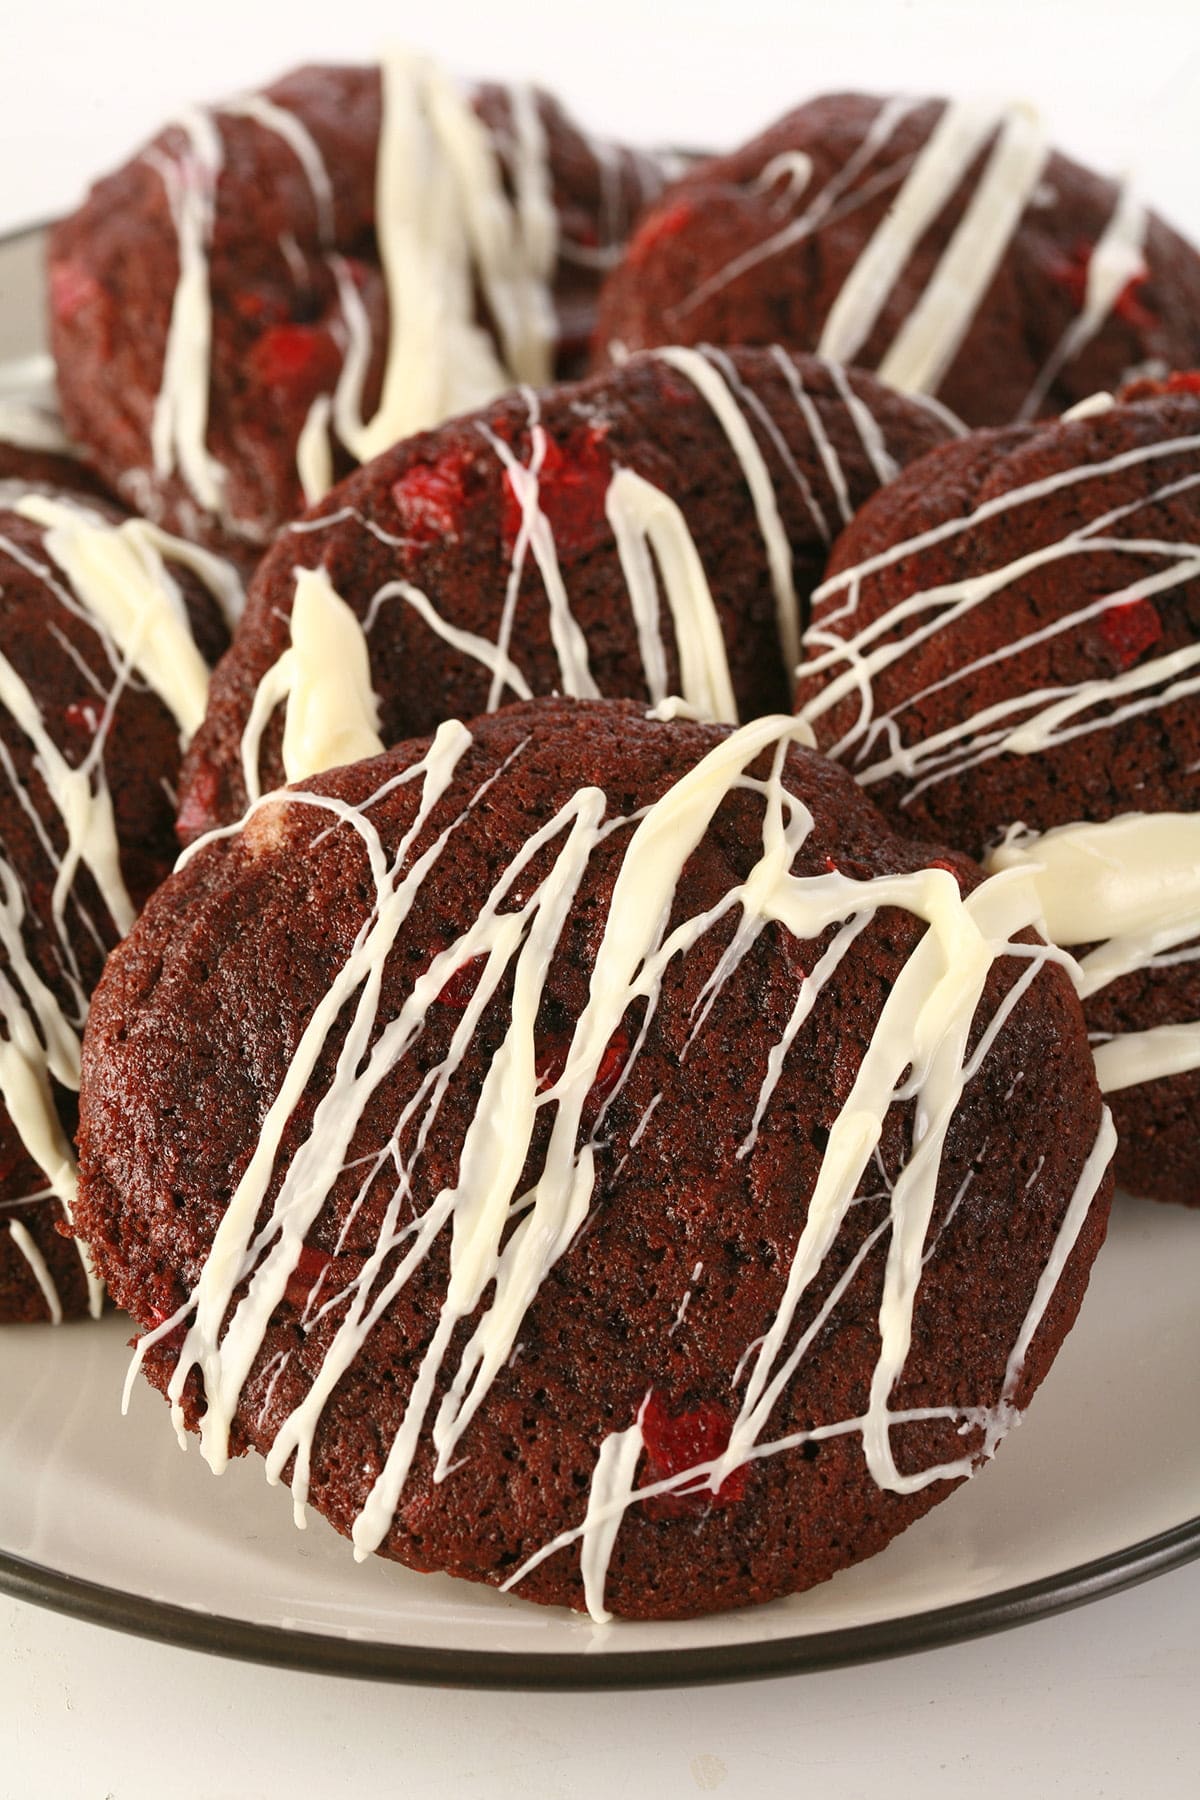
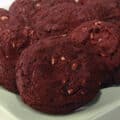
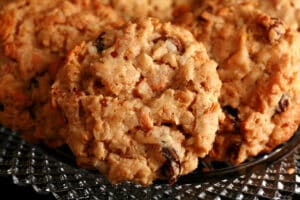
Instead of the layers of chocolate cake laced with cherry brandy and chocolate shavings in the original black forest dessert, these delicious cookies start with a rich chocolate cookie.
The chewy cookies are studded with maraschino cherry bits, and topped off with a creamy white chocolate drizzle.
Back in the day, these chocolate cherry cookies were a very popular item on my holiday cookie tray orders, as well as for gift box orders around Christmas time.
Of course, they make their way onto pretty much every Christmas cookie platter I make for family and friends, as well.
If you’re looking for a different special occasion to make them for, they’re also fantastic for Valentine’s Day.
Whenever you make them, they’re sure to please the whole family, and may just end up your new favorite cookies!

Holiday Cookie Recipes
Well, with the holidays coming up, it’s probably a good time to not only update this particular recipe, but to direct your attention to some other amazing holiday cookie recipes, as well.
After all, as great as these cookies are... a proper holiday tray should have a great selection of cookies. I love including a variety of flavours, colours, and textures.
This is both for visual appeal, and to try to make sure that there is something there for everyone.
Additionally, I like to recommend a few gluten-free cookies, as well.
Just be sure to keep your gluten-free offerings separated from the gluten cookies at all times - cross contamination can happen at any time, from raw ingredients all the way through to presentation!
So, before I get to this recipe, a few suggestions to accompany it:
Boozy Chocolate Haystack Cookies - This is a slightly more adult version of a childhood favourite. Use certified gluten-free oats to make these gluten-free!
Noelles - My version of a childhood favourite. Chocolate, coconut, and maraschino cherries make these a pretty - and tasty - holiday staple in our house!
Pecan Pie Cookies - Another one of the recipes that was SUPER popular back when I catered holiday trays. These unique cookies are not only full of flavour and texture, they’re gorgeous!
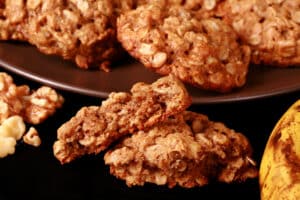
Spiced Oatmeal Raisin Cookies - A kicked up version of an old childhood favourite. I love what warm spices do with a traditional chewy oatmeal cookie.
Peppermint Swirl Meringue Cookies - These are actually inherently gluten-free, but I included them here because they’re also a mainstream favourite. A little effort to make, but super satisfying and festive!
Fruitcake Cookies - I may not be a fan of glaceed fruit, but those who are go WILD over these cookies. They’re laced with Jack Daniel’s, so that may have something to do with it, LOL!
Chai Shortbread - a simple, elegant cookie with great flavour.

Ingredients
This recipe uses super simple ingredients that should be readily available in any local grocery store - if you don’t already have them in your pantry!
You will need:
Maraschino Cherries (AKA Cocktail Cherries)
White Chocolate Chips
All purpose flour
Unsweetened cocoa powder
Granulated Sugar
Brown Sugar
Unsalted butter
Large Eggs
Pure Vanilla Extract
Baking Soda
Salt
1. Use maraschino cherries, NOT glaceed cherries or cherry pie filling.
Neither candied cherries or cherry filling will work with this dough - one will add too much moisture, and the other won’t add enough.
You could probably use fresh or canned cherries, but moisture is going to be a huge issue here, as well.
Canned can be chopped, drained, and patted down like maraschino cherries are... but fresh ones will probably do better if you pit them, chop them up, and let them air out in the fridge for a day or so.
2. If you like a lot of stuff in your cookies, you can add some Milk Chocolate Chunks or Semisweet Chocolate Chips.
Feel free to add ½-1 cup morsels, when you add the chopped cherries.

How to Make Black Forest Cookies
The full recipe is in the recipe card at the end of this post. Here is a pictorial walk through with additional tips and info.
Make the Chocolate Cherry Cookie Dough
Heat oven to 350° F. Line 2 baking sheets with parchment paper, set aside.
Drain your cherries, chop them up into small pieces, and then pat them down with a paper towel if needed. Set aside.
Note: You want to be rid of any cherry juice / extra moisture, or these will spread like mad.
In a medium bowl, combine flour, cocoa, baking soda and salt, set aside.

Note: Be sure to start out with softened butter, and whip it well before creaming in the sugars - it’ll make life a lot easier!
Add eggs and vanilla to the butter mixture, beat until smooth.

Slowly add dry ingredients / flour mixture to the bowl of wet ingredient, mix until fully incorporated.
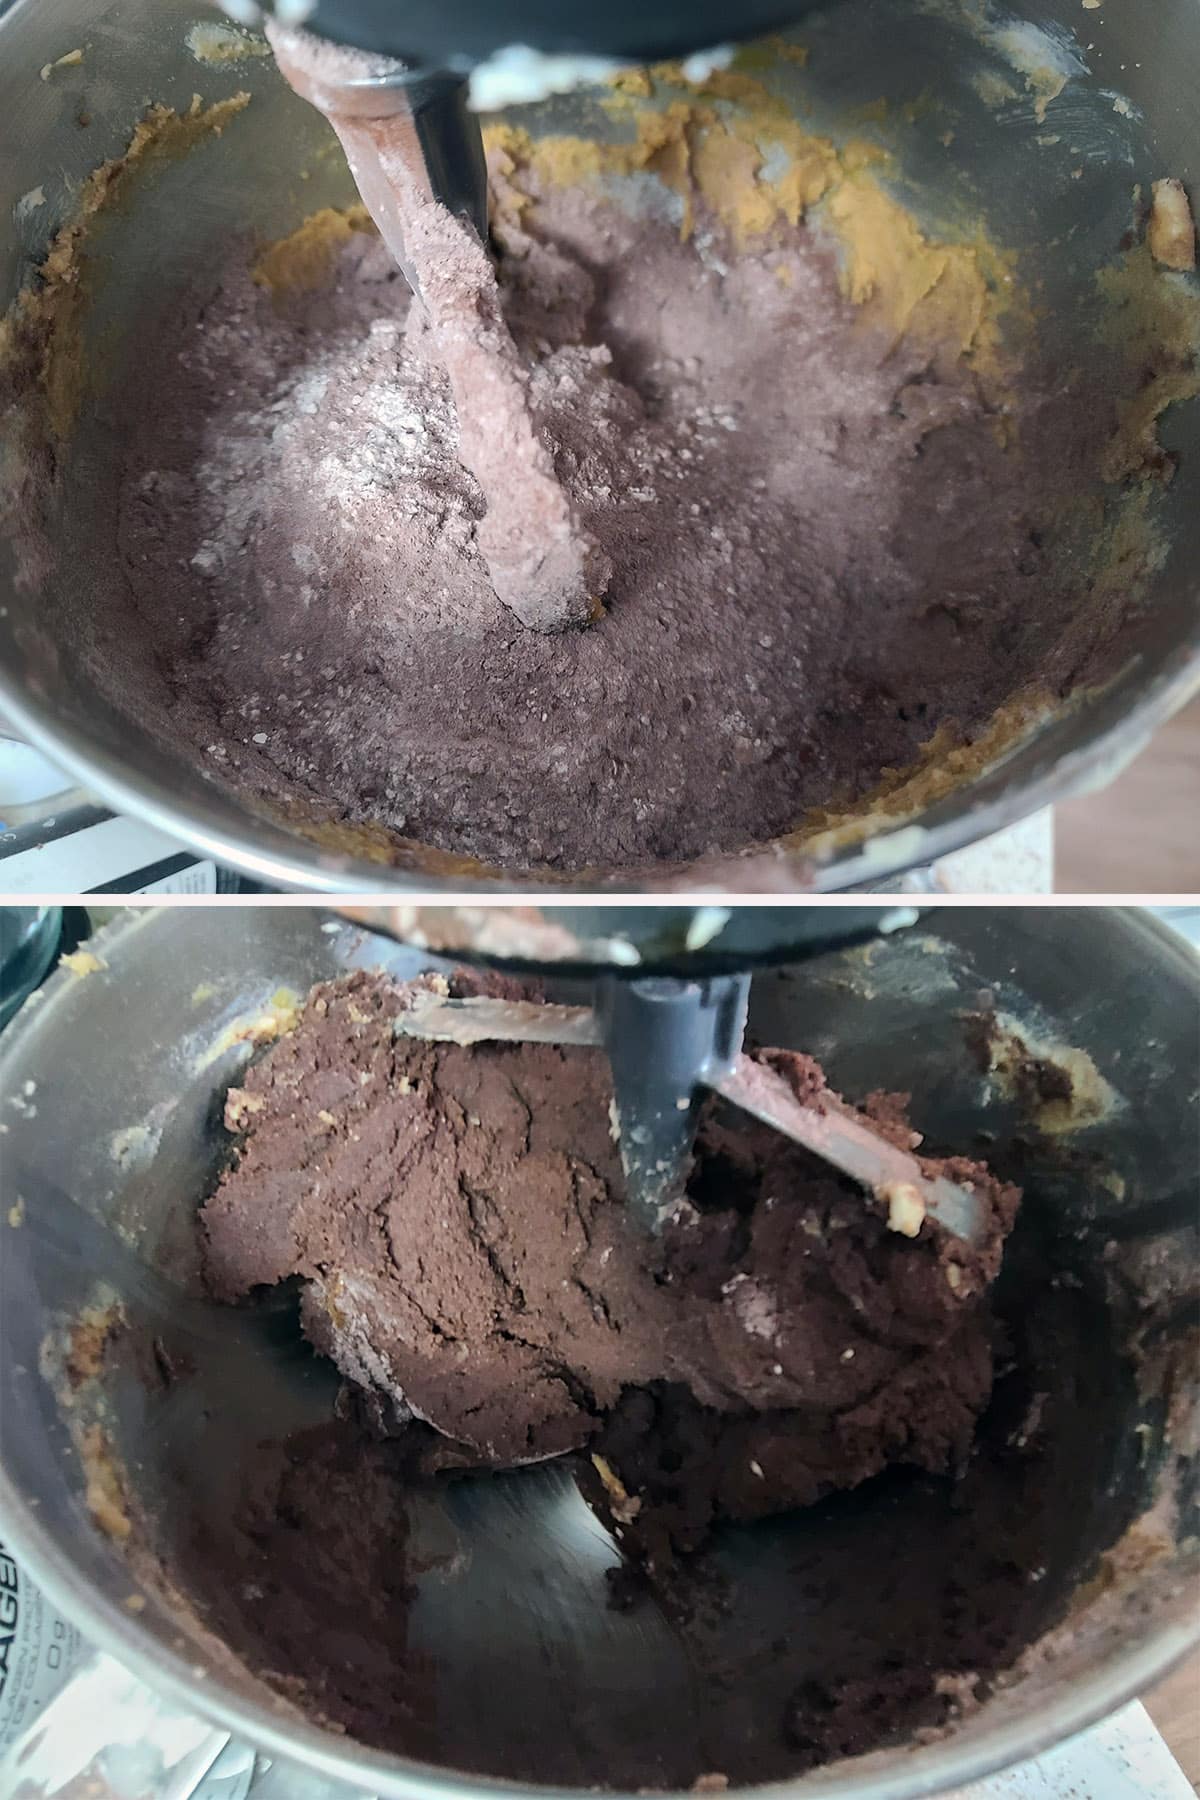
Add chopped cherries, stir just until evenly distributed.
Note: Check the consistency of the dough. A little moist is fine, but you don’t want it super sticky.
If your dough is very sticky - if your cherries were too wet - you can add a bit more flour / cocoa to dry it out a bit. I like to add a 50/50 mixture of the two, as flour alone will dilute the chocolate flavour.
If you’re in a very warm house - or your dough still feels a bit too sticky - you can chill your dough if you’d like. This will help prevent spreading.

Roll and Bake the Cherry Chocolate Cookies
Flatten slightly.
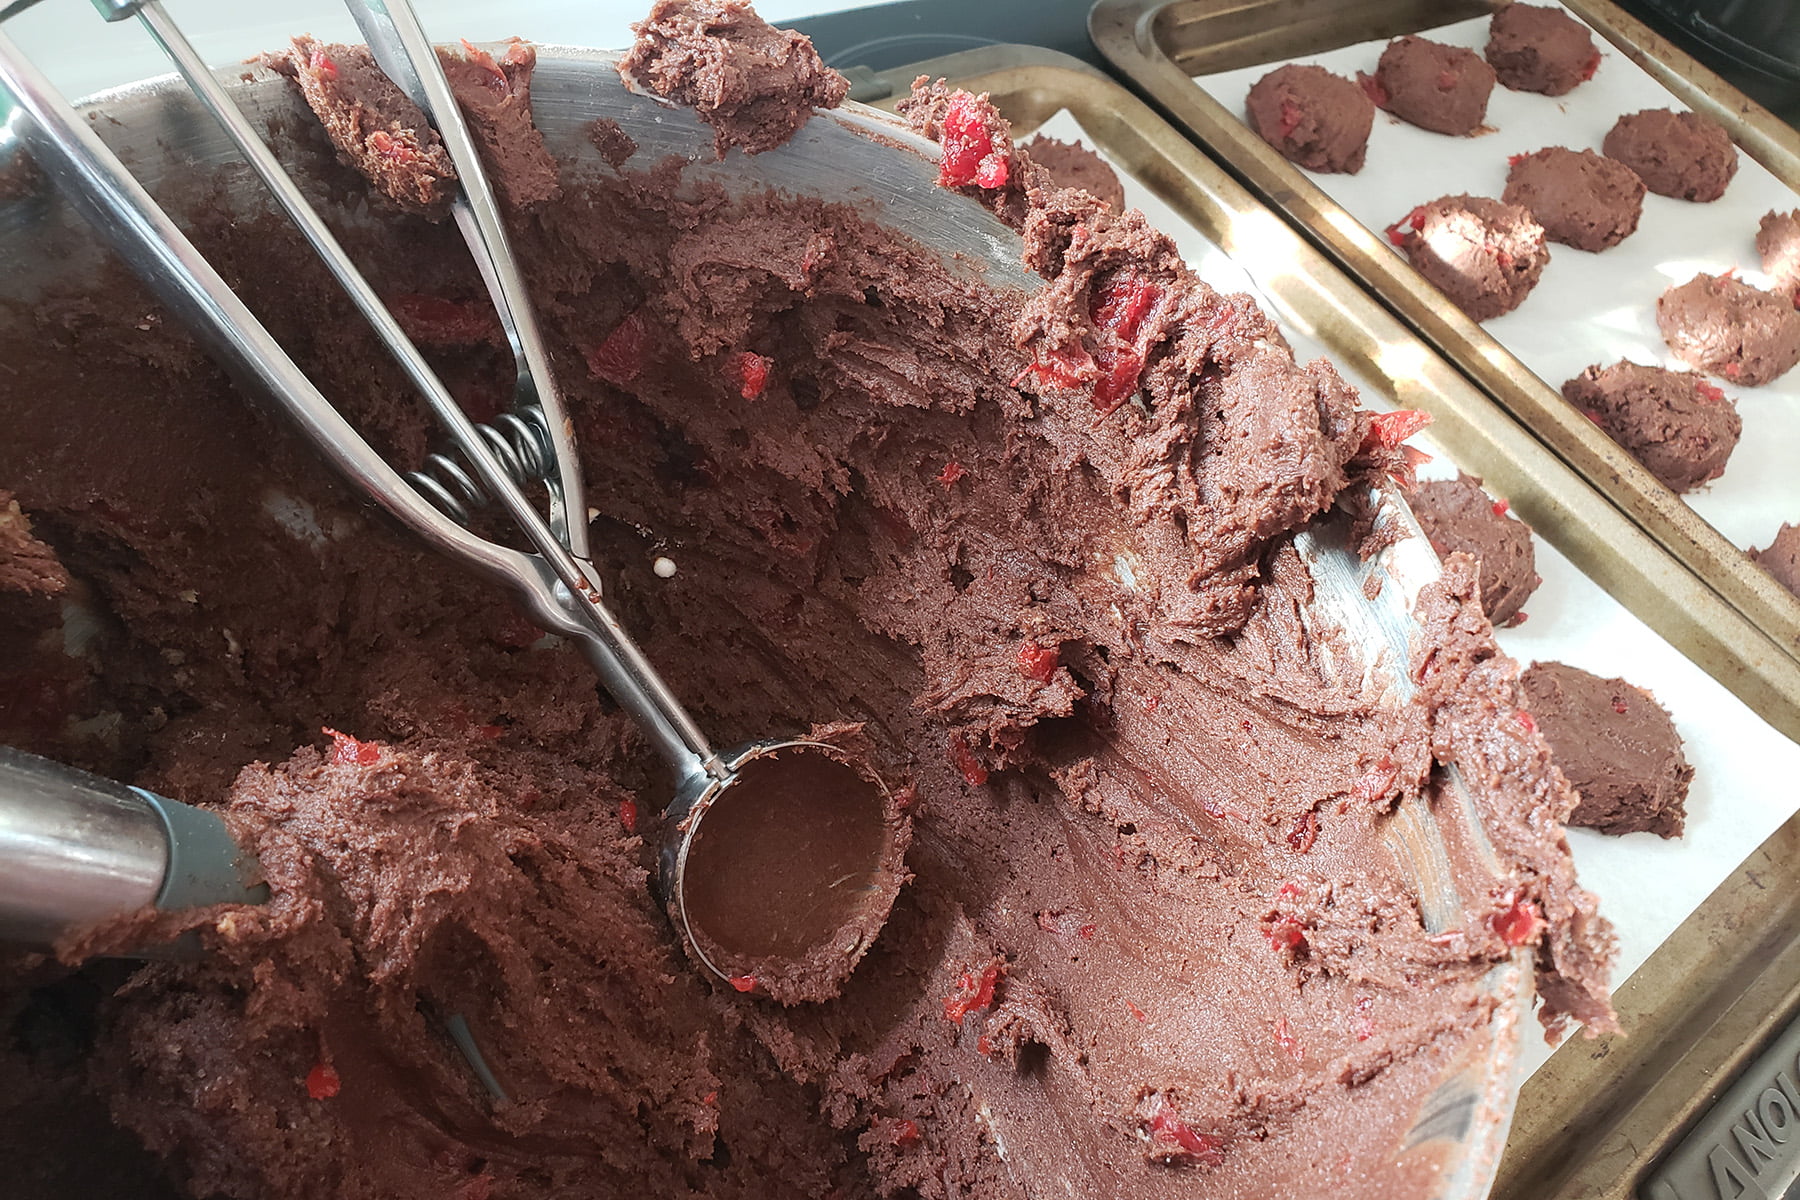
If rolling by hand, you’ll want to flatten them *slightly* - just enough to prevent them from rolling.
If using an ice cream scoop, just level off the dough in the scoop and plop it down on the prepared baking sheet, flat side down.

Cookies will puff during baking, be soft when removed, and will flatten and set when removed from the oven.
Be sure to not overbake the cookies - It’s better to slightly under bake them and put them back in for a minute, than to overshoot and end up with a dry, crunchy cookie.
If everything’s good, I’ll bake the rest of the dough as-is.
If it’s too warm in the house, or the dough was too wet, I’ll either add a bit more flour/cocoa, or chill the dough for 30 minutes, to rein in the spread.
Cool on cookie sheet for about 2 minutes, until cookies are set.

Move cookies to wire rack to cool. You’re going to want to let them cool to room temperature before proceeding.
Do the Drizzle!
Melt white chocolate chips – I like to place them in a microwave safe small bowl and microwave them for 45 seconds at a time until almost melted, then stirring until fully melted. .
Back in the day, I used to melt the white chocolate, transfer it to a microwaveable squeeze bottle, and squeeze out fat little snakes of white chocolate in a zig zag pattern across the cookies.
I’d reheat the bottle as necessary - generally a pain.
You’re going to want the white chocolate to be good and hot, but be careful not to burn it.
As the chocolate cools, the mixture will thicken up, and it won’t scatter as well - don’t be afraid to reheat and stir as needed!
The parchment paper makes for easy clean up!

White chocolate STARTS to set up quickly - as you’ll notice when scattering it - but it takes quite a while to actually, fully set up. Give it that time!
Once the chocolate has solidified, transfer cookies to an airtight container.

The cookies can be made ahead and frozen, if needed.
I recommend freezing after baking and cooling, but before the chocolate. Allow cookies to fully defrost before drizzling with the melted white chocolate.
More Chocolate Recipes
Looking for a tasty ways to indulge your inner chocoholic? I've got you covered!
Chocolate Dessert Ravioli
Chocolate Fondues and Fountains
Cookies N Cream Cake
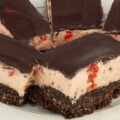
Creme de Menthe Nanaimo Bars
Dark Chocolate Coffee Truffles
Ultimate Double Chocolate Brownies
Grownup Hot Chocolate & Hot Cocoa
Homemade Deep N' Delicious Cake
Milk Chocolate Chai Truffles
Peppermint Patties
Puffed Wheat Squares
Share the Love!
Before you chow down, be sure to take some pics of your handiwork! If you post it to Bluesky, be sure to tag us - @CelebrationGen. We're also on Pinterest, so you can save all your favourite recipes to a board!
Also, be sure to subscribe to my free monthly email newsletter, so you never miss out on any of my nonsense. Well, the published nonsense, anyway!
Finally, if you love this recipe, please consider leaving a star rating and/or a comment below, and maybe even sharing this post on social media!


Chewy Black Forest Cookies
Equipment
- 2 Baking Sheets
Ingredients
- 2 cups All-Purpose Flour
- ¾ cup Cocoa Powder
- 1 teaspoon Baking Soda
- ½ teaspoon Salt
- 1 ¼ cups Butter softened
- 1 cup Granulated Sugar
- 1 cup Brown Sugar
- 2 Large Eggs
- 2 teaspoon Pure Vanilla Extract*
- 1 cup Maraschino Cherries chopped and well drained
- 1-2 cups White Chocolate Chips
Instructions
- Preheat oven to 350°. Combine flour, cocoa, baking soda and salt, set aside.
- Cream together sugars and softened butter. Add eggs and vanilla, beat until smooth.
- Slowly add dry ingredient mixture, mix until fully incorporated. Add chopped cherries, stir just until evenly distributed.
- Roll dough into 1.5” balls, and place on un-greased cookie sheets, leaving 2″ between cookies. Flatten slightly.
- Bake for 13-15 minutes. Cookies will puff during baking, be soft when removed, and will flatten and set when removed from the oven.
- Cool on cookie sheet for about 2 minutes, until cookies are set. Move cookies to wire rack to cool.
- Melt white chocolate chips – I like to place them in a glass bowl and microwave them for 45 seconds at a time until almost melted, then stirring until fully melted. .
- Use a spoon or pastry bag to drizzle melted chocolate over the cookies, allow chocolate to cool and set completely
Notes
Nutrition
More Cookie Recipes!
This recipe is great on its own, but also shines as part of a larger cookie spread. Looking for more ideas? I've got you...
Apple Pie Cookies
Chai Shortbread
Chewy Chocolate White Chip Cookies
Chocolate Haystack Cookies
Chocolate Mint Chip Cookies
Cookie Decorating
Cut-Out Sugar Cookies
Eggless Banana Oatmeal Cookies
Fruitcake Cookies
Hoppy Citrus Macarons
Malted Milk Meringue Cookies
Nightmare Before Christmas Cookies
Noelles
Pecan Pie Cookies
Peppermint Swirl Meringues
Pistachio Macarons
Pumpkin Spice Cookies
Spiced Oatmeal Raisin Cookies
Tropical Fruit & Rum Cookies
Ultimate Cowboy Cookies
Also, be sure to check our Cookies & Bars section, for more options!
Looking for my gluten-free cookie recipes? They're now over on my gluten-free blog, Beyond Flour!
Need gluten-free, AND sugar free? Check out my Keto Cookie Recipes over on my low carb blog, Low Carb Hoser!


Davonna`
Thank you for posting this one! The Black Forest and Fruit Cake cookies are my absolute favorites of your cookies! They are AWESOME!!
Tabby Animals
Oh! This is so cute. Love the simpleness and the cherries on the cookie. It makes it more perfect because it is chewy. Yum!
Tabby Plush
Oh by the way! I also love the melted white chocolate on the top of it.
Kimberly McNally-Sheppard
These were awesome!
Spinet Schoenhut
Simple but looks delicious. I can imagine the chewiness of your cookies.
Kateryna
Yum, those look delicious! Something to try at home for sure.