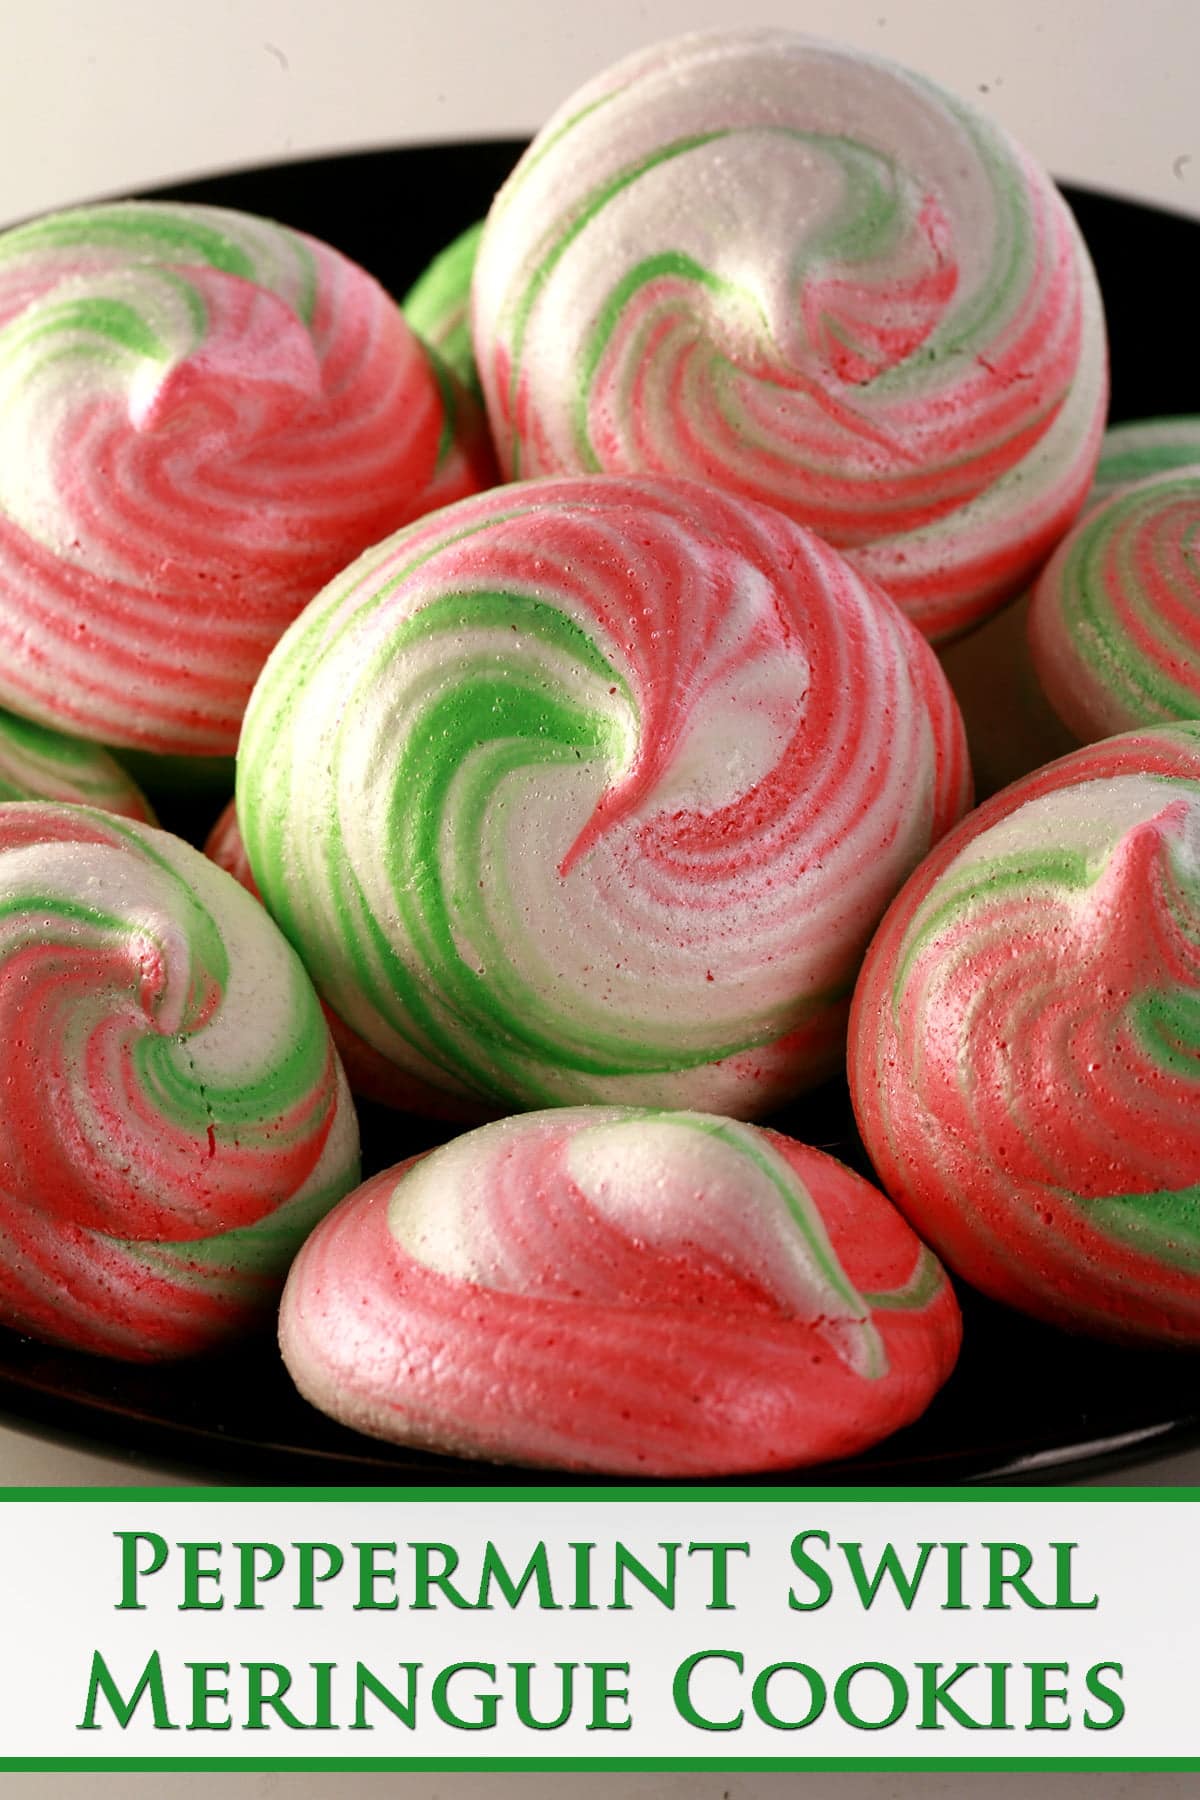
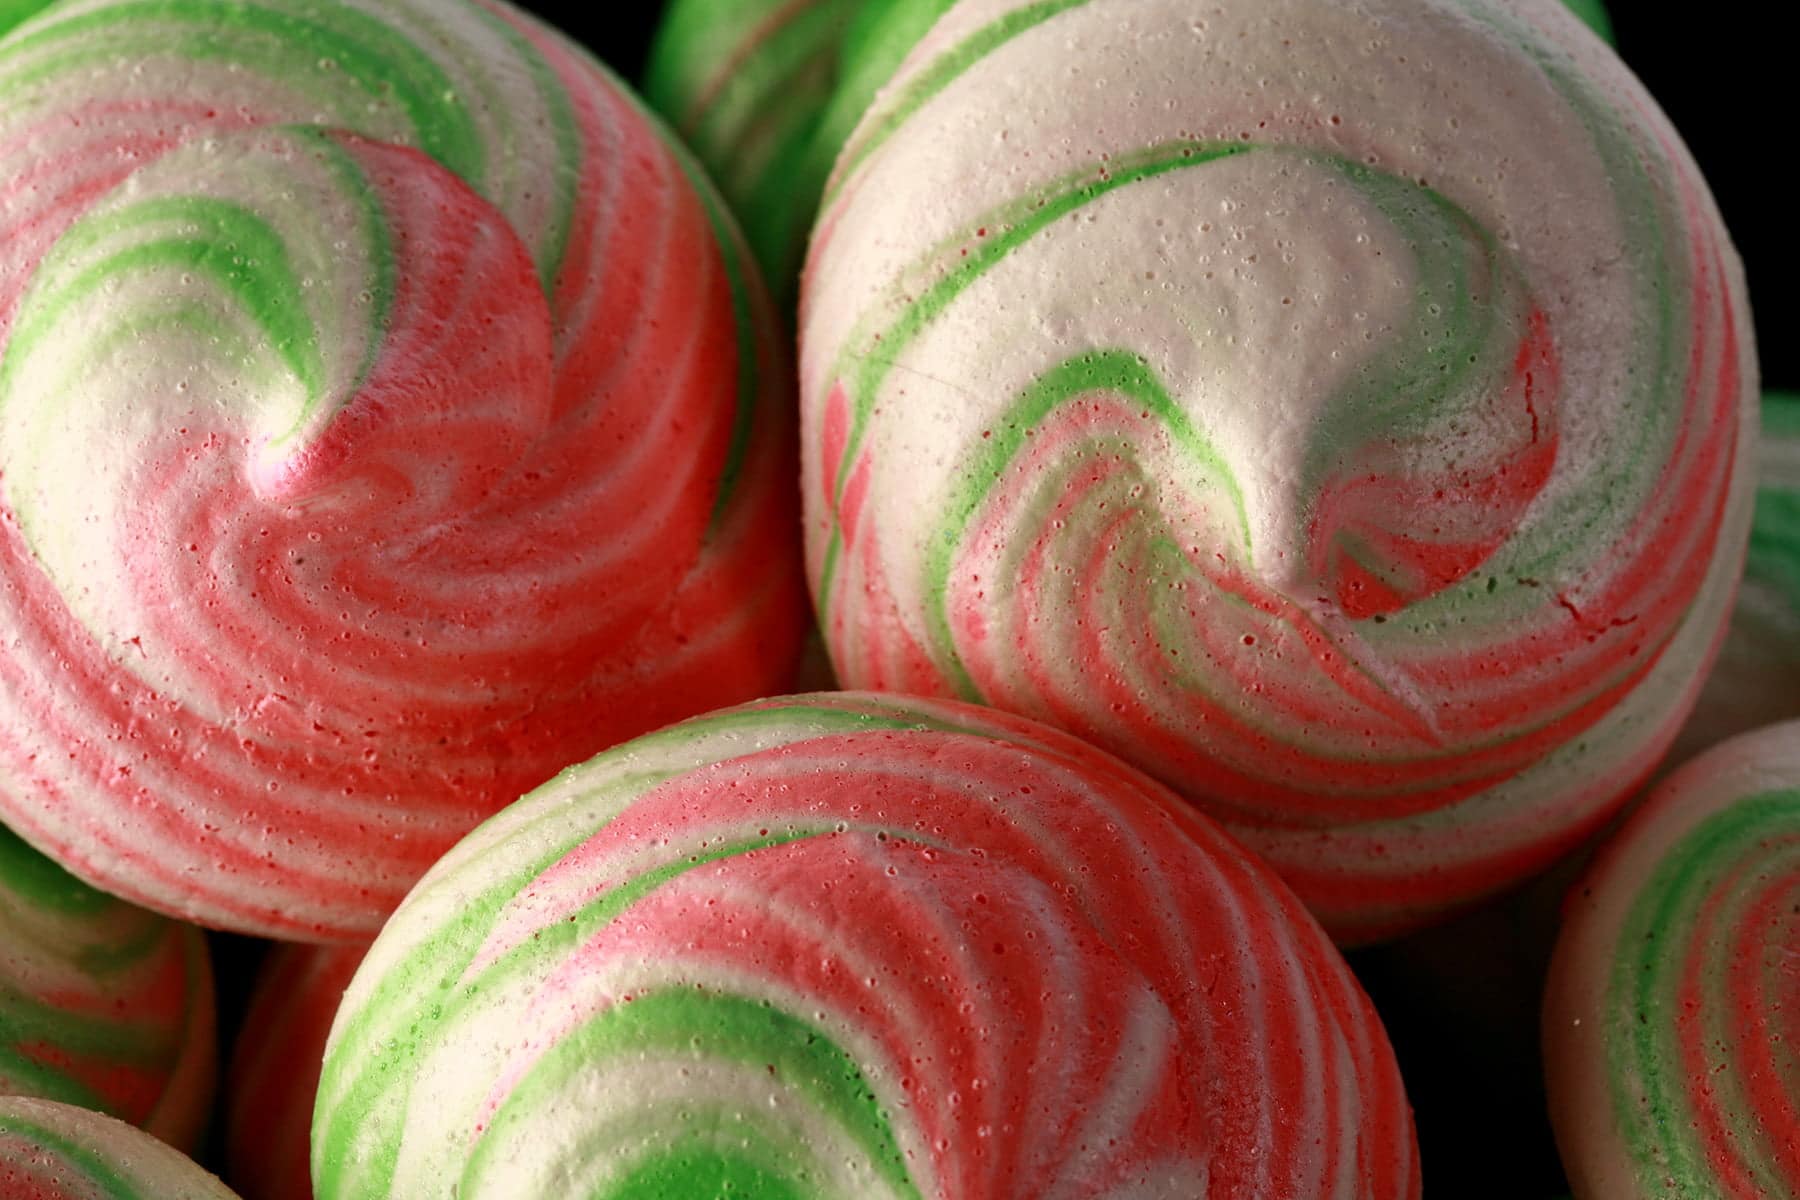
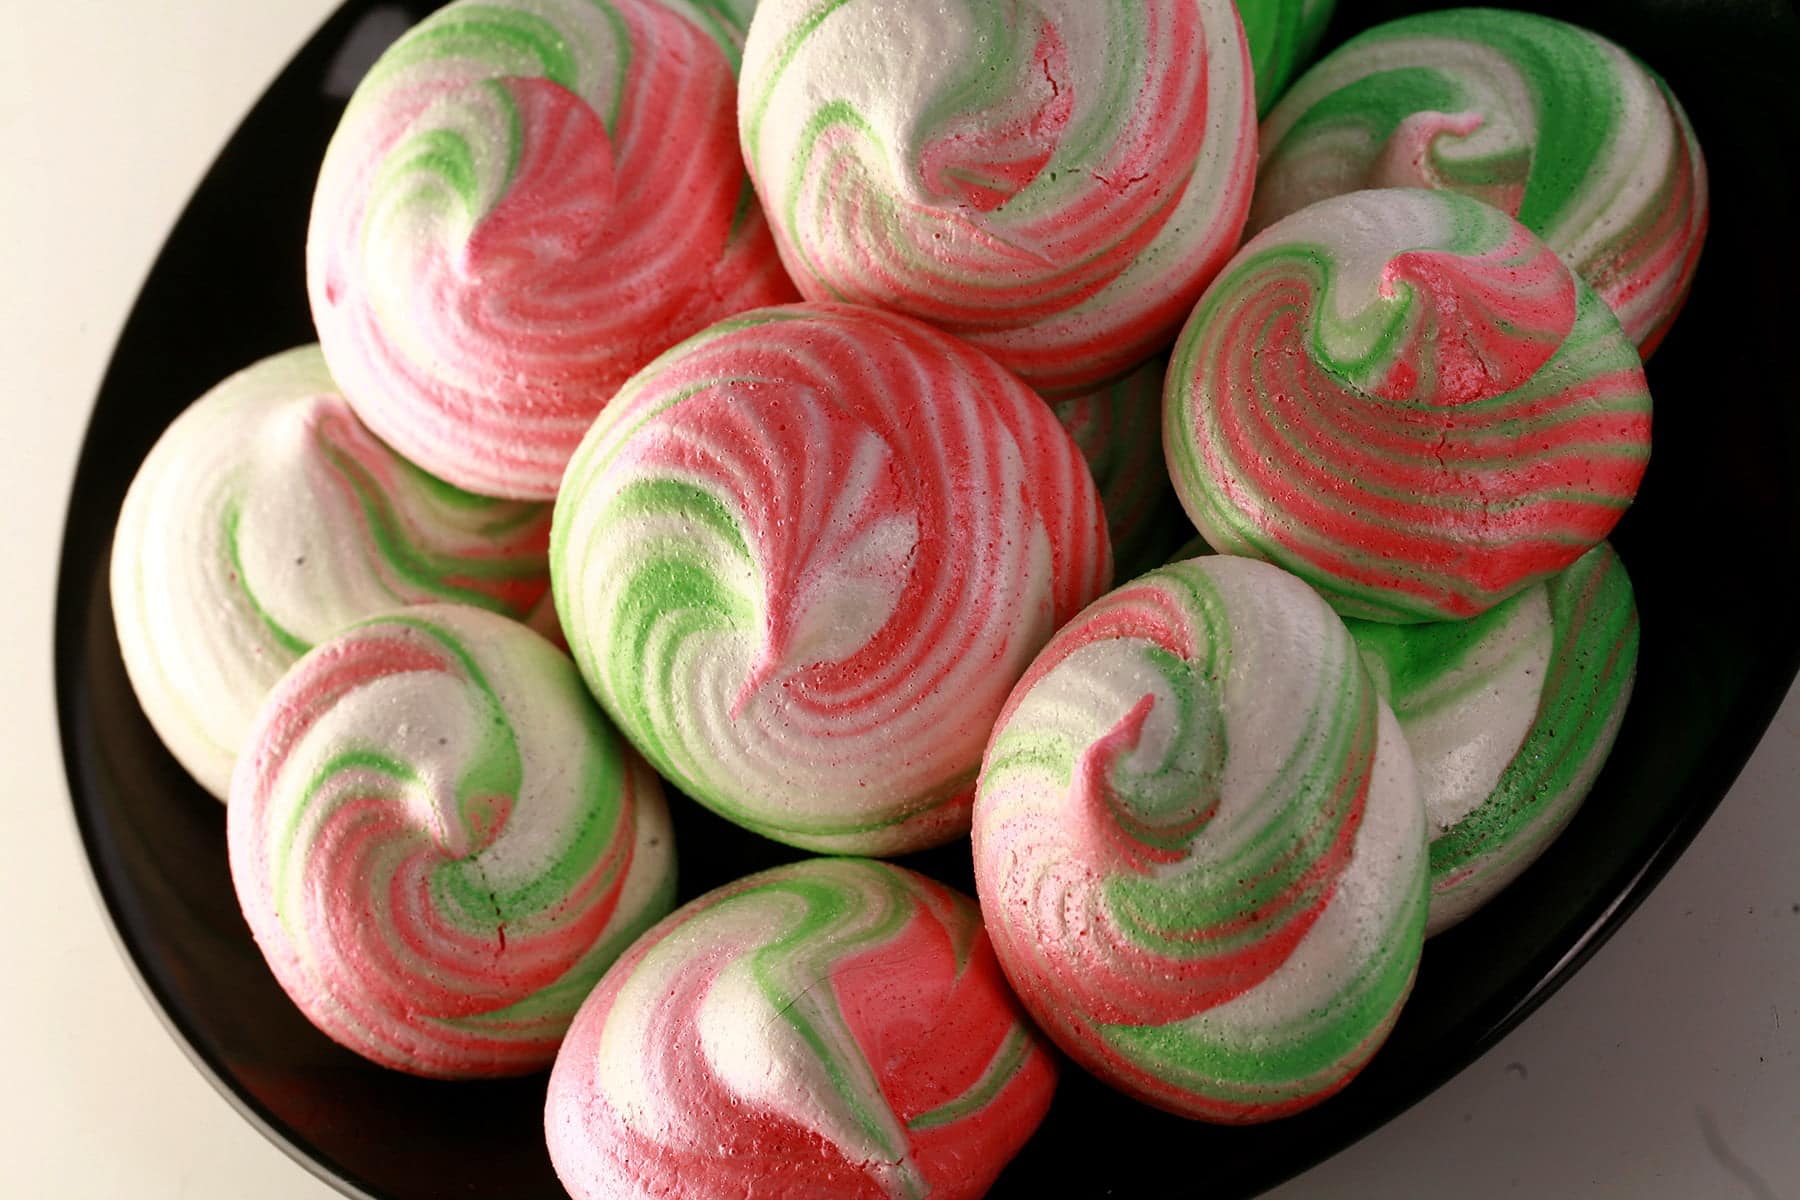
Meringues are a fun, naturally gluten-free cookie option. These Peppermint Swirl Meringue Cookies make use of 3 colours for a pretty effect!
Originally posted December 23, 2014. Updated 12/4/2020.
Yes, in October.
Anyway, I had designed the menu to be holiday themed, but with a twist - everything was gluten-free, in honour of the then-upcoming release of Beyond Flour: A Fresh Approach to Gluten-Free Cooking and Baking.
Among the favourites were these colourful Mint Meringue swirls. Cheap and easy to make, fun to pipe out, and they look so pretty on a holiday sweets platter. Melt in your mouth, too!
Of course, they had to go on the blog as well. 🙂

Holiday Cookie Recipes
With the holidays coming up, it’s probably a good time to not only update this particular recipe, but to direct your attention to some other amazing holiday cookie recipes, as well.
After all, as great as these cookies are... a proper holiday tray should have a great selection of cookies. I love including a variety of flavours, colours, and textures.
This is both for visual appeal, and to try to make sure that there is something there for everyone.
Just be sure to keep your gluten-free offerings separated from the gluten cookies at all times - cross contamination can happen at any time, from raw ingredients all the way through to presentation!
So, before I get to this recipe, a few suggestions to accompany it:
Ultimate Cowboy Cookies - This recipe is ingredients-intensive and makes a TON ... so I usually only make it around the holidays. There’s a bit of everything in these, and they’re *wildly* popular whenever I make them!
Boozy Chocolate Haystack Cookies - This is a slightly more adult version of a childhood favourite. Use certified gluten-free oats to make these gluten-free!
Noelles - My version of a childhood favourite. Chocolate, coconut, and maraschino cherries make these a pretty - and tasty - holiday staple in our house!
Pecan Pie Cookies - Another one of the recipes that was SUPER popular back when I catered holiday trays. These unique cookies are not only full of flavour and texture, they’re gorgeous!
Spiced Oatmeal Raisin Cookies - A kicked up version of an old childhood favourite. I love what warm spices do with a traditional chewy oatmeal cookie.
Fruitcake Cookies - I may not be a fan of glaceed fruit, but those who are go WILD over these cookies. They’re laced with Jack Daniel’s, so that may have something to do with it, LOL!
Chai Shortbread - a simple, elegant cookie with great flavour.

How to Make Peppermint Swirl Meringue Cookies
As you may have guessed from my wild Pavlova obsession... I’m a fan of meringues.
Flour cookies are all well and good, but I also really love the light, airy, crispiness of meringues - whether in cookie or cake form!
That said, the technique to make meringues is wildly different than flour based cookies. By all means, follow the recipe... but there are some nuances that aren’t reasonable to cover in a recipe card, so I’d like to address them here.
This may be a fair amount of info, but please don’t let that scare you. They’re easy to make, you just need to keep a few things in mind!
The Eggs
Much like with making Pavlova, it’s *absolutely crucial* that you use a very clean mixer and bowl, and that not even a speck of egg yolk ends up in with the whites.
Any grease or egg yolk will prevent the whites from whipping up like they need to. If you do end up with yolk in there, just set those whites aside for your next omelette - they won’t be making a meringue.
Eggs are easiest to separate when cold, and easiest to whip when room temperature. Govern yourself accordingly!
The Sugar
You can use plain white granulated sugar for this, as-is.
Alternatively, you can also run your already-measured sugar through a food processor for a few minutes to grind it a bit finer, if you like. This is basically homemade castor sugar, and it dissolves faster.
I usually don’t bother, but figured I’d put it out there!
Once your egg whites are beaten to a nice foamy state, you’ll add your sugar. Do this VERY slowly, so you don’t overwhelm the building structure.
I’ll usually stand there with my measured sugar, scattering a tablespoon of sugar into the bowl at a time. It’s a little tedious, but it really does give the best results.
The Meringue
Once all of the sugar has been incorporated into the egg whites, you’re going to let the mixer do its thing - on high speed - for a bit. There’s no real specific time to this, you’ll just need to watch it, and test every once in a while.
What you’re looking for is “stiff peaks”
This means that when you take the whisk out o the meringue and hold it upside down, the “peak” formed by the meringue doesn’t fall down on itself.
As an example:

Soft peak meringue.
This is “Soft Peak” stage. It’s whisked well, but the tip folds down on itself/
By contrast, this is Juuuuuust short of being stiff peak:
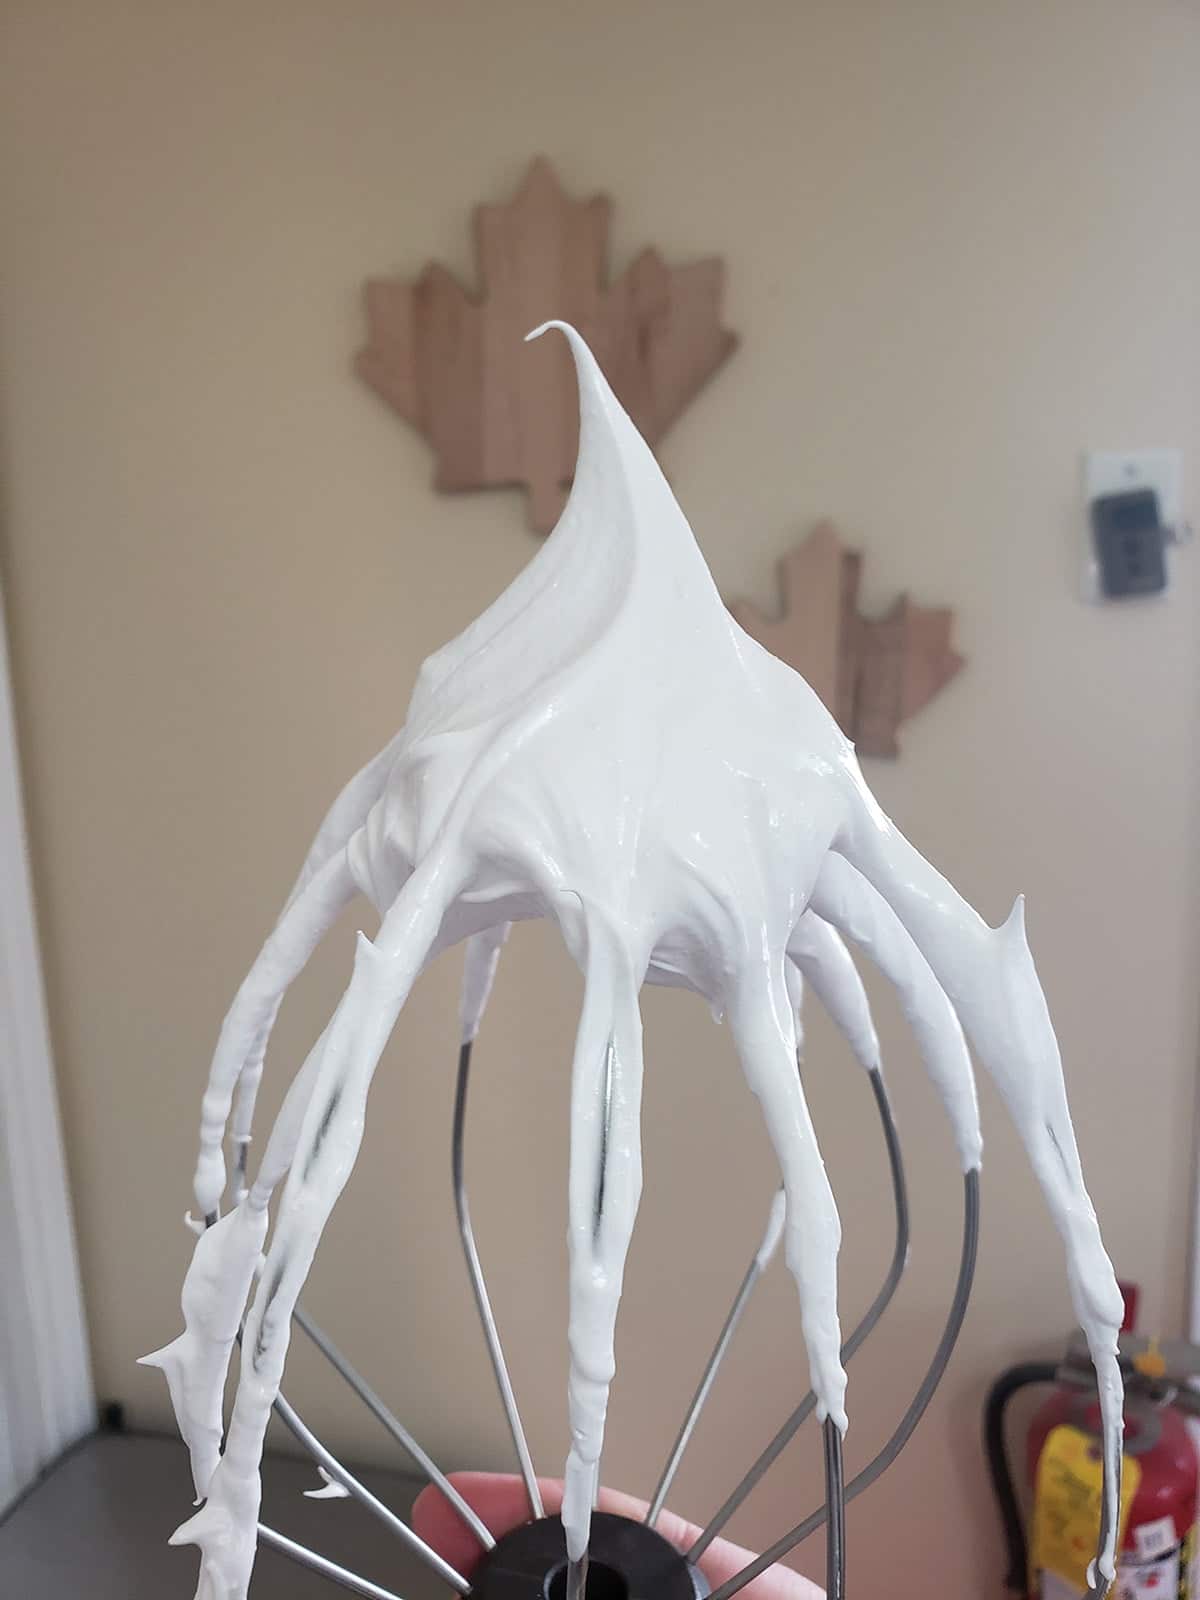
Almost stiff peak meringue.
Once you get to stiff peak stage, you’re going to want to move fast - and definitely NOT beat it any further.
Continuing to beat the meringue after it hits this point will weaken the structure, and will make your meringue more prone to “weeping” - sugary water leaking from the structure while baking, and just kind of crystalizing. It’s not cute.
Piping The Meringue
Here’s an important thing to keep in mind with your meringue: The more you handle it, the more the structure will soften, and the less defined the peaks / piped texture will be.
You know those gorgeous piped star meringue cookies you can buy in stores? With the sharply defined, crisp edges?
Ever notice how those are always a single colour? There’s a reason for that!

Adding the flavouring in? Adding colouring in? Getting it all into separate bags and fussing with the piping?
Each mixing / fussing step goes a little further to deflate the structure. So, you’ll get cute swirls for these cookies, but it’s very unlikely that you’ll end up with deep ridges. It’s all good!
I’m just saying... manage your expectations!
Preparing to Pipe Your Peppermint Swirl Meringues
Ideally, you’ll want at least one LARGE pastry bag - oversized, extra large, whatever - and 3 decent sized bags.
The LARGE bag will be fitted with an oversized coupler and star tip, the smaller bags will each be filled with raw meringue, tied off, and added to the large bag.
In these two photos - from my original post - I made sure to have the properly sized bags:

When reshooting this the other day, I realized too late that I didn’t have any oversized bags, so I tried to make do with what I had:
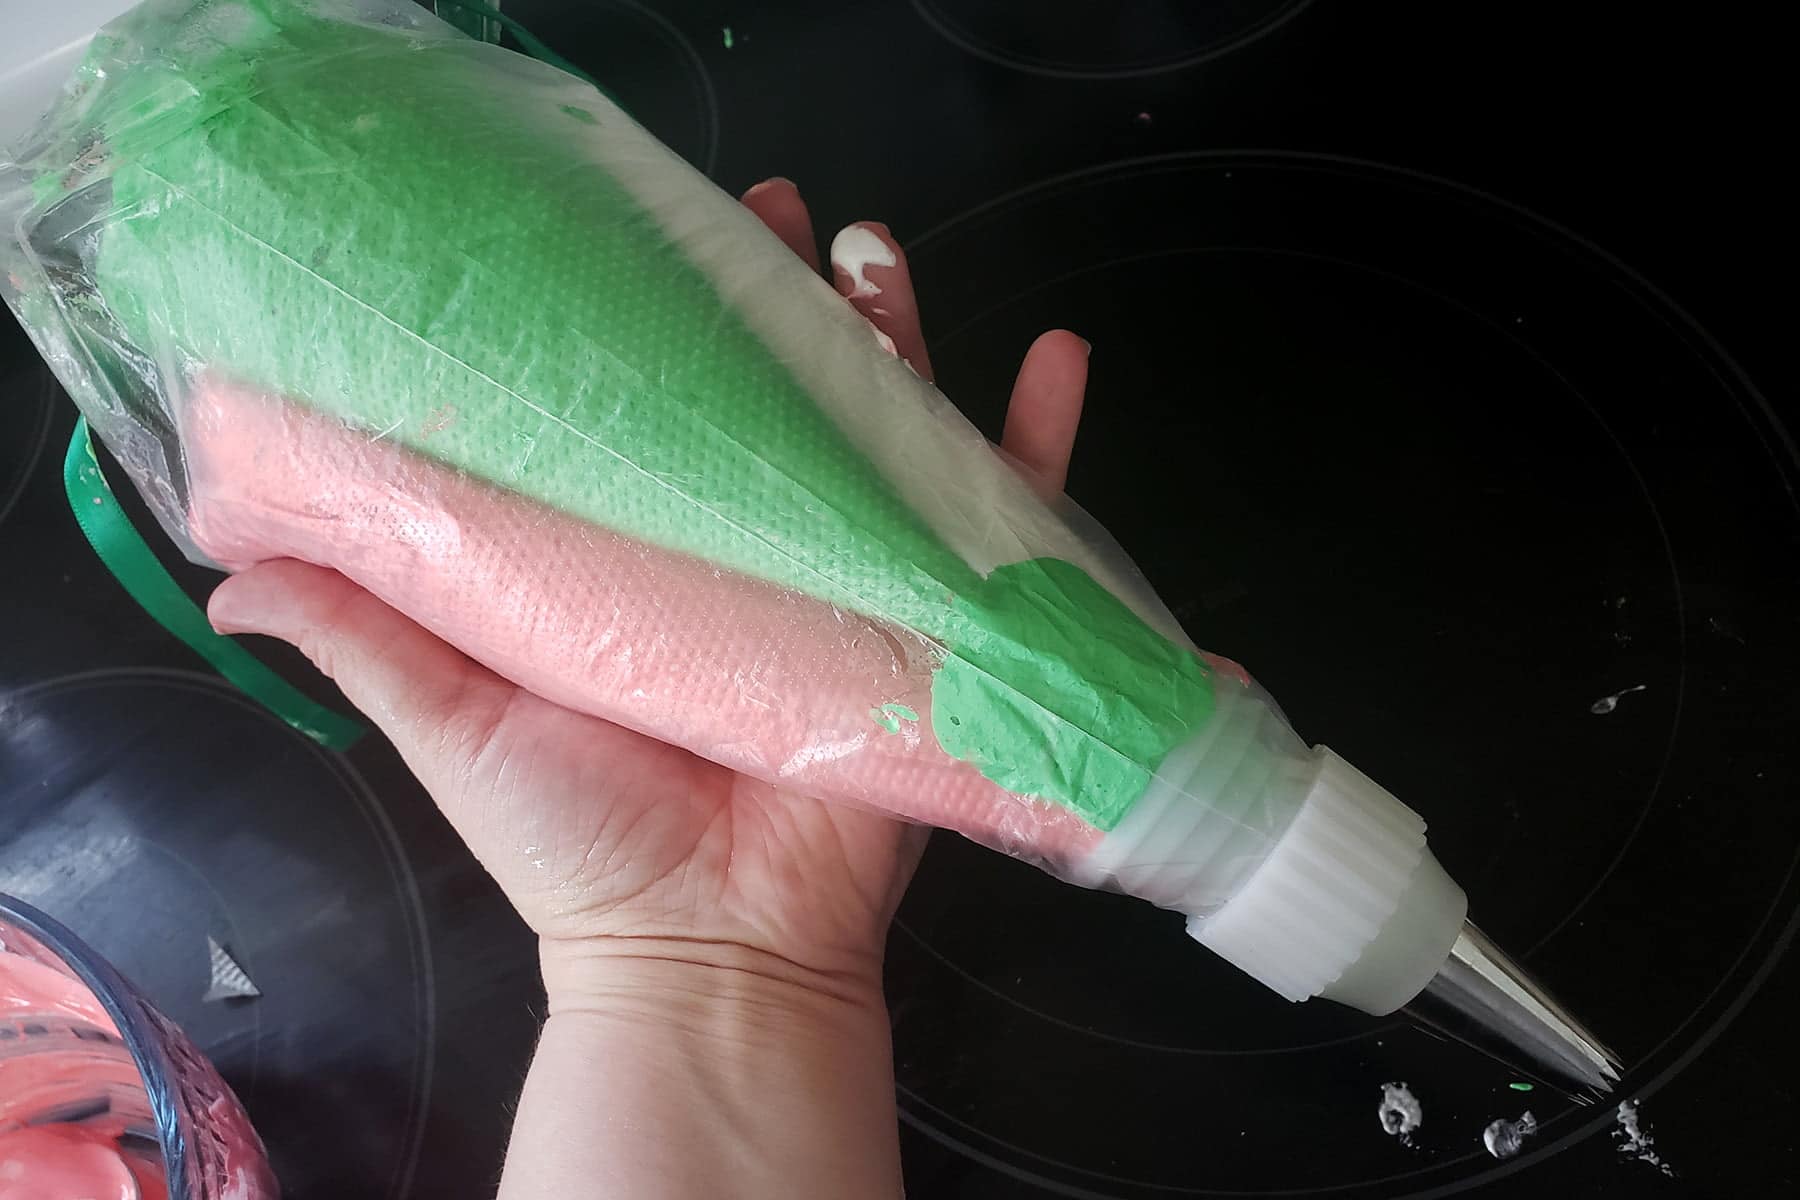
... Do as I say, not as I do. Seriously, the small sized bags weren’t big enough to hold all of the meringue (you are going to want to do this in one go, not refill!), and were too small for the tie off to hold effectively.
So, as I wrestled them into a similarly smallish bag, the ties popped and meringue got *everywhere*. Giant mess - learn from my corner-cutting!
Anyway, once you’ve got your bags filled and tied, cut the tips off *before* putting them into the larger bag.
Once you’ve got your bag all sorted, you can go ahead and pipe little swirl cookies all over your prepared baking sheets.
Remember: Fat is the enemy of meringue: it’s very important to use parchment paper, rather than pan spray, etc.

Baking Your Meringues
When it comes to baking meringues, low and slow is the key.
You’re cooking the egg white, yes... but - more importantly - you’re aiming to dry it all out. Without browning it, BTW.
Baking time can vary wildly for these.
Living in a humid house / area? It’ll take a bit longer.
If you - like me - like the meringues to be chewy inside (Like a Pavlova!), bake for a bit less time.
Larger cookies, add some time. Smaller, subtract some.
When your target baking time is up, quickly take one out and sample it.
If it’s mostly dry (or at least close-ish to the texture you want!), keep the door closed, turn the oven off, and let them sit for a couple hours.
Alternatively, if it’s nowhere near what you’re looking for, let it cook another 20 minutes or so, and try again.
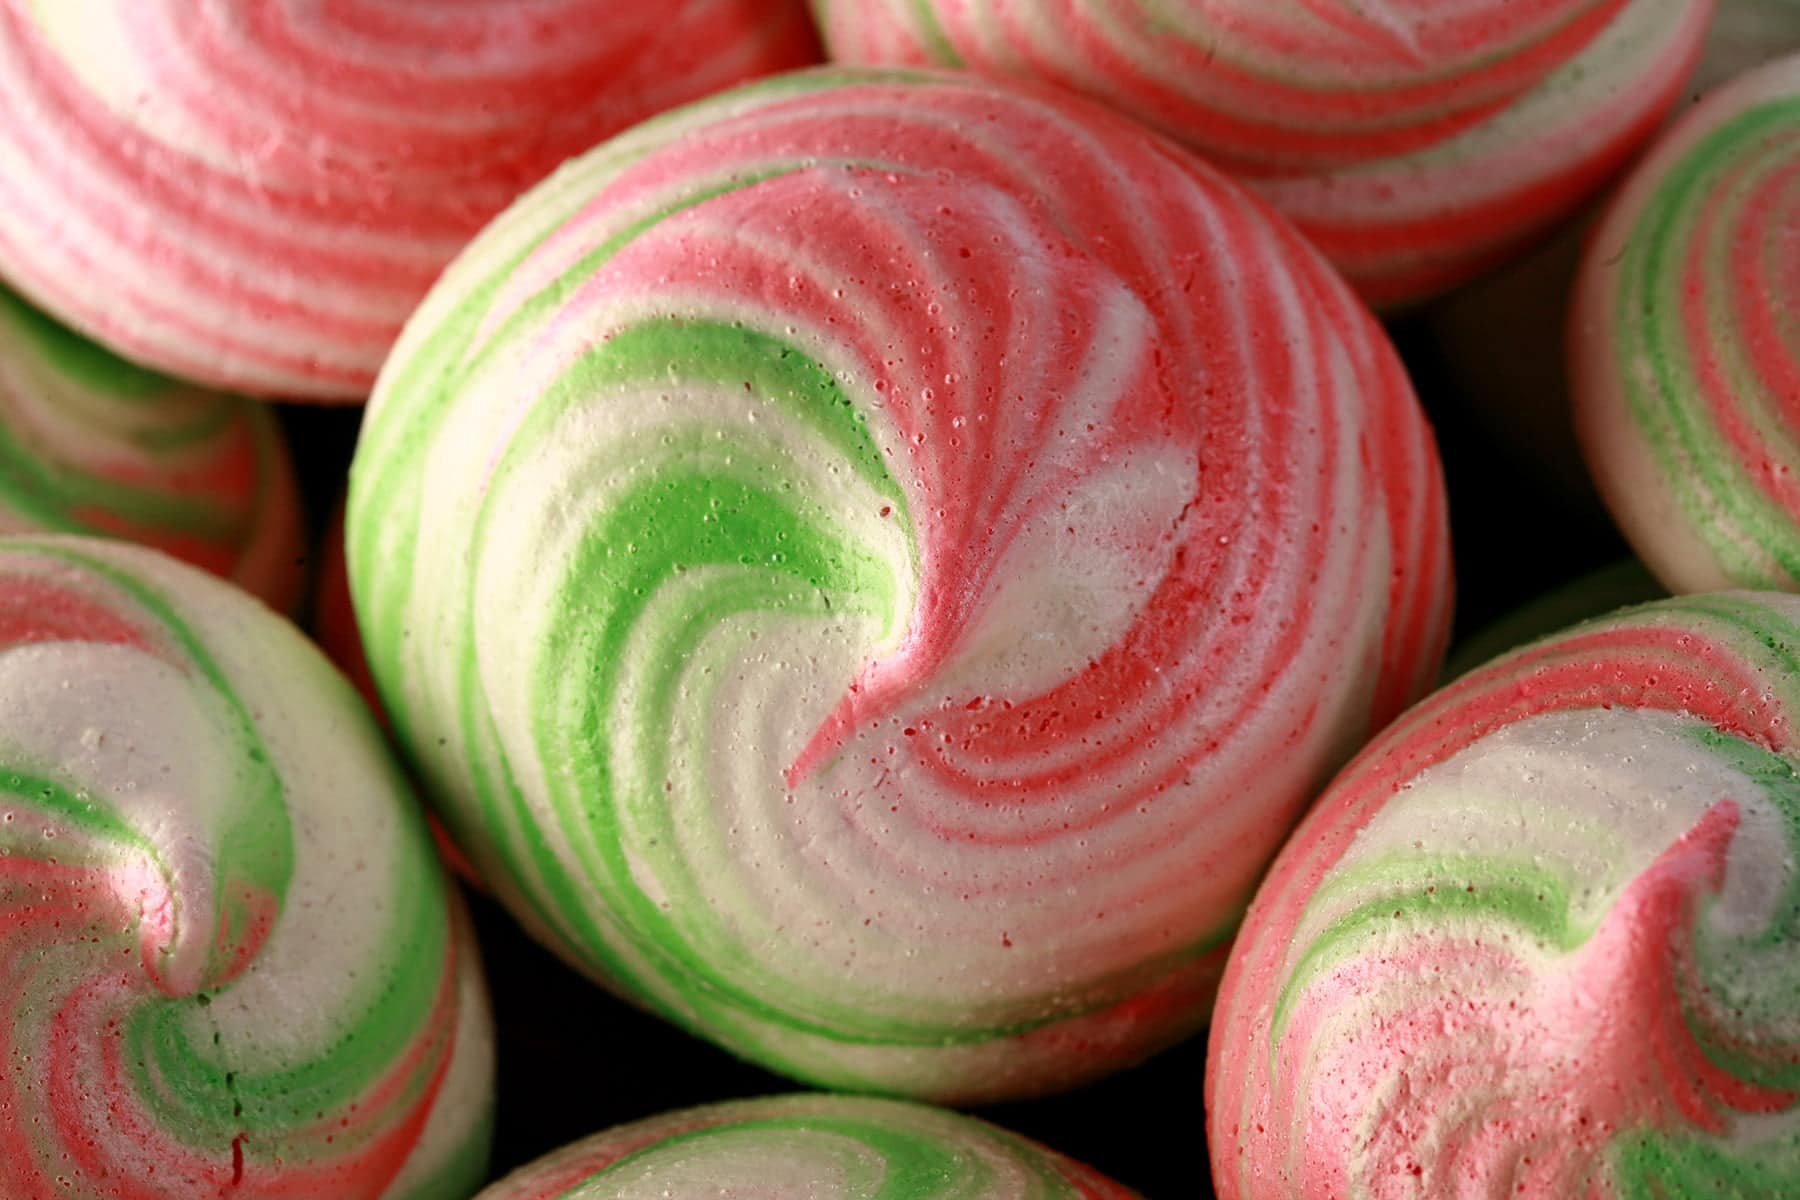
Storing your Meringue Cookies
Once you’re happy with things and they’ve had a few hours to cool / dry out, transfer the cookies to an airtight container immediately.
Meringues are very hydrophillic, which means they’ll draw moisture from the air.
As there’s not a lot of sense in fussing over getting your meringues to the perfect texture only to have them go soggy... this is a good thing to avoid!

Also, if you're interested in gluten-free cooking and baking, you should definitely check out my gluten-free cookbooks: Beyond Flour: A Fresh Approach to Gluten Free Cooking & Baking, and the sequel... Beyond Flour 2. You can order them right here on my website, through Amazon, or through any major bookseller.

More Cookie Recipes!
This recipe is great on its own, but also shines as part of a larger cookie spread. Looking for more ideas? I've got you...
Apple Pie Cookies
Black Forest Cookies
Chai Shortbread
Chewy Chocolate White Chip Cookies
Chocolate Haystack Cookies
Chocolate Mint Chip Cookies
Cookie Decorating
Cut-Out Sugar Cookies
Eggless Banana Oatmeal Cookies
Fruitcake Cookies
Hoppy Citrus Macarons
Malted Milk Meringue Cookies
Nightmare Before Christmas Cookies
Noelles
Pecan Pie Cookies
Pistachio Macarons
Pumpkin Spice Cookies
Spiced Oatmeal Raisin Cookies
Tropical Fruit & Rum Cookies
Ultimate Cowboy Cookies
Also, be sure to check our Cookies & Bars section, for more options!
Looking for my Gluten-Free Cookie Recipes? They're now over on my gluten-free blog, Beyond Flour!
Need gluten-free, AND sugar free? Check out my Keto Cookie Recipes over on my low carb blog, Low Carb Hoser!
Share the Love!
Before you chow down, be sure to take some pics of your handiwork! If you post it to Bluesky, be sure to tag us - @CelebrationGen. We're also on Pinterest, so you can save all your favourite recipes to a board!
Also, be sure to subscribe to my free monthly email newsletter, so you never miss out on any of my nonsense.
Well, the published nonsense, anyway!

Now, how about that Peppermint Swirl Meringue Cookies recipe?
Peppermint Swirl Meringue Cookies
Equipment
- Parchment Paper
- 2 Baking Sheets
Ingredients
- 6 egg whites
- ½ teaspoon cream of tartar
- ¼ teaspoon salt
- 1 ½ cups Granulated Sugar
- 2-3 teaspoon peppermint extract NOT peppermint oil
- 4 extra large or 3 normal and one extra large pastry bags
Instructions
- Preheat oven to 200°F. Prepare cookie sheets by lining with parchment paper. (Do NOT use pan spray!)
- In the bowl of a stand mixer, combine egg whites, salt, and cream of tartar. Using the whisk attachment, whip on high until foamy.
- Slowly add in the sugar – a little at a time – and continue whipping until stiff peaks form.
- Turn off mixer, remove bowl. Gently stir in peppermint extract to taste.
- Working quickly but gently, divide the meringue into three bowls. Dye one red, and another green, leaving the third bowl white.
- Fit one extra large pastry bag with a large coupler set and tip of your choice – I used used a 4B, large star tip.
- Fill the other three bags with one each of the three meringue colours, taking care to avoid air bubbles. I like to tie them off with a little bit of twine, ribbon, or elastic, as it keeps things cleaner.
- Cut about ¾″ off the end of the three filled bags and CAREFULLY insert them into the fourth - extra large - pastry bag, so that the three open tips insert almost all the way into the coupler (NOT all the way into the tip, though!)
- Be gentle, you don’t want to squeeze meringue out of one or both of those bags yet!
- Use the frosting bag as you normally would, piping small swirls of meringue out onto the prepared cookie sheets. I like to make them just over 2″ in diameter, and leave about 1″ between each little mound.
- Bake for 1 hour 20 minutes. Test for doneness.
- When meringues are almost as dry as you'd like them, turn the oven off, keep the door closed, and allow them to cool for 2 hours.
- Remove from oven and allow to cool fully before transferring to an airtight container.





Andrea
Marie, these look beautiful! I definitely want to try them out.
Suzee
Do you actually taste raw egg whites? How do you know what’s the right amount? What’s typical?
Marie Porter
Personally, I do! I understand some wouldn’t want to, so I’d say go with the lesser amount and see how you like the finished meringues. Can always add more next batch!