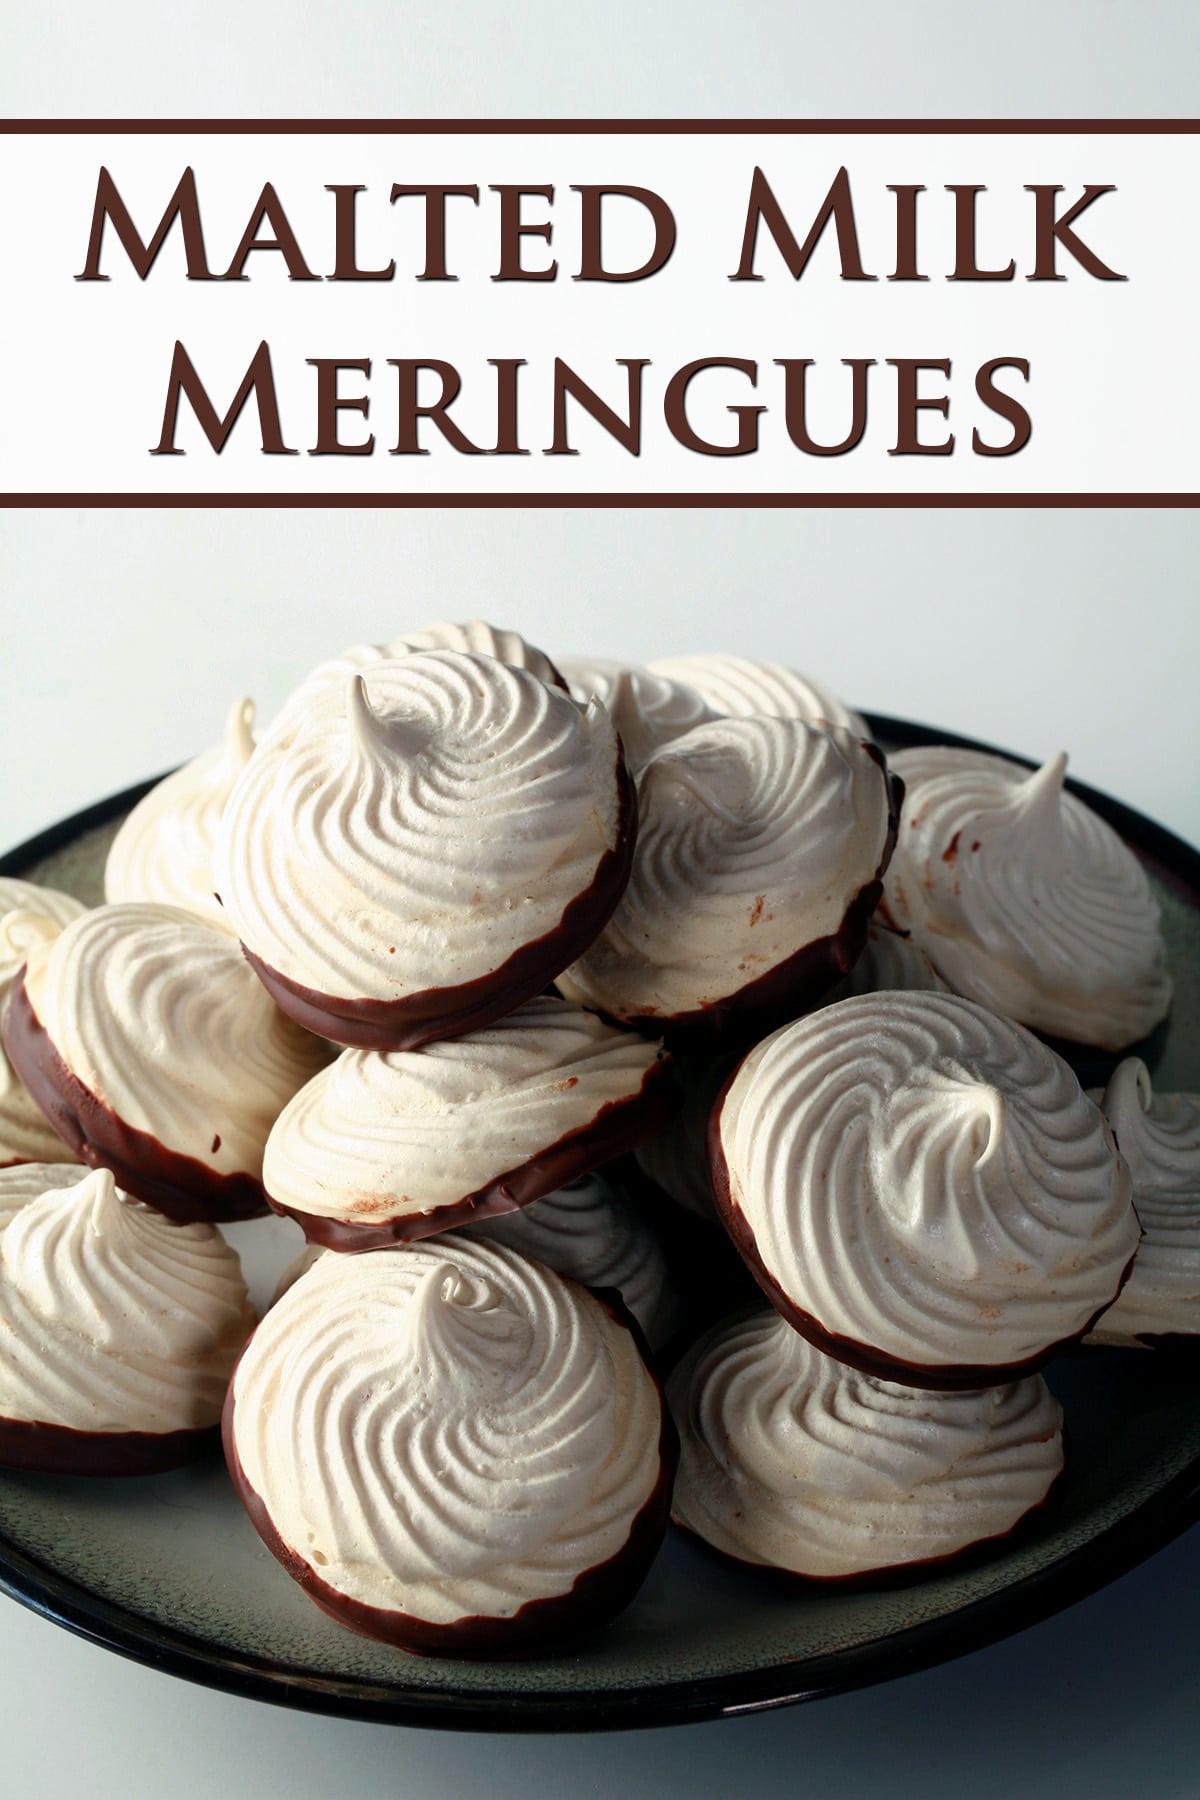
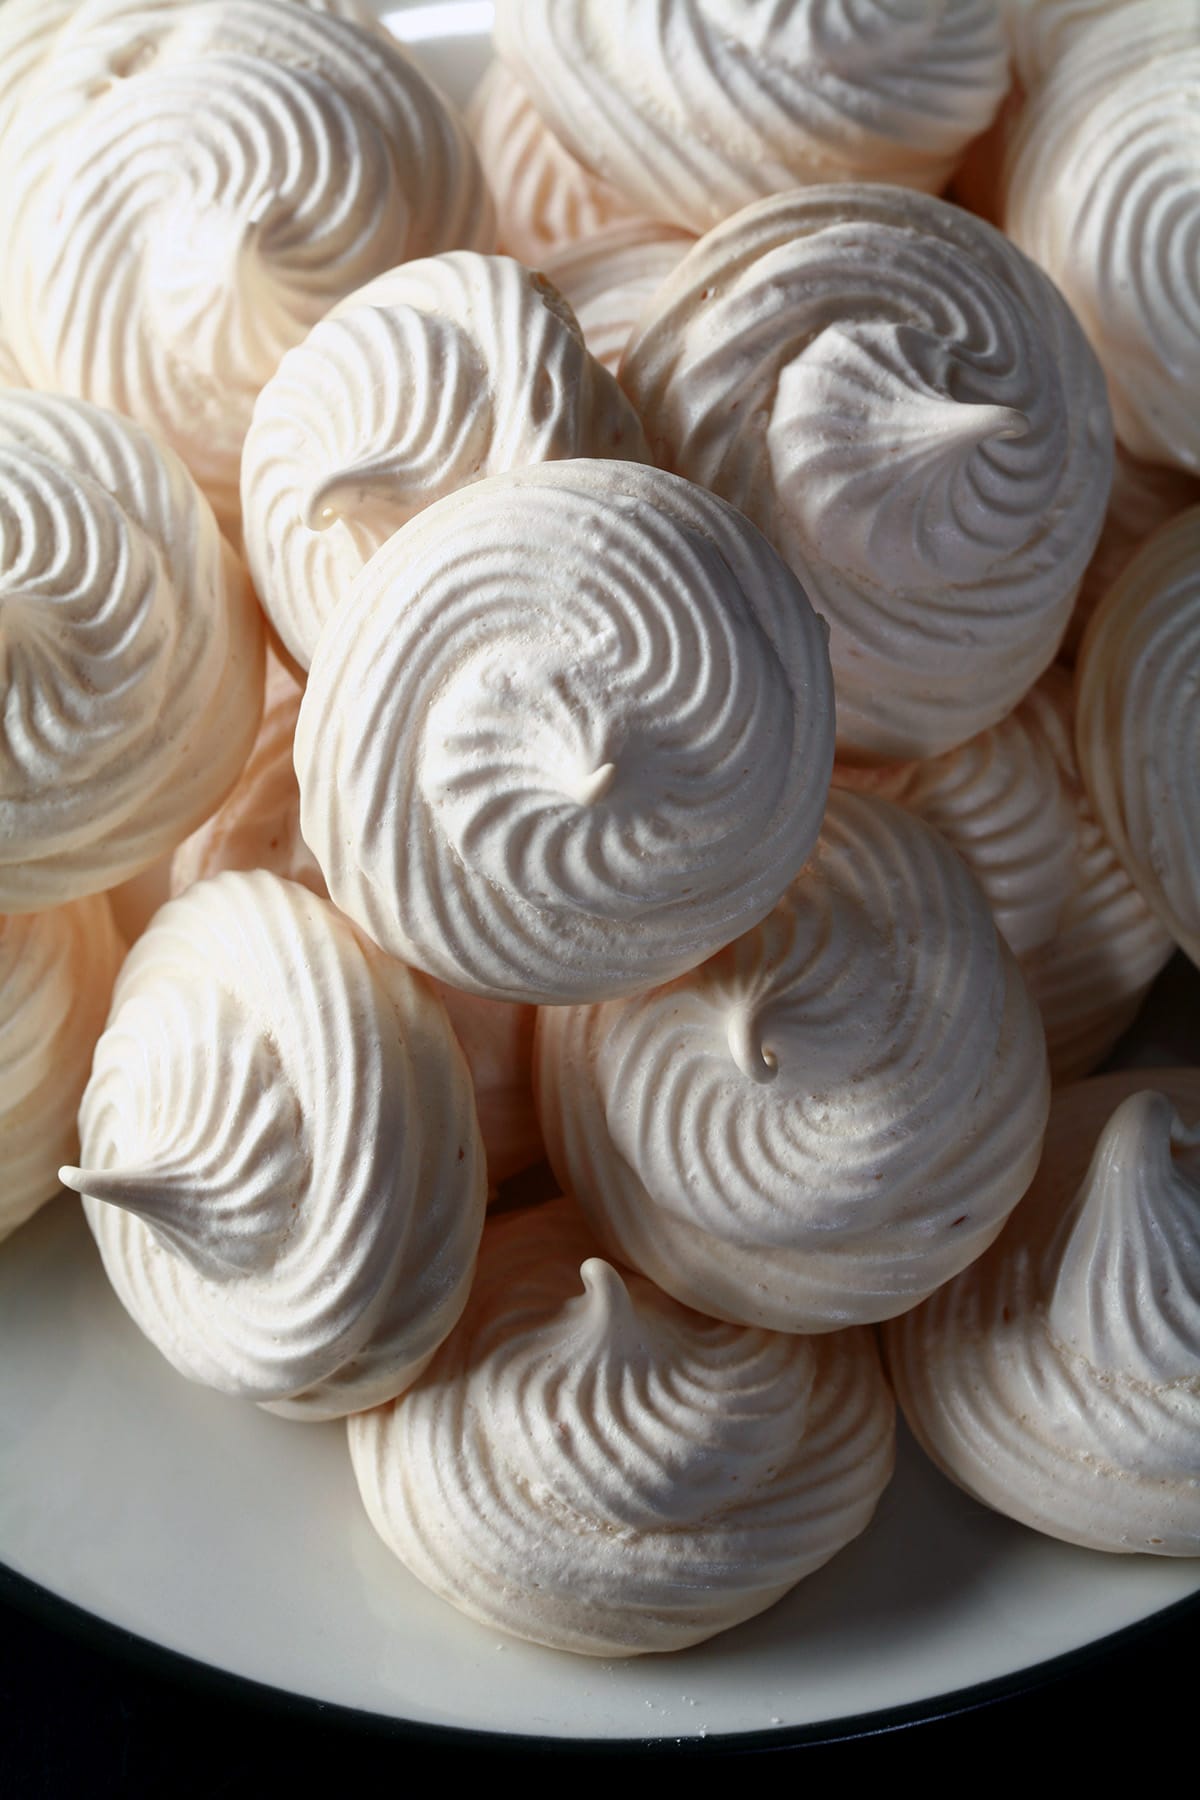
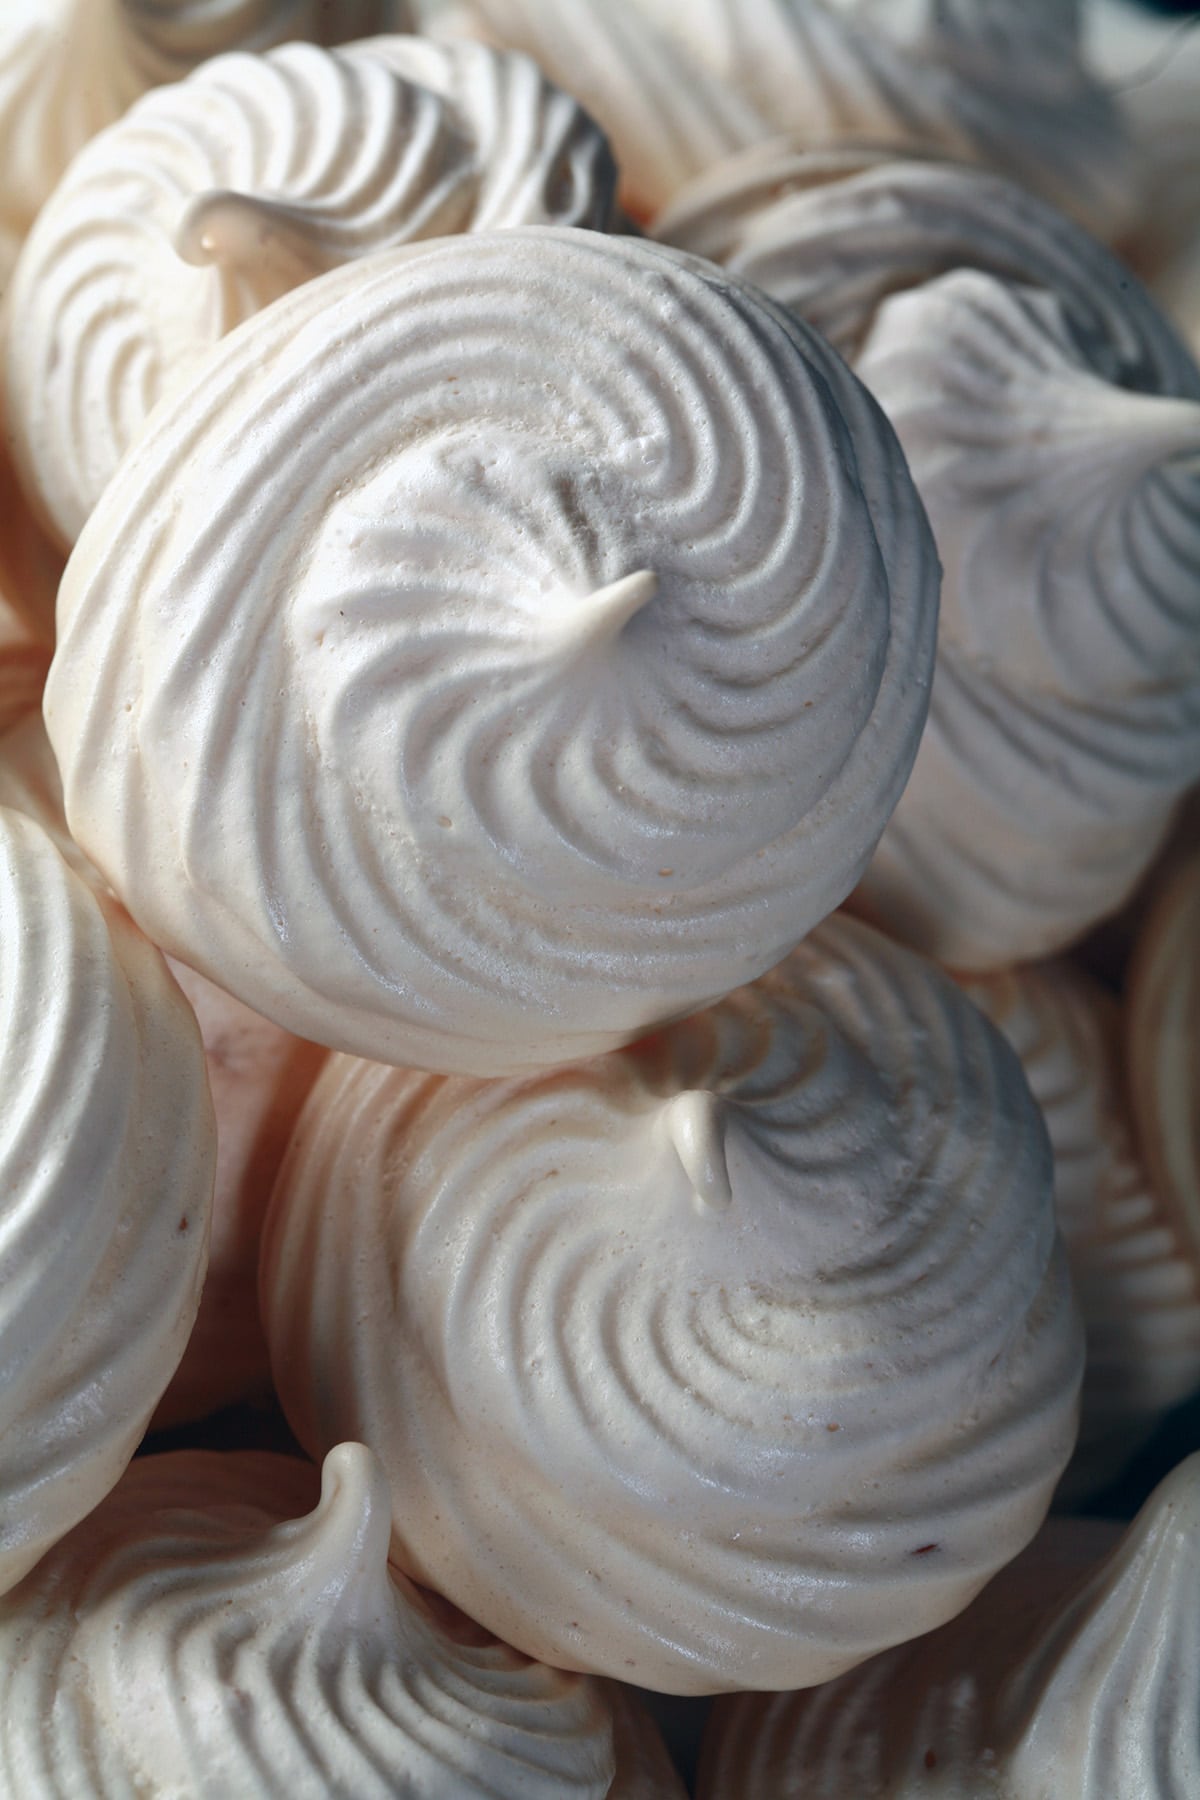
Malted Milk Meringue Cookies: Super easy to make, airy meringues that taste like the inside of malted milk chocolates. What else can I say? Awesome!
A little while ago, I shared my recipe for Montreal Bagels ... and I’ve been meaning to share this one, ever since.
Good news! I finally got around to it!
You’re probably familiar with classic meringue cookies. A classic cookie, commonly found on holiday cookie plates and at baby showers.
Egg whites - sometimes leftover egg whites from other recipes - are whipped up with sugar and formed into delicate cookies and baked at a low temperature for a long time to crisp them up and dry them out, leaving you with lovely, airy cookies.
IMHO, the best meringues have flavour added to them... and here we are!
Today’s post is a great recipe. It’s my easy meringue cookie recipe, but with a twist: They’re flavoured with dry malt extract, an ingredient used in those Montreal Bagels.
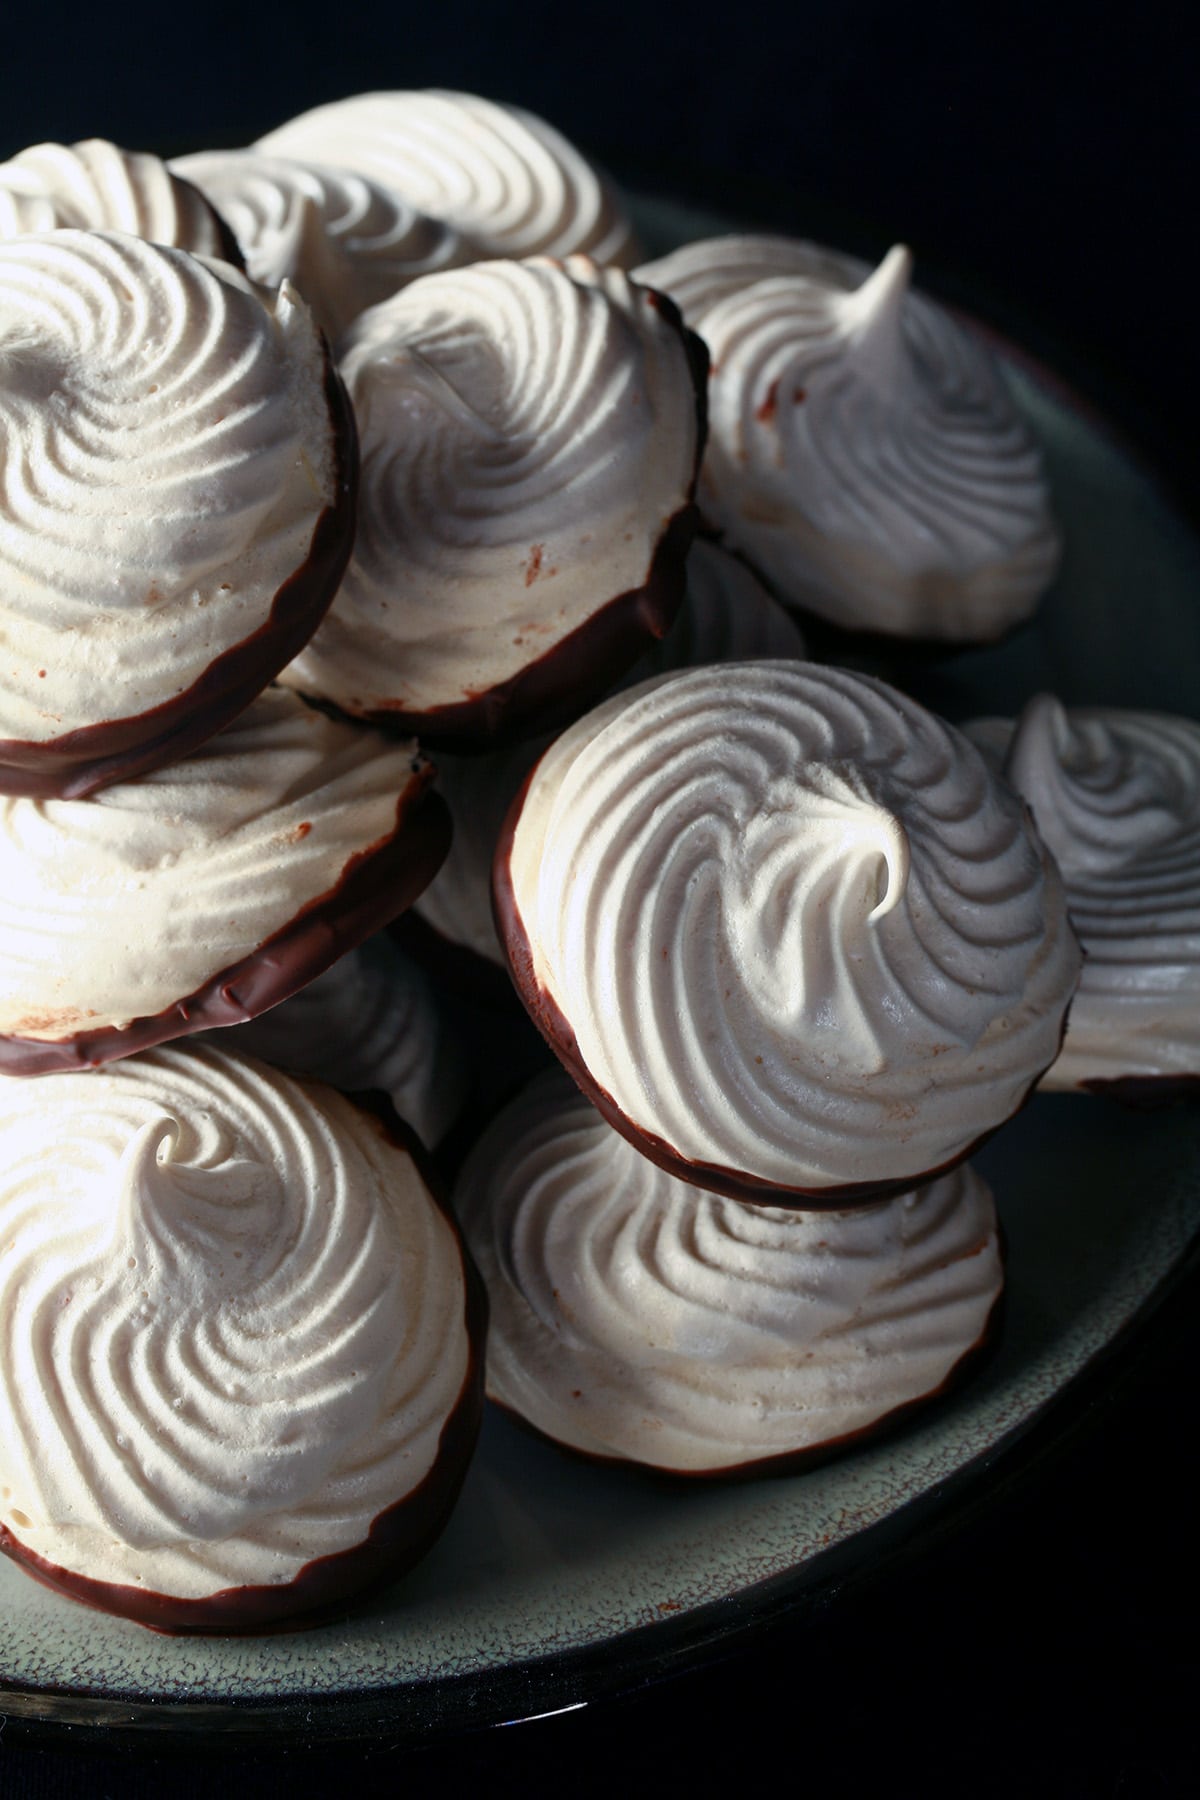
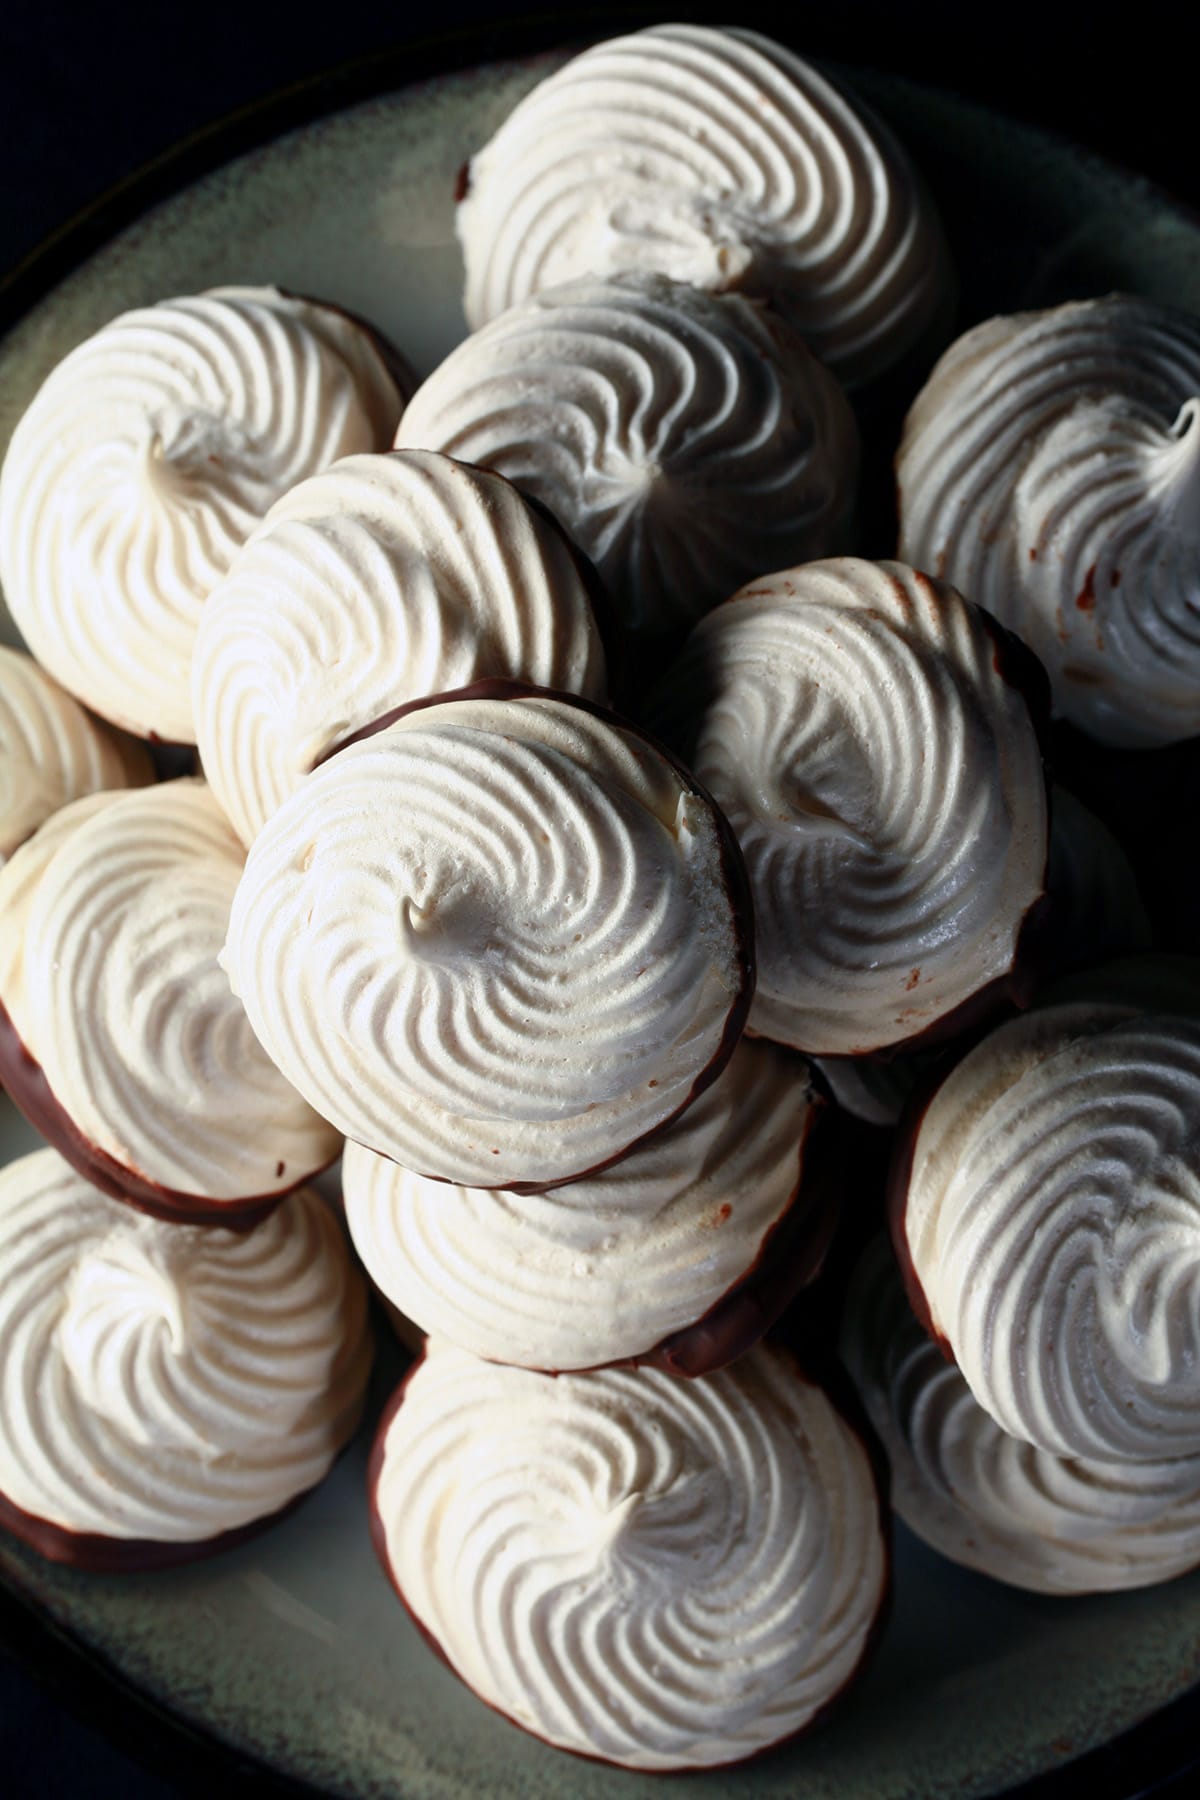
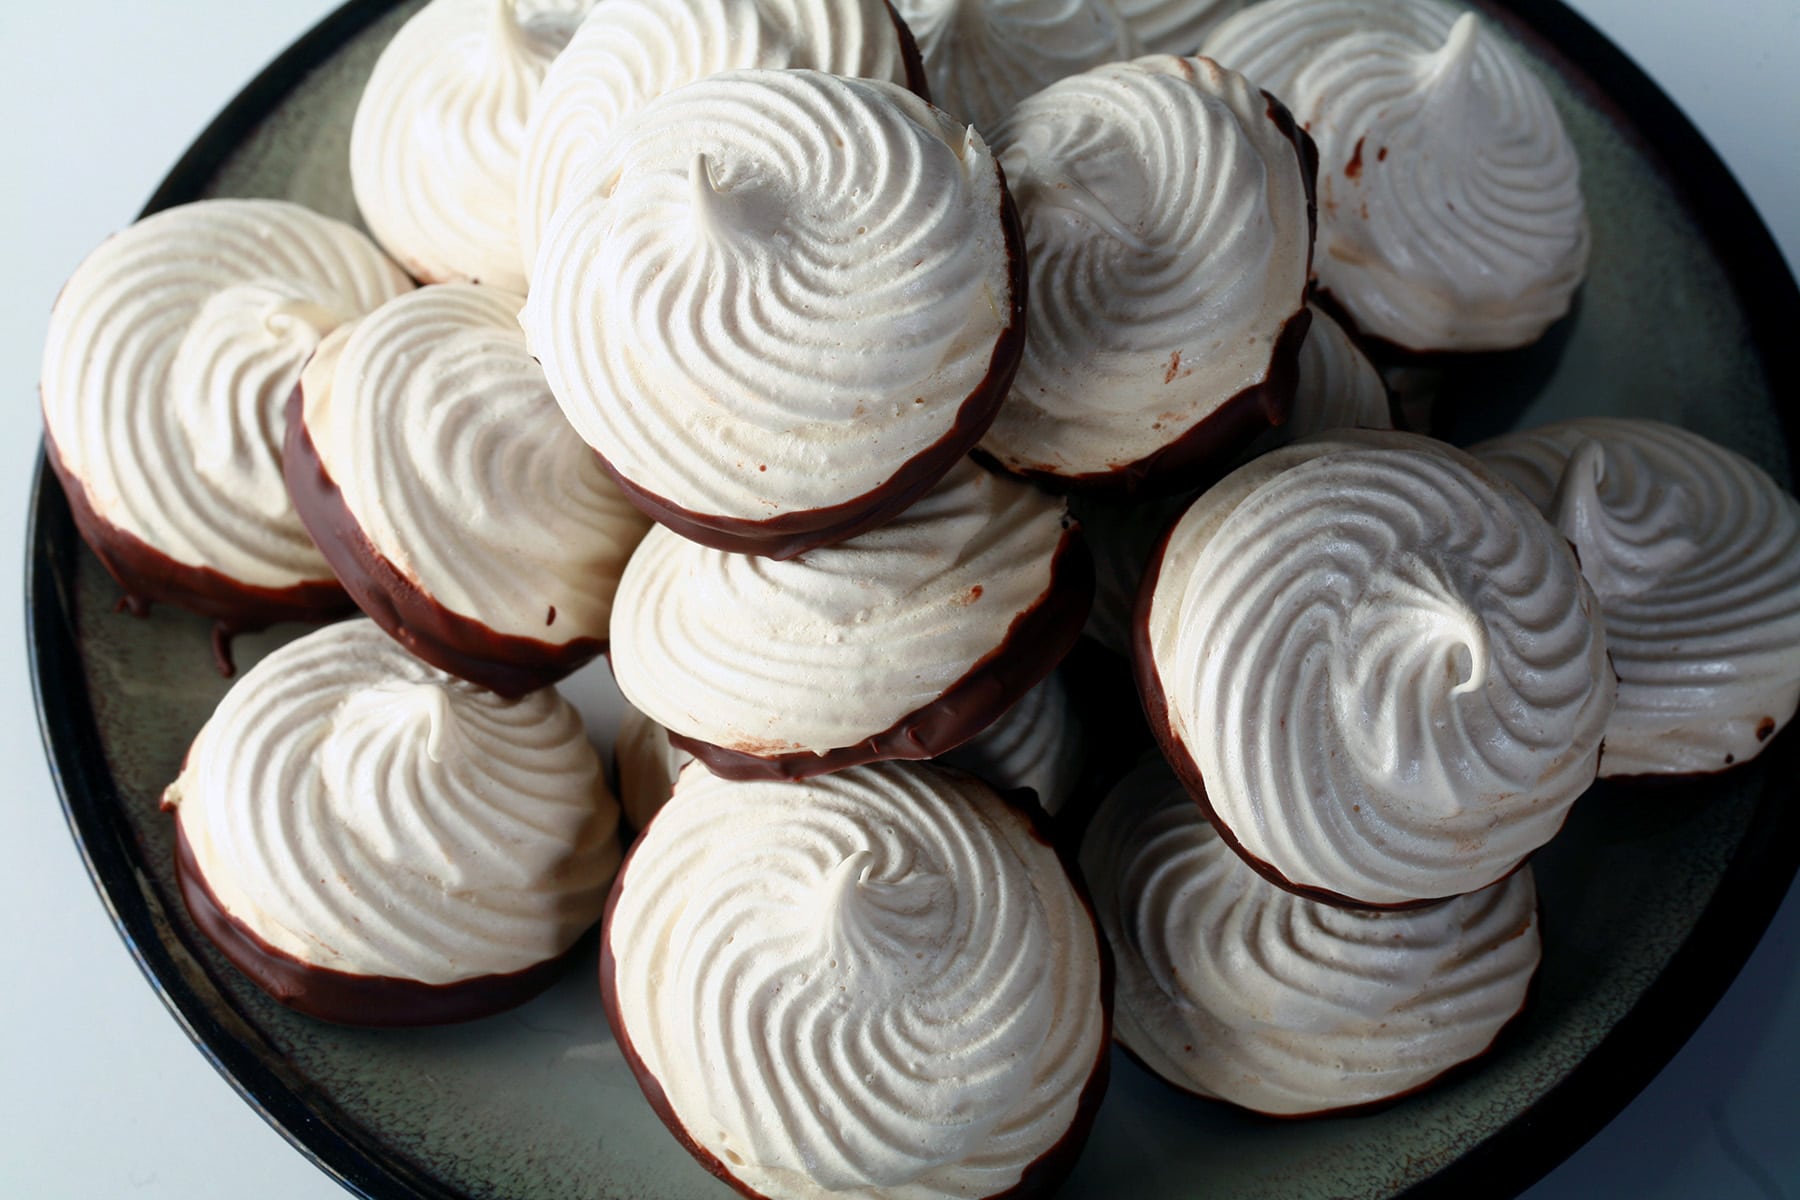
They don’t taste like bagels though, no... they taste like malted milk chocolate candies! You can eat them as-is, or dip them in chocolate to really play up that flavour association.
Either way, they’re amazing cookies, and a unique option for holiday plates, gifts, parties... or just as an everyday treat.
Anyway, let’s get to it, I have lots of tips and info for you!
Meringue Ingredients
As is the case with all easy meringue cookies, most of the ingredients in this recipe are SUPER basic - These are pretty simple cookies, after all:
* Large egg whites
* Cream of tartar
* Salt
* Granulated sugar
* Vanilla extract
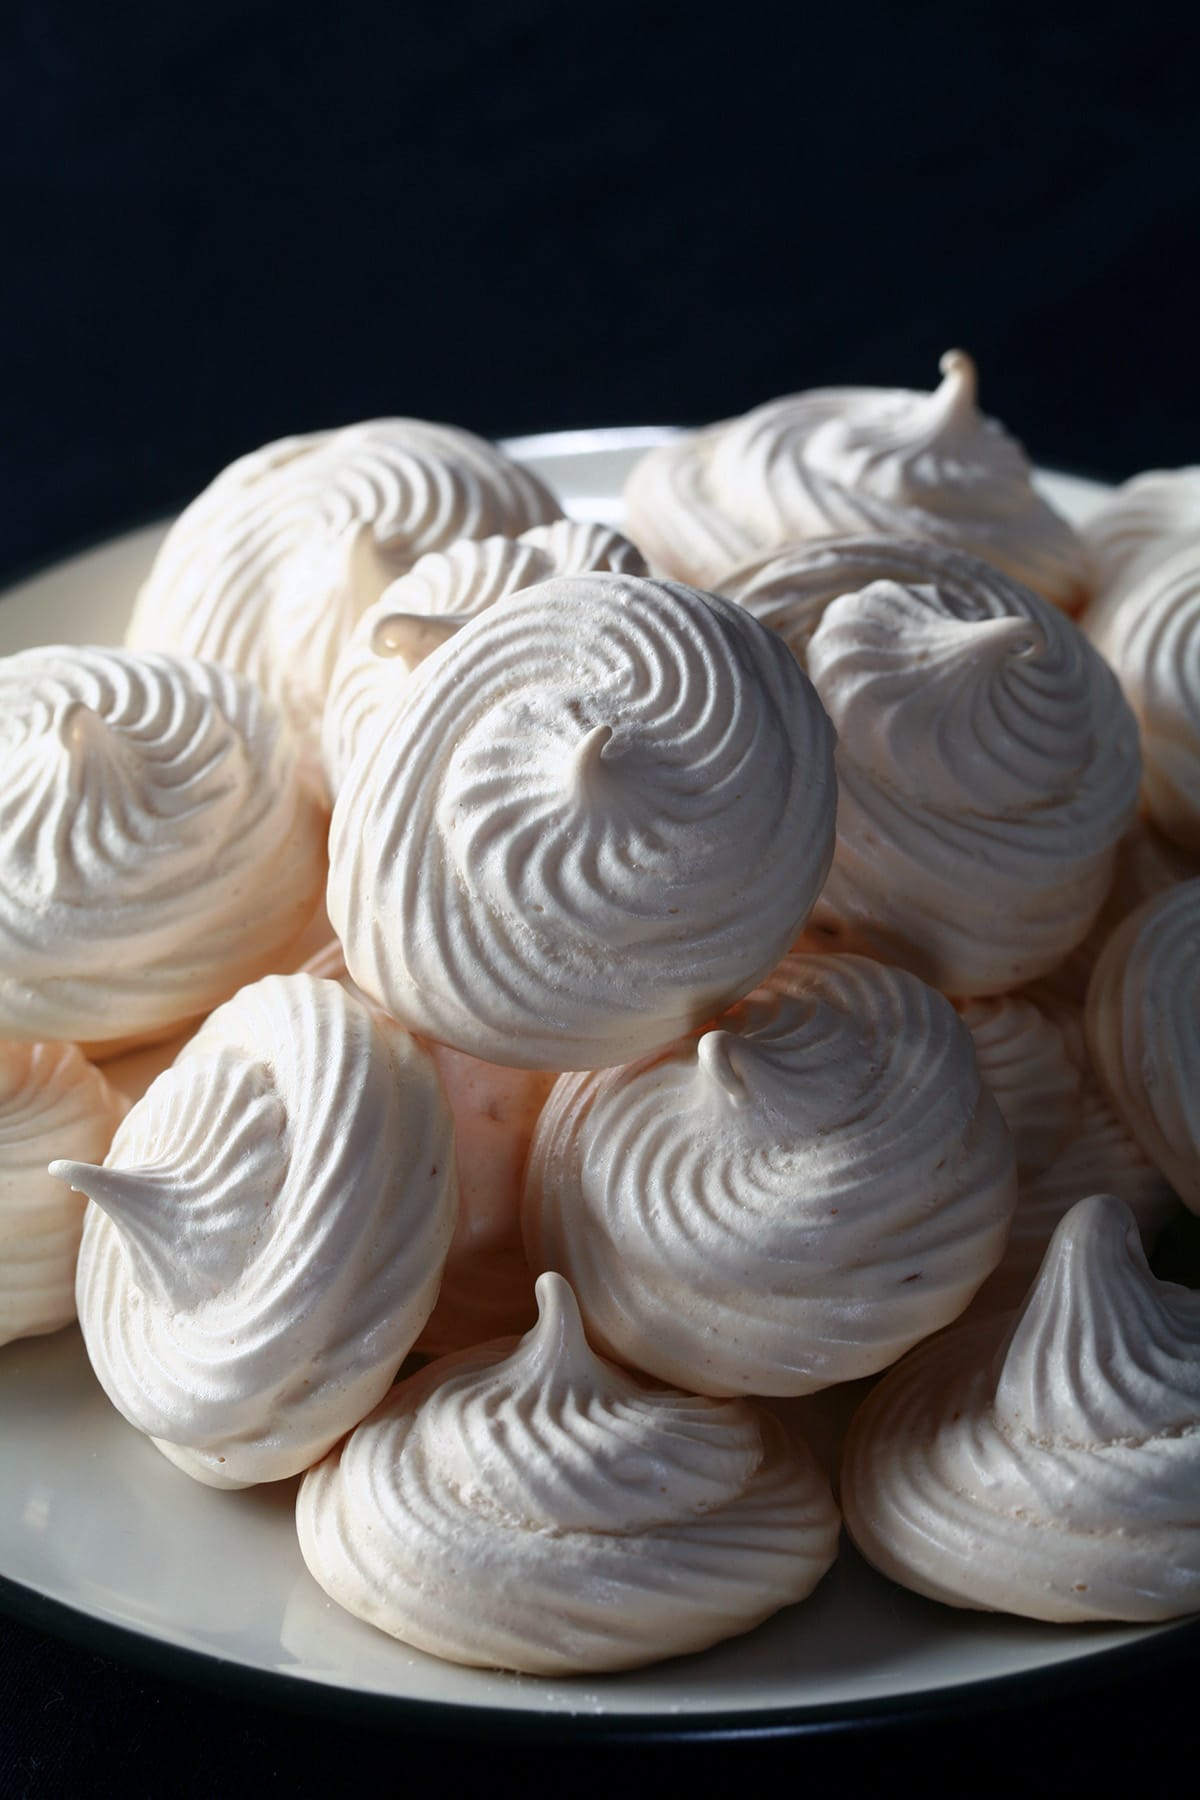
... but there’s one “weird” one in there, and it’s the most important one when it comes to flavouring these unique meringue cookies: Dry Malt Extract.
Malt Extract Powder ("Dry Malt Extract", or DME) is readily available from most home brewing stores, and on Amazon.
It’s a fun ingredient to play around with. While it’s mostly used for home brewing, it’s also what gives the signature flavour to malted milk balls - Whoppers, Malteasers, etc.
As I mentioned, it’s a traditional ingredient for making Montreal Style Bagels, but I also use it for making “Hopcorn” - a beer themed popcorn, and my Homemade Hop Spa Set.
I’ll probably get around to posting more recipes using it, eventually. It makes a FANTASTIC addition to frosting, for instance - when done right!
About Those Egg Yolks
Looking for a way to use up the egg yolks left over from this meringue recipe? Be sure to check out my post on How to Make Fruit Curd - it links to all 12 or so of my fruit curd recipes.
Everything from the fairly traditional lemon, lemon, and orange curds, to fun ones like kiwi, mango, blueberry, and grape. My passion fruit curd may just be the best thing I ever ate, FWIW.
Equipment and Supplies for Making Meringues
This is a super basic recipe that’s easy to make, but there are a few things you’ll need:
- Parchment paper. You definitely do NOT want to substitute cooking spray, it will deflate your cookies!
- Cookie sheets. This makes about 48 decent-sized meringues, I’ll usually use 2 large baking sheets.
- Stand Mixer or Hand Mixer. I LOVE my Kitchenaid for pretty much everything, but you can also make this with a handheld electric mixer... it’ll just be a bit of a workout!
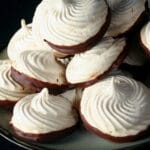
- A large pastry bag. If you want to be fancy, you can set your piping bag up with a coupler and a large star tip, to make the ridged swirls, as shown. I used a 4B tip.

How to Make Malted Milk Meringue Cookies
The full recipe is in the recipe card at the end of the post, this is a pictorial walk through with additional tips
Make the Meringue
Preheat oven to 225 degree F. Prepare cookie sheets by lining with parchment paper. (Do NOT use pan spray!)
In the large bowl of a stand mixer set up with a whisk attachment, combine egg whites, cream of tartar, and salt at low speed, just to combine.
Turn the speed up and whip on medium speed or medium-high speed until foamy, or soft peaks form.
As they’re whipping, combine the sugar and DME in a small mixing bowl.
Slowly add in small amounts of the sugar mixture from the small bowl – a little at a time – and continue whipping until stiff glossy peaks form and the sugar is completely dissolved. (The mixture shouldn’t feel gritty at all).
Be sure to stop every few minutes to scrape down the sides of the bowl of your stand mixer.

Note: Stiff Peaks is what it’s called when you pull the whisk from the meringue, flip it over, and the peak stands upright, as shown:

Turn off mixer, remove mixer bowl. Gently fold vanilla extract into meringue mixture. Be gentle, you don’t want to beat much air out of the meringue structure.
Pipe and Bake the Cookies
Fit one extra large pastry bag with a large coupler set and tip of your choice – I used a 4B, large star tip.
Fill with meringue batter, taking care to avoid air bubbles. I like to tie them off with a little bit of twine, ribbon, or elastic, as it keeps things cleaner.

Use the frosting bag to pipe small swirls of meringue out onto the prepared baking sheets.
I like to make them just over 2″ in diameter, and leave about 1″ between each little mound.
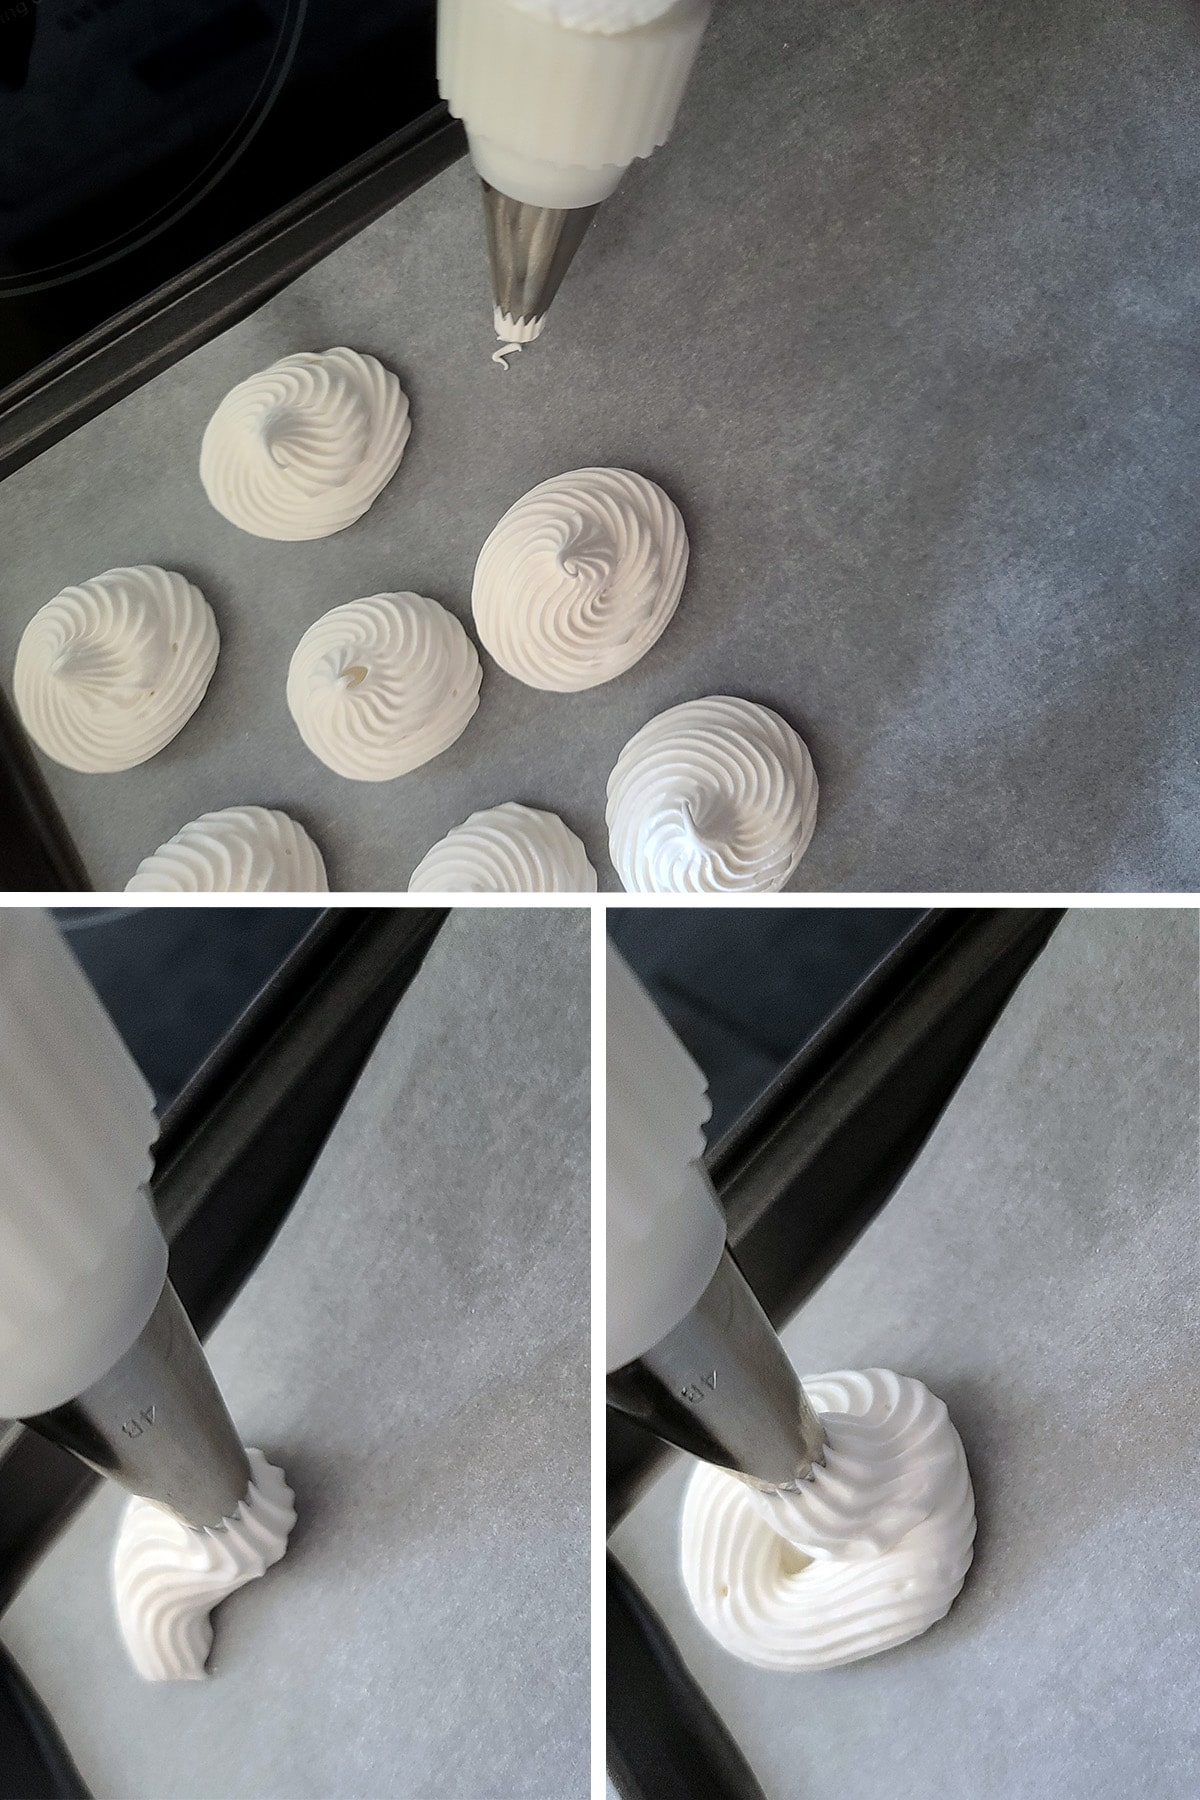
If you don’t want to use a pastry bag, you can use an ice cream scoop to spoon mounds of meringue directly onto the parchment lined baking sheets.
Transfer piped cookies to the hot oven, bake for 1 hour. Turn the oven off, keep the door closed, and allow them to cool for 2 hours. Do NOT open the door at any time, it will screw with the oven temperature and prevent your meringues from cooking/properly.
Remove from oven and allow to cool fully before transferring to an airtight container.

Optional Chocolate Dip
Once the cookies have finished completely cooling / drying out, you can dip the bottoms into melted chocolate if you’d like.
I’ll usually dip about half the batch, for some variety.
Place your choice of chocolate chips - milk or dark work best - into a clean, separate bowl. Microwave for 20 seconds at a time - stirring between each burst - until fully melted.

Dip the meringue cookies into the chocolate, then set on a clean parchment paper lined cookie sheet until fully set. Transfer to an airtight container for storage.
Tips for Making Meringue Cookies
Making perfect meringues involves a few considerations. Here are some tips for you:
Ingredients Matter!
Eggs
As a general rule, try to use eggs that are at least a week old.
You don’t want to use eggs that have actually gone off, but eggs that are NOT super fresh actually make better meringues than fresh ones.
There’s an easy test you can do to test the degree of freshness. Just fill a pot or bowl with at least 4" of water, and place an egg in it.
If it floats, it’s gone bad. If it lays on its side, it’s fresh. If it’s on the bottom of the bowl but standing up on end, it’s perfect for making meringue!
Additionally, after you separate the egg yolks, let the egg whites come up to room temperature. They’re easiest to separate when cold, but room temperature egg whites whip up the best.
Finally, when separating the eggs, make sure to not even get the slightest speck of egg yolk in with the whites, or your meringue will not work.
This is the same reason you need to use a very clean bowl and mixer - any slight bit of grease will prevent the eggs from forming a proper meringue.
Sugar
Superfine sugar works best for making meringues, as it dissolves into the egg whites more readily than regular granulated sugar.
There’s a reason I use it in all of my Pavlova Recipes, after all 🙂
Anyway, if you don’t have superfine sugar, you can blitz regular sugar in your food processor for 20 seconds or so, to make your own.
That’s what I do - I refuse to pay the premium for something that takes me literally 20 seconds to do myself!
Dried Malt Extract
This recipe was specifically developed for dried malt extract.
Malt syrup, or any other form of malt powder (including malted milk mix) should NOT be substituted, as they may prevent the meringue from forming.
Cream of Tartar
The cream of tartar adds acid to the egg whites, which stabilizes the meringue. Don’t skip it!
If you don’t have any cream of tartar, you can add 2 teaspoon of fresh lemon juice, once the eggs have started gaining some volume in the whipping process.
Cream of tartar works better, IMHO, as it doesn’t contribute liquid.

Technique Matters!
- When you’re adding the sugar, seriously only add a small amount at a time. I do a fine sheeting of sugar into it, but I’ve been doing this for a long time.
If this is your first attempt at making meringue, I recommend using a tablespoon to scatter the sugar a little bit at a time into the active stand mixer.
- Additionally, DO NOT open your oven door between the time you put the meringues in, until at least 2 hours after it’s done baking. This is KEY to fully cooked, perfect meringue cookies.
Environment Matters!
Sugar is very hydrophilic, meaning that it’s attracted to water. In the cases of hard candies or meringues, this is doubly true - it will draw water out of the air.
This is why hard candies get sticky when left out, and why you can end up with chewy meringues - they do NOT work well in a humid environment.
It’s usually best to make meringues on a dry day. If you’re experiencing a humid day, you might want to delay making meringues until you have more of a dry environment.
This is also why it’s important to keep your meringues stored in an airtight container.
More Cookie Recipes!
This recipe is great on its own, but also shines as part of a larger cookie spread. Looking for more ideas? I've got you...
Apple Pie Cookies
Black Forest Cookies
Chai Shortbread
Chewy Chocolate White Chip Cookies
Chocolate Haystack Cookies
Chocolate Mint Chip Cookies
Cookie Decorating
Cut-Out Sugar Cookies
Eggless Banana Oatmeal Cookies
Fruitcake Cookies
Hoppy Citrus Macarons
Nightmare Before Christmas Cookies
Noelles
Pecan Pie Cookies
Peppermint Swirl Meringues
Pistachio Macarons
Pumpkin Spice Cookies
Spiced Oatmeal Raisin Cookies
Tropical Fruit & Rum Cookies
Ultimate Cowboy Cookies
Also, be sure to check our Cookies & Bars section, for more options!
Looking for my Gluten-Free Cookie Recipes? They're now over on my gluten-free blog, Beyond Flour!
Need gluten-free, AND sugar free? Check out my Keto Cookie Recipes over on my low carb blog, Low Carb Hoser!
Share the Love!
Before you chow down, be sure to take some pics of your handiwork! If you post it to Bluesky, be sure to tag us - @CelebrationGen. We're also on Pinterest, so you can save all your favourite recipes to a board!
Also, be sure to subscribe to my free monthly email newsletter, so you never miss out on any of my nonsense. Well, the published nonsense, anyway!
Finally, if you love this recipe, please consider leaving a star review and/or a comment below!
Malted Milk Meringue Cookies
Equipment
- Stand Mixer Or Electric hand mixer
- 2 Baking Sheets
- Parchment Paper
- Disposable Pastry Bags
- Large star tip and coupler Optional
Ingredients
- 4 Large egg whites room temperature
- ½ teaspoon Cream of tartar
- ¼ teaspoon Salt
- ¾ cup Granulated sugar
- ⅓ cup Dry Malt Extract
- 1 teaspoon vanilla extract
Instructions
- Preheat oven to 225°F. Prepare cookie sheets by lining with parchment paper. (Do NOT use pan spray!)
- In the bowl of a stand mixer, combine egg whites, cream of tartar, and salt. Using the whisk attachment, whip on medium or medium high until foamy.
- As they’re whipping, combine the sugar and DME.
- Slowly add in the sugar mixture – a little at a time – and continue whipping until stiff, glossy peaks form and the sugar is completely dissolved. (The mixture shouldn’t feel gritty at all)
- Turn off mixer, remove bowl. Gently stir in vanilla extract.
- Fit one extra large pastry bag with a large coupler set and tip of your choice – I used used a 4B, large star tip.
- Fill with meringue, taking care to avoid air bubbles. I like to tie them off with a little bit of twine, ribbon, or elastic, as it keeps things cleaner.
- Use the frosting to pipe small swirls of meringue out onto the prepared cookie sheets. I like to make them just over 2″ in diameter, and leave about 1″ between each little mound.
- Bake for 1 hour. Turn the oven off, keep the door closed, and allow them to cool for 2 hours.
- Remove from oven and allow to cool fully before transferring to an airtight container.
Nutrition






Carolyn
Is it possible to use egg whites that come in a carton?
Marie Porter
Not sure, I've never tried!
Barbara Andersen
I’m glad you included how to source the dried malt extract. The place I get cheesemaking supplies also has brewing supplies
I also appreciate that you explain things so clearly so I can try new things like this.
Verna
Is there a difference between malted extract powder and malted milk powder?
Marie Porter
Yes. DME is barley malt, malted milk powder is milk powder with other ingredients added to it.
Janet Daugherty
Can you use Malted Milk Powder?
Marie Porter
Probably?