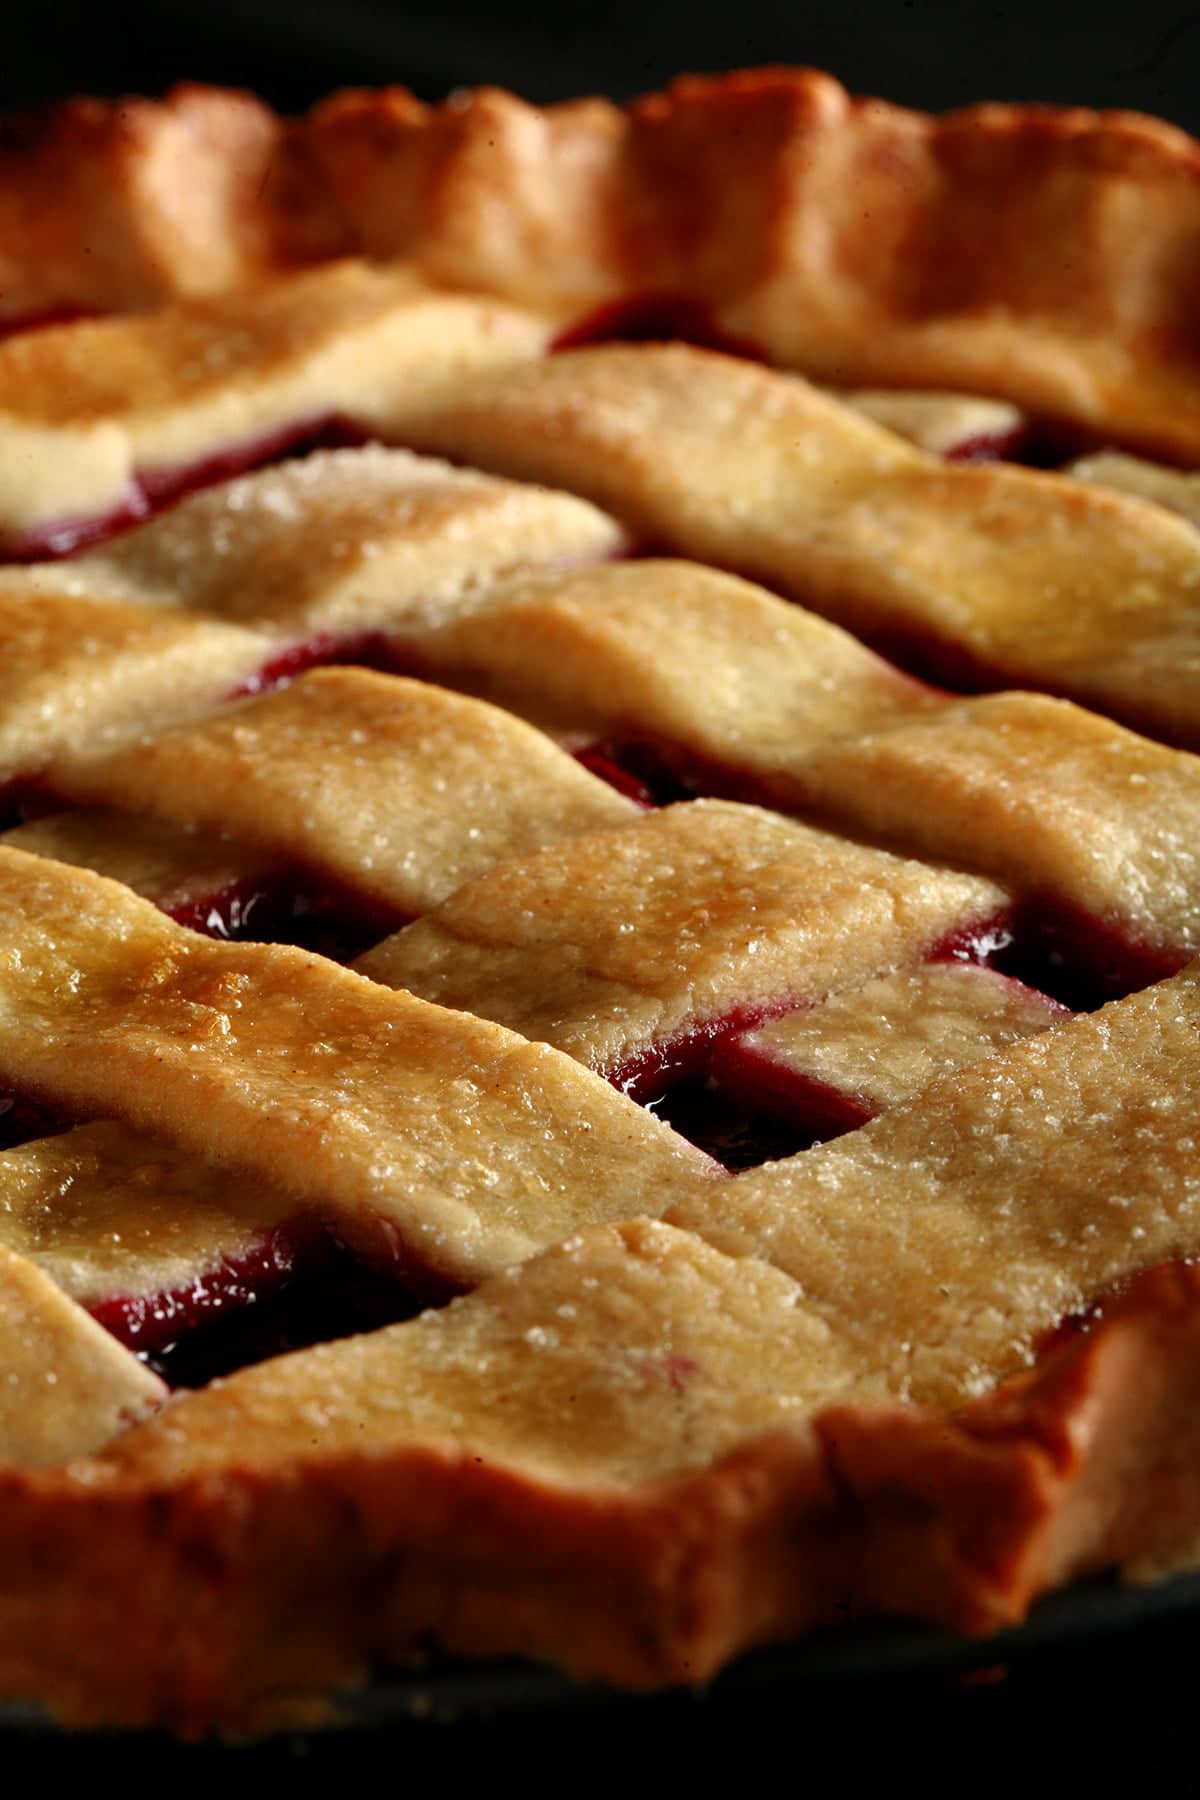
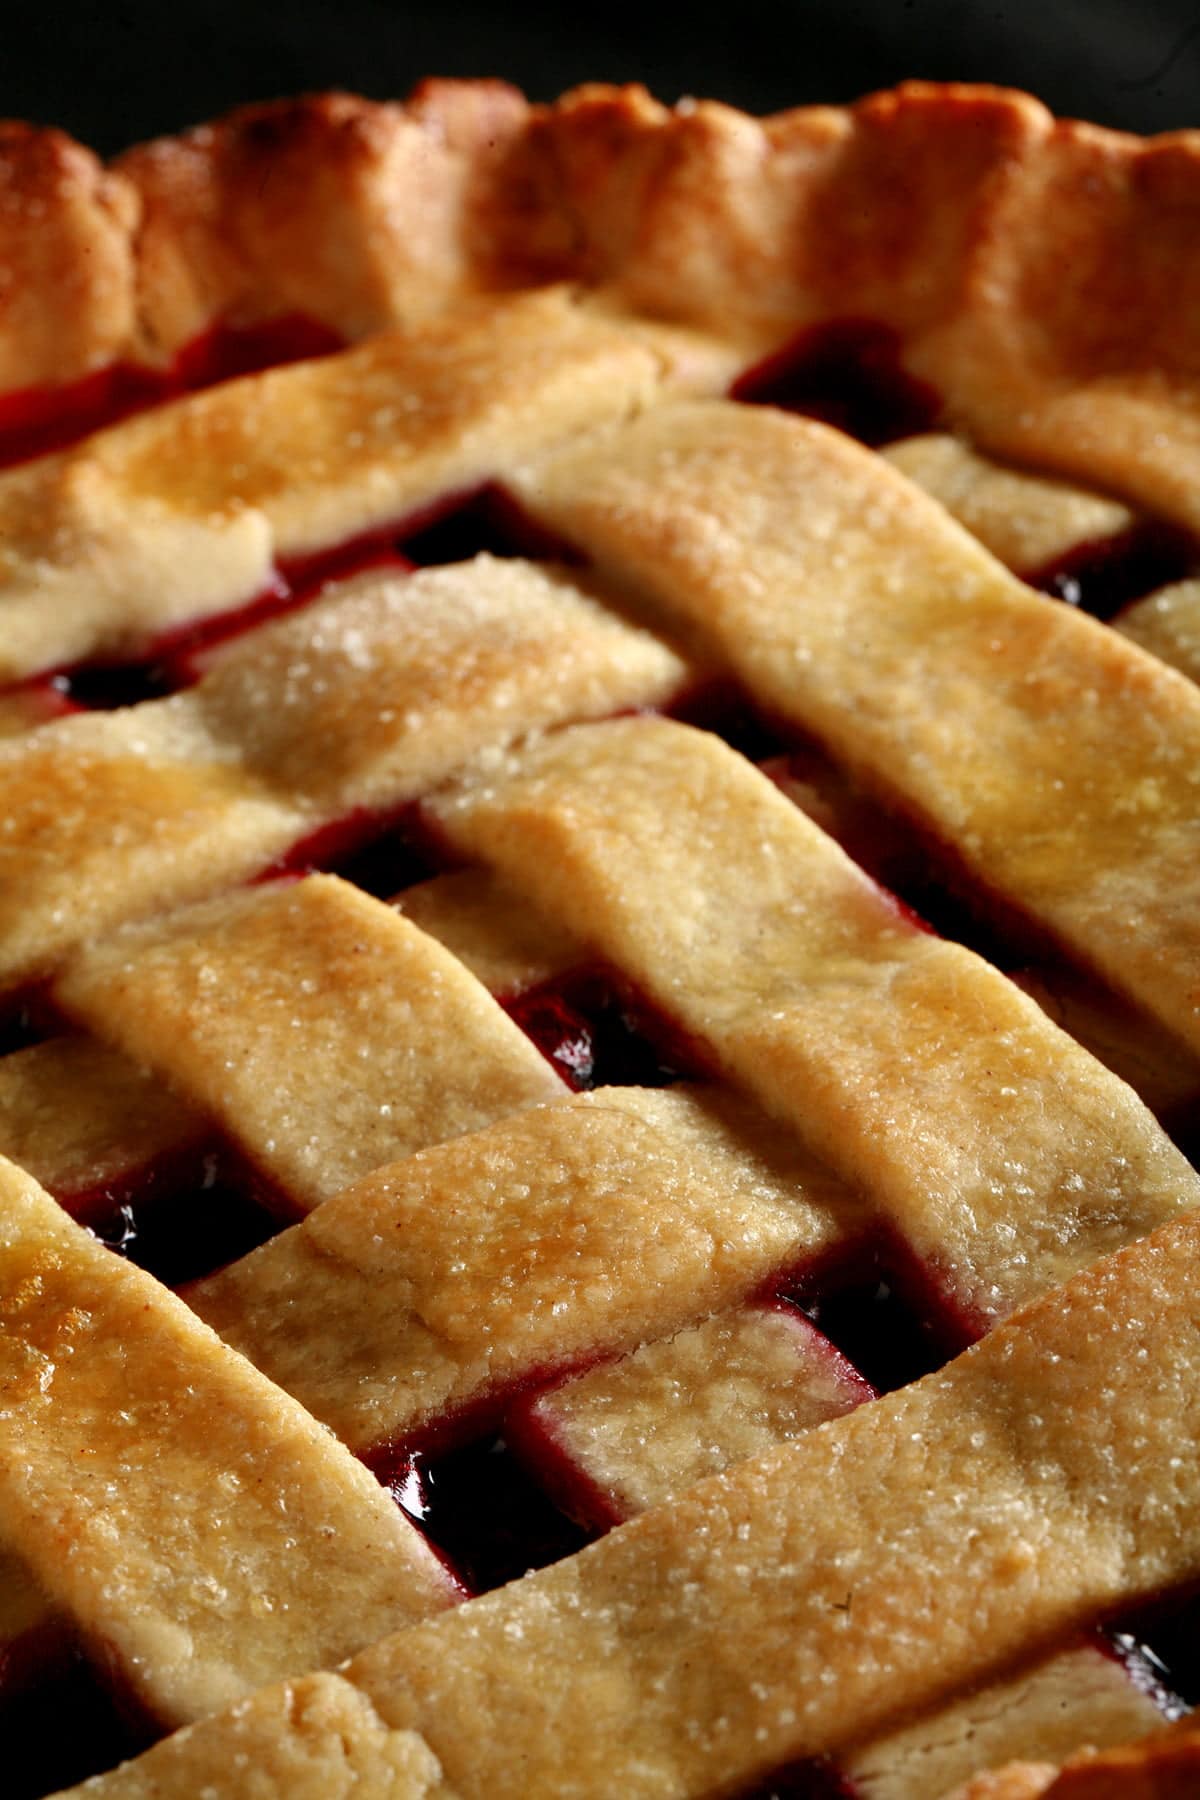
Partridgeberry Pie is one of my favourite pies ever. The berries used are like a cross between a cranberry and a blueberry - delicious!
Originally Posted January 22, 2014. Updated 1/22/2021

Apologies for the silence on the blog lately - I've been hard at work on my upcoming gluten free cookbook, "Beyond Flour". It hasn't left me much time, drive, or inclination to post blogs! Whoops.
This weekend, I was inspired to post something... albeit in a roundabout way. The facts are these:
- Since making my husband's Thranduil costume, we've been on a bit of a Lee Pace kick.
TOTALLY fell in love with "Pushing Daisies" - posthumously (hah!) - as well as some of his other work. (There is a "Red Bandit" cosplay in the works..)
- A friend (Who you may recognize as "Legolas" in the movie premiere kiss photo of ours that went sort of viral last month) just completed a "Ned the Piemaker" cosplay last week, complete with "Pie Hole" box.
- This past weekend happened to be the weekend I had scheduled for developing a gluten free pie crust for the book.
- Late last week, I came upon this fan art, which I promptly fell in love with.
- We have 159 digits of Pi tiled into our awesomely geeky kitchen backsplash.
Cosplay and ... Pie?
... I'm sure you can see where this is going, if you've been following this blog for any real amount of time. You should never underestimate how far I'm willing to run with a crazy idea!
So, at the prompting of another friend, we decided to do a mini shoot with Porter as "Thrandy the Piemaker".

We invited our friend over to join in, because... really. Thranduil, Ned, and pie? Awesome.
Bonus: Legolas!

I went ahead and made a the most ridiculous twee thing I've ever made in my whole life - the frilly apron from the fan art - and baked the pie.
The photos from that shoot turned out amazing - and so did the pie!
Let me share a couple more photos, and the recipe for my partridgeberry pie filling. (The gluten free crust recipe will be in the book!):


(We have almost 50 photos from this shoot posted to my costuming page on Facebook. That album is here. So much ridiculousness.. I LOVE it!)
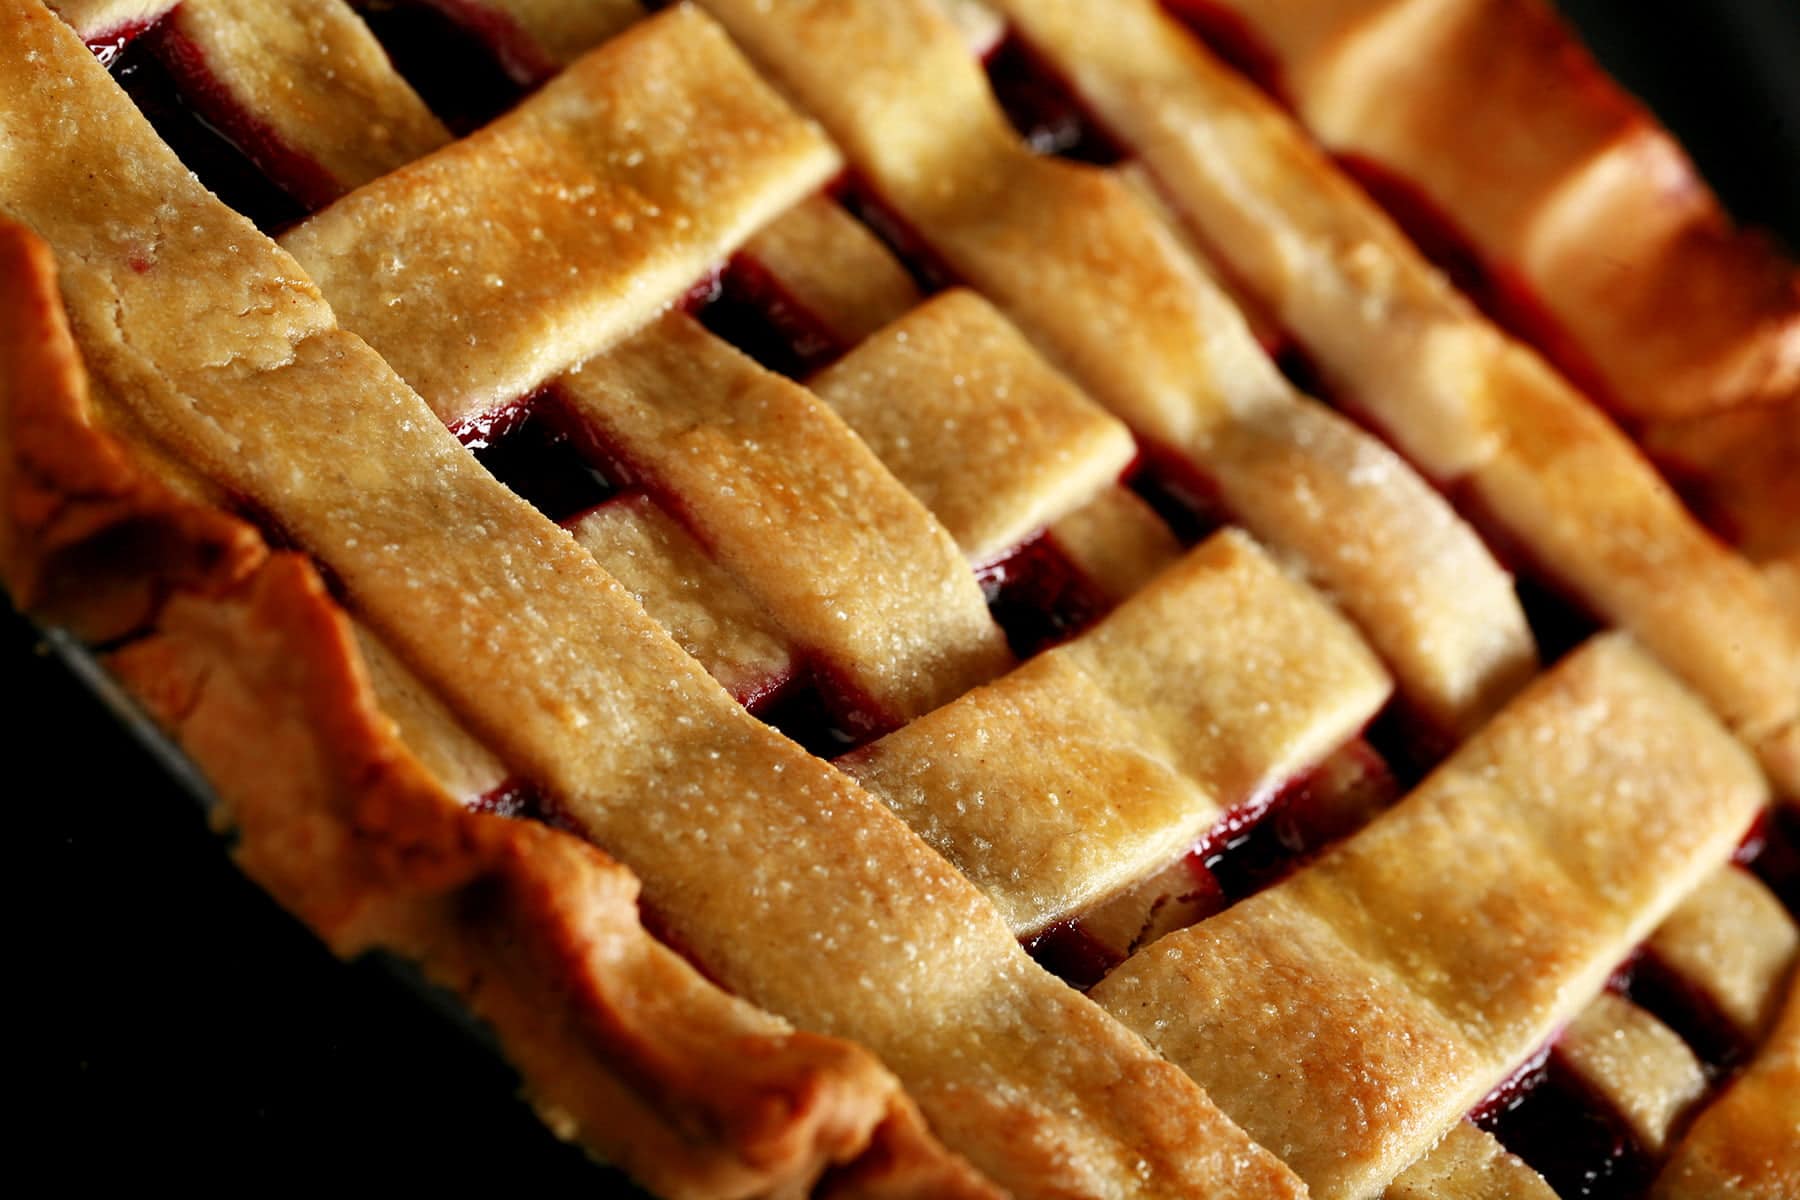
Partridgeberry Pie
Remember my "Faux Lingonberry Wine" recipe?
I think it's the first time I mentioned my love of partridgeberries on my blog.*
LOVE them... and I've been missing them as a dessert ingredient for a long time now. It's been almost 8 years... and this is my favourite kind of pie!
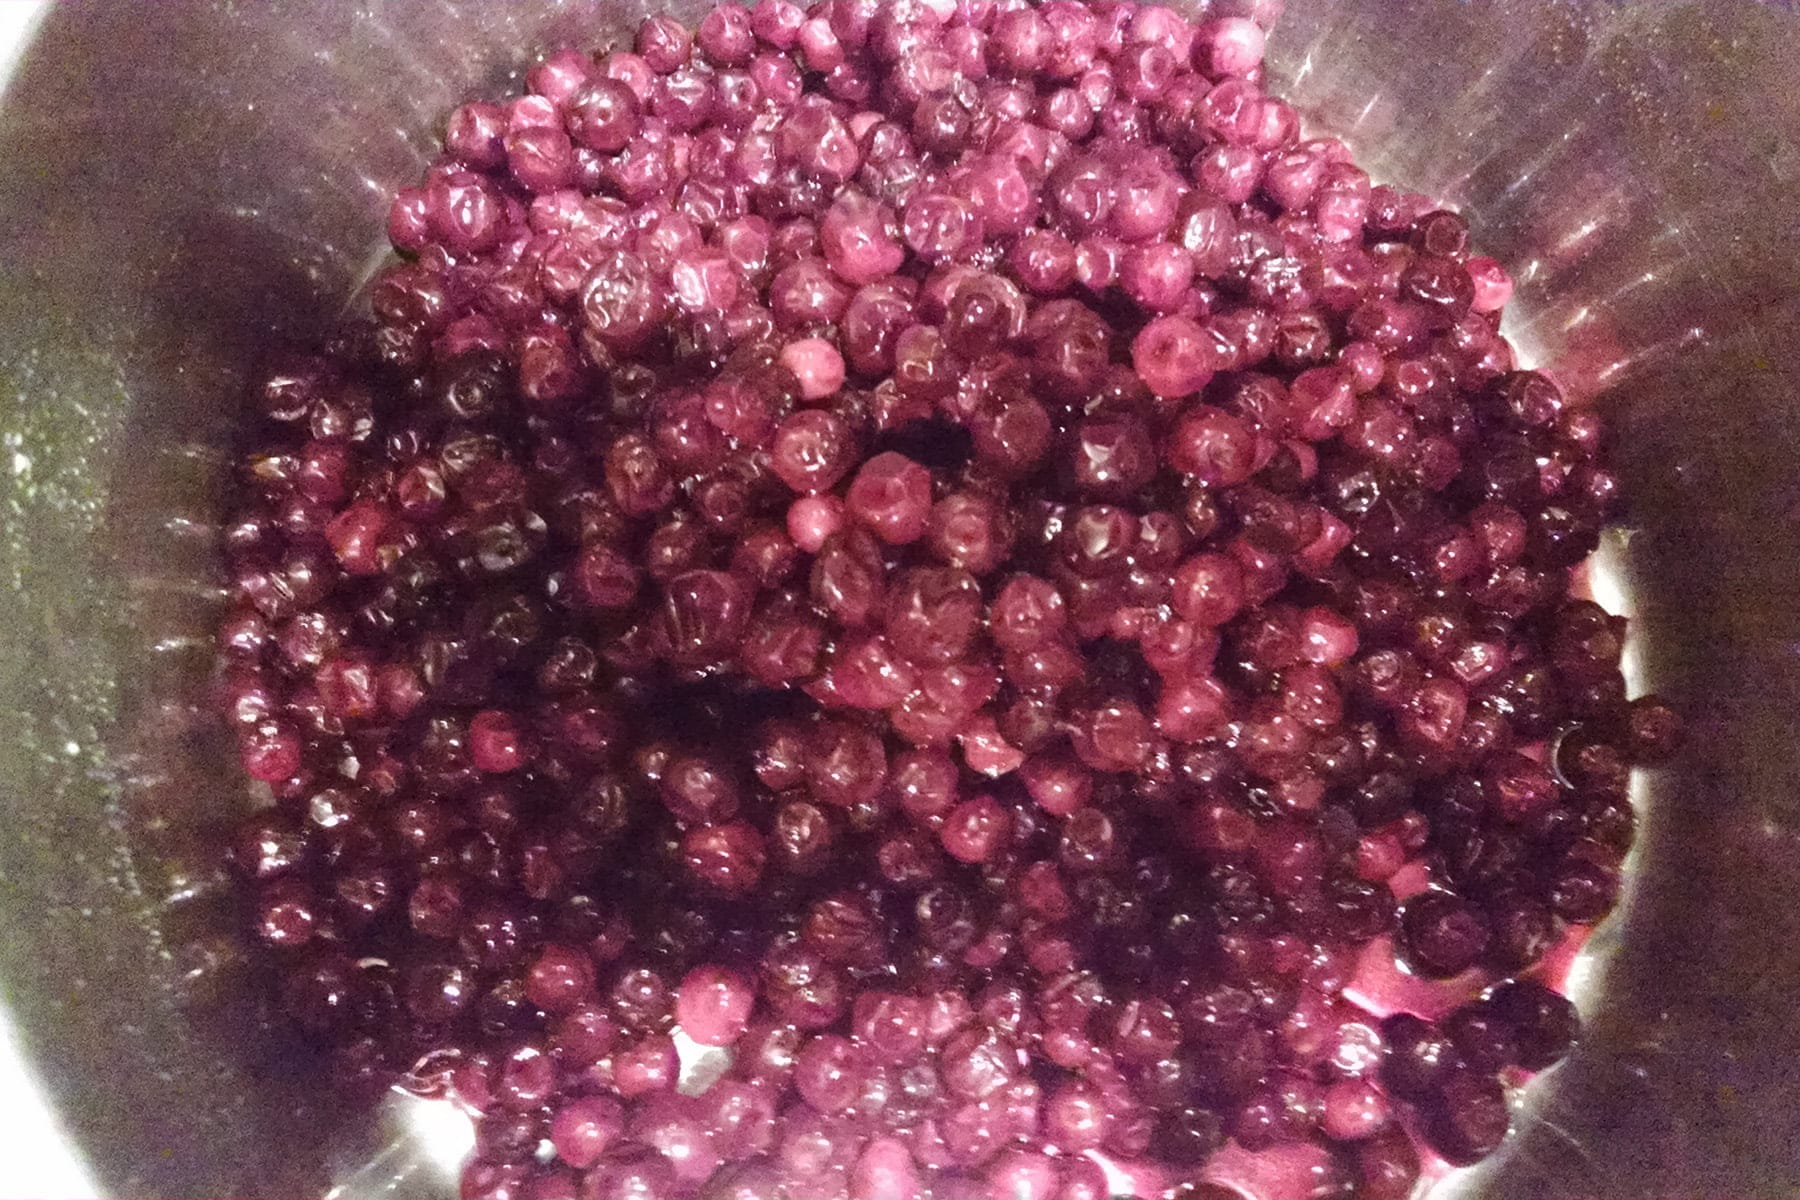
What Are Partridgeberries?
Partridgeberries are indigenous to Newfoundland, as well as Scandinavia.
They're tart little red berries that taste like a cross between a cranberry and a blueberry... you may know them as "lingonberries", if you're a fan of IKEA!
They are one of a few amazing berries that grow wild in Newfoundland, and they're very popular in Newfoundland cuisine, appearing in jams, sauces, in candies, on cheesecake... and in wine.
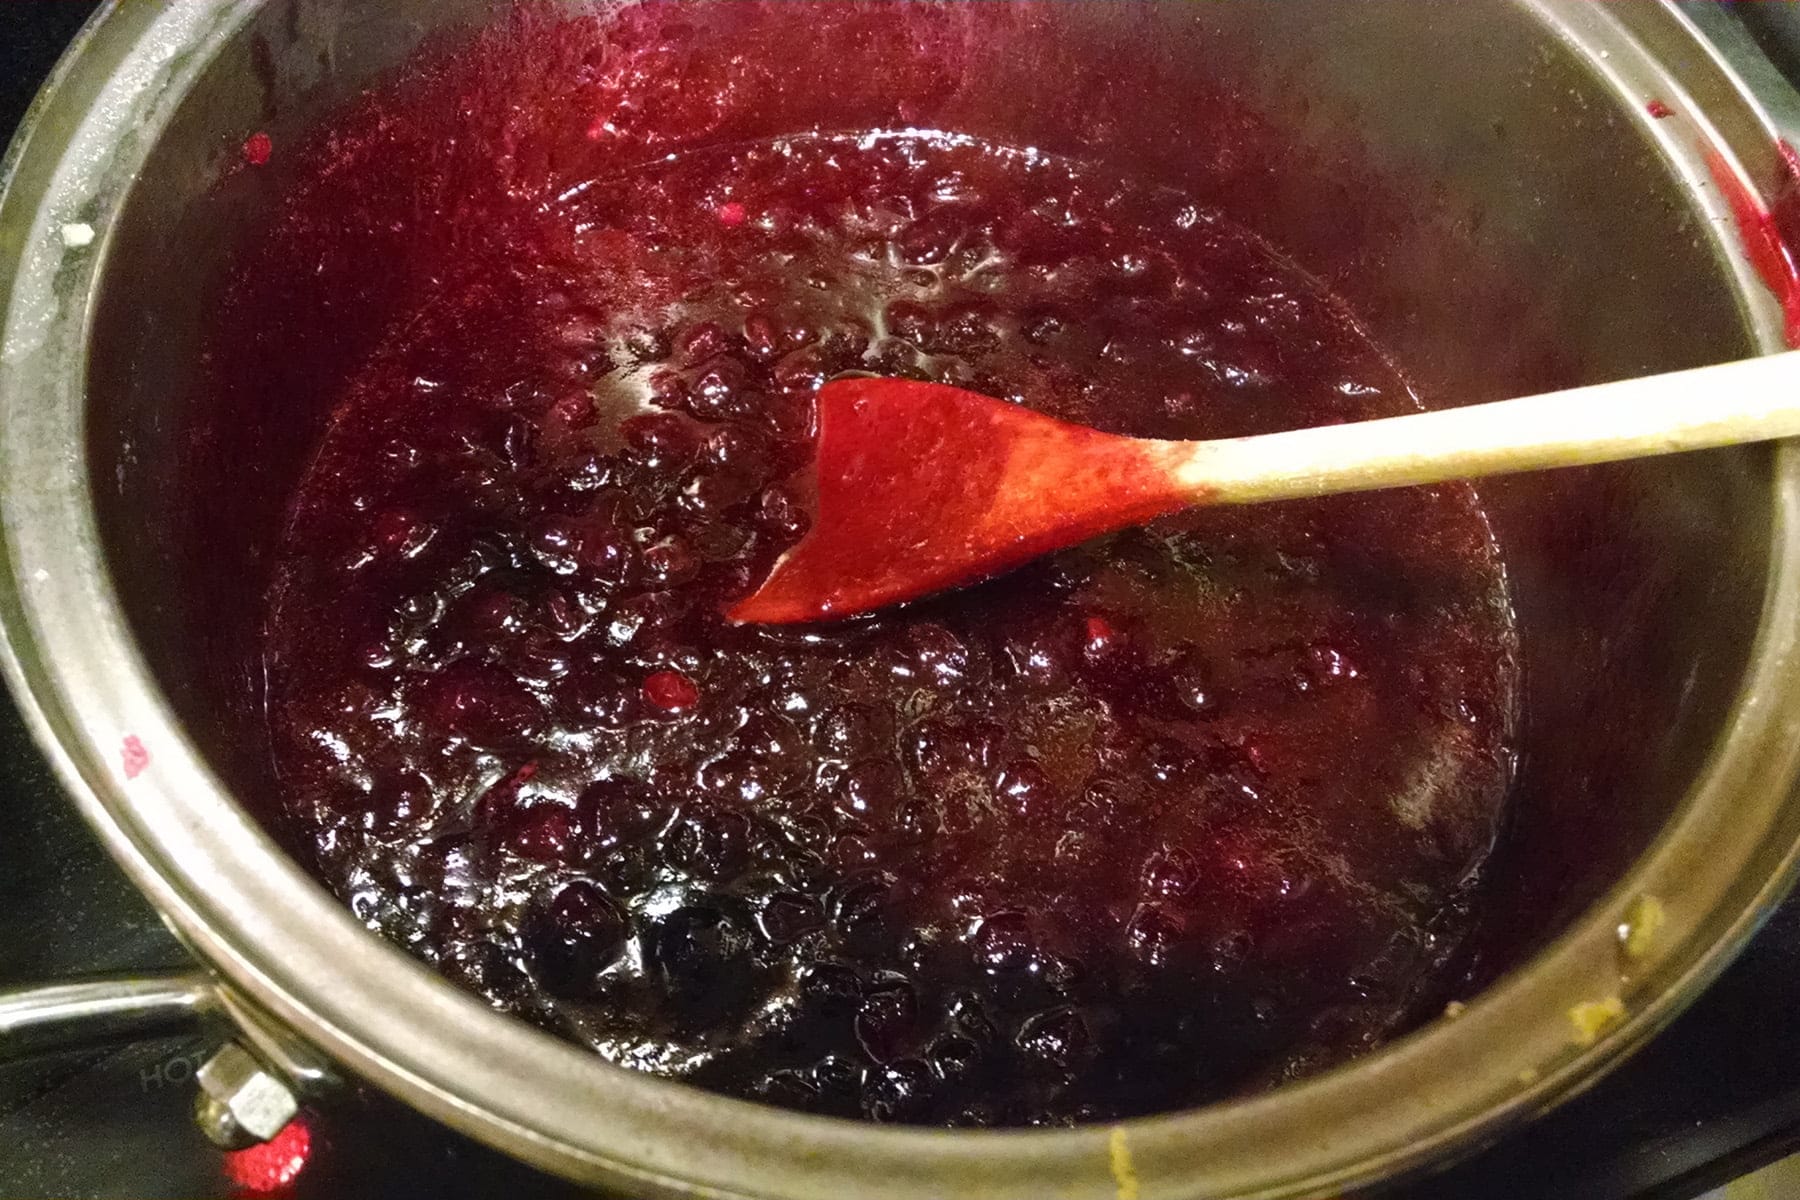
Anyway, I splurged a bit and bought some frozen partridge/lingonberries from a local shop, and here we are!
If you don’t live somewhere that partridgeberries grow, you can ask around any Scandinavian shops and see if they know where you can find some.
Alternatively, they can be purchased frozen online from some specialty retailers, and I’m told that IKEA sells them in their frozen section as well. (I just can’t find anything on their site about it!)
* I’ve since added my recipe for Partridgeberry Wine to the blog, as well!

Canadian Recipes

Interested in Canadian cuisine? You should check out my cookbook, "More Than Poutine: Favourite Foods from my Home and Native Land”. "More than Poutine" is a Canadian cookbook like no other - written by a Canadian living away, it includes both traditional home cooking recipes, as well as accurate homemade versions of many of the snacks, sauces, convenience foods, and other food items that are hard to come by outside of Canada! Order your copy through Amazon, or through any major bookseller!
Share the Love!
Before you chow down, be sure to take some pics of your handiwork! If you post it to Bluesky, be sure to tag us - @CelebrationGen. We're also on Pinterest, so you can save all your favourite recipes to a board!
Also, be sure to follow me on Pinterest, and subscribe to my free monthly email newsletter, so you never miss out on any of my nonsense.
Well, the published nonsense, anyway!

Wanna Nerd out With Us Some More?
There's a LOT of nerdery - and geekery - going down on this blog. Here are some favourites...
Bubble Bobble Wedding Cake
Dalek Cake for a Doctor
Dalek Sugar Cookie Decorating
"Convention" Brownies
Convention Sloppy Joes
Gluten-Free Lembas
How to Make a Weeping Angel Costume
How to Design & Install a Nerdy Backsplash
Miruvor Recipe
My Convention Survival Guide
Pi Day Pinata Tutorial
Roasted Convention Chili Recipe
That Time I made a TARDIS Cake for Geek Royalty..
The Epic Klingon Cake
The One Cheese Ring
The Silence of the Lambs Cake
The Story of Foopmallet
Tremors Wedding Cake
Partridgeberry Pie
Equipment
- pie pan
Ingredients
- 3 cups Fresh or frozen partridgeberries about 1 lb*
- 1 ½ cups Granulated sugar
- 2-3 teaspoon cornstarch
- Zest of one orange
- Pinch salt
- 2 pie crusts.
- 1 egg whisked
- 2 tablespoon granulated sugar
Instructions
- Place berries in a medium saucepan. Whisk together sugar and cornstarch (use 2 teaspoon for a slightly runnier filling, 3 for a thicker one. We used 3 for the pie pictured!), and add to the berries along with orange zest and salt.
- Bring mixture to a boil, stirring frequently. The berries will break down a bit, and the mixture will thicken slightly. Allow to boil for 3 minutes before removing from heat. Allow to cool to room temperature – it will thicken more as it cools.
- Preheat oven to 425F
- If not using a prepared pie crust, roll your two crusts out to about ¼″ thick. Line a pie pan with one crust, and cut the other into 1″ strips.
- Transfer cooled filling into the pie shell, spreading to cover the bottom of the pie evenly.
- Use the strips of pie crust to create a lattice on top. Where this filling is very dark and stains easily, I don’t usually do a properly woven lattice – that involves placing and folding back strips to weave other strips through… and can get pie filling all over the place!
- I lay one of the longest strips right across the middle of the pie, vertically. Then I cross it with another of the longest strips, horizontally. The next longest strip gets laid aside the first strip laid, then the next one beside the second strip laid. I alternate directions and sides, working from the longest strips down to the shortest.
- Once your lattice is laid, trim the edges of the crust to only slightly longer than the edge of the pie plate. Fold the bottom crust edge over the lattice edge, and pinch well to seal. Use your fingers to crimp/ruffle the edge of the pie.
- Carefully brush lattice and crust with whisked egg, and sprinkle with sugar.
- Bake pie for 15 minutes at 425 F. Without opening the door, turn the temperature down to 400 and continue to bake for another 15 minutes or so.. until crust is golden.
- Serve warm or cold – this pie is especially great with some rich vanilla ice cream on top.
- Enjoy!
Notes
Nutrition
Looking for More Pie Recipes?
Pies, tarts... good stuff put into a flaky crust. I've got you!
Note: All recipes designated as gluten-free can alternately be made "regular" - just swap in your favourite pie crust recipe or store bought crust!
Creamy Blueberry Amaretto Pie
Earl Grey Pie
Maple Butter Tarts
Savoury Alligator Pie
Southern Comfort Peach Pie
Strawberry Grand Marnier Chiffon Pie








Leave a Reply