

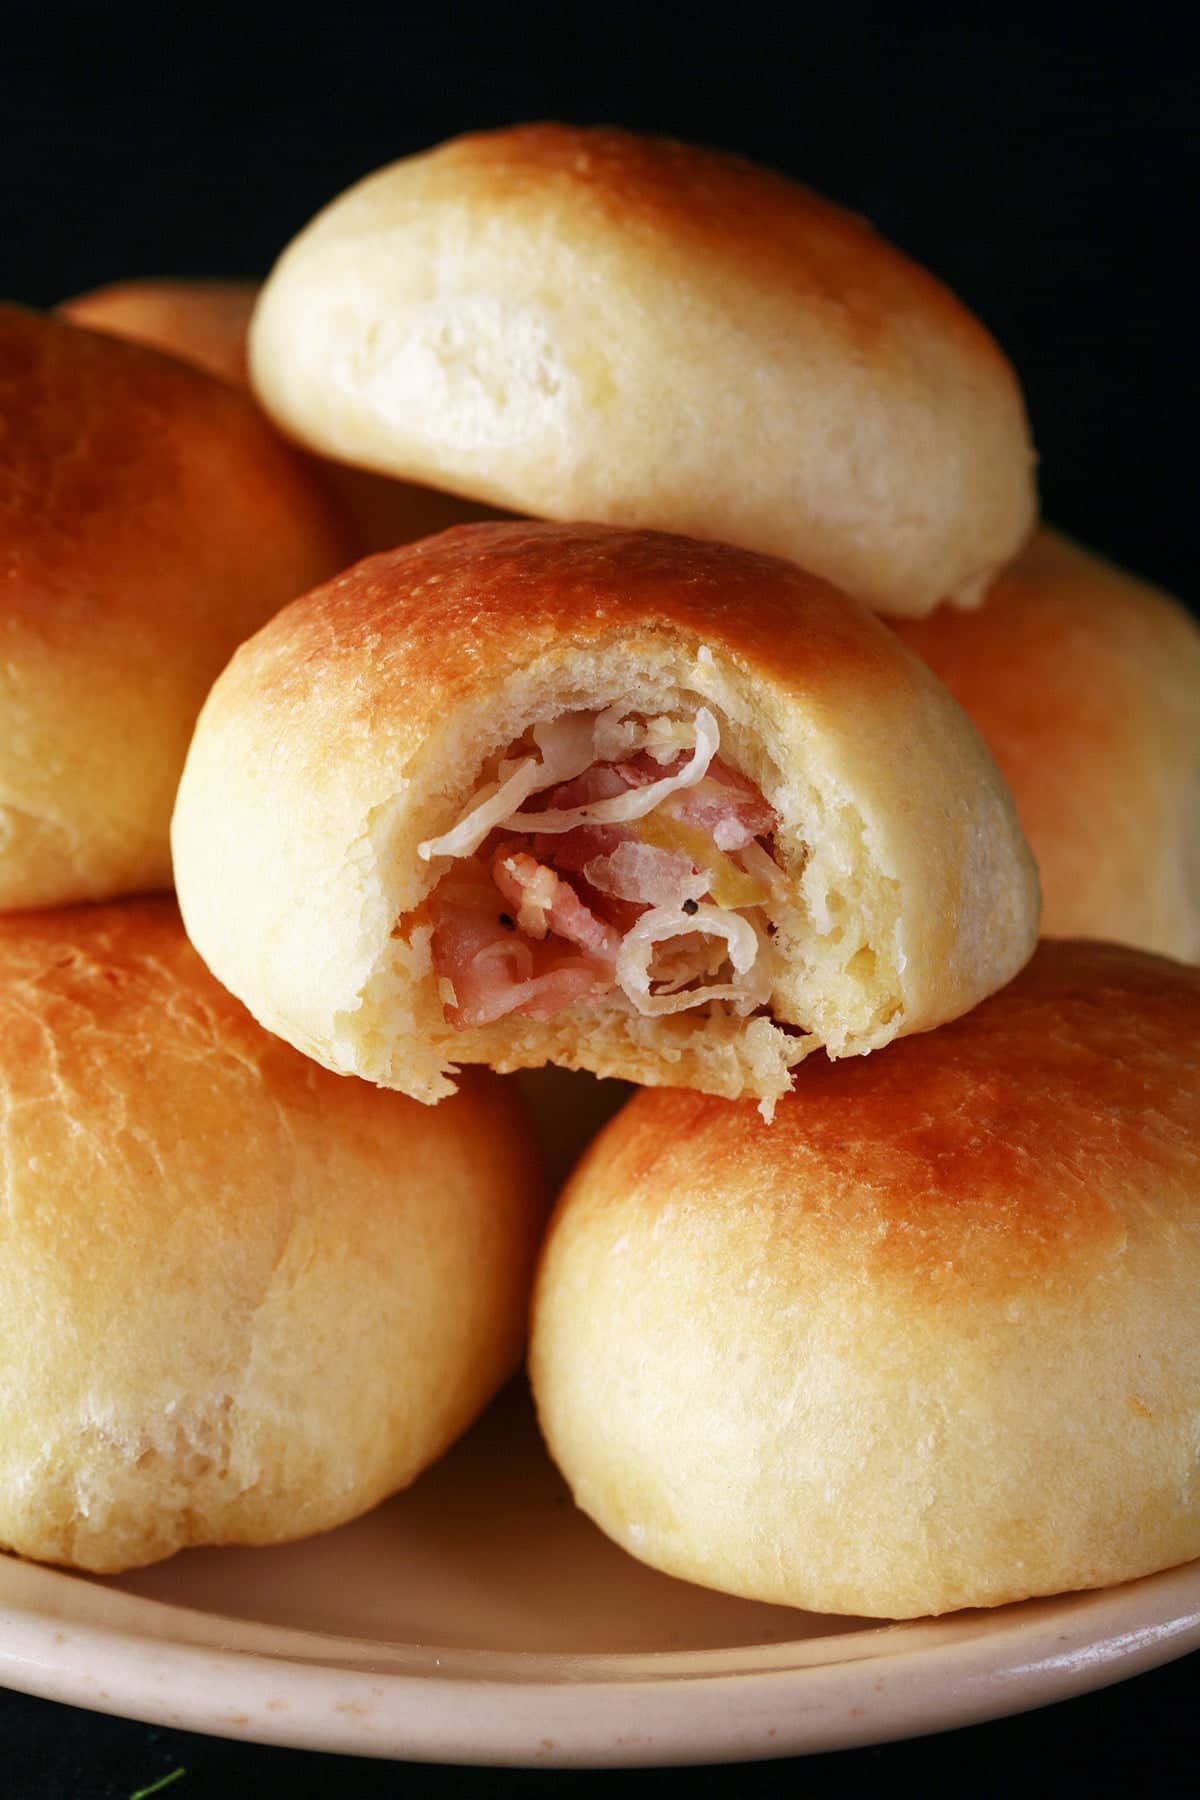
Pyrizhky, Piroshki, Pirozhki, Sauerkraut balls - whatever you know them as - these little buns filled with bacon and sauerkraut are SUPER addictive!

Originally posted October 14, 2009. Updated 9/18/2022
My husband had been professing his love for sauerkraut, and I recalled the sauerkraut balls that this aunt used to make around the holidays.
I remembered them being really addictive little bread balls filled with sauerkraut and bacon, but couldn't remember much past that - it had been 2 decades since I'd had one!
So, after a couple of calls, I received an email with the vague recipe. I *immediately* set about making a batch for the first time.
Between the bread, kraut, and bacon, I think he was about to start foaming at the mouth if I didn't get right on it!
This pirozhki recipe starts out with a delicious soft dough - super easy to worth with, and is filled with a mixture of bacon, onion, and sauerkraut.
It’s my absolute favorite comfort food!
Serve them as an appetizer, or add a side salad and have them as a main course.
Not gonna lie, I’ve definitely made meals out of nothing BUT these piroshki!

What Are Piroshki?
Piroshki - AKA Pyrizhky, Pirozhki, Sauerkraut balls - are little Russian hand pies or - as I first knew them - Ukrainian buns.
They’re a yeast dough, filled and baked. As I later learned, they can be filled with any number of things - as either savory piroshki or with sweet fillings.
Growing up in Winnipeg, these always made an appearance around the holidays, so I tend to see them as a Christmas food.
Not sure if that’s a “My family” thing, a Winnipeg thing, a Ukrainian diaspora thing, or actual, place-of-origin thing, I did a quick Google.
Yup, it looks like these are a traditional holiday food in Russia.
Russian piroshki can have a variety of savory fillings - meat filling, mashed potato, chopped egg, and cabbage filling being popular options.
Cabbage piroshki can involve either braised cabbage or - as my recipe does - pickled cabbage.
Meat piroshki are usually made with ground meat, generally ground pork or ground beef.
You can even get cheese piroshki, usually filled with either mozzarella or cottage cheese cultures (usually more in Ukranian pyrizhky).
You can totally use cheddar cheese in them, if you like.
But... I had them with sauerkraut and bacon first, so that’s how I’ll always know them!
Anyway, it’s probably good that they were strictly a holiday thing. There’s a reason they’re so addictive: FAT.
The dough is full of whole eggs, vegetable oil, and sour cream, a full lb of bacon is used, the sauerkraut absorbs the bacon fat - it’s NOT drained off - etc.
SO good!
How to Make Piroshki
I know that baking yeast/risen breads can be intimidating for those who haven’t done it before, but seriously ... don’t worry!
Start Your Yeast
The bread dough recipe starts out with sugar, yeast, and water. This is one of the most important parts of the recipe, so make sure it’s all in place!
- The water has to be warm, but not hot. You want to encourage the growth of the yeast, without killing it.
Cool water won’t “wake up” the yeast the way warm water does, and it won’t rise as much / quickly.
Hot water will kill the yeast.
The sugar feeds the yeast.
Make sure to use yeast that has been properly stored and is fresh. Very old yeast doesn’t always work.
Anyway, you mix the three together and leave it for a few minutes, and this is what you should see:

If your yeast mixture doesn’t foam up in 10 minutes, something went wrong - either the water was too hot /not warm enough, or the yeast was no good.
No foam means start over again.
Make Your Piroshki Dough
You can do this by hand in a large bowl, or - like I do - in a stand mixer with a dough hook attachment.
However you do it, just mix together your flour, salt, oil, eggs, sour cream, and foamy yeast water, until it’s well incorporated and relatively smooth.
Once it’s all together, you’ll knead the dough. This develops the gluten in the dough, making the dough soft, stretchy, and perfect.
In a Stand Mixer:
Affix a dough hook and just let it go on medium speed for about 7 minutes or so, until it’s smooth and stretchy.
I start timing once the mixing is done, and all of the extra flour has been “cleaned” off the mixer bowl:

Once the dough has come together - and you have all of the flour incorporated into it - dump it out on a clean, lightly floured surface and knead it.
Basically, I’ll use the heels of my hands to push down and stretch the dough a little bit, fold it over, and repeat for about 15+ minutes.
It’s a great way to get out some anger, aggression, frustration, or ~feelings~ in general, but it is labourious... so I generally use the stand mixer!
Anyway, whichever way you go:
When it’s ready, it’ll be smooth and stretchy.
You can test readiness by pinching off a small bit of dough, flattening it a bit, and stretching it. If you can stretch it really thin without tearing, it’s done!

Proof your Pyrizhky Dough
“Proofing” is just letting the dough rise. You’ll want a warm place - not hot - area to do this.
As I tend to keep my house nice and cool, I generally cheat at this: I’ll turn the oven on for a few minutes to warm it up a bit, then turn it off and use it as a proofing oven.
I spray the mixing bowl with a bit of pan spray before putting the dough ball back into it, then loosely over it with plastic wrap or a tea towel.
Let it rise - undisturbed - until it’s doubled in volume. Give it a good 45 minutes - 1 hour for this, but don’t leave it much longer than that without checking on it.
OVERproofing the dough - letting it rise too long / too far - will result in deflated dough, and hockey puck piroshki.

Make Your Piroshki Filling
As you are waiting for the dough to rise, prepare the filling:
1. Strain your sauerkraut WELL. There are two reasons for this:
- Too much moisture can cause the buns to blow open when baking
- You want the sauerkraut pretty dry and “thirsty” to absorb all that bacon fat.
2. Chop bacon and onions into small pieces.
3. In a large frying pan, cook bacon & onions together over medium high heat (medium heat, if using a nonstick pan) until bacon is cooked, but not crispy.
4. Add sauerkraut to the pan, cook and stir well until bacon fat is absorbed and everything is heated through.
5. Season with salt and pepper to taste.
As a note: While it’s not part of the original recipe loosely dictated to me on the phone, over the years we started adding a bit of caraway seeds to the mix.
Love it, but totally optional!

Form Your Piroshki
Once your initial proofing is done, punch it down and divide it out. Punching the dough down removes some of the air, so it’s easier to work with.
Traditionally, this dough is rolled out and cut into shape. See the recipe card for those instructions!
Personally, I prefer to freehand it. To do so:
1. Divide it out to 40 relatively-equal portions.
I’ll divide it in 4, then divide each of those in half, then divide each of those pieces into 5 balls.

3. Add about 1 tablespoon of filling to the center of the piece of dough.
4. Wrap piroshki dough around the filling. I like to gather edges of the round and seal the filling in (like a drawstring bag). Try to squish some air out, as you go.
5. Roll around between your hands a bit to get a uniform spherical shape, and place formed piroshki on a parchment lined baking sheet, gathered side down.
6. Repeat with the rest of the dough/filling, leaving at least 2″ between dough balls.

Proof your Piroshki
1. Loosely cover cookie sheets with plastic wrap or a clean kitchen towel, and allow to rise a second time, for a another hour
.

Before and after the second rise.
Bake Your Pirozhki
Heat oven to 350F.
Remove plastic wrap from cookie sheets, bake for 25-30 minutes, or until golden brown.
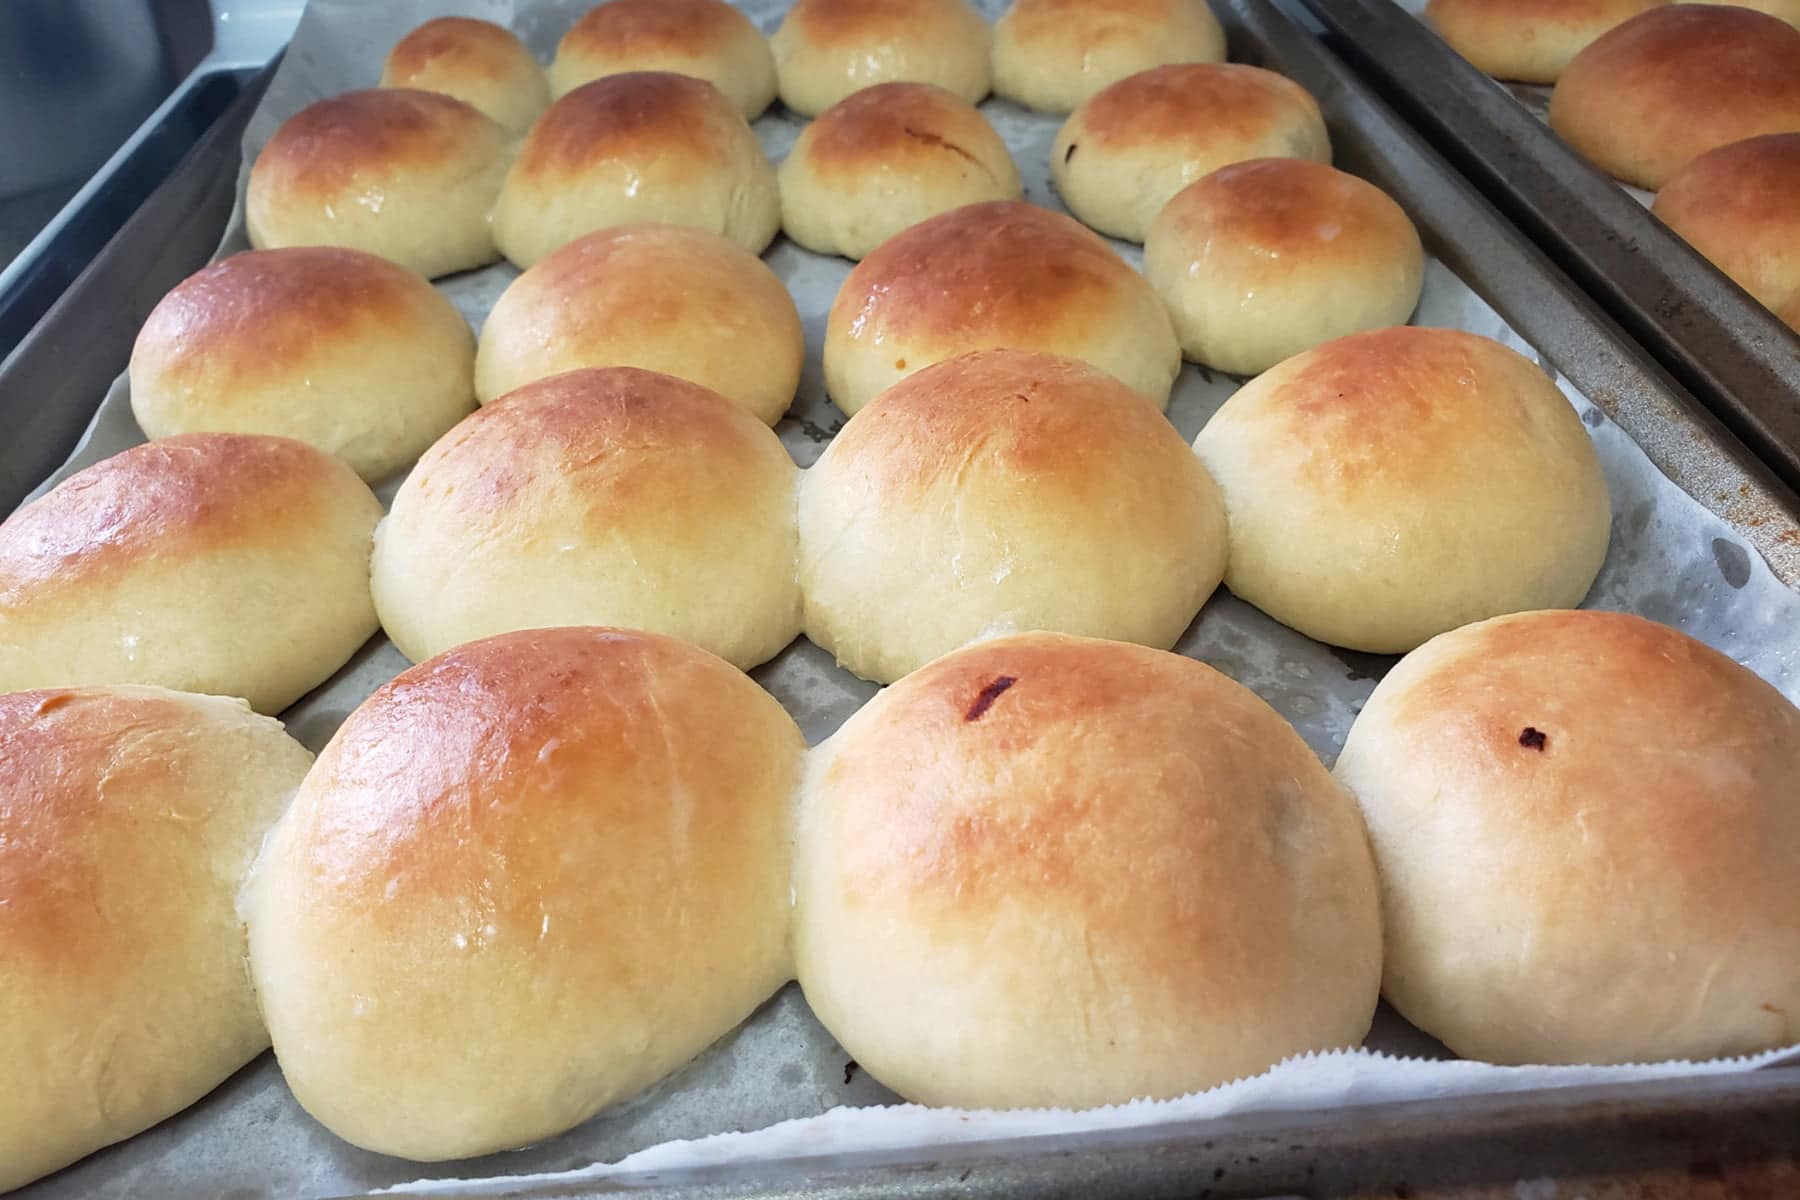
Remove from oven and brush liberally with melted butter.
Serve immediately, or allow to cool to room temperature and place piroshki in an airtight container in the fridge for up to 5 days.

Serving your Sauerkraut Buns
These are great served hot, fresh out of the oven, cold, or even reheated in a microwave oven, conventional oven, or air fryer.
IF they last that long.
I really enjoy them as breakfast, though I’m going to be dainty and NOT specify how many of these would constitute a serving, when that happens.
Spoiler: A lot. Seriously. These are ridiculous.

Need Gluten-Free Pyrizhky?
Check out my recipe for Gluten-Free Piroshky!
NOTE: I've since developed a keto version of this recipe, and they're even better than this version!
While I'll keep the original gluten-free piroshky recipe up for posterity / in case it better serves anyone's dietary needs, I definitely recommend taking a look a my Keto Sauerkraut Buns recipe on my new low carb blog.
Better taste, texture, AND far less effort to make!

More “Capital B” Baking Recipes
Does the smell of yeast proofing just make you happy? Oh, I love the smell of it. Anyway, if you’re looking for more excuses to bake something that involves waiting for rise times, here are a few more recipes!
Apple Cinnamon Buns
Basil, Roasted Red Pepper, & Asiago Bread Braid
Beer Pretzels & Jalapeno Jack Dip
Buffalo Chicken Buns
Chai Cinnamon Rolls
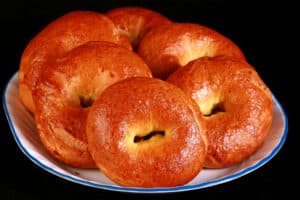
Everything Bagels
How to Make Bagels
Jalapeno Popper Stuffed Pretzel Bites
Maple Walnut Spiced Pumpkin Buns
Marble Rye Bagels
Paska - Ukrainian Easter Bread
Persians Recipe
Reuben Buns
Rye Bagels with Caraway Seeds
Seeded Whole Wheat Flax Bagels
Smoky Cheese Bagels
Spinach Hand Pies
Strawberry Orange Rolls
Za'atar Manakish (With Cheese!)

Share the Love!
Before you chow down, be sure to take some pics of your handiwork! If you post it to Bluesky, be sure to tag us - @CelebrationGen. We're also on Pinterest, so you can save all your favourite recipes to a board!
Also, be sure to subscribe to my free monthly email newsletter, so you never miss out on any of my nonsense. Well, the published nonsense, anyway!
Finally, if you love this recipe, please consider leaving a star rating and/or a comment below, and maybe even sharing this post on social media!

Piroshki Sauerkraut Balls - Pyrizhky
Equipment
- Parchment Paper
- 2 Baking Sheets
Ingredients
Dough:
- ½ cup warm water
- 1 teaspoon Granulated Sugar
- 1 envelope yeast
- 4 cups all-purpose flour
- ½ teaspoon salt
- ½ cup vegetable oil
- 3 eggs beaten
- 1 cup sour cream
Filling:
- 1 lb bacon chopped
- 1 bag sauerkraut about 19 oz, drained, or a 1L jar.
- 1 medium onion chopped
- Salt
- Pepper
Assembly:
- Melted butter
Instructions
Prepare the Dough:
- Gently mix together warm water, sugar, and yeast. Allow to sit for 10 minutes.
- In a large bowl, mix together flour and salt. Form a well in the middle, and pour oil, eggs, and sour cream into it. Mix well, then add the yeasty water.
- Mix until everything is well incorporated, then knead lightly for 2 minutes.
- Place dough in a large, greased bowl. Cover and allow to rise for 1 hour, or until doubled in size.
As you are waiting for the dough to rise, prepare the filling:
- Cook bacon & onions until bacon is almost cooked, but not crispy. Add sauerkraut to the pan, cook and stir well until bacon fat is absorbed and everything is heated through. Season with salt and pepper to taste. Let cool.
Assemble the sauerkraut balls:
- Roll dough out to an even ¼″ thickness. Cut rounds that are between 3″-4″ in diameter.
- On the center of each round, place a mound of about 1 tablespoon filling. Gather edges of the round and seal the filling in (like a drawstring bag). Roll around between your hands a bit to get a uniform spherical shape, and place on a parchment lined baking sheet. Repeat with the rest of the dough/filling, leaving at least 2″ between dough balls.
- Loosely cover cookie sheets with plastic wrap, and allow to rise another hour.
- Heat oven to 350F. Remove plastic wrap from cookie sheets, bake for 25-30 minutes, or until golden. Remove from oven and brush liberally with melted butter.
- Great served hot, fresh out of the oven, cold, or even reheated. IF they last that long.
Video
Nutrition
Looking for More Recipes for "The Big Game"?
... or other watching party, or just to up your snack food game for the hell of it? I've got you covered with the BEST Super Bowl Party food ideas!
40+ Fantastic Wing Recipes
Ahi Tuna Nachos
Air Fryer Jalapeno Poppers
Armadillo Eggs
Baked Reuben Poppers
Beer Pretzels with Jalapeno Jack Dip
Buffalo Chicken Meatballs
Cheesy Jalapeno Popper Dip
Colourful Coleslaw
Dill Pickle Cream Cheese Dip
Fat Elvis Cupcakes
Football Soft Pretzel Bites
Game Day Popcorn
Ginger Wasabi Dip
Gluten Free Fried Chicken
Gluten-Free Pasta Salad
Gluten Free Pizza Bites
Hot Cheeseburger Dip
Hot Smoked Bacon Jalapeno Poppers
How to Cook Perogies in an Air Fryer
Jalapeno Artichoke "Backfire" Dip
Jalapeno Popper Stuffed Pretzels
Keto Fried Chicken
Keto Mozzarella Sticks
Loaded Baked Potato Skins
Loaded Pierogi Nachos
Muffaletta Skewers
Peanut Jalapeno Beer Brittle
Perogy Pizza
Porter House Guacamole
Porter's Epic Popcorn
Queso Dip from Scratch
Smoked Cheese Balls
Smoked French Fries
Super Bowl Charcuterie Board


carole fenn
These look marvelous and I can't wait to try the recipe.
carole fenn
What is wrong with my comment?
admin
Hi Carole,
I get a TON of spam comments, so the blog is set to require approval on all first time comments - nothing personal!
Tara Wagner
I'm just wondering can these be made ahead of time, put in the freezer and then cook the day you want to make them?
Marie Porter
I would bake them first, freeze, then thaw and reheat.
Andy Schmichdoletza
These are AWESOME. Disappeared in no time! A definate "keeper" recipe
Susan Szabo
These were so easy to make and the dough was wonderful to work, they taste the best ever.
Marie Porter
I'm glad you enjoyed them, they've been a favourite of mine *forever*. Way too addictive, though, LOL
Susan Szabo
this is more like a six-star rating
Marie Porter
Thank you so much!
kathryn starr
Is there a gluten free recipe? I saw on this page there was but it doesn't come up.
Marie Porter
There is, it's a separate post though: https://celebrationgeneration.com/gluten-free-sauerkraut-buns/
Alex
How much is 1 envelope of yeast? Sorry, I bought my yeast in a bulk can :/
Marie Porter
2.5 tsp!
Gail
can i do the dough in a bread machine? tia
Marie Porter
Honestly, I have no idea. I've never used a bread machine!
Whitney Claydon
Hi, can you use quick rise yeast envelopes or traditional?
Marie Porter
I've never used the quick rise yeast, but I'm sure it would work fine
John
OMG - I'm so glad I found your sight!!!
Back in 2008 I was visiting a customer in eastern SK and she offered me these right out of the oven. Much to her delight and my embarrassment, I ate a dozen.
I always wanted to know how to make the, - Thank you!!!
Marie Porter
I will NEVER judge anyone for eating a dozen of them right on the spot. Wildly addictive things! I don't even want to know how many I ate in a sitting as a kid, LOL!
Loide Araújo Gonçalves Jedyn
Foi a melhor receita que já vi desses pãezinhos, minha sogra fazia e eu agora vou poder fazer também! Lindo texto, amei!! Fico muito grata ❣️
Shirl
Hi Marie,
Just trying the recipe tonight but I have a question that I hope does not sound ridiculous. I drained my sauerkraut all day in a sieve and still spent an hour hand squeezing it. How do you drain the sauerkraut to your standards?
Marie Porter
Oh you do NOT need to drain it that much! Just squeeze off the excess - any that's left will cook off with the bacon.
Julia
Can you freeze and leftover balls?
Do you recommend freezing before or after baking? Thank you.
Marie Porter
I would imagine they'd freeze fine - I'd freeze after baking - but we've really not had the opportunity to! T
Christine
There are no words, these buns are beyond delicious.
Thank you for sharing such a wonderful recipe.
I did add 2 cloves of pressed garlic.
Definitely a new family favourite and the recipe has a home in my "Keepers" binder.
zidane
Pirozhki are soft, filled pastries with a warm and comforting taste